I'm in the process on repurposing a few Raspberry Pis and noticed Debian 13 has officially been released (at time of writing), but Raspberry Pi OS is still on Debian 12.
If you're looking to create a custom Raspberry Pi OS image tailored for headless deployment, this guide walks you through using the official pi-gen tool to build your own image — based on Debian Trixie (Debian 13).
While I've tried to write this document in the context of a how-to, it's more of a reflection on what I did vs something formal.
⚠️ Disclaimer: Since this image is not built or maintained by the Raspberry Pi Foundation, you may encounter compatibility issues, hardware quirks, or missing Raspberry Pi-specific features. Official support for this setup is limited, and it's best suited for experimentation or advanced use cases. I don't work for the Raspberry Pi project, so follow at your own risk.
That all being said, here's what following this page would yield:
- Uses the same tool the Raspberry Pi Foundation uses to generate official images
- Builds a minimal system similar to Raspberry Pi OS Lite
- Builds an Arm64 image (not 32-bit)
- Has SSH enabled
- Supports customization of locale, timezone, and user credentials
✅ Why Build Your Own Image?
You may want a custom image when:
- You need headless deployment out of the box (no keyboard/mouse/monitor)
- You want SSH access enabled by default
- You want to preconfigure locales or packages for embedded or production use
🔧 Prerequisites
To follow this guide, it assumes usage of a few linux utilities / command. It assumes you are using and have available:
- A macOS (Apple Silicon) or Linux machine
git,docker, and optionallyqemu-user-static(only needed for x86)- ~10–20GB of free disk space
🧰 Step 1: Clone pi-gen
git clone --branch arm64 https://github.com/RPi-Distro/pi-gen.git
cd pi-gen
From the docs at time of this article:
Note: 32 bit images should be built from the master branch. 64 bit images should be built from the arm64 branch.
Tip: They have different branches based on debian OS version you want to target.
🧾 Step 2: Create the config File
You can define a file to customize that tells the image how to be customized out of box. Since we are a headless setup, we don't want to have to connect a monitor, keyboard, mouse, etc; so this file will define how the operating system should be customized on first startup.
Inside the pi-gen directory, create a file named config:
touch configThen edit it with your preferred editor (nano, vim, VSCode, etc.):
Example config File
# Debian release to build (note, you should target the applicable branch when changing releases)
RELEASE=trixie

# Name of the image
IMG_NAME="raspios-trixie-arm64"

# Build 64-bit image
ARCH=arm64

# Enable SSH by default
ENABLE_SSH=1

# Set default username and password
FIRST_USER_NAME="pi"
FIRST_USER_PASS="raspberry"

# Don't compress the image – output raw .img file
DEPLOY_COMPRESSION=none

# Set timezone to UTC+0
TIMEZONE_DEFAULT="Etc/UTC"

# Don't use QEMU (set to 1 if not on Arm based architecture)
USE_QEMU=0
🌍 Locales, Keyboard, and Timezone
To change the system locale or timezone, you can add these optional variables:
# Locale
LOCALE_DEFAULT="en_US.UTF-8"

# Keyboard layout
KEYBOARD_KEYMAP="us"
KEYBOARD_LAYOUT="English (US)"

# Timezone (examples)
TIMEZONE_DEFAULT="Etc/UTC"       # UTC+0
TIMEZONE_DEFAULT="America/New_York"
TIMEZONE_DEFAULT="Europe/London"
TIMEZONE_DEFAULT="Asia/Tokyo"
You can find all available timezones on a Linux system via:
ls /usr/share/zoneinfo
🏗️ Step 3: Build the Image
If you don't want the desktop environment (headless setup), create the following skip files to eliminate creation of the full desktop images:
touch ./stage3/SKIP ./stage4/SKIP ./stage5/SKIP
touch ./stage4/SKIP_IMAGES ./stage5/SKIP_IMAGES
To start the build, run the following:
./build-docker.sh
This will:
- Pull the necessary Docker images
- Run through the build stages (stage0 to stage2 (assuming you created the skips))
- Output a raw
.imgfile(s) in thedeploy/folder
Example output without skip
copying log from container pigen_work to deploy/
total 35235816
drwxr-xr-x  10 jack  staff   320B Sep  6 11:58 .
drwxr-xr-x  23 jack  staff   736B Sep  6 11:57 ..
-rw-r--r--   1 jack  staff   8.3G Sep  6 11:57 2025-09-06-raspios-trixie-arm64-full.img
-rw-r--r--   1 jack  staff   245K Sep  6 11:57 2025-09-06-raspios-trixie-arm64-full.info
-rw-r--r--   1 jack  staff   2.6G Sep  6 11:56 2025-09-06-raspios-trixie-arm64-lite.img
-rw-r--r--   1 jack  staff    76K Sep  6 11:56 2025-09-06-raspios-trixie-arm64-lite.info
-rw-r--r--   1 jack  staff   5.8G Sep  6 11:56 2025-09-06-raspios-trixie-arm64.img
-rw-r--r--   1 jack  staff   213K Sep  6 11:56 2025-09-06-raspios-trixie-arm64.info
-rw-r--r--   1 jack  staff   1.0M Sep  6 11:58 build-docker.log
-rw-r--r--   1 jack  staff    10K Sep  6 11:57 build.log
Example output with the skip files
copying results from deploy/
copying log from container pigen_work to deploy/
total 5525296
drwxr-xr-x   6 jack  staff   192B Sep  6 12:03 .
drwxr-xr-x  23 jack  staff   736B Sep  6 12:03 ..
-rw-r--r--   1 jack  staff   2.6G Sep  6 12:03 2025-09-06-raspios-trixie-arm64-lite.img
-rw-r--r--   1 jack  staff    76K Sep  6 12:03 2025-09-06-raspios-trixie-arm64-lite.info
-rw-r--r--   1 jack  staff   308K Sep  6 12:03 build-docker.log
-rw-r--r--   1 jack  staff   5.8K Sep  6 12:03 build.log
💾 Step 4: Flash the Image to SD Card
After the build completes, write the image to an SD card. You can do this via command line or via the official Raspberry Pi Imager.
WARNING: make absolutely sure if you use the commands below you do not target the wrong disk. These commands can result in data loss. You do not hold me liable for data loss if using this approach!
On macOS or Linux:
- Identify the SD card:
diskutil list       # macOS
lsblk               # Linux
- Unmount the disk (macOS):
diskutil unmountDisk /dev/disk2
- Write the image:
sudo dd if=deploy/2025-09-06-raspios-trixie-arm64-lite.img of=/dev/rdisk5 bs=4m conv=fsync
⚠️ Replace /dev/rdisk5 with the correct device for your SD card.
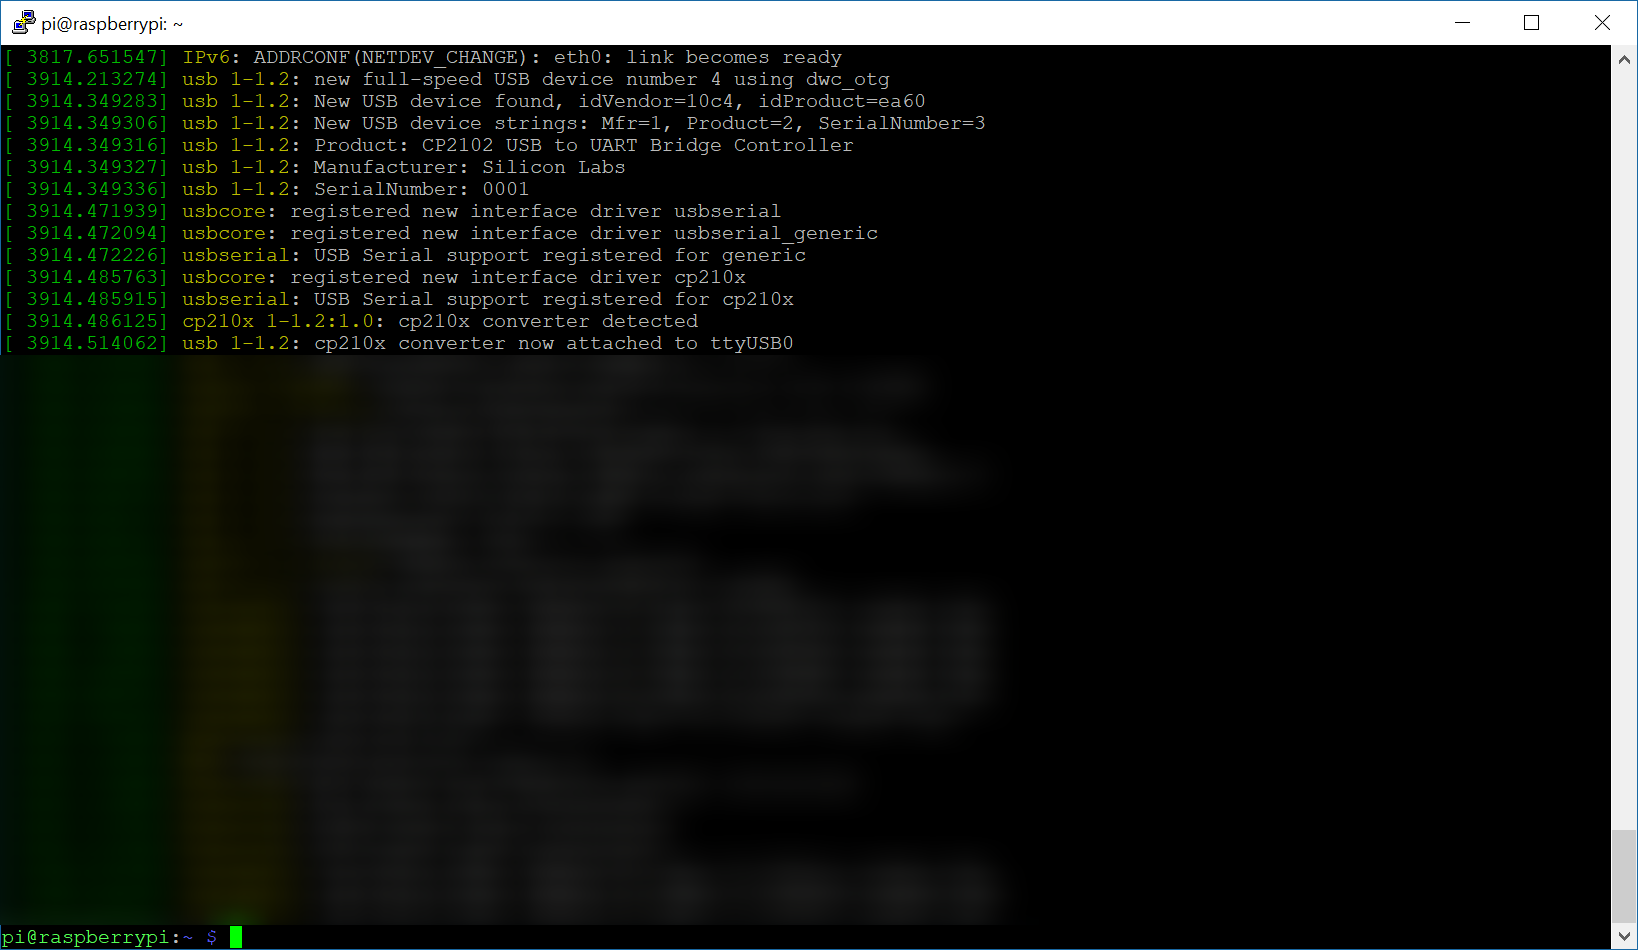
🔌 Step 5: Boot the Pi
- Insert the SD card into your Pi
- Connect an Ethernet cable
- Power on the Pi
You should:
- See the Pi boot
- Get a login prompt (no GUI)
- Be able to SSH in using the IP address assigned via DHCP
🧩 Optional: Add SSH Key or Preseed Files
You can also preconfigure:
- Your SSH public key
- A custom hostname
- Static IP
- Additional packages
Let me know if you want a follow-up post for those.
✅ Recap
| Feature | Configured? |
|---|---|
| Debian Version | ✅ Trixie (Debian 13) |
| SSH Enabled | ✅ Yes |
| GUI/Desktop | ❌ No |
| Output Format | ✅ Raw .img |
| Build Host | ✅ Apple Silicon (no QEMU) |
| Locale / Timezone | ✅ UTC (editable) |
🧭 Conclusion
By using pi-gen, you're following the official image-building process used by the Raspberry Pi Foundation — but with full control over your system. This process can also be used for embedded projects, production environments, or anyone who needs a tightly configured headless system.