This guide is the 3rd in our deployment of System Center 2012 R2 Configuration Manager, originally starting with this guide here.
Definitions
Discovery Methods - Discovery identifies computer and user resources that you can manage by using Configuration Manager. It can also discover the network infrastructure in your environment. Discovery creates a discovery data record (DDR) for each discovered object and stores this information in the Configuration Manager database. These can be through Active Directory Forest, Active Directory Group Discovery, Active Directory System Discovery, Active Directory User Discovery, Heartbeat Discovery, and Network Discovery. You can find more information from the official technet article here: http://technet.microsoft.com/en-us/library/gg712308.aspx
- Active Directory Forest Discovery
- Can discover Active Directory sites and subnets, and then create Configuration Manager boundaries for each site and subnet from the forests that you have configured for discovery. When Active Directory Forest Discovery identifies a supernet that is assigned to an Active Directory site, Configuration Manager converts the supernet into an IP address range boundary.
- Active Directory Group Discvoery
- Discovers local, global, and universal security groups, the membership within these groups, and the membership within distribution groups from the specified locations in Active directory Domain Services. Distribution groups are not discovered as group resources.
- Active Directory System Discovery
- Discovers computers from the specified locations in Active Directory Domain Services.
- Active Directory User Discvoery
- Discovers user accounts from the specified locations in Active Directory Domain Services.
Boundaries - A boundary is a network location on the intranet that can contain one or more devices that you want to manage. Boundaries can be an IP subnet, Active Directory site name, IPv6 Prefix, or an IP address range, and the hierarchy can include any combination of these boundary types. To use a boundary, you must add the boundary to one or more boundary groups. Boundary groups are collections of boundaries. By using boundary groups, clients on the intranet can find an assigned site and locate content when they have to install software, such as applications, software updates, and operating system images. You can find more information from the official technet article here: http://technet.microsoft.com/en-us/library/gg712679.aspx
Enabling Discovery
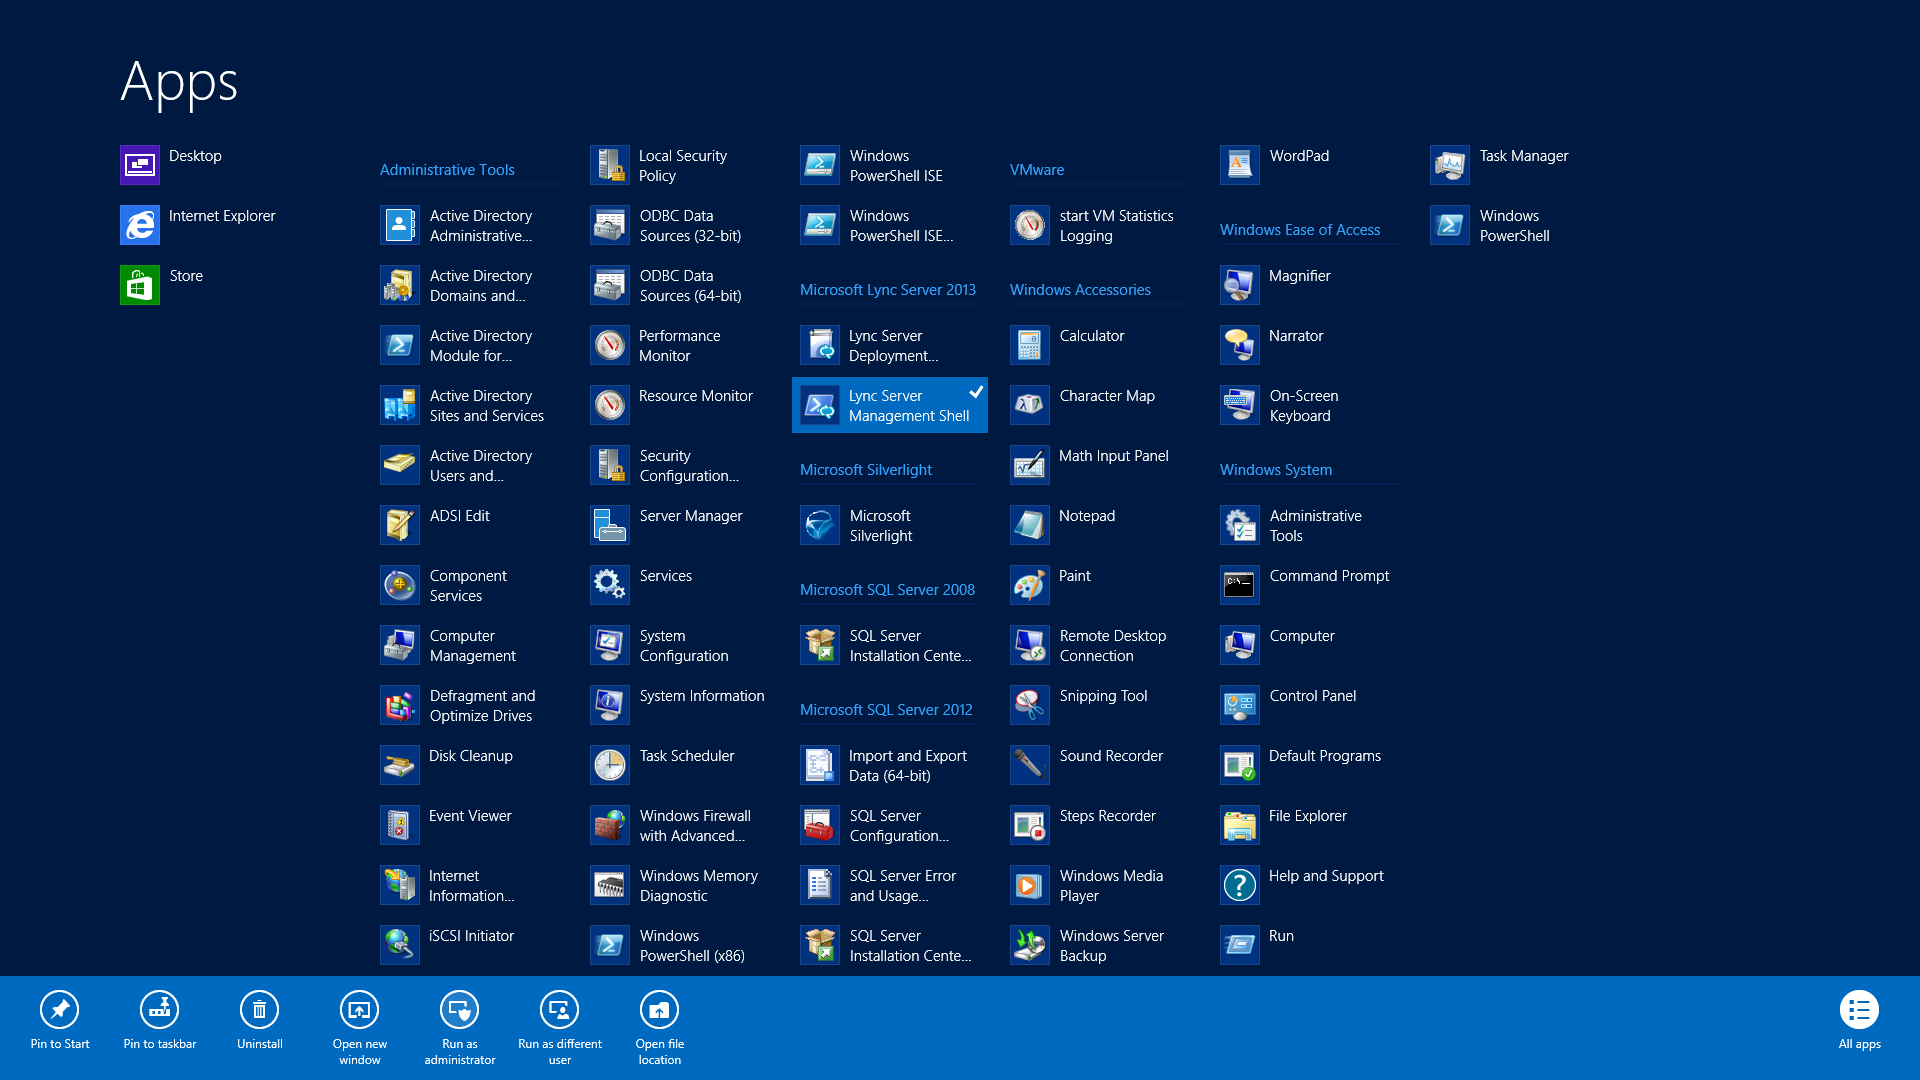
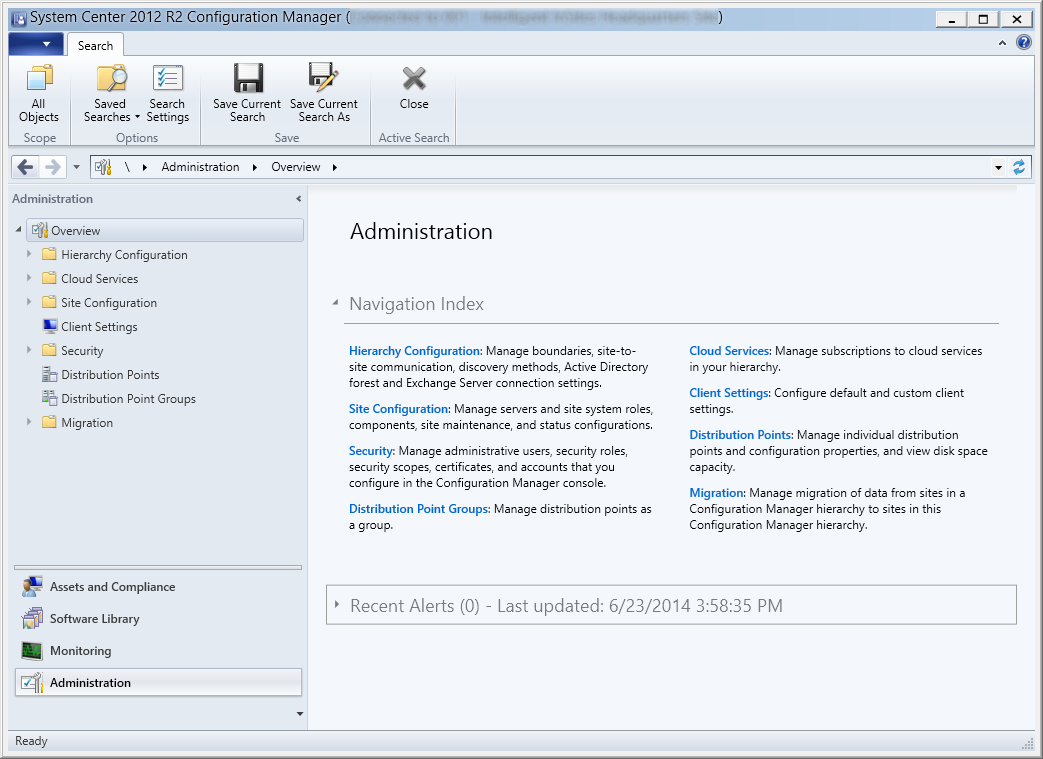
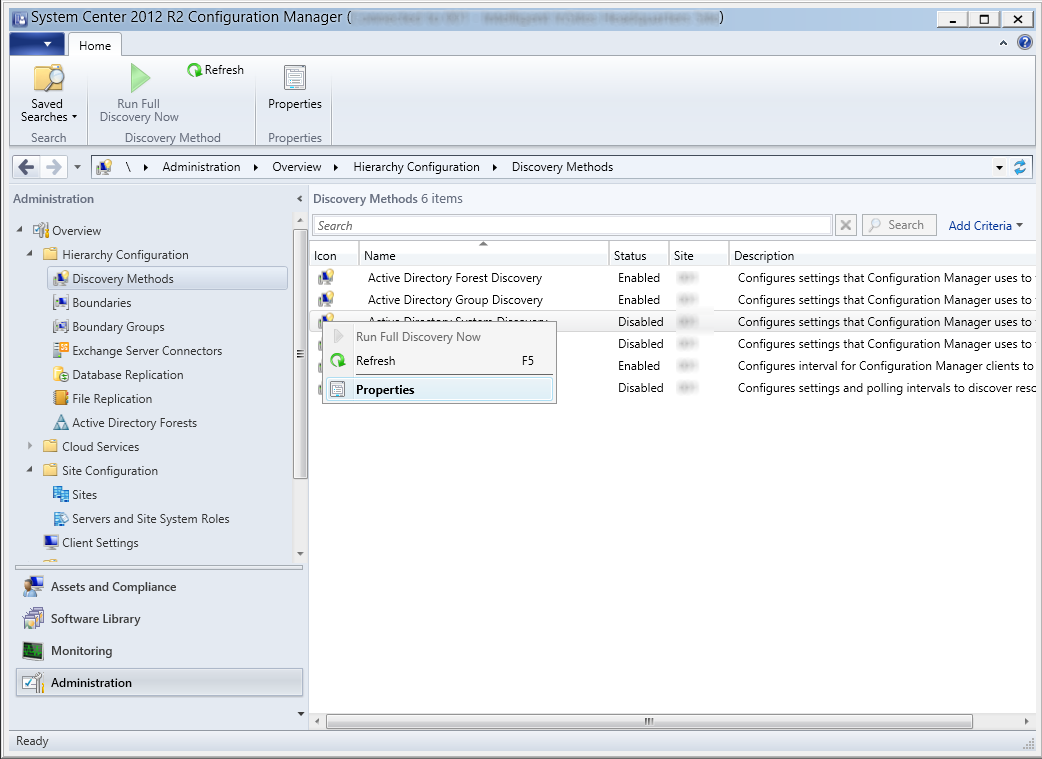
- Launch the System Center 2012 R2 Configuration Manager console

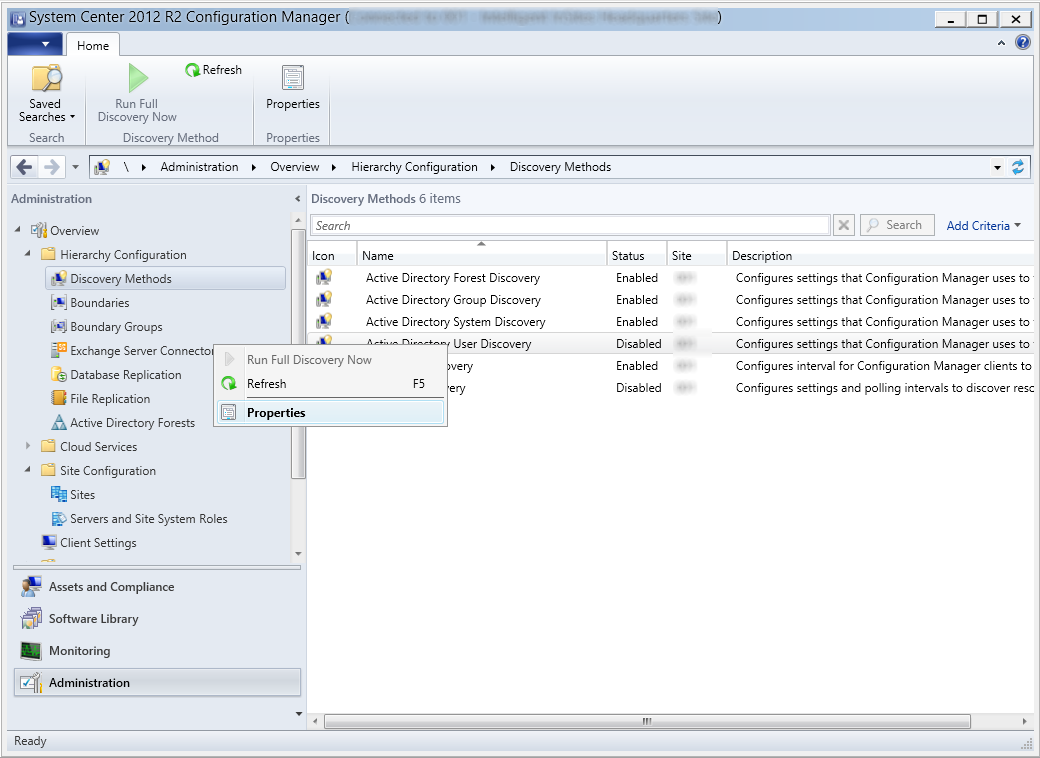
- Click on Administration in the bottom left corner
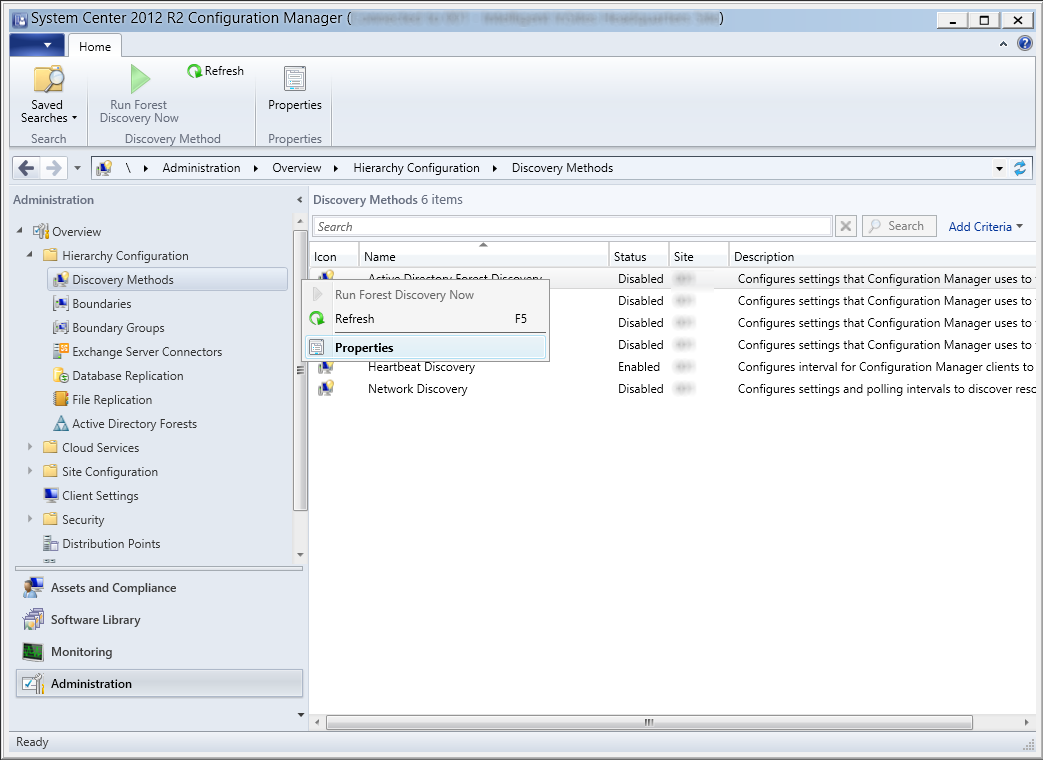
- Expand Hierarchy Configuration and select Discovery Methods
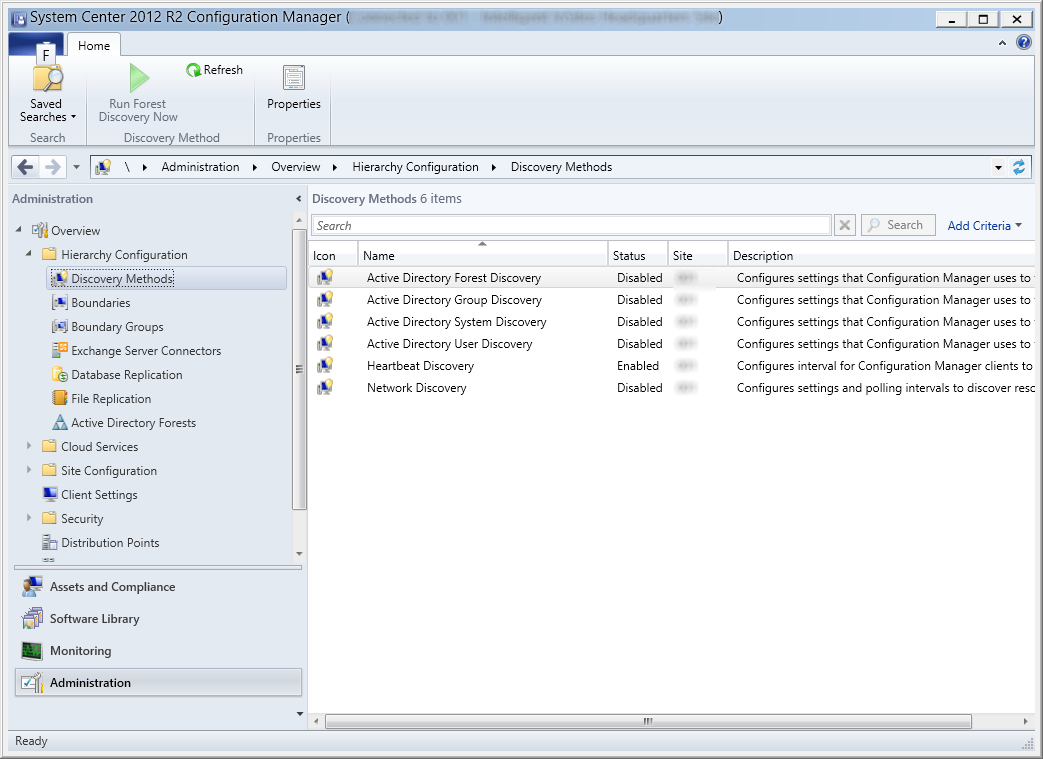
- Configure Active Directory Forest Discovery
- Right click on Active Directory Forest Discovery and select Properties
- Check Enable Active Directory Forest Discovery and Automatically create IP address range boundaries for IP subnets when they are discovered
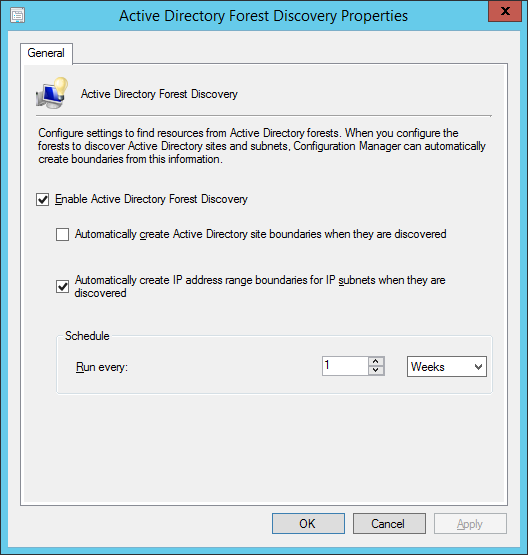
- NOTE: Reasons on why we did not select Automatically create Active Directory site boundaries when they are discovered can be found in this blog post: IP Subnet Boundaries are EVIL
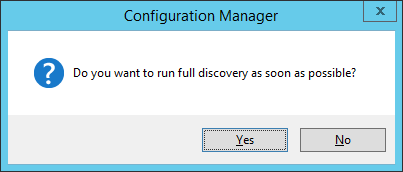
- Click Yes when prompted to run a full discvoery as soon as possible
- Right click on Active Directory Forest Discovery and select Properties
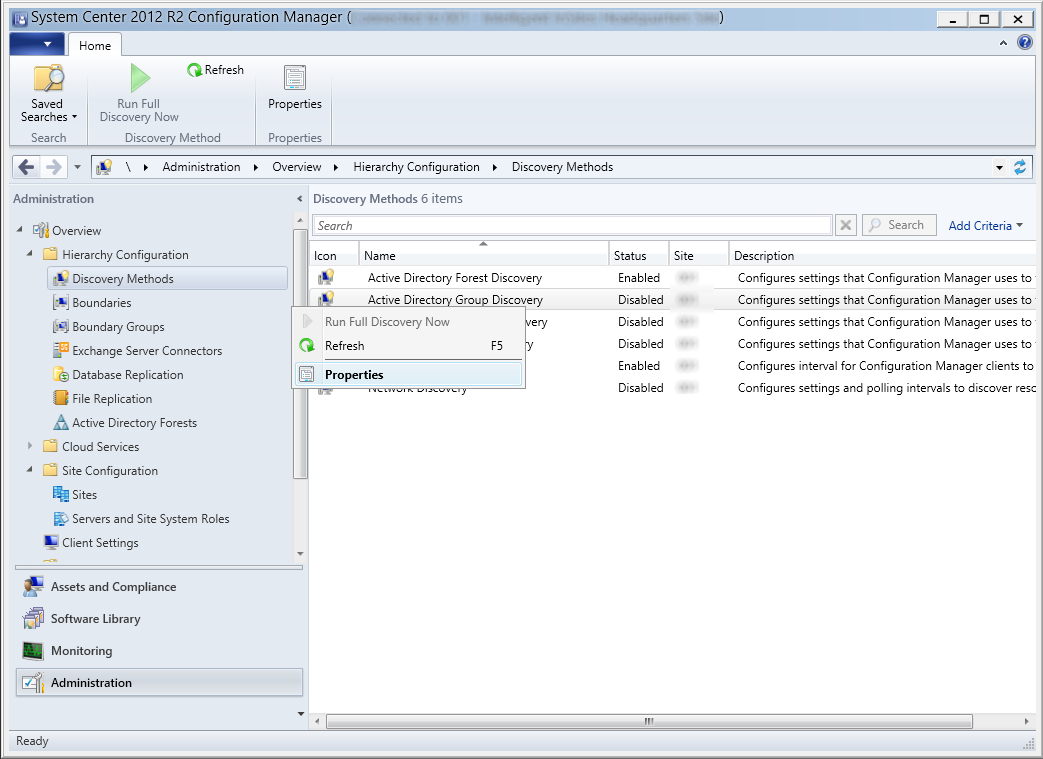
- Configure Active Directory Group Discovery
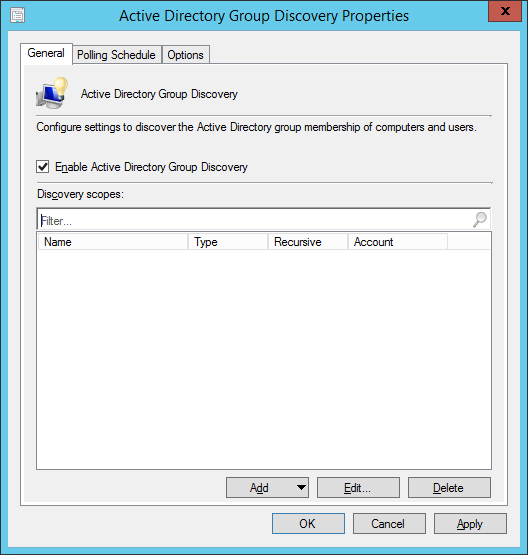
- Right click on Active Directory Group Discovery and select Properties
- Check Enable Active Directory Group Discovery and then click the Add button and select Locations...
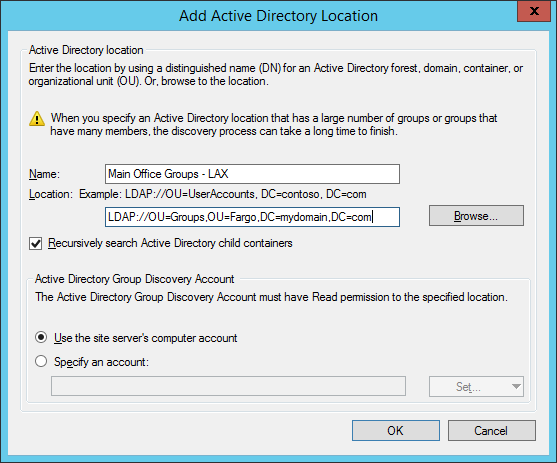
- Add Location - This will recursively search a container (most often an Organizational Unit) in Active Directory for Groups
- Add Group - This will recursively search a group in Active Directory for additional Groups
- Enter in a Name to describe what we are searching and hit Browse... next to Location to select the container containing the groups you want. Once done, click OK on the Add Active Directory Location screen
- Select the Options tab and check the options applicable to you
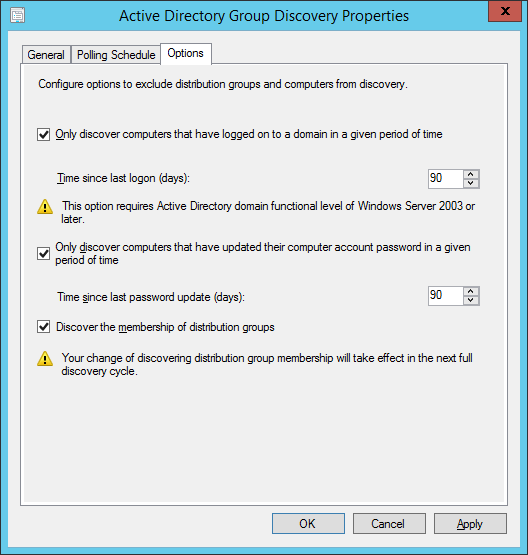
- Click OK on the Active Directory Group Discovery Properties window and select Yes if prompted to run a full discovery as soon as possible
- Right click on Active Directory Group Discovery and select Properties
- Configure Active Directory System Discovery
- Right click on Active Directory System Discovery and select Properties
- Check Enable Active Directory System Discovery and click the Yellow star to add an Active Directory container
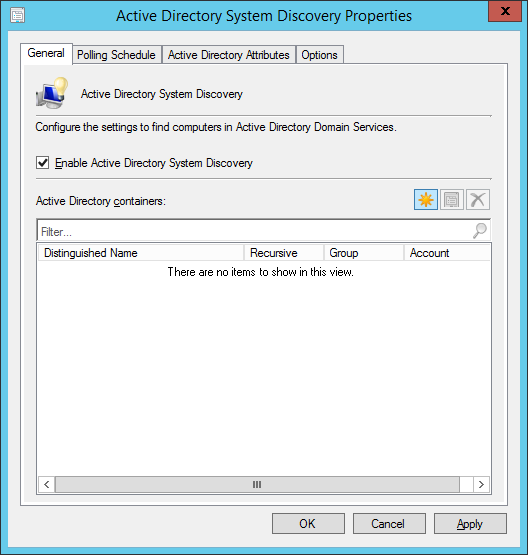
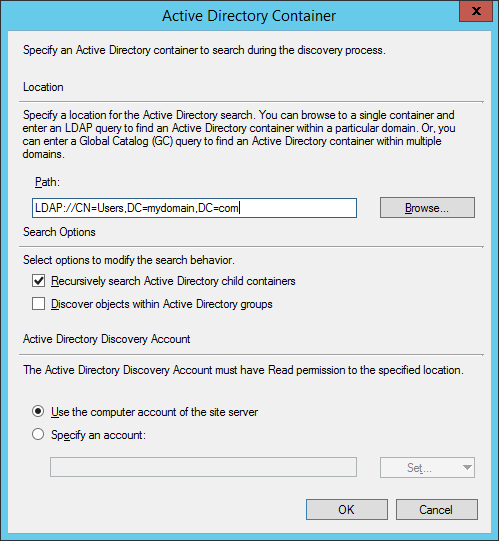
- Click the Browse button and select a container containing your machines

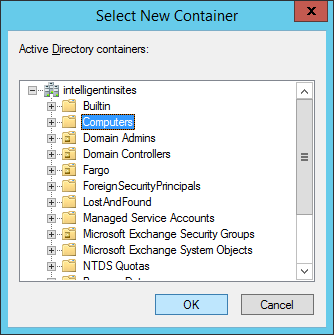
- Most production environments will probably have a custom OU defined to place their computer objects. If in doubt, select the Computers container and click OK
- Click on the Options tab, check both options, and click OK

- Click Yes to do a full discovery as soon as possible
- Right click on Active Directory System Discovery and select Properties
- Configure Active Directory User Discovery
- Right click on Active Directory User Discovery and select Properties
- Check Enable Active Directory User Discovery and click the Yellow star icon to add an Active Directory container
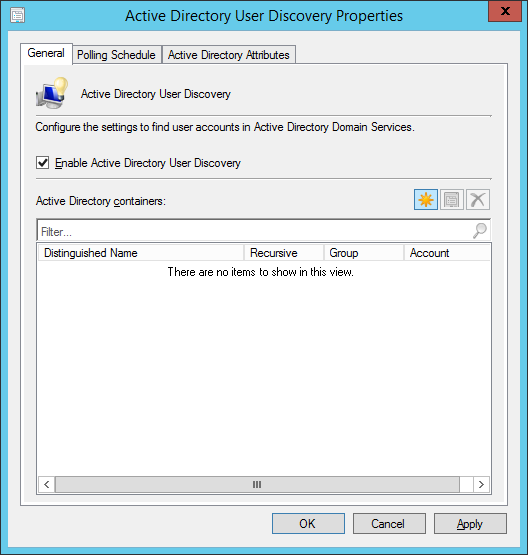
- Click on the Browse... button and select the container holding your users. Click OK.
- Click OK on the Active Directory User Discovery Properties window

- Click Yes if prompted to run a full discovery as soon as possible
- Right click on Active Directory User Discovery and select Properties
Enabling a Network Boundary/Group
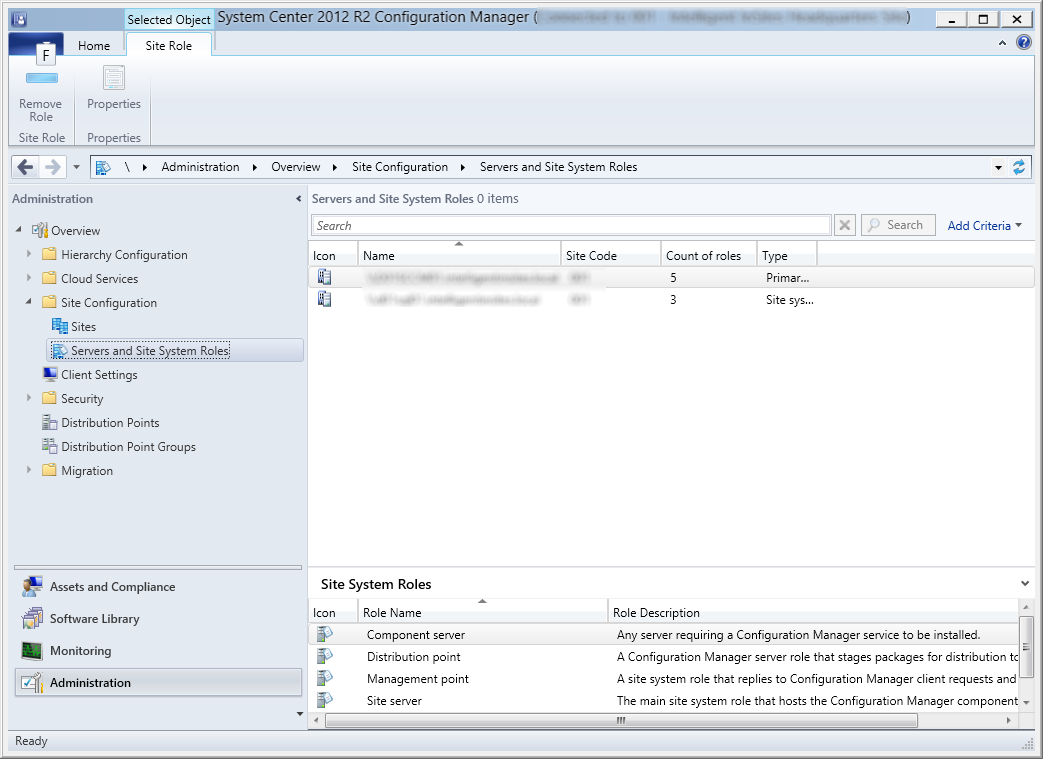
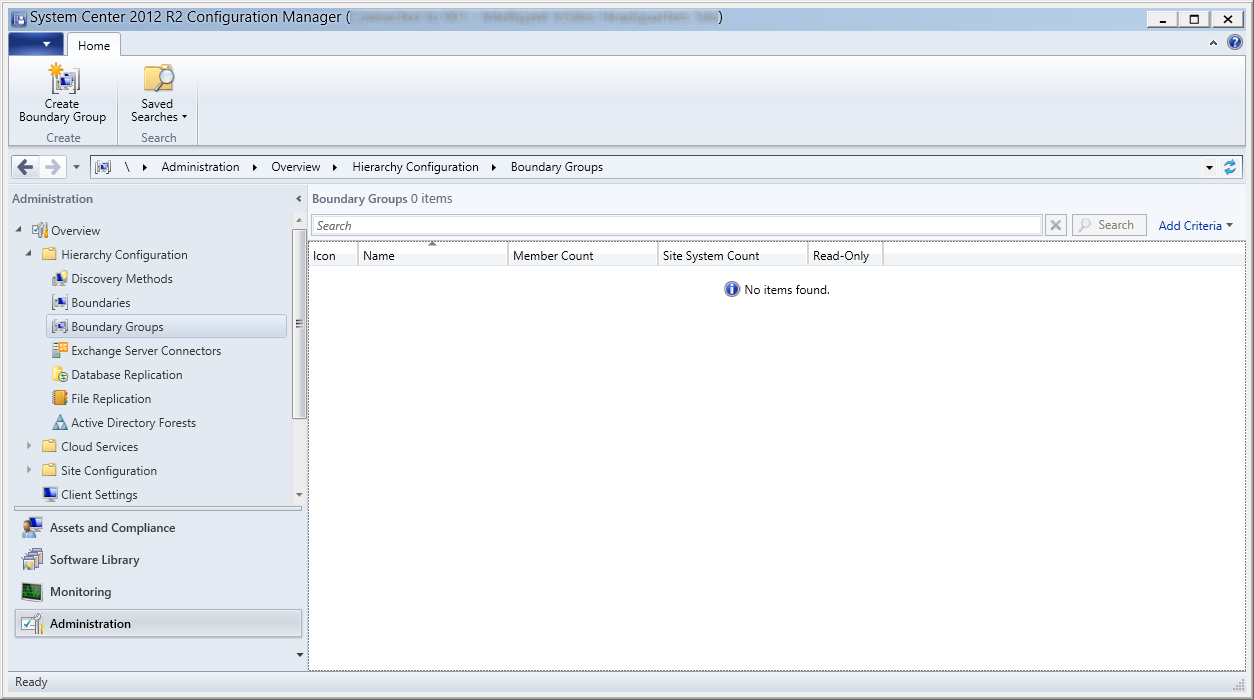
- Click on Boundary Groups
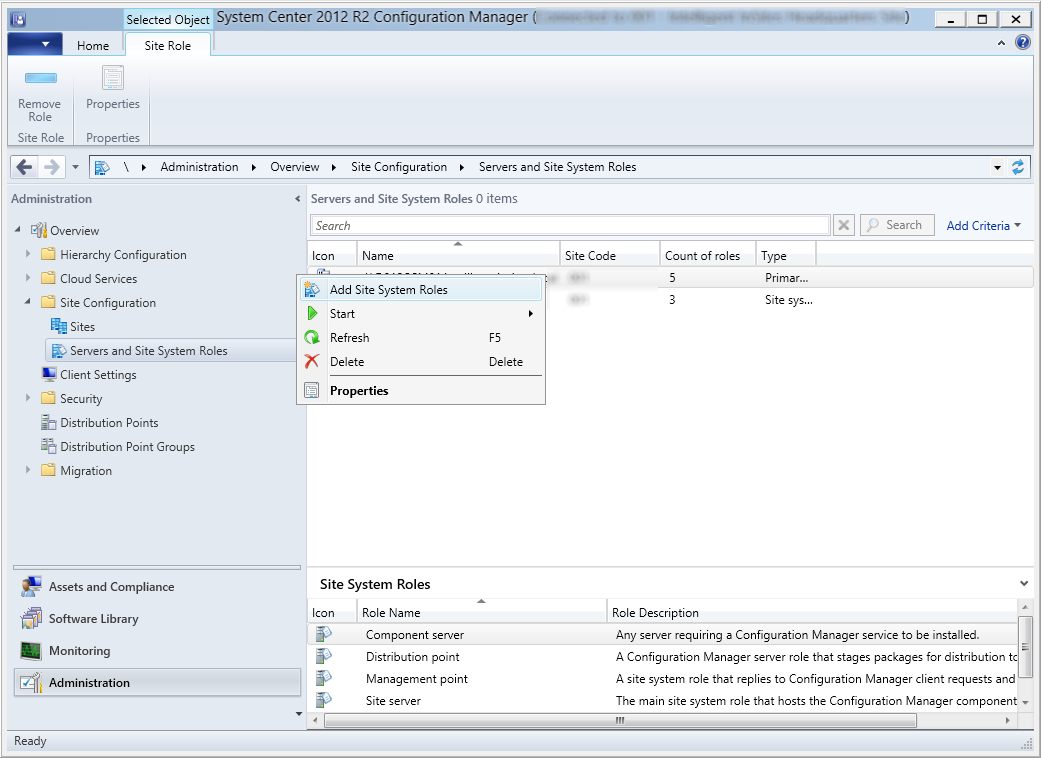
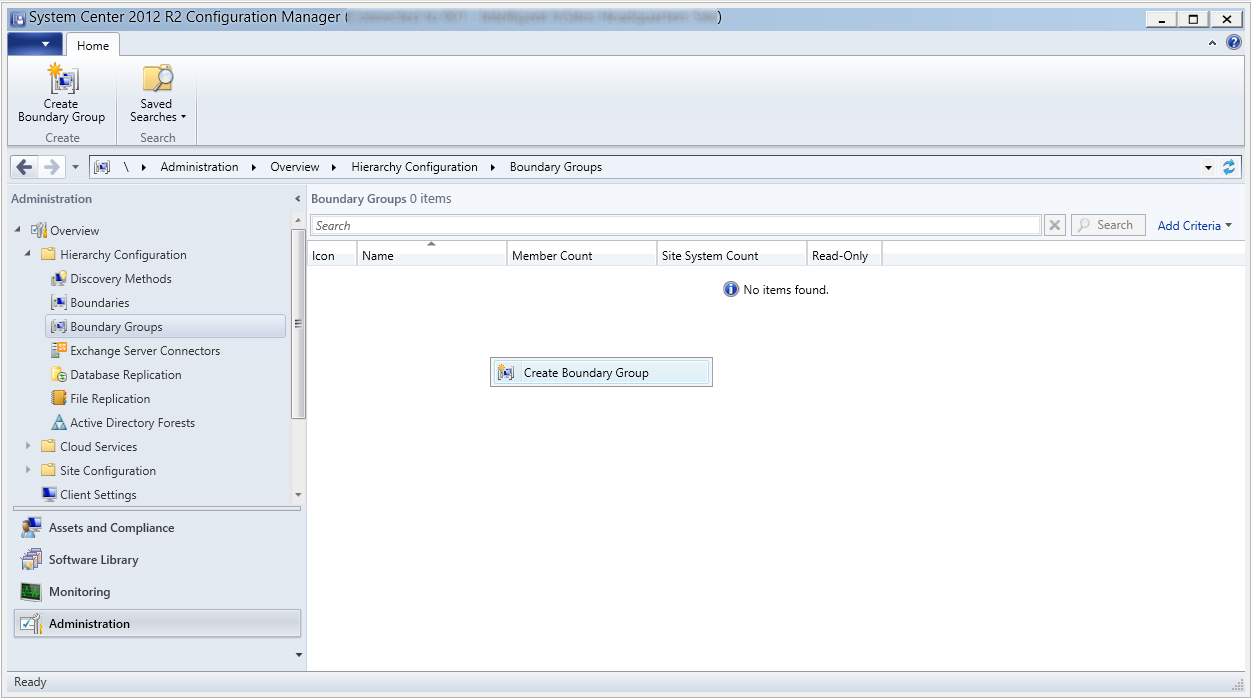
- Right click and select Create Boundary Group
- Enter a Name and Description of the Group
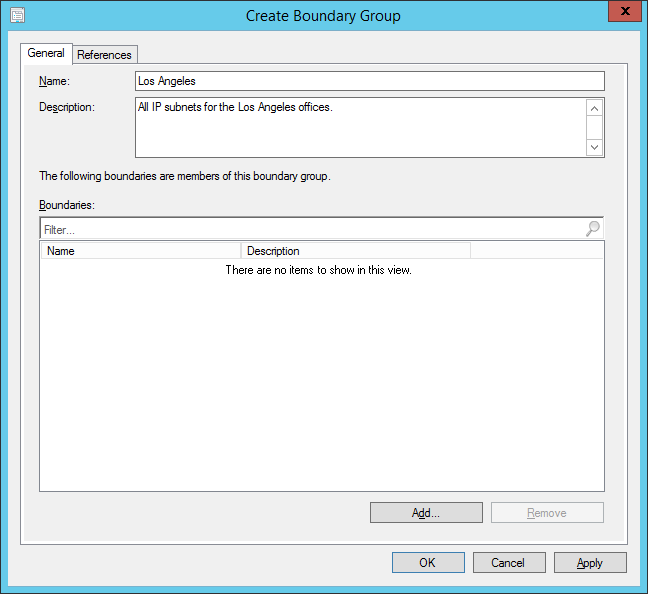
- NOTE: This group should be used grouping related subnets in a geographic area that will receive patches/update/software from a specific server.
- Click the Add... button and select any networks you want to assign to this Boundary Group

- By default, if you enabled the Active Directory Forest Discovery, you should have a network called Default-First-Site-Name in the list. If you are in a larger enterprise, select the subnets relating to the boundary group.
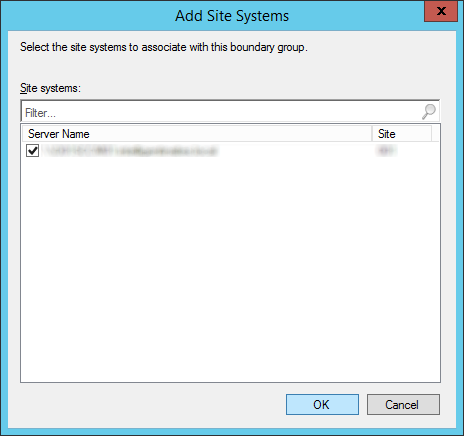
- Click on the References tab, check Use this boundary group for site assignment, and click the Add... button

- Check your site and click OK
- Click OK