Synopsis: This tutorial will cover a basic “upgrade” path to go from Server 2008 R2 to Server 2012 R2. This tutorial assumes you have a single Network Policy Server and you are wishing to reuse the same machine name, IP, and settings. In environments needing high availability, you will need to complete each of the steps below, adding/removing each server being upgraded from your network load balancer.
In a standalone instance, you will experience some downtime as you will have to retire the old machine and setup a new one.
Tutorial
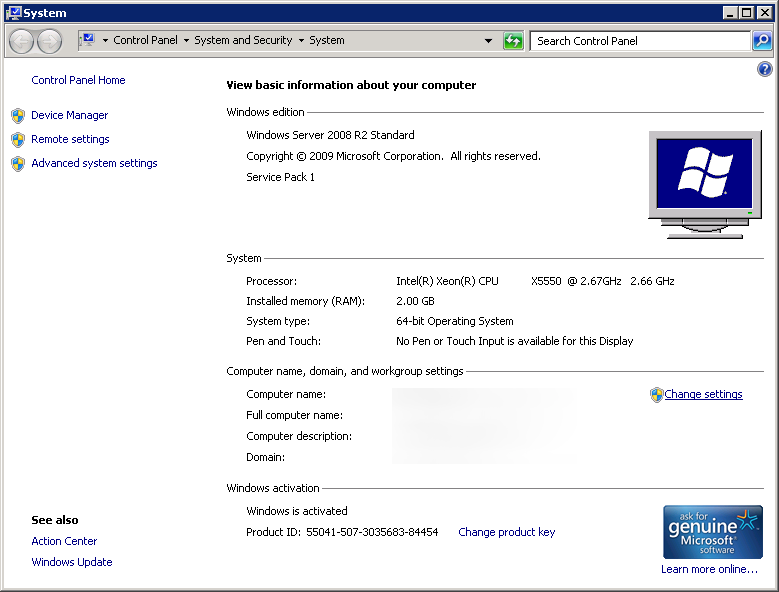
- Login to your Server 2008 R2 NPS server
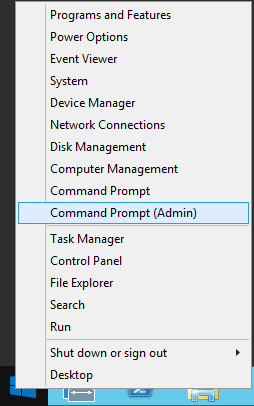
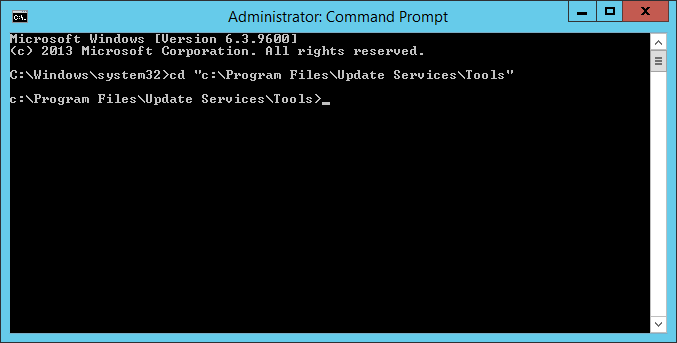
- Open up a command prompt with Administrative Privileges
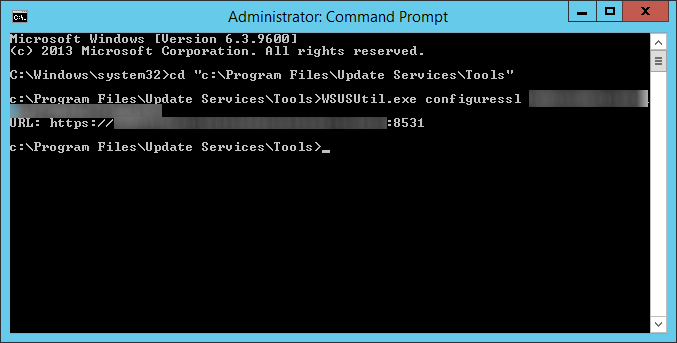
- Execute the following command
- netsh nps export filename=”c:\users\YOURUSERNAME\Desktop\NPS.xml” exportPSK=YES
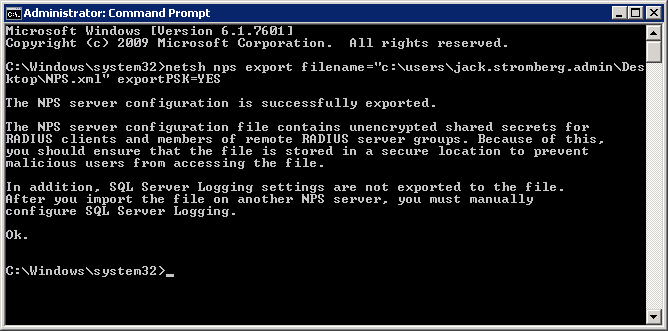
- netsh nps export filename=”c:\users\YOURUSERNAME\Desktop\NPS.xml” exportPSK=YES
- Copy the NPS.xml file to your local machine
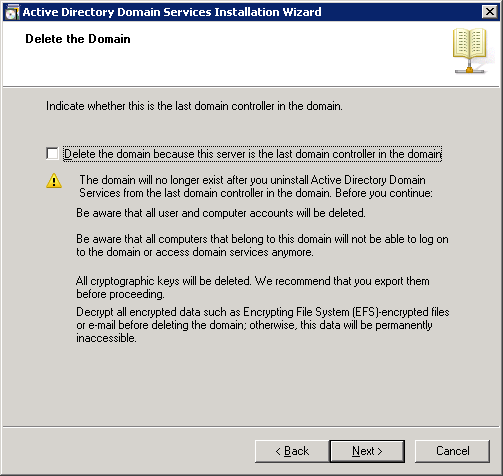
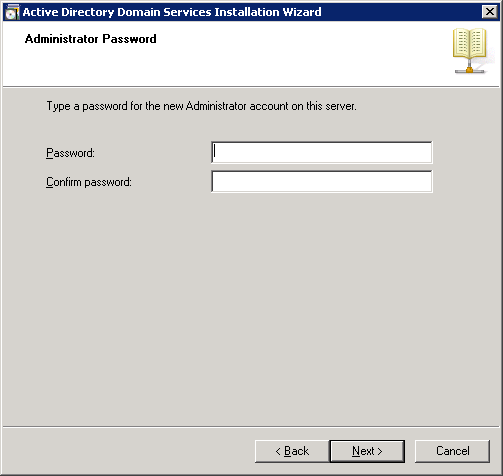
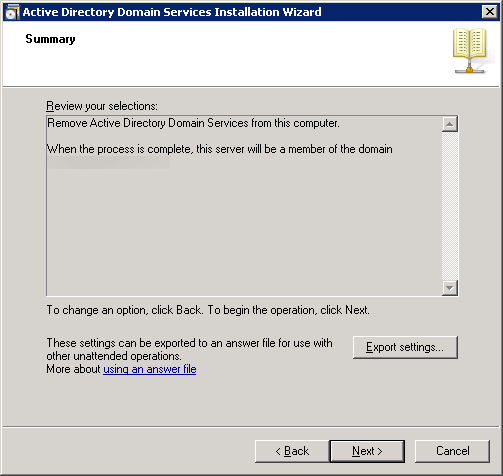
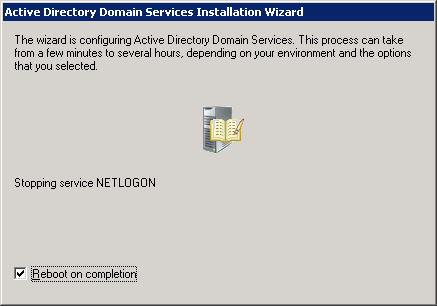
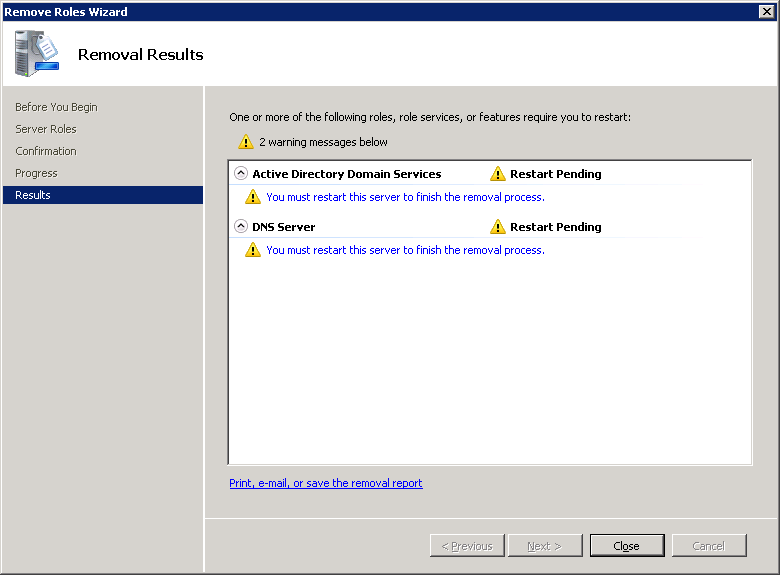
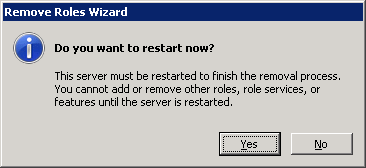
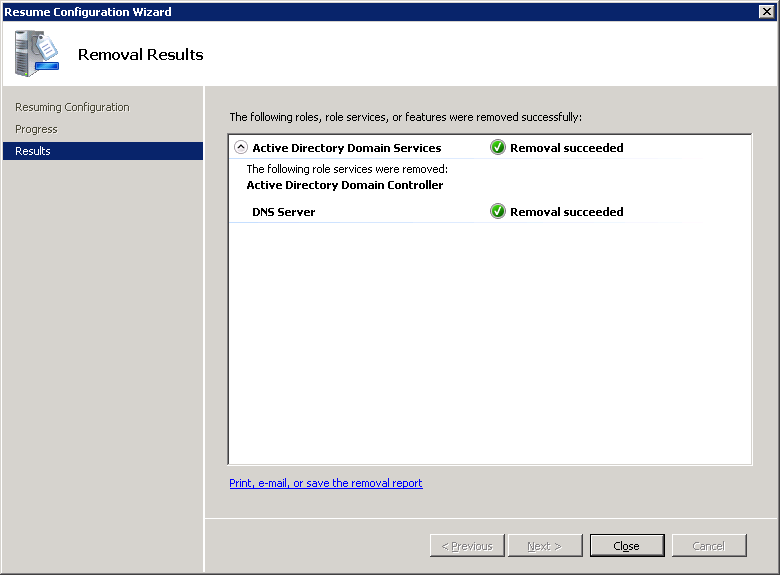
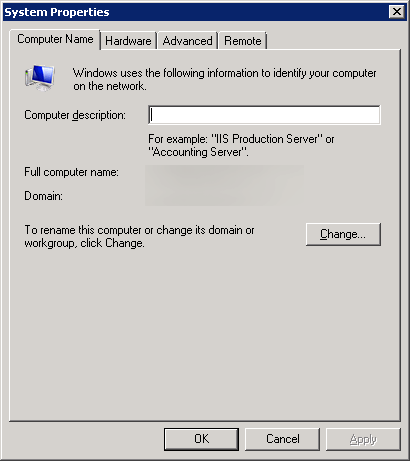
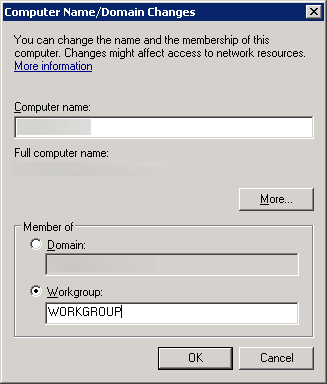
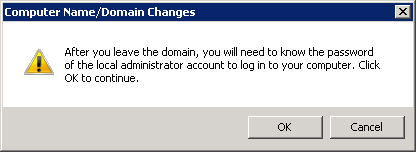
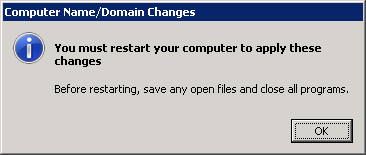
- Disjoin the NPS server from the domain
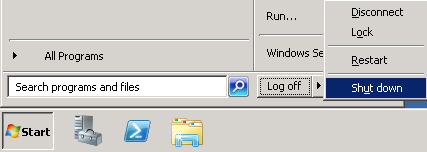
- Retire the machine
- Recreate a new Server 2012 R2 machine with the same name and IP address
- Join the Server 2012 R2 machine to the domain
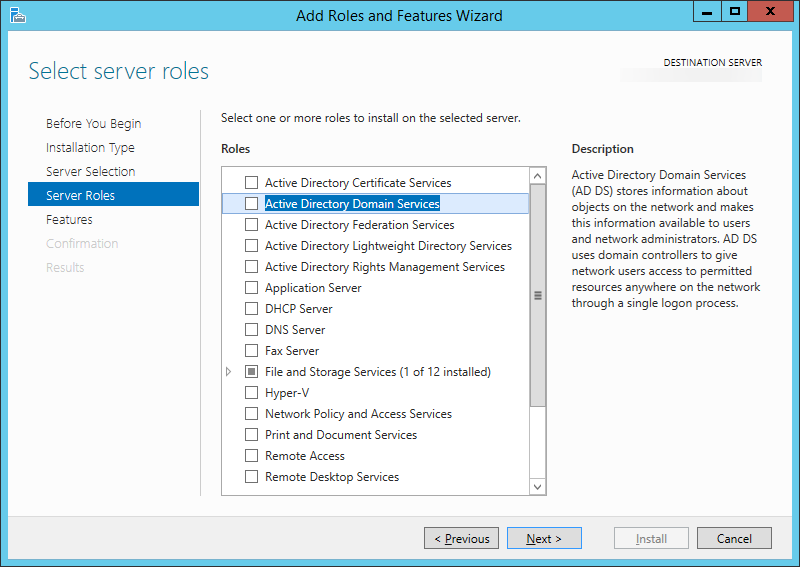
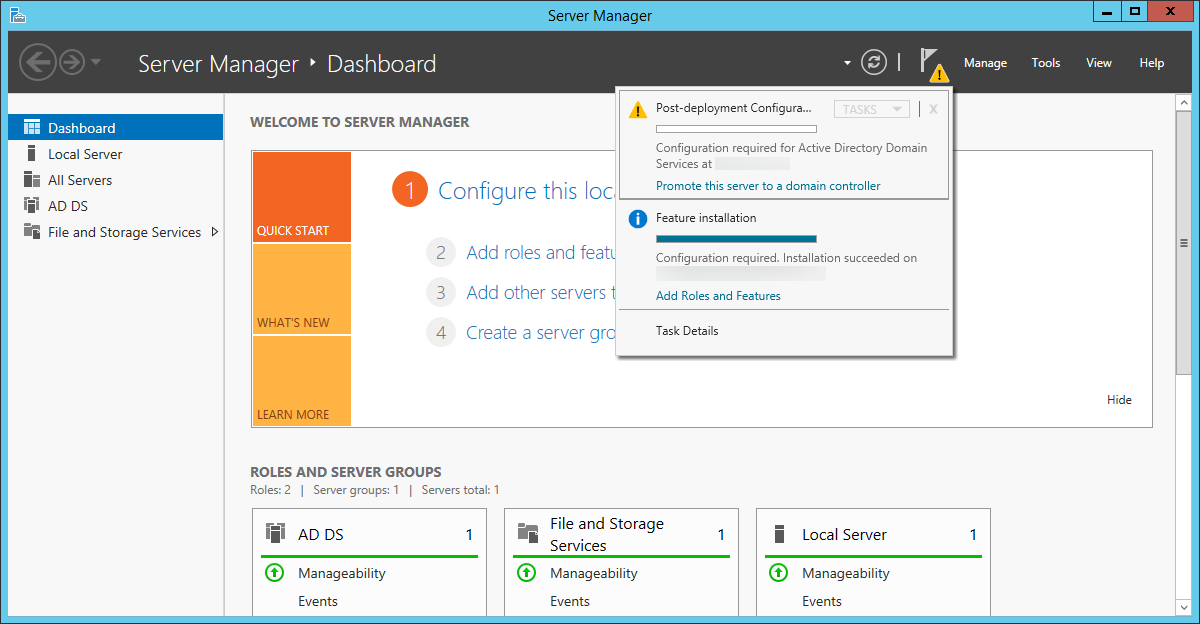
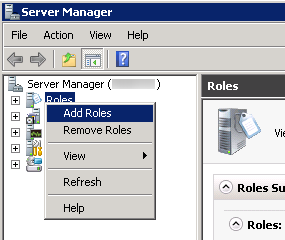
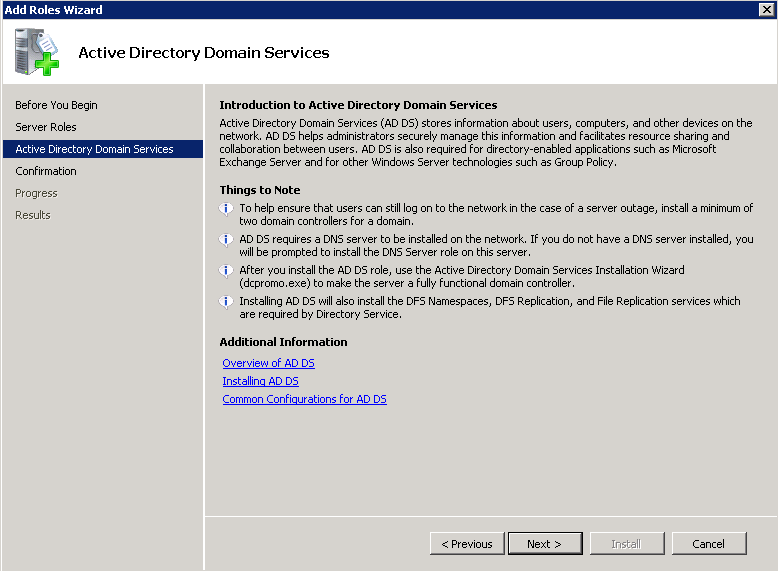
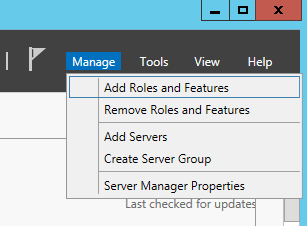
- Open up Server Manager and select Add Roles and Features
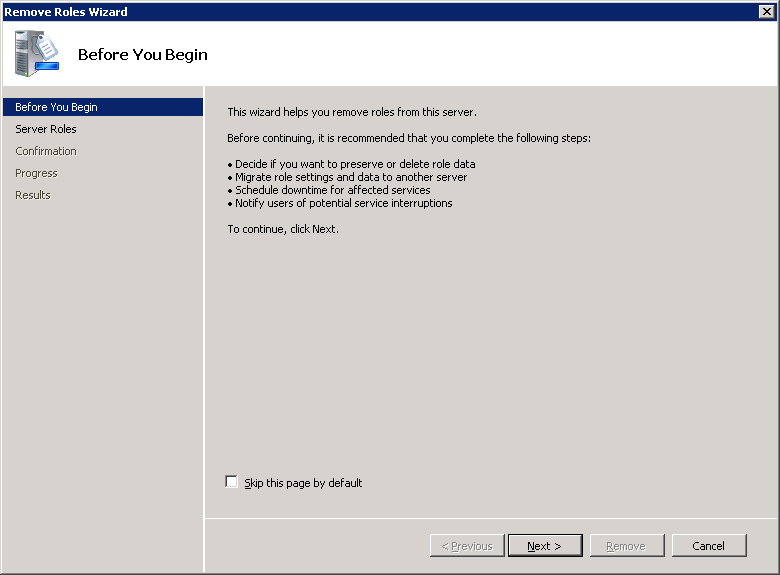
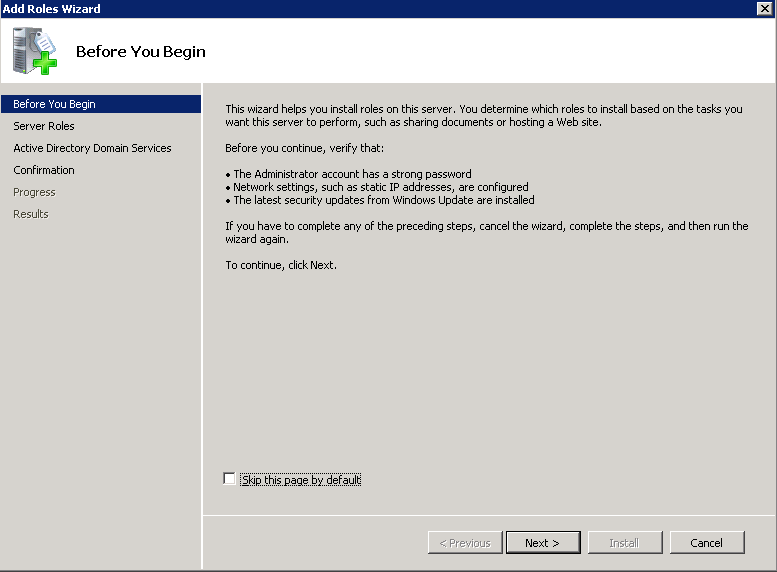
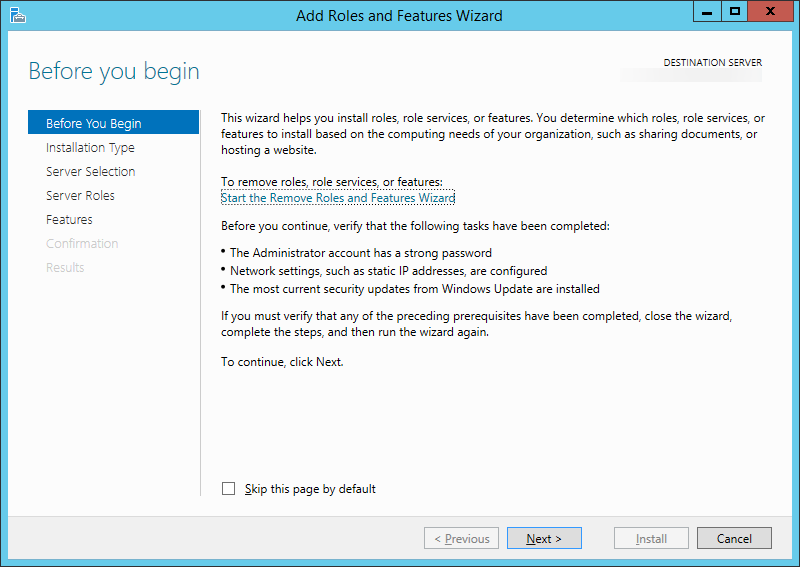
- Click Next > on the Before You Begin screen
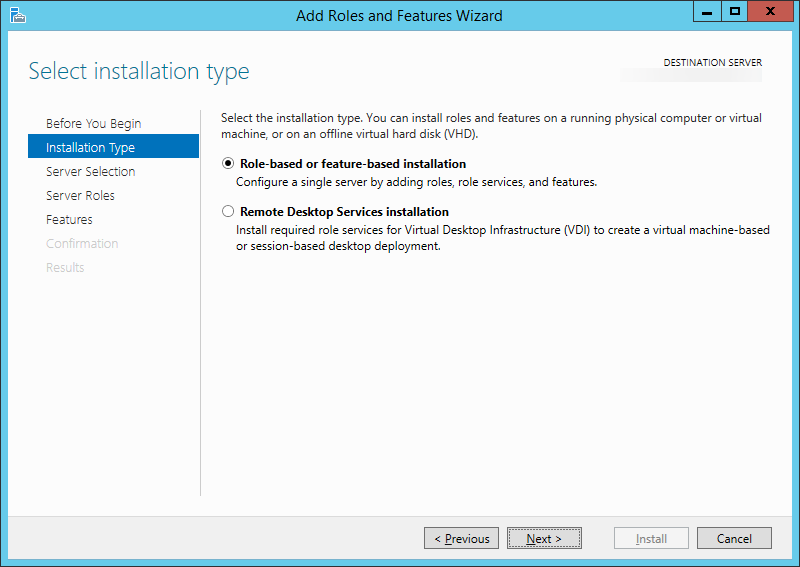
- Click Next > on the Installation Type screen
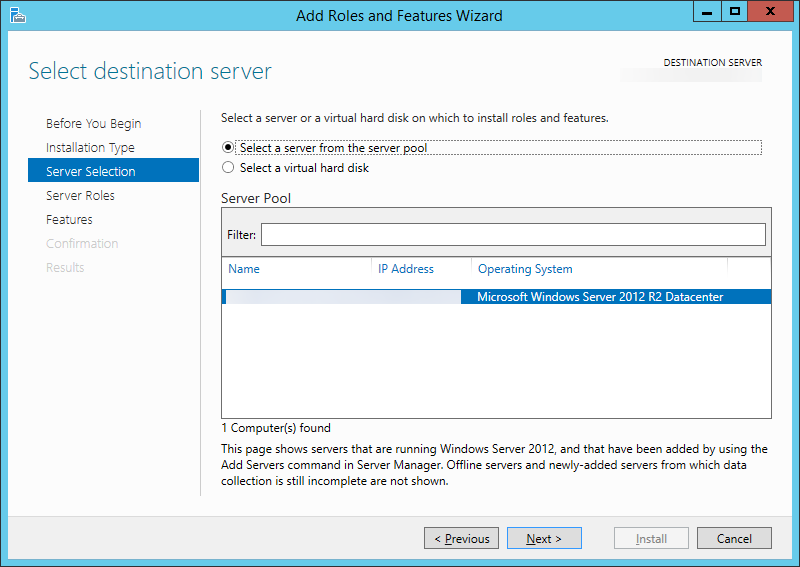
- Click Next > on the Server Selection screen
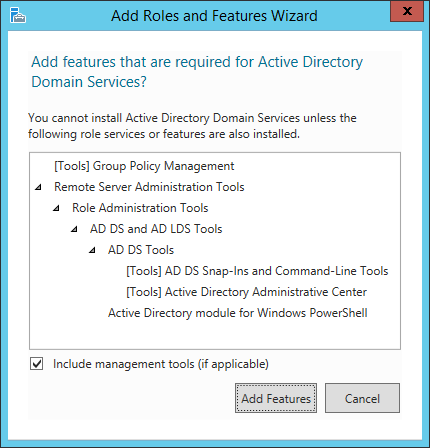
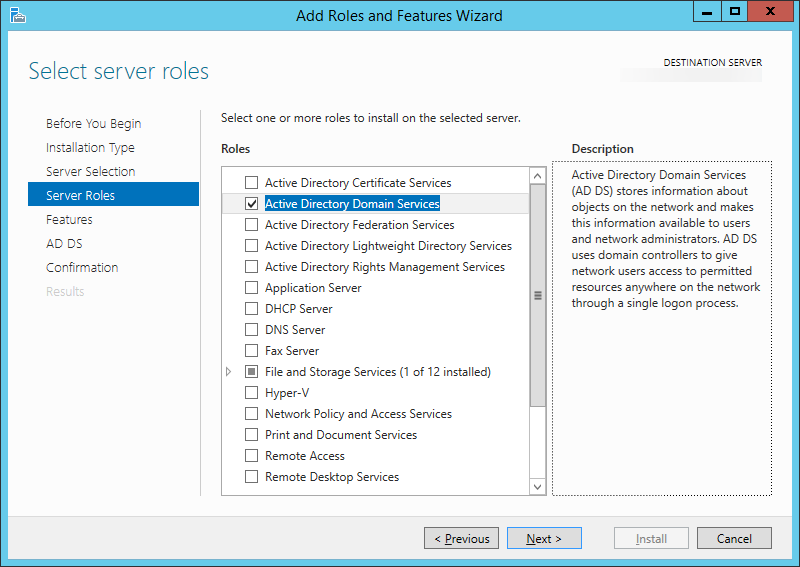
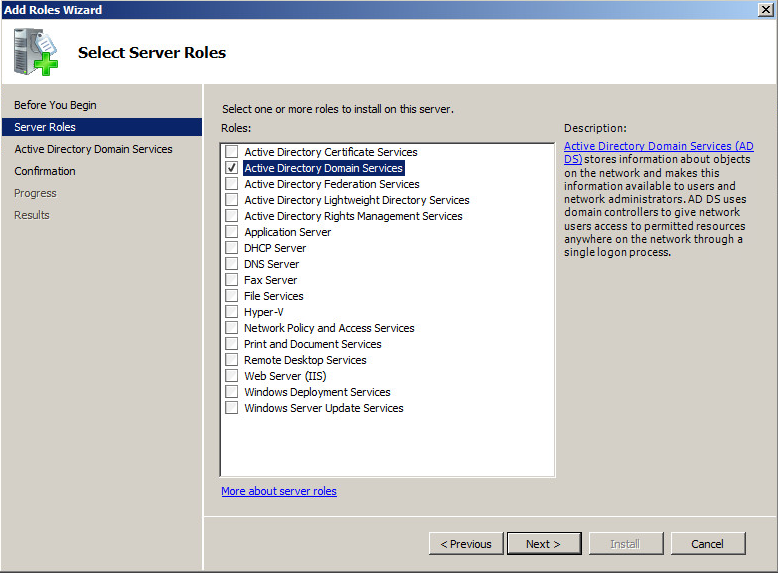
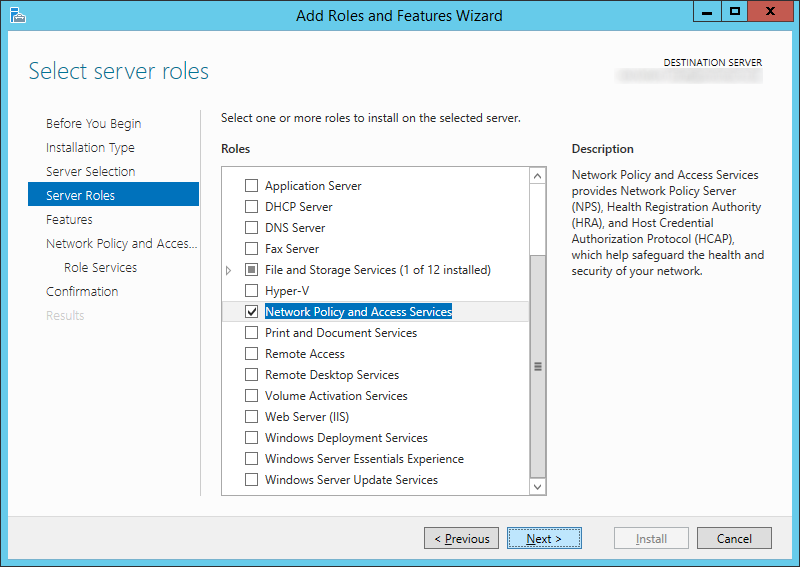
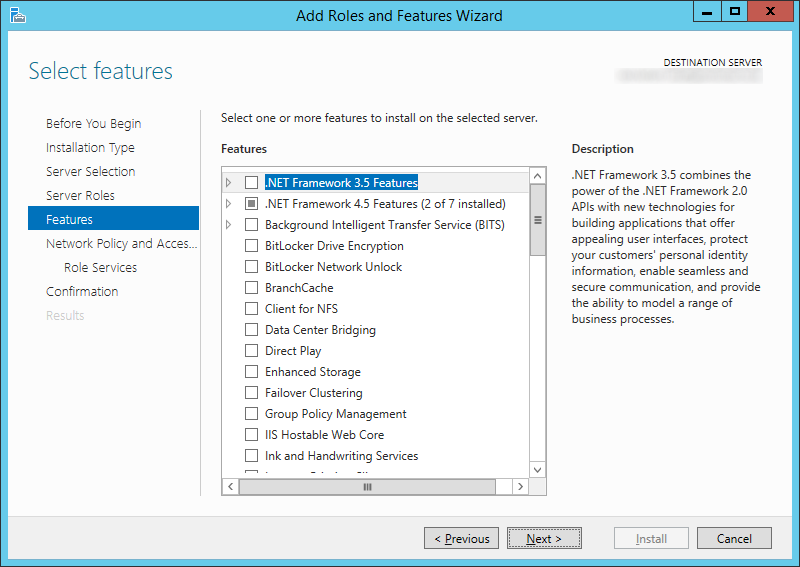
- Check Network Policy and Access Services (click Add Features when the screen pops up)

- Click Next > on the Features screen
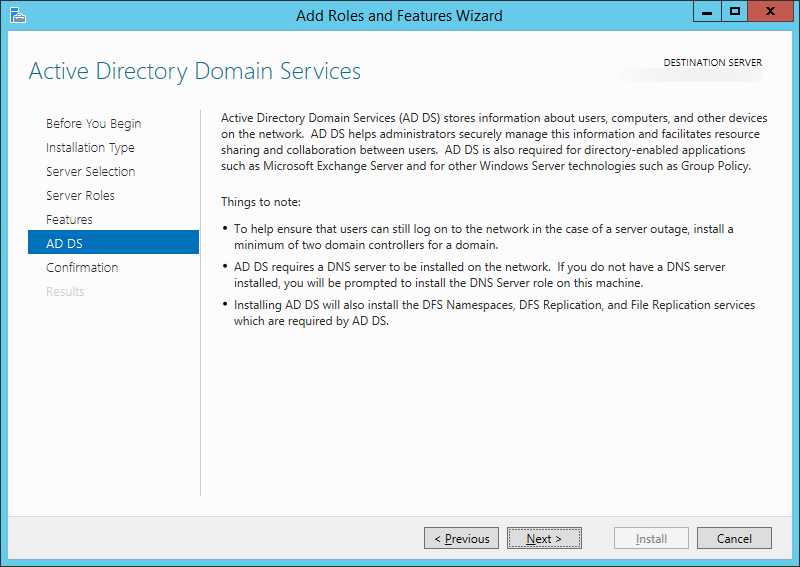
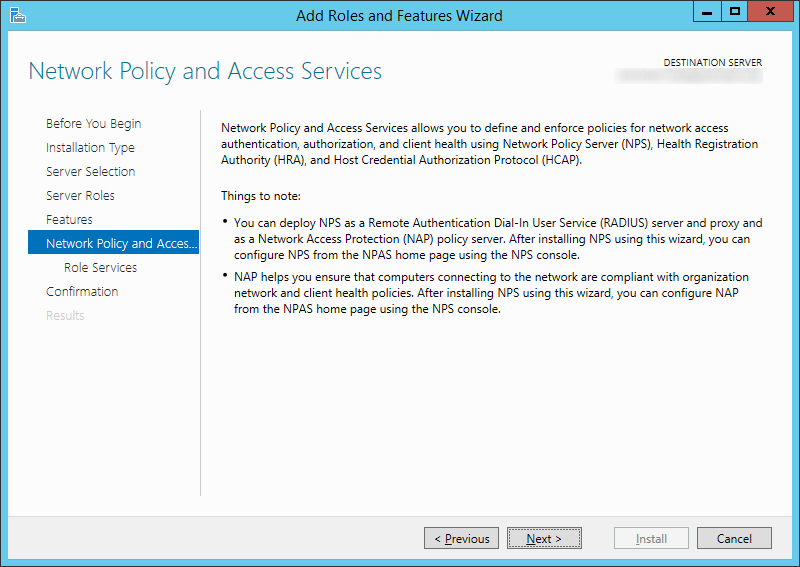
- Click Next > on the Network Policy and Access Services screen
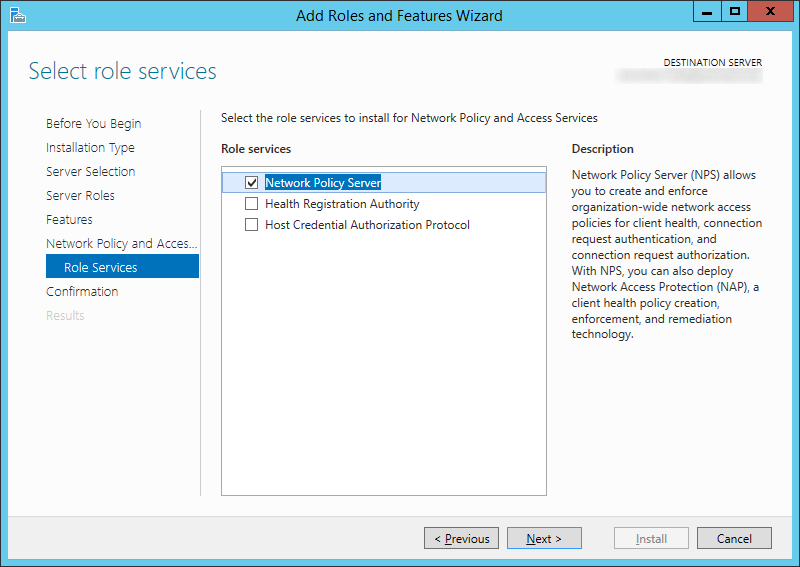
- Check Network Policy Server and click Next >
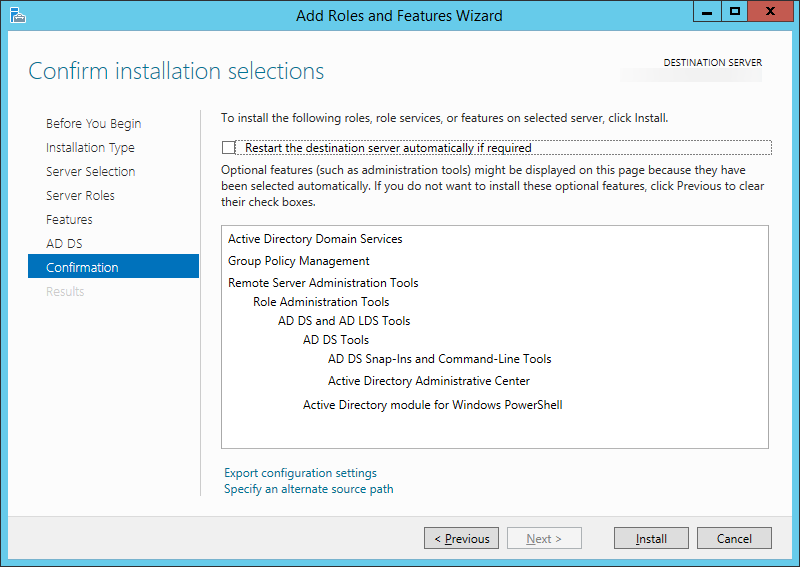
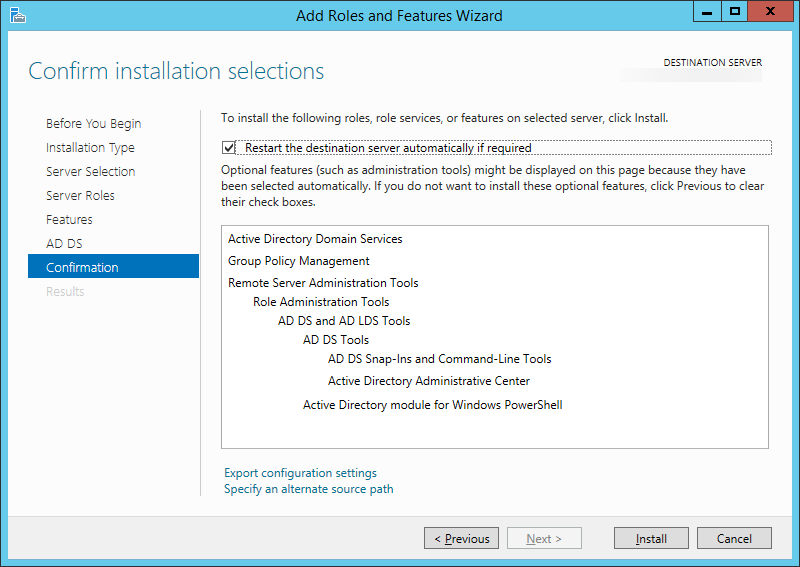
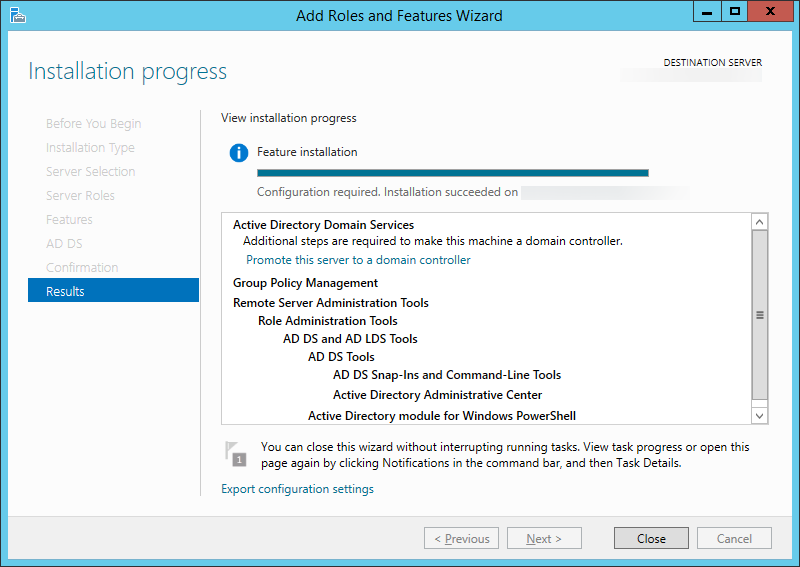
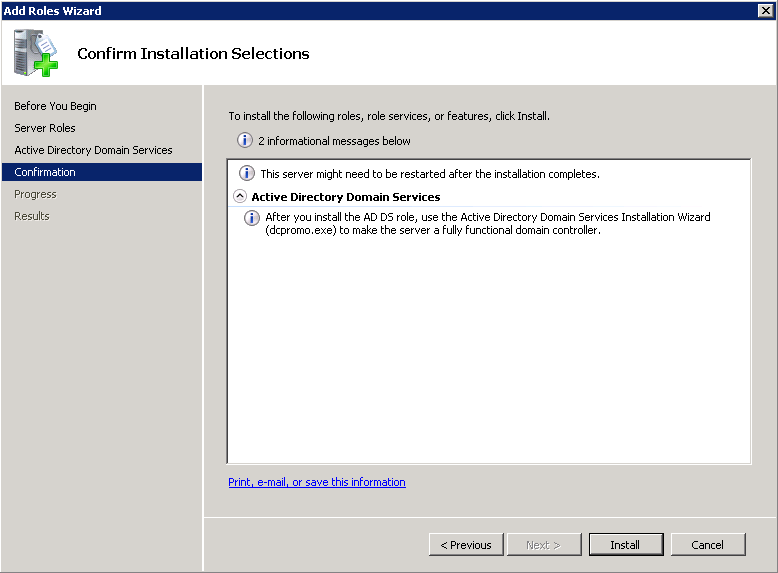
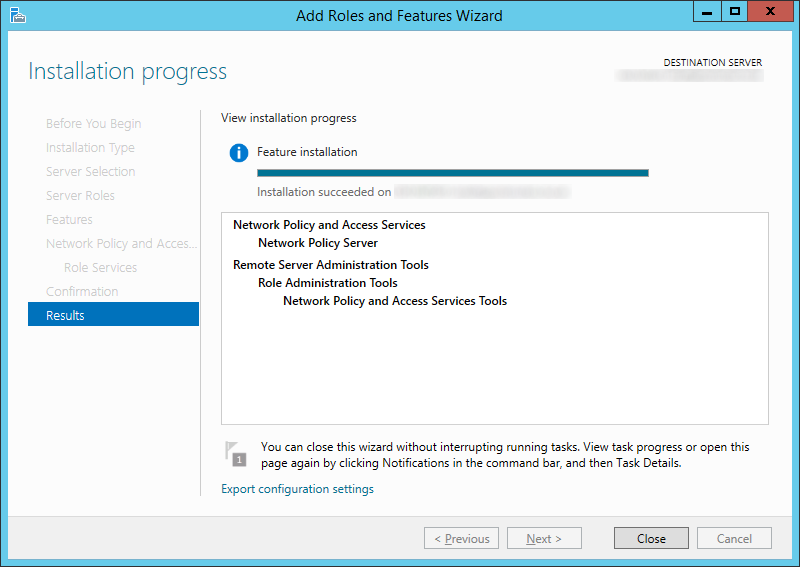
- Click Install
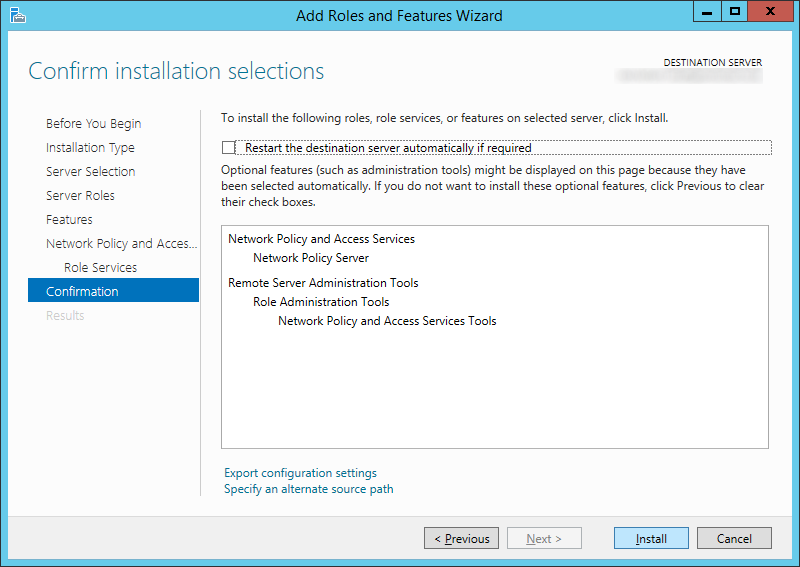
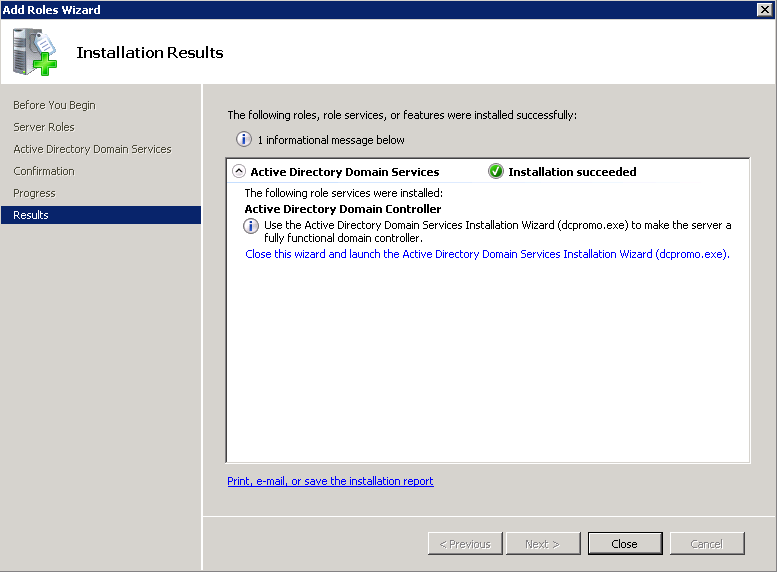
- Click Close once the installation has successfully completed
- Copy over your XML file from the old NPS server to your new Server 2012 R2 NPS server.
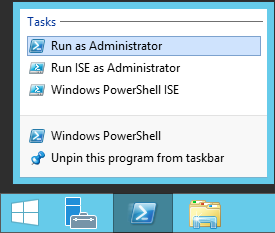
- Open up an administrative powershell prompt
- Execute the following command
- Import-NpsConfiguration -Path c:\users\YOURUSERNAME\Desktop\NPS.xml

- Import-NpsConfiguration -Path c:\users\YOURUSERNAME\Desktop\NPS.xml
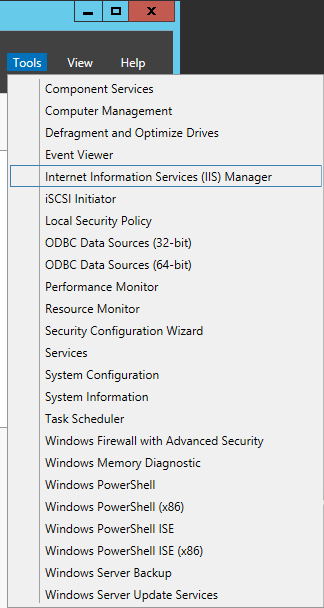
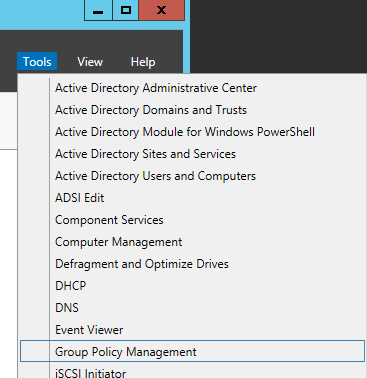
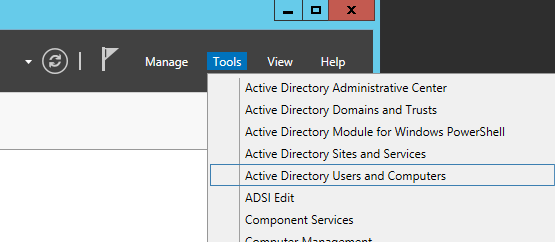
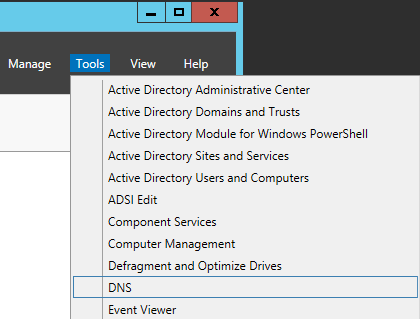
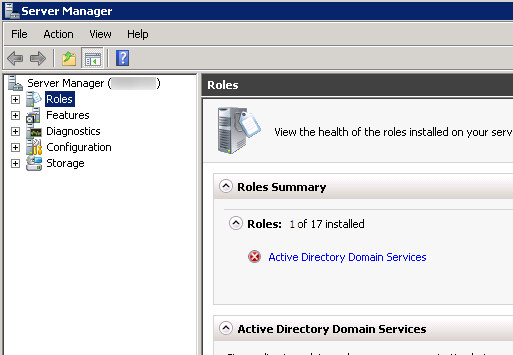
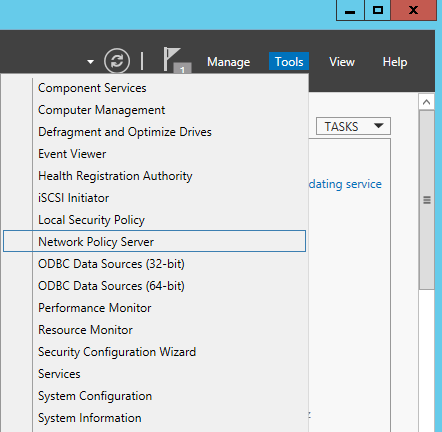
- Head over to Server Manager and select Tools -> Network Policy Server
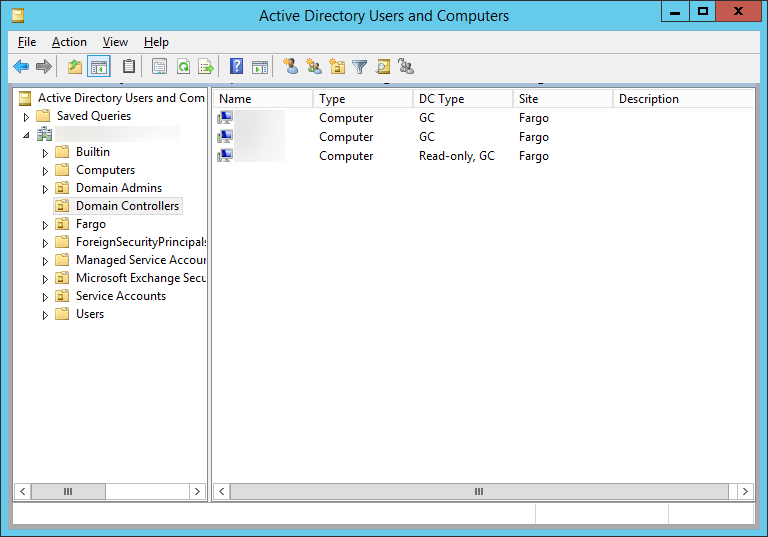
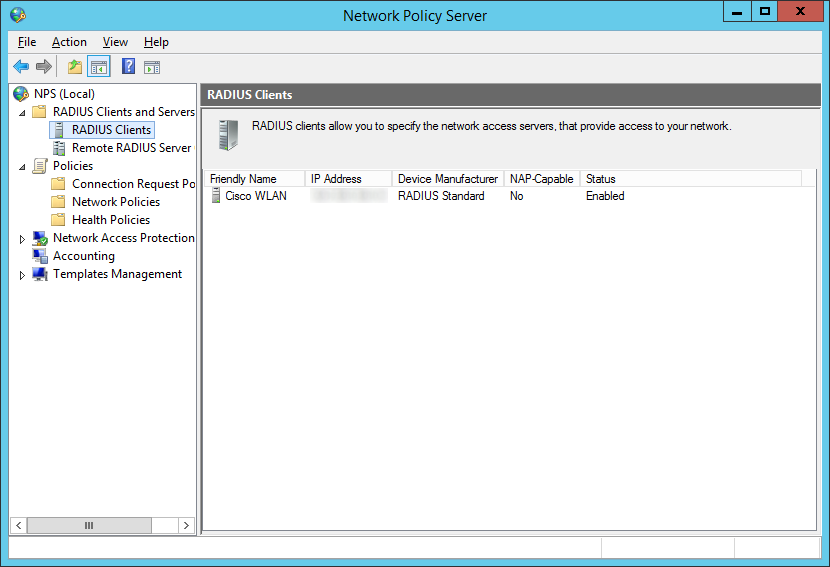
- Verify the rules imported (I selected RADIUS Clients and Servers -> RADIUS Clients to see if it imported my WLAN controller)
- Connect your machine to your wireless network! 🙂