Recently while making changes to group policy, I noticed a slew of issues between clients not accepting the policy. This eventually led me to the discovery that two of the DCs in this particular environment were not replicating properly and were resulting in inconsistent SYSVOL shares.
Symptoms
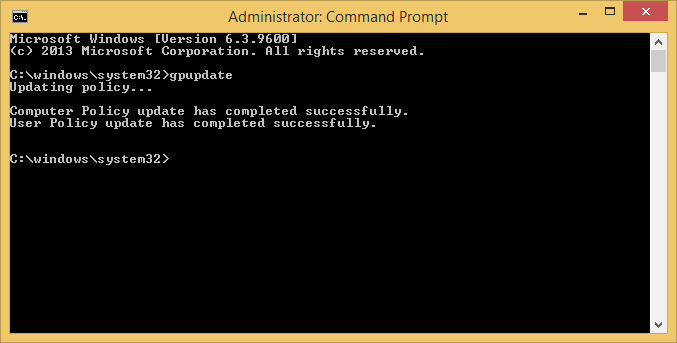
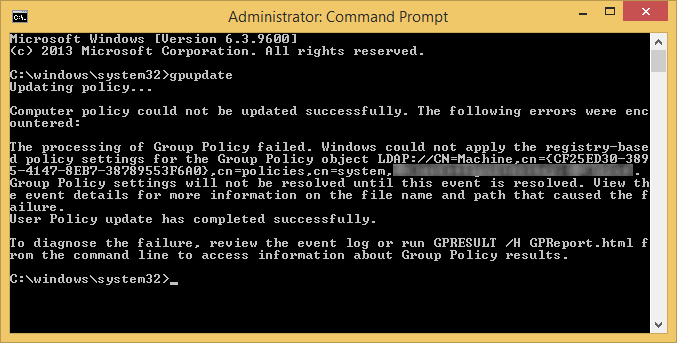
On the clients we were seeing the following errors when executing the gpupdate command:
Event Viewer Logs
Log Name: System
Source: Microsoft-Windows-GroupPolicy
Date: 7/25/2014 10:46:45 AM
Event ID: 1096
Task Category: None
Level: Error
Keywords:
User: SYSTEM
Computer: mymachine.mydomain.local
Description:
The processing of Group Policy failed. Windows could not apply the registry-based policy settings for the Group Policy object LDAP://CN=Machine,cn={CF25ED30-3895-4147-8EB7-38789553F6A0},cn=policies,cn=system,DC=mydomain,DC=local. Group Policy settings will not be resolved until this event is resolved. View the event details for more information on the file name and path that caused the failure.
On the DCs we were seeing the following events inside of Event Viewer -> Applications and Service Logs -> DFS Replication
Log Name: DFS Replication
Source: DFSR
Date: 7/25/2014 1:04:30 PM
Event ID: 4612
Task Category: None
Level: Error
Keywords: Classic
User: N/A
Computer: DC02.mydomain.local
Description:
The DFS Replication service initialized SYSVOL at local path C:\Windows\SYSVOL\domain and is waiting to perform initial replication. The replicated folder will remain in the initial synchronization state until it has replicated with its partner DC01.mydomain.local. If the server was in the process of being promoted to a domain controller, the domain controller will not advertise and function as a domain controller until this issue is resolved. This can occur if the specified partner is also in the initial synchronization state, or if sharing violations are encountered on this server or the sync partner. If this event occurred during the migration of SYSVOL from File Replication service (FRS) to DFS Replication, changes will not replicate out until this issue is resolved. This can cause the SYSVOL folder on this server to become out of sync with other domain controllers.Additional Information:
Replicated Folder Name: SYSVOL Share
Replicated Folder ID: 2276C68D-BC24-46BF-B492-067919163EDA
Replication Group Name: Domain System Volume
Replication Group ID: D50C64AE-0A01-4F97-B838-069F0BCBE369
Member ID: 7ADF2D7C-7947-412C-A619-C0C0D72F6A9C
Read-Only: 0
Log Name: DFS Replication
Source: DFSR
Date: 7/25/2014 1:04:30 PM
Event ID: 5002
Task Category: None
Level: Error
Keywords: Classic
User: N/A
Computer: DC02.mydomain.local
Description:
The DFS Replication service encountered an error communicating with partner DC01 for replication group Domain System Volume.Partner DNS address: DC01.mydomain.local
Optional data if available:
Partner WINS Address: DC01
Partner IP Address: 192.168.1.5The service will retry the connection periodically.
Additional Information:
Error: 1753 (There are no more endpoints available from the endpoint mapper.)
Connection ID: D50C64AE-0A01-4F97-B838-069F0BCBE369
Replication Group ID: 4DCE6A8E-6271-48B6-A0D0-5447718B8FAB
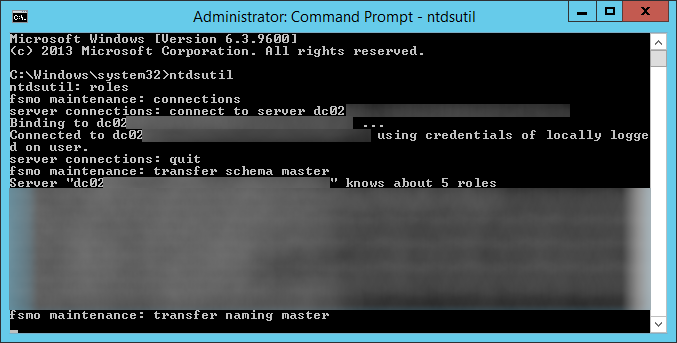
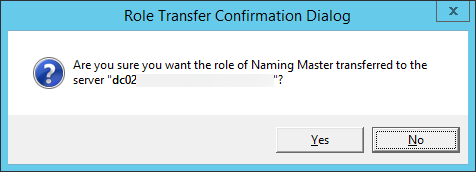
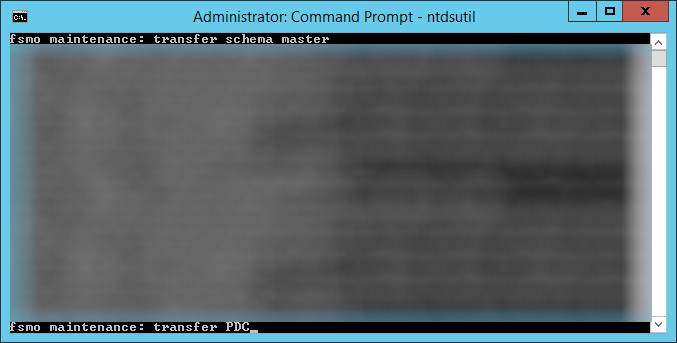
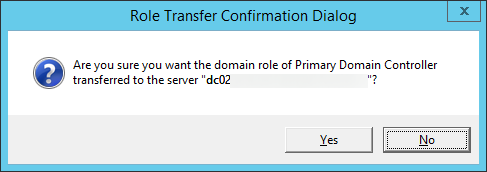
Solution
We ended up having to manually preform an authoritive synchronization between the two DCs. As you may know, DFSR no longer uses the same steps as FSR to do an authoritive sync. Below are my notes and expereinces on completing an authoritive DFSR sync. You can find the ofificial notes from Microsoft here: http://support.microsoft.com/kb/2218556/en-us
- Logon to your primary DC
- Stop the DFS Replication service
- Click on the Start menu, select Administrative Tools, and then click Services
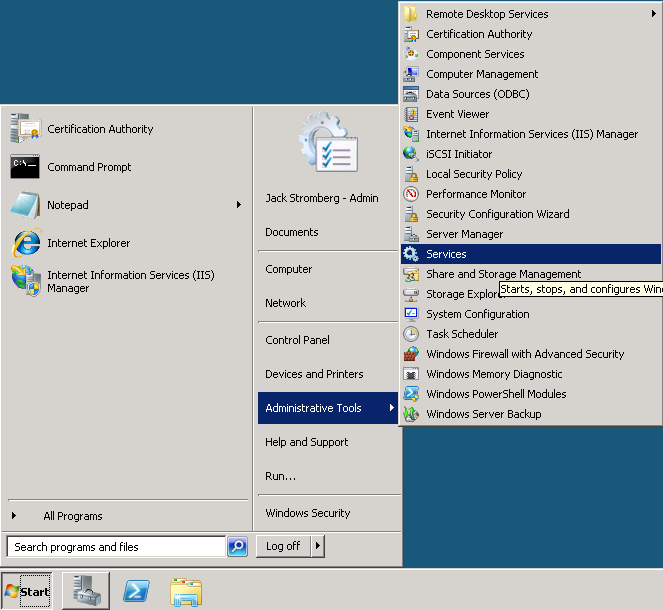
- In the Name column, right-click DFS Replication or Netlogon, and then click Stop
- Click on the Start menu, select Administrative Tools, and then click Services
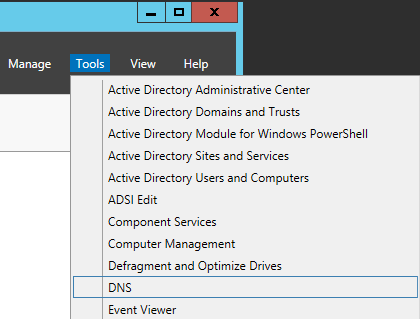
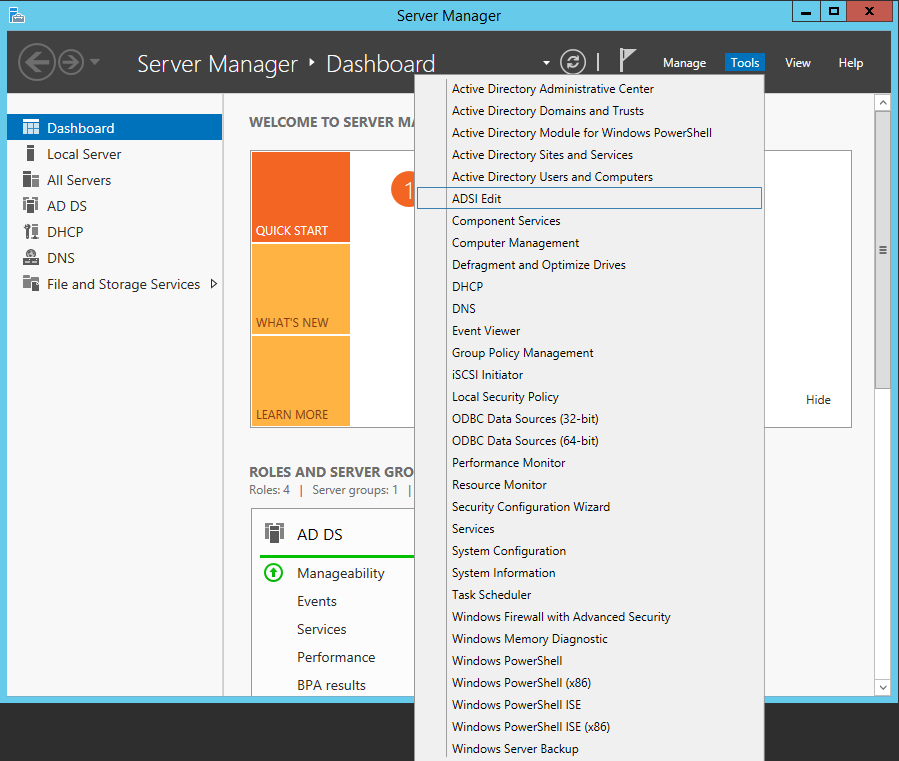
- Open up ADSI Edit
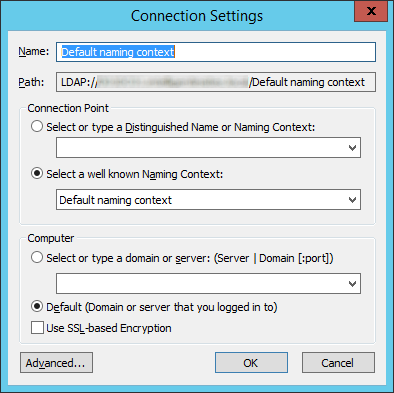
- Open up the Default naming context
- Navigate to the following
- CN=SYSVOL Subscription,CN=Domain System Volume,CN=DFSR-LocalSettings,CN=<the server name to replicate from>,OU=Domain Controllers,DC=<domain>
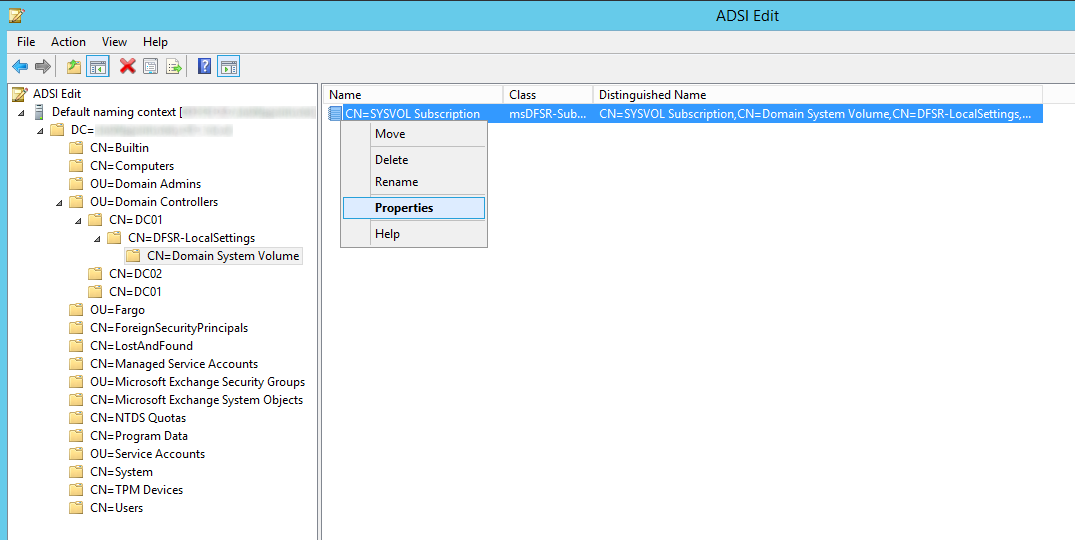
- CN=SYSVOL Subscription,CN=Domain System Volume,CN=DFSR-LocalSettings,CN=<the server name to replicate from>,OU=Domain Controllers,DC=<domain>
- Change the following attributes to the following values
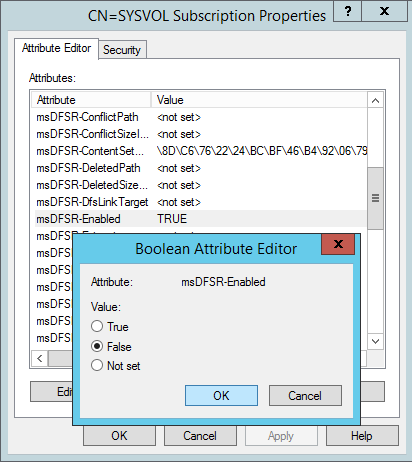
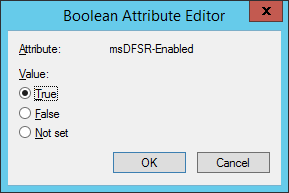
- msDFSR-Enabled=FALSE
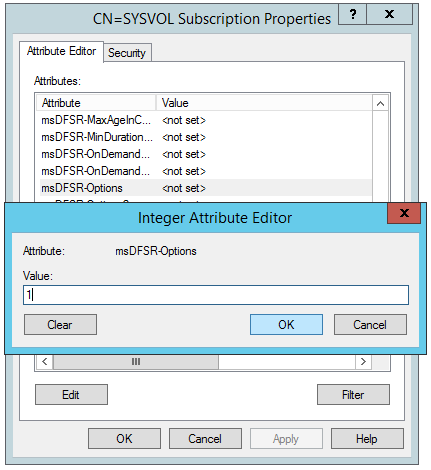
msDFSR-options=1
Both values applied

- Note: If you cannot see msDFSR-options, uncheck Show only attributes that have values
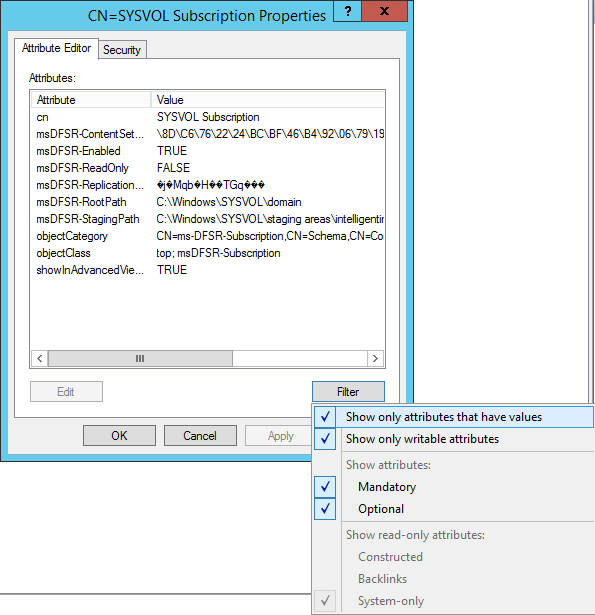
- Note: If you cannot see msDFSR-options, uncheck Show only attributes that have values
- msDFSR-Enabled=FALSE
- On the ALL other DCs, change the msDFSR-Enabled attribute to False
- Force Active Directory replication throughout the domain (ensure all sync resposnes terminate with no errors).
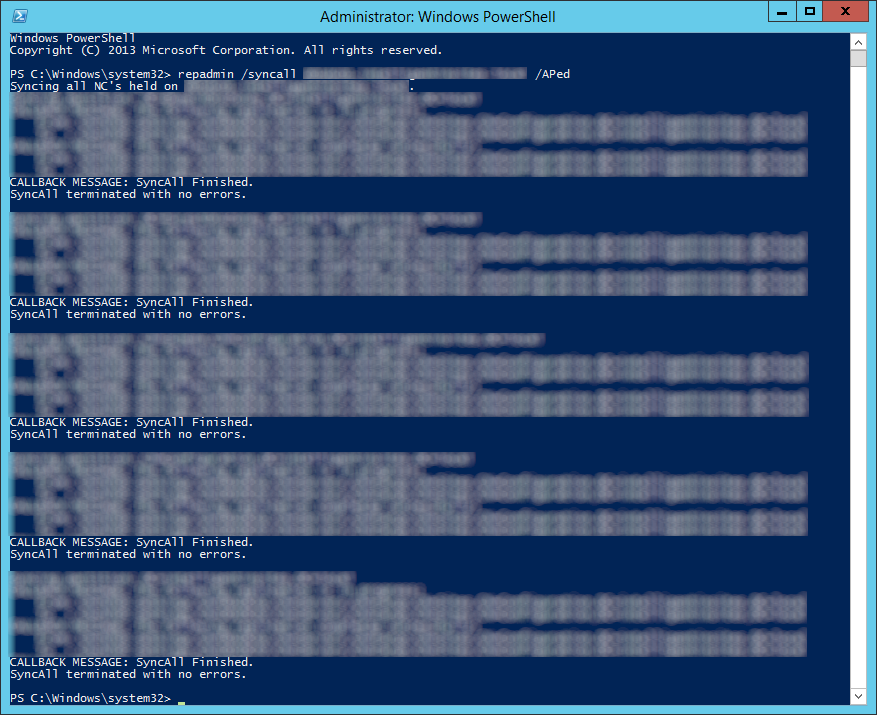
- repadmin /syncall primary_dc_name /APed
- NOTE: Here is a list of what the switches mean
- /A: Perform /SyncAll for all NC's held by <Dest DSA> (ignores <Naming Context>)
- /P: Push changes outward from home server (default: pull changes)
- /e: Enterprise, cross sites (default: only home site)
- /d: ID servers by DN in messages (instead of GUID DNS)
- NOTE: Here is a list of what the switches mean
- repadmin /syncall primary_dc_name /APed
- Start the DFSR service back up on the authoritive DC
- Click on the Start menu, select Administrative Tools, and then click Services
- In the Name column, right-click DFS Replication or Netlogon, and then click Start
- Click on the Start menu, select Administrative Tools, and then click Services
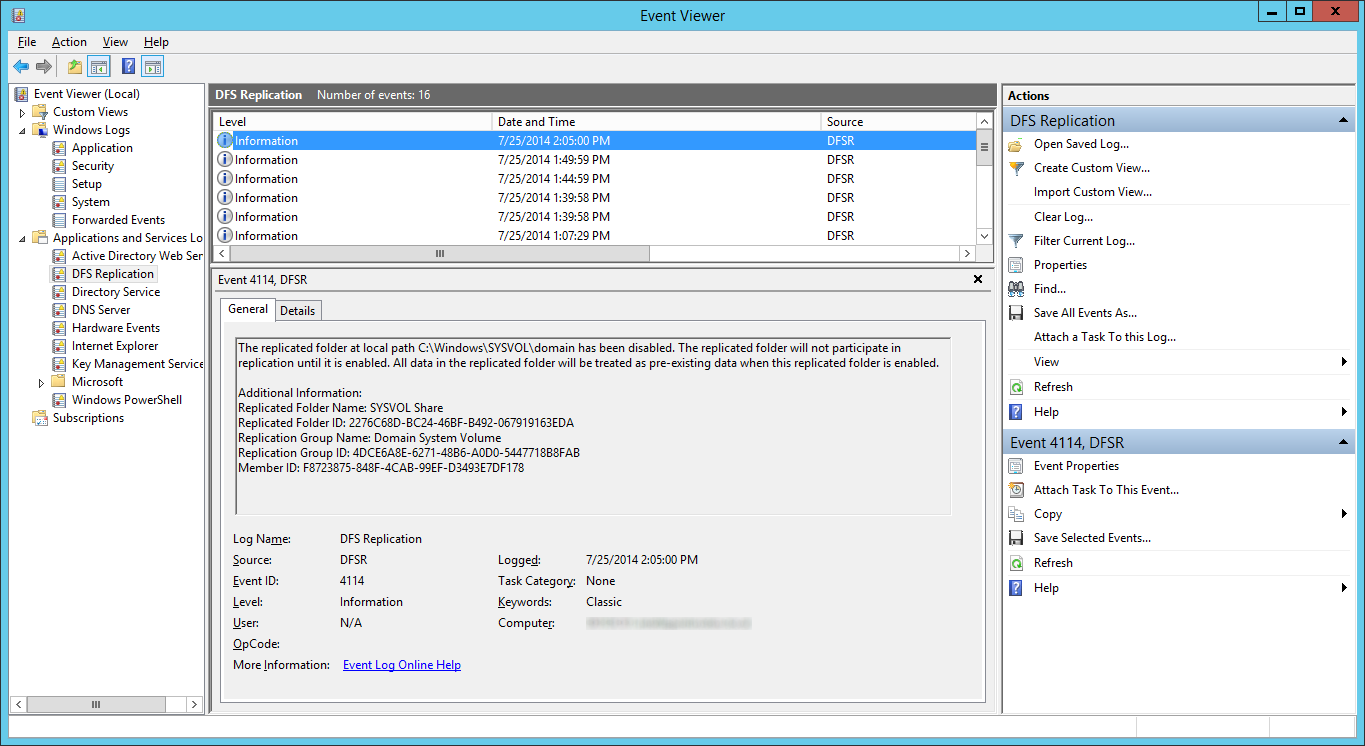
- Open up event viewer and navigate to Applications and Services Logs -> DFS Replication. Verify you see Event ID 4114.
- Navigate back to the following in ADSI
-
- CN=SYSVOL Subscription,CN=Domain System Volume,CN=DFSR-LocalSettings,CN=<the server name to replicate from>,OU=Domain Controllers,DC=<domain>
- CN=SYSVOL Subscription,CN=Domain System Volume,CN=DFSR-LocalSettings,CN=<the server name to replicate from>,OU=Domain Controllers,DC=<domain>
-
- Set the value of msDFSR-Enabled to TRUE
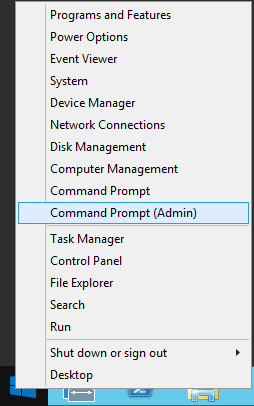
- Execute the following via an elevated command prompt
- DFSRDIAG POLLAD
- NOTE: This is a utility apart of DFS Managment Tools. I completed the guide successfully without running this command, but Microsoft recommends you do run this command.
- DFSRDIAG POLLAD
- Force Active Directory replication throughout the domain
- repadmin /syncall primary_dc_name /APed
- repadmin /syncall primary_dc_name /APed
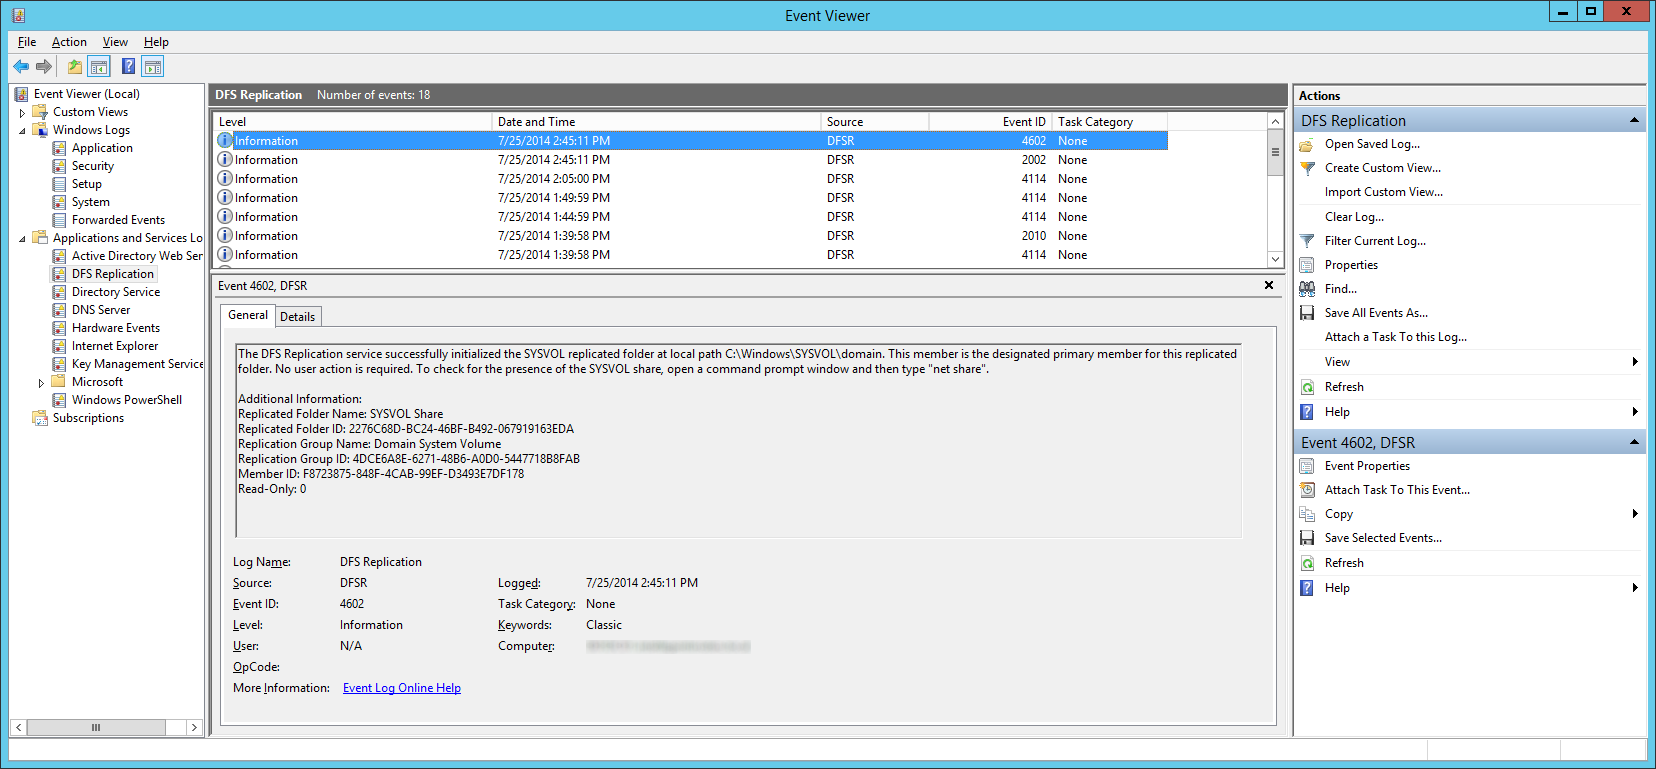
- Wait a few minutes and you should see Event ID 2002 and 4602
- Navigate back to each of your secondary DCs and change the value of msDFSR-Enabled to TRUE
- Execute the following via an elevated command prompt
- DFSRDIAG POLLAD
- NOTE: This is a utility apart of DFS Managment Tools. I completed the guide successfully without running this command, but Microsoft recommends you do run this command. Force Active Directory replication throughout the domain
- DFSRDIAG POLLAD
- Verify you see Event ID 2002 and 4602 on each of the secondary DCs
At this point, try running a gpupdate on your client. If all has gone well, each of your shared SYSVOL folders on your DCs should contain the same amount of policies and your client should successfully pull down all policies.