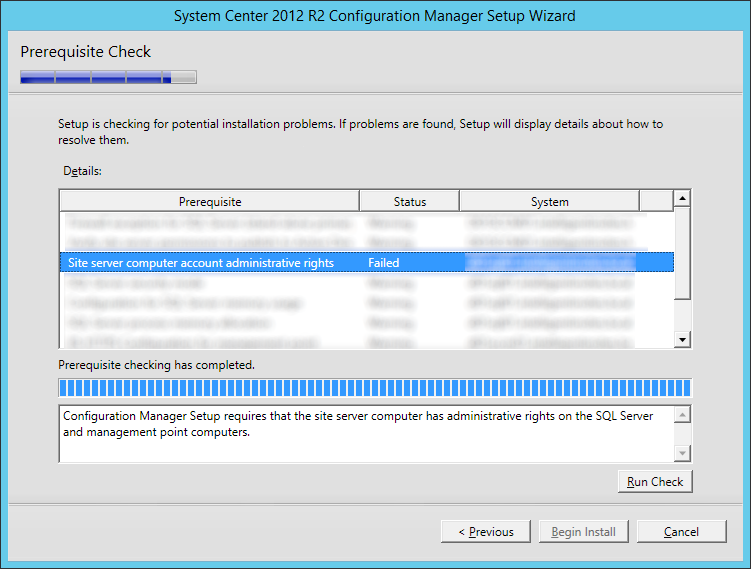
This guide is in continuation to my guide on deploying system center 2012 r2 configuration manager, as found here.
In this tutorial, we will cover basic deployment/configuration of Endpoint Protection to client workstations. This tutorial is largly based off of user anyweb’s guide on windows-noob.com Make sure to give him some credit over on his forum 🙂 Adding the Endpoint Protection role, configure Alerts and custom Antimalware Policies
Definition
Per the following Technet article (http://technet.microsoft.com/en-us/library/hh508781.aspx) Endpoint Protection in System Center 2012 Configuration Manager provides security, antimalware, and Windows Firewall management for computers in your enterprise.
When you use Endpoint Protection with Configuration Manager, you have the following benefits:
- You can configure antimalware policies and Windows Firewall settings to selected groups of computers, by using custom antimalware policies and client settings.
- You can use Configuration Manager software updates to download the latest antimalware definition files to keep client computers up-to-date.
- You can send email notifications, use in-console monitoring, and view reports to keep administrative users informed when malware is detected on client computers.
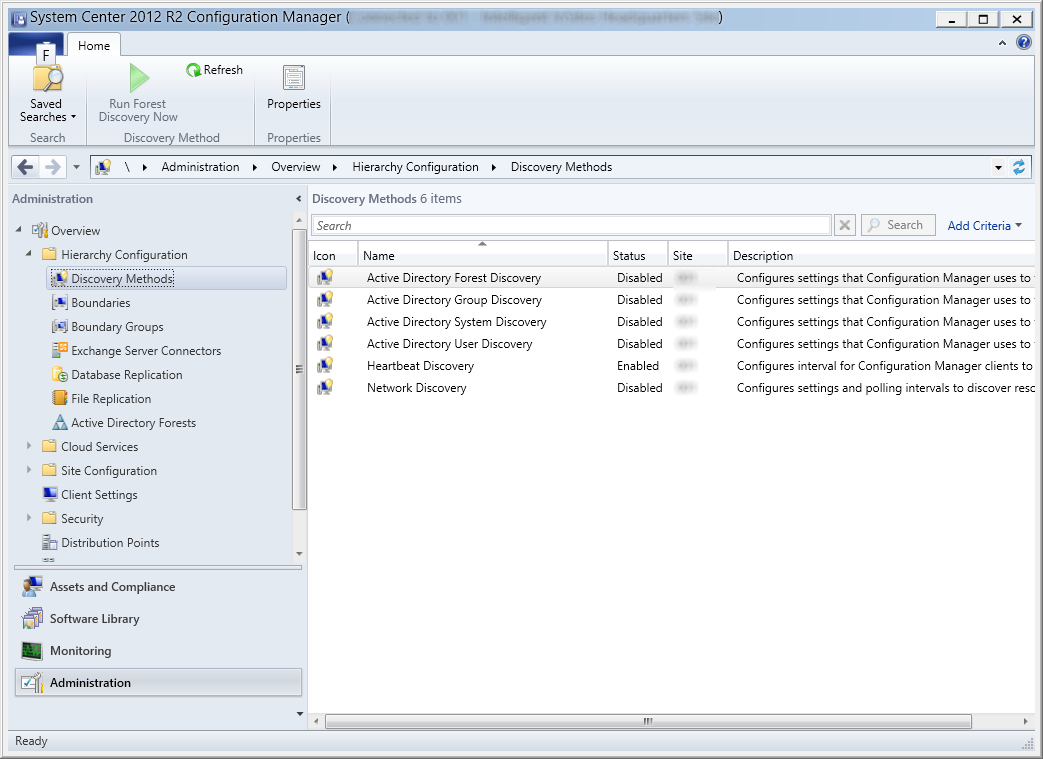
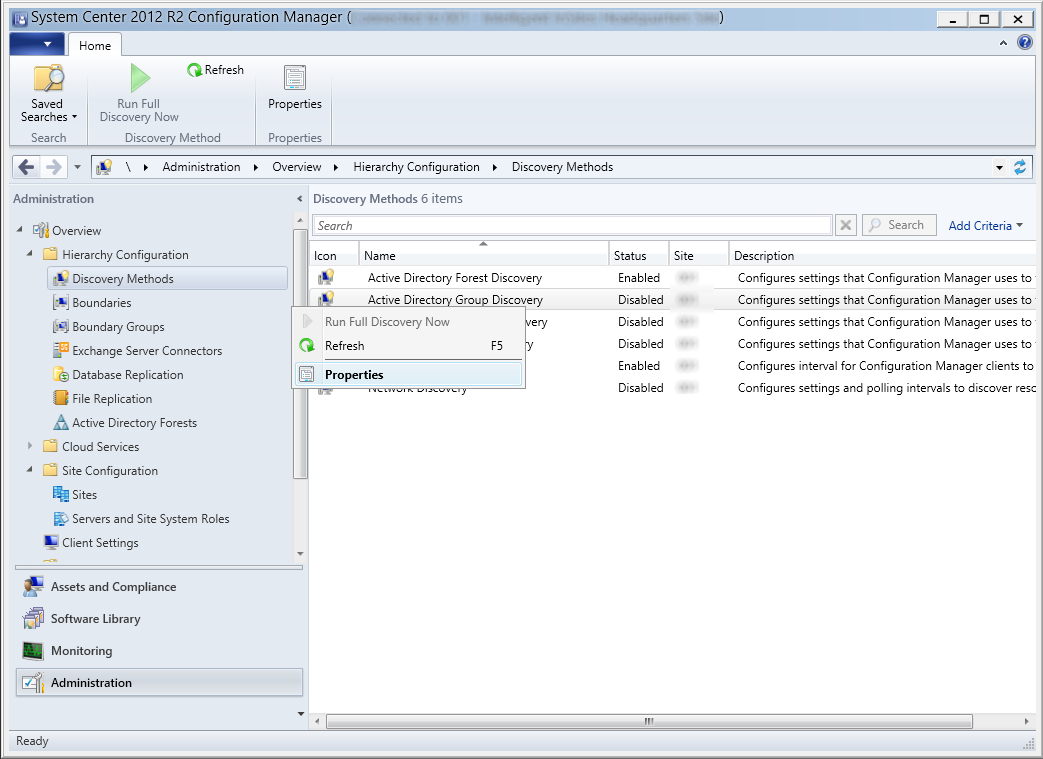
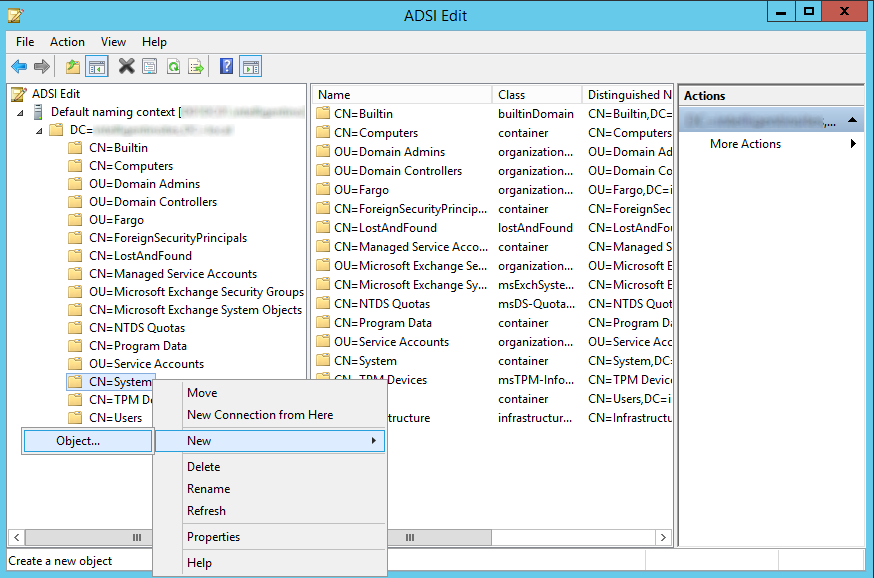
Creating Endpoint Protection Hierarchy via Folders
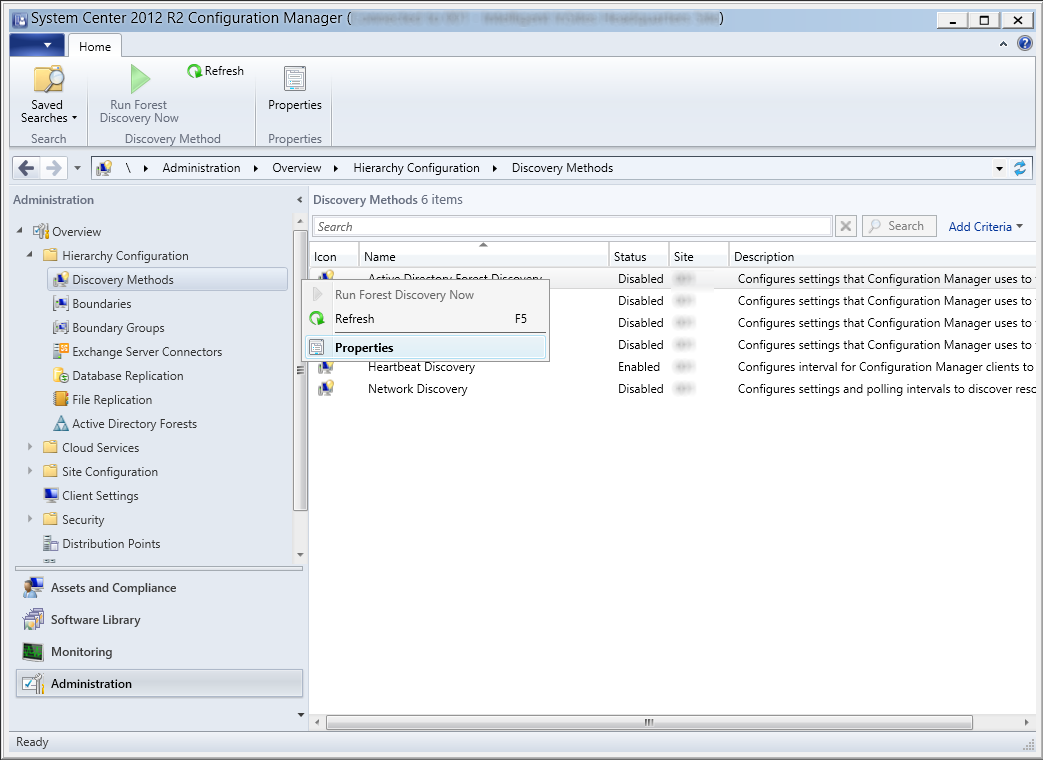
- Launch the System Center 2012 R2 Configuration Manager console

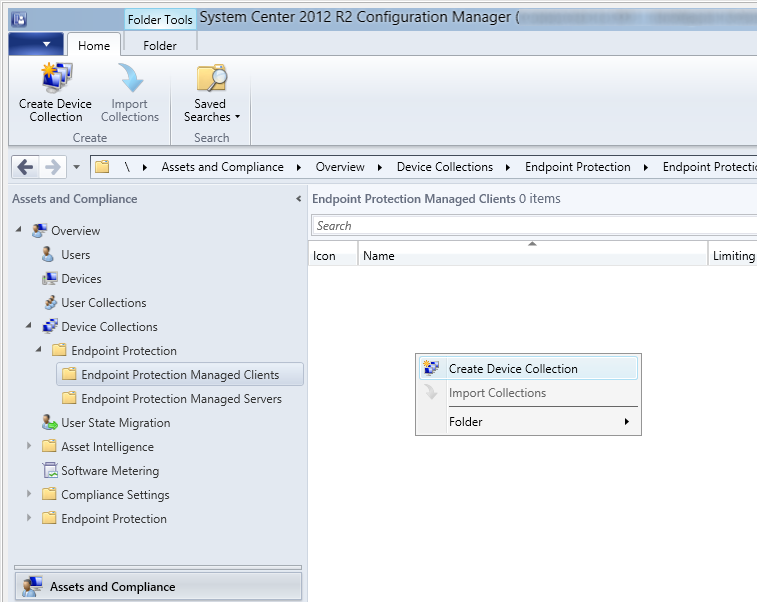
- On the Assets and Compliance pane, select Device Collections, and then right click and select Create Folder
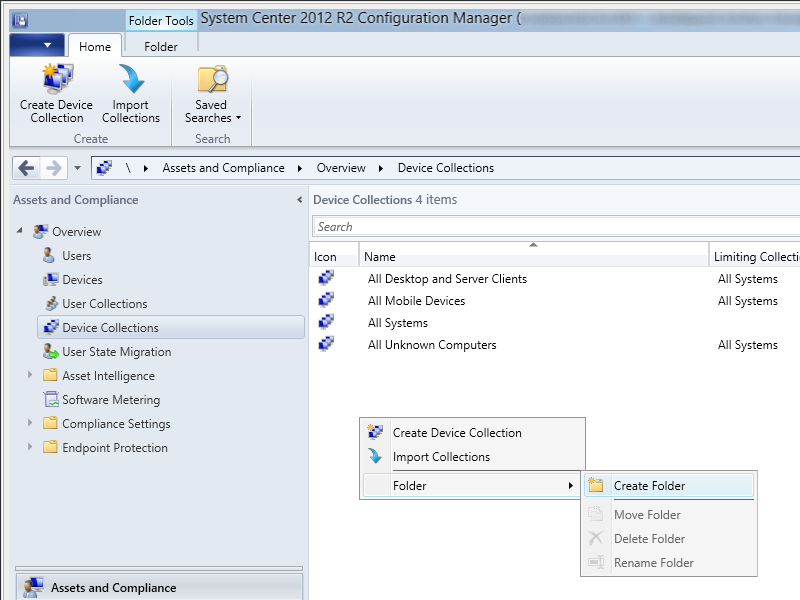
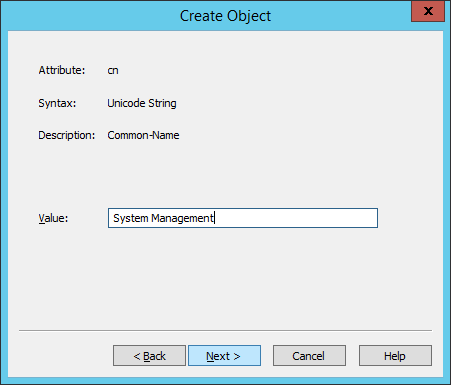
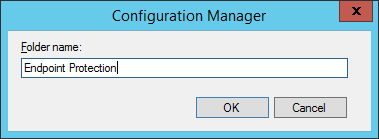
- Enter Endpoint Protection for the folder name and click OK
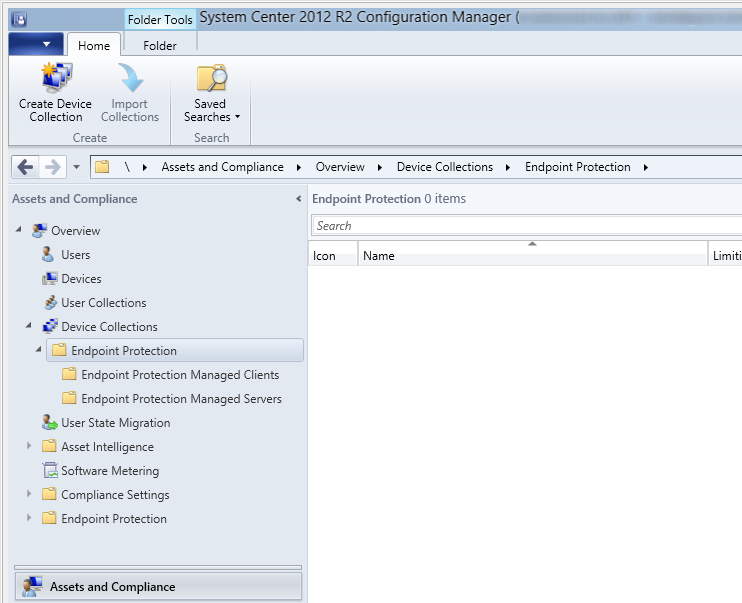
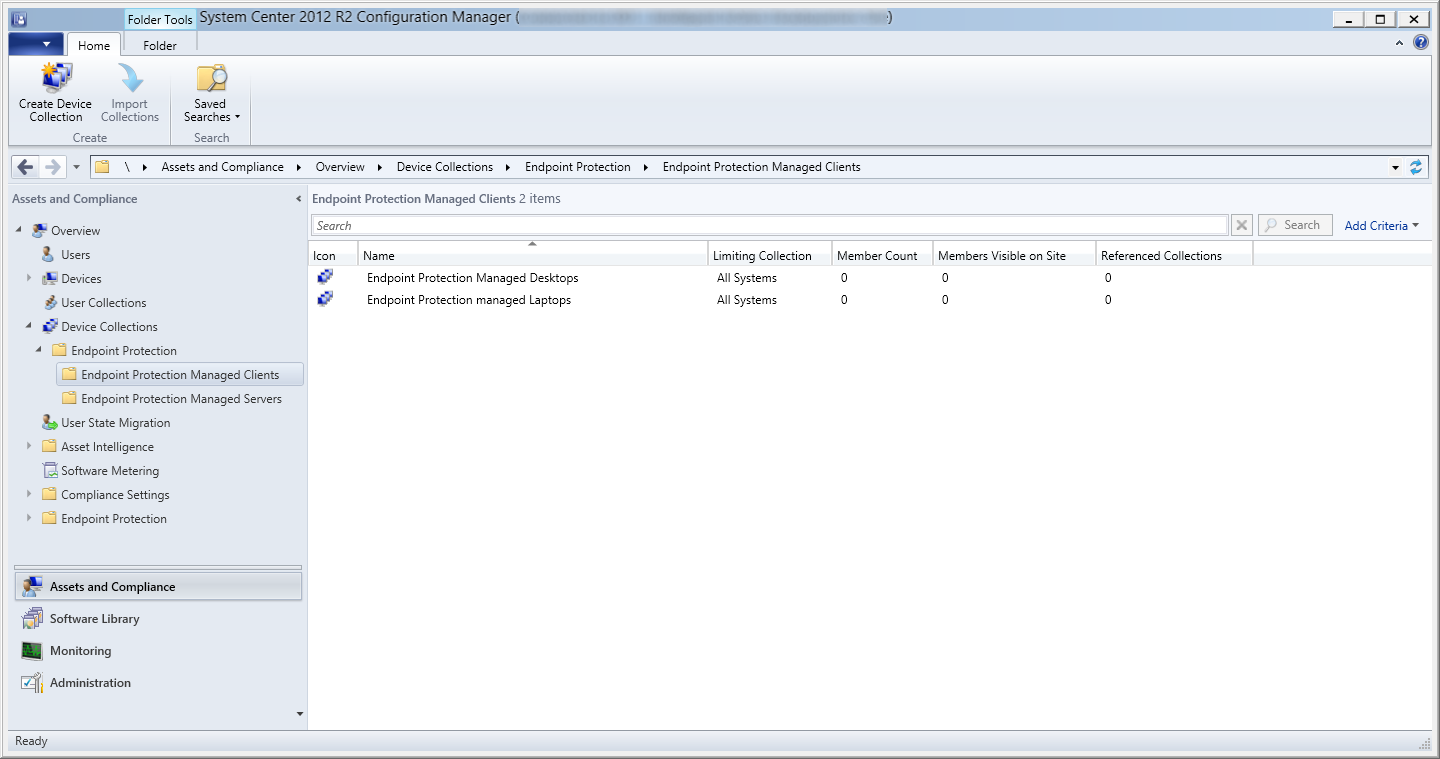
- Select your Endpoint Protection folder under Device Collections and create two more folders called Endpoint Protection Managed Clients and Endpoint Protection Managed Servers
Create Device Collections to categorize devices managed by SCCM
- Launch the System Center 2012 R2 Configuration Manager console
- On the Assets and Compliance pane, select Device Collections, Endpoint Protection Managed Clients, and right click select Create Device Collection
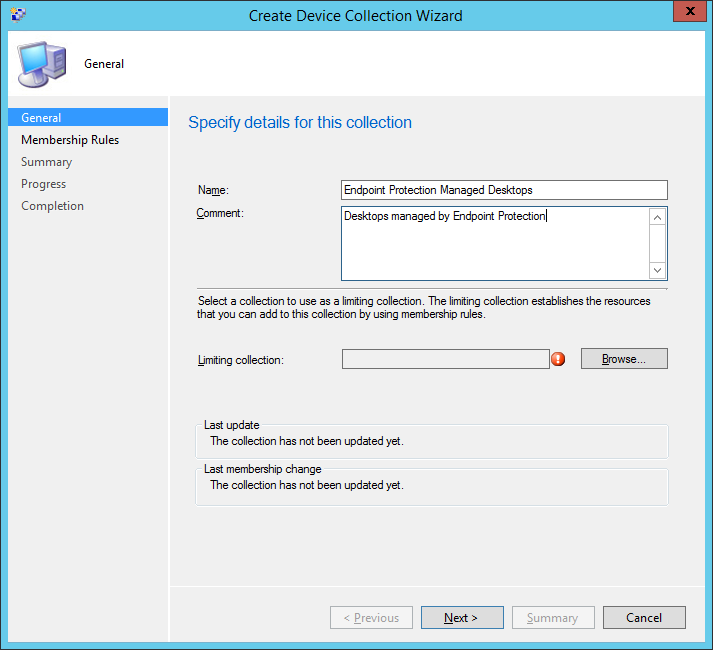
- Enter Endpoint Protection Managed Desktops for the name and then a comment describing what the group will hold (Desktops in this example), and then click Browse…
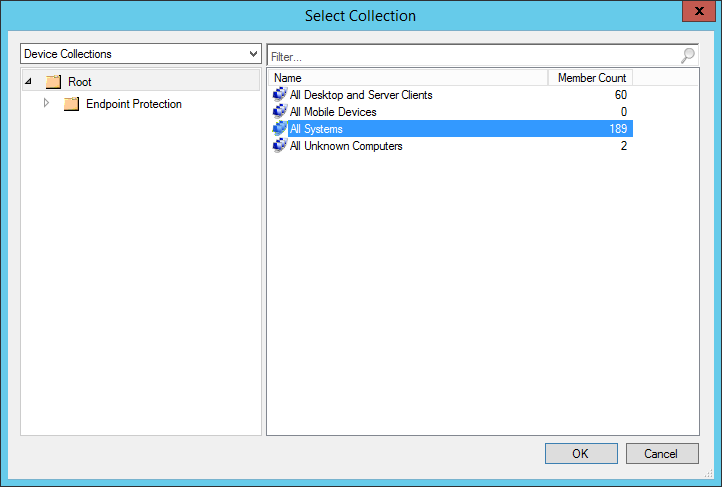
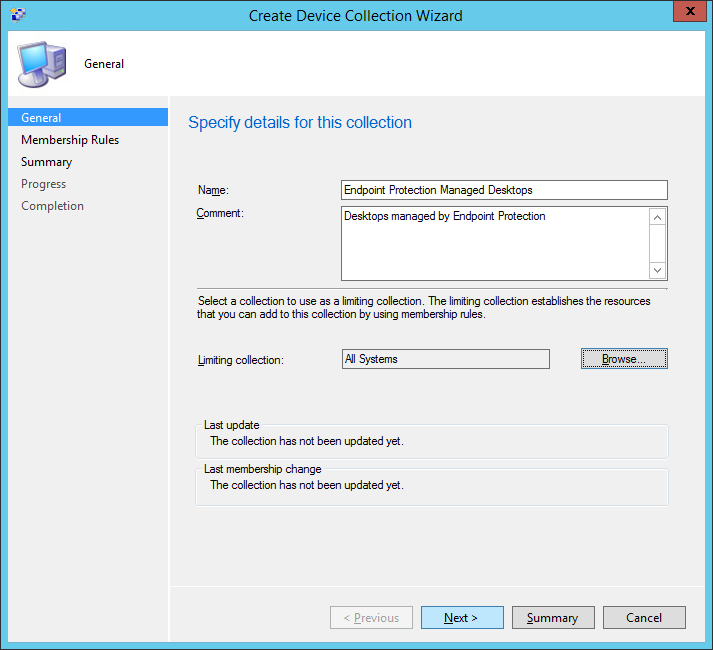
- Select All Systems and click OK
- Click Next >
- Click Next >
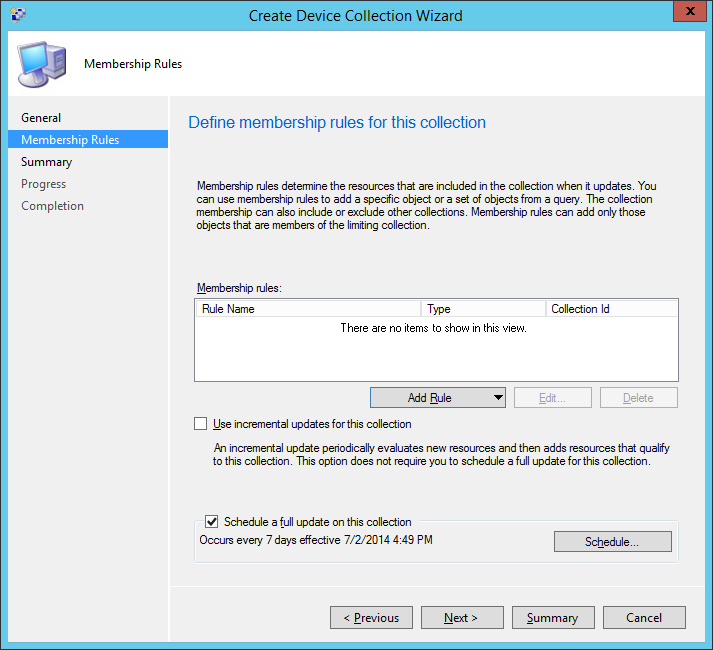
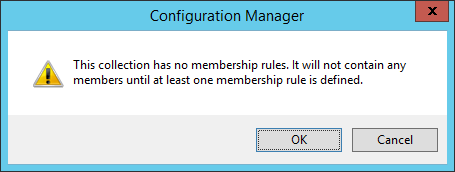
- Click OK on the dialog box explaining we have set no rules
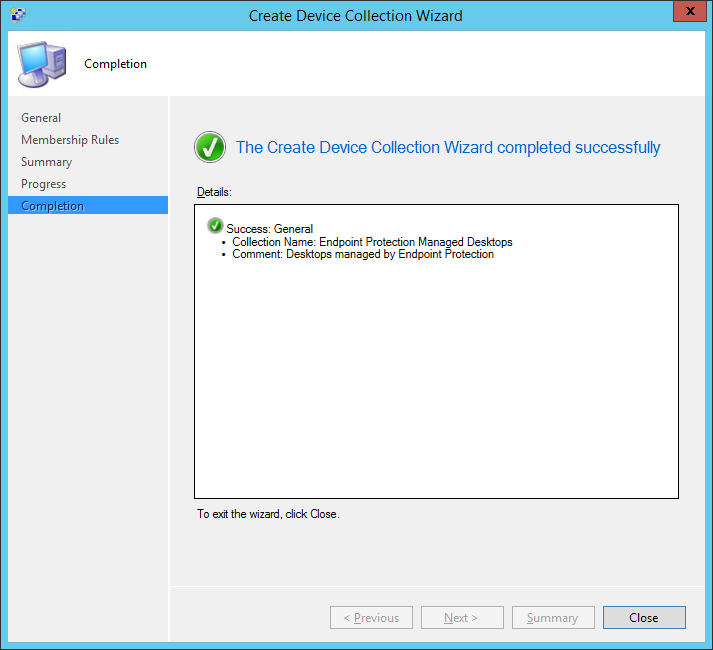
- Click Next >

- Click Close
- Repeat steps 2-9 to create another group for Laptops
- Select Endpoint Protection Managed Servers and repeat steps 2-9 to create the following groups
- Note: This step is optional, this i more for organization. If you don’t have all of these services/servers deployed in your environment, you don’t have to create these Collections.
- Endpoint Protection Managed Servers – Configuration Manager
- Endpoint Protection Managed Servers – DHCP
- Endpoint Protection Managed Servers – Domain Controller
- Endpoint Protection Managed Servers – Exchange
- Endpoint Protection Managed Servers – File Server
- Endpoint Protection Managed Servers – Hyper-V
- Endpoint Protection Managed Servers – IIS
- Endpoint Protection Managed Servers – Operations Manager
- Endpoint Protection Managed Servers – SharePoint
- Endpoint Protection Managed Servers – SQL Server
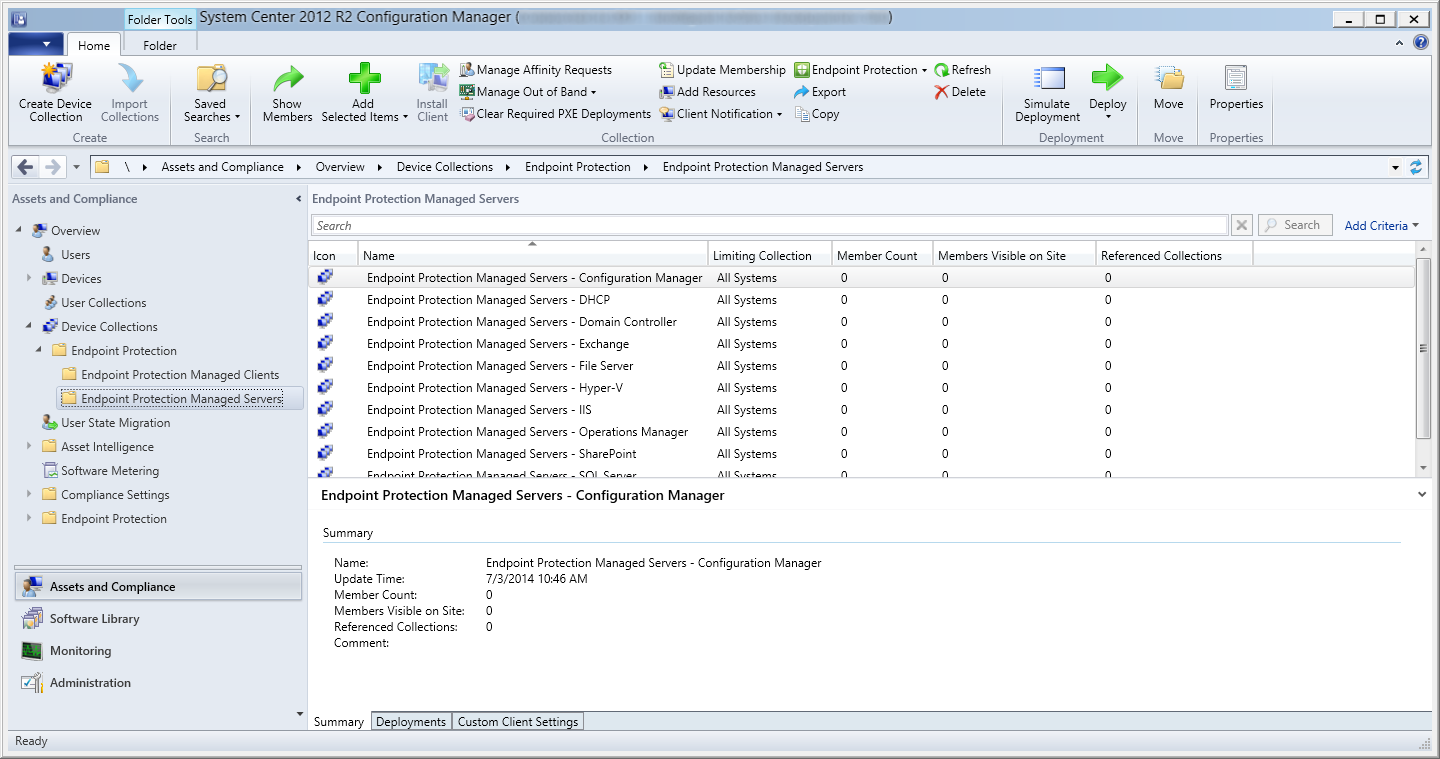
- Note: This step is optional, this i more for organization. If you don’t have all of these services/servers deployed in your environment, you don’t have to create these Collections.
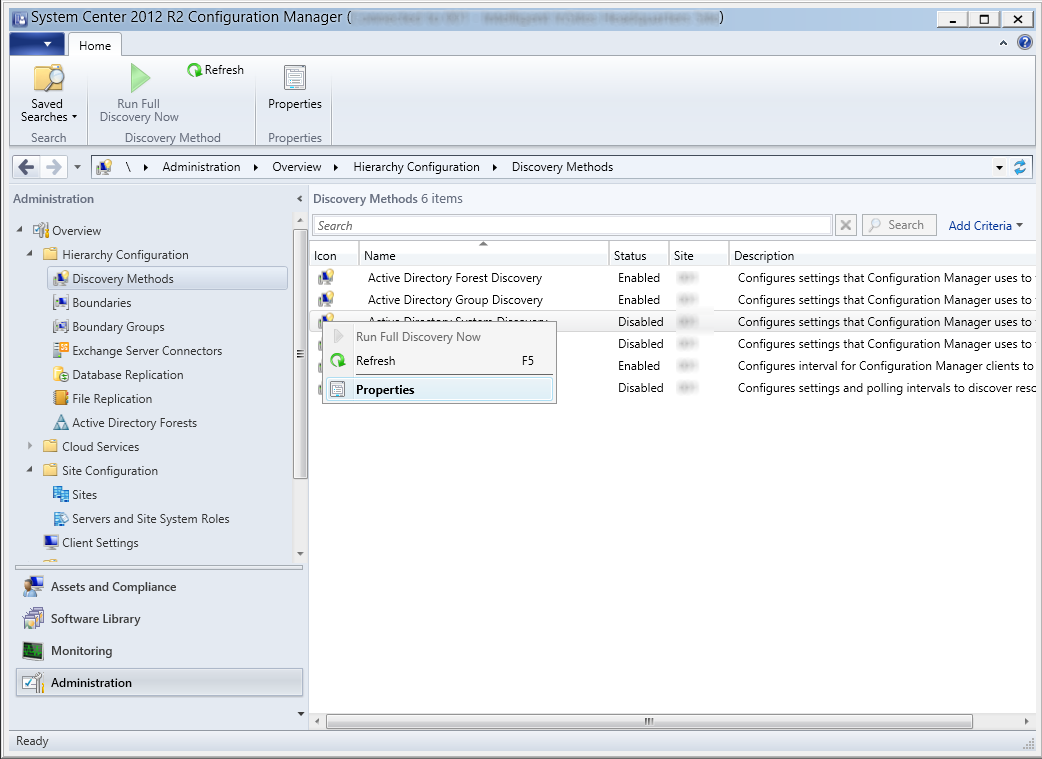
Enable the Endpoint Protection Role
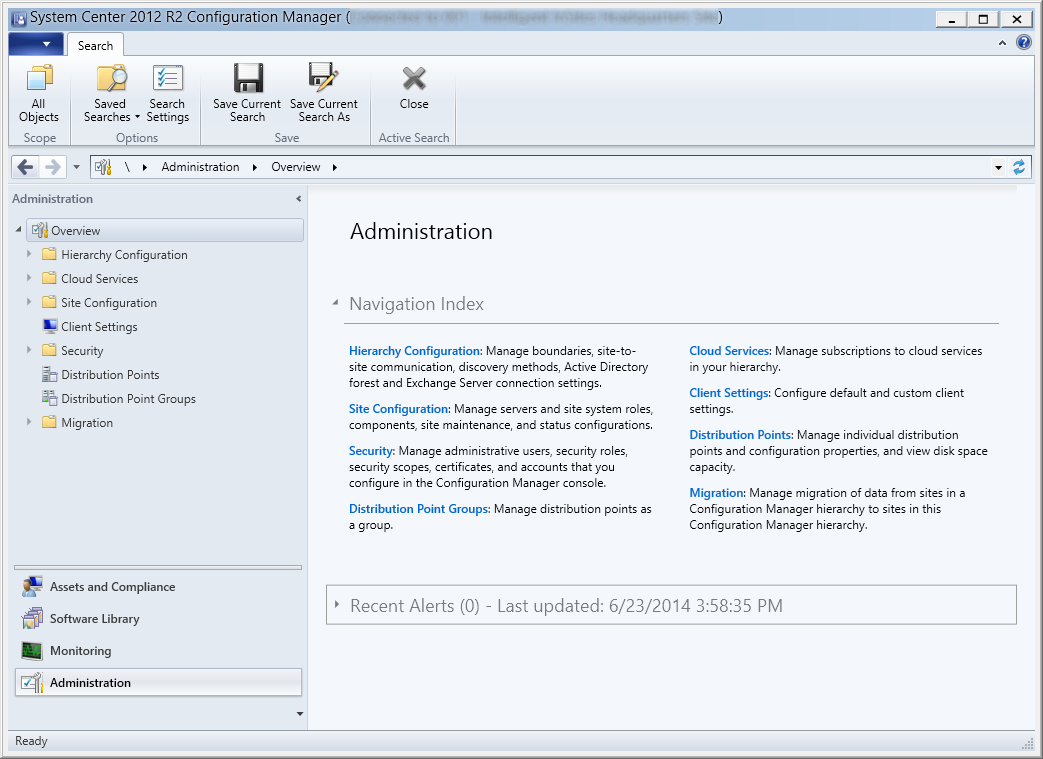
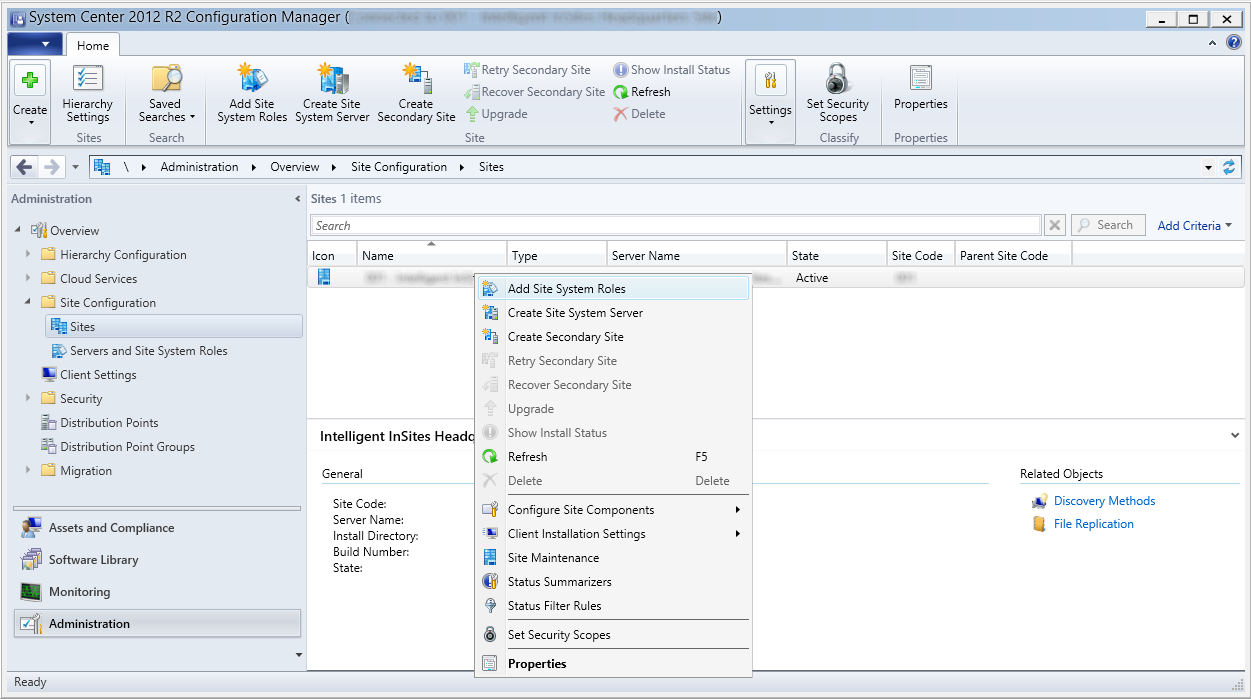
- Launch the System Center 2012 R2 Configuration Manager console
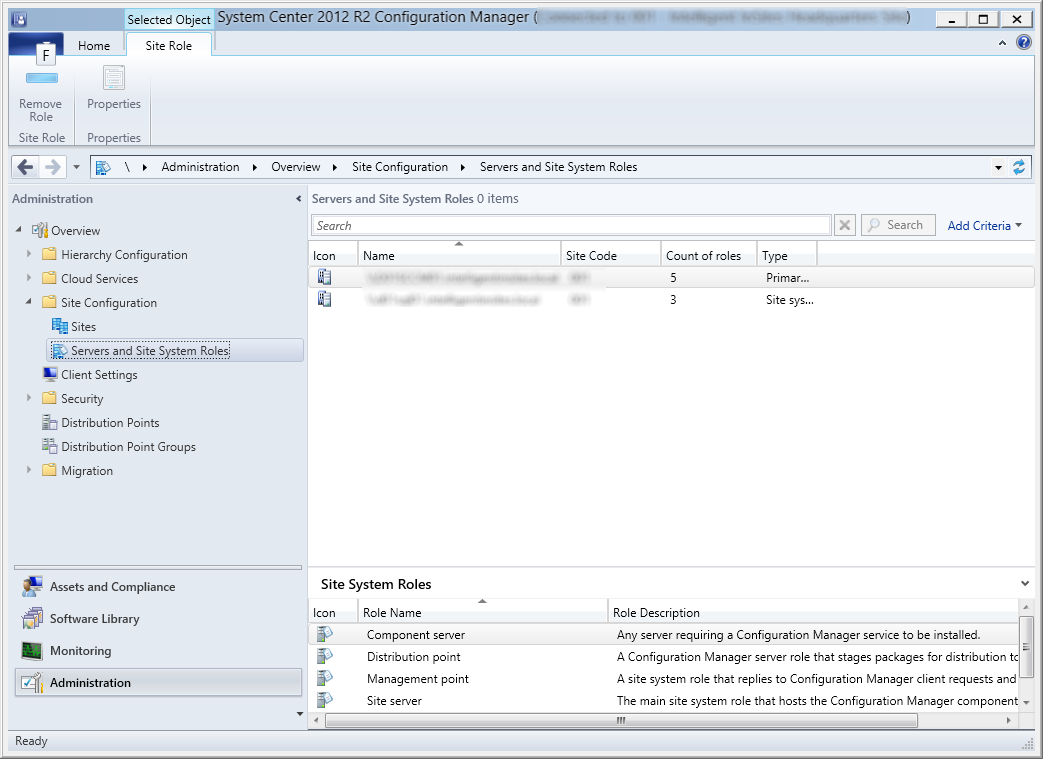
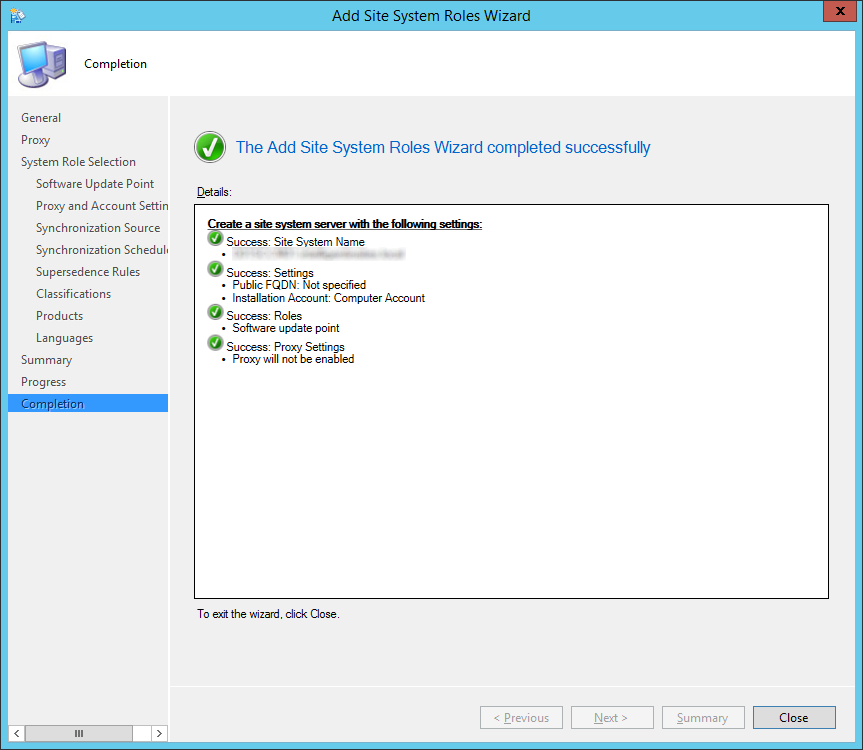
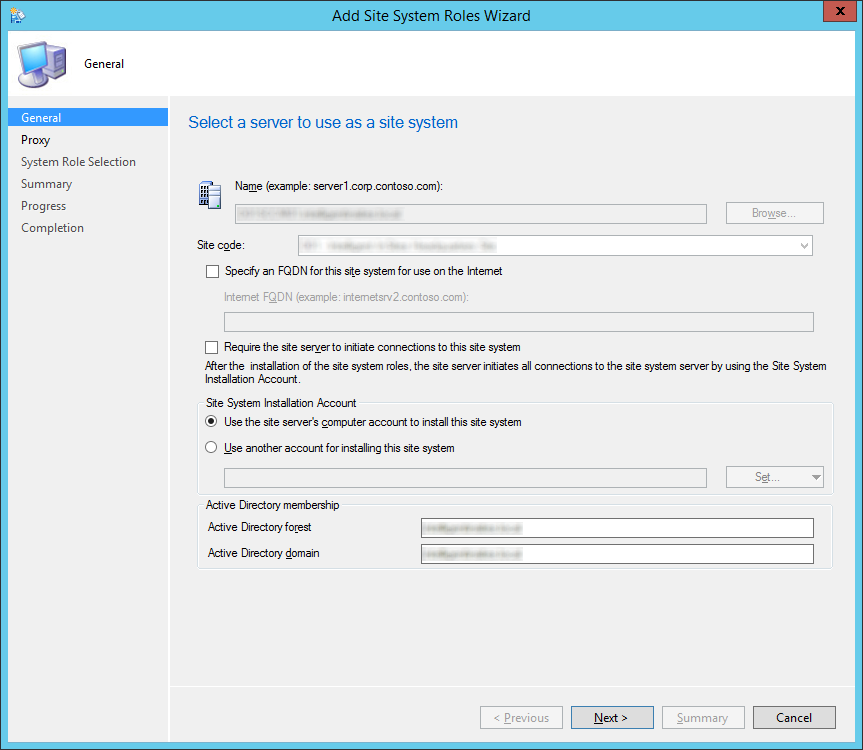
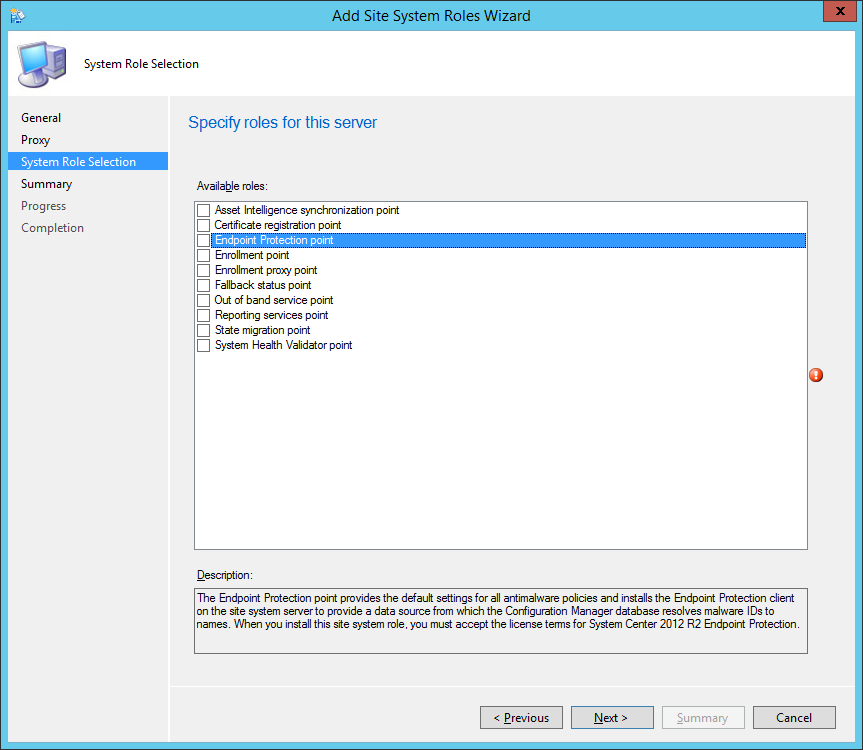
- Select Administration, Site Configuration, Servers and Site System Roles, and right click on your Primary site and select Add Site System Roles
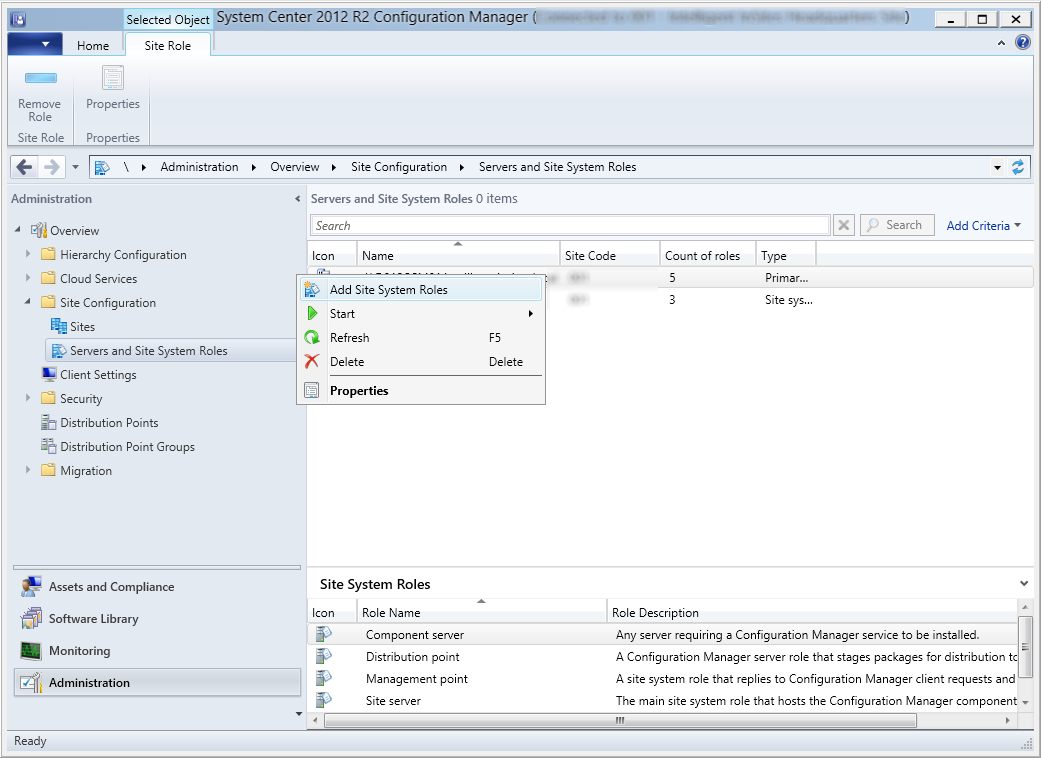
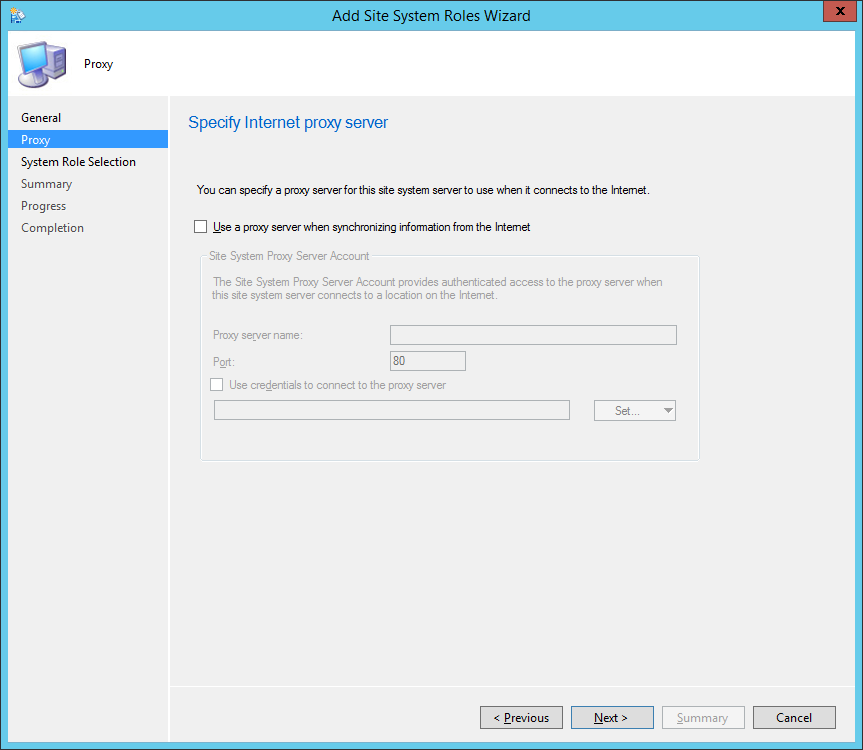
- Click Next >
- Click Next >
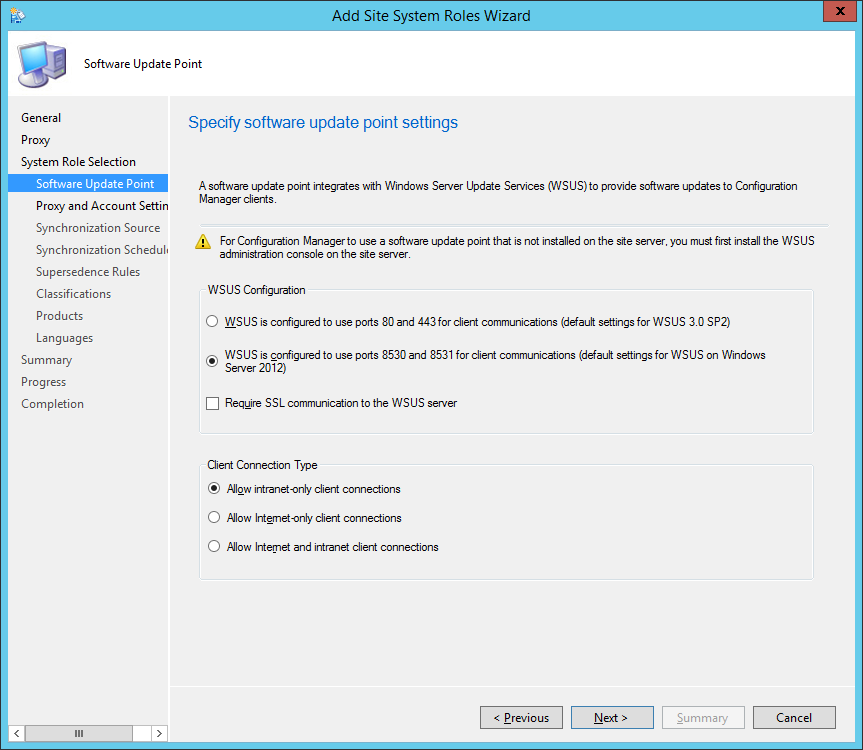
- Check Endpoint Protection point
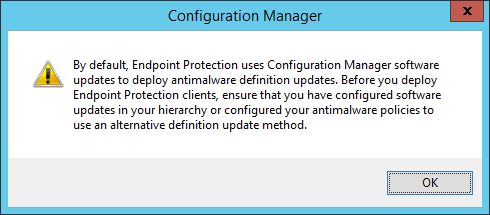
- Click OK on the Configuration Manager dialog
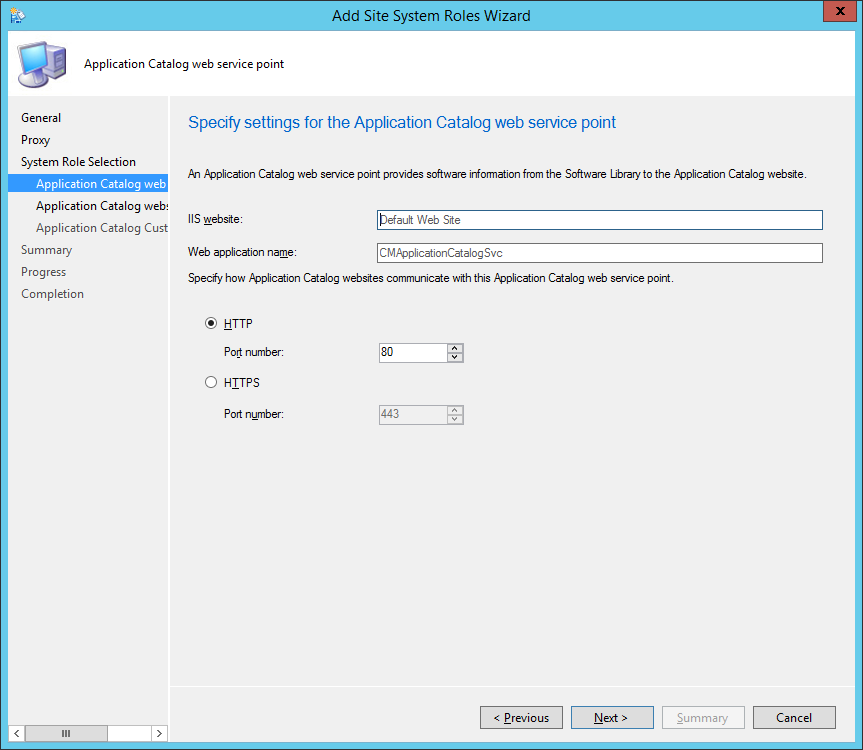
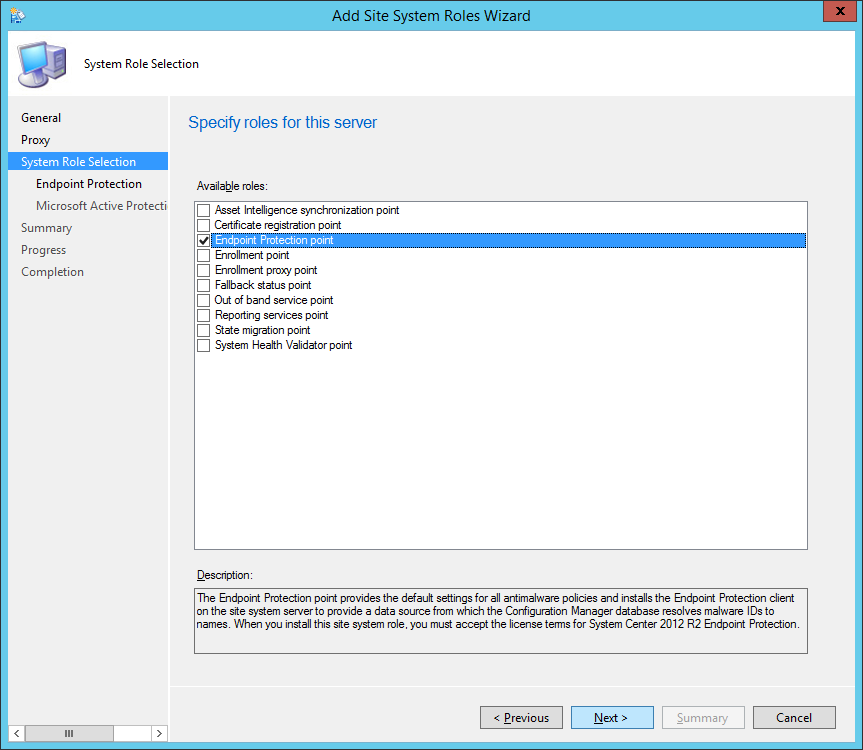
- Click Next >
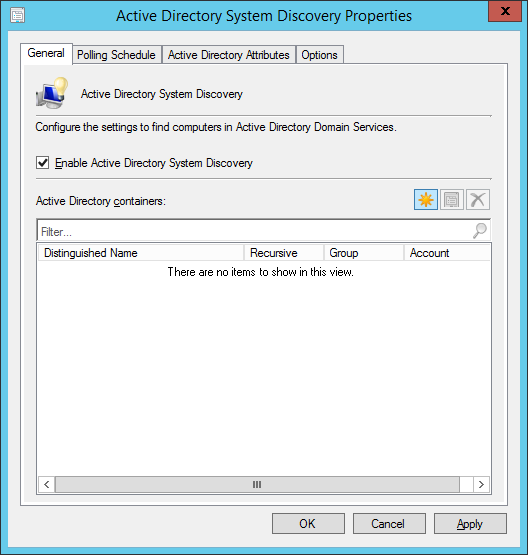
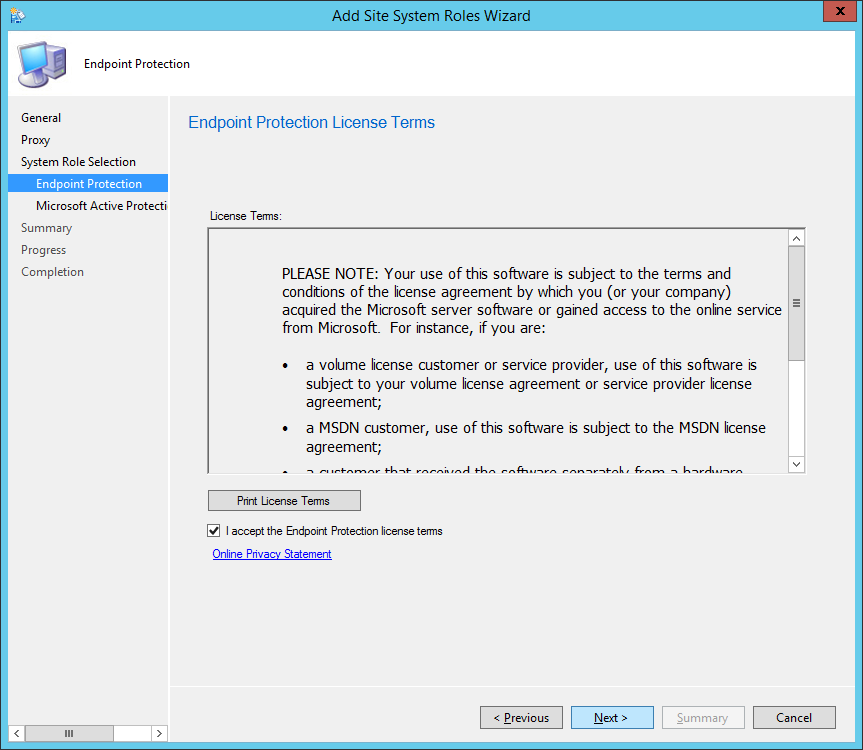
- Check I accept the Endpoint Protection license terms and click Next >
- Check Advanced membership and click Next >
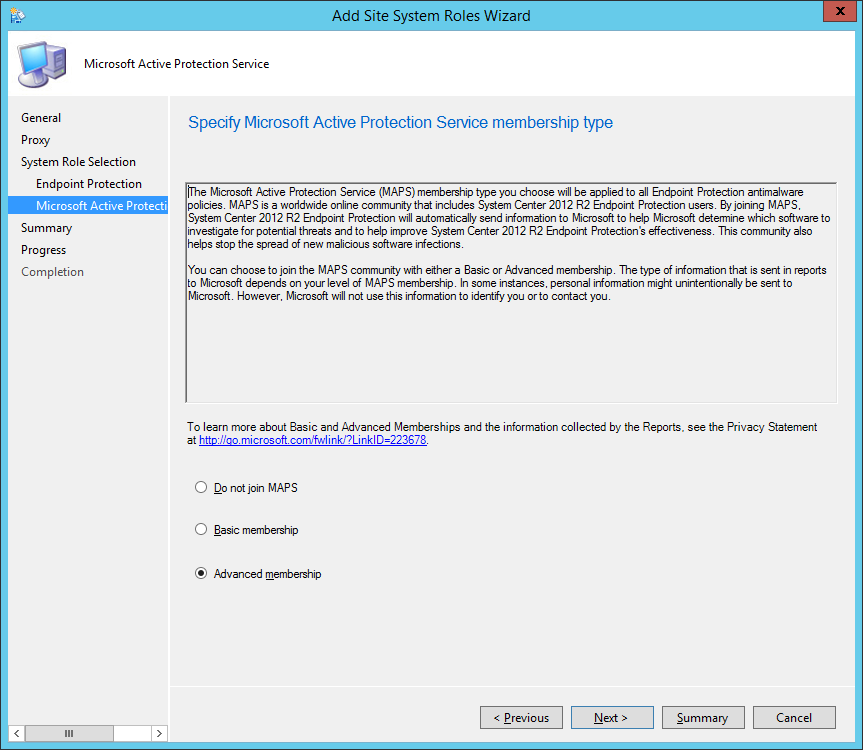
- Note: MAPS can be joined with a basic or an advanced membership. Basic member reports contain the information described above. Advanced member reports are more comprehensive and may include additional details about the software Endpoint Protection detects, including the location of such software, file names, how the software operates, and how it has impacted your computer. These reports, along with reports from other Endpoint Protection users who are participating in MAPS, help Microsoft researchers discover new threats more rapidly. Malware definitions are then created for programs that meet the analysis criteria, and the updated definitions are made available to all users through Microsoft Update. See http://technet.microsoft.com/library/hh508835.aspx for full details.
- My thoughts on this are to go with Advanced. If you are using the AV product, may as well help contribute towards making the product detect anomalies more accurately (I’ll turn my Microsoft fan-boyness off now :))
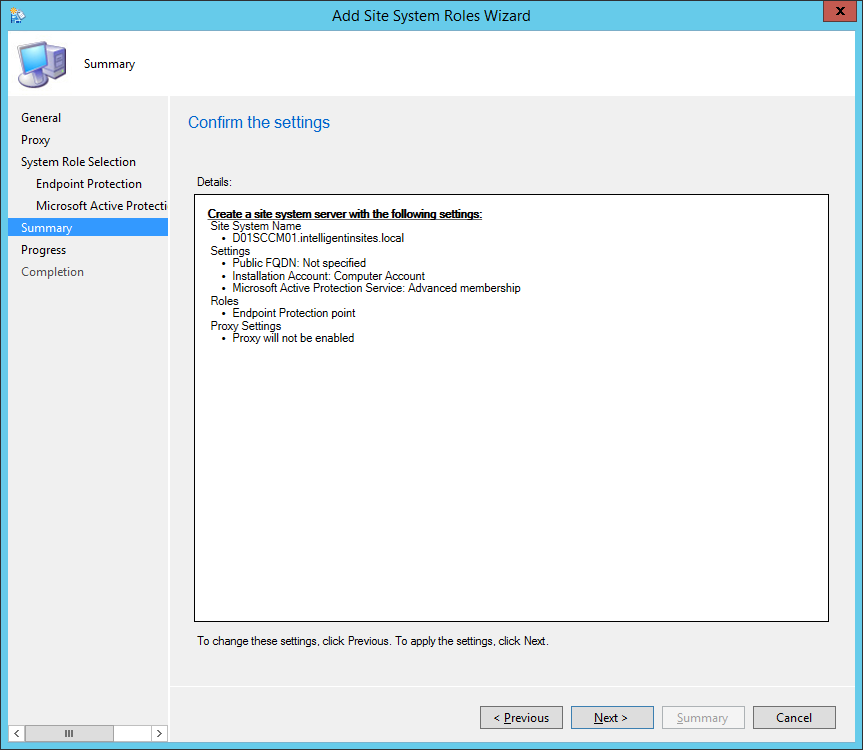
- Click Next >
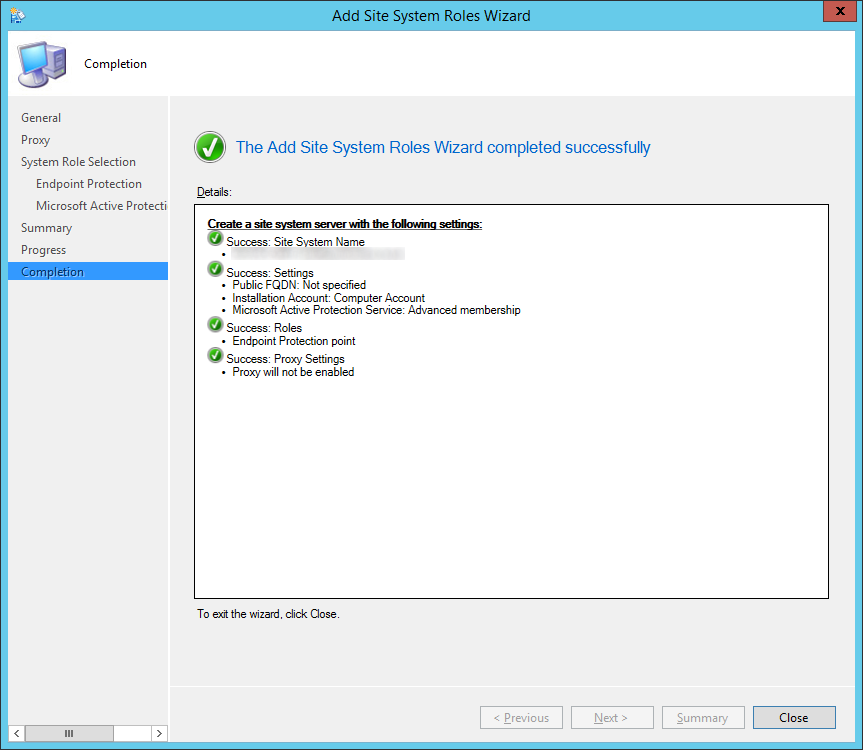
- Click Close
Configuring Endpoint Protection Alerting
- Email Alerting
- Device Collection Alerting
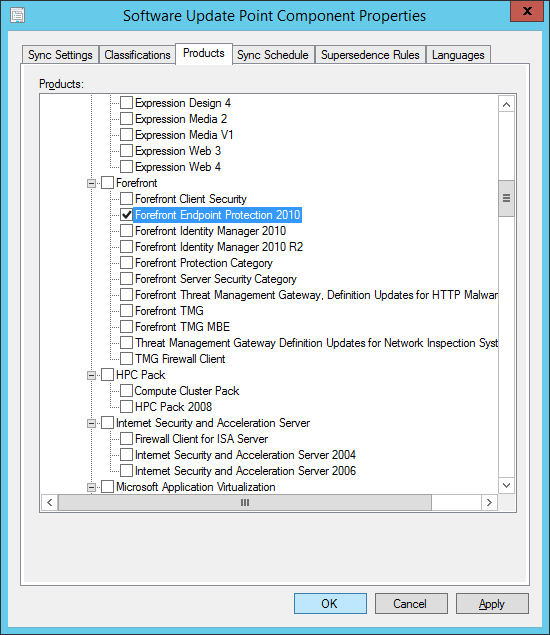
Configure SUP for Endpoint Protection
- Launch the System Center 2012 R2 Configuration Manager console
- Select Administration, Overview, Site Configurion, Sites and select Settings, Configure Site Components, Software Update Point
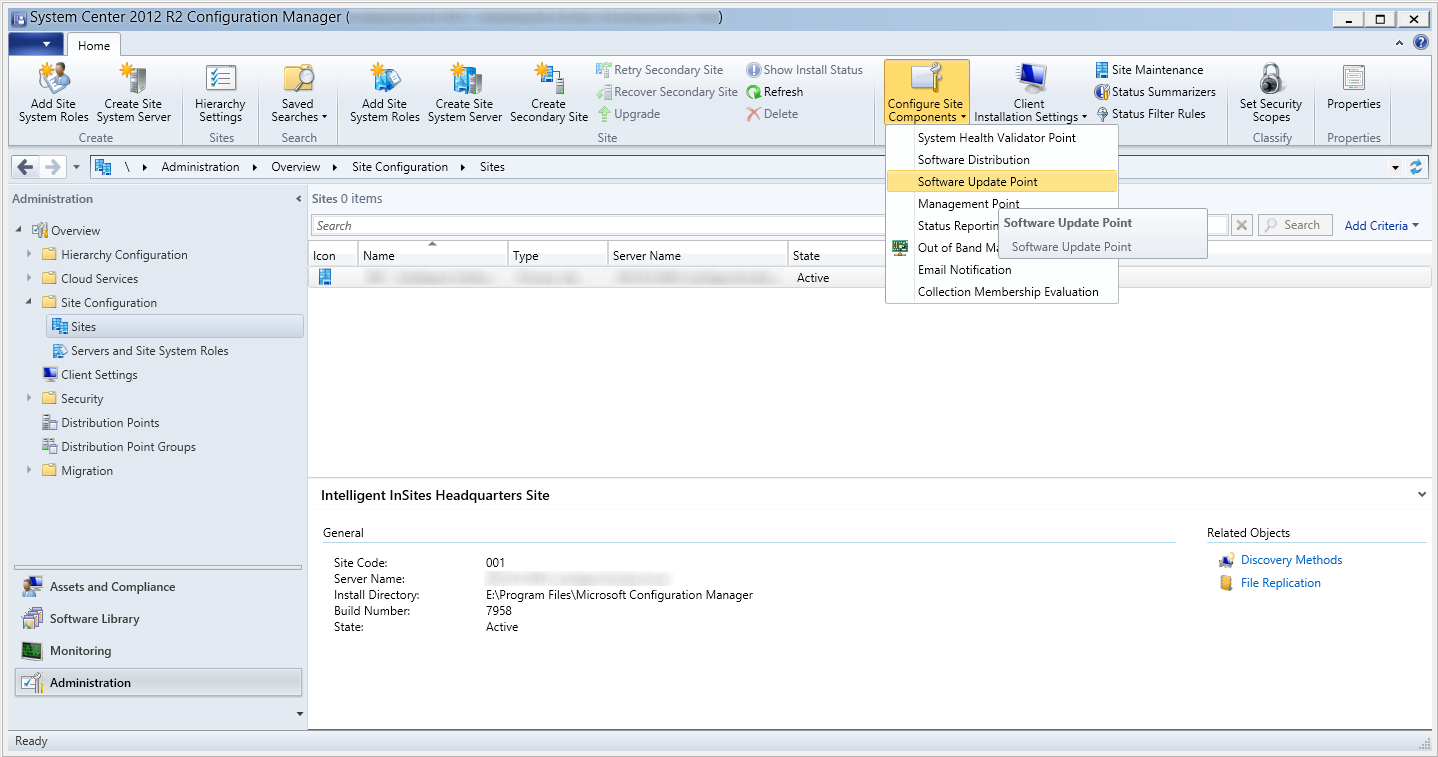
- Select the Products tab and then check Forefront Endpoint Protection 2010 and click OK
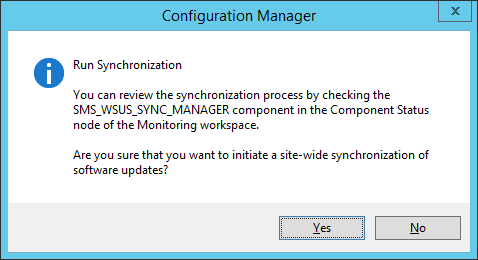
- Select Software Library, expand Software Updates and right click on All Software Updates and select Synchronize Software Updates
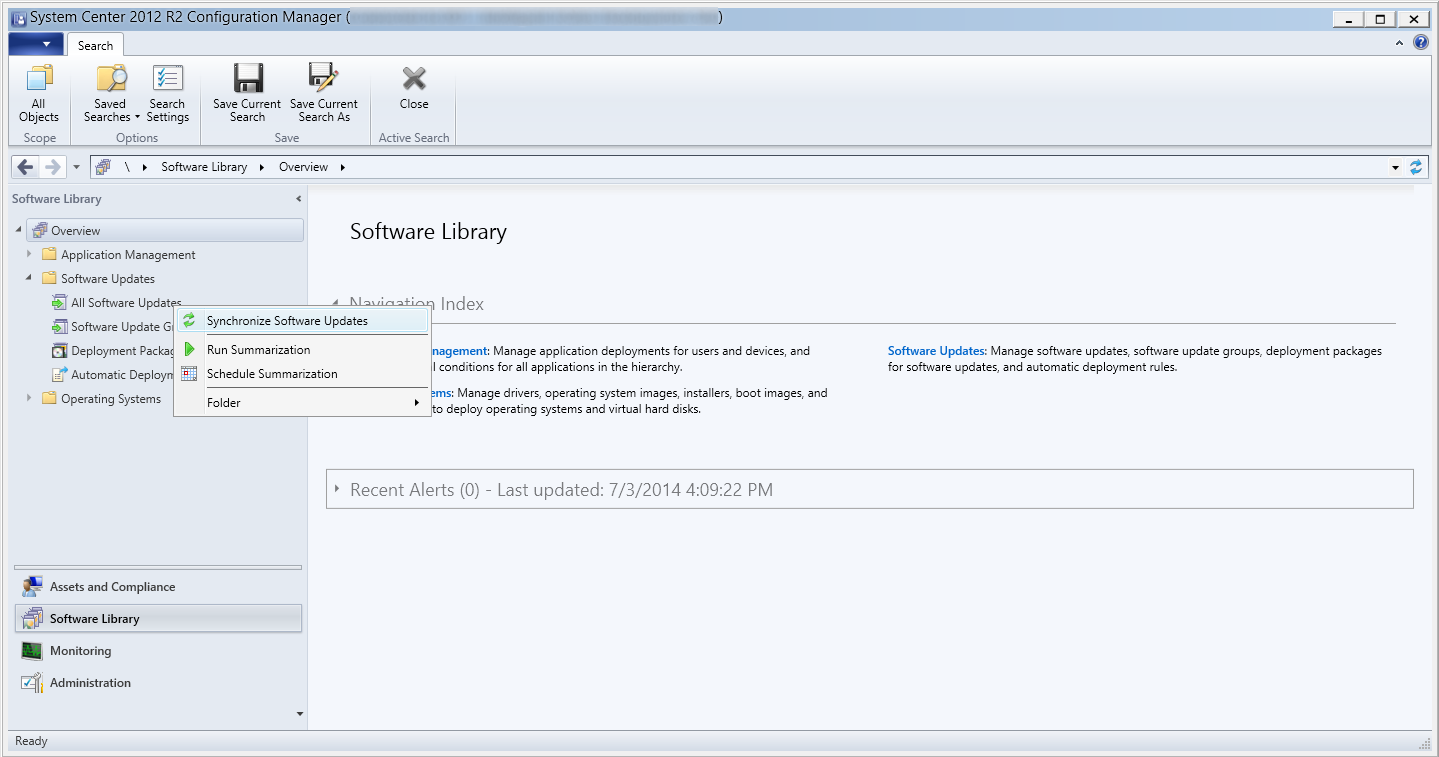
- Click Yes on the Run Synchronization dialog box
Configure SUP to deliver Definition Updates using an Automatic Deployment Rule
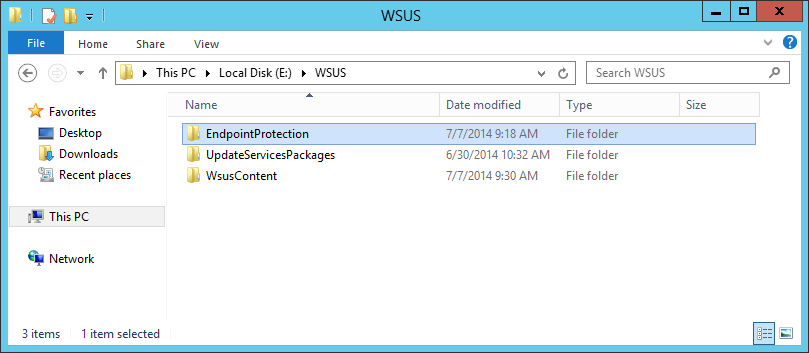
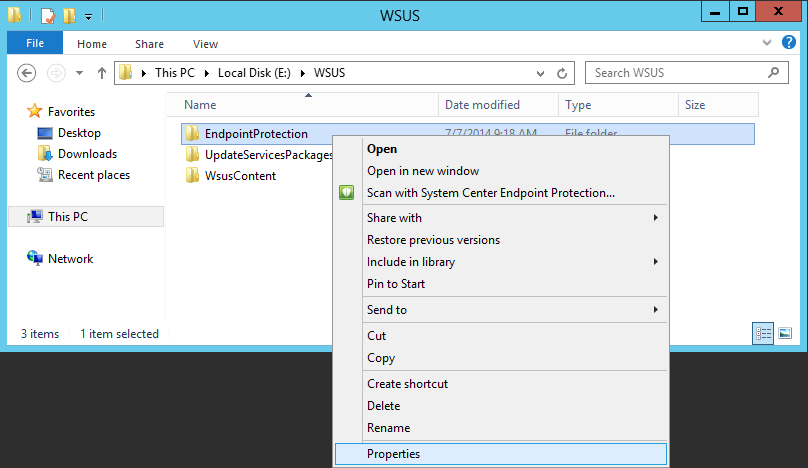
- Create a new shared folder called EndpointProtection in your WSUS directory
- Share the folder with the Everyone group
- Right click on the folder and select Properties
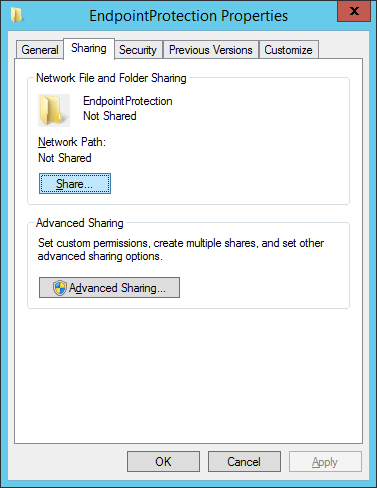
- Select the Sharing tab and then click the Share… button
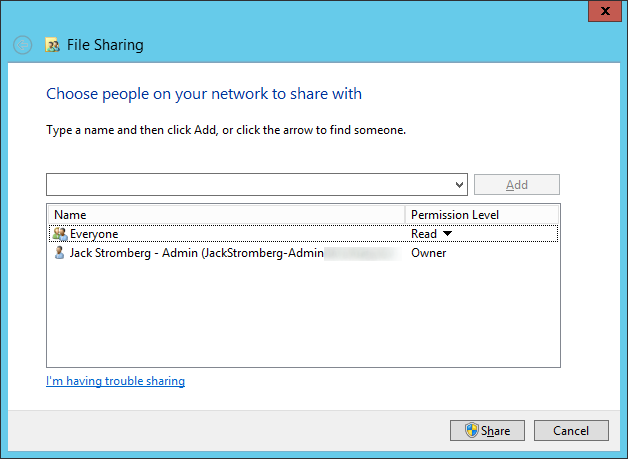
- Type Everyone and then click Add. Ensure the Permission level is Read and then click Share
- Right click on the folder and select Properties
- Launch the System Center 2012 R2 Configuration Manager console
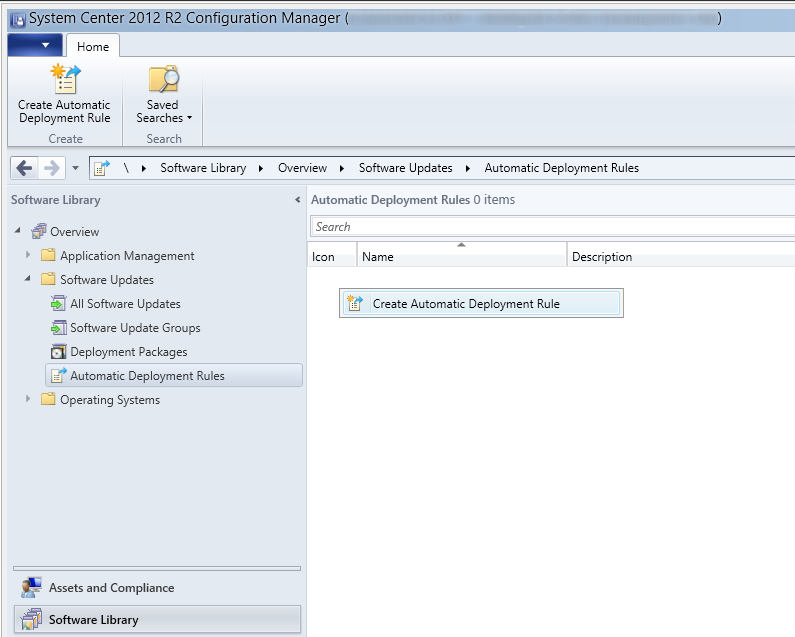
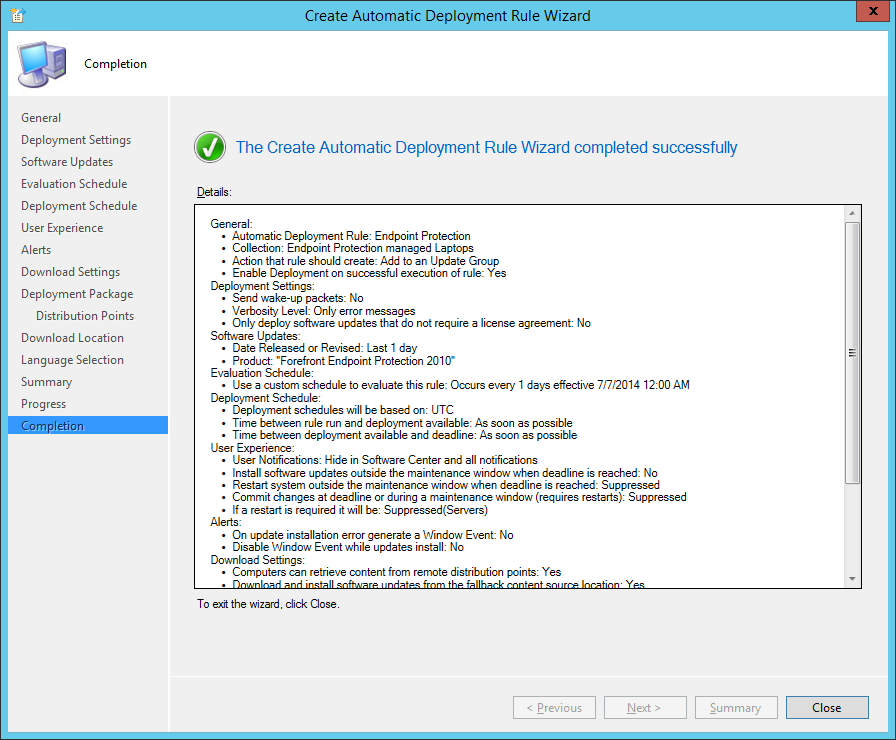
- Select Software Library, Expand Overview, Software Updates, and select Automatic Deployment Rules. Right click and select Create Automatic Deployment Rule
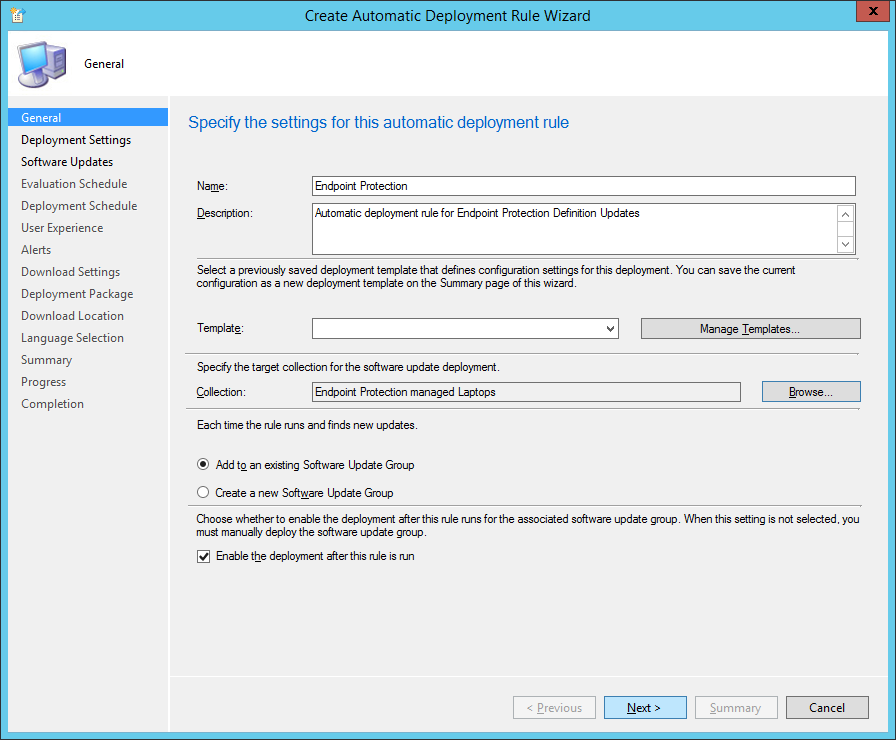
- Enter in a Name and Description for your Automatic Deployment Rule and then click on the Browse… button
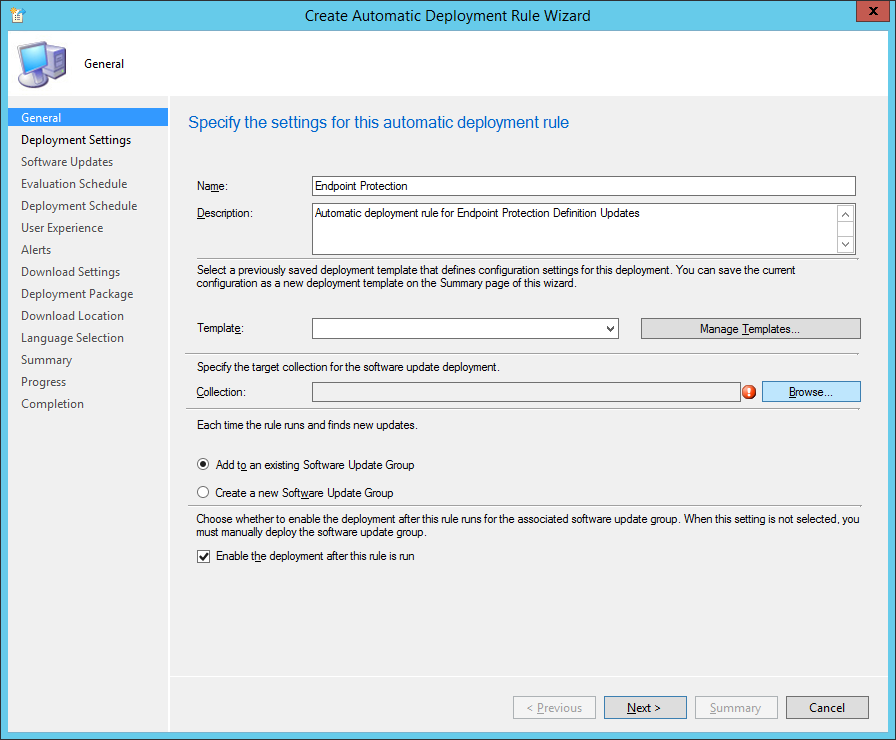
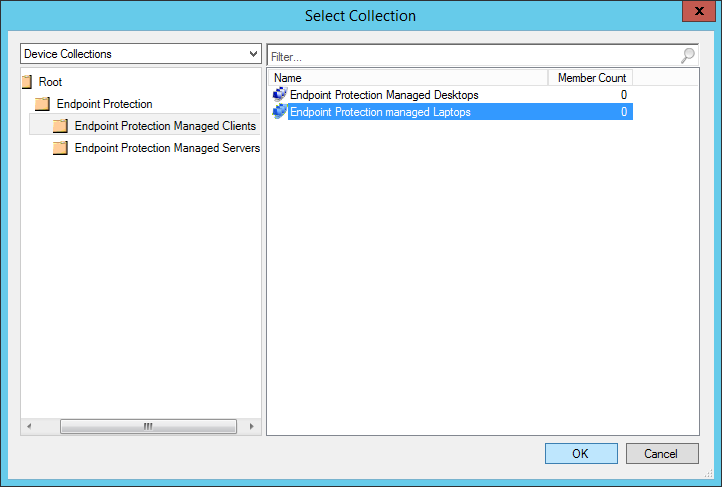
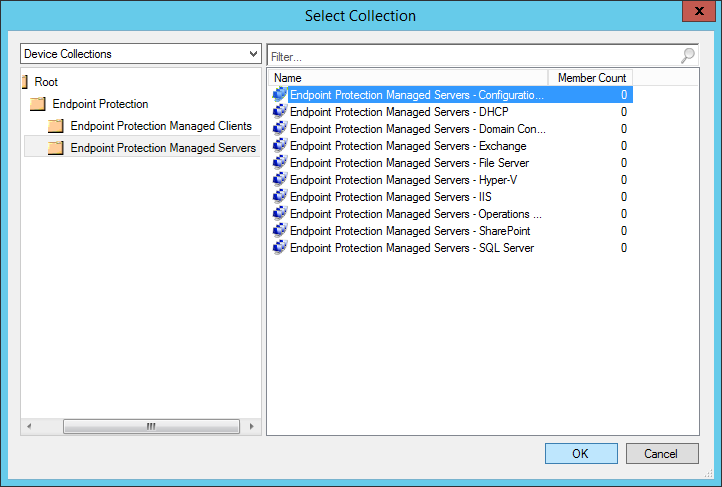
- Select one of the Device Collections we made prior back and then click OK
- Click Next >
- Click Next >
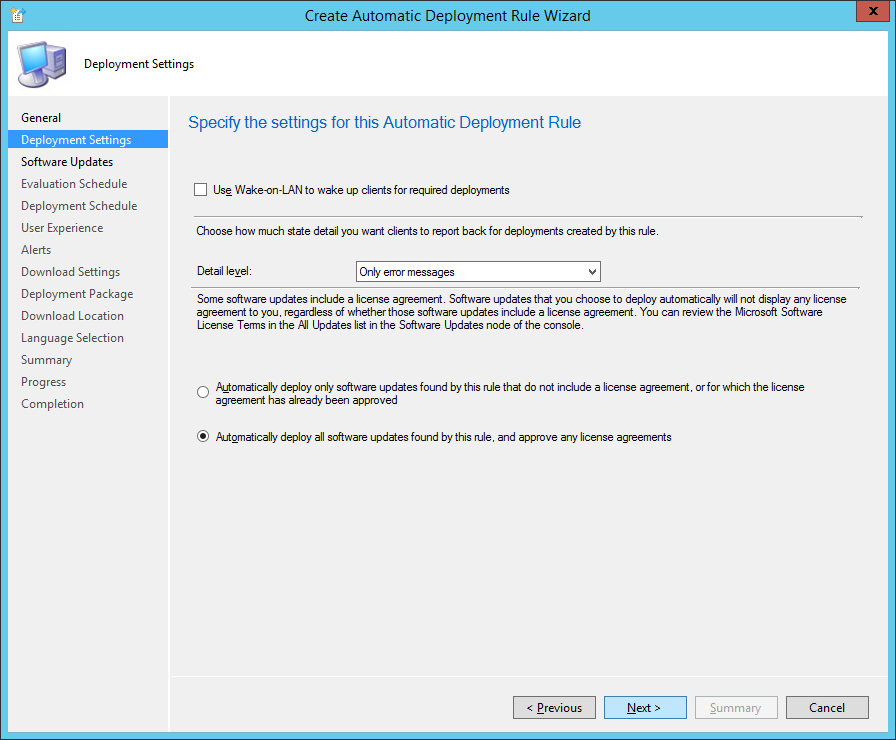
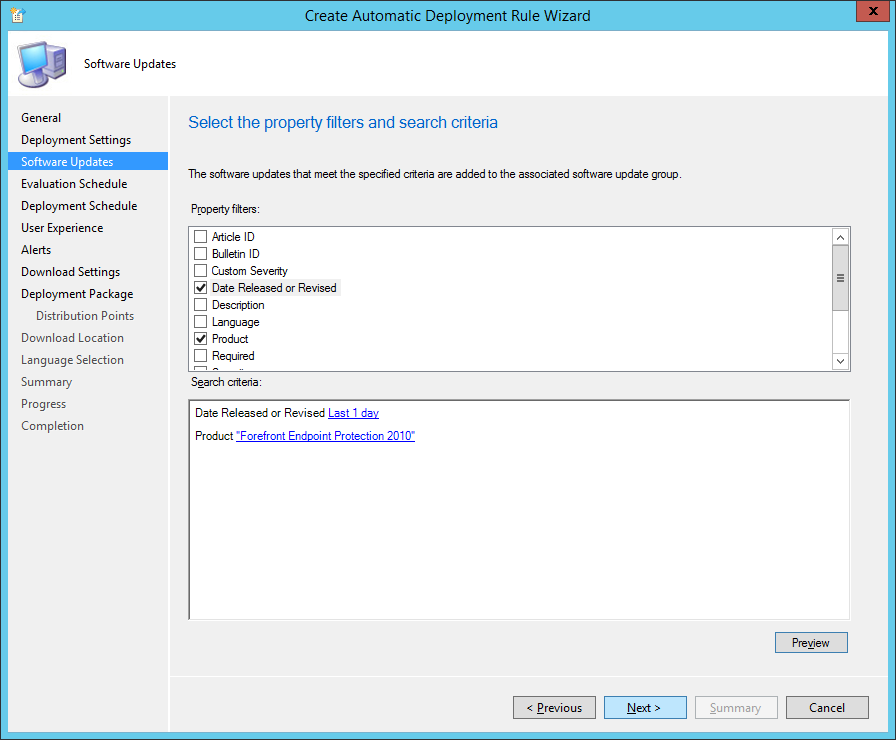
- Check Date Released or Revised and and Product, set Date Released or Revised to Last 1 day and Product to Forefront Endpoint Protection 2010 and click Next >
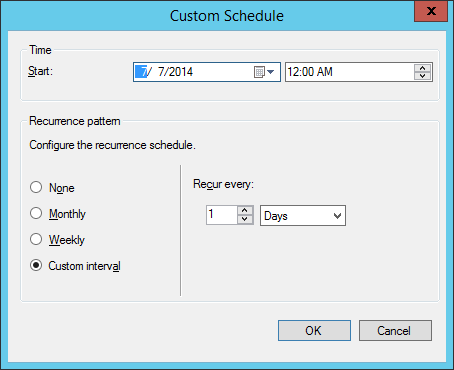
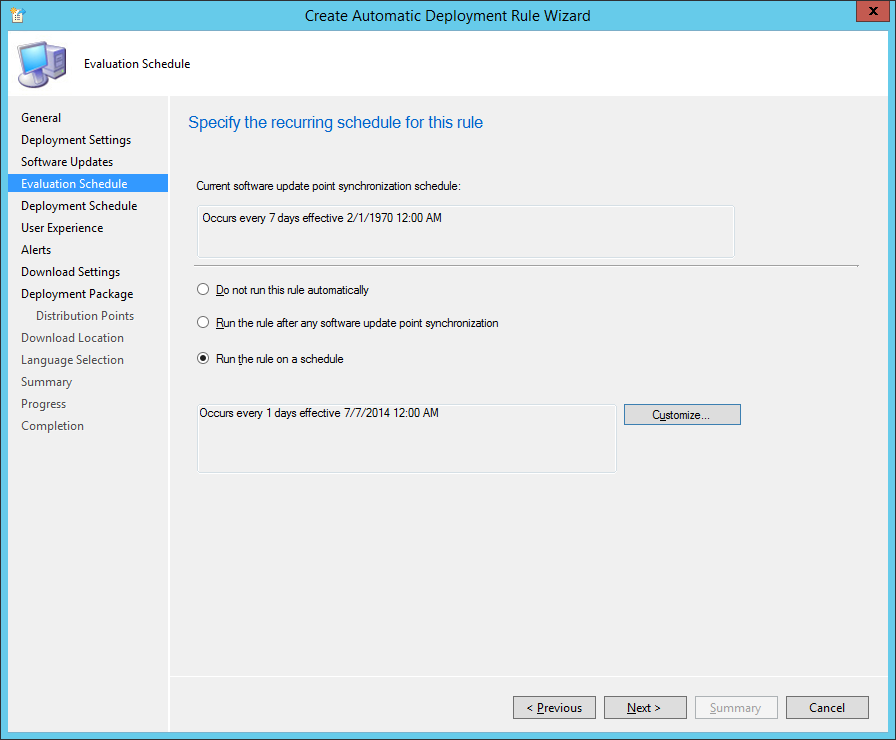
- Check Run the rule on a schedule, click the Customize… button, and then select 1 days at 12:00AM, and click Next >
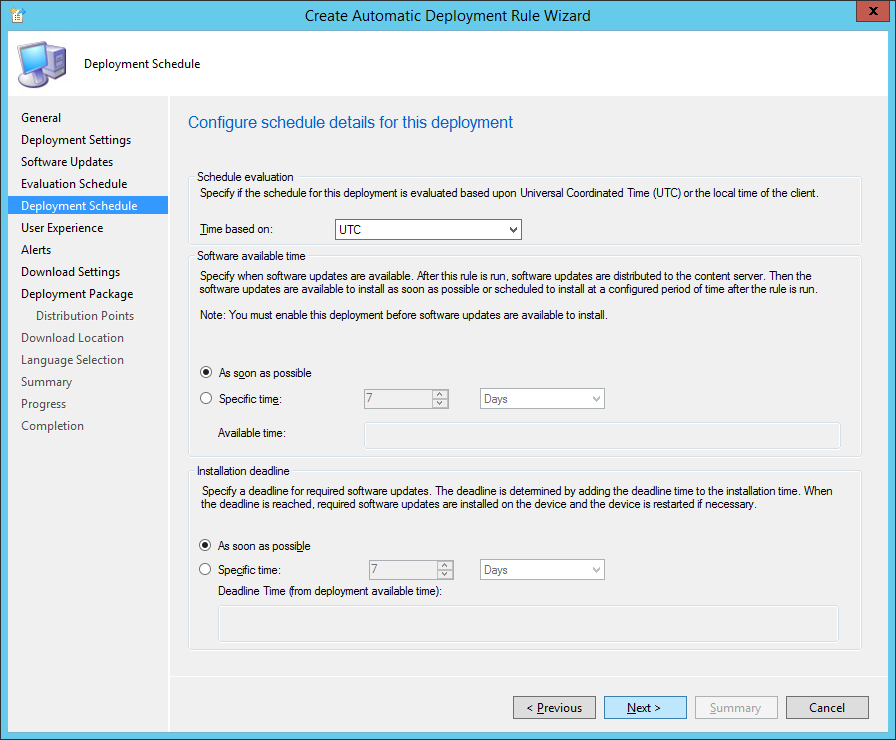
- Set Time based on UTC and set Installation deadline As soon as possible and click Next >
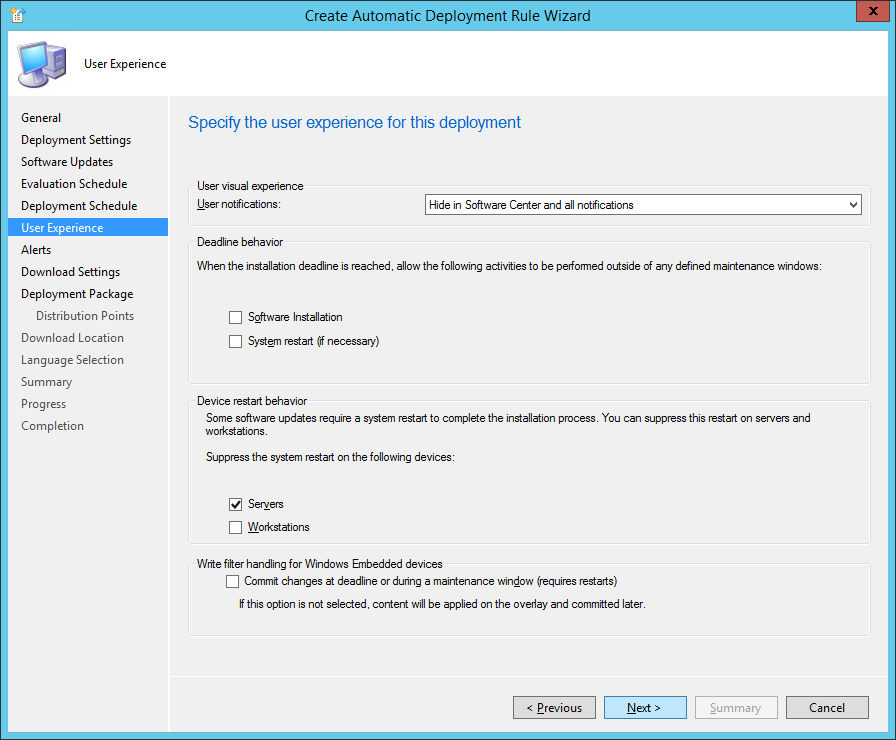
- Check Servers on Device restart behavior (this will prevent a server from restarting from an update), and click Next >
- Check Generate an alert when the following conditions are met and click Next >
- NOTE: This is an optional step. If you would like to set an alert to be triggered when X% of your clients do not have the latest virus definitions, use this option. If you do not wish to be alerted leave the box unchecked and click Next > In this particular example, after 15% of the clients have virus definitions out of date will receive an alert.
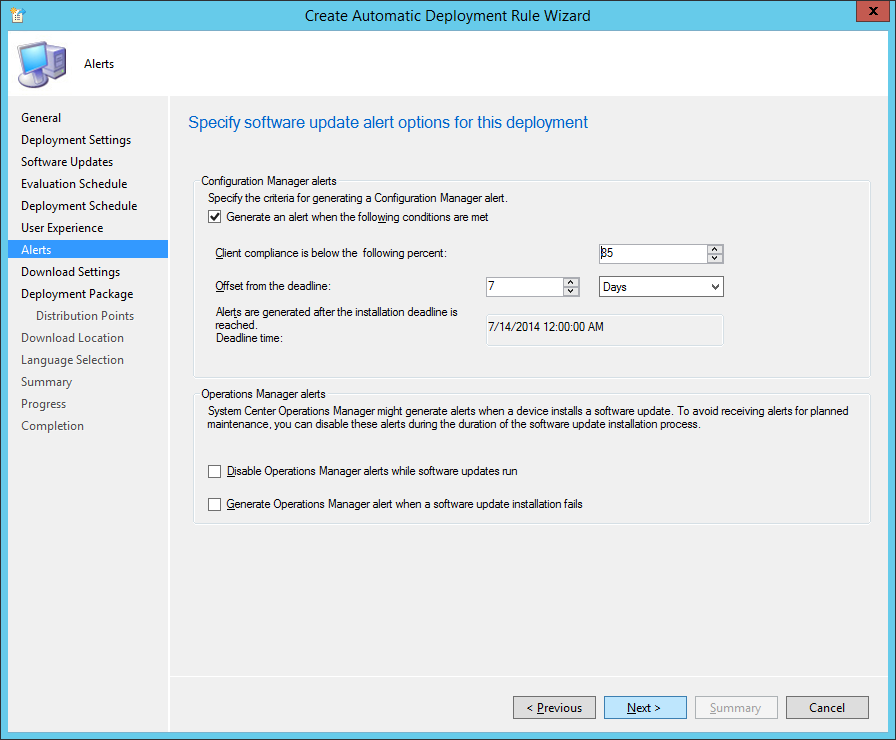
- NOTE: This is an optional step. If you would like to set an alert to be triggered when X% of your clients do not have the latest virus definitions, use this option. If you do not wish to be alerted leave the box unchecked and click Next > In this particular example, after 15% of the clients have virus definitions out of date will receive an alert.
- Check Download software updates from distribution point and install, check Download and install software updates from the fallback content source location, and click Next >
- Optionally, you can check If software updates are not available on preferred sitribution point or remote distirbution point, download content from Microsoft Update, to always ensure your client has a source to download the latest virus defitions.
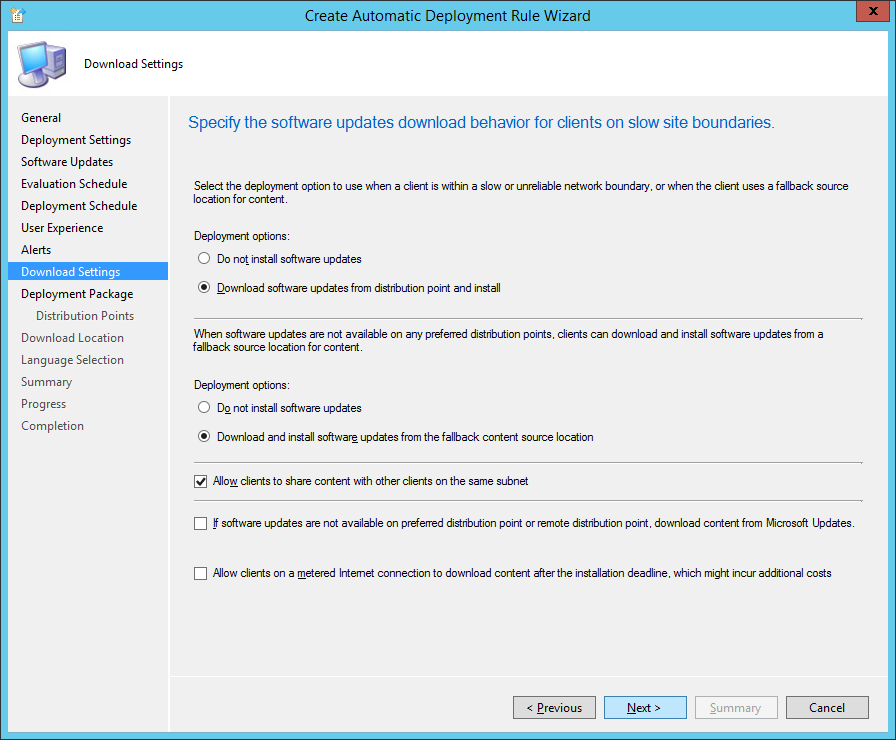
- Optionally, you can check If software updates are not available on preferred sitribution point or remote distirbution point, download content from Microsoft Update, to always ensure your client has a source to download the latest virus defitions.
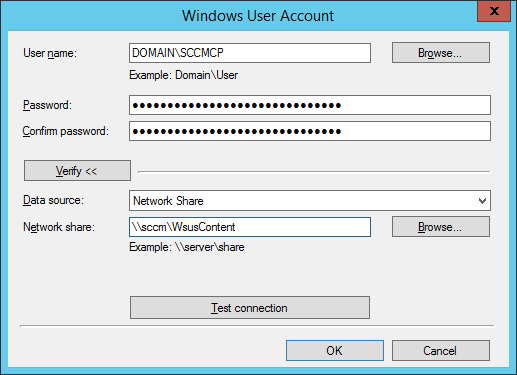
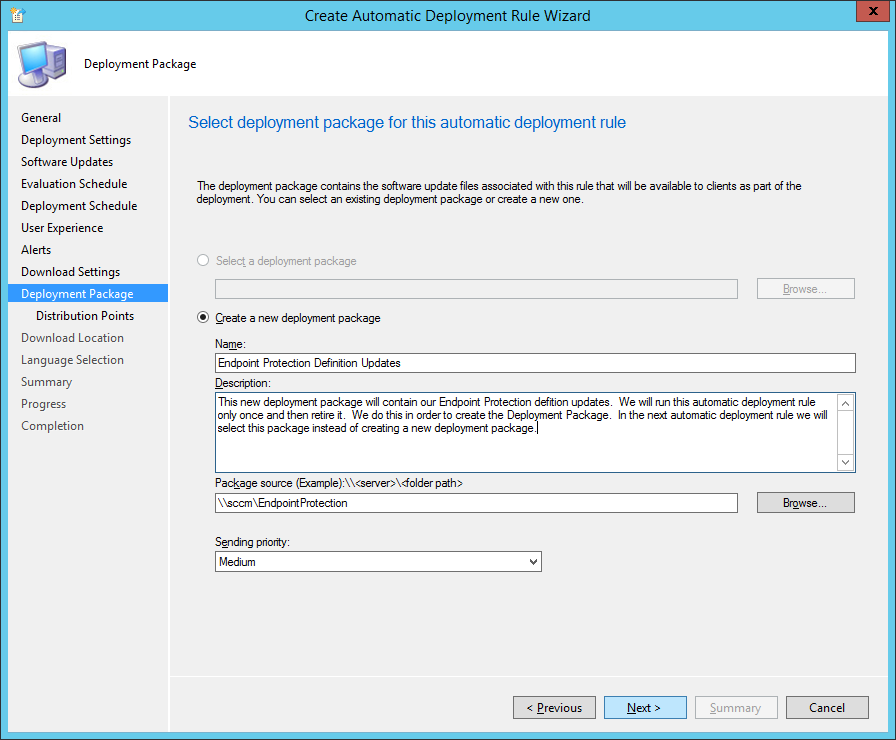
- Enter Endpoint Protection Definition Updates for the Name, the following Description: This new deployment package will contain our Endpoint Protection defition updates. We will run this automatic deployment rule only once and then retire it. We do this in order to create the Deployment Package. In the next automatic deployment rule we will select this package instead of creating a new deployment package., and type in the share path to your sccm folder (\\sccm\EndpointProtection). Click Next >
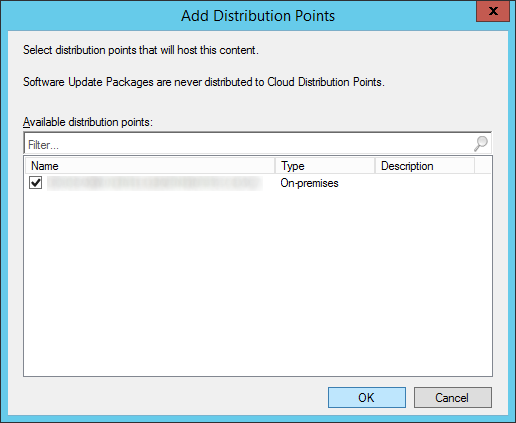
- Click Add, Distribution Point
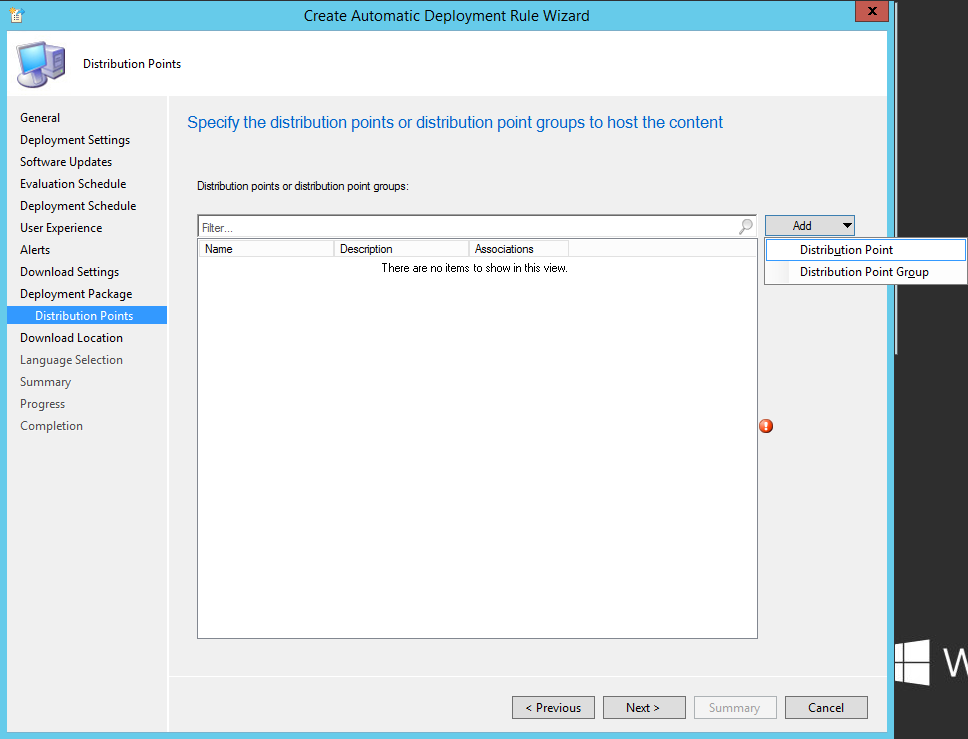
- Check your site and click OK
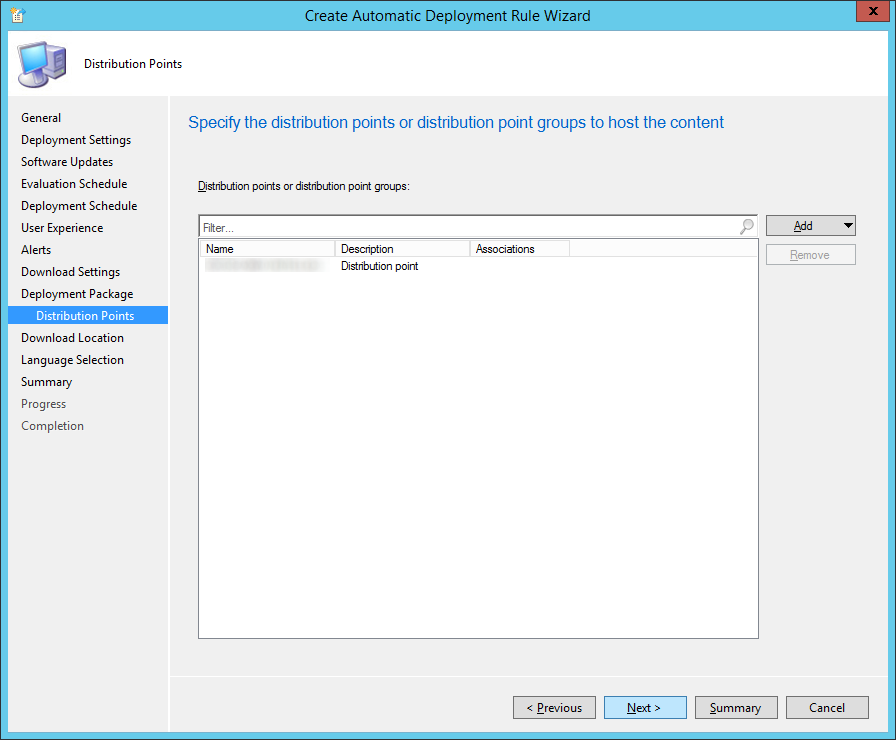
- Click Next >
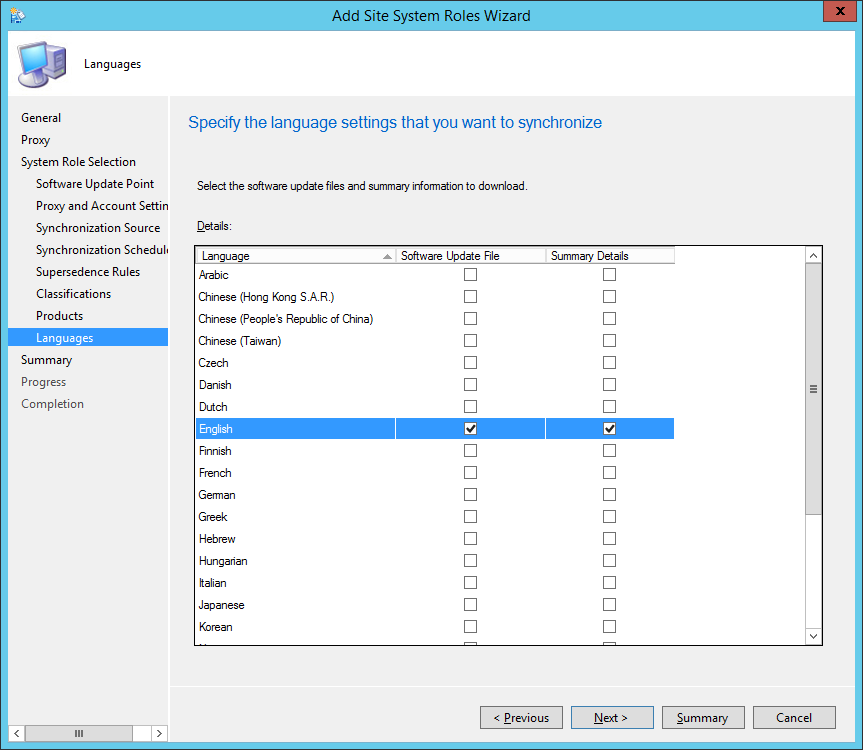
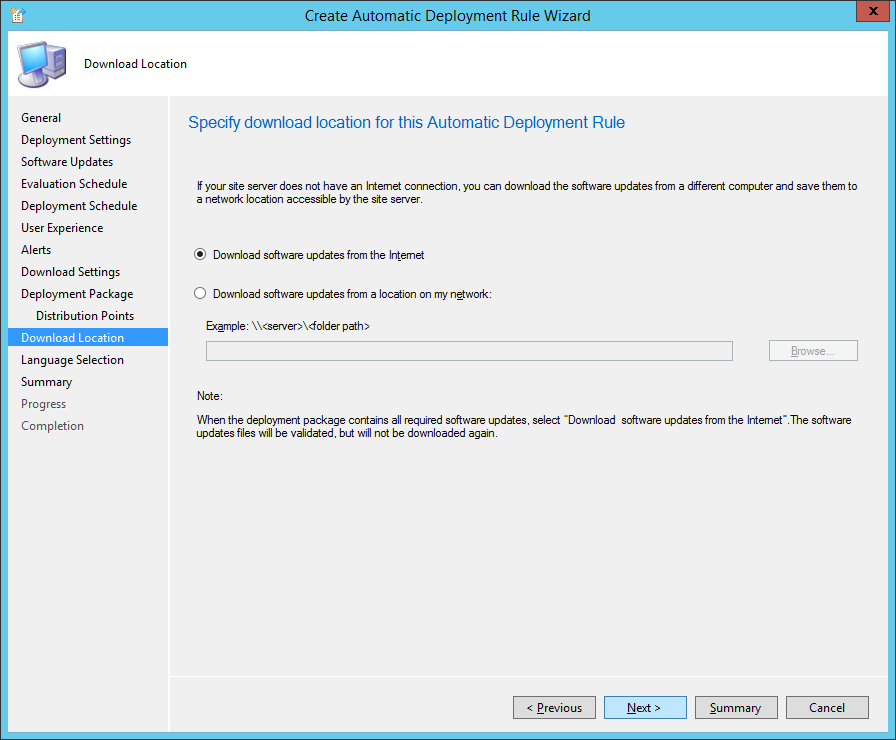
- Ensure Download software updates from the Internet is checked and click Next >
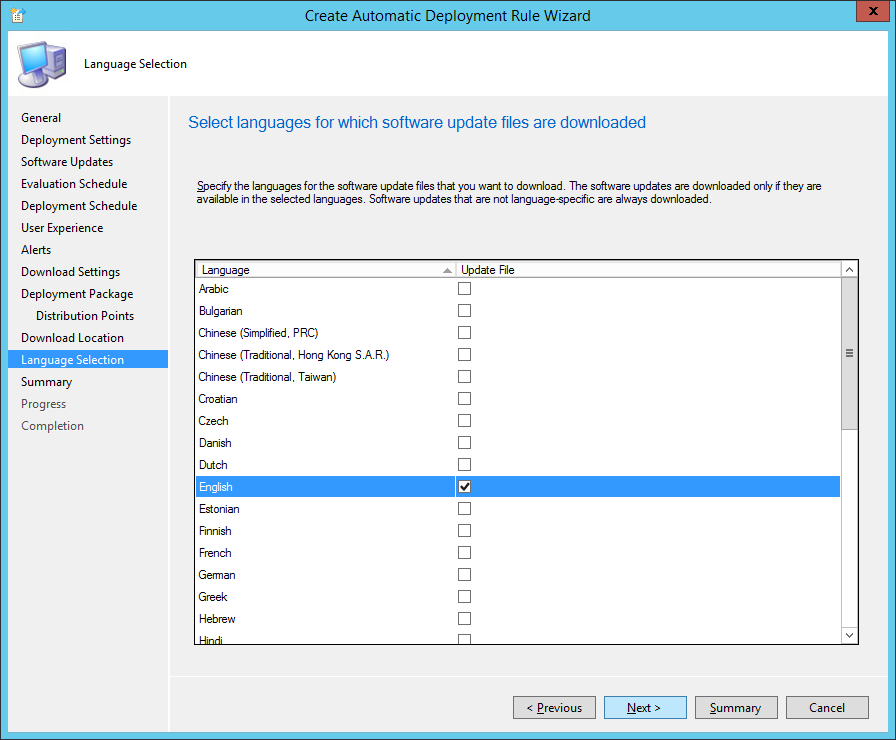
- Check the languages you want to support and then click Next >
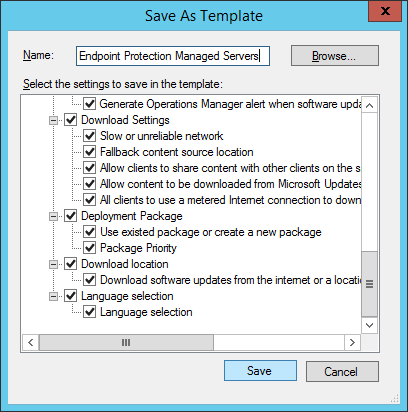
- Click Save As Template…, click Browse… and enter Endpoint Protection Managed Servers and click Save
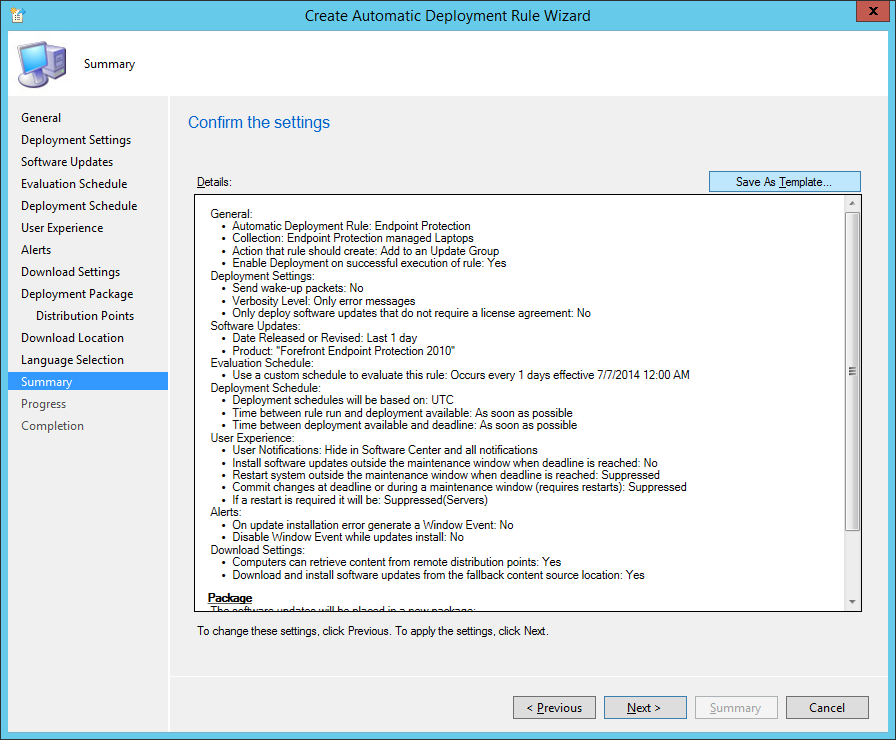
- Click Next >
- Click Close
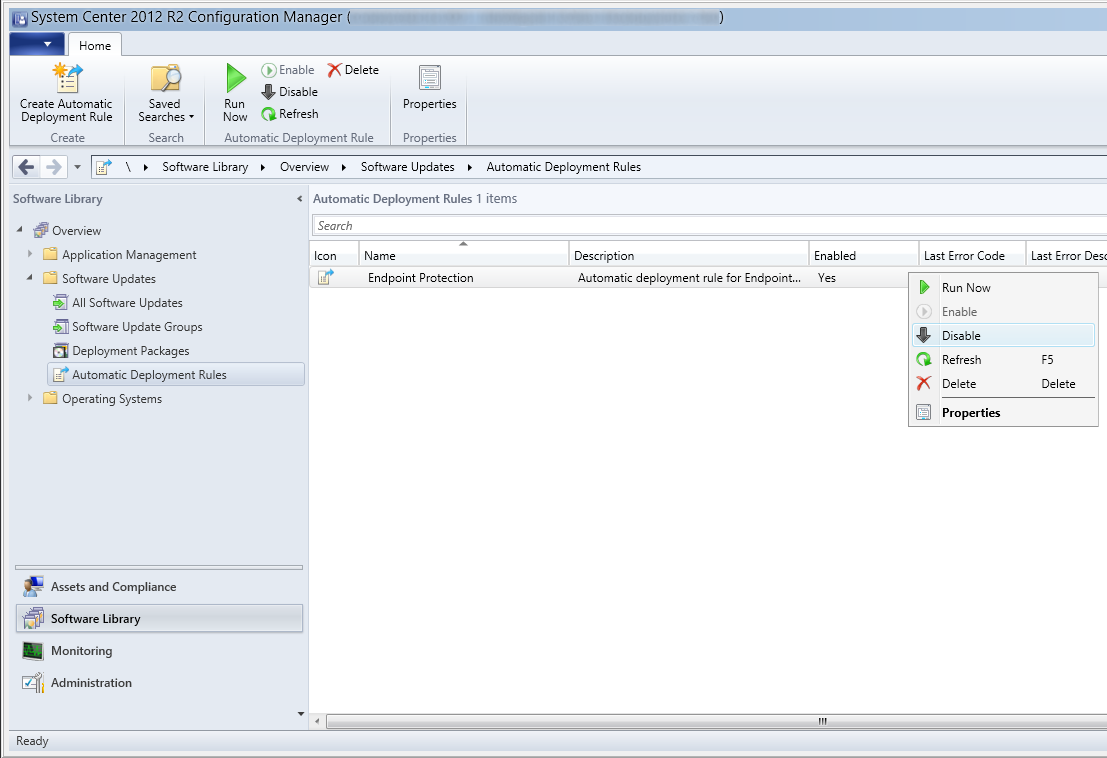
- Right click on your Endpoint Protection rule and select Disable
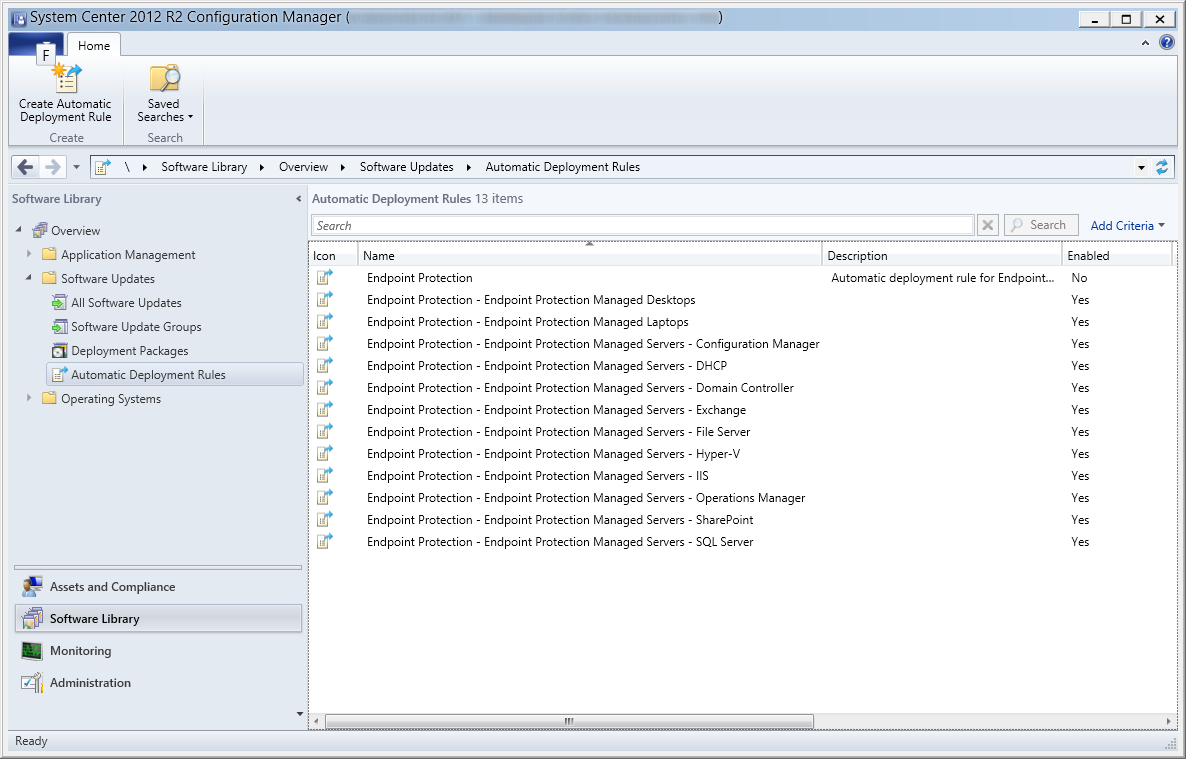
- Repeat steps 3-23, using Endpoint Protection Managed Servers as a template in Step 4 for each of the Device Collection groups we created.
Configure custom antimalware policies
In this section we will configure how Endpoint Protection will function on the client machines.
- Launch the System Center 2012 R2 Configuration Manager console
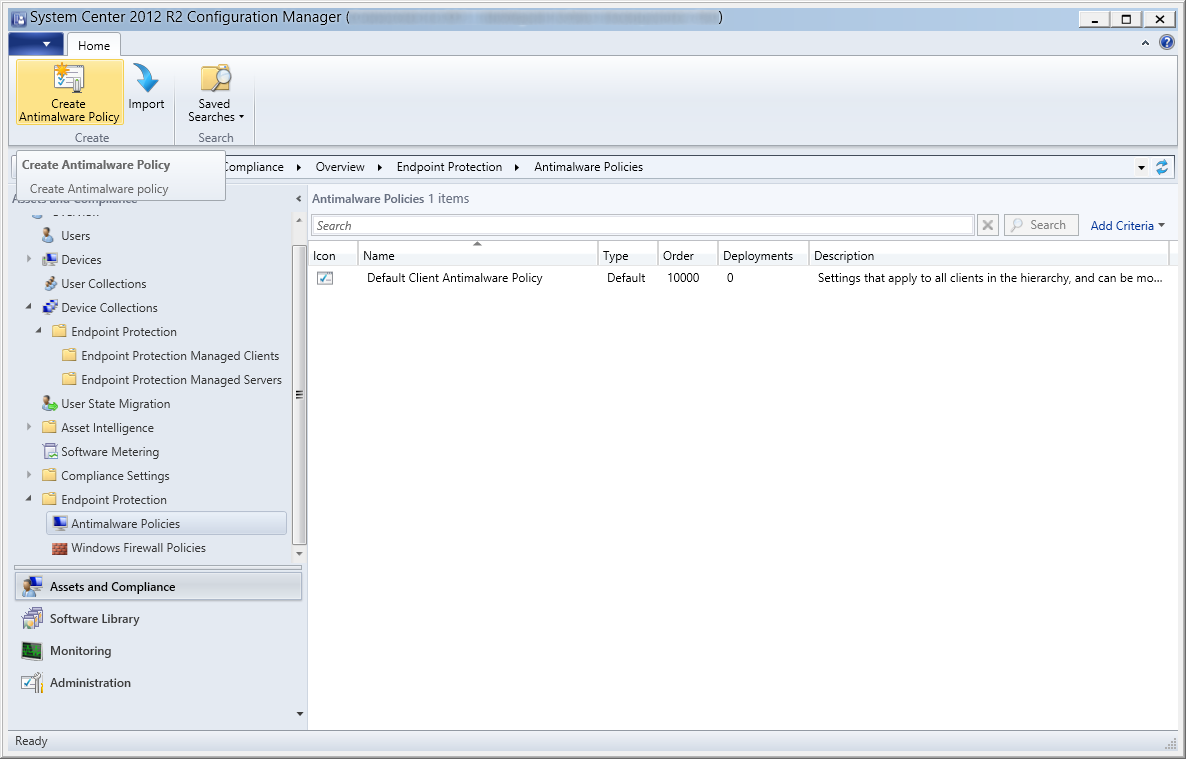
- Select Assets and Compliances, Endpoint Protection, and then click the Create Antimalware Policy button
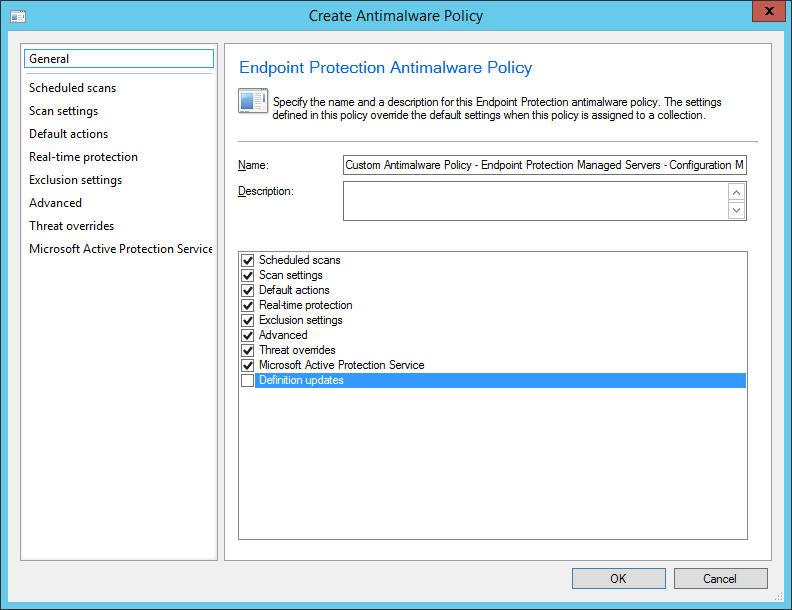
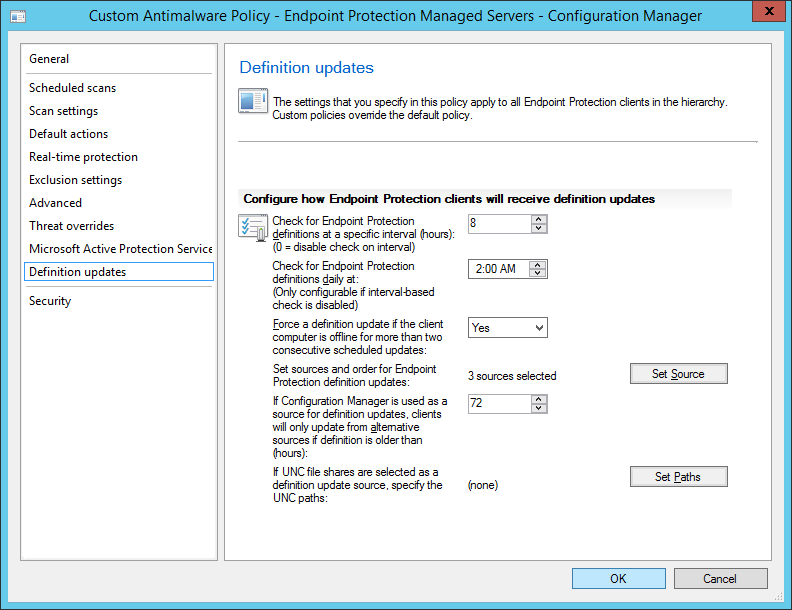
- Set a Name and Description for your Endpoint Protection Antimalware Policy, and then check each of the boxes for the options you wish to configure. Go through each of the tabs and customize how you wish the agent to run. Then click OK
- Right click on your custom policy and click Deploy

- Select the group you wish to target (in this case, configuration manager), and click OK

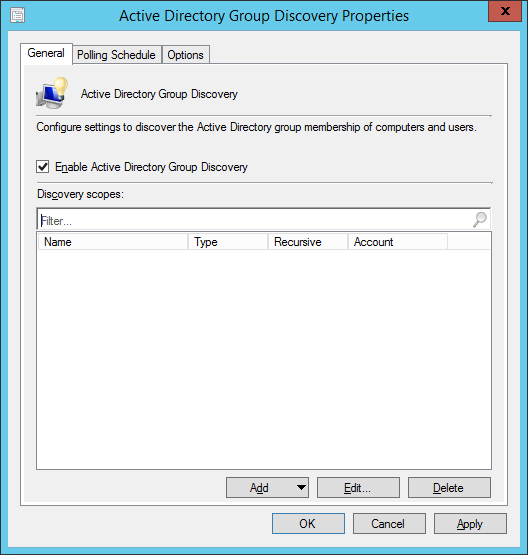
Configure Custom Device Settings
In this section we will configure the client policy to tell the machine it is managed by Endpoint Protection.
- Launch the System Center 2012 R2 Configuration Manager console
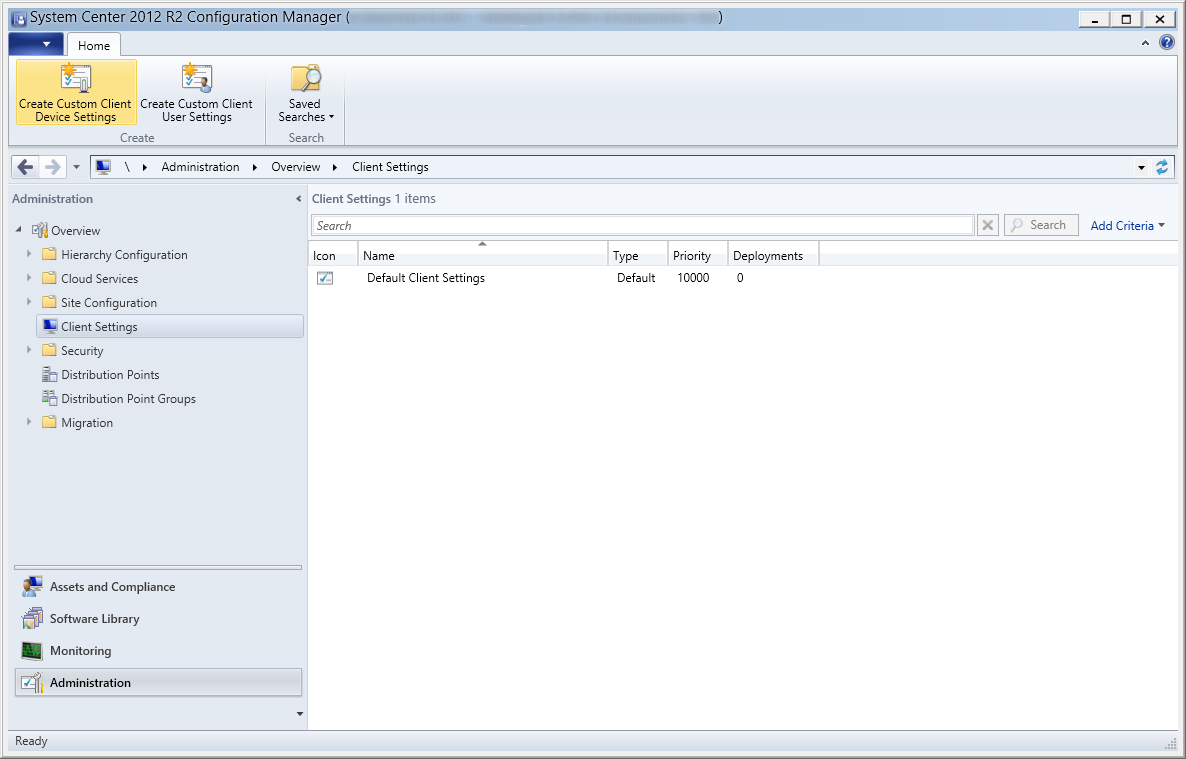
- Select Administration, Client Settings, and then click on Create Custom Client Device Settings
- Enter in a Name (Custom Client Device Settings – Endpoint Protection Managed Servers – Configuration Manager), Description (Custom client device settings for servers related to configuration manager), and check Endpoint Protection
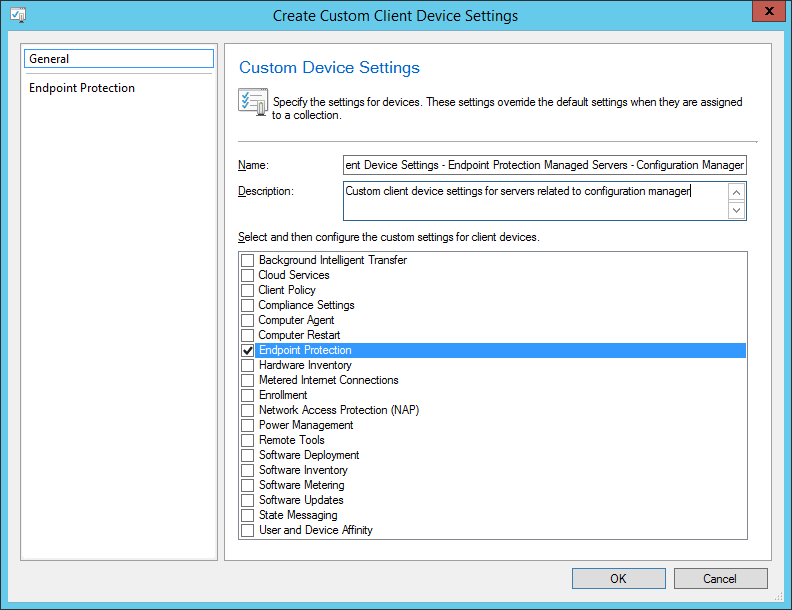
- On the Endpoint Protection tab use the following settings and then click OK
- Manage Endpoint Protection client on client computeres: Yes
Allow Endpoint Protection client installation and restarts outside maintenance windows. Maintenance windows must be at least 30 minutes long for client installation: Yes
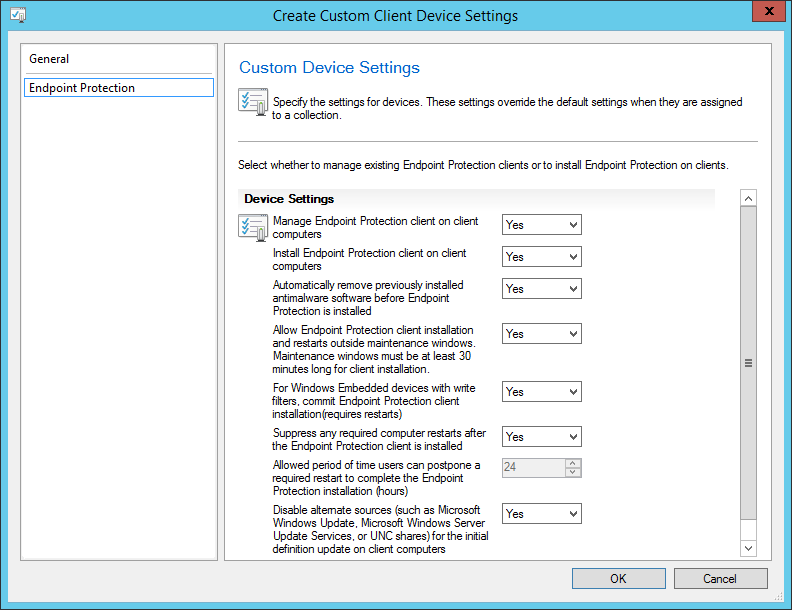
- Manage Endpoint Protection client on client computeres: Yes
- Right click on your new Custom Client Device Settings policy and select Deploy
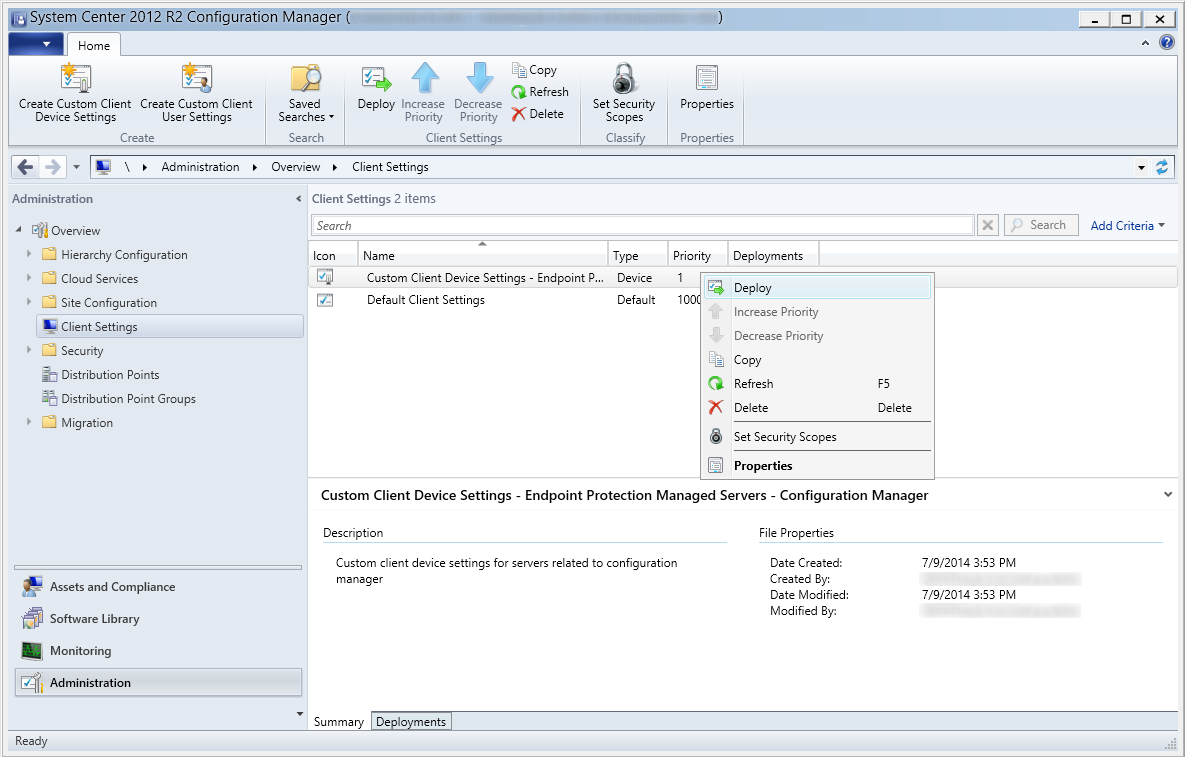
- Select the group of machines you want to deploy the agents to and select OK
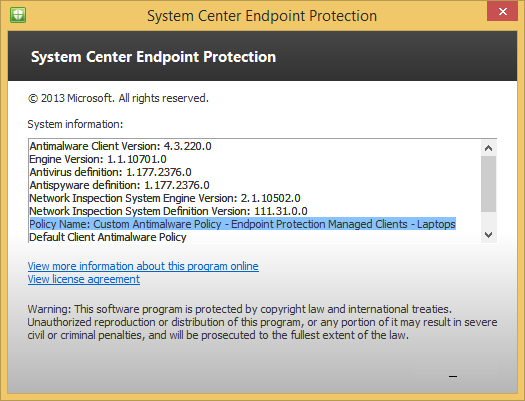
Verify the client shows the policy
- Open the Endpoint Protection agent and select About
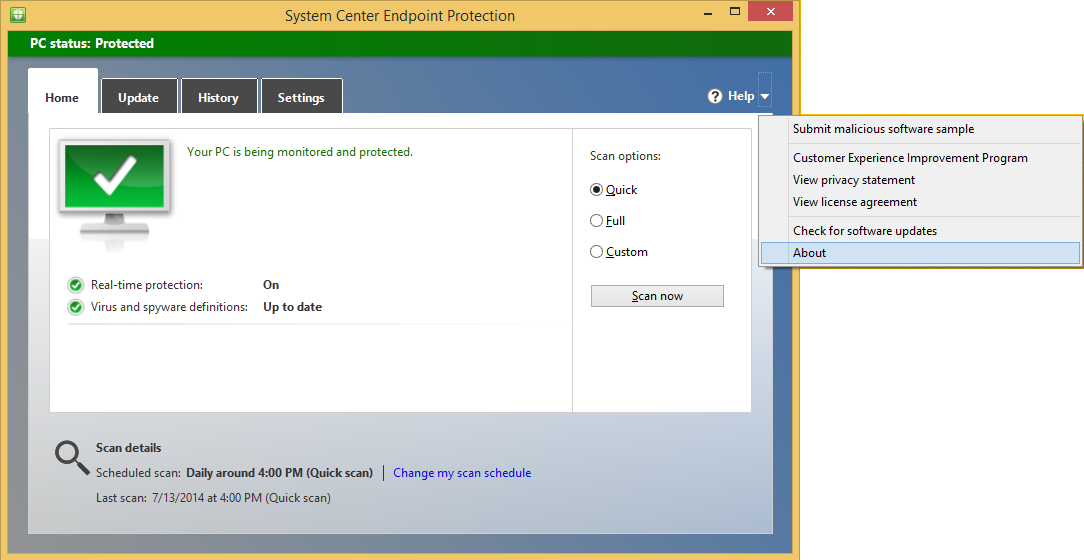
- Verify you see your custom antimalware policy