Monthly Archives: January 2015

Upgrading DirSync to AADSync for Office 365 and Azure environments

As of 11/11/2014, Microsoft has released their next generation tool for providing synchronization between an on-premise Active Directory environment and Microsoft based cloud service (Azure, Office 365 Suite (Lync Online, CRM, SharePoint, Exchange, etc.)).  The utility is now referenced as Microsoft Azure Active Directory Sync Services (AADSync).

In this tutorial, we will go over the process to ensure you are on the new generation of their synchronization tool.  The process is fairly straight forward, uninstall the old DirSync utility, install the new AADSync utility.  If you wish to install the utility on a new server, stop the DirSync service, install the AADSync utility on the new server, and then uinstall DirSync after you have verified synchronization is successful on the new machine.

Here is the uninstall DirSync and install AADSync process

  1. Download a copy of the AADSync utility from Microsoft's website: http://www.microsoft.com/en-us/download/details.aspx?id=44225
  2. Login to the server currently running DirSync
  3. Open up Control Panel
    Server - Start Menu - Control Panel
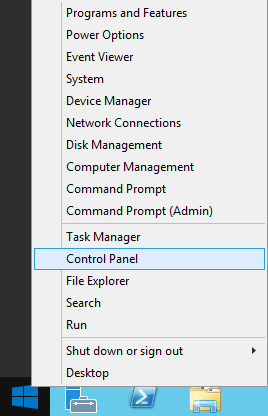
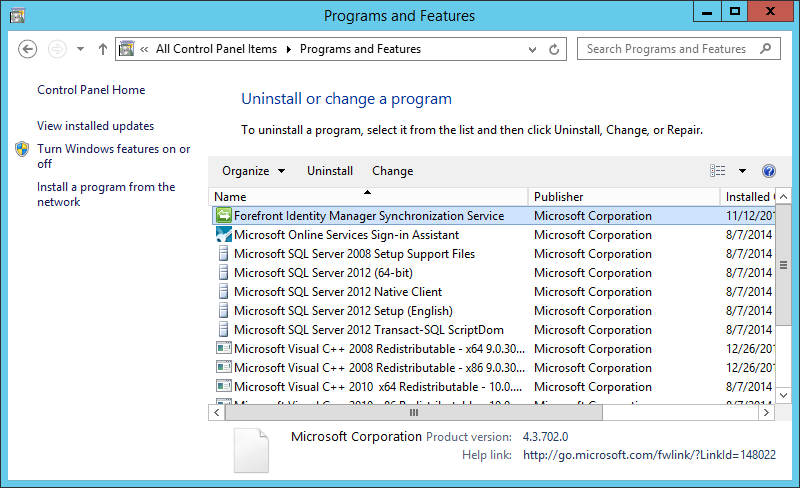
  4. Select Programs and Features (notice I am in the View By Small icons view)
    Control Panel - Small Icons - Programs and Features
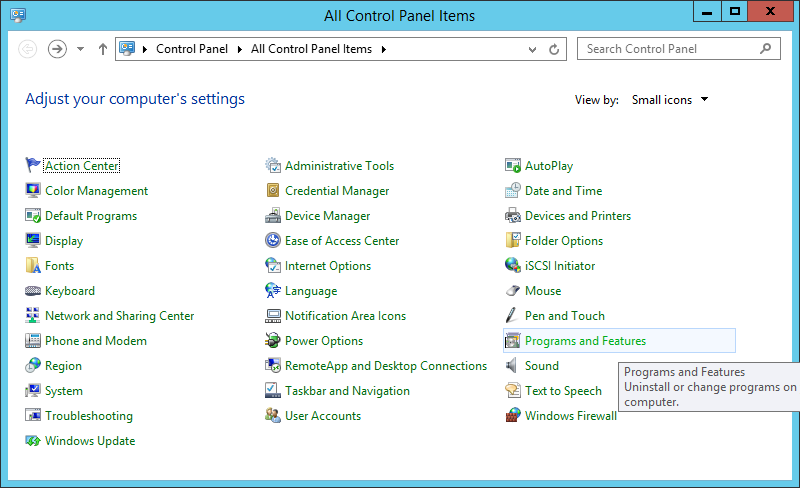
  5. Uninstall the Windows Azure Active Directory Sync tool
  6. Select Yes to uninstall when prompted
    Windows Azure Active Directory Sync - Another instance dialog - Uninstall
  7. Uninstall Forefront Identity Manager Synchronization Service if it wasn't uninstalled already
    Uninstall - Forefront identity Manager Synchronization Service
  8. Run the MicrosoftAzureADConnectionTool.exe application you downloaded from Microsoft
    MicrosoftAzureADConnectionTool Installer
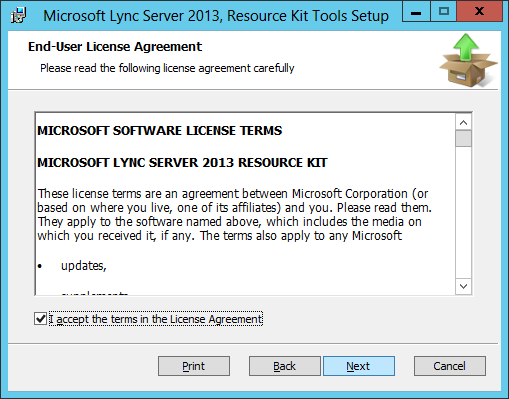
  9. Check I agree to the license terms and click Install
    Microsoft Azure Active Directory Sync Services - Install
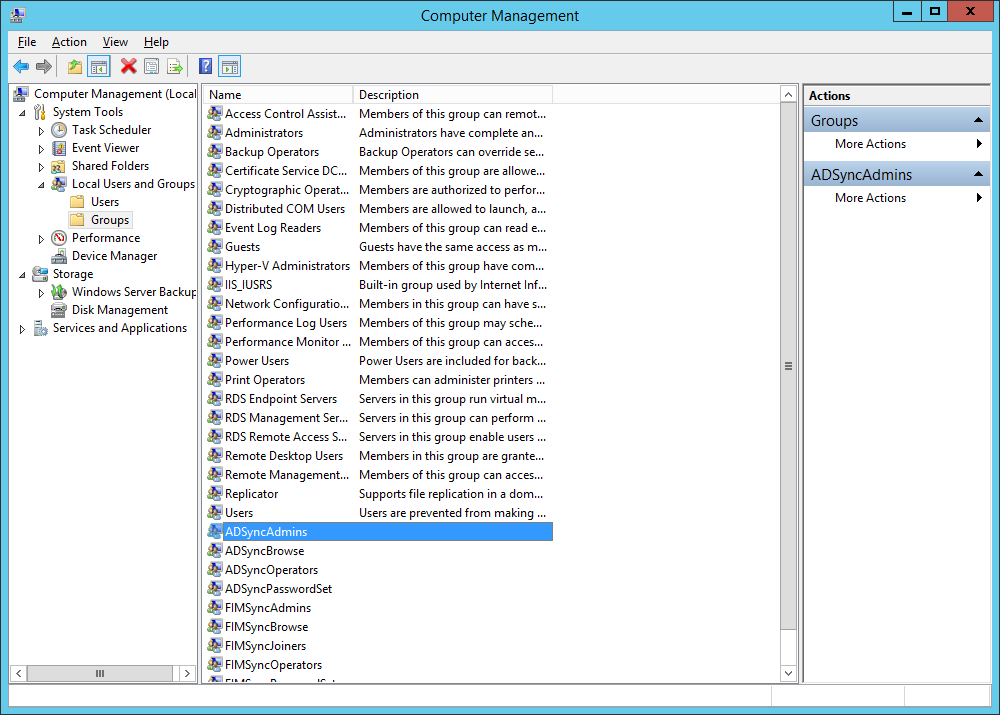
  10. Once the install has finished, open up Computer Management and navigate to System Tools -> Local Users and Groups, Groups, and double click on ADSyncAdmins
    Computer Management - Local Users and groups - Groups - ADSyncAdmins
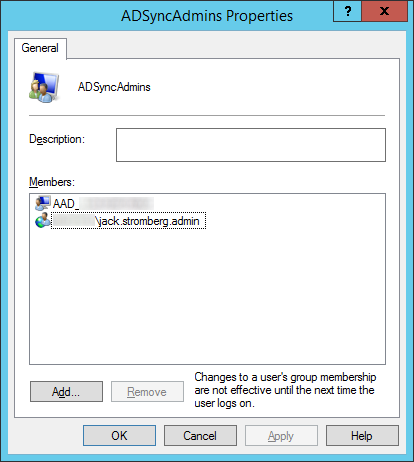
  11. Ensure your user account, user group, or local machine has been added to the security group
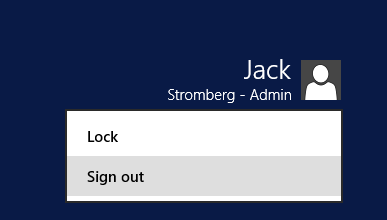
    ADSyncAdmins - Group Membership
  12. Log out of Windows
    Windows 8-Server 2012 - Sign Out

    1. Note: This step is needed to ensure you have proper user privileges when running the sync tool.  When running through the sync tool's installer, your user account will automatically be placed in a local security group called ADSyncAdmins.  A logout is needed to update your session otherwise you may receive the following error message:
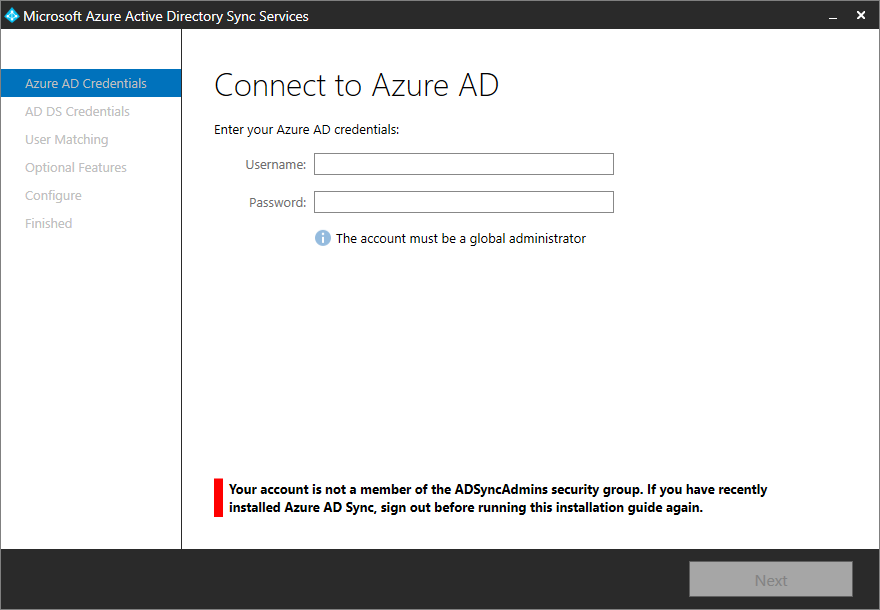
      Your account is not a member of the ADSyncAdmins security group.  If you have recently installed Azure AD Sync, sign out before running this installation guide again.
      Microsoft Azure Active Directory Sync Services - Your account is not a member of the ADSyncAdmins security group
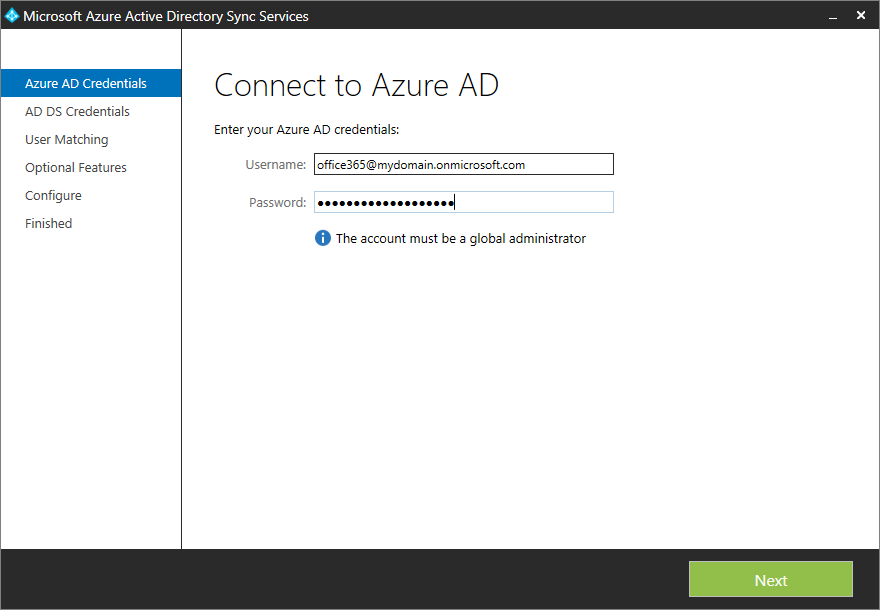
  13. Upon login, open up the DirectorySyncTool application
    DirectorySyncTool
  14. Enter your Azure or Office 365 admin credentials and click Next
    Microsoft Azure Active Directory Sync Services - Azure AD Credentials
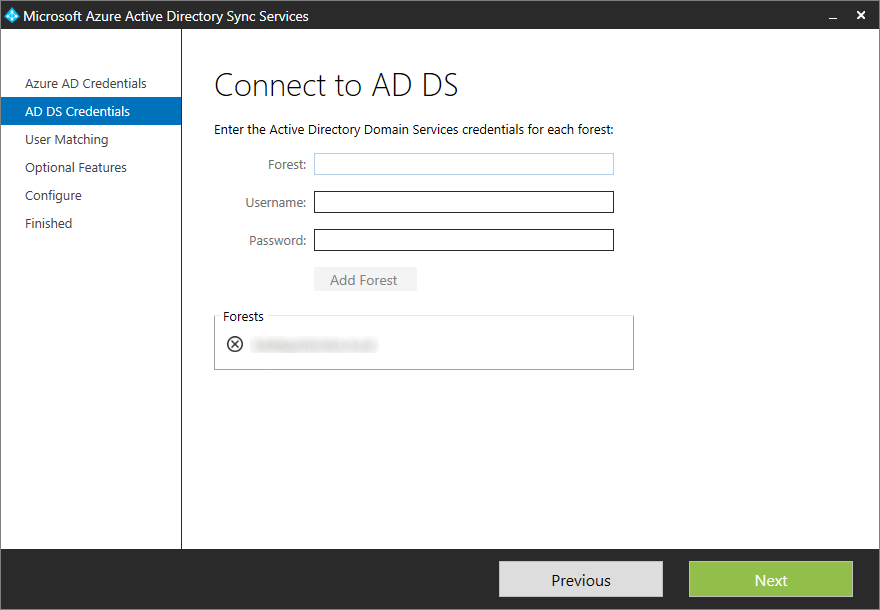
  15. Enter in your forest name, username (must be in domain\username format), and password (Active Directory on-premise credentials) and click Add Forest
    Microsoft Azure Active Directory Sync Services - AD DS Credentials

    1. Note: If you are unsure what your forest name is, login to your domain controller and execute the following powershell command to list all forests in your deployment:
       Get-AdForest | FT Name
  16. Click Next once your forest has been validated
    Microsoft Azure Active Directory Sync Services - AD DS Credentials - Forests Validated
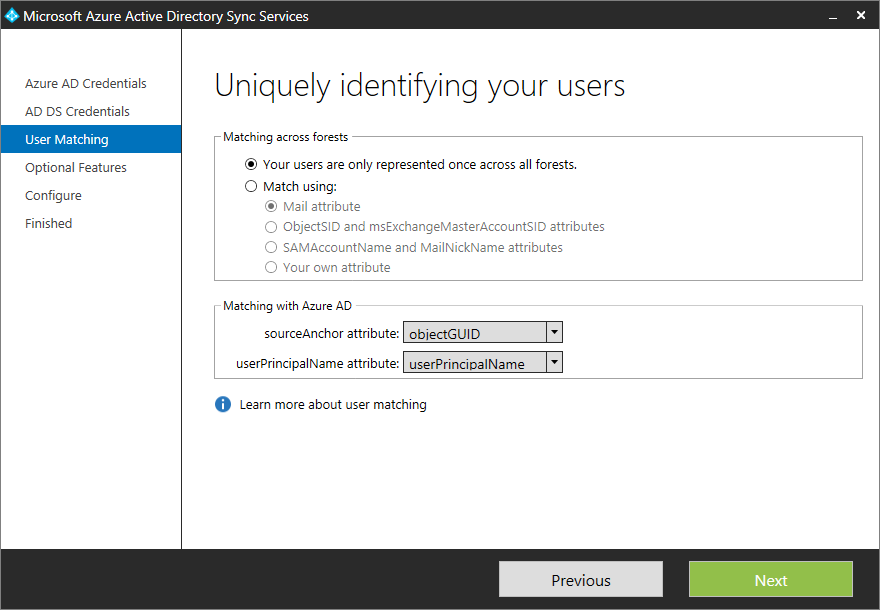
  17. Click Next on User Matching
    Microsoft Azure Active Directory Sync Services - User Matching
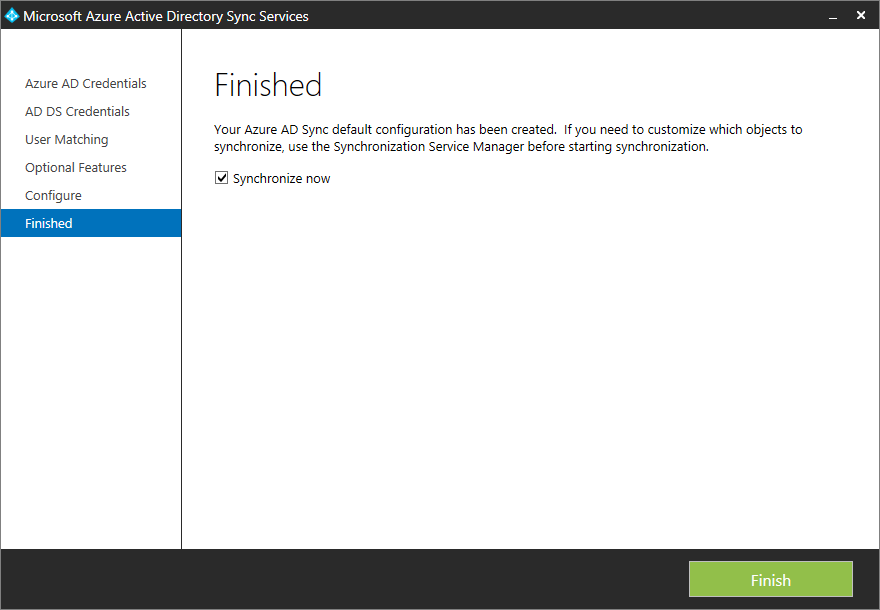
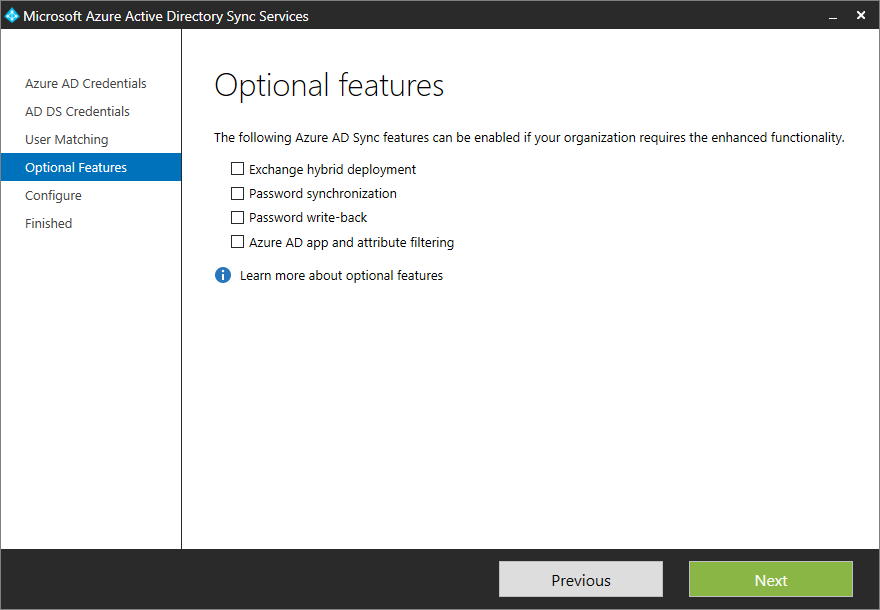
  18. Check the boxes that are applicable to your deployment and click Next
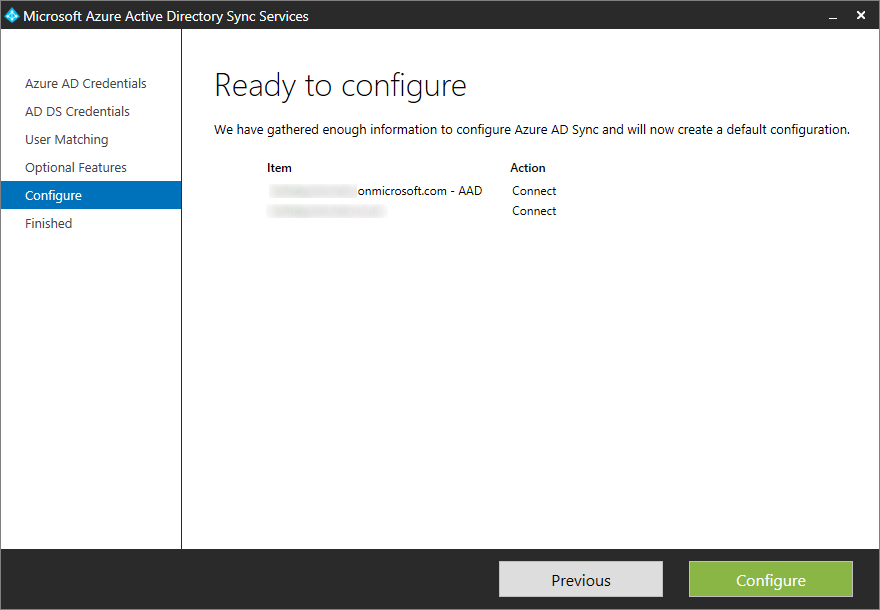
    Microsoft Azure Active Directory Sync Services - Optional Features
  19. Click Configure
    Microsoft Azure Active Directory Sync Services - Configure
  20. Click Finish
    Microsoft Azure Active Directory Sync Services - Finish


How to administratively forward Lync calls or numbers

Scenario: A user leaves the organization and you would like to forward their number/calls to a manager.

Solution: Microsoft has a Lync Server 2013 (and 2010) Resource Kit that contains a command-line tool called SEFAUtil (secondary extension feature activation) which can be used to achieve this task.  Before beginning, I would recommend taking a look at the official TechNet article/documentation on the utility itself: http://technet.microsoft.com/en-us/library/jj945604.aspx  In this tutorial, we will download the tool and execute the proper commands to configure call forwarding for a specified user.

  1. Download a copy of the Lync Server 2013 Resource Kit from Microsoft's website here: http://go.microsoft.com/fwlink/p/?LinkID=330429
  2. Run the installer from your Front End Server/Pool
    OCSReskit_msi
    Lync Server 2013 - Resource Kit - Welcome
    Lync Server 2013 - Resource Kit - EULA
    Lync Server 2013 - Resource Kit - Destination Folder
    Lync Server 2013 - Resource Kit - Install
    Lync Server 2013 - Resource Kit - Finish
  3. Create a trusted application pool
    1. Execute the following command
      1. $Site=Get-CsSite -Identity "My Site"
        Lync Server 2013 - Get-CsSite - Variable

        1. Note: If you don't know what to substitute for My Site, execute the following command to see what sites you have available and then use the Identity value.
          1. Get-CsSite
            Lync Server 2013 - Get-CsSite
      2. Execute the following command
        1. New-CsTrustedApplicationPool -id <Pool FQDN> -Registrar <Pool Registrar FQDN> -site $Site.SiteID
          Lync Server 2013 - New-CsTrustedApplicationPool

          1. Note: Technically we didn't need to run the 1st command, however this can help cut-down on user error.  Additionally, if you have multiple sites and you knew what site you wanted to use but not the ID, this helps skip a step.
  4. Define SEFAUtil as a trusted application in the Lync topology
    1. Execute the following command
      1. New-CsTrustedApplication -ApplicationId sefautil -TrustedApplicationPoolFqdn <Pool FQDN> -Port 7489
        Lync Server 2013 - New-CsTrustedApplication sefautil
  5. Enable the Lync topology to commit the changes
    1. Enable-CsTopology
      Lync Server 2013 - New-CsTrustedApplication sefautil - Enable-CsTopology
  6. Forward a user's number
    1. Navigate to %ProgramFiles%\Microsoft Lync Server 2013\ResKit
      Lync Server 2013 - Navigate ResKit
    2. Execute the following command
      1. SEFAUtil.exe /Server:<Pool FQDN> [email protected] /enablefwdimmediate /setfwddestination:[email protected]
        SEFAUtil enablefwdimmediate setfwddestination

That should be it!

Note: If you are more comfortable using a GUI or don't wish to type in multiple powershell commands, I would highly recommend checking out Johan Veldhuis's SefaUtil GUI PowerShell script.  Once you are done following steps 1-5 above, you you can grab a copy of the script here: http://johanveldhuis.nl/sefautil-gui/sefautil-gui/