In this tutorial we will go over deploying a reverse proxy for Lync Server 2013. The original method for deploying a reverse proxy was to use Microsoft's product ForeFront TMG (Threat Management Gateway), however shortly after the release of Lync Server 2013, TMG was discontinued. In turn, a few tutorials have popped up on how to achieve this using Apache and IIS, but there wasn't an official recommendation on what to use until Server 2012 was released.
Per Microsoft's documentation, we can use IIS with an additional extension called Application Request Routing to achieve this task: http://technet.microsoft.com/en-us/library/gg398069.aspx
Details on the IIS Application and Request Routing extension can be found here: http://www.iis.net/downloads/microsoft/application-request-routing
Side note, much of this guide is largely based on an older technet article published here, which has some additional fine details on how exactly IIS is working to proxy the requests: http://blogs.technet.com/b/nexthop/archive/2013/02/19/using-iis-arr-as-a-reverse-proxy-for-lync-server-2013.aspx
This tutorial will go over installation instructions from start to finish for Server 2012 and Server 2012 R2. I have attached the links on how to get Server 2008 and Server 2008 R2 prepped, so you can continue the tutorial once the IIS Application Request Routing extension has been installed.
Download Prerequisite Software
- Windows Server 2012 R2
- Download IIS Application Request Routing (ARR): http://www.microsoft.com/web/gallery/install.aspx?appid=ARRv3_0
- Windows Server 2012
- Download (don't install yet) Hotfix for Microsoft Application Request Routing Version 2.5 for IIS7 (KB 2732764) (x64)
- Download IIS Application Request Routing (ARR): http://www.microsoft.com/web/gallery/install.aspx?appid=ARRv2_5
- Windows Server 2008 and 2008 R2
- Ensure you have IIS v7.X installed; instructions on how to do this can be found here: http://www.iis.net/learn/install/installing-iis-7/installing-iis-7-and-above-on-windows-server-2008-or-windows-server-2008-r2
- Install Application Request Routing version 2
- Instructions can be found here: http://www.iis.net/learn/extensions/installing-application-request-routing-(arr)/install-application-request-routing-version-2
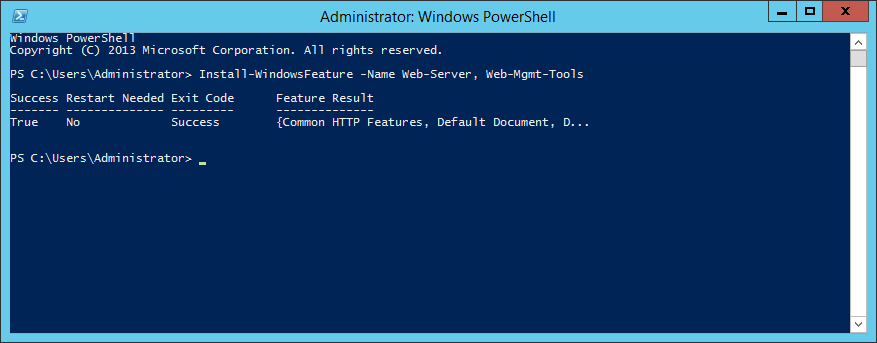
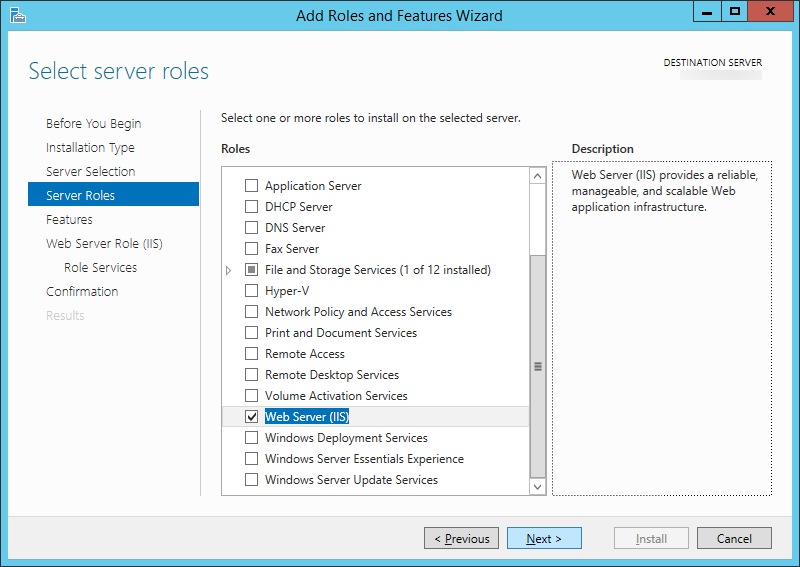
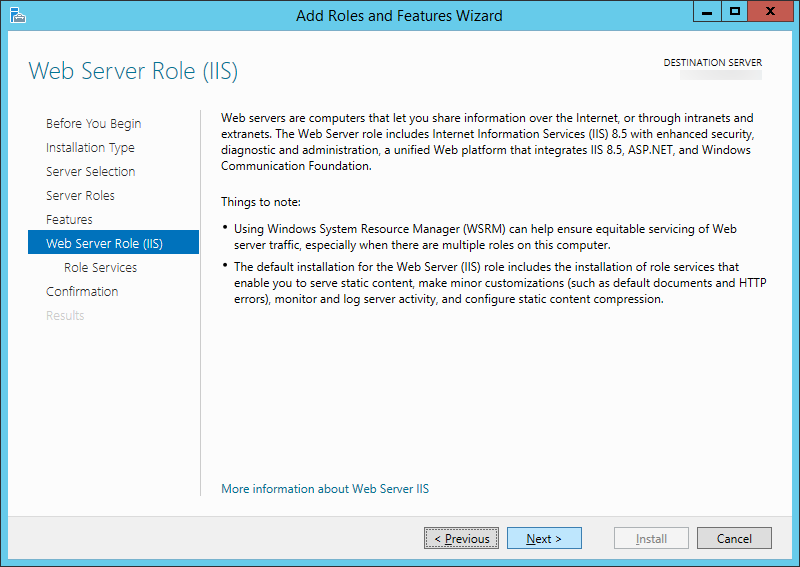
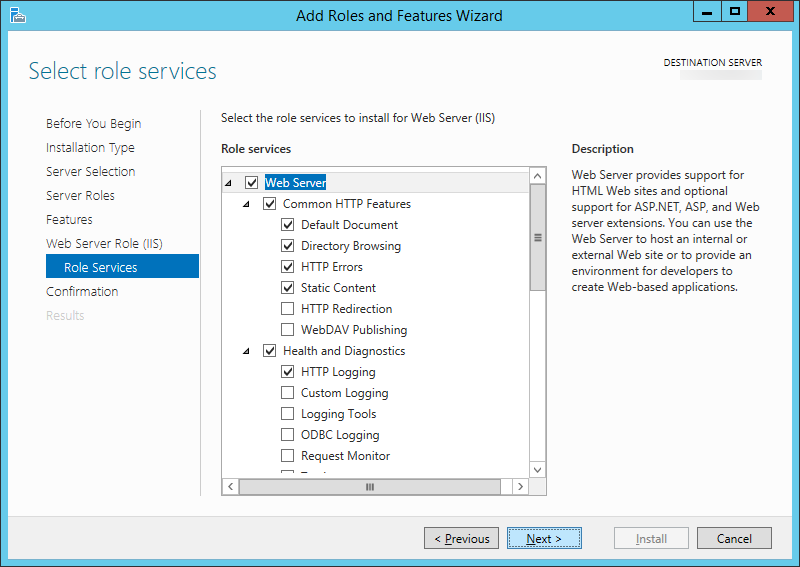
Install IIS for Server 2012 and Server 2012 R2
- Please follow my tutorial here: http://jackstromberg.com/2014/11/tutorial-how-to-install-iis-on-server-2012-and-server-2012-r2/
Installing IIS Application Request Routing (ARR) 3
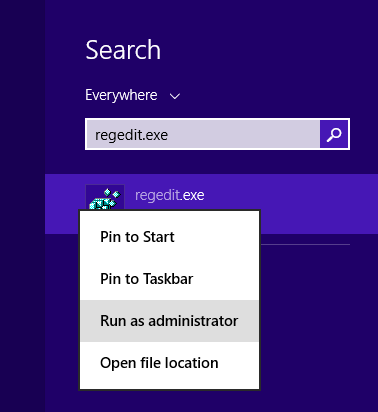
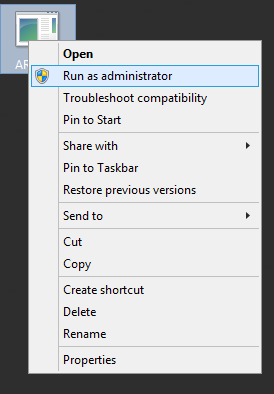
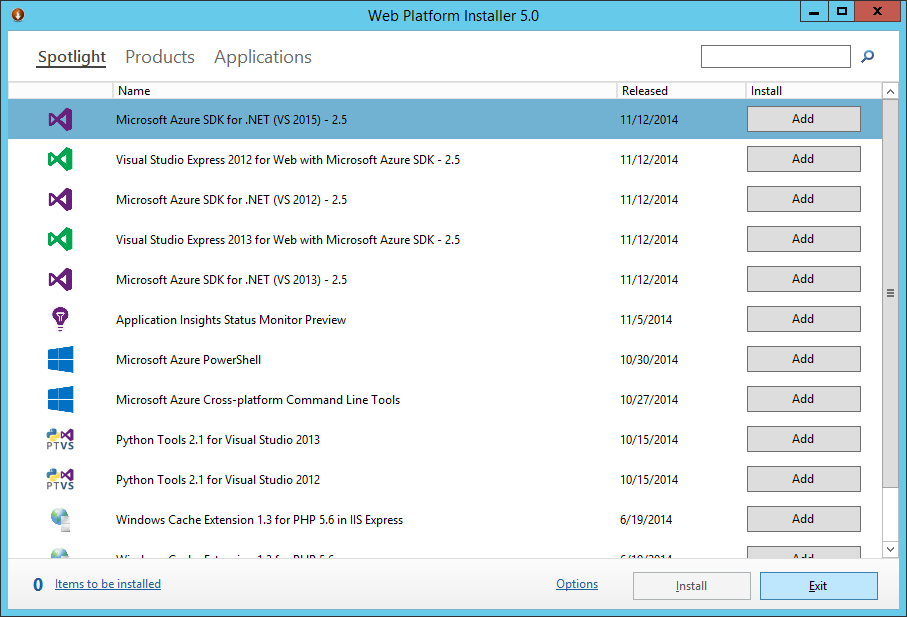
- Run the ARRv3_0.exe application as an administrator
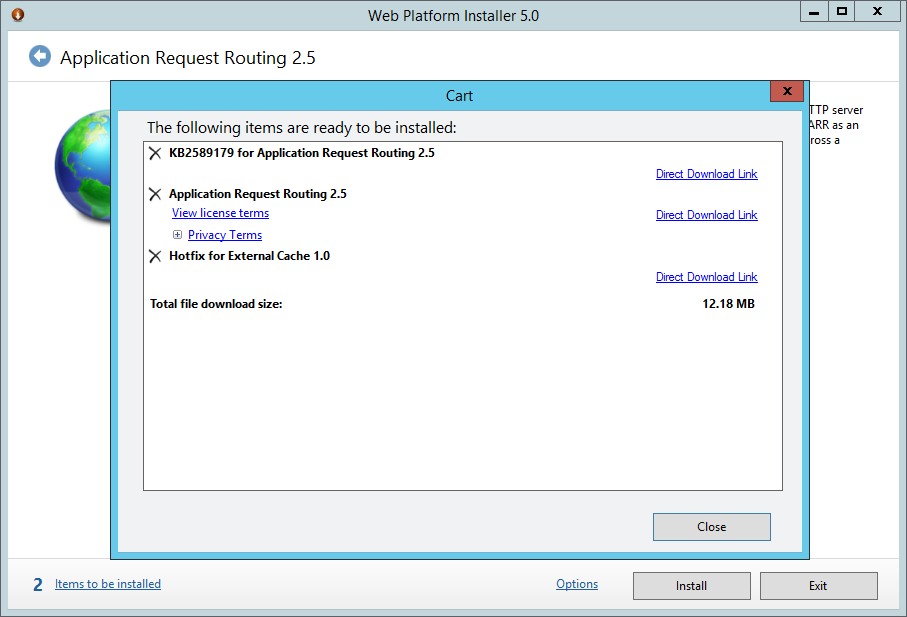
- Click Install

- Note: The cart for the v3.0 installer is shown above. If you are running version 2.5, you will see 2 items needed for install. Version 3, only needs one. This is okay.
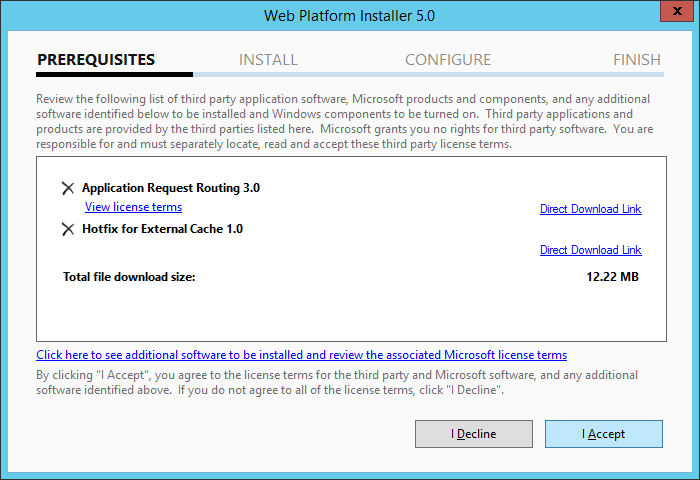
- Click I Accept
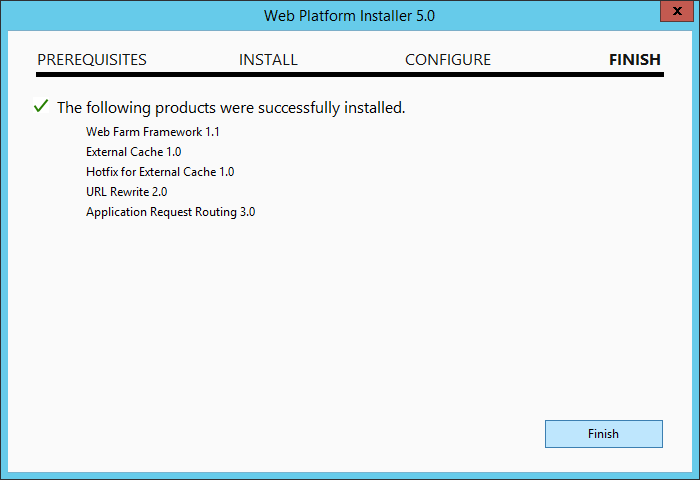
- Click Finish
- Click Exit
Configuring IIS for SSL
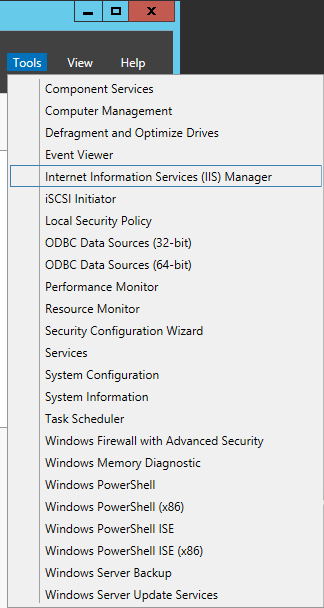
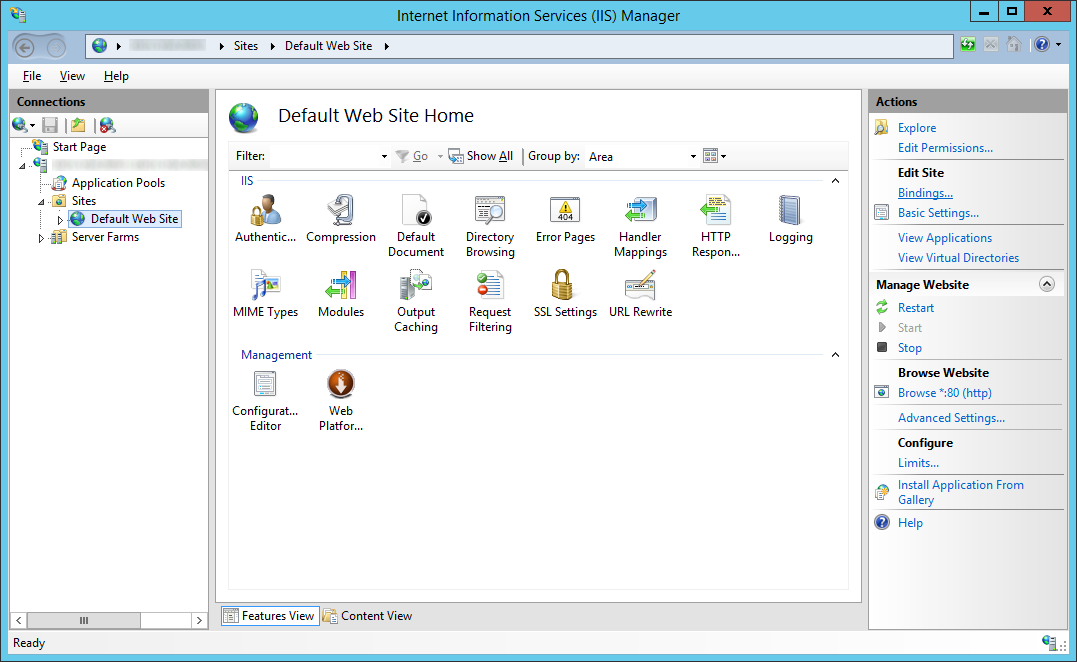
- Open up Internet Information Services (IIS) Manager
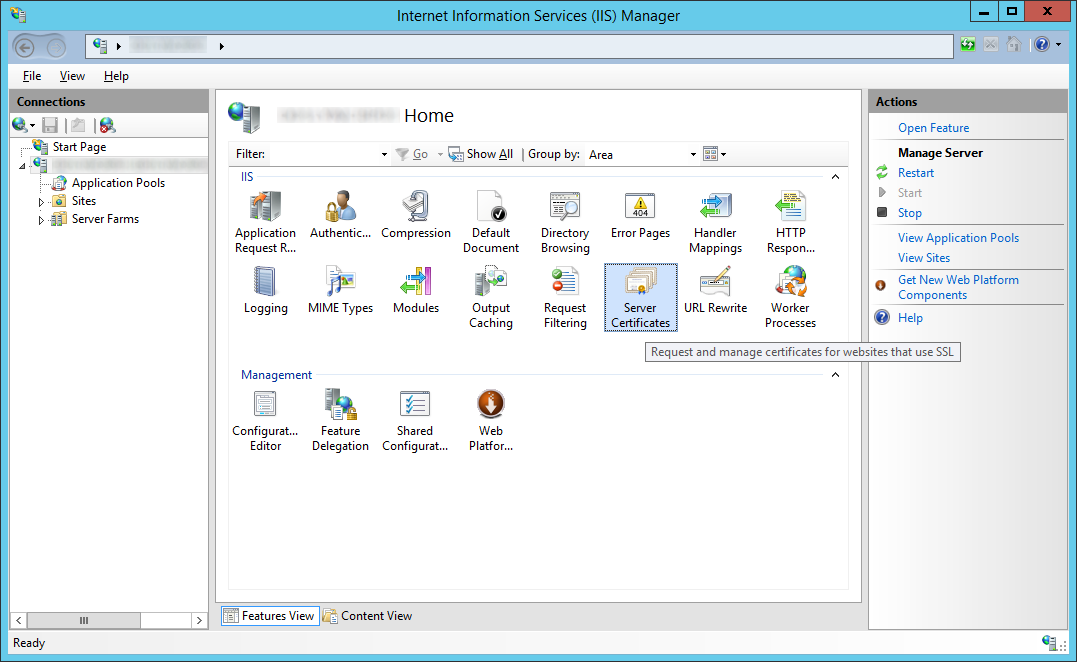
- Select your server and double click on Server Certificates
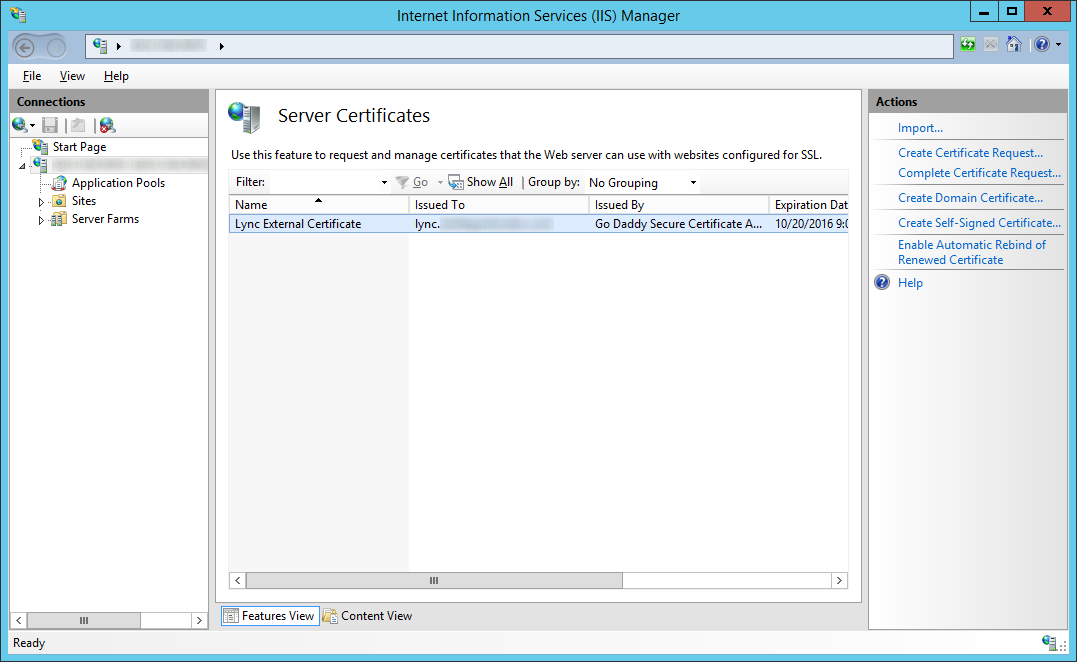
- Generate or Import your SSL Certificate trusted by a public CA (VeriSign, GoDaddy, etc.)
- Note: Generation of this certificate is outside the scope of this tutorial. This SSL certificate should be the UCC certificate that allows for SAN addresses such aslync, meet, dialin, lyncdiscover, etc.
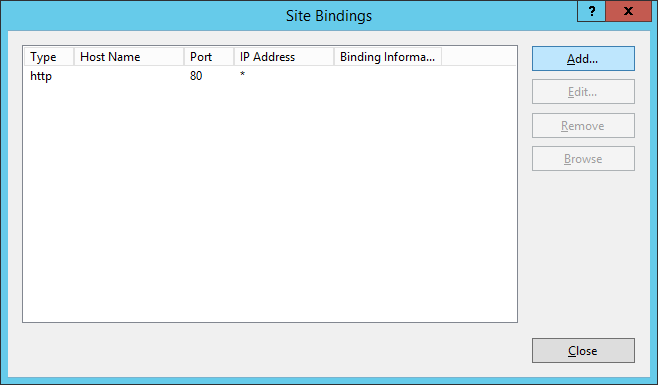
- Expand your server, expand Sites, select Default Web Site, select Bindings...
- Click on Add...
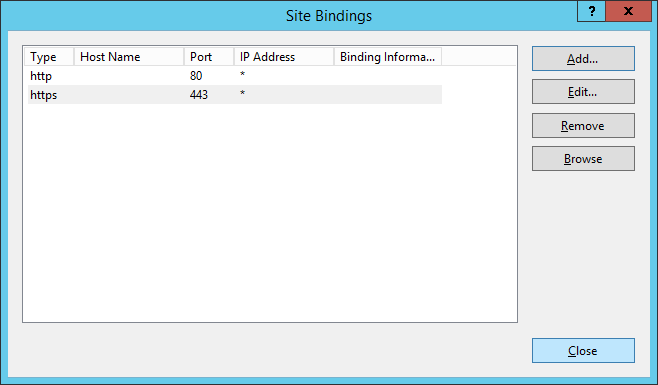
- Select https, and choose your SSL certificate you imported in the previous step, click OK
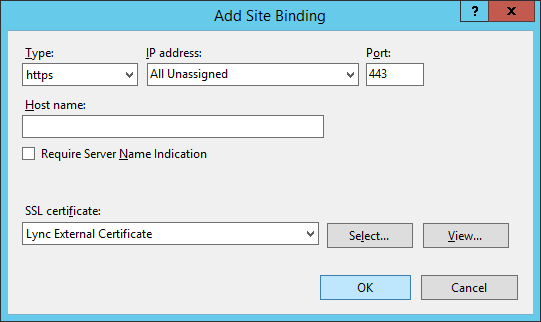
- Click Close
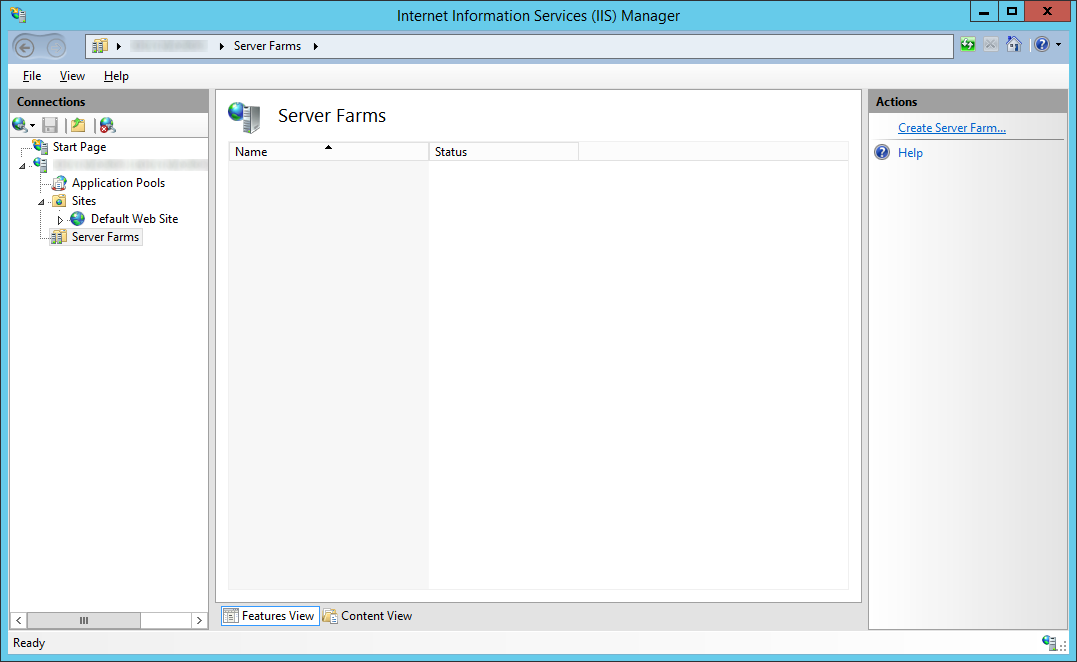
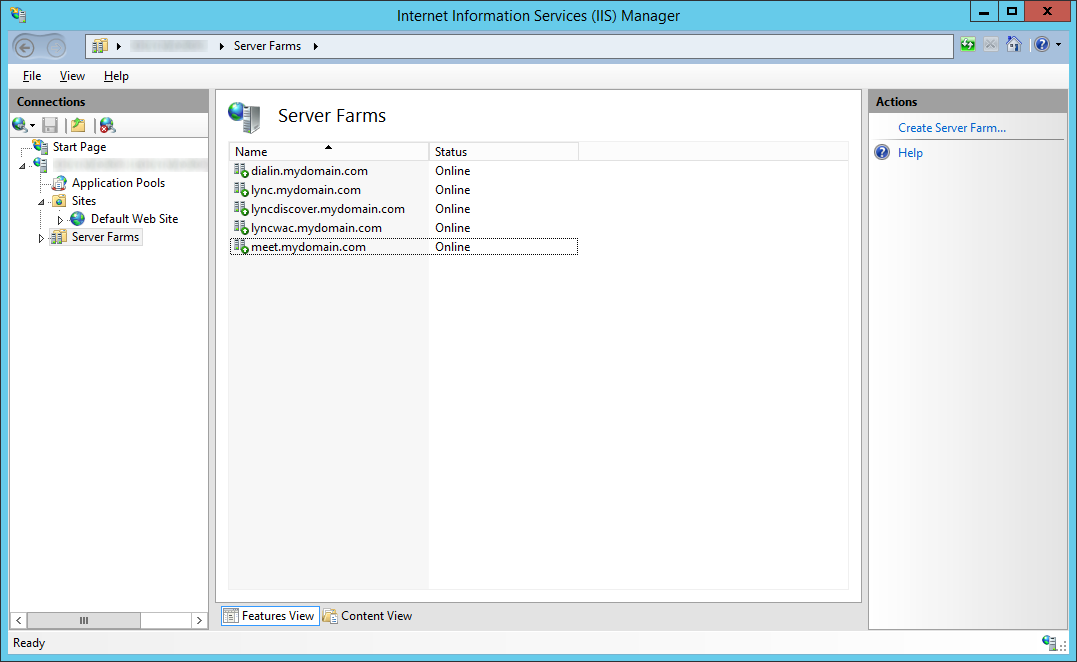
Create Server Farms
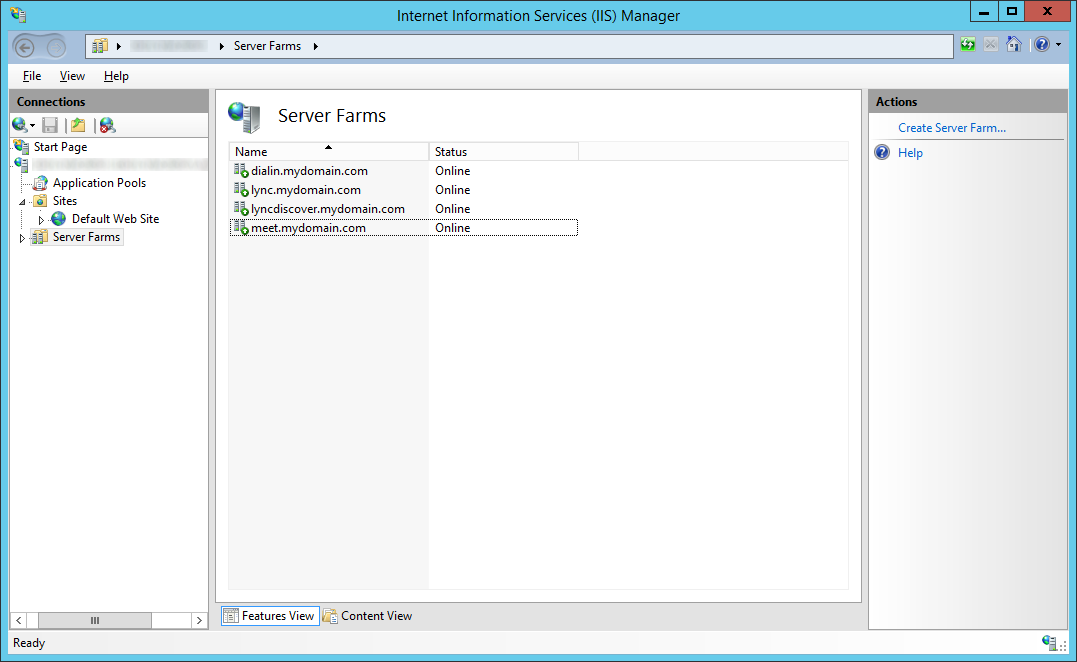
- Select Server Farms and then click on Create Server Farm...
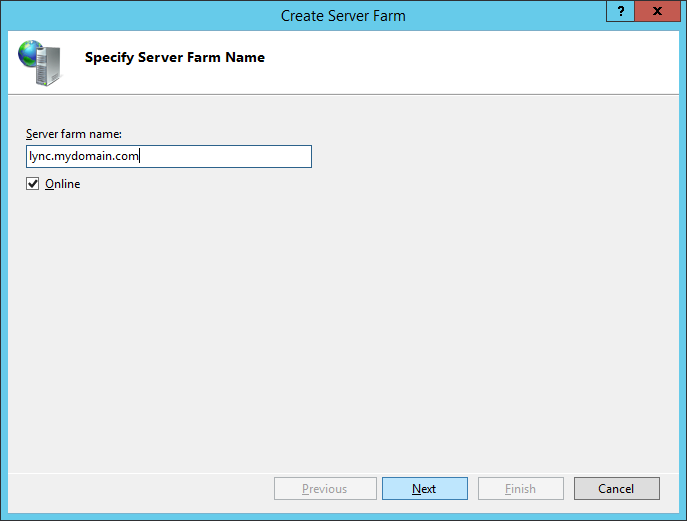
- Enter in the Server farm name and click Next
- Note: We will end up creating farm names for each externally published URL. This can be lync, dialin, meet, etc, order will not matter. For the sake of this tutorial, I am going to use lync first.
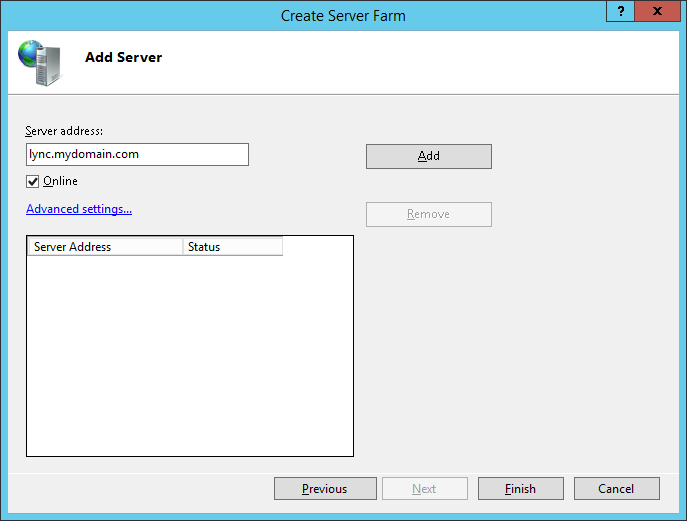
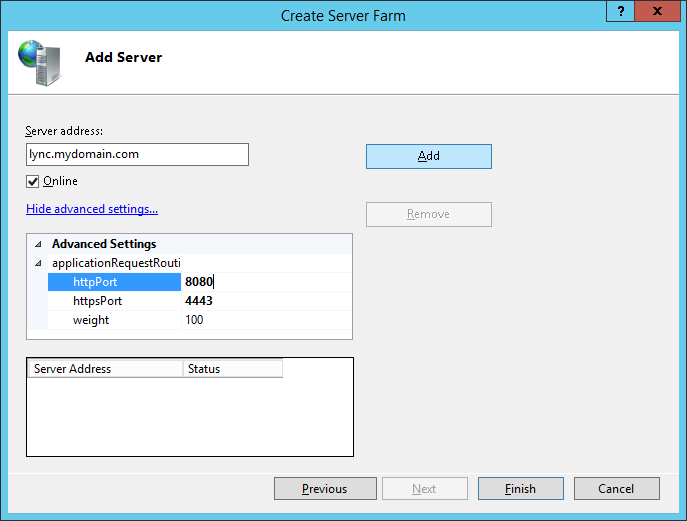
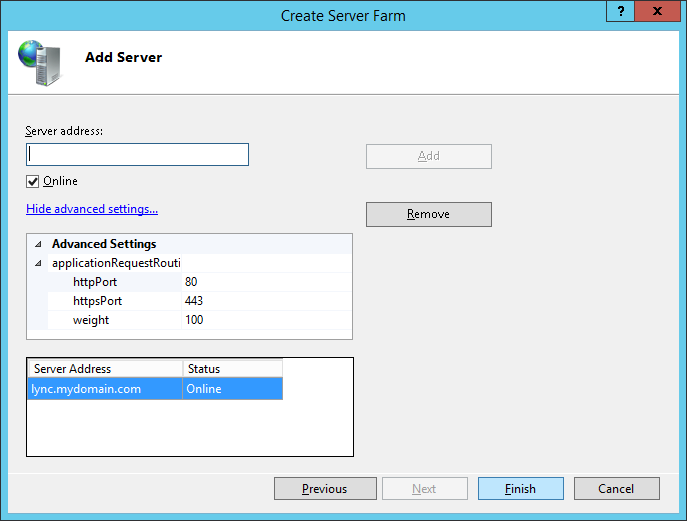
- Enter the Server address (same as farm name before), click Advanced Settings..., expand applicationRequestRouting
- Change the httpPort to 8080 and httpsPort to 4443 and click Add
- Click Finish
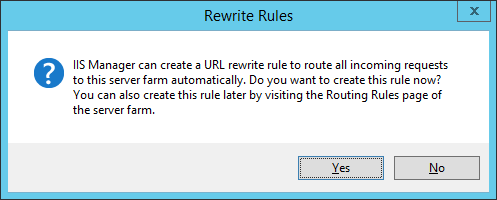
- Click Yes on the Rewrite Rules dialog
- Repeat steps 1-6 for dialin, meet, and lyncdiscover
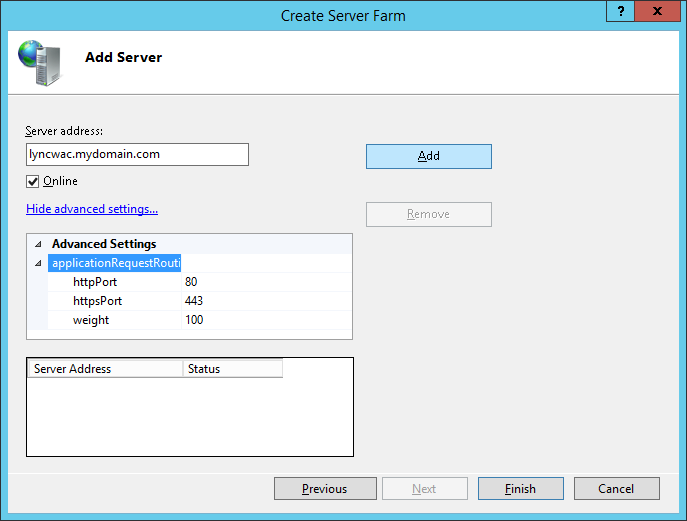
- For your Lync Web Apps server (lyncwac), continue repeat steps 1-6, however ensure you use ports 80 and 443 instead of 8080 and 4443. This is needed to communicate properly with the WAC server.
Configure IIS Caching, Proxy Timeouts, and Routing Rules
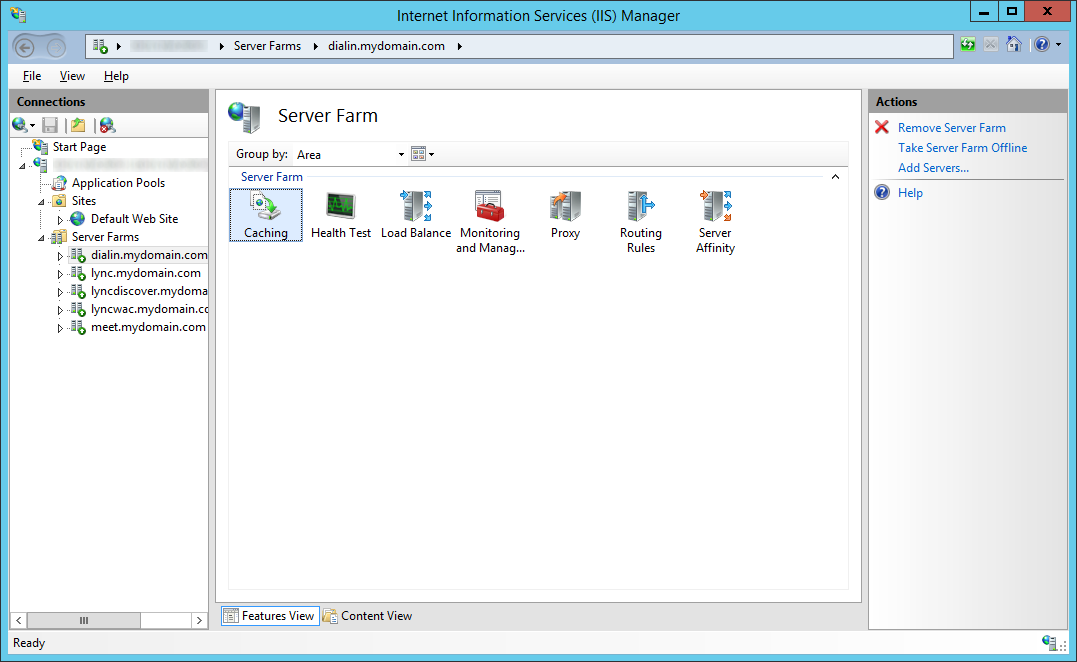
For each of the server farms we created, repeat the following steps:
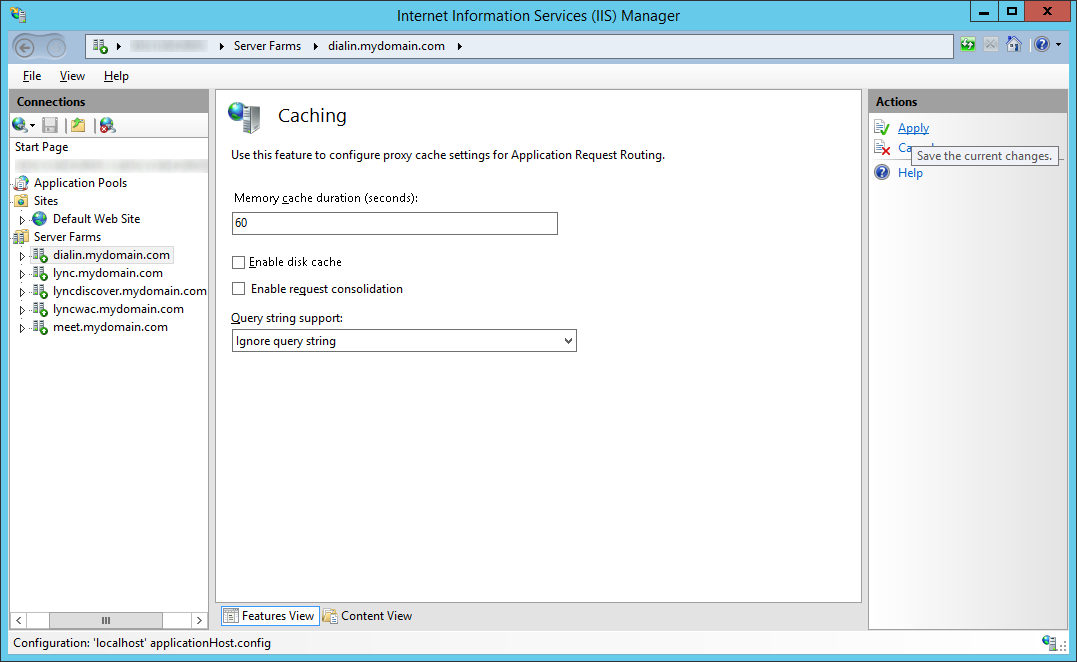
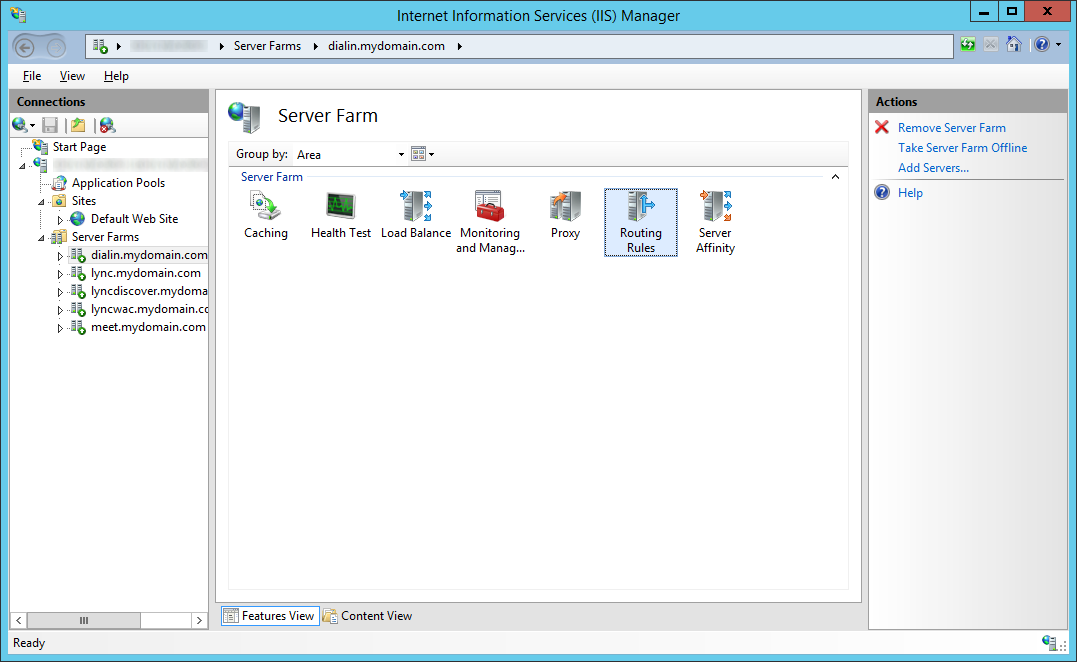
- Select a Server Farm and double click on Caching
- Uncheck Enable disk cache and click Apply
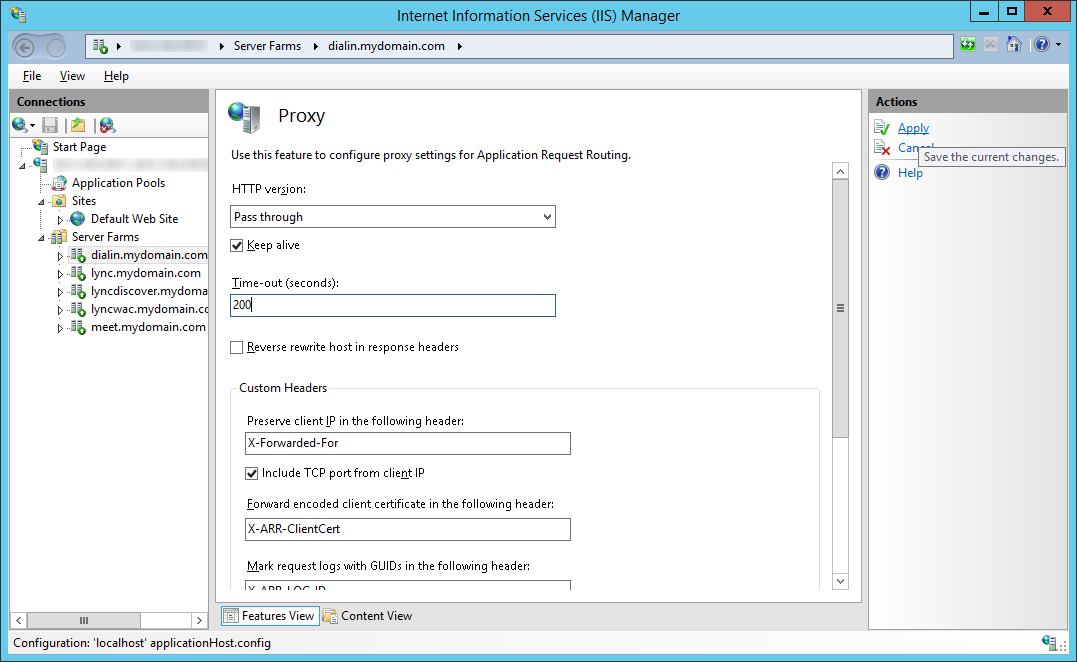
- Select the same Server Farm object and double click on Proxy
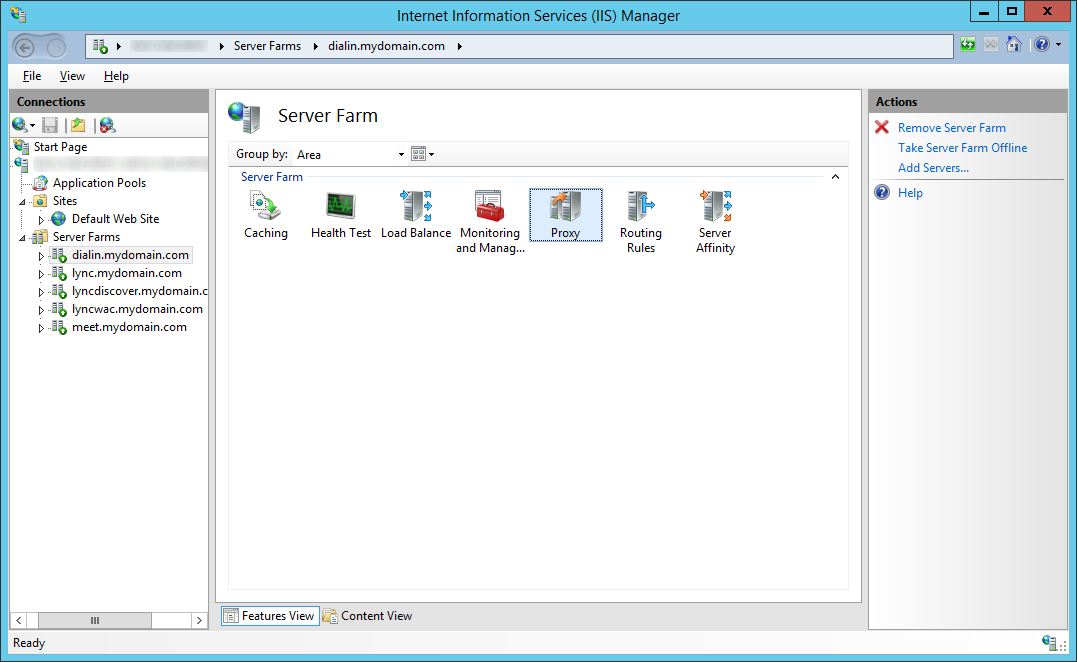
- Change the Time-out (seconds) from 30 seconds to 600 and click Apply
- Note: This is needed to prevent the Lync Web Apps server from timing out unexpectedly. Microsoft recommends this setting to be 200, but this isn't long enough for iOS clients. Increasing this to 600 will fix the issue where iOS clients prompt with the following error message "Your server configuration has changed. Please restart Lync.".
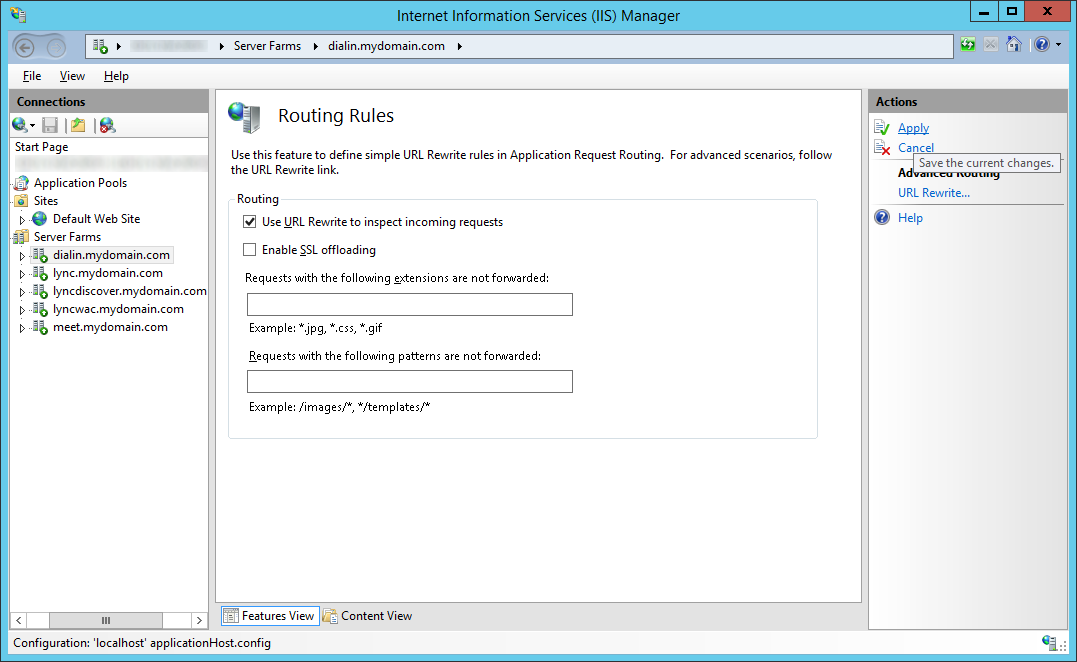
- Select the same Server Farm object and double click on Routing Rules
- Uncheck Enable SSL offloading and click Apply
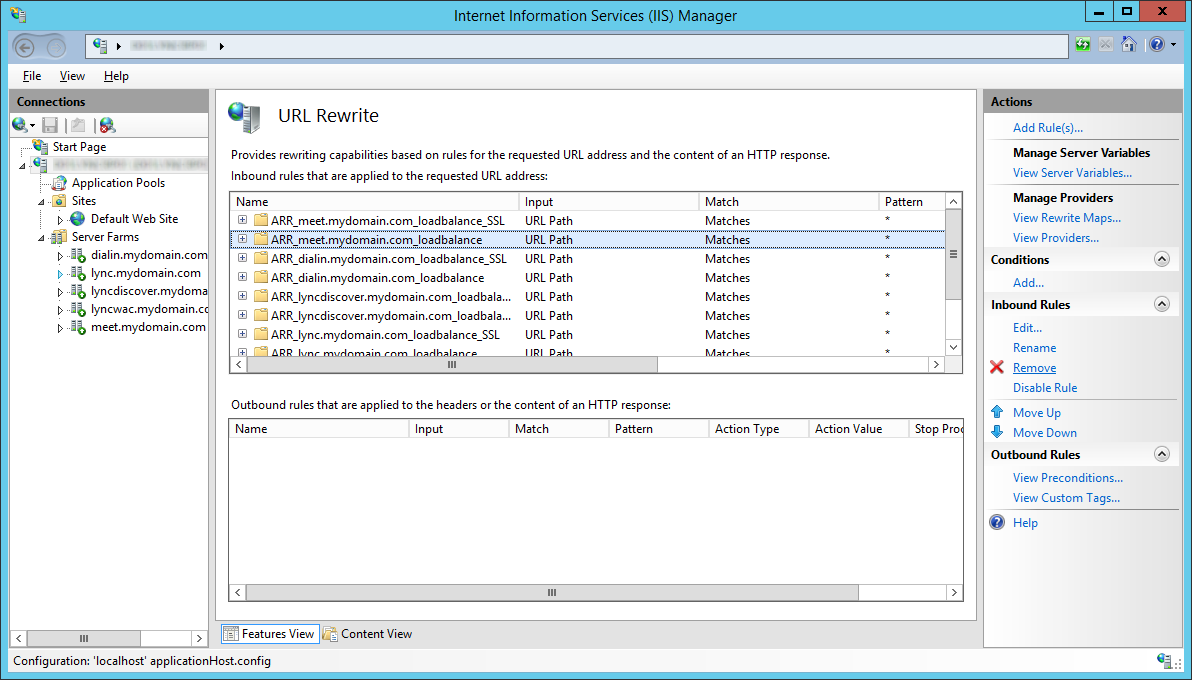
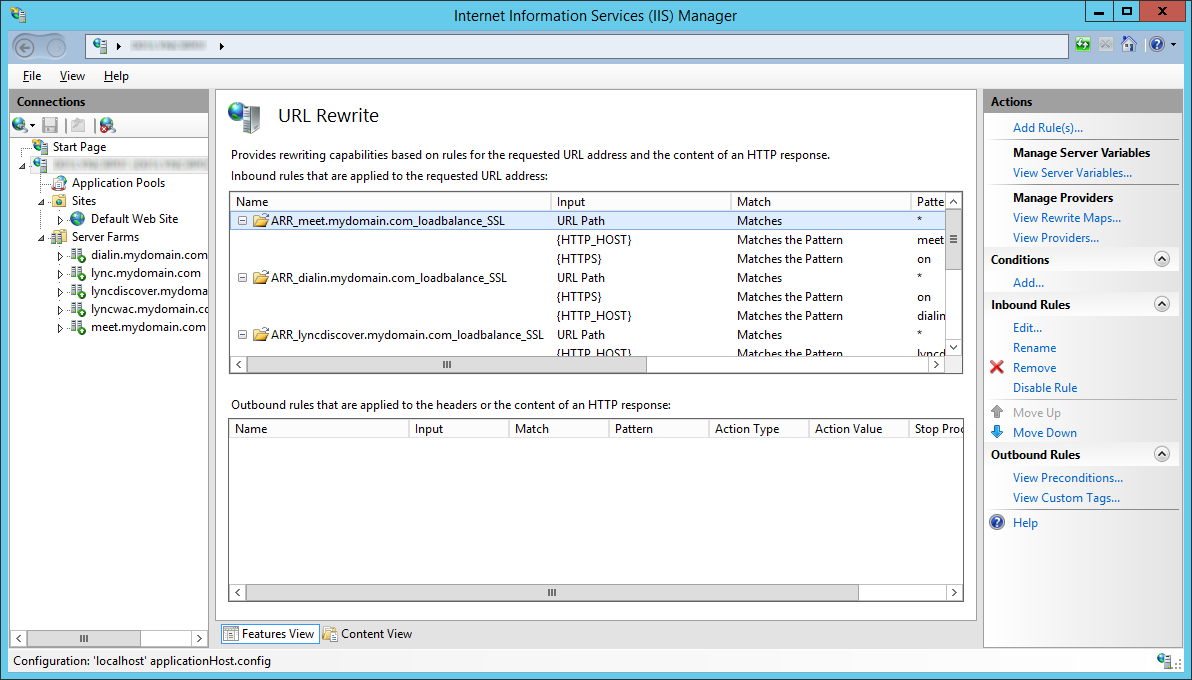
Configure IIS URL Rewrites
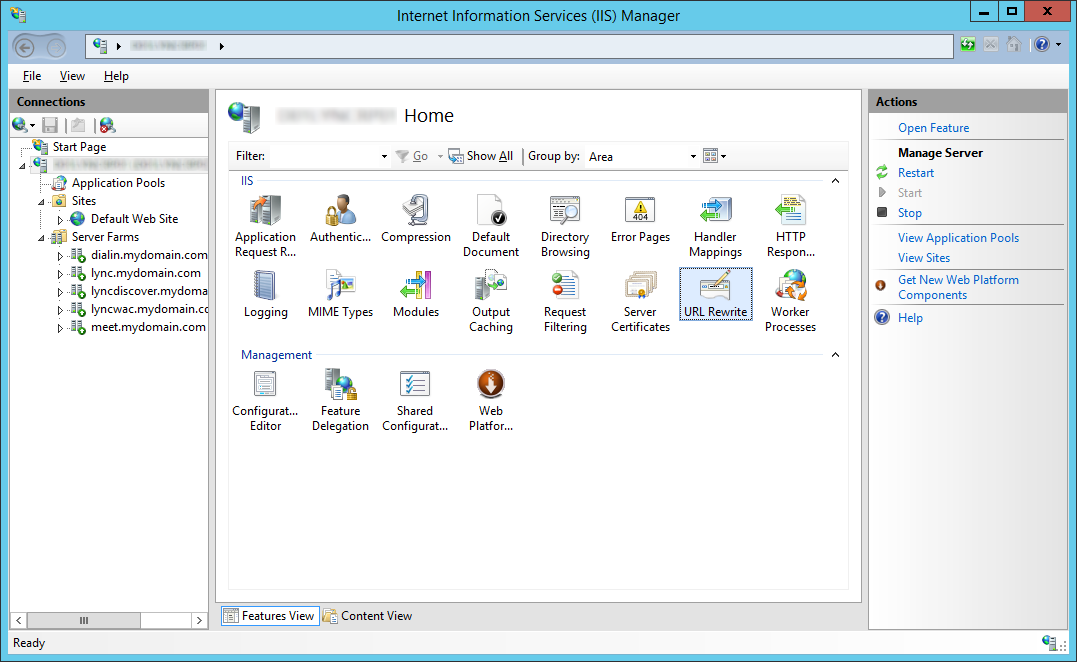
- Select your IIS Server and double click on URL Rewrite
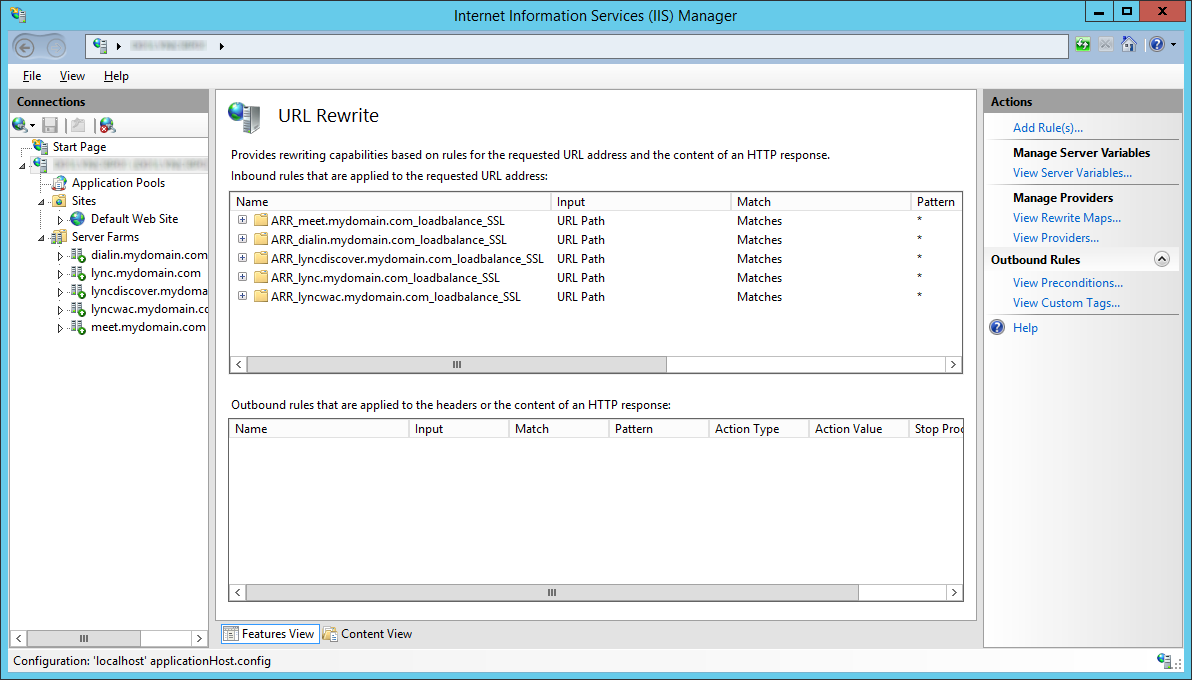
- Go through and Remove all of the non _SSL Inbound Rules
The result should look like this:
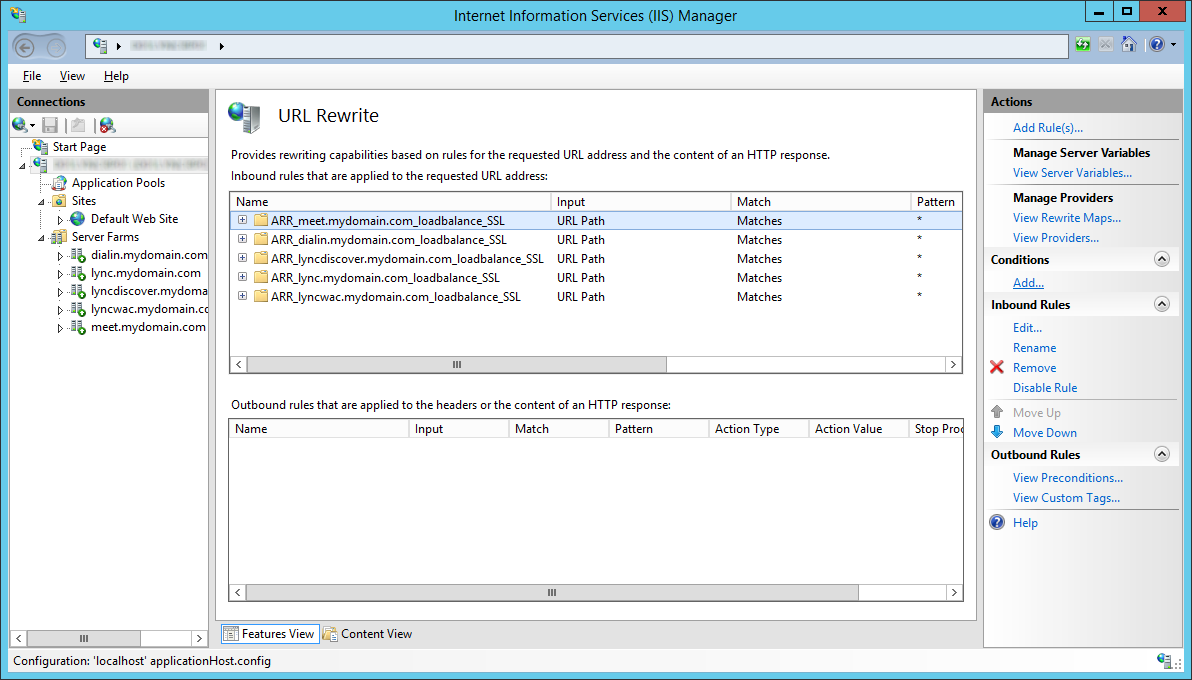
- Select a rule and click on Add... underneath the Conditions actions pane
- Enter {HTTP_HOST} for the Condition input and enter role.* for your Pattern
- Where role is meet, dialin, lyncdiscover, etc.
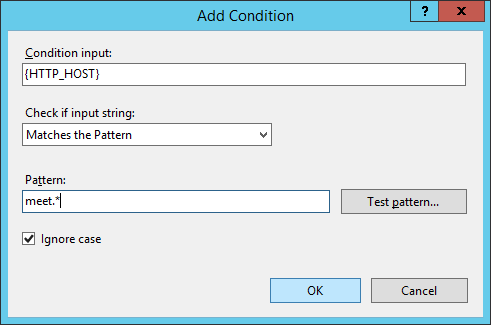
- Repeat steps 3-4 for each SSL rule for a result like this
That should be it! 🙂