Here's a quick way to integrate Visual Studio Code with Visual Studio Team Services.
- Create a new Team Project
- Instructions on how to create a new Team Project are outlined here: https://docs.microsoft.com/en-us/vsts/accounts/create-account-msa-or-work-student
- Create a Personal Access Token
- Instructions on how to generate a personal access token are outlined here: https://docs.microsoft.com/en-us/vsts/accounts/use-personal-access-tokens-to-authenticate
- Download and install Git: https://git-scm.com/download/
- Download Visual Studio Code: https://code.visualstudio.com/Download
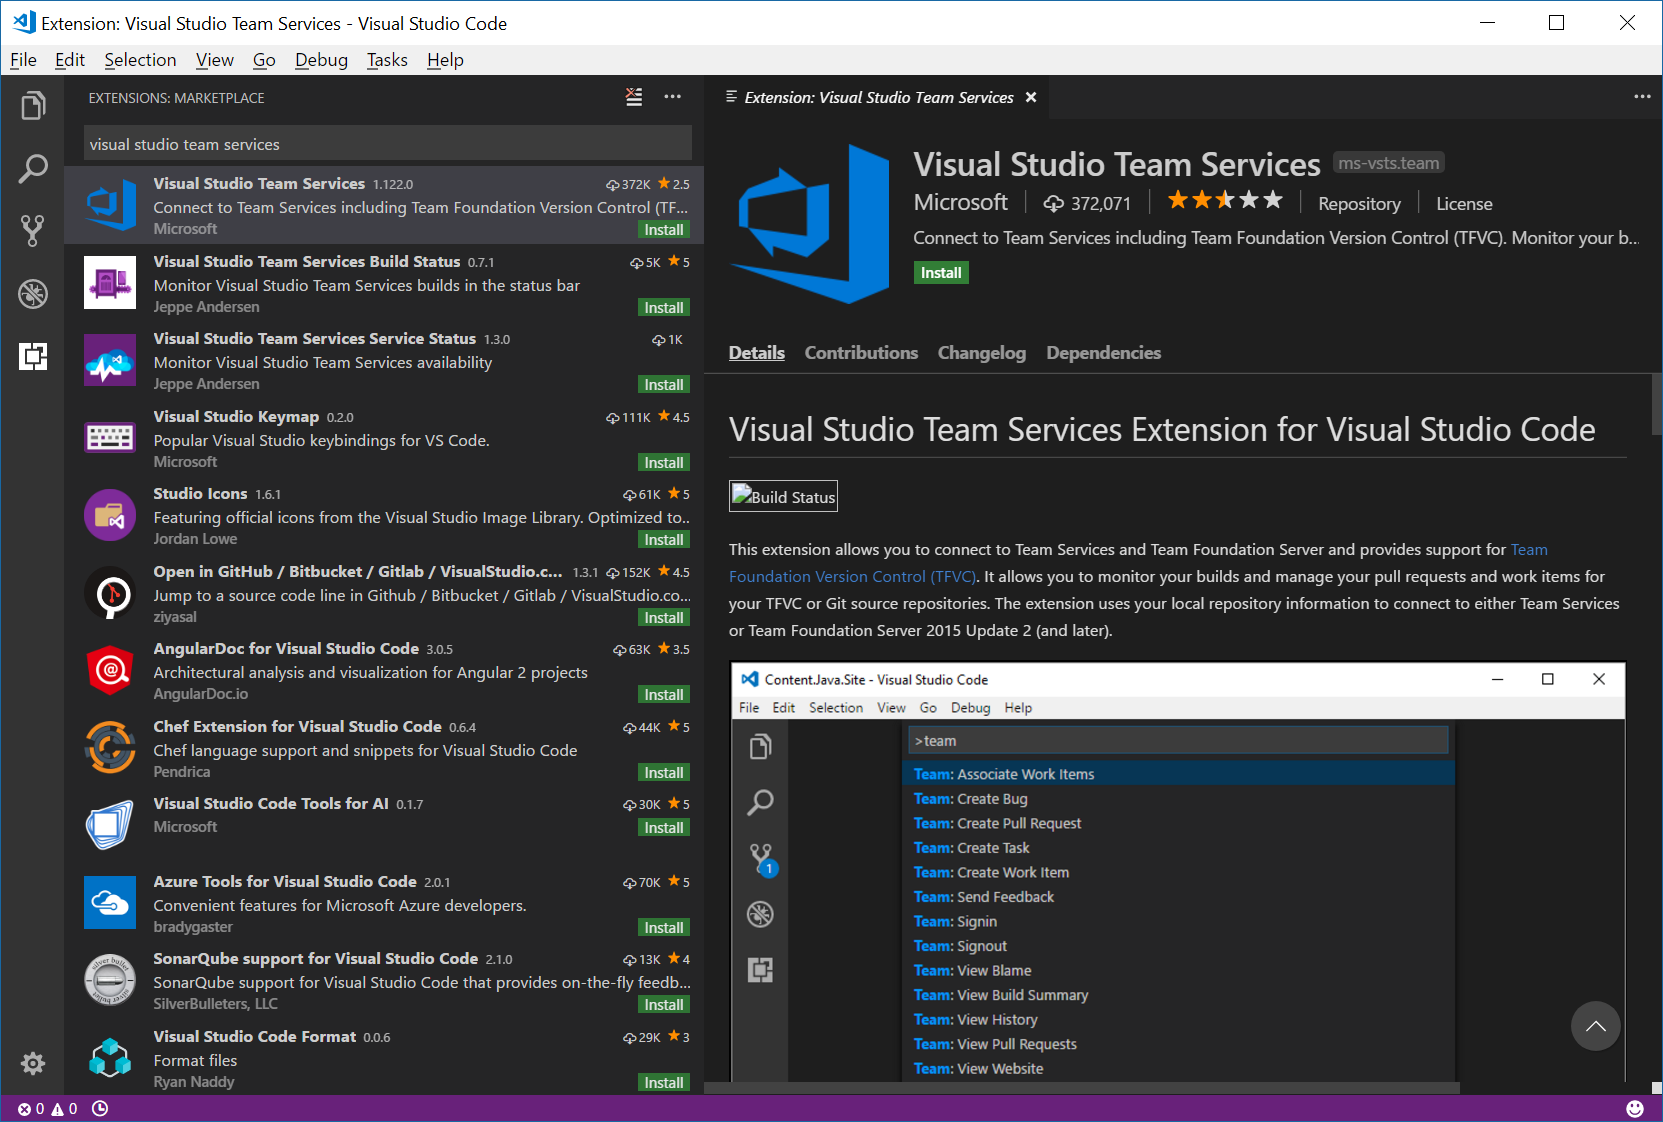
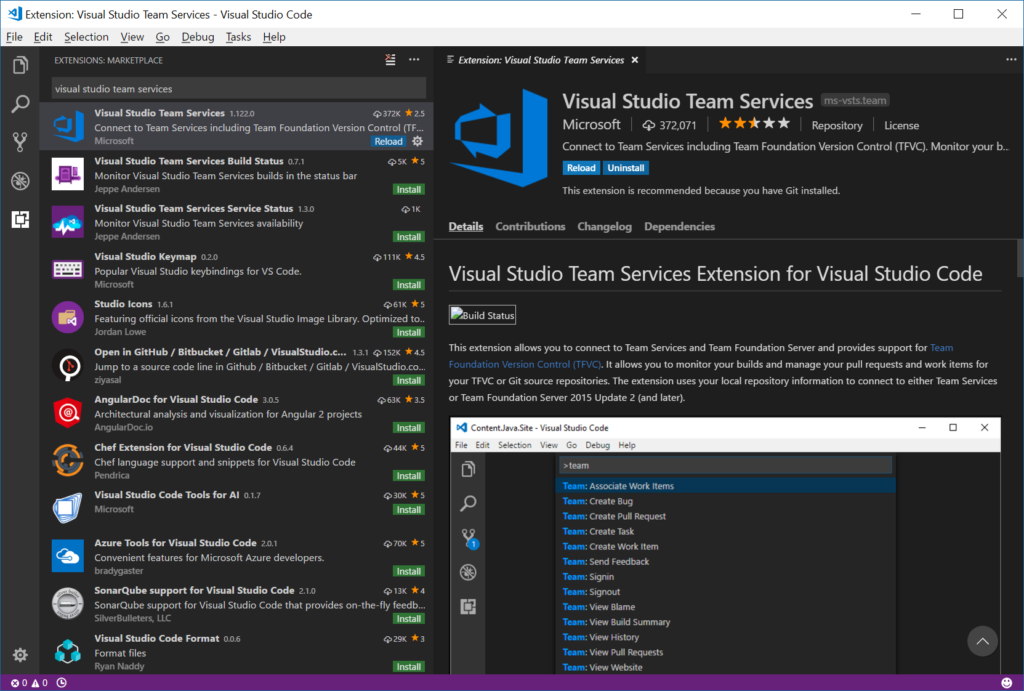
- Inside of Visual Studio Code, click on the Extensions button

- Search the marketplace for Visual Studio Team Services and select Install button

- Once the extension has been Installed, click on the Reload button.
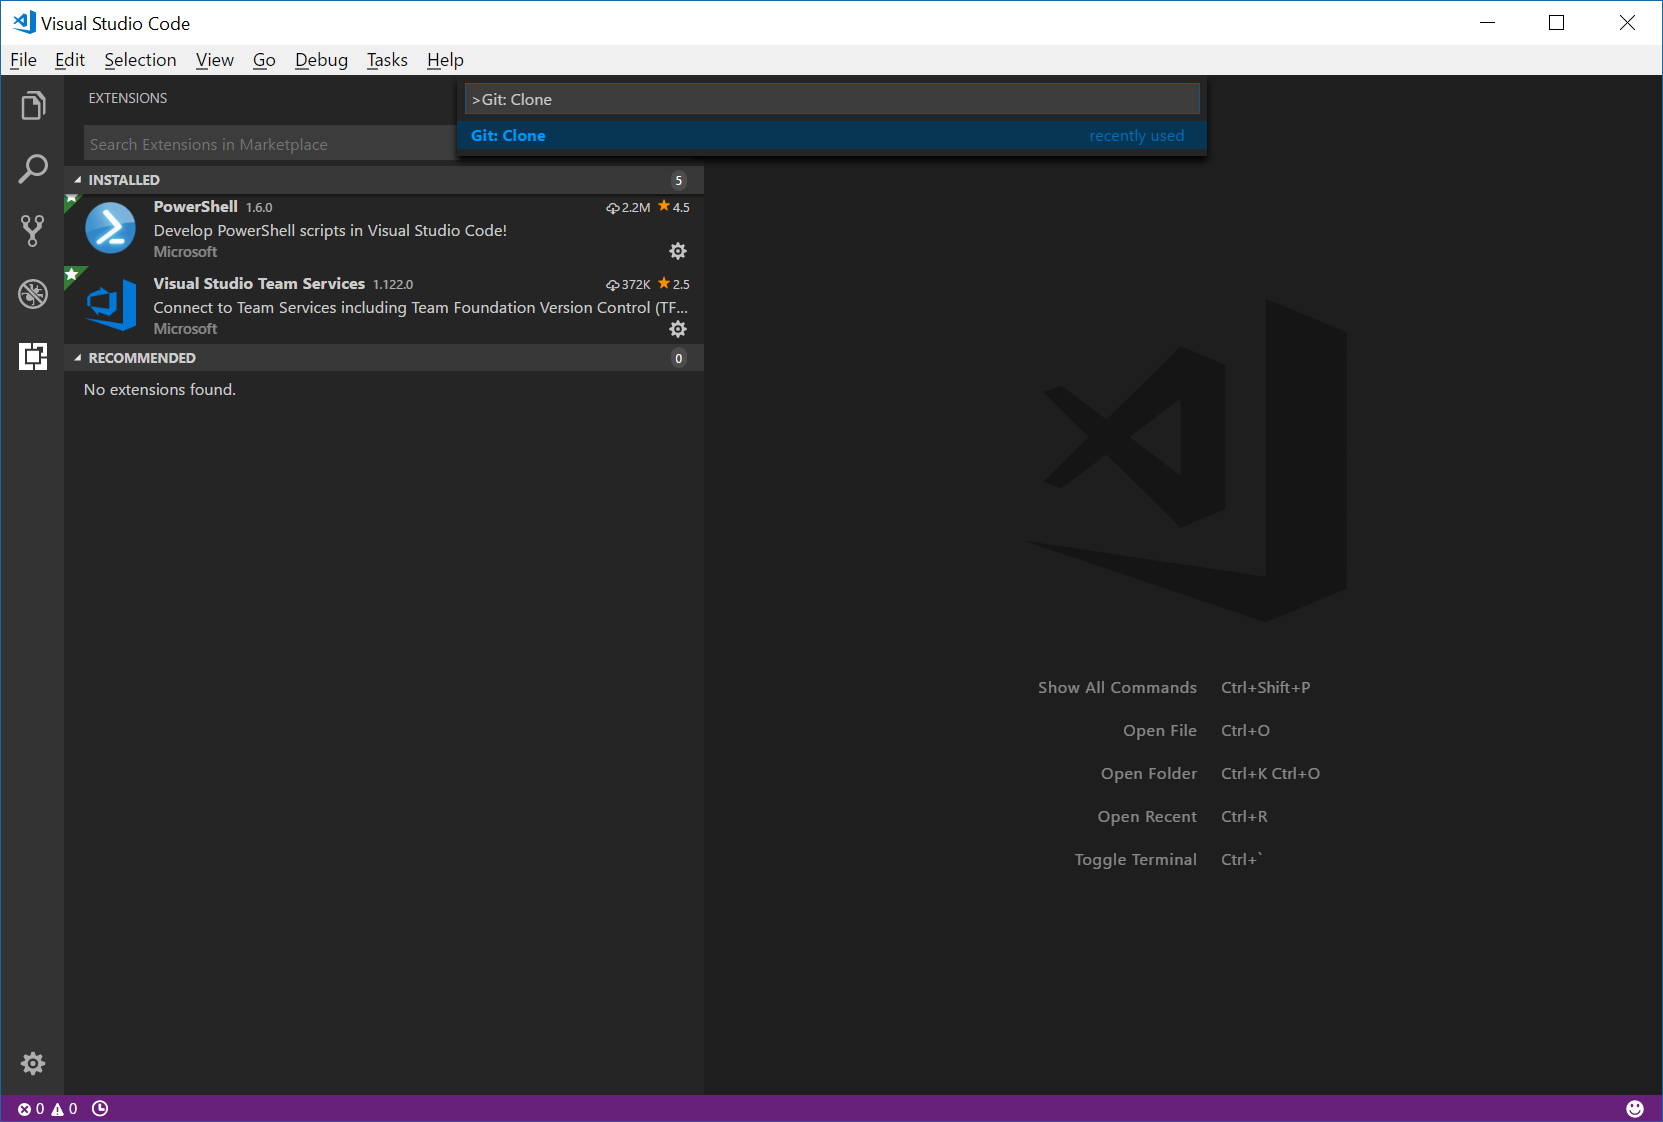
- Inside of Visual Studio Code, press F1 on your keyboard and type Git: Clone
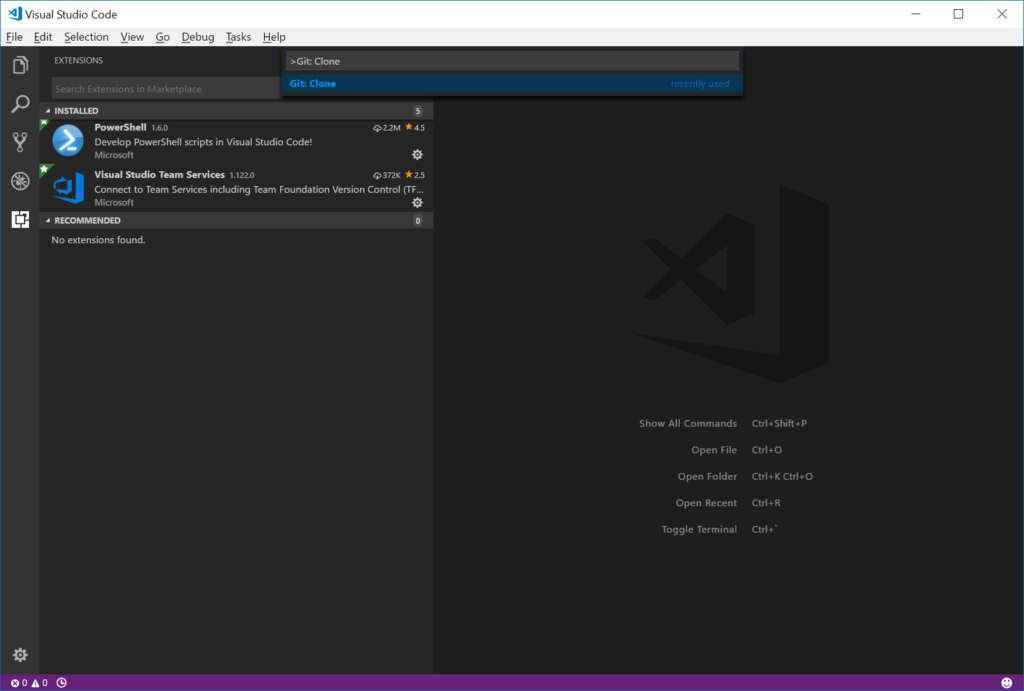
- Once prompted, type in the URL to your Team Project and click on the Open Repository button
- Once in the repository, type: Team: Sign In Select Provide an Access token manually, enter the Personal Access Token from Visual Studio Online and press Enter on your keyboard
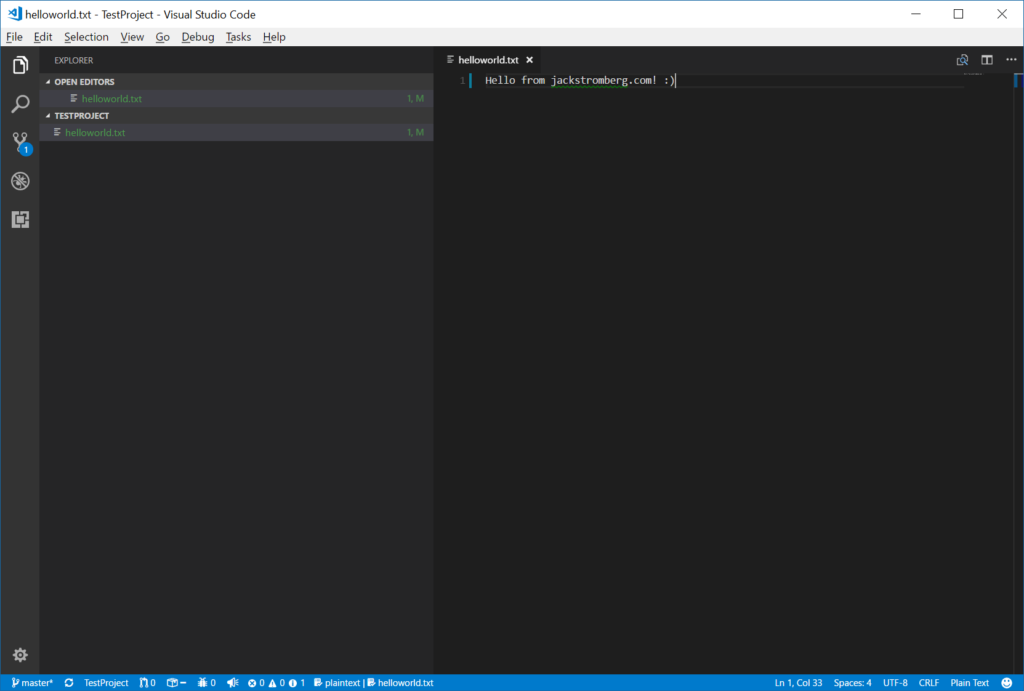
- From there, go ahead and make a change to any of the files in your Repository
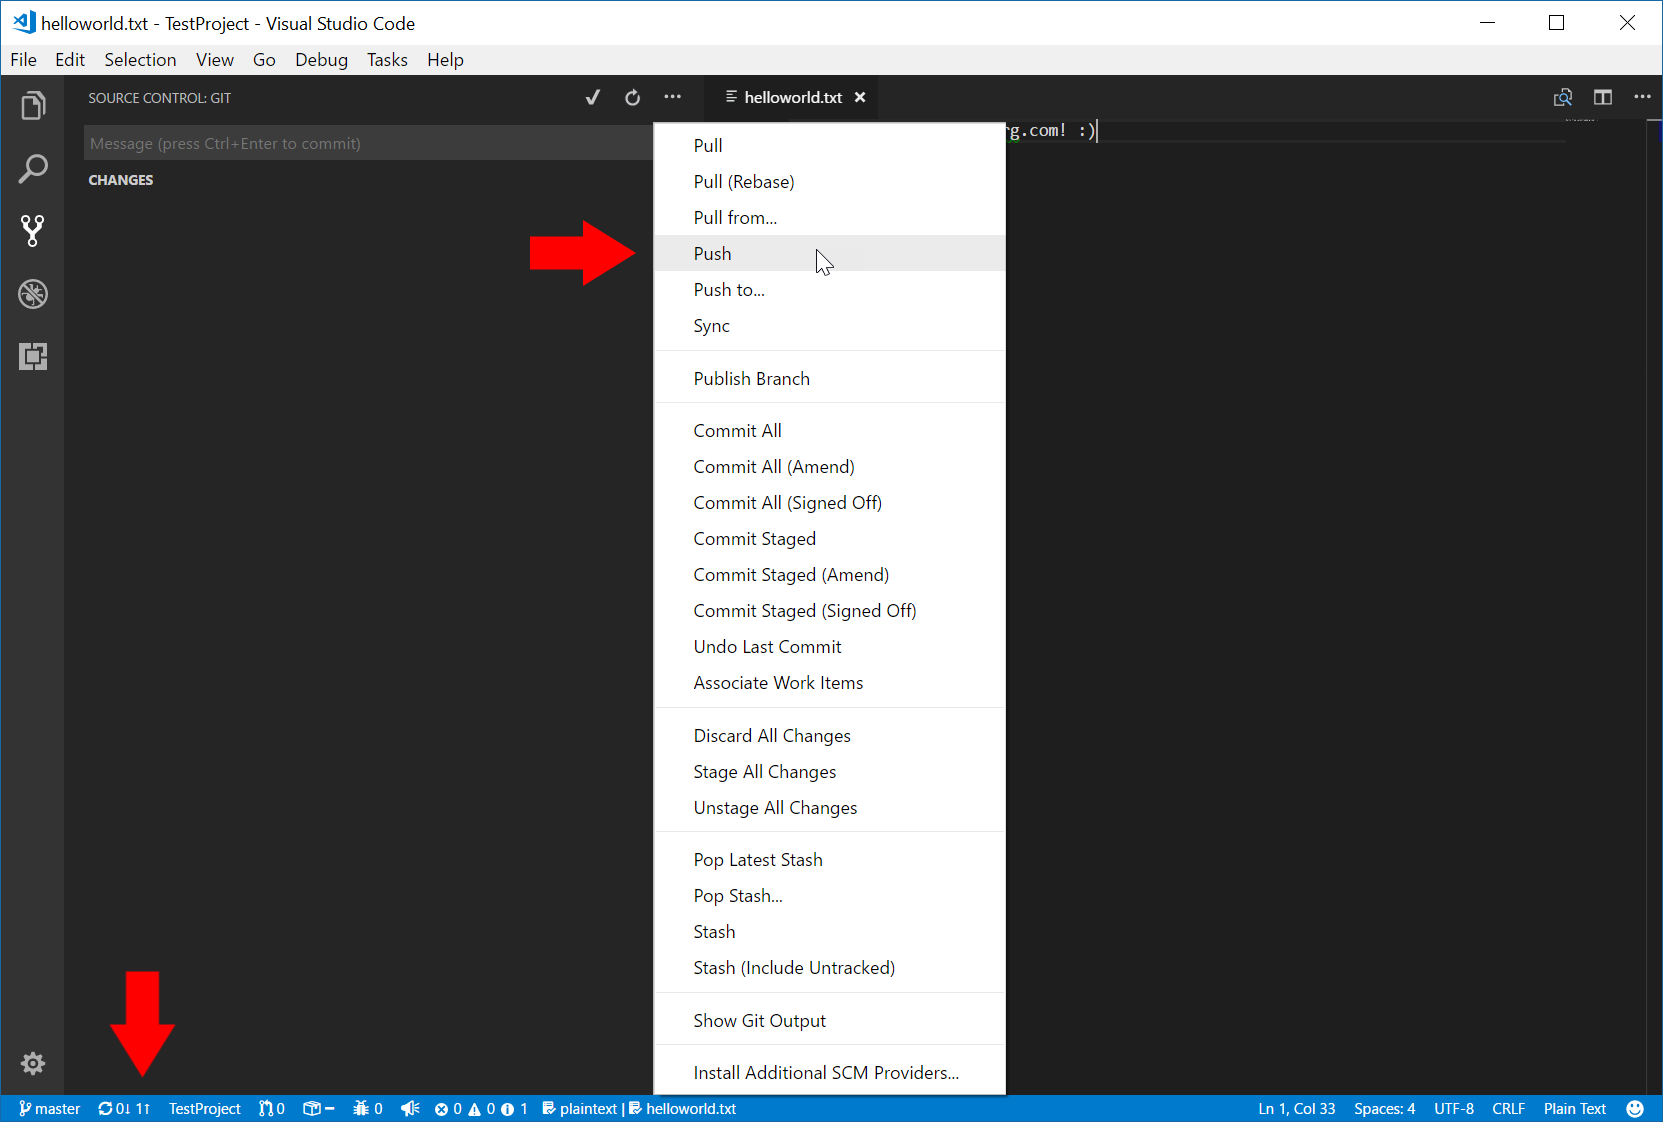
- Click on the Source Control icon in Visual Studio Code
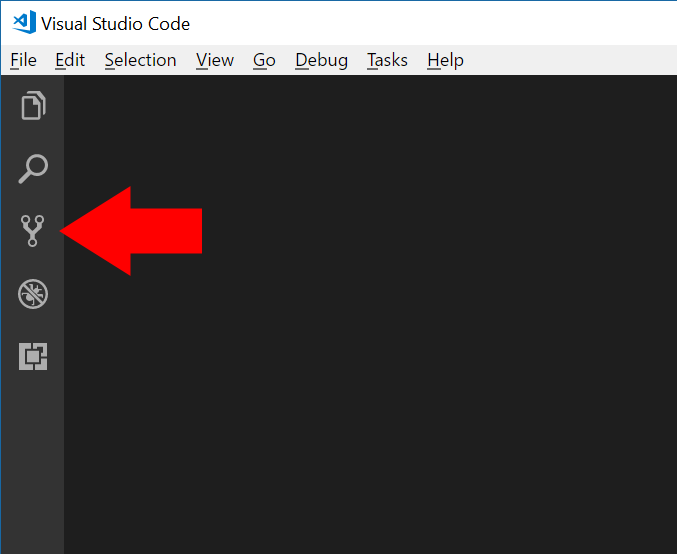
- Select Commit All
- Note: You will be prompted to type in a commit message, go ahead and type in what you changed
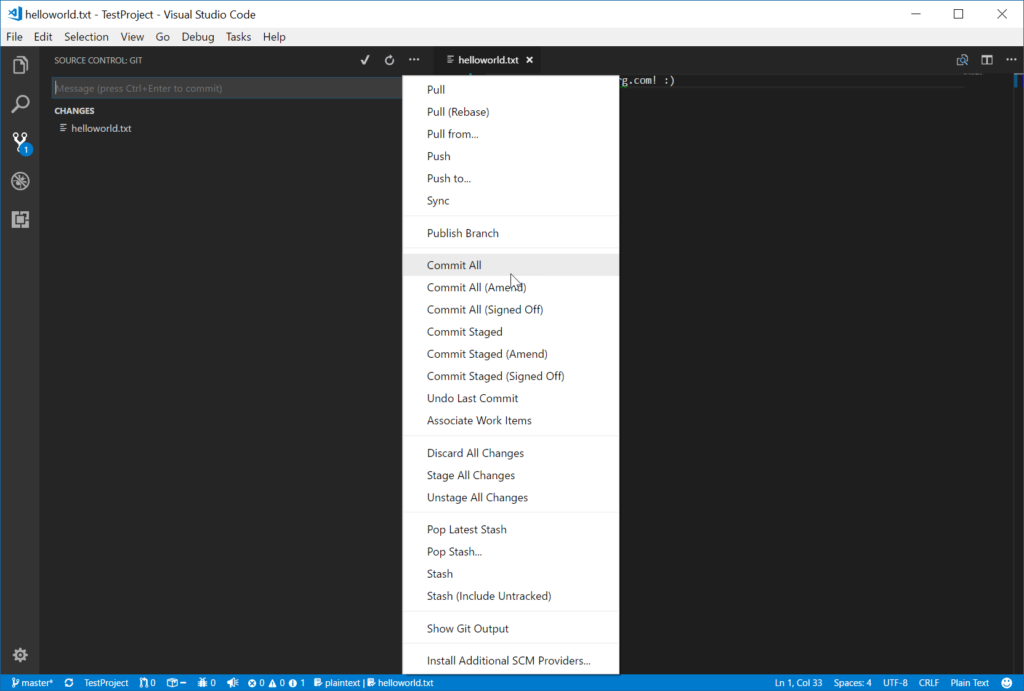
- Note: You will be prompted to type in a commit message, go ahead and type in what you changed
- Either select Push from the ... button in the top right, or click the Push button in the bottom left corner

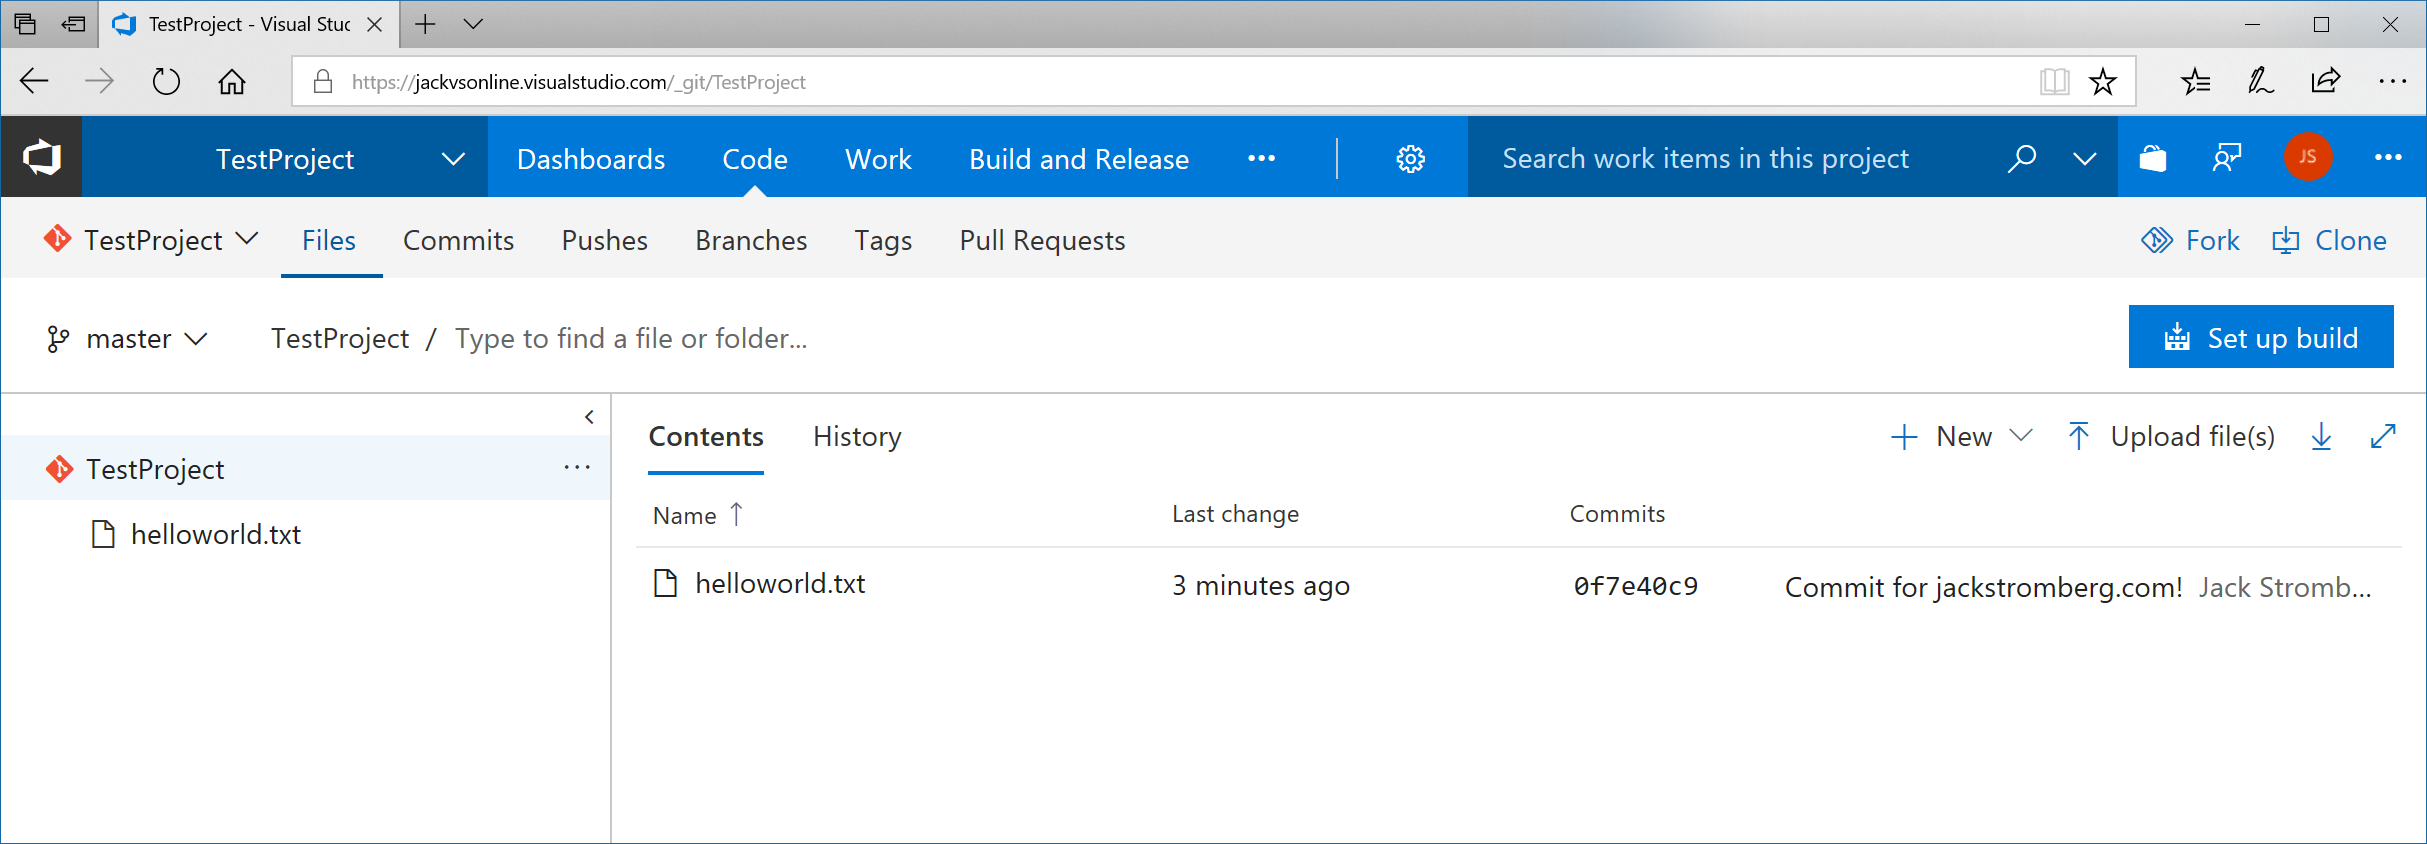
- Validate you see the committed changes in Visual Studio Team Services