TLDR: I wanted to control the light on Big Ass Fans' Haiku fan via physical wall switch, so this tutorial is going to go over how to pair a smart switch with Home Assistant software to provide a traditional light switch experience. Skip down to Setting up the wall switch to start if you want to skip my ramblings.
Here's a YouTube video if you don't like to read:
Longer story

In the background of many commercial buildings, silently lurking and judging us from above, lies what looks like possibly a recycled helicopter blade. Don't be fooled, these blades are no helicopter blade, they are years of engineered excellence in the makings. The company prides themselves on solid engineering and building a solid product for their customers. They are called Big Ass Fans.
For quite some time I've been eyeing their Haiku fan, which is their residential ceiling fan. Their fans look incredibly modern, operate almost completely silent, have a "SenseMe" feature that figures out when people are in the room to automatically do stuff, and they have an API that you can integrate into locally on the fan via WiFi (lose internet, no problem, you can still control your fan!). One of my biggest "beefs" with today's companies is they try to make things really proprietary and crappy, so seeing the company that takes pride in their product and allowing others to integrate into it remotely without internet is super "cool" 😉

The fan itself is smart... too smart
One thing that's really interesting, is when you hook up the fan, to me, it's designed more like their commercial units where it needs to be constantly powered on; from there you remotely control the fan either by remote or their smart phone application. Both the remote and even the mobile app, work incredibly well and are extremely responsive, but the only tricky thing about the fan is in a residential setting, many folks have light/fan combos in their bedrooms, offices, and living rooms and if a guest walks into the room and flips the light switch, they are flipping power to the whole fan/light.
So....?
In many commercial settings, fans you typically set once and let em' rip, but with the residential play, you have grandparents, guests, friends, etc. that may come over. Since the remote is there, they go, how do I turn the lights on to this room? Unfortunately, there isn't a good answer here other than to put a plate on the wall and force your guests to check out the remote.
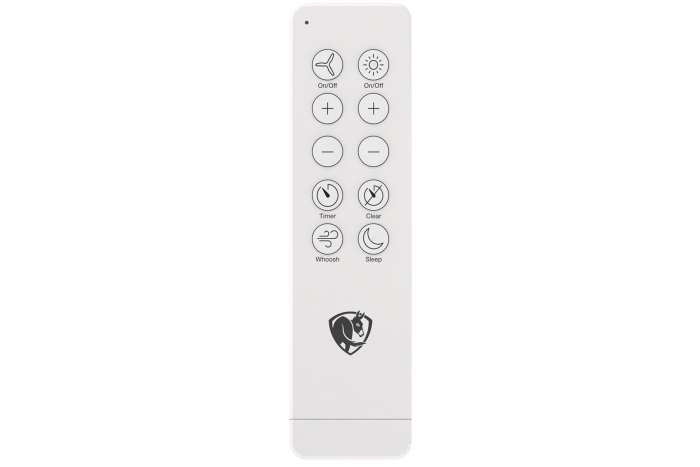
I personally find the remote a hassle since I have a small little corridor into one room, so when it's darker in the evenings, you grab the remote on the wall, walk through this dark area, and then aim the remote somewhere at the ceiling to turn it on (this is if you don't forget the remote in the room from before).
So...?
I am a "big fan" of having a smart home, but I want it to be super intuitive to the end user. I design everything to be used as if my grandparent is over and they have no idea what the heck is going on. In this case, I leveraged an open source project called Home Assistant and a Leviton Z-Wave switch to do the magic of controlling the fan like any other fan you'd buy at a big box store. More specifically, I really just needed to control the light on the fan, so this tutorial is going to go over how to control the light from the fan via the switch.
Setting up the wall switch
The first thing you'll need is a smart switch. It can be WiFi, Z-Wave, ZigBee, etc; it doesn't matter specifically what brand (odds are, it'll be compatible (here's the official list)), but you'll need a switch that allows you to control it via the computer or your phone. I used a dimmer switch specifically as the light on the Haiku allows several different levels of brightness.
Once you have the switch, what you'll want to do is wire up the fan so it constantly has power and also give power the switch. This does two things: 1) it allows the fan to be powered on regardless if your guest turns the light switch on/off 2) it allows the light switch to stay powered on so you use that to talk to your fan. Here's an example of how I wired my Leviton Z-Wave switch.
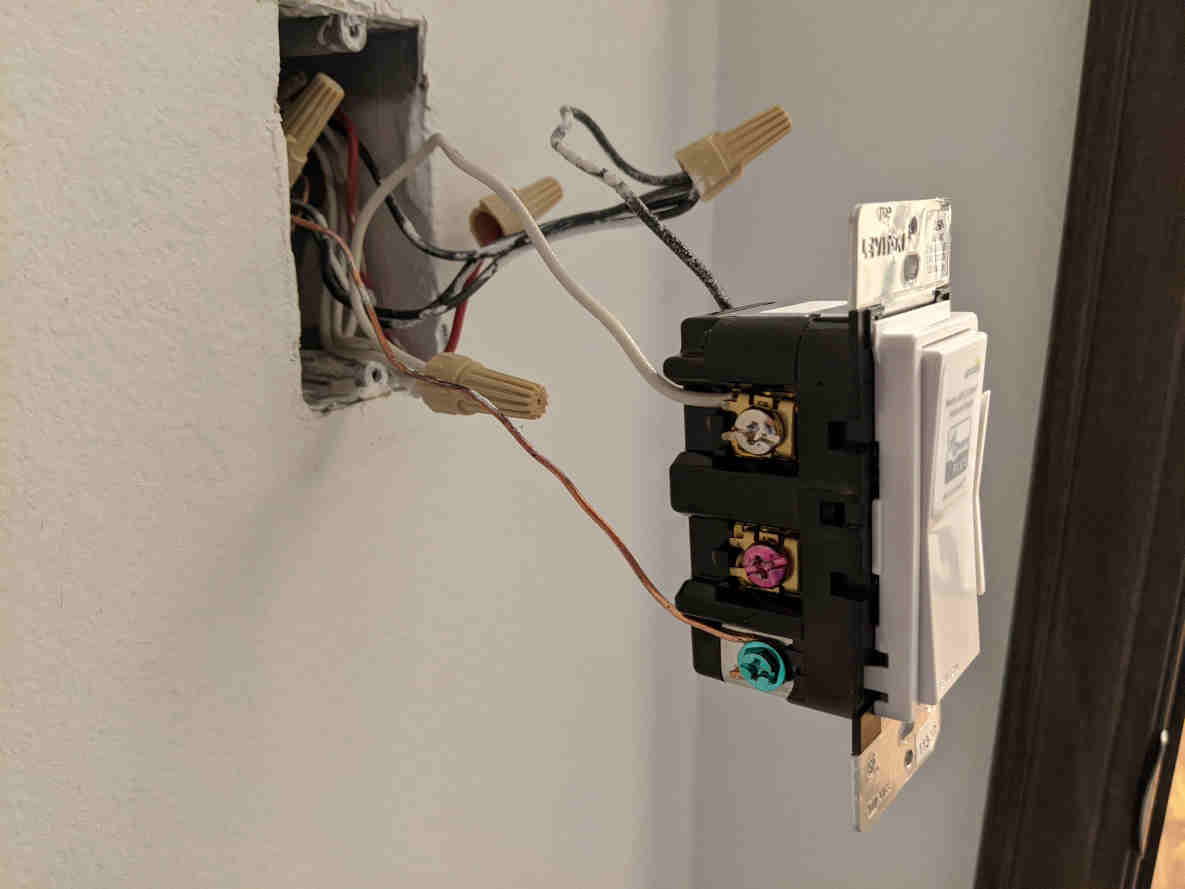
Here you can see I don't have anything connected to the red pin, or load. Typically, you'd have this connect back to the fans lights to turn them on/off, but the Haiku fan isn't wired like that.
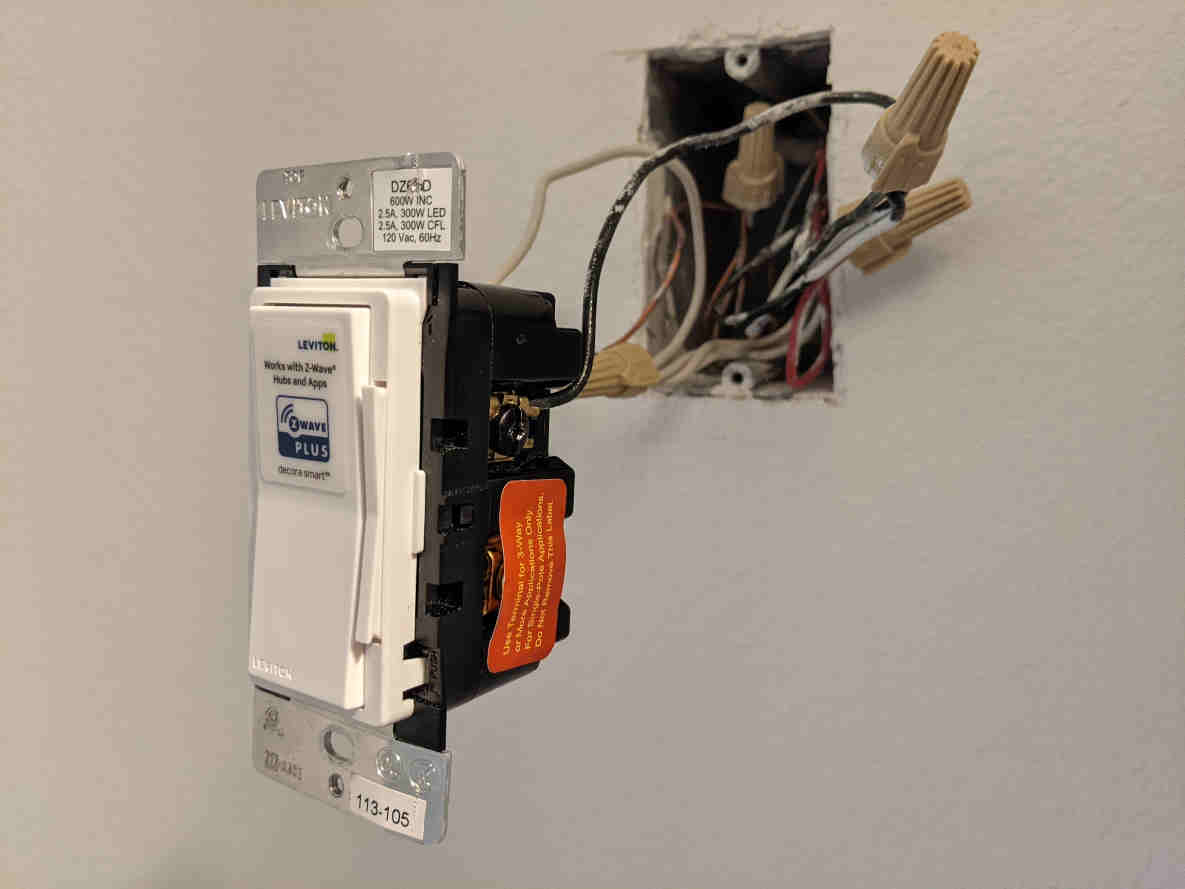
On this side, you can see we only have the negative wire connected. It's hard to see, but in the box, I have all my neutral and negative wires capped together, which offers power to the fan 100% of the time, regardless of what this switch is doing.
Once you have the switch wired up and ready to go, it should literally do nothing when you turn it on/off, but your fan should stay on all the time.
Setting up Home Assistant Automation
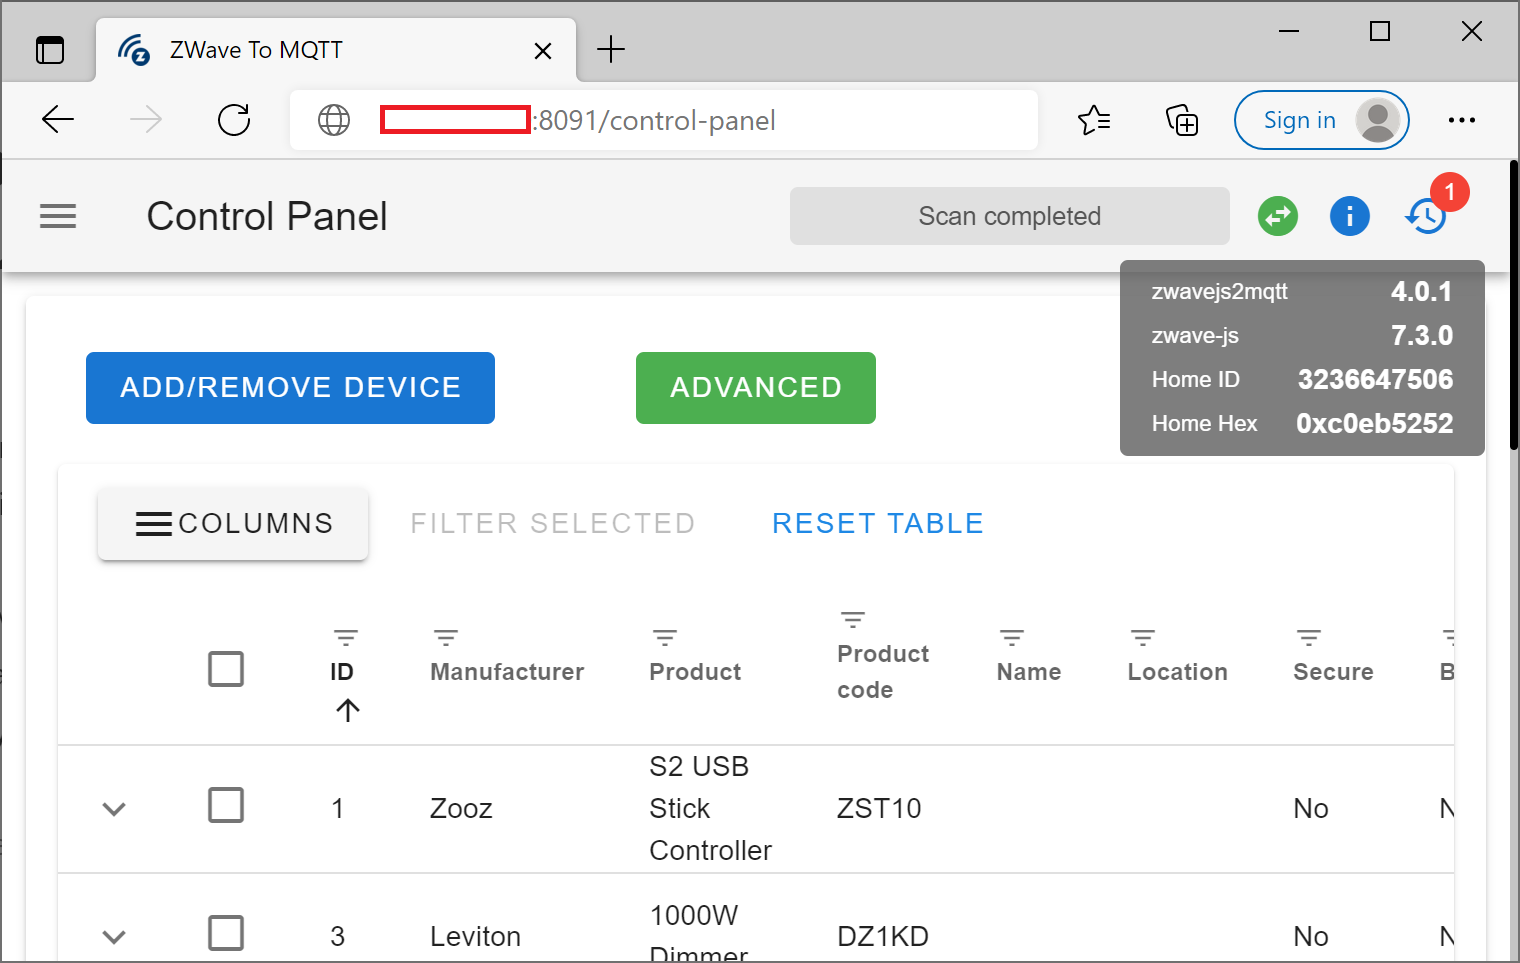
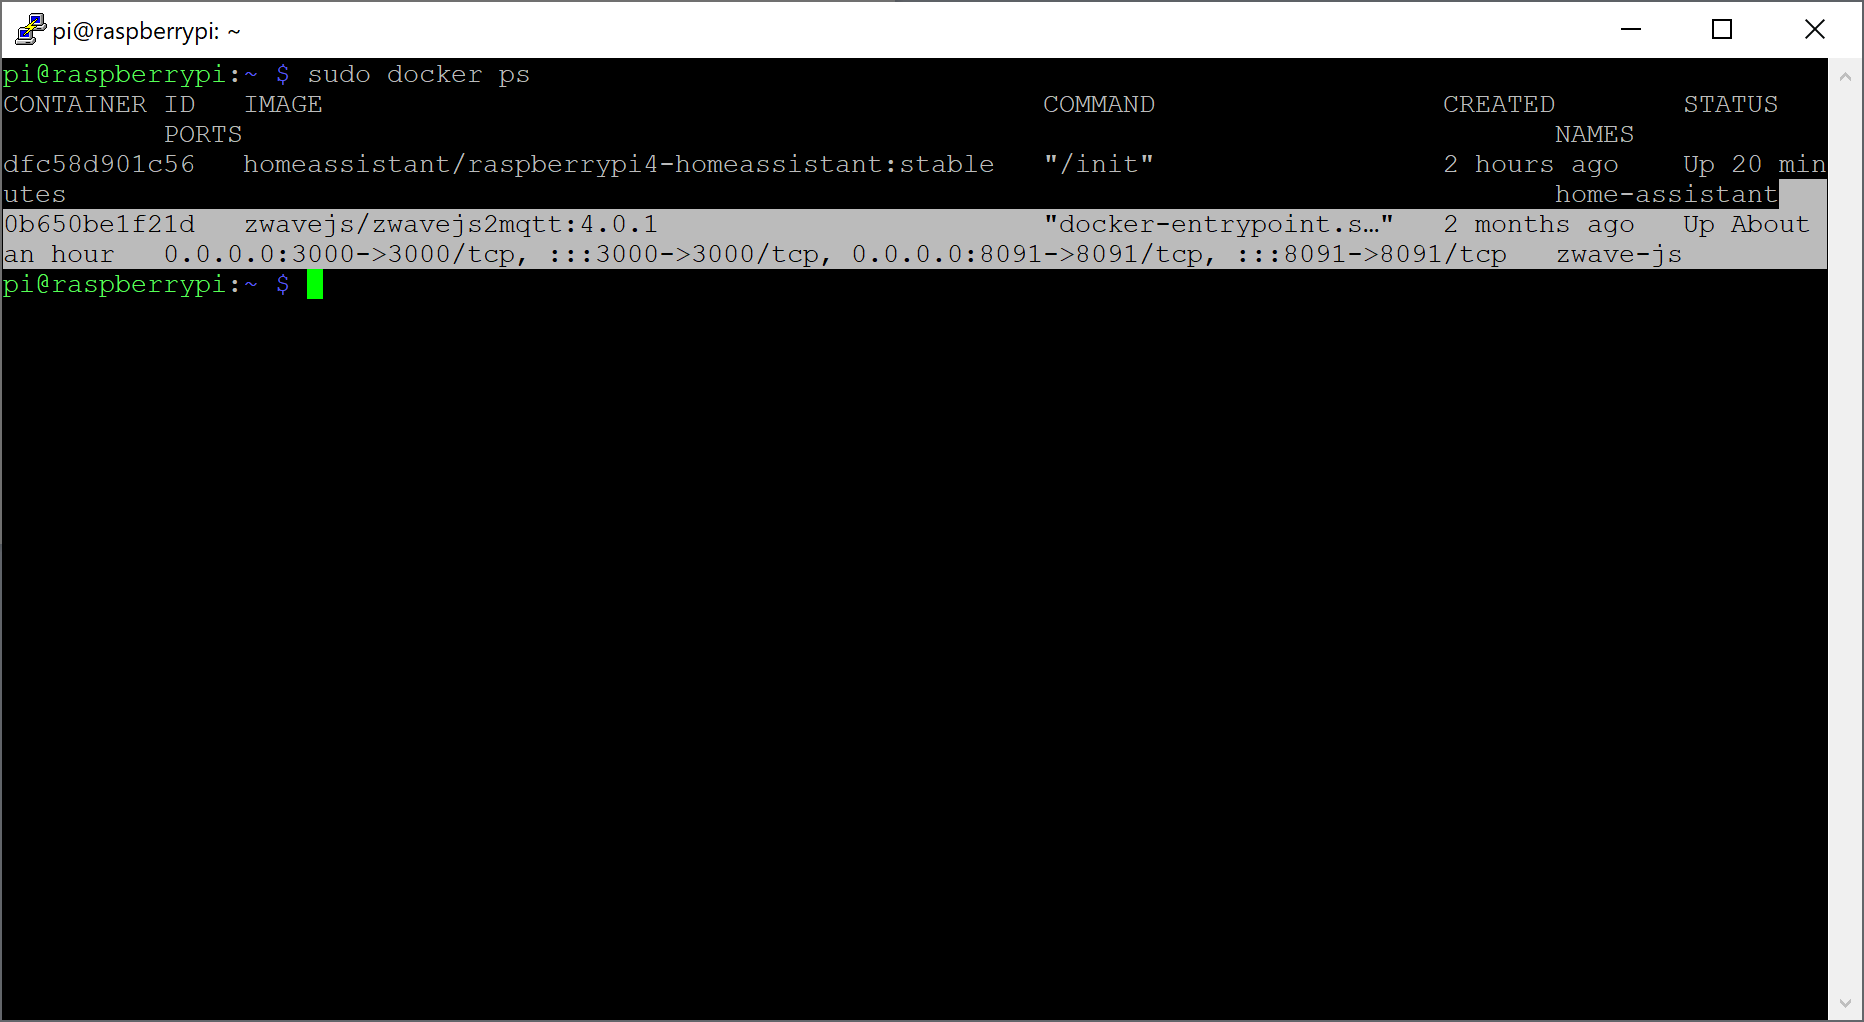
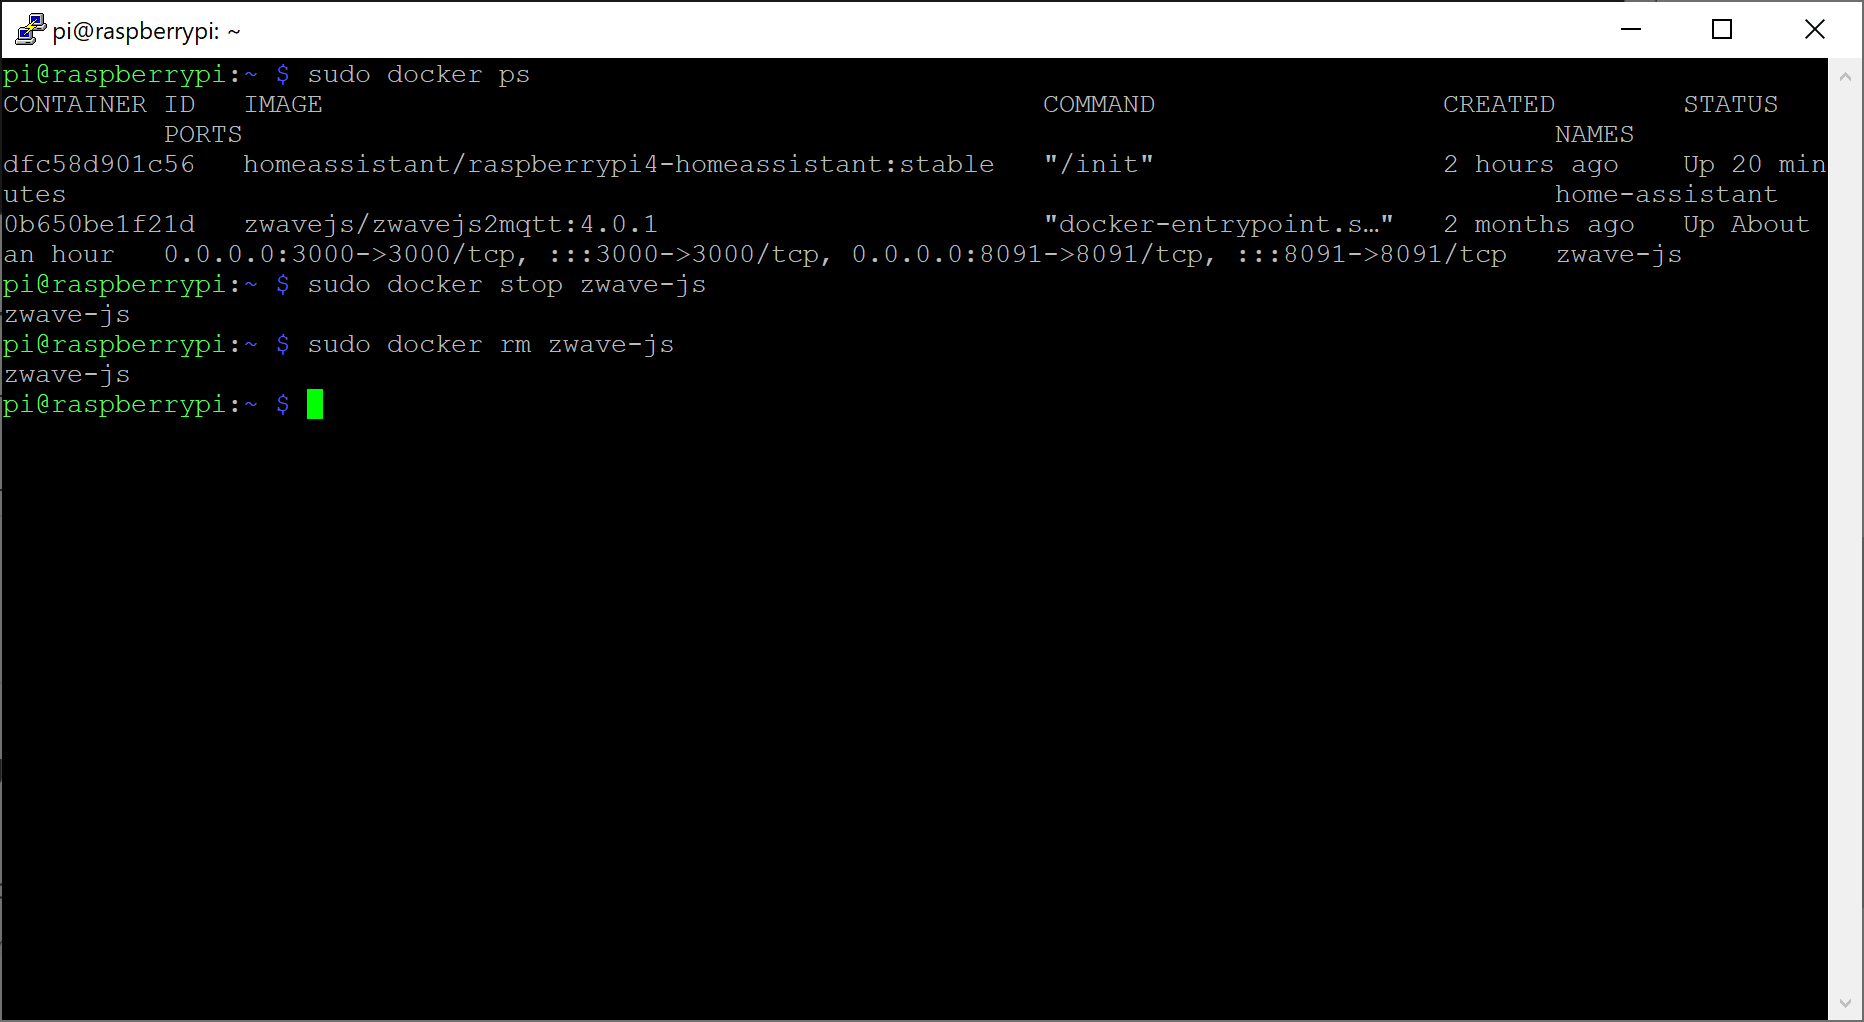
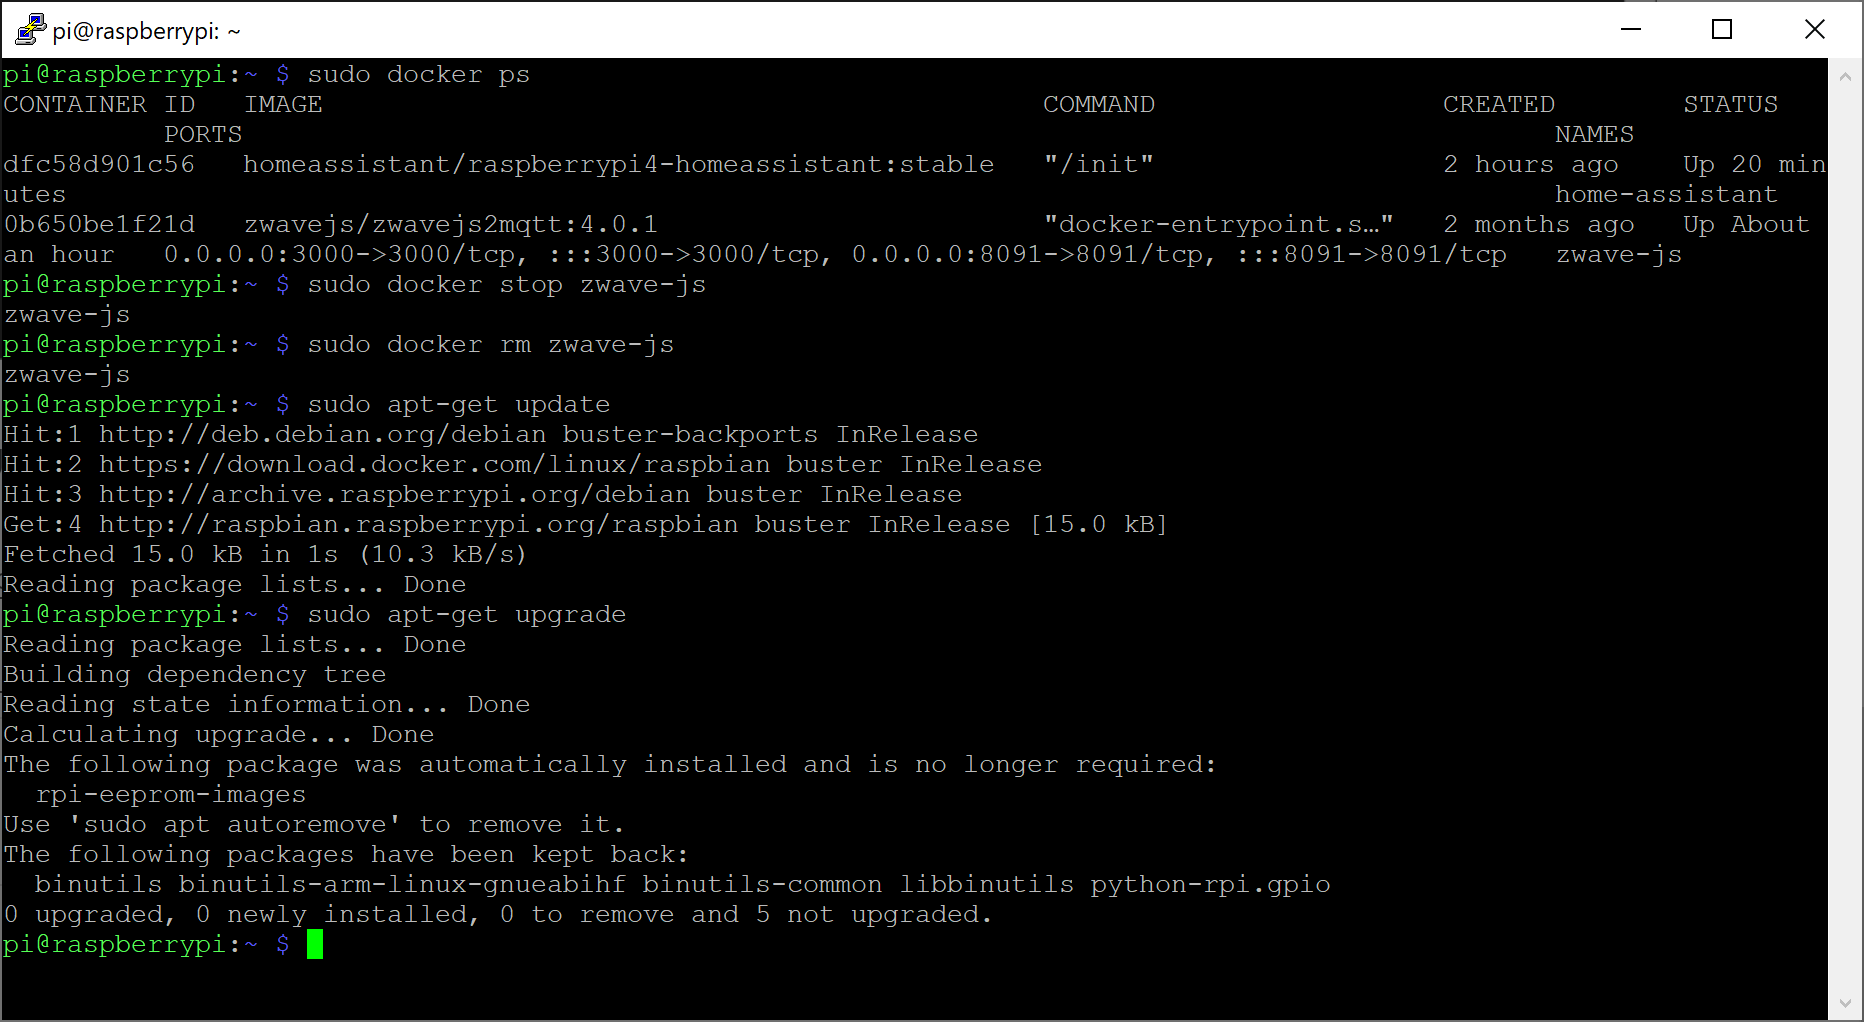
This guide won't go into installing / setting up Home Assistant, rather more so around the automation scripts needed to get this all working. If you are interested in learning more about Home Assistant, you can check out their website here and I have a blog post on how to deploy Home Assistant on a Raspberry Pi here.
To get this working, you will need a couple of things:
- Add your smart switch to Home Assistant
- Install HACS
- Install Haiku SenseMe Integration
- Add two automation scripts
- One to control light on/off events
- One to control light brightness events
Add your smart switch
I won't go into details here too much since every switch will have a separate way to install (Z-Wave vs WiFi vs Zigbee for example), but here is a nice YouTube video on how to get things going (https://youtu.be/FtWFSuMdiSQ?t=353).
HACS
If you have used Home Assistant, it comes with many different native integrations out of the box. Unfortunately, many integrations are developed so quickly the HA (Home Assistant) team doesn't have time to vet them all, so they end up being maintained by the community. HACS helps install these integrations, so I'd recommend installing this.
Step-by-Step documentation on installation can be found here: Prerequisites | HACS
Haiku Integration
A few much smarter folks wrote up an integration for the Haiku fan called SenseME, which we need to install. Once HACS is installed, you can search for the integration via HACS and install the integration. Copied from their integration, here is how to install the integration:
- Go to Configuration -> Integrations.
- Click on the + ADD INTEGRATION button in the bottom right corner.
- Search for and select the
SenseMEintegration.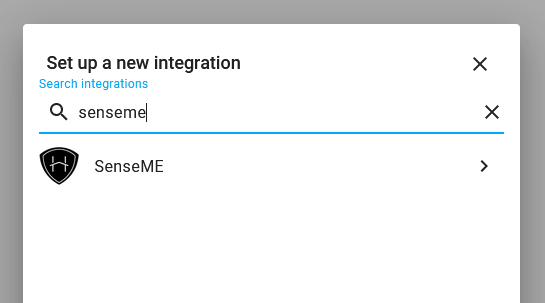
- If any devices are discovered you will see the dialog below. Select a discovered device and click
Submitand you are done. If you would prefer to add a device by IP address select that option, clickSubmit, and you will be presented with the dialog in step 5.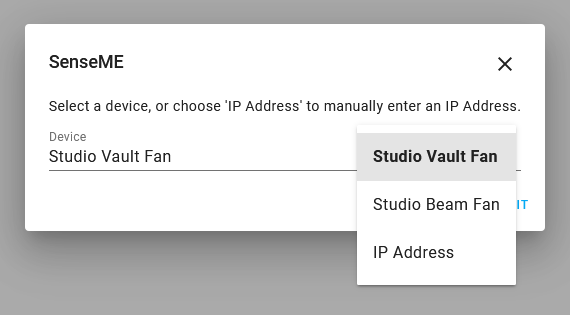
- If no devices were discovered or you selected the
IP Addressoption the dialog below is presented. Here you can type in an IP address of undiscoverable devices.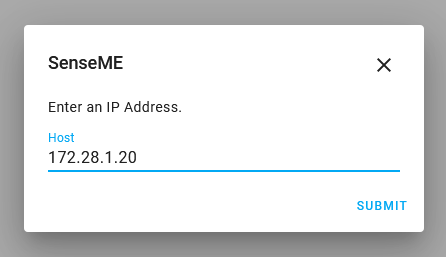
- Repeat these steps for each device you wish to add.
Information on the SenseME integration can be found on their GitHub site here: mikelawrence/senseme-hacs: Haiku with SenseME fan integration for Home Assistant (github.com)
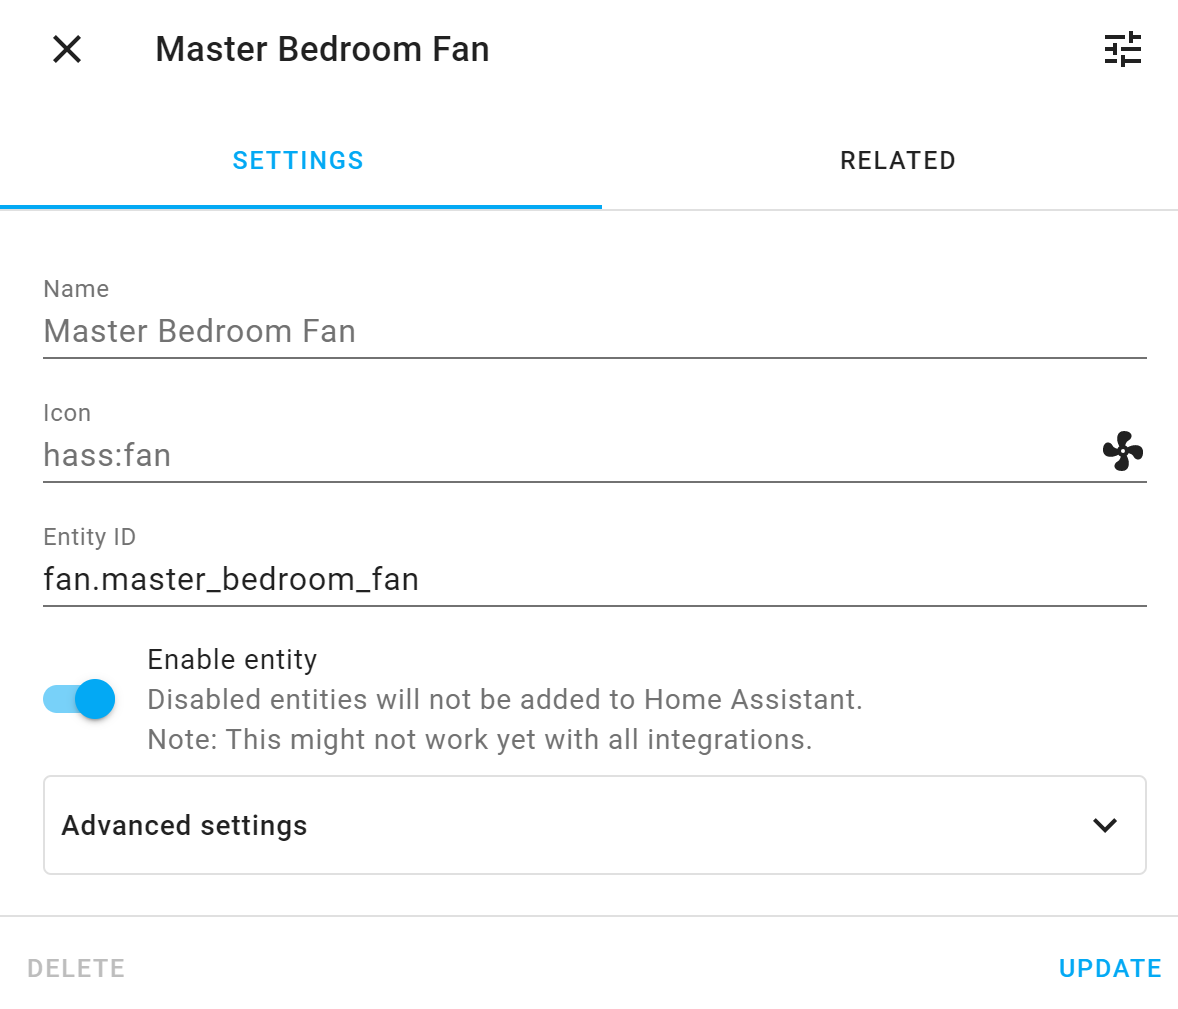
Once configuration is completed, you should see an entity for your fan listed that looks something like this.
On/Off Automation
This automation will first control On/Off behavior from your light switch.
- Go to Configuration -> Automations.
- Click on the + ADD Automation button in the bottom right corner.
- Click the START WITH AN EMPTY AUTOMATION button
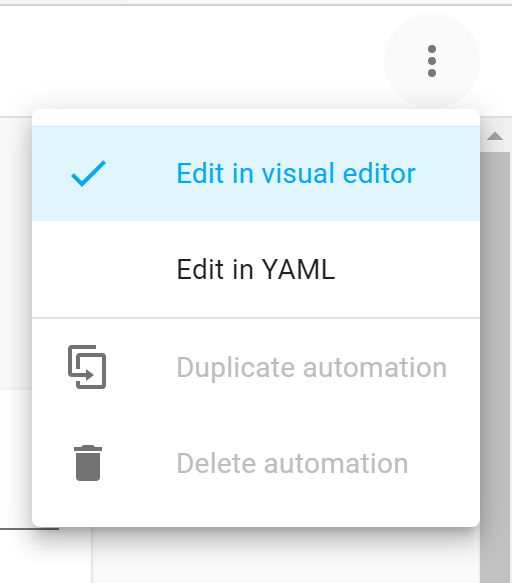
- Click on the three dots in the top right corner and click Edit in YAML
5. Paste the following code; make sure you edit the names of each of your light switch entities (one for your fan light and one for the light switch on the wall):
light.your_light (the light for your wall) and light.fan_light (the light on the Haiku fan).
alias: Turn On/Off Haiku Fan/Wall Switch
description: ''
trigger:
  - platform: state
    entity_id: light.your_light, light.fan_light
    from: 'off'
    to: 'on'
  - platform: state
    from: 'on'
    to: 'off'
    entity_id: light.your_light, light.fan_light
condition: []
action:
  - service: light.turn_{{ trigger.to_state.state }}
    data:
      entity_id: |-
        {% if trigger.entity_id == 'light.your_light' %}
          light.fan_light
        {% elif trigger.entity_id == 'light.fan_light' %}
          light.your_light
        {% endif %}
mode: single
6. Click the SAVE button
Brightness Automation
This automation will first control On/Off behavior from your light switch.
- Go to Configuration -> Automations.
- Click on the + ADD Automation button in the bottom right corner.
- Click the START WITH AN EMPTY AUTOMATION button
- Click on the three dots in the top right corner and click Edit in YAML
- Paste the following code; make sure you edit the names of each of your light switch entities (one for your fan light and one for the light switch on the wall):
light.your_light (the light for your wall) and light.fan_light (the light on the Haiku fan).
alias: Sync Haiku Fan/Wall Switch Brightness
description: ''
trigger:
  - platform: state
    entity_id: light.your_light, light.fan_light
    attribute: brightness
    for: '00:00:02'
condition:
  - condition: template
    value_template: '{{ trigger.to_state.attributes.brightness > 0}}'
action:
  - service: light.turn_on
    data:
      brightness: '{{ trigger.to_state.attributes.brightness }}'
      entity_id: |-
        {% if trigger.entity_id == 'light.your_light' %}
          light.fan_light
        {% elif trigger.entity_id == 'light.fan_light' %}
          light.your_light
        {% endif %}
mode: restart
6. Click the SAVE button
Testing!
At this point, whether you use your remote or the light switch, your lights should be in sync! Use the remote or the wall switch to the turn on/off the lights. Try using the switch to dim and it should adjust the brightness of the light (note: there may be a tiny delay after you make changes to the dimmer value as there's a 2second delay in the automation, which prevents the lights from going wonky).
Conclusion
Through the use of Home Assistant + any smart switch, we can easily control the Haiku fan with physical nobs and dials. While this tutorial only covers controlling the fan's light via a switch, the same principals can be used to add a second switch to control the fan speed.
For those that like physical knobs and dials to control your devices, hope this was helpful!
If you are thinking of buying a Big Ass Fan, please consider using my referral code so I can use them towards future reviews! https://bigassfans.referralrock.com/l/1JACKSTROMB57/