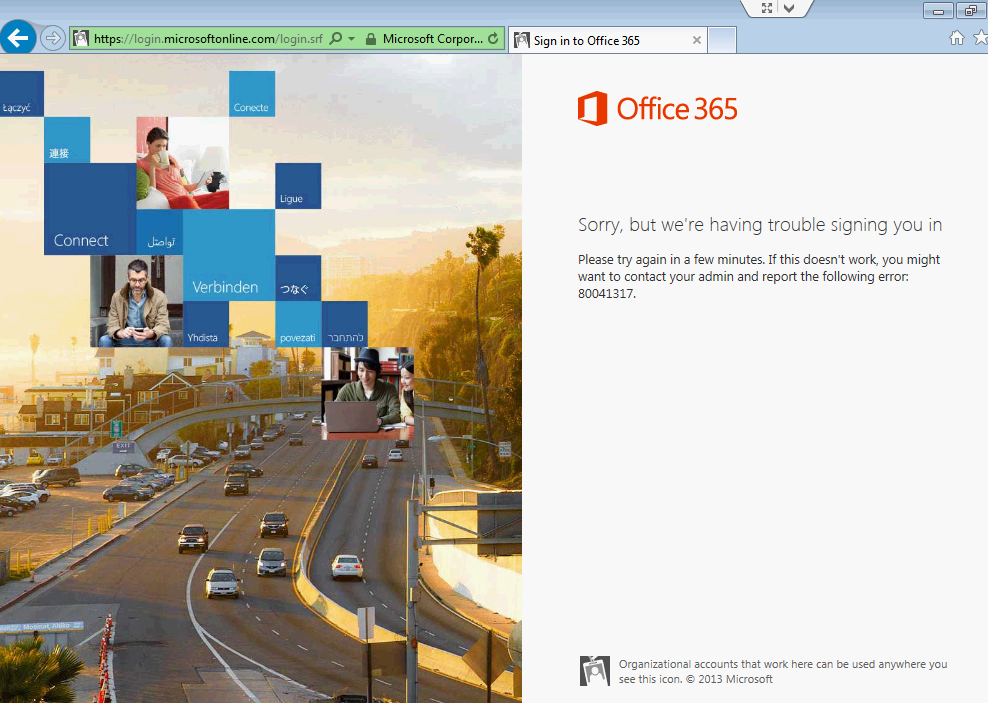
This morning I woke up to a nice ADFS issue which prompted Outlook to keep prompting for my credentials and my phone to prevent connectivity to Office 365. Since we are federated and sign-in was not working, I tried logging into Office 365 via the web. When trying to sign in to Office 365's webmail or portal, I was greeted by the following error:
Sorry, but we're having trouble signing you in.
Please try again in a few minutes. If this doesn't work, you might want to contact your admin and report the following error: 80041317.
Additionally, inside of event viewer on my ADFS server (not the proxy), I was seeing the following events:
Event ID: 111
The Federation Service encountered an error while processing the WS-Trust request.
Request type: http://schemas.xmlsoap.org/ws/2005/02/trust/RST/Issue
Additional Data
Exception details:
System.Security.Cryptography.CryptographicException: MSIS3135: The signature is not valid. The data may have been tampered with.
at Microsoft.IdentityServer.Service.Tokens.MSISRsaSignatureCookieTransform.Decode(Byte[] encoded)
at Microsoft.IdentityModel.Tokens.SessionSecurityTokenHandler.ApplyTransforms(Byte[] cookie, Boolean outbound)
at Microsoft.IdentityModel.Tokens.SessionSecurityTokenHandler.ReadToken(XmlReader reader, SecurityTokenResolver tokenResolver)
at Microsoft.IdentityModel.Tokens.SecurityTokenHandlerCollection.ReadToken(XmlReader reader)
at Microsoft.IdentityModel.Tokens.SecurityTokenElement.ReadSecurityToken(XmlElement securityTokenXml, SecurityTokenHandlerCollection securityTokenHandlers)
at Microsoft.IdentityModel.Tokens.SecurityTokenElement.GetSecurityToken()
at Microsoft.IdentityServer.Service.SecurityTokenService.MSISSecurityTokenService.GetOnBehalfOfPrincipal(RequestSecurityToken request, IClaimsPrincipal callerPrincipal)
at Microsoft.IdentityServer.Service.SecurityTokenService.MSISSecurityTokenService.BeginGetScope(IClaimsPrincipal principal, RequestSecurityToken request, AsyncCallback callback, Object state)
at Microsoft.IdentityModel.SecurityTokenService.SecurityTokenService.BeginIssue(IClaimsPrincipal principal, RequestSecurityToken request, AsyncCallback callback, Object state)
at Microsoft.IdentityModel.Protocols.WSTrust.WSTrustServiceContract.DispatchRequestAsyncResult..ctor(DispatchContext dispatchContext, AsyncCallback asyncCallback, Object asyncState)
at Microsoft.IdentityModel.Protocols.WSTrust.WSTrustServiceContract.BeginDispatchRequest(DispatchContext dispatchContext, AsyncCallback asyncCallback, Object asyncState)
at Microsoft.IdentityModel.Protocols.WSTrust.WSTrustServiceContract.ProcessCoreAsyncResult..ctor(WSTrustServiceContract contract, DispatchContext dispatchContext, MessageVersion messageVersion, WSTrustResponseSerializer responseSerializer, WSTrustSerializationContext serializationContext, AsyncCallback asyncCallback, Object asyncState)
at Microsoft.IdentityModel.Protocols.WSTrust.WSTrustServiceContract.BeginProcessCore(Message requestMessage, WSTrustRequestSerializer requestSerializer, WSTrustResponseSerializer responseSerializer, String requestAction, String responseAction, String trustNamespace, AsyncCallback callback, Object state)
Event ID: 184
A token request was received for a relying party identified by the key 'fed.mydomain.com:443/adfs/services/trust/2005/usernamemixed', but the request could not be fulfilled because the key does not identify any known relying party trust.
Key: fed.mydomain.com:443/adfs/services/trust/2005/usernamemixed
This request failed.
User Action
If this key represents a URI for which a token should be issued, verify that its prefix matches the relying party trust that is configured in the AD FS configuration database.
Event ID: 371
Cannot find certificate to validate message/token signature obtained from claims provider.
Claims provider: http://fed.mydomain.com/adfs/services/trust
This request failed.
User Action
Check that Claim Provider Trust configuration is up to date.
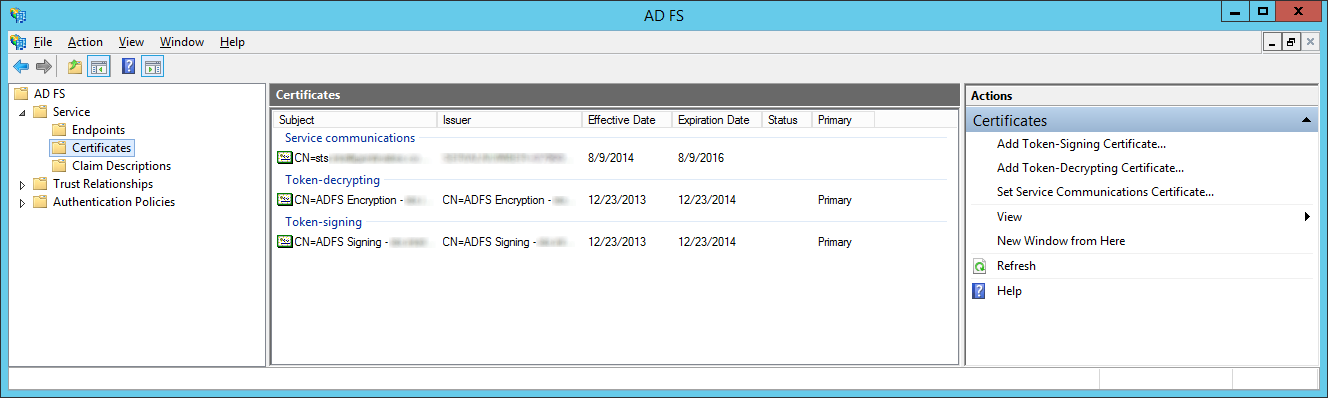
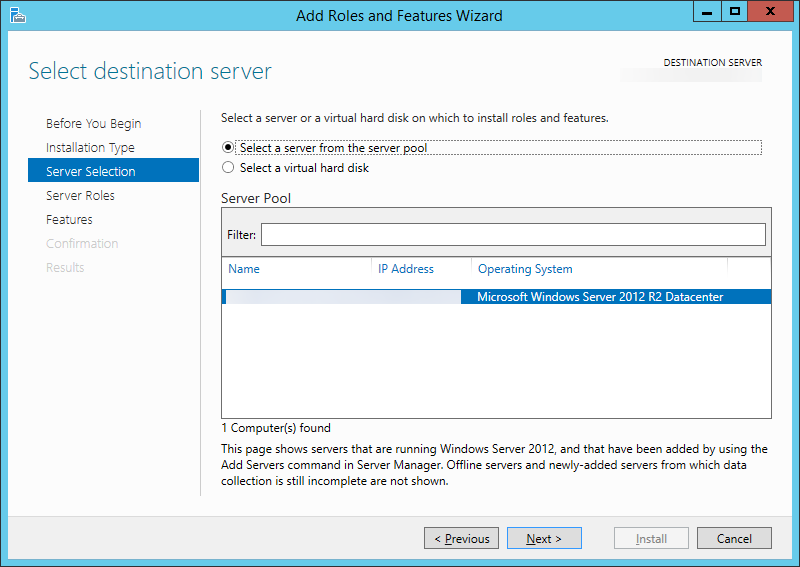
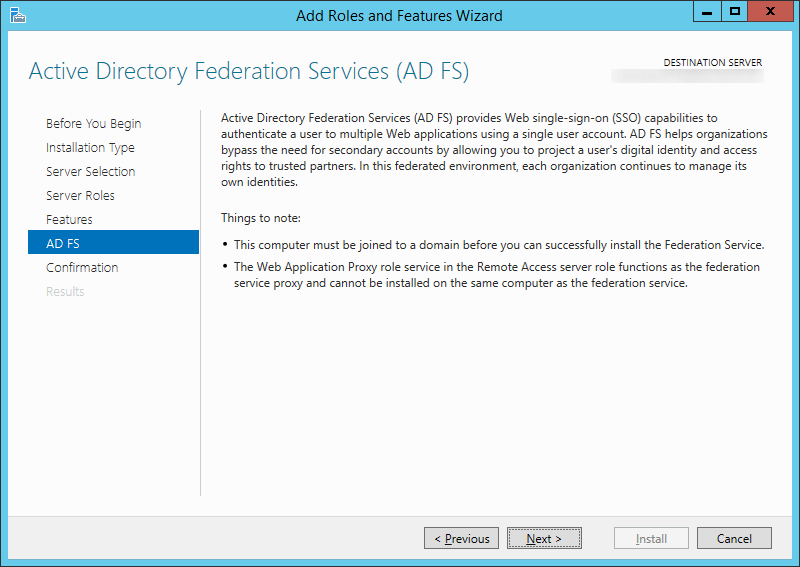
After a long conversation with Microsoft, the end result was somehow federation between Microsoft and our ADFS servers was severed. Here is how we fixed it.
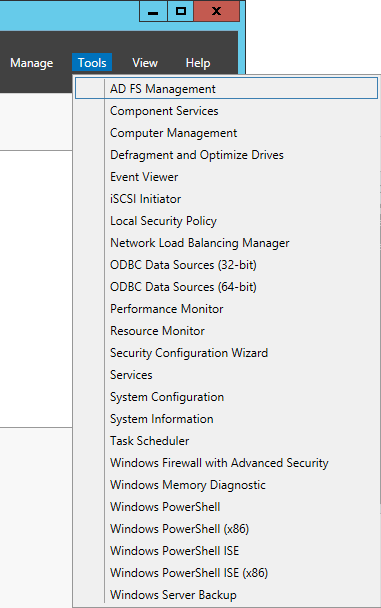
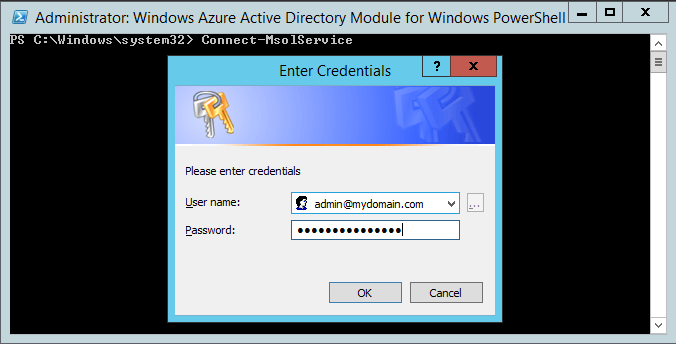
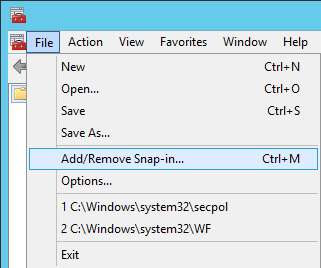
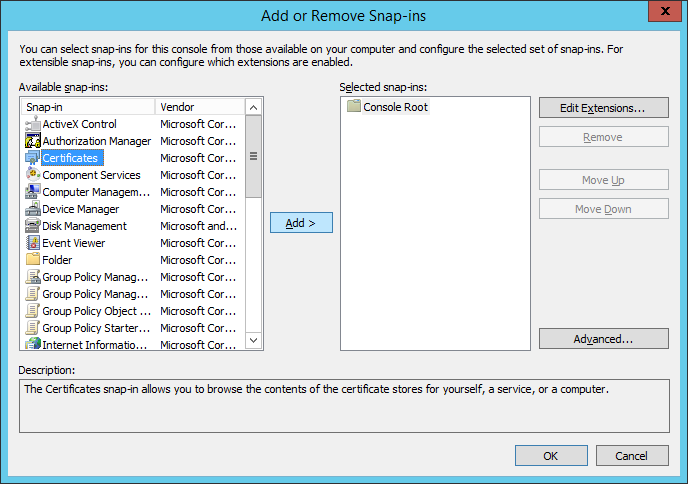
- Remote desktop to your ADFS server (not the proxy)
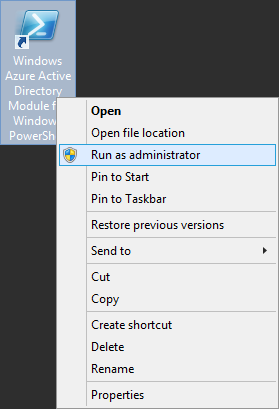
- Open the Windows Azure Active Directory Module for Windows PowerShell as an administrator
- If you are old to ADFS, this was formerly called Microsoft Online Services Module
- Execute the following command:
- Connect-MsolService
- Type in your Office 365 admin credentials. I highly recommend you use a cloud based user called [email protected] in the case you cannot federate.
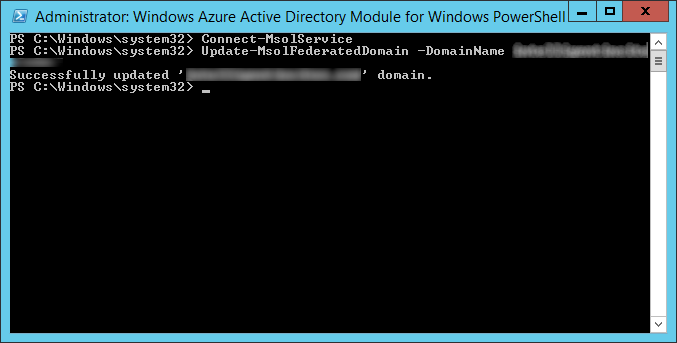
- Execute the following command:
- Update-MsolFederatedDomain
- Type in the domain name you federate to office 365 (yourcompany.com).
- Successfully updated 'yourdomain.com' domain. message when done.
- Execute the following command:
- convert-msoldomaintostandard -domainname mydomain.com -passwordfile pass.txt -skipuserconversion $true
- This command will break federation (essentially turn it off) to Office 365. This will not lose your mailboxes, settings, etc.
- Execute the following command:
- Convert-MsolDomainToFederated
- This command will re-establish federation to Office 365
- Execute the following command:
- Update-MsolFederatedDomain
- This command will update URLs or certificate information within AD FS and Office 365.
- Note: If you have multiple domain names being federated, please use the following command:
Update-MSOLFederatedDomain -DomainName mydomain.com -supportmultipledomain
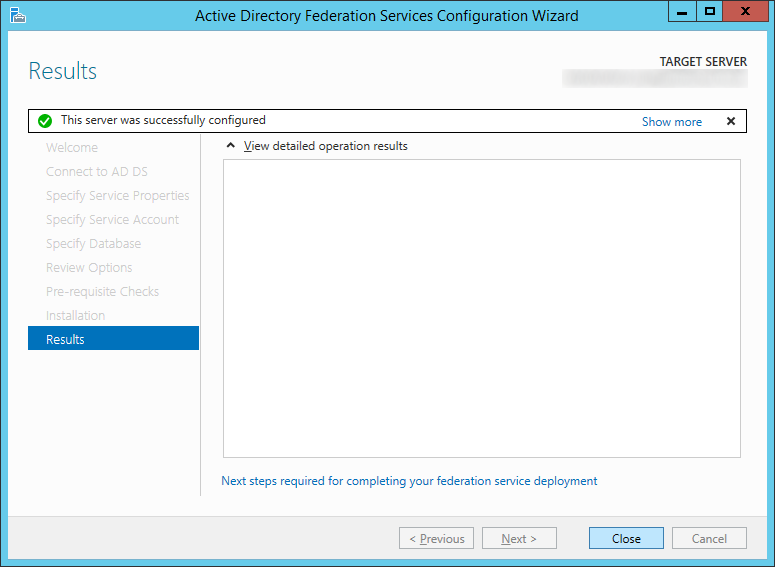
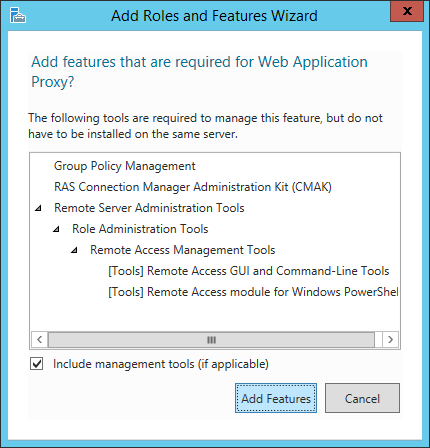
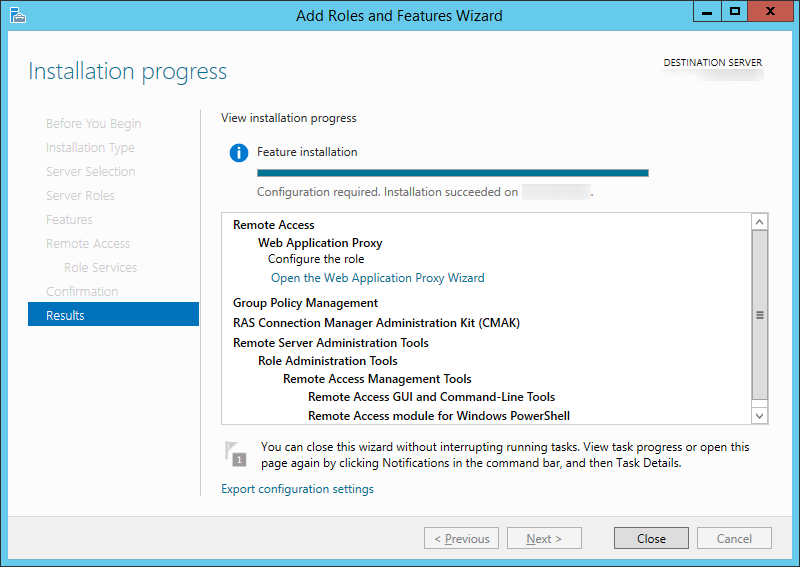
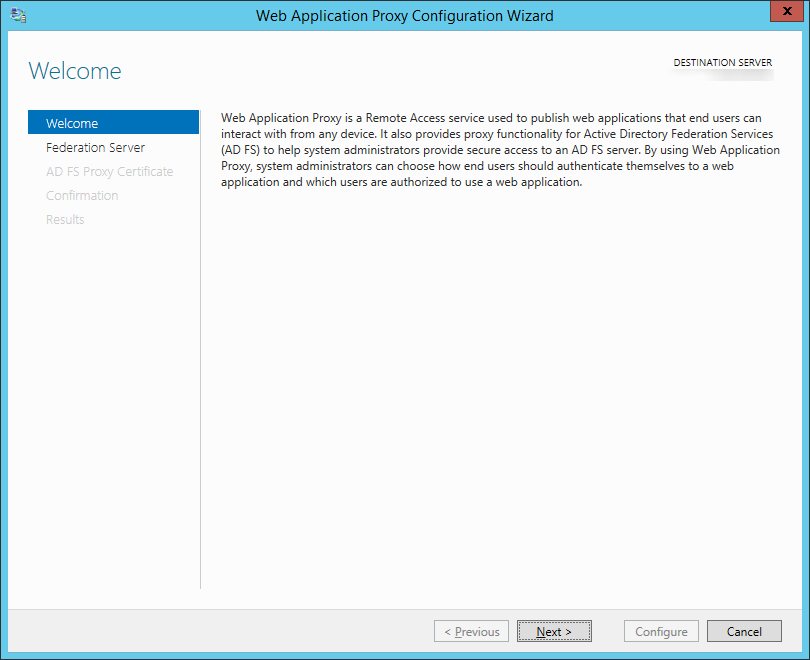
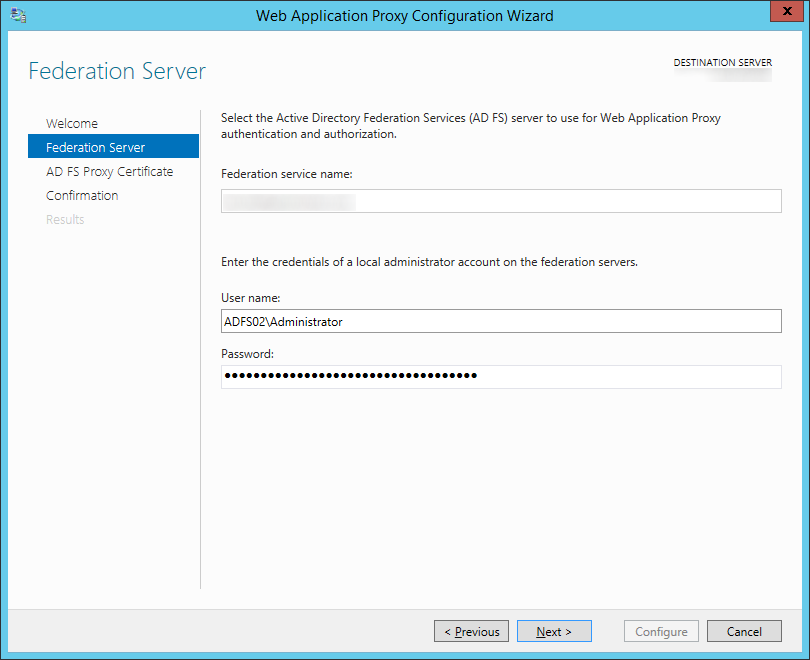
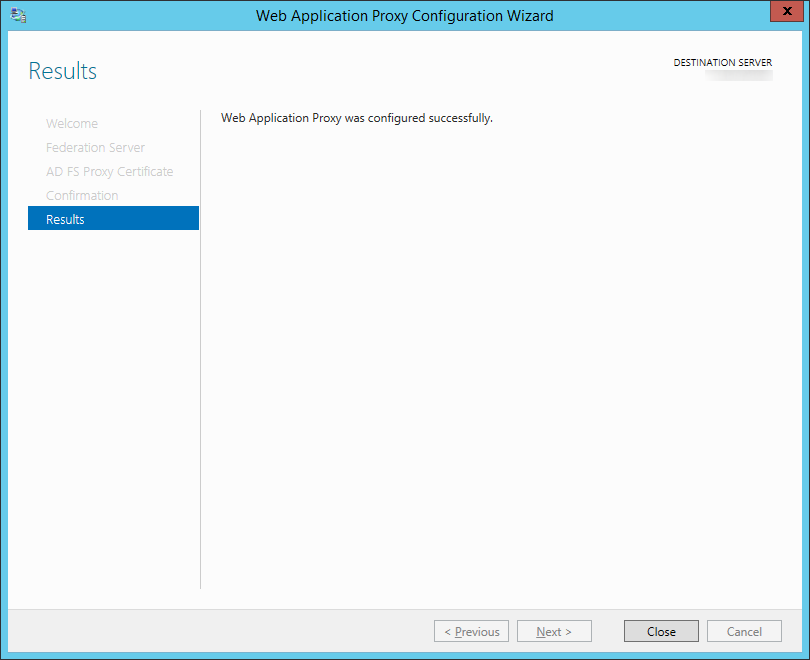
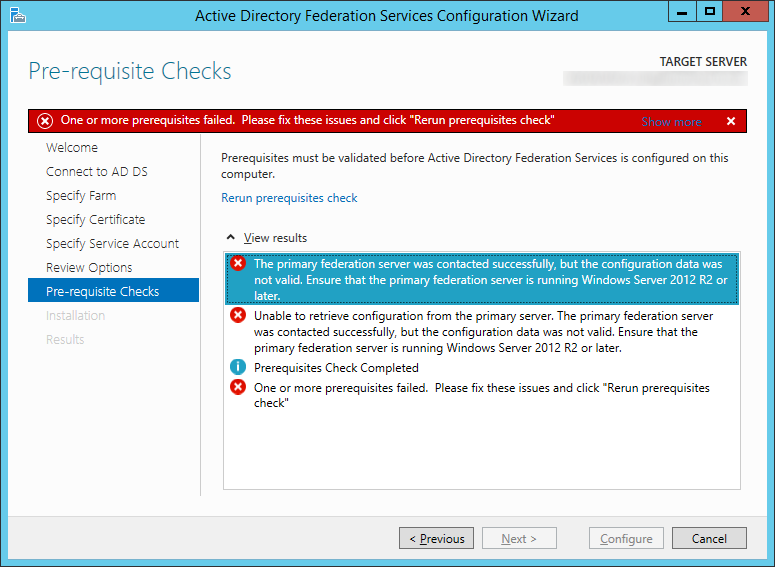
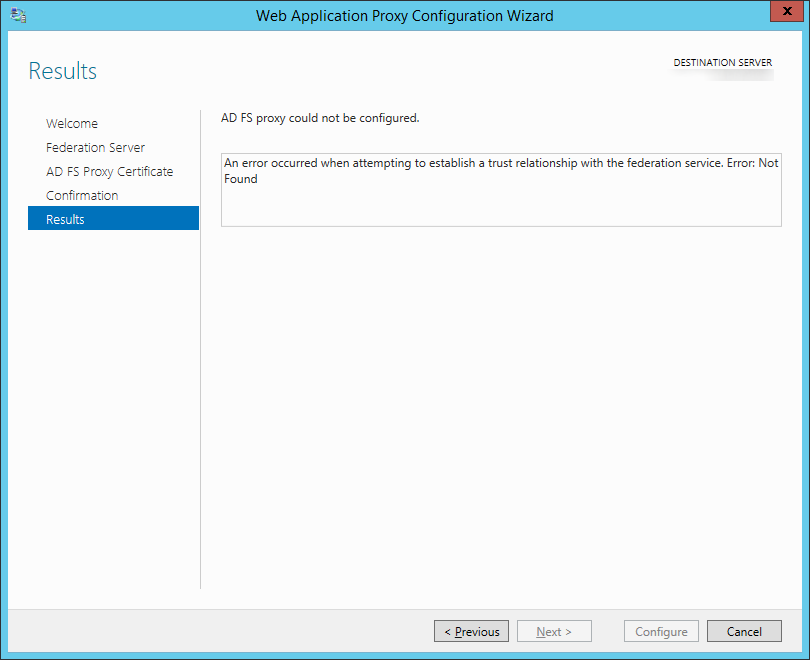
- Next, I restarted my proxy server, reran the ADFS wizard to ensure the proxy could communicate to the primary ADFS server, and waited a minute or so.
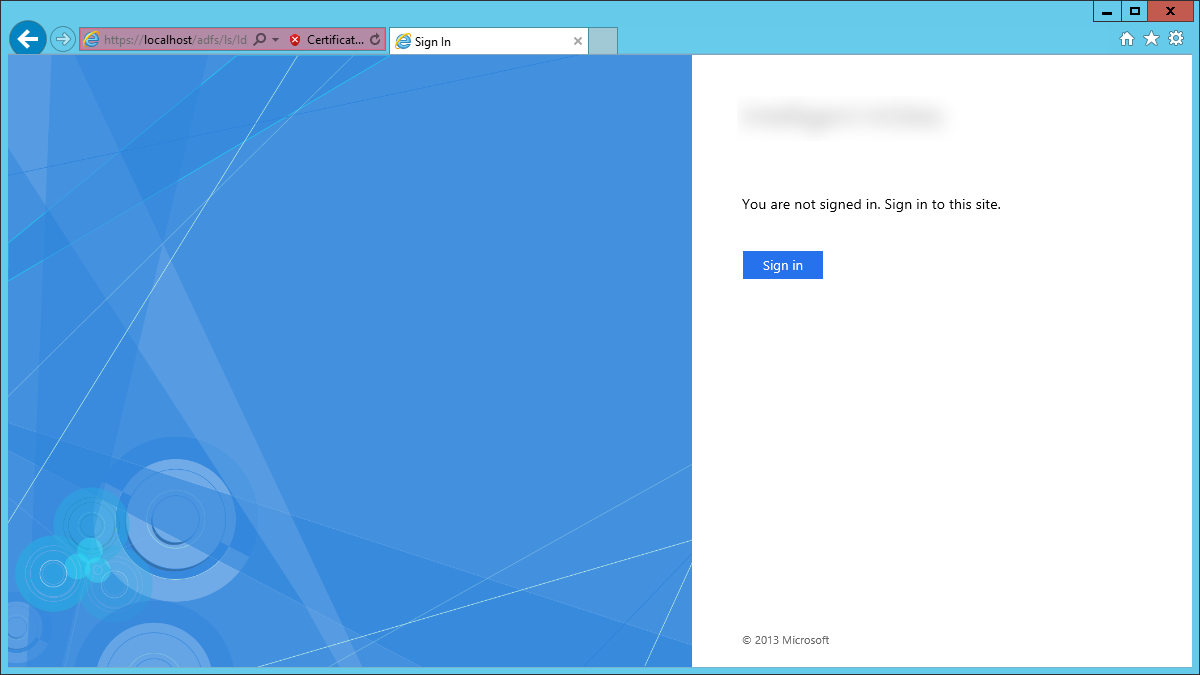
- At this point, authentication began to work properly again.