This guide is more of a reflection on the steps I took to publish the BitLocker recovery keys of machines deployed on an Active Directory domain. Microsoft has gobs and gobs of information on this subject which can be a tad overwhelming, so I have tried to consolidate this article down as much as possible, citing Microsoft sources where found. If you have any questions, comments, feedback, please feel free to leave a message below.
Prerequisites
- Domain Controllers are running Windows Server 2003 SP1 or greater
- Schema Admin or an Enterprise Admin user account privileges
Step 1: Verify your schema is ready (and extend it if applicable)
Based on what I have read, if your DCs were introduced with Server 2008 Beta 3 or later, your schema will be ready, if you started with anything older, your AD environment will more than likely will not have the schema objects/attributes.
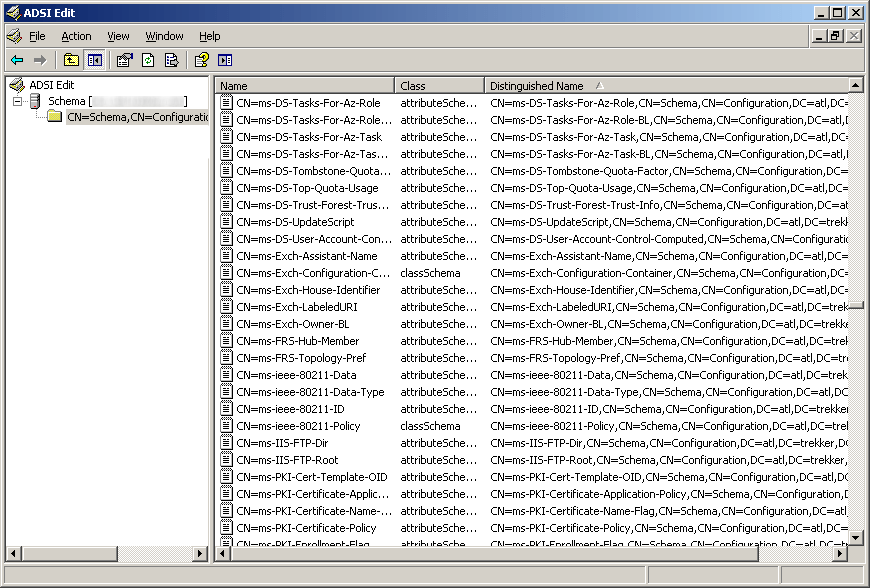
Verify you have the schema changes if running Server 2003 R2 or older:
If you are on Server 2003 you will need to open up ADSI edit and verify you have the schema changes (here you can see we are missing the five schema changes for BitLocker)
Verify you have the schema changes if running Server 2008 or newer:
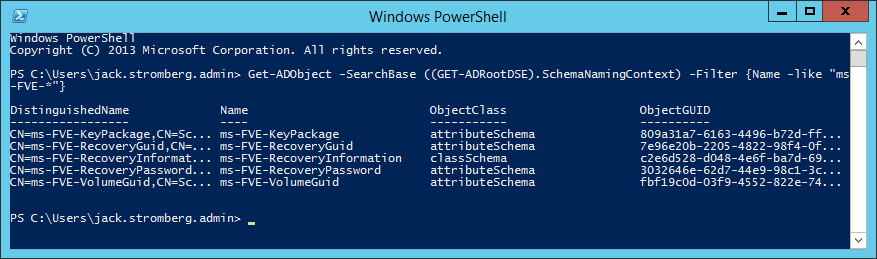
If you are on Server 2008 or greater and have powershell, you can execute the following command (here you can see we have the necessary schema changes to proceed, if you receive 0 results, you will need to extend your schema):
Get-ADObject -SearchBase ((GET-ADRootDSE).SchemaNamingContext) -Filter {Name -like "ms-FVE-*"}
Extending your schema if you don't have the schema changes above
If you need the schema update (you are missing the five schema objects listed in the above powershell command), you can execute the following command via Command Prompt on your Domain Controller:
Note: If you are on Server 2008 r2, it is recommended you extend your schema to Server 2012 or if you just want the BitLocker attributes, use these two ldf files: https://technet.microsoft.com/en-us/library/jj635854.aspx
ldifde -i -v -f BitLockerTPMSchemaExtension.ldf -c "DC=X" "DC=mydomain,DC=local" -k -j .
Yes, you do want the trailing period (.) at the end of the command. It is literally apart of the command, so ensure you execute the command exactly like above (changing your domain of course). You can see the official technet article here for more information on the command: https://technet.microsoft.com/en-us/library/cc766015(v=ws.10).aspx
If you would like to verify everything went well, Microsoft has posted some output on what the command should write: https://technet.microsoft.com/en-us/library/cc722060(v=ws.10).aspx
Step 2: Set the required permissions for backing up TPM password information
Next, we need to add an access control entry (ACE) so that backing up TPM recovery information is possible.
Head over to the following Microsoft document and download each of the VBS scripts they have displayed: Save the following VBS scripts from the following website: https://technet.microsoft.com/en-us/library/dn466534.aspx#Sample scripts
- Ensure you are on one of your domain controllers
- Open up a command prompt as an administrator
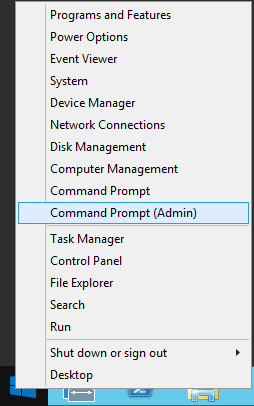
- Navigate to your BitLocker folder
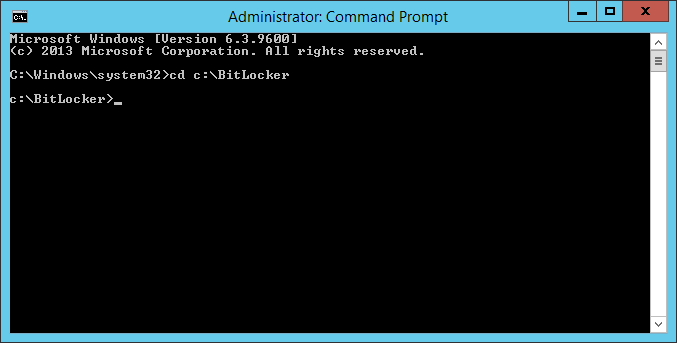
- Execute the following command on your domain controller
- cscript Add-TPMSelfWriteACE.vbs
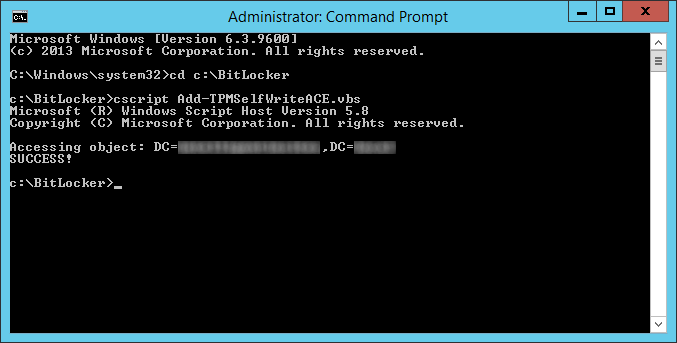
- cscript Add-TPMSelfWriteACE.vbs
- Delegate msTPM-OwnerInformation
- Open up Active Directory Users and Computers
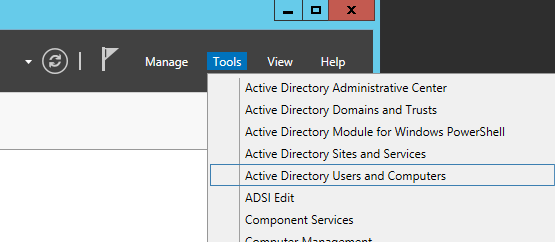
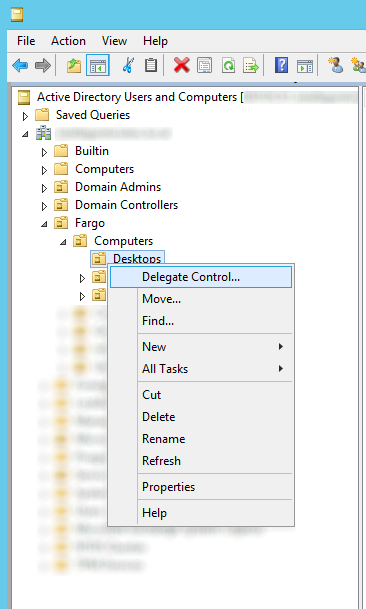
- Navigate to the OU that stores your computers, right click, and select Delegate Control...
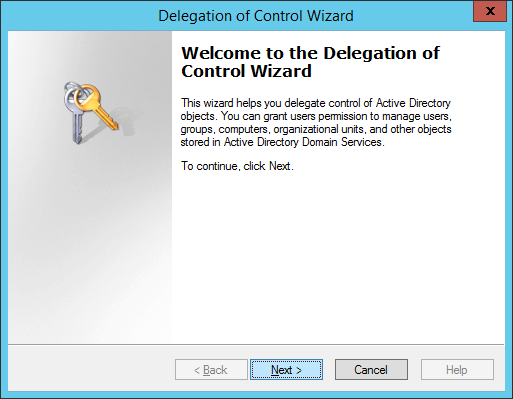
- Click Next > button on the welcome screen
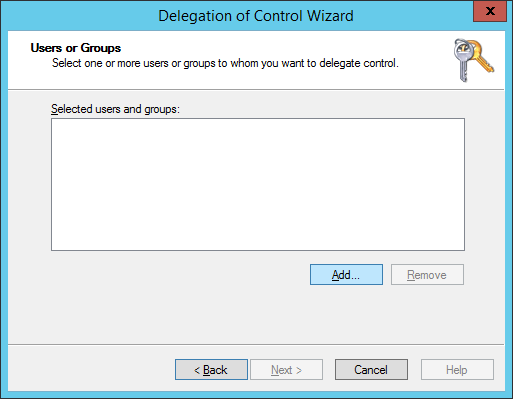
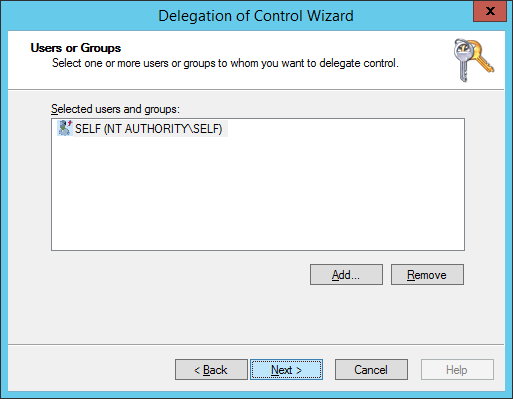
- Click the Add... button
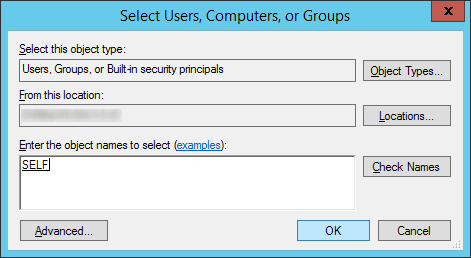
- Type in SELF, hit the Check Names button, and click OK
- Click Next >
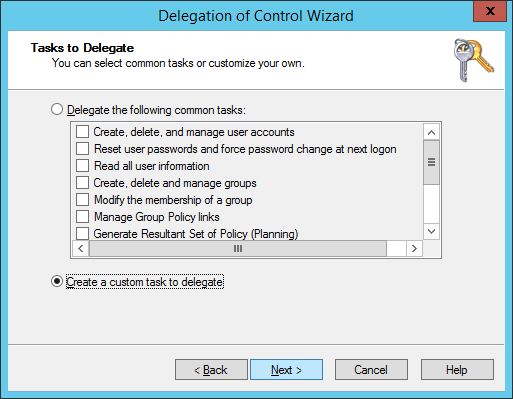
- Select Create a custom task to delegate and click Next >
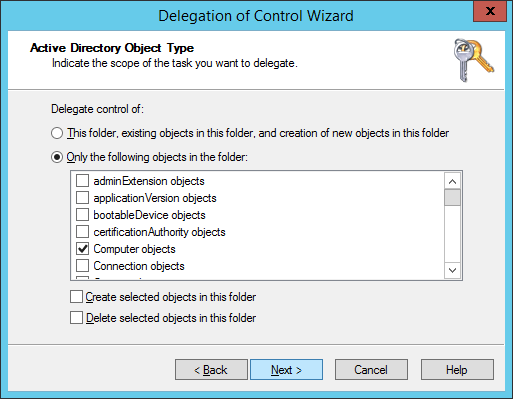
- Check Only the following objects in the folder, check Computer objects, click Next >
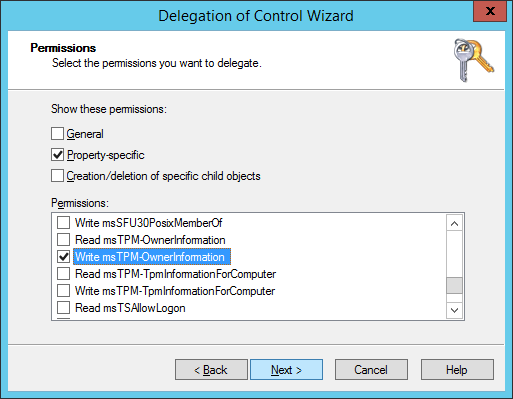
- Check Property-specific, scroll down and find Write msTPM-OwnerInformation and click Next >
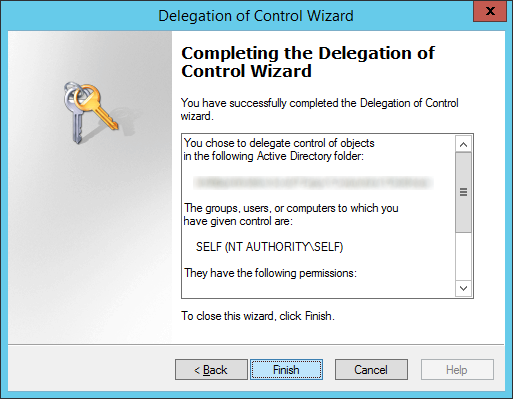
- Click Finish
- Open up Active Directory Users and Computers
Step 3: Configure group policy to back up BitLocker and TPM recovery information to Active Directory
In this step, we will push out the actual policy that tells the machine to push BitLocker and TPM recovery info to Active Directory. We will try to follow some of Microsoft's best practices on deploying the group policy here: https://technet.microsoft.com/en-us/library/dd875532(WS.10).aspx
- Login to your domain controller
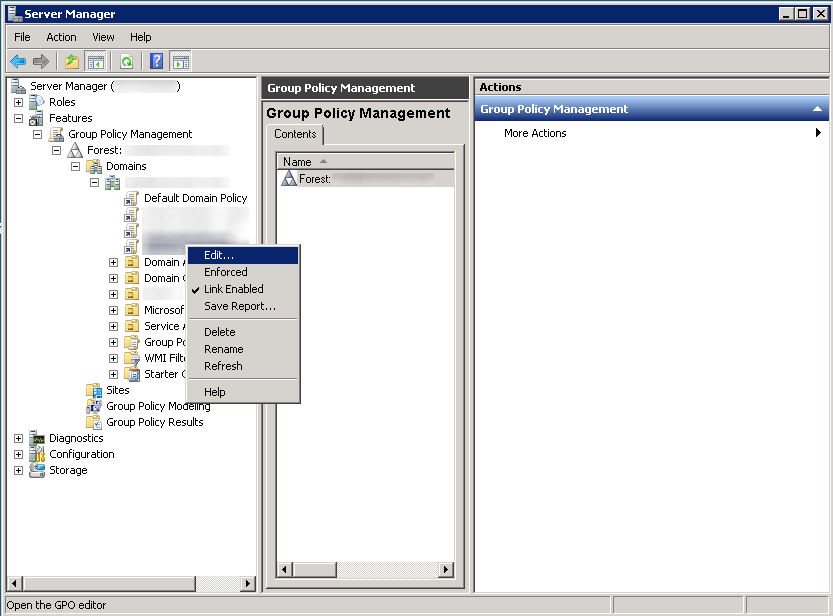
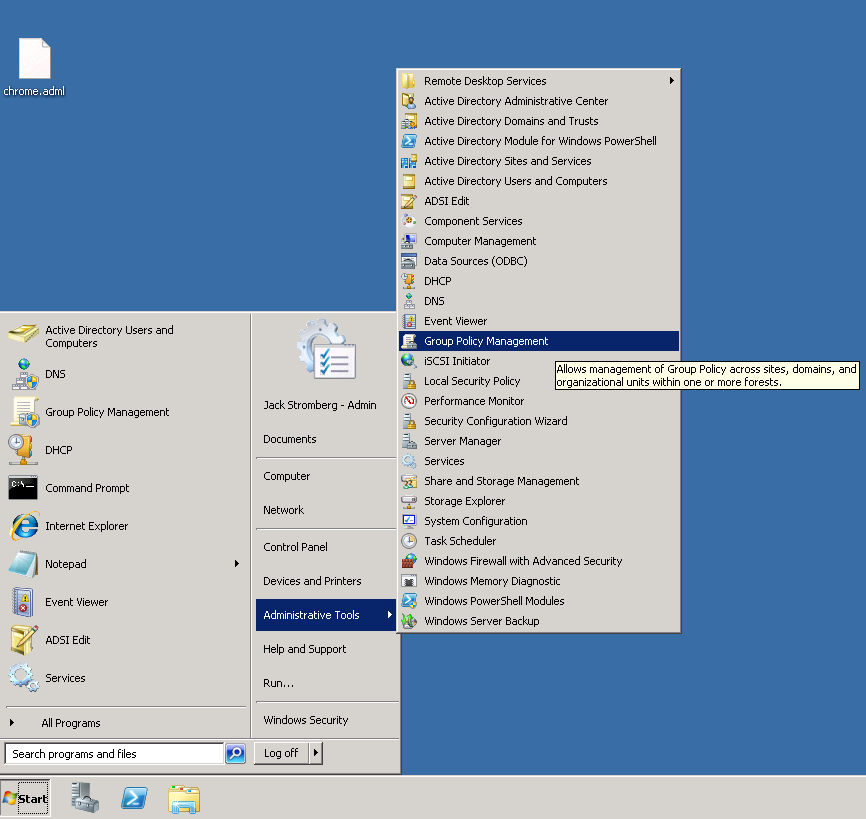
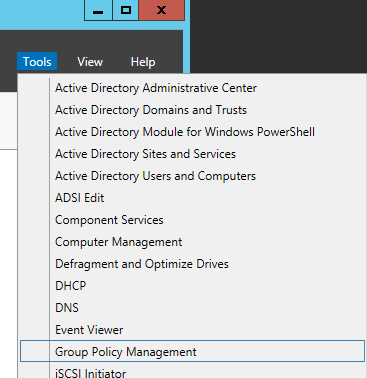
- In Server Manager, open up Group Policy Management
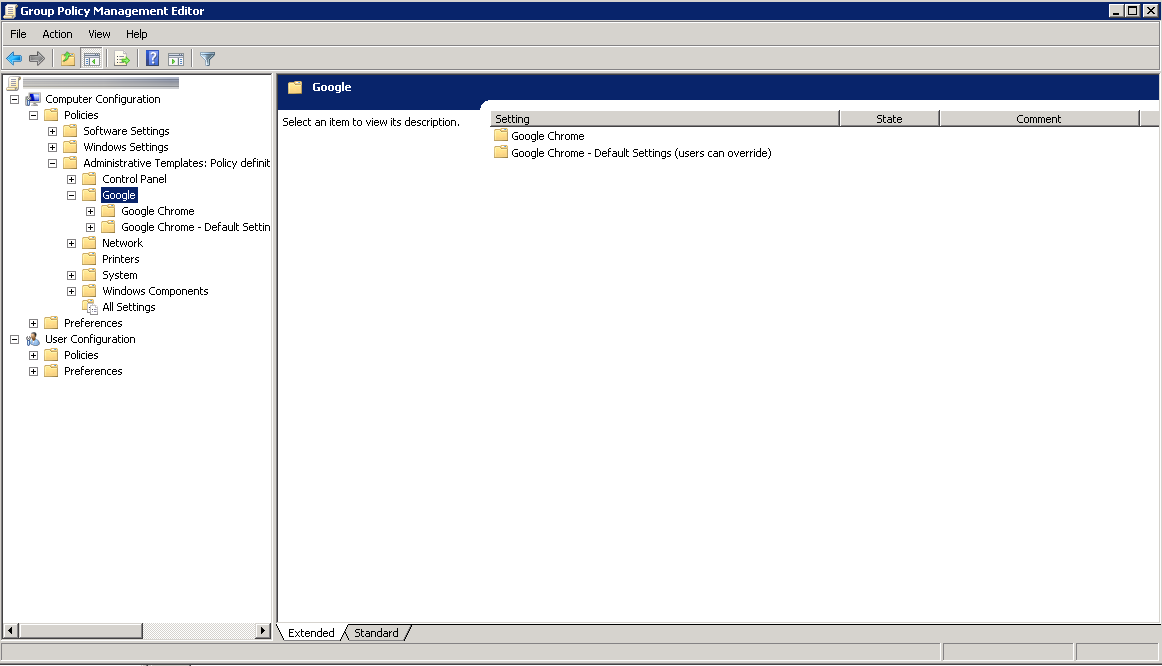
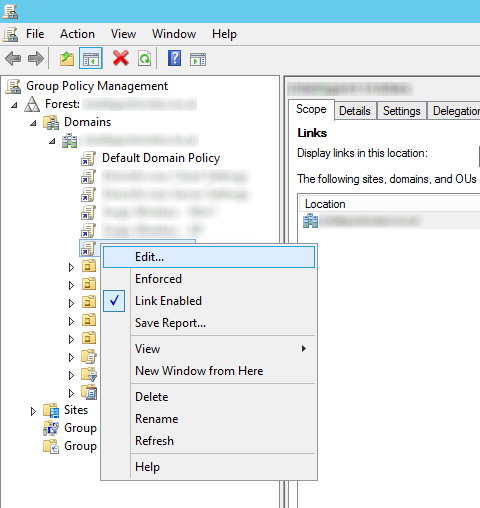
- Select the policy you want to edit/deploy for this and hit Edit...
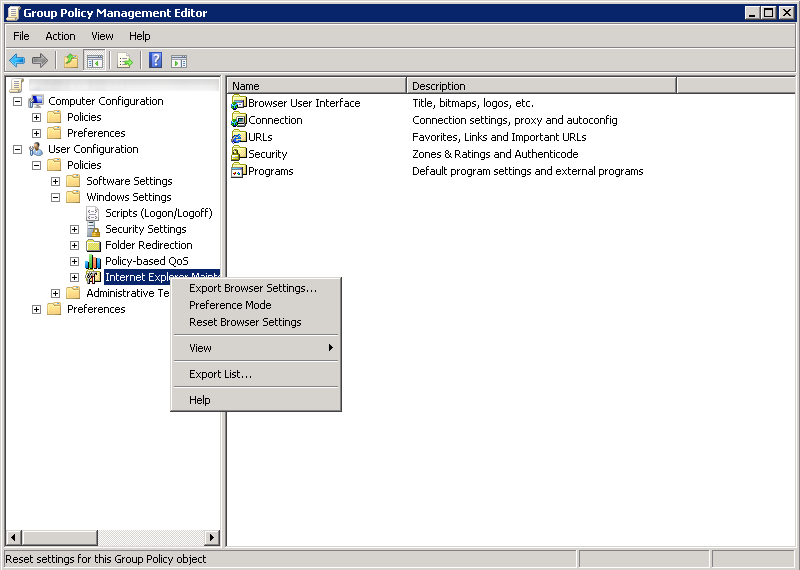
- Expand Computer Configuration, expand Policies, expand Administrative Templates, open Windows Components, and then select BitLocker Drive Encryption
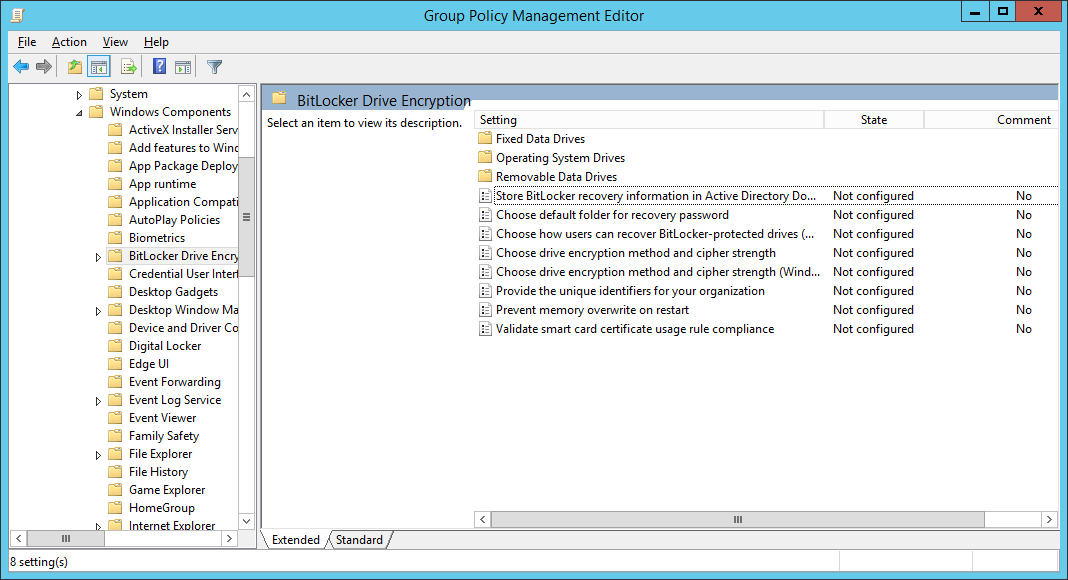
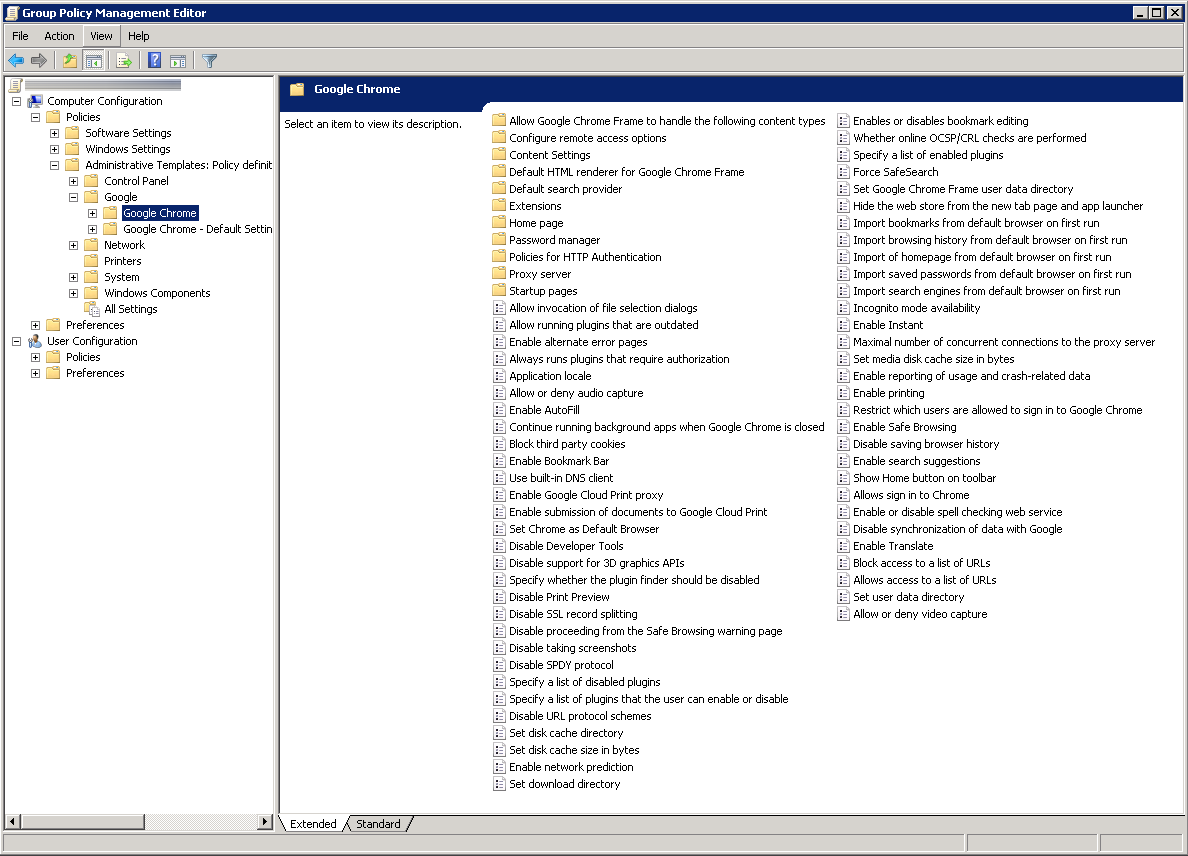
- Follow the below configuration for each policy (most of these are Microsoft's best practices with a few notes I have made in the Settings)
CATEGORY SETTING NAME SETTING Global Store BitLocker recovery information in Active Directory Domain Services Set to enabled, check Require BitLocker backup to AD DS, ensure Recovery passwords and key packages is selected Global Choose drive encryption method and cipher strength Set to not configured. Global Prevent memory overwrite on restart Set to not configured. Global Provide the unique identifiers for your organization Set to enabled, and enter an identifier in the BitLocker identification field (based on what I can tell, you can enter your organization name here). Operating system drives Choose how BitLocker-protected operating system drives can be recovered Set to enabled, Allow 48-digit recovery password, Allow 256-bit recovery key, omit recovery options from the BitLocker setup wizard, Store recovery passwords and key packages, Do not enable BitLocker until recovery information is stored to AD DS for operating system drives.For more information about storing BitLocker recovery information in AD DS, see Backing Up BitLocker and TPM Recovery Information to AD DS. Operating system drives Configure minimum PIN length for startup Set to enabled, and require a personal identification number (PIN) of at least seven numerals. Operating system drives Require additional authentication at startup Set to enabled, and require the use of a startup PIN with a Trusted Platform Module (TPM). Fixed data drives Choose how BitLocker-protected fixed drives can be recovered Set to enabled, Allow 48-digit recovery password, Allow 256-bit recovery key, omit recovery options from the BitLocker setup wizard, Store recovery passwords and key packages, Do not enable BitLocker until recovery information is stored to AD DS for operating system drives. Fixed data drives Configure use of passwords for fixed data drives If your organization does not have a public key infrastructure (PKI), set to enabled, require password complexity, and set a minimum password length of at least 12 characters. Fixed data drives Configure use of smart cards on fixed data drives If your organization has a PKI, set to enabled, and require the use of smart cards with fixed data drives. Removable data drives Choose how BitLocker-protected removable drives can be recovered Set to enabled, Allow 48-digit recovery password, Allow 256-bit recovery key, omit recovery options from the BitLocker setup wizard, Store recovery passwords and key packages, Do not enable BitLocker until recovery information is stored to AD DS for operating system drives. Removable data drives Configure use of passwords for removable data drives Set to enabled, set a minimum password length of at least 12 characters, and require password complexity if your organization does not have a PKI or if there is a need to access BitLocker-protected drives from computers running Windows XP or Windows Vista. Removable data drives Configure use of smart cards on removable data drives Set to enabled, and require the use of smart cards with removable data drives if your organization has a PKI. Removable data drives Control use of BitLocker on removable drives Set to enabled, Allow users to apply BitLocker protection on removable data drives, and uncheck Allow users to suspend and decrypt BitLocker protection on removable data drives. Removable data drives Deny write access to removable data drives not protected by BitLocker Set to enabled, and Do not allow write access to devices configured in another organization.  NOTE
NOTEThis policy cannot be enabled if your organization uses recovery keys or startup keys. Recovery keys and startup keys must be stored on unencrypted USB drives. - Next, configure Group Policy to backup the TPM owner information; open Computer Configuration, open Administrative Templates, open System, and then open Trusted Platform Module Services
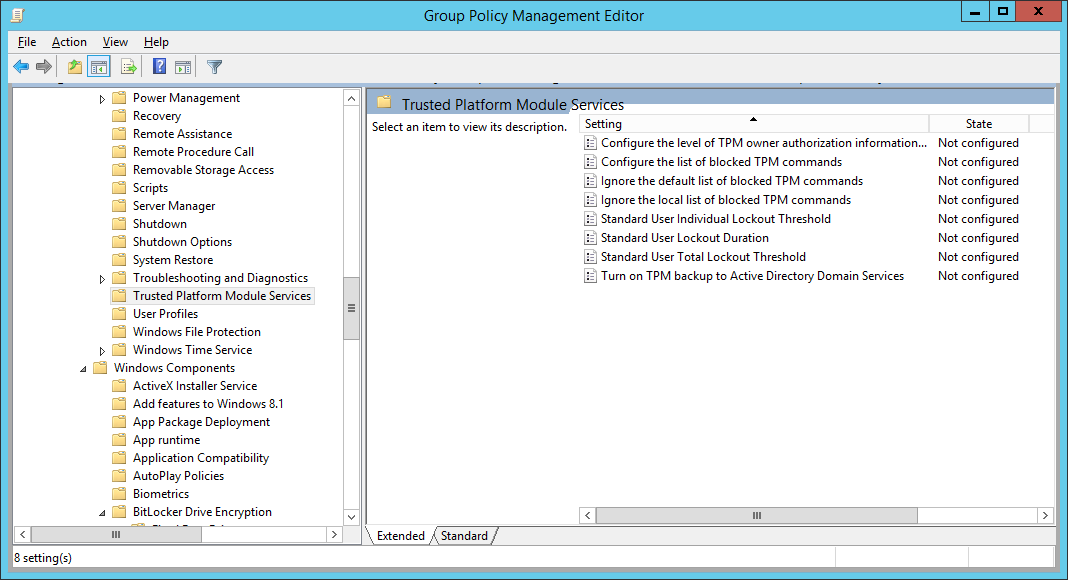
- Double-click Turn on TPM backup to Active Directory, check Enabled, and click OK
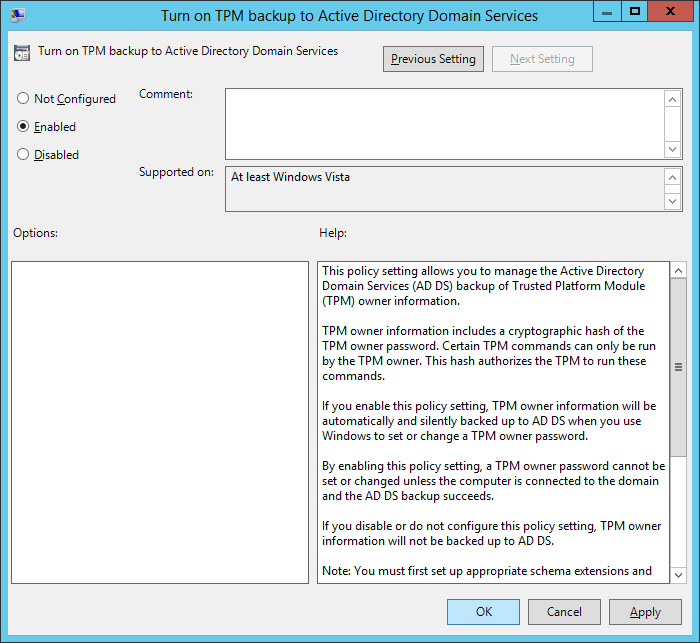
- Note: If you are on Server 2008 R2, make sure you select Require TPM backup to AD DS. Based on what I can find, if you are on Server 2012 R2, this option has been removed.
- Define a BitLocker Drive Encryption Data Recovery Agent
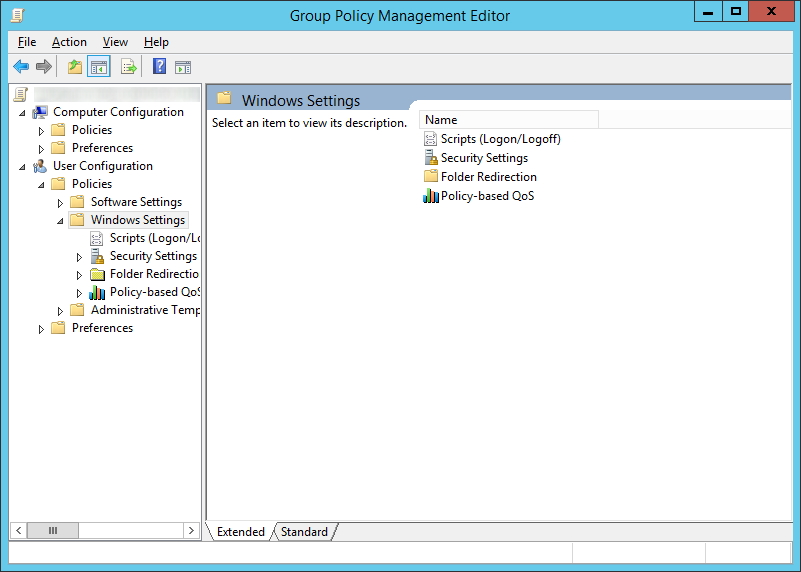
- Open Computer Configuration, open Policies, open Windows Settings, open Security Settings, open Public Key Policies, and right click on BitLocker Drive Encryption and select Add Data Recovery Agent...
- Click Next > on the Add Recovery Agent Wizard
- Select a Recovery agent and click Next >
- If you are using PKI, select the Browse Directory... button and select a user that has been configured with an EFS certificate. I found this guide the most helpful on setting this process up (if anyone has a guide to an official Microsoft document explaining the best practices on configuring this, please drop a comment below: http://technetlibrary.com/use-data-recovery-agent-dra-decrypt-encrypted-files-domain/163)
- Here is the only official Microsoft article that I could find that explains the configuration of the Data Recovery Agent: https://technet.microsoft.com/en-us/library/dd875560%28v=ws.10%29.aspx#BKMK_proc_dra
- If you don't have a PKI environment setup, you can use a self signed certificate by opening up a command prompt and executing the following command: cipher /r:administrator
- Copied from the cipher command: This command generates an EFS recovery key and certificate, then writes them to a .PFX file (containing certificate and private key) and a .CER file (containing only the certificate). An administrator may add the contents of the .CER to the EFS recovery policy to create the recovery key for users, and import the .PFX to recover individual files. If SMARTCARD is specified, then writes the recovery key and certificate to a smart card. A .CER file is generated (containing only the certificate). No .PFX file is generated.
- If you are using PKI, select the Browse Directory... button and select a user that has been configured with an EFS certificate. I found this guide the most helpful on setting this process up (if anyone has a guide to an official Microsoft document explaining the best practices on configuring this, please drop a comment below: http://technetlibrary.com/use-data-recovery-agent-dra-decrypt-encrypted-files-domain/163)
- Click Finish on the Add Recovery Agent Wizard
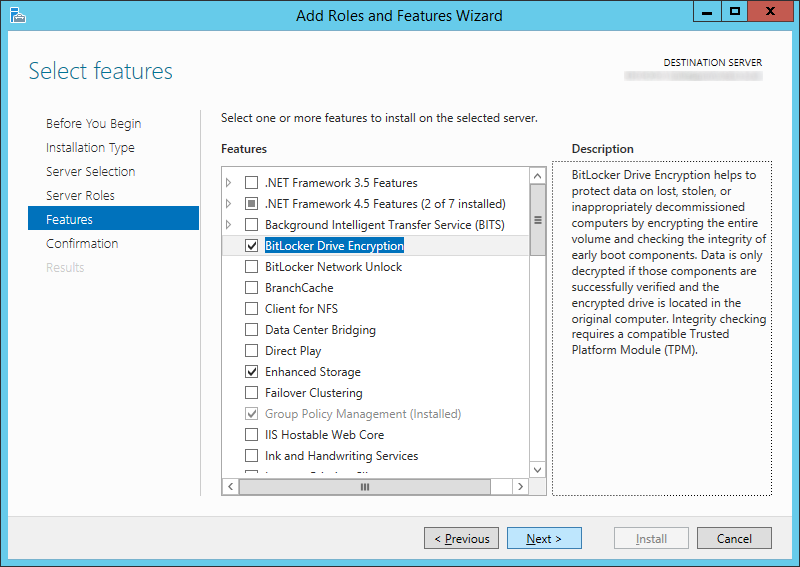
Step 4: Install the BitLocker Password Recovery Viewer
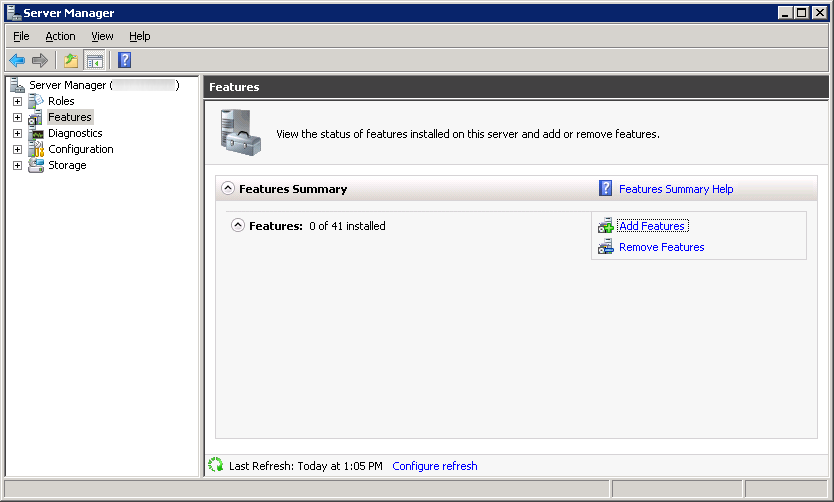
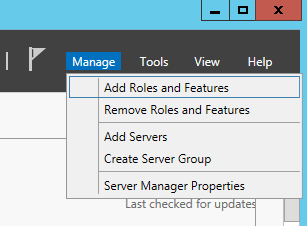
- On your domain controller, open up Server Manager
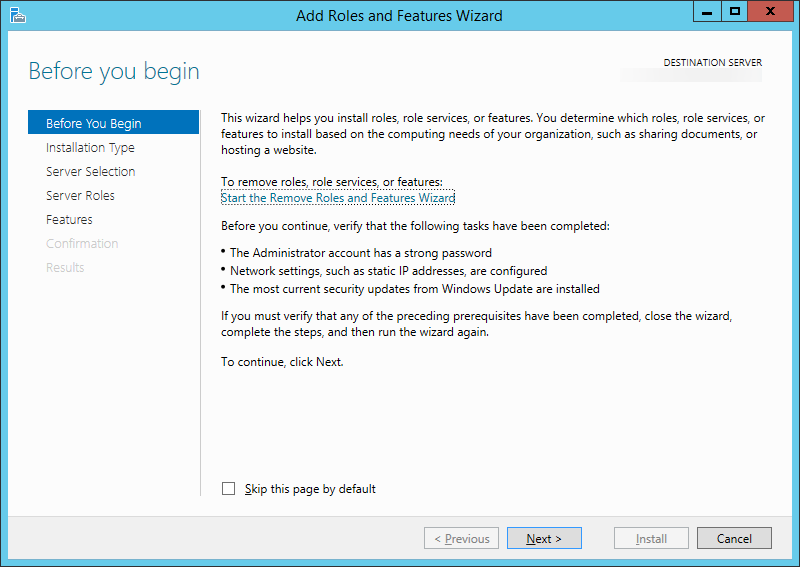
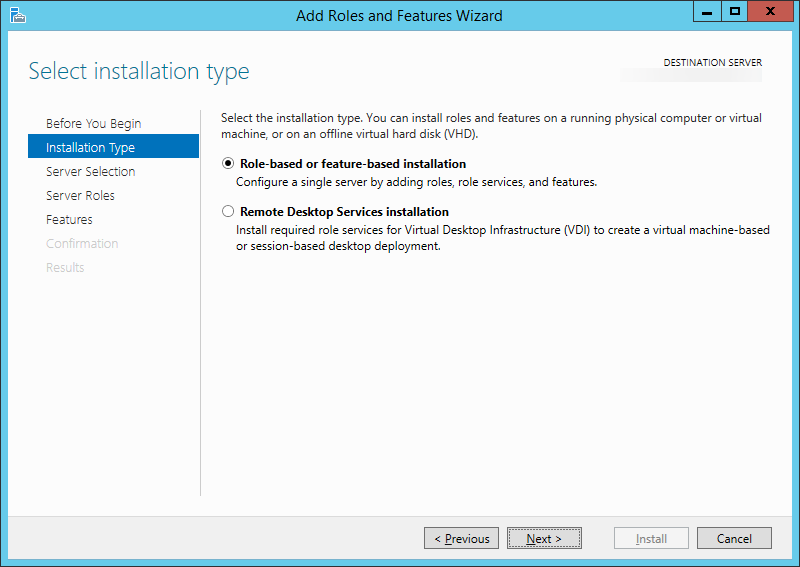
- Select Manage, Add Roles and Features
- Click Next >
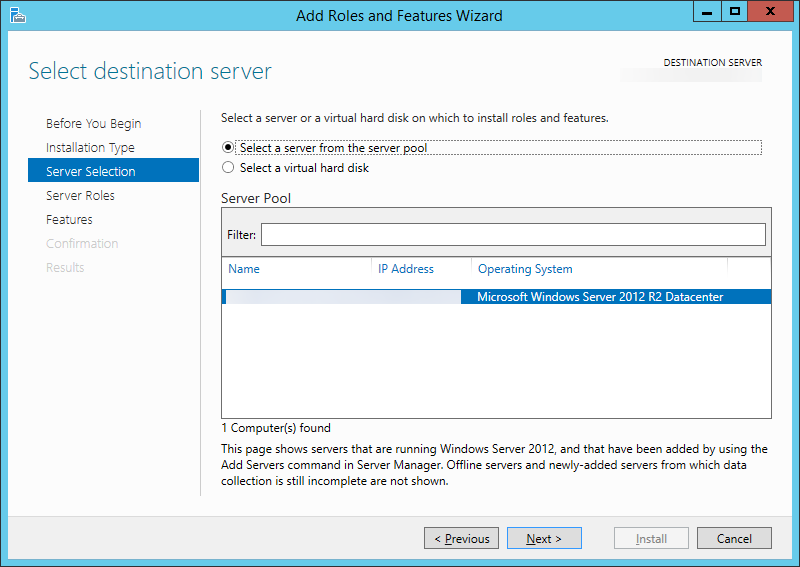
- Click Next >
- Click Next >
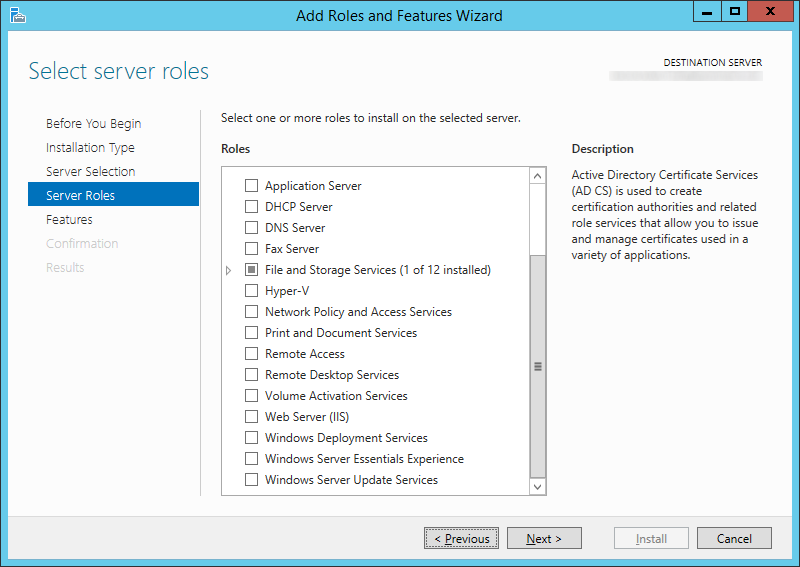
- Click Next > (You don't need to add any additional roles)
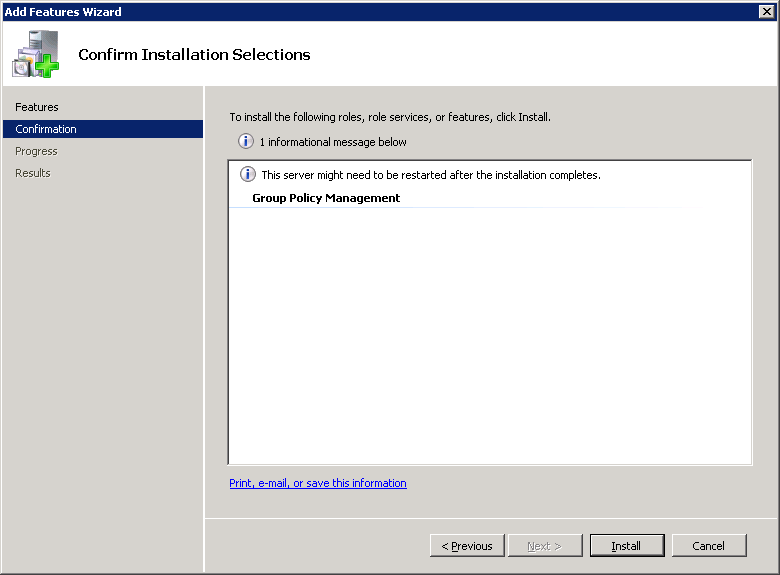
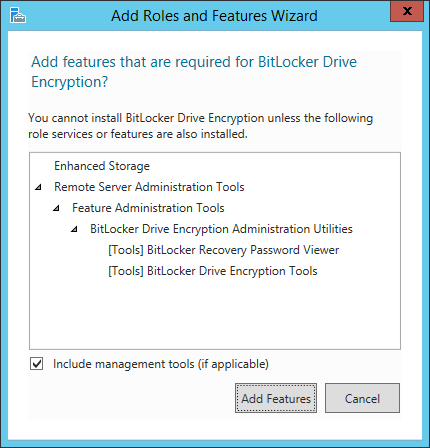
- Check BitLocker Drive Encryption (click Add Features when prompted) and click Next >
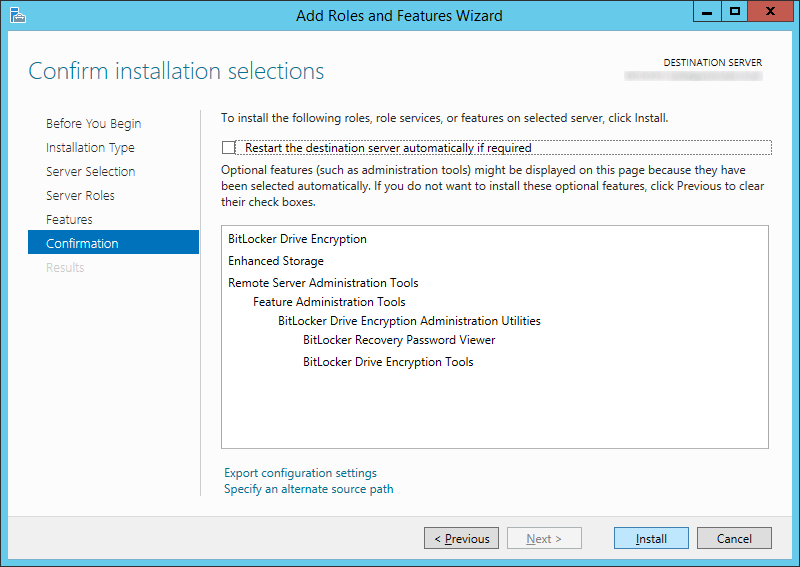
- Click Install
- Click Close
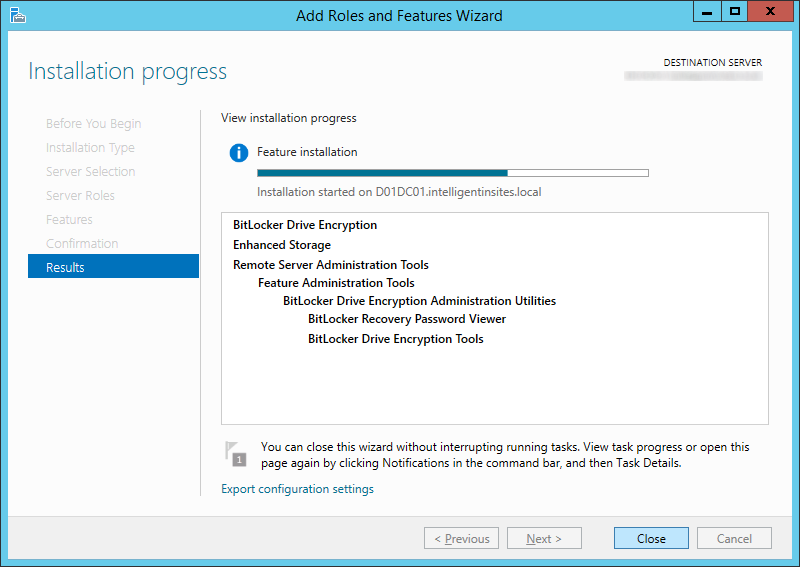
- Repeat these steps for each domain controller you want to manage BitLocker on
Step 5: Push existing BitLocker protected machines to Active Directory (optional step)
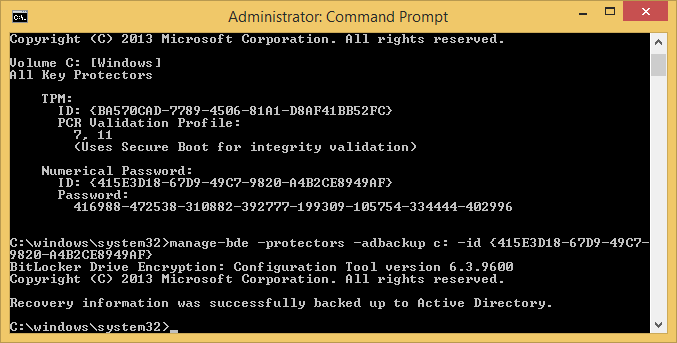
- Open an Administrative Command prompt on the client machine that has a BitLocker enabled drive
- Execute the following command to get your current BitLocker information
manage-bde -protectors -get c:

- Execute the following command to publish this information to AD
manage-bde -protectors -adbackup c: -id {yourNumericalPasswordID}
- Login to one of the domain controllers you installed the BitLocker Recovery Viewer feature and open up Active Directory Users and Computers
- Find your computer object and right click Properties on it
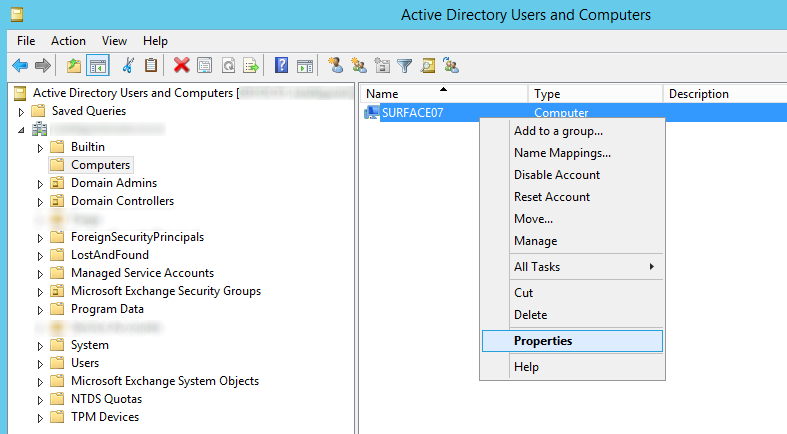
- Select the BitLocker Recovery tab and verify the recovery passwords have been published
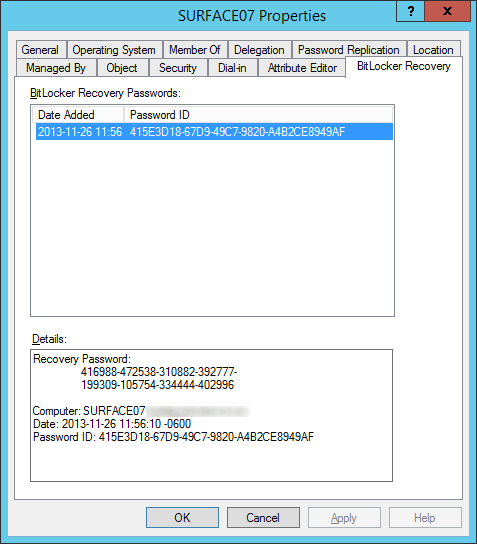
Notes: By default, Windows Vista and greater clients running BitLocker will backup the owner the owner password to the msTPM-OwnerInformation attribute. If you notice this field is <Not Set> for your Windows 8 and greater machines, ensure you check the TPM Devices container in Active Directory Users and Computers for the recovery information.
To automate the process of looking up the Bitlocker Recovery Password and Owner TPM Recovery Key, I have written a powershell script which can be found here: http://jackstromberg.com/2015/02/exporting-tpm-owner-key-and-bitlocker-recovery-password-from-active-directory-via-powershell/