This is a quick setup guide on how to configure the open source software WeeWX for a Personal Weather Station (PWS). I highly recommend you check out the WeeWX User Guide as this information is very well documented. Here is a reflection of how I was able to get WeeWX installed on a Raspberry PI with a brand new weather station.
- Setup your Raspberry PI
- How to setup your Raspberry PI: http://jackstromberg.com/2018/03/setting-up-a-new-raspberry-pi-via-ssh/
- Note: Raspbian is a distribution based upon Debian. In this case, we will follow the Debian instructions for setting up WeeWX.
- How to setup your Raspberry PI: http://jackstromberg.com/2018/03/setting-up-a-new-raspberry-pi-via-ssh/
- (Optional) Configure the Raspberry PI to be localized to your environment
- sudo raspi-config
- Here you can arrow down to Localization Options and configure the timezone to match that of your console/weather sensor. Keeping time is critical, so if possible, try to keep the date/time between your weather station and the Raspberry PI as close as possible.
- sudo raspi-config
- Configure Apt-Get to look for the WeeWX packages
wget -qO - http://weewx.com/keys.html | sudo apt-key add -
sudo wget -qO - https://weewx.com/apt/weewx-python3.list | sudo tee /etc/apt/sources.list.d/weewx.list
Note: Use https://weewx.com/apt/weewx-python3.list for Debian 10.X (latest version of raspbian as of 2021-07-23 will use this); otherwise use https://weewx.com/apt/weewx-python2.list for Debian 9.X.
- Update your Raspberry-PI to use the latest packages
sudo apt-get update
sudo apt-get upgrade
- Before installation, ensure you have your console or device setup and connected to your Raspberry PI for WeeWX to pull the data
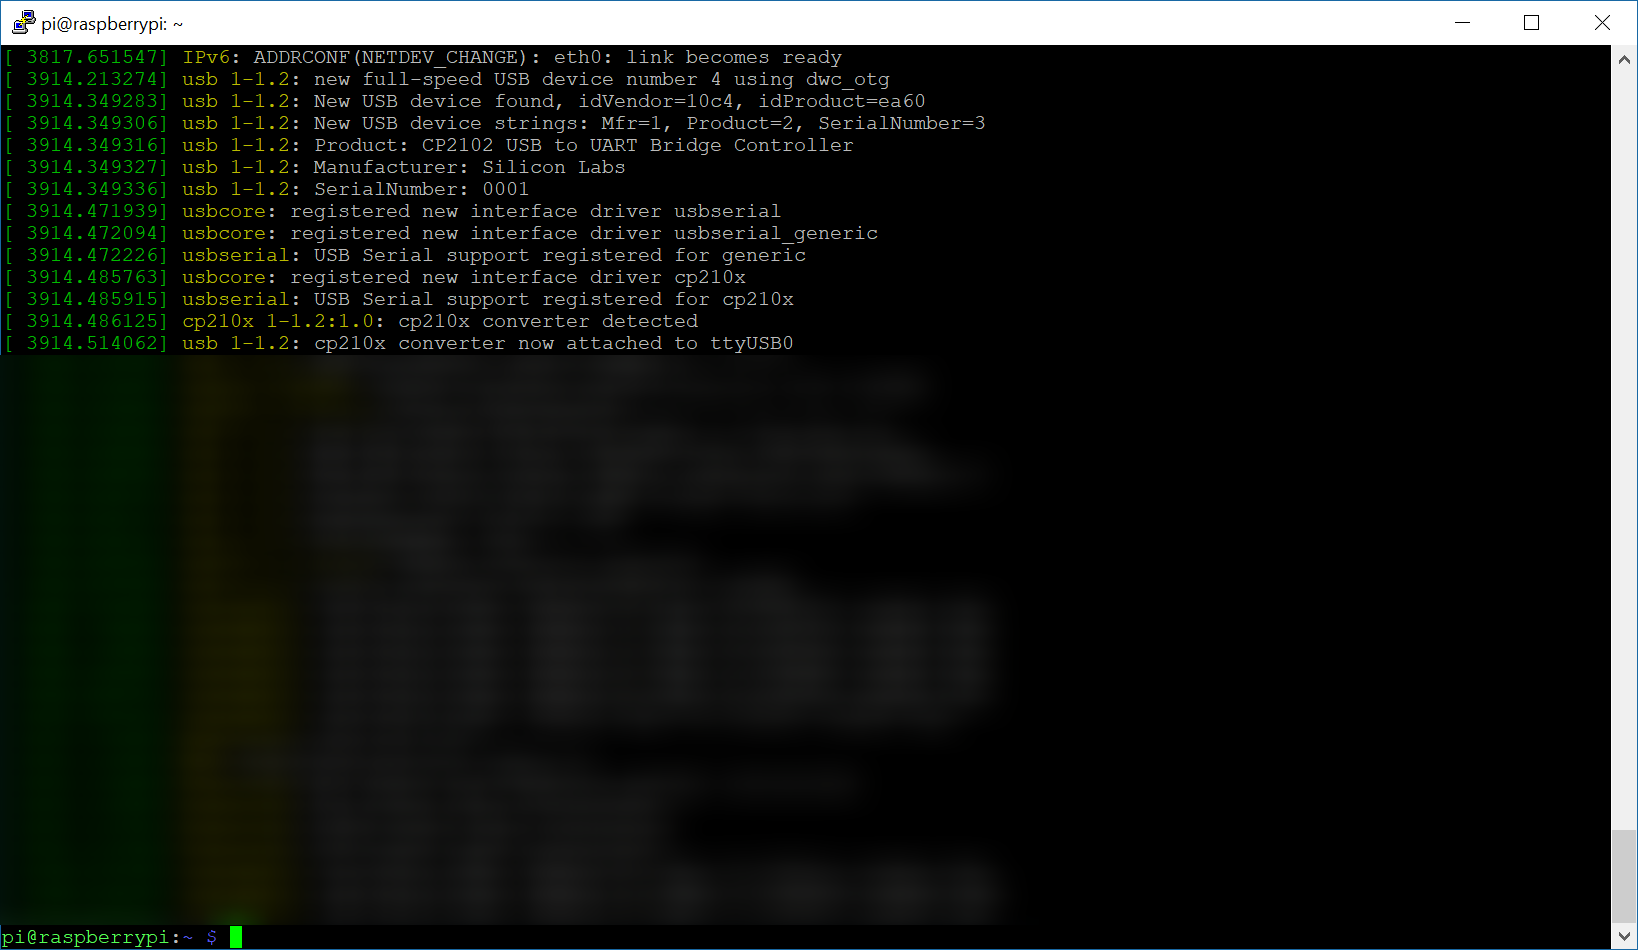
- Determine the interface the console is connected to (if using a directly attached data loggerm skip if using an IP based source)
- Execute the command dmesg and look for what interface the data logger is connected to
- In my example, you can see the data logger is connected to ttyUSB0
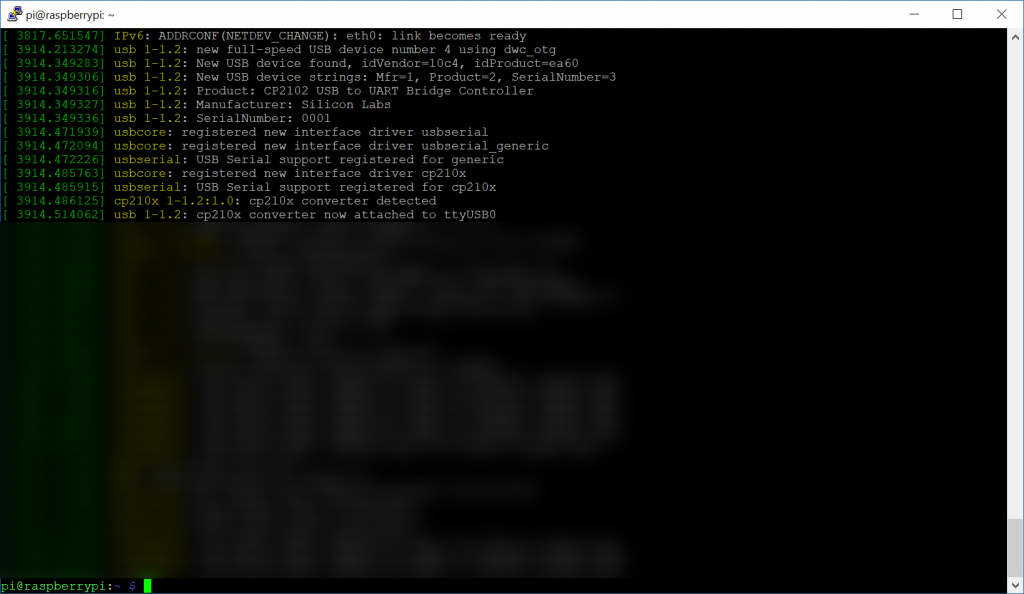
- In my example, you can see the data logger is connected to ttyUSB0
- Execute the command dmesg and look for what interface the data logger is connected to
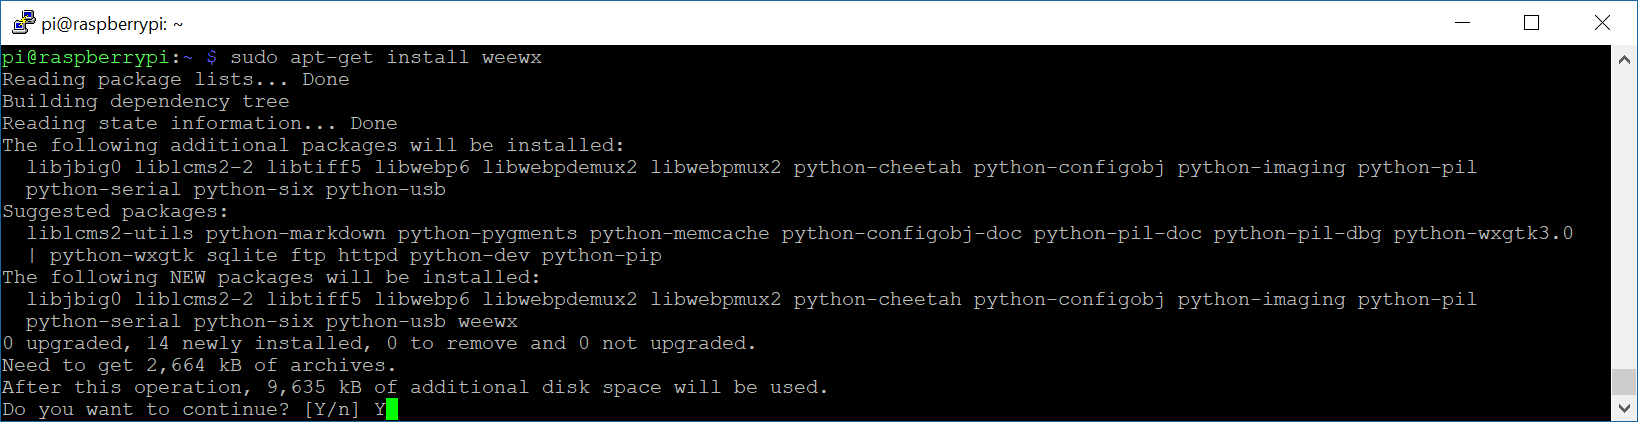
- Launch the installation wizard for weewx
- sudo apt-get install weewx
- Note: You will likely be prompted to install a few dependencies, type Y for yes to install them
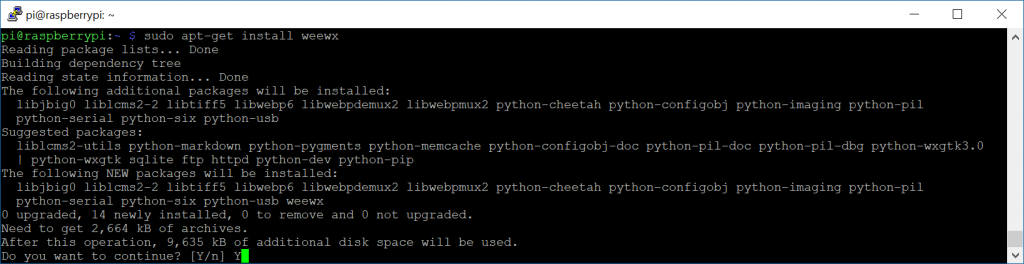
- Note: You will likely be prompted to install a few dependencies, type Y for yes to install them
- sudo apt-get install weewx
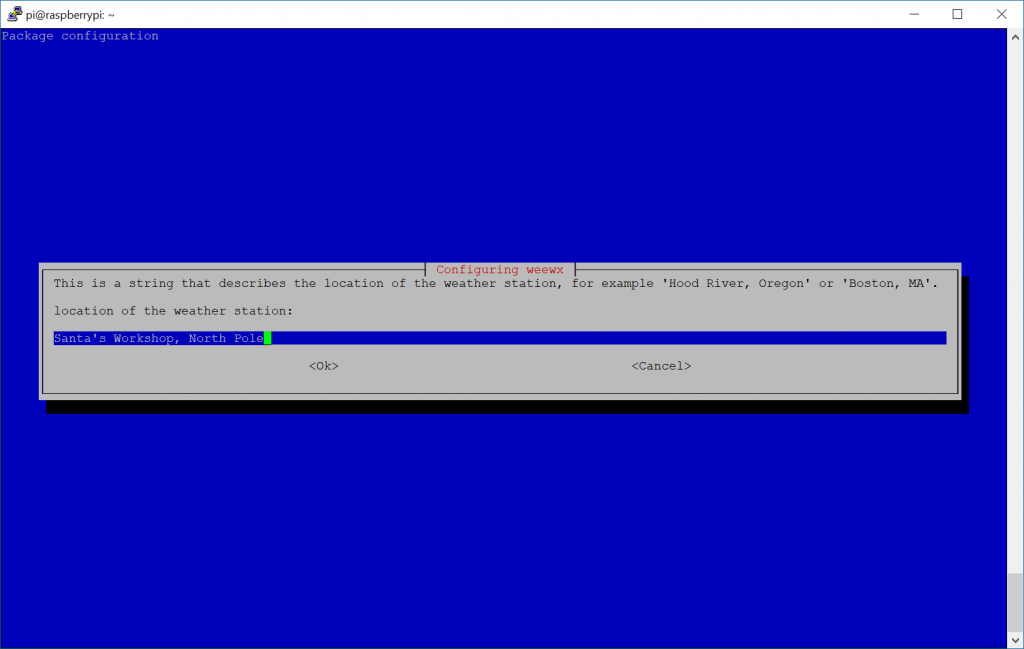
- Installation
- Enter the location of your weather station: Santa’s Workshop, North Pole
- Enter in the latitude, longitude of your weather station
- Note: If you don’t have GPS, you can easily find this by using Bing Maps or Google Maps, navigating to your location, and right clicking.
- For Bing, it will just show you the lat/long values when you right click
- For Google, click on “What’s Here” and it will list these values
- Note: You can be more specific than 3 digits behind the decimal, so if you want to use a more specific set of coordinates like 40.689167, -74.044444, that is acceptable.

- Note: If you don’t have GPS, you can easily find this by using Bing Maps or Google Maps, navigating to your location, and right clicking.
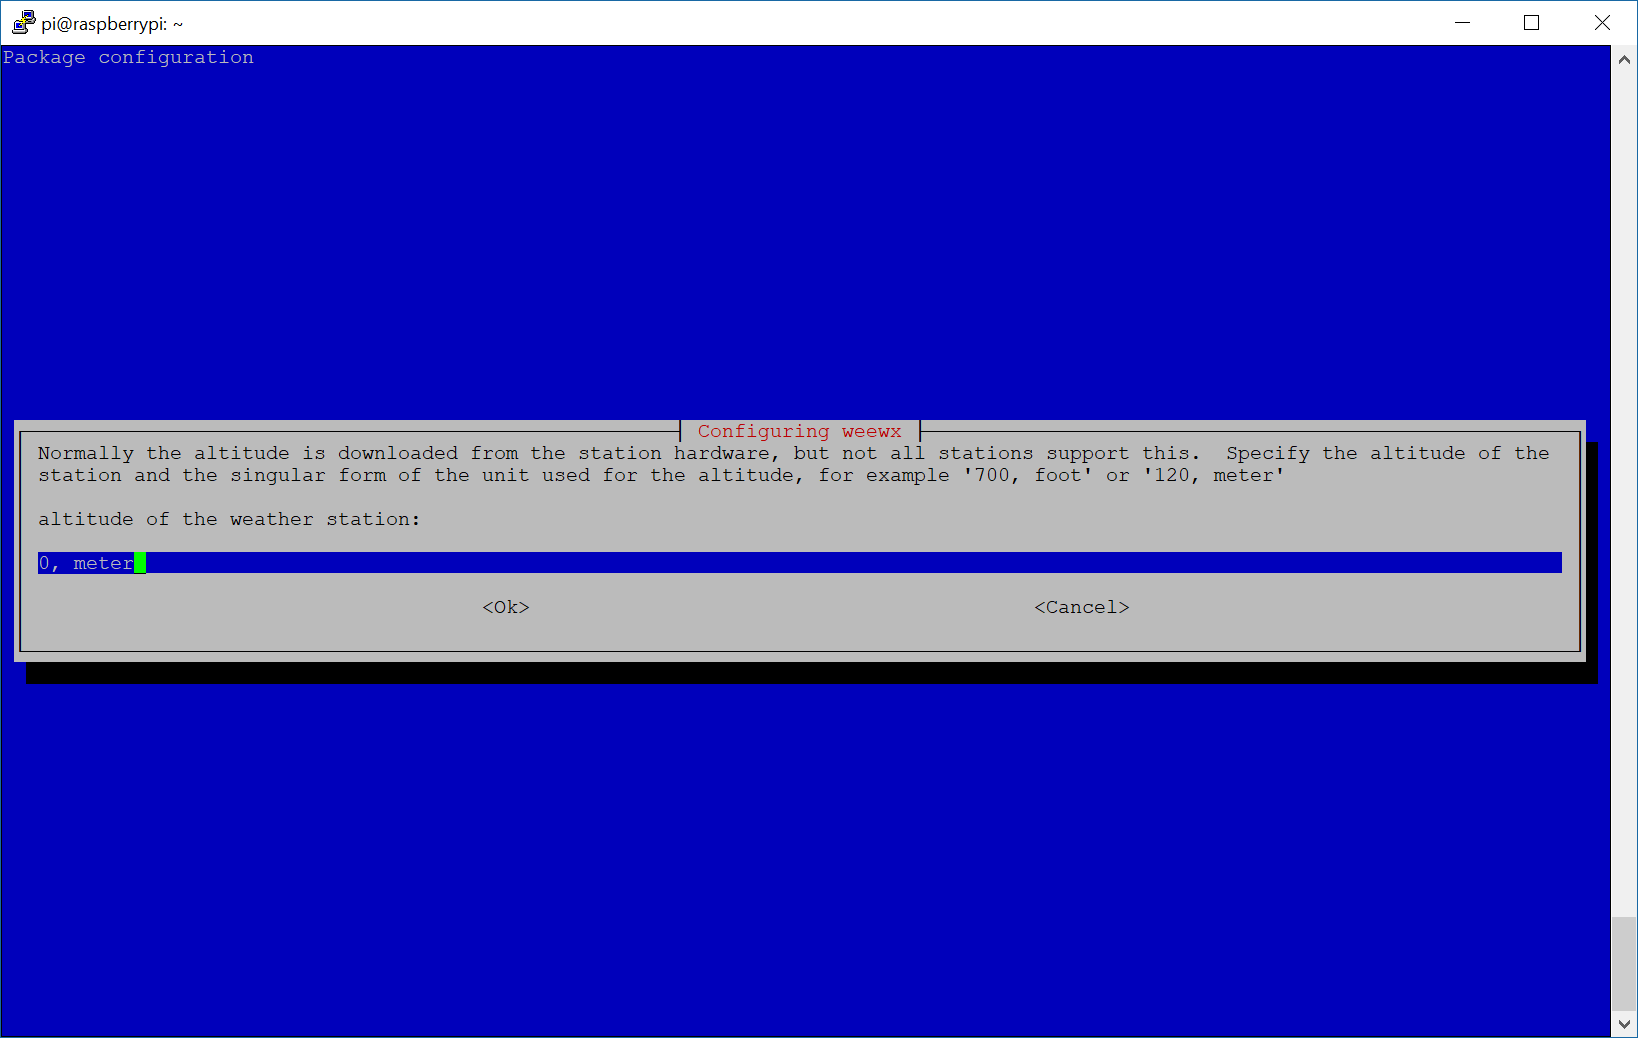
- Enter in your Altitude of where the weather station is
- You can use Google Earth to find the altitude or this tool here: https://www.freemaptools.com/elevation-finder.htm
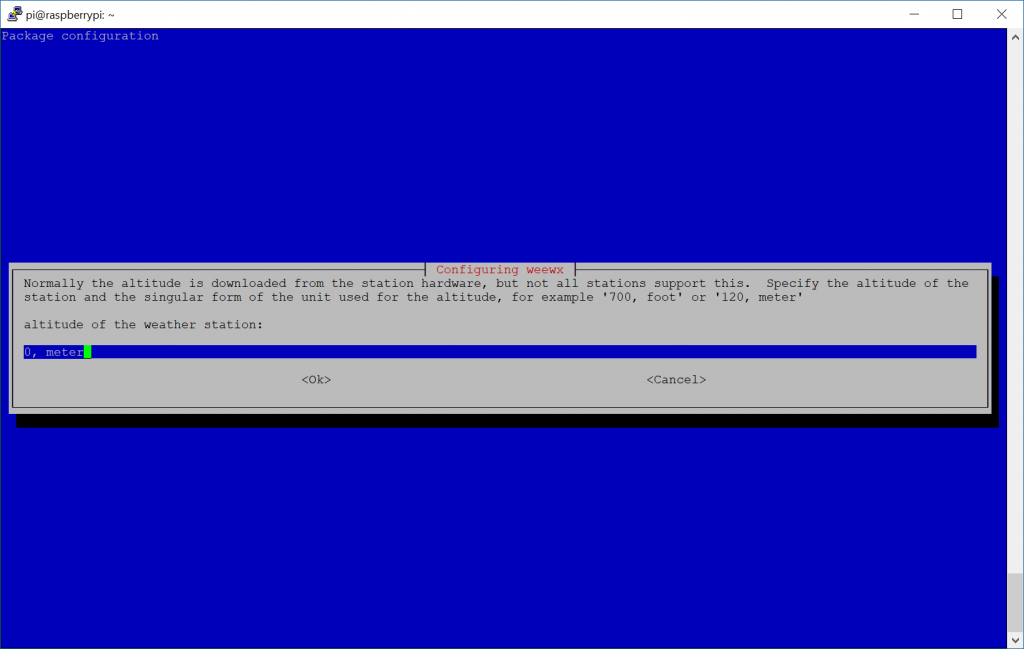
- You can use Google Earth to find the altitude or this tool here: https://www.freemaptools.com/elevation-finder.htm
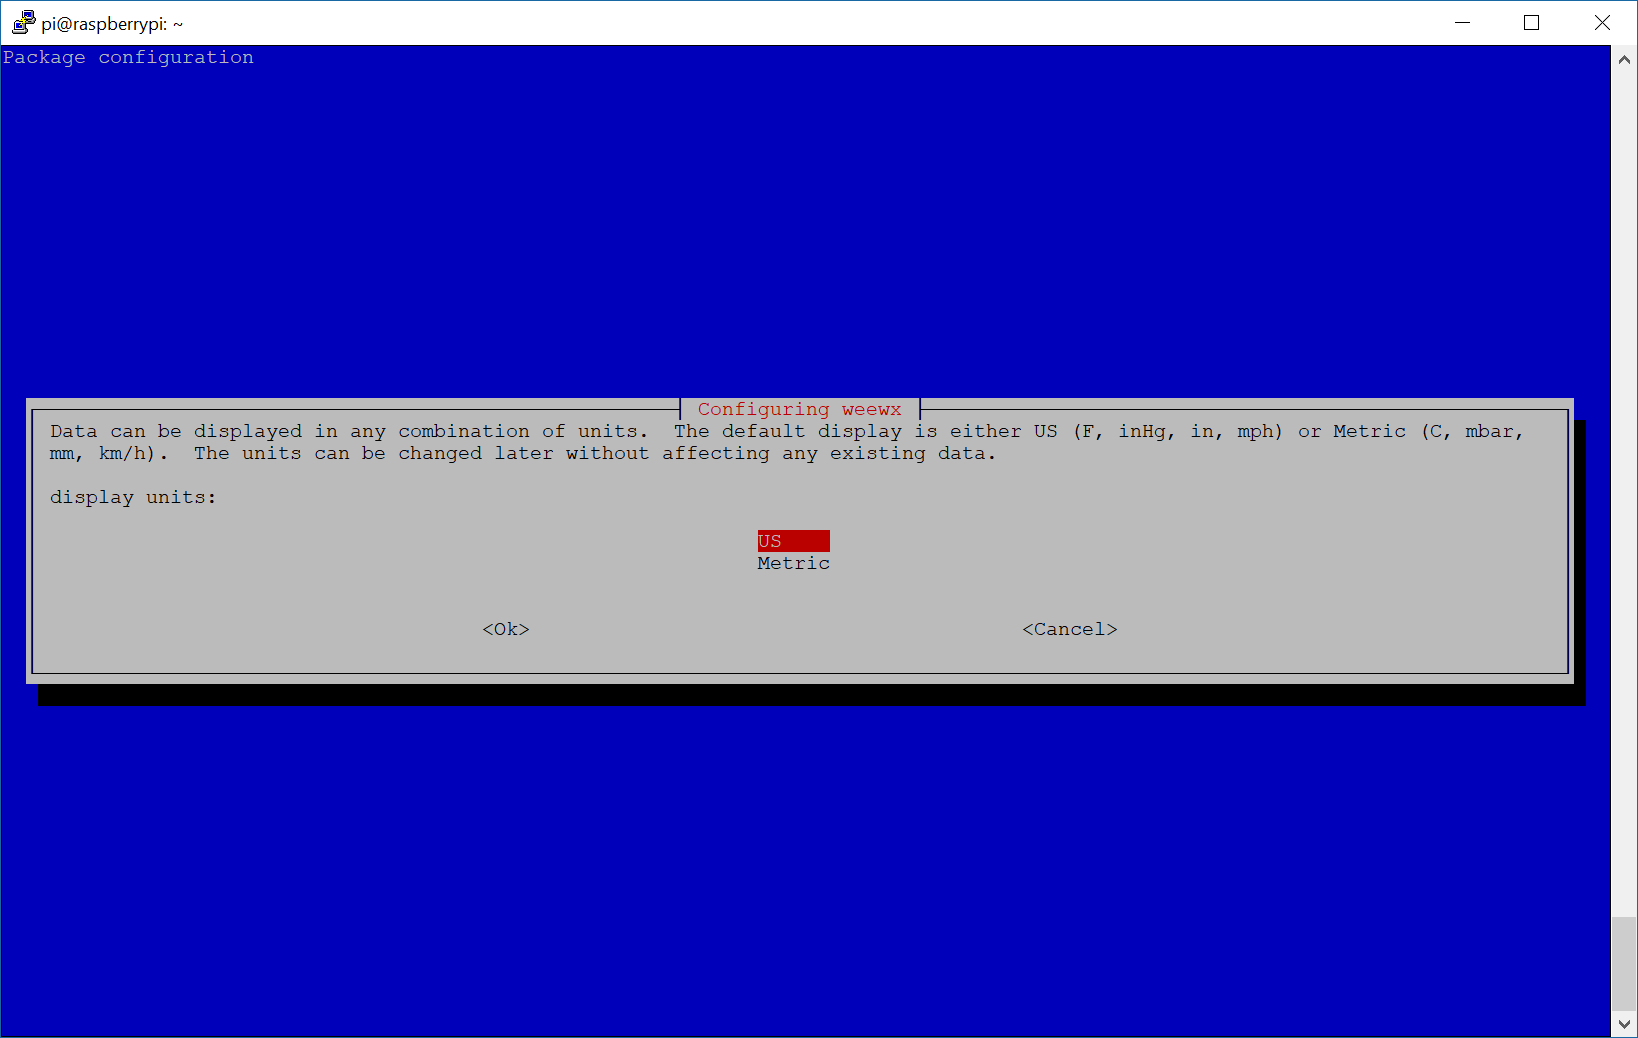
- Set your preferred unit of measurement
- US (Imperial) or Metric

- US (Imperial) or Metric
- Select your weather station type
- I.e. AcuRite, Vantage (if using Davis), etc.
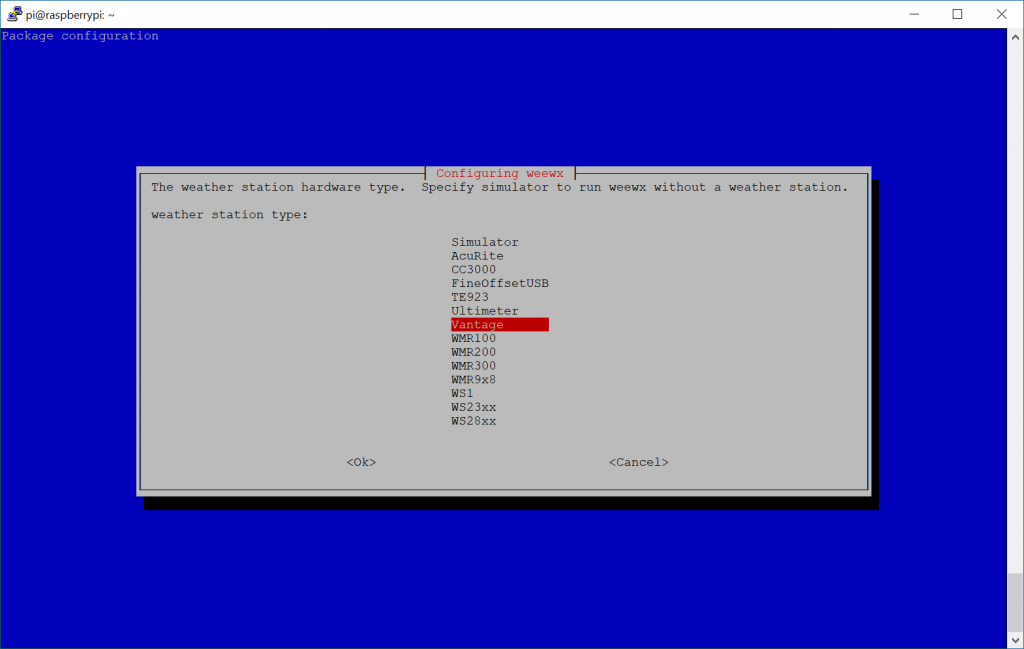
- I.e. AcuRite, Vantage (if using Davis), etc.
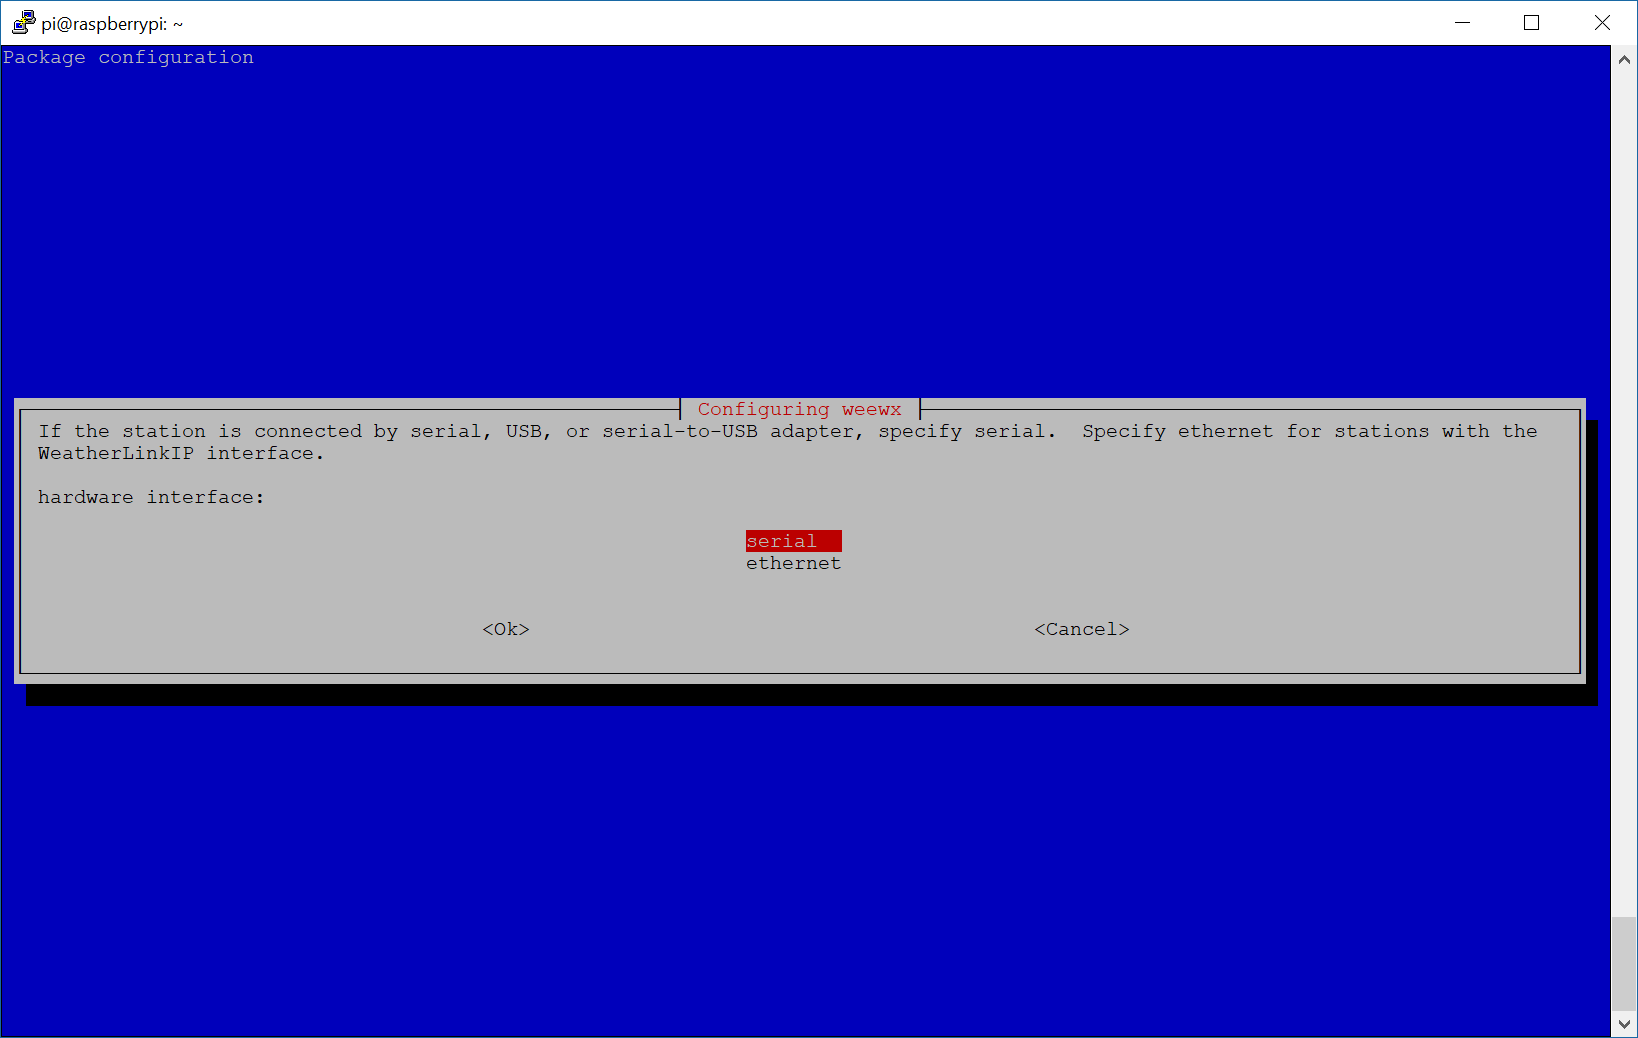
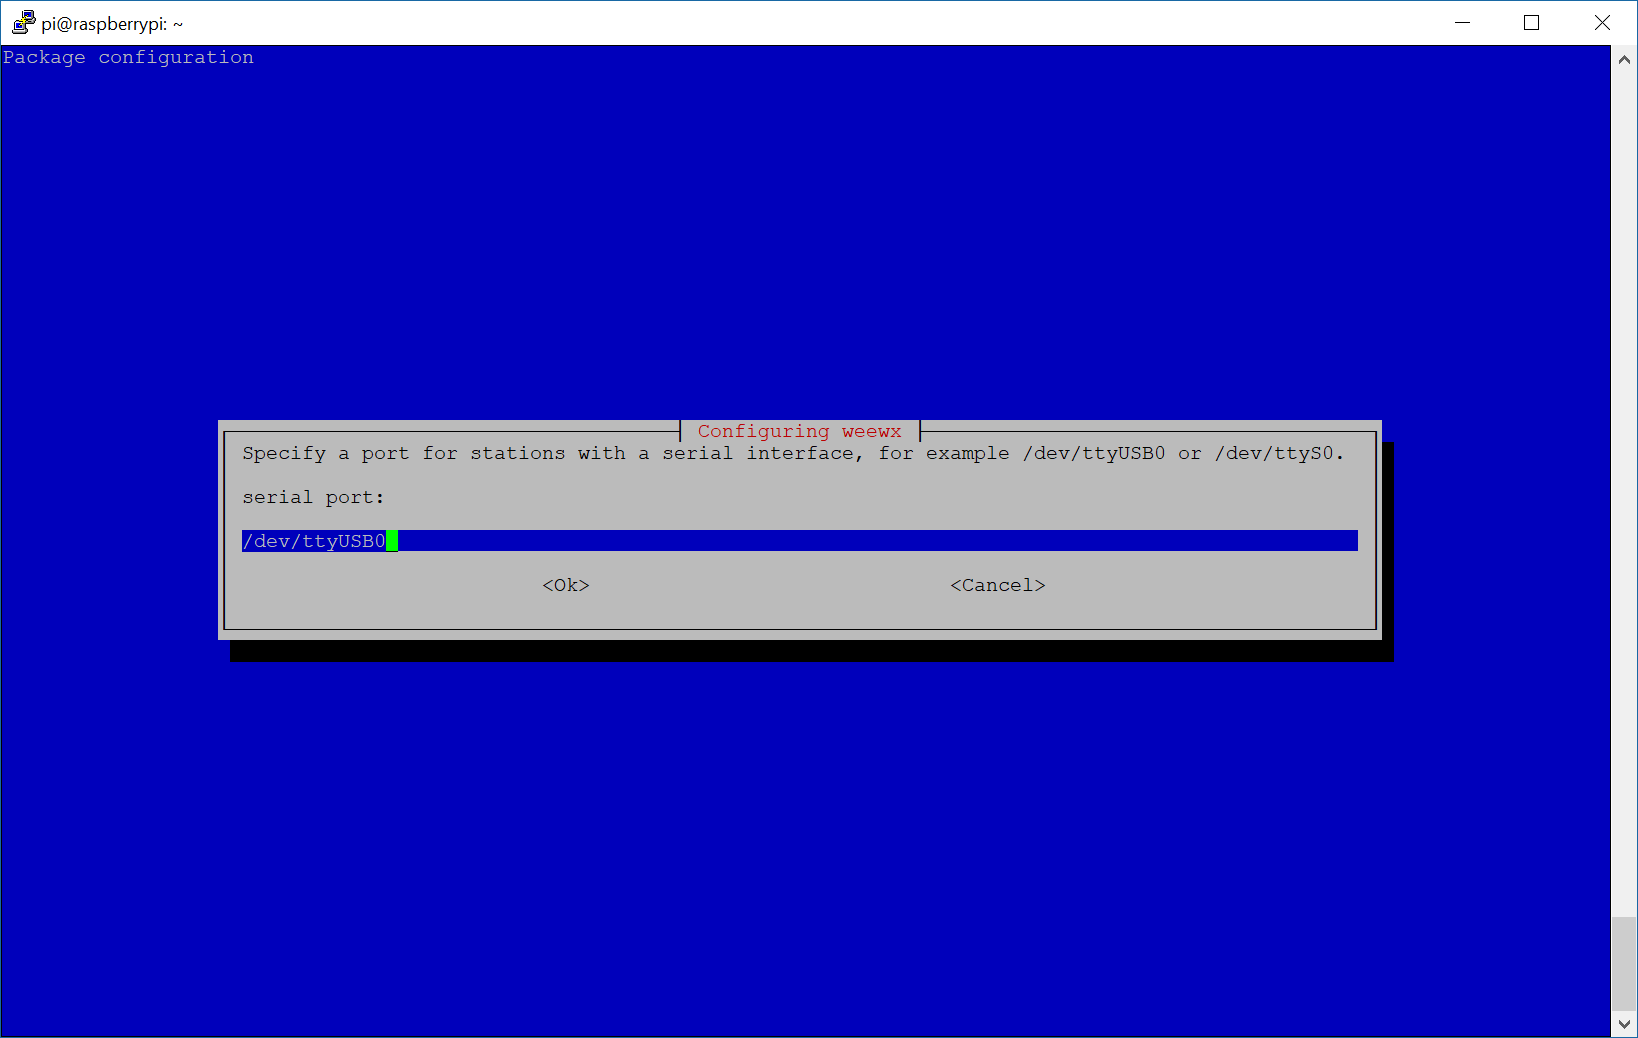
- Select the interface the device is listening on
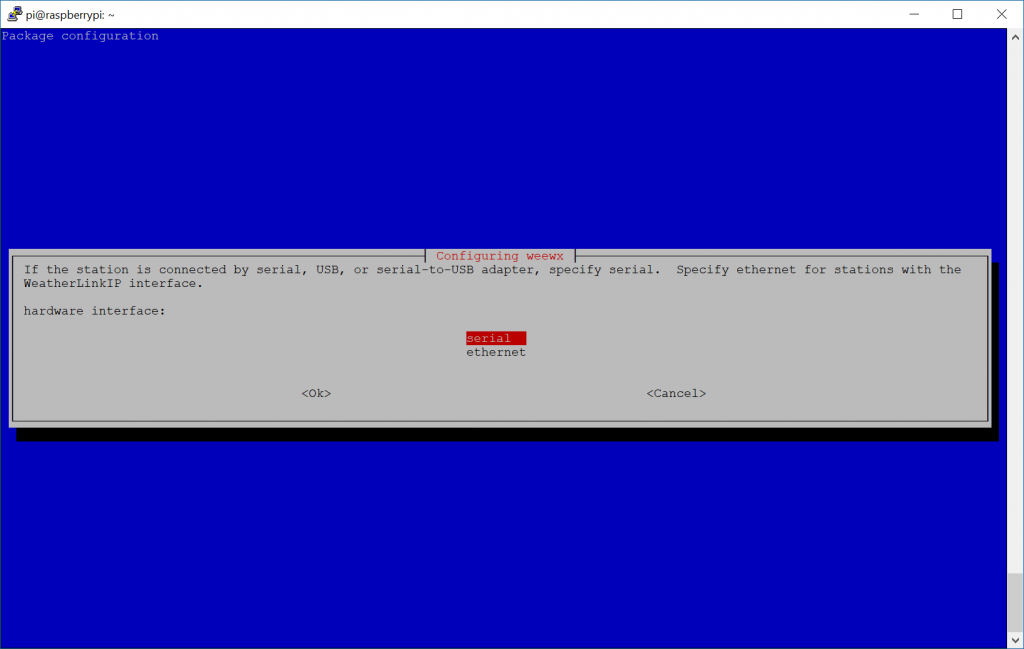
- For those using serial port, select the interface that the data logger is connected to. You should have found this in step 4 above; if using ethernet, go ahead and type in the IP, Port, etc. of the data logger.

- Enter the location of your weather station: Santa’s Workshop, North Pole
- At this point WeeWX is technically installed, however many individuals will want to present the WeeWX reports via webpage. In this case, we’ll install nginx, which is a lightweight webserver
- sudo apt-get install nginx
- More details on this can be found here: http://www.weewx.com/docs/usersguide.htm#integrating_with_webserver
- sudo apt-get install nginx
- Configure WeeWX to minimize disk IO
- Why do we need to do this? Since Raspberry PI’s leverage SD cards, there is typically a finite number of reads/writes to the SD Card. In this case, it is recommended to either leverage an external database/fileserver for WeeWX to write its reports. Alternatively, we can also configure WeeWX to leverage ram to host the reports, which will prevent IO to the SD card (in this case, theoretically increasing the life of the drive)
- Three approaches are outlined here–in this guide I’ll reflect the GitHub page in saving reports to a temporary file system using tmpfs
- Add an entry to fstab
-
echo "weewx_reports /var/weewx/reports tmpfs size=20M,noexec,nosuid,nodev 0 0" | sudo tee -a /etc/fstab
-
- Mount the new file system
- sudo mkdir -p /var/weewx/reports
- sudo mount -a
- Update weewx.config file to point to new directory
-
sudo sed -i -e 's%HTML_ROOT =.*%HTML_ROOT = /var/weewx/reports%' /etc/weewx/weewx.conf
-
- Restart WeeWX service
- sudo service weewx restart
- Create symbolic link to point webserver to the reports
- sudo ln -s /var/weewx/reports /var/www/html/weewx
- Give the web server the ability to read from the directory
- sudo chmod -R 755 /var/www/html/weewx
- Add an entry to fstab
- Three approaches are outlined here–in this guide I’ll reflect the GitHub page in saving reports to a temporary file system using tmpfs
- Why do we need to do this? Since Raspberry PI’s leverage SD cards, there is typically a finite number of reads/writes to the SD Card. In this case, it is recommended to either leverage an external database/fileserver for WeeWX to write its reports. Alternatively, we can also configure WeeWX to leverage ram to host the reports, which will prevent IO to the SD card (in this case, theoretically increasing the life of the drive)


At this point, go ahead and browse out to http://youripaddress/weewx/ to see your weather.
Notes:
WeeWX updates the webpage every 30 minutes (1800 seconds) out of the box. You can force a report update by executing wee_reports weewx.conf or you can modify the /etc/weewx/weewx.conf file by changing the archive_interval variable (in seconds) under the [StdArchive] section.
You can modify the Weewx configuration by editing: /etc/weewx/weewx.conf
You can validate if WeeWX is running by executing: service weewx status
You can look at diagnostics logs by following the guide here: http://www.weewx.com/docs/usersguide.htm#monitoring
Best practices guide on using WeeWX + Raspberry PI: https://github.com/weewx/weewx/wiki/Raspberry%20Pi