What is HUB and why should I use it?
For customers that are looking to go to Azure and help cut down on some of the running costs by utilizing existing licensing they own from on-premises, Microsoft has released a program called Hybrid Use Benefit (HUB). The Hybrid Use Benefit program essentially allows you to run VMs in Azure at a reduced rate (cost of a Linux VM for example), under the assumption that you have volume license keys covering the core totals of VMs running in Azure.
Official information on this program can be found here: https://azure.microsoft.com/en-us/pricing/hybrid-use-benefit/
A Microsoft employee has created some instructions on how Microsoft customers can take use of this program. Unfortunately, as outlined in the document, there is no way as of 6/27/2016 to take an existing VM in Azure and convert it to the HUB program. A VM must originate from on-premises in order to take advantage of this program, there are no workarounds such as building the VM in Azure, downloading it to on-prem, and reuploading it back to Azure. In this case, this article will cover the necessary steps (step by step) on getting a “HUB” VM deployed in Azure.
Update: October 24, 2016: HUB is now supported on Azure Site Recovery for failed over instances to Azure from another datacenter. Information on leveraging HUB for ASR instances can be found here: https://azure.microsoft.com/en-us/blog/hybrid-use-benefit-migration-with-asr/
Goal: This article will focus on 3 items:
- How to properly configure a VHD for the HUB program
- How to upload the VHD into Azure
- How to deploy VMs from your VHD
1. How to properly configure a VHD for the HUB program
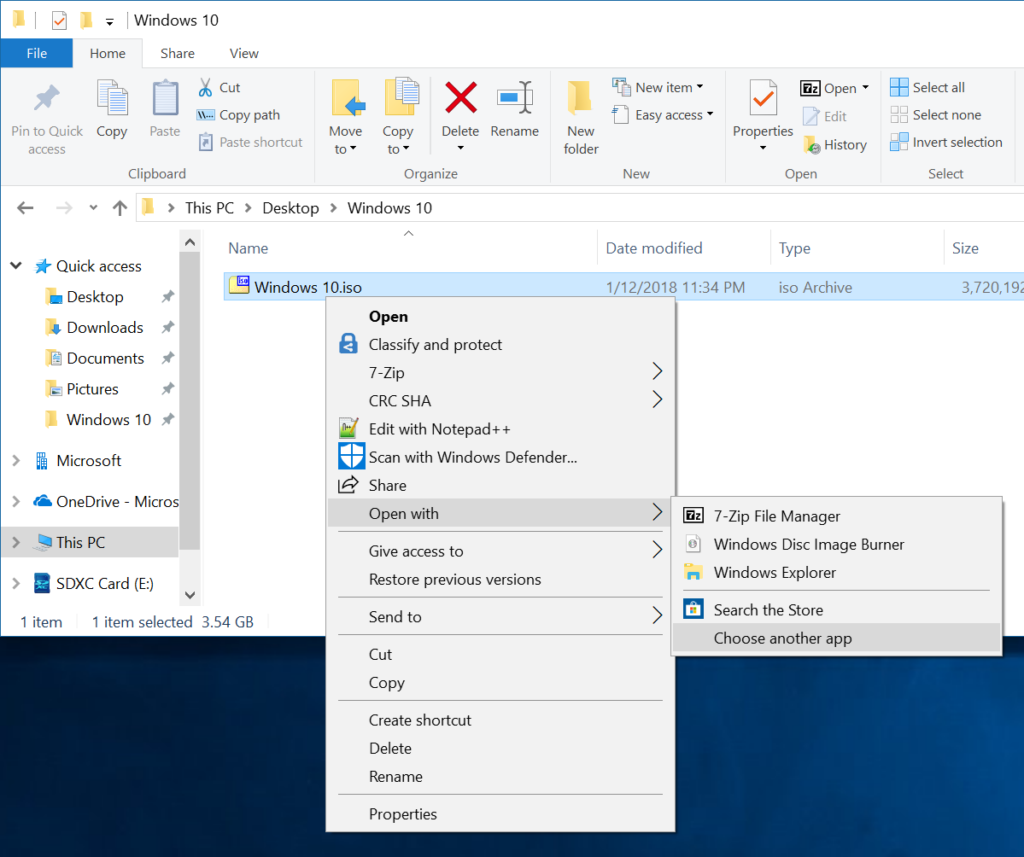
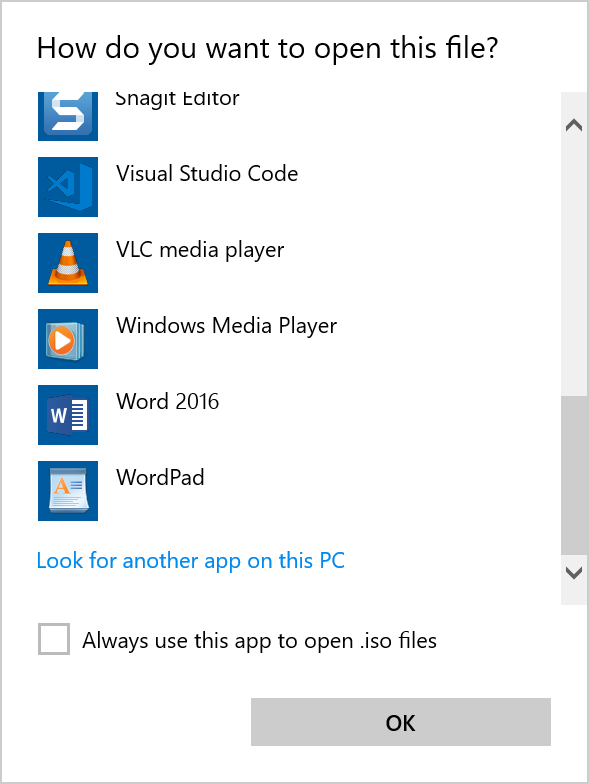
There are two ways you can bring a HUB image into Azure. You can convert the ISO from Microsoft to a VHD directly, or you can install Hyper-V, update/customize the VM, and generalize it.
In this tutorial, we will go over converting the Microsoft provided ISO to VHD, under the assumption you do not have Hyper-V installed. In the scenario where you do not have Hyper-V, but you want to customize the image before uploading it into Azure, I would recommend installing the Hyper-V role on your Windows 7/10 machine and creating the VHD from that. The only caveat you will run into is you must run SysPrep before uploading the VHD into Azure, as outlined here.
Hyper-V Way
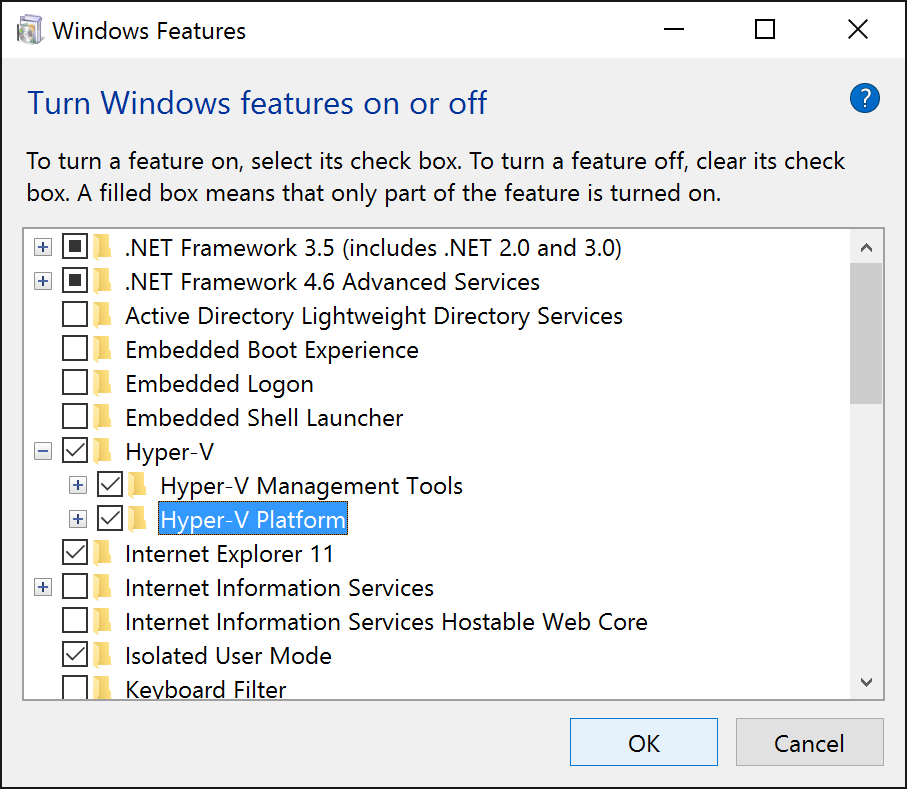
For the Windows 7/10 machines, you can install the Hyper-V role by navigating to Programs and Features, select Turn Windows features on or off
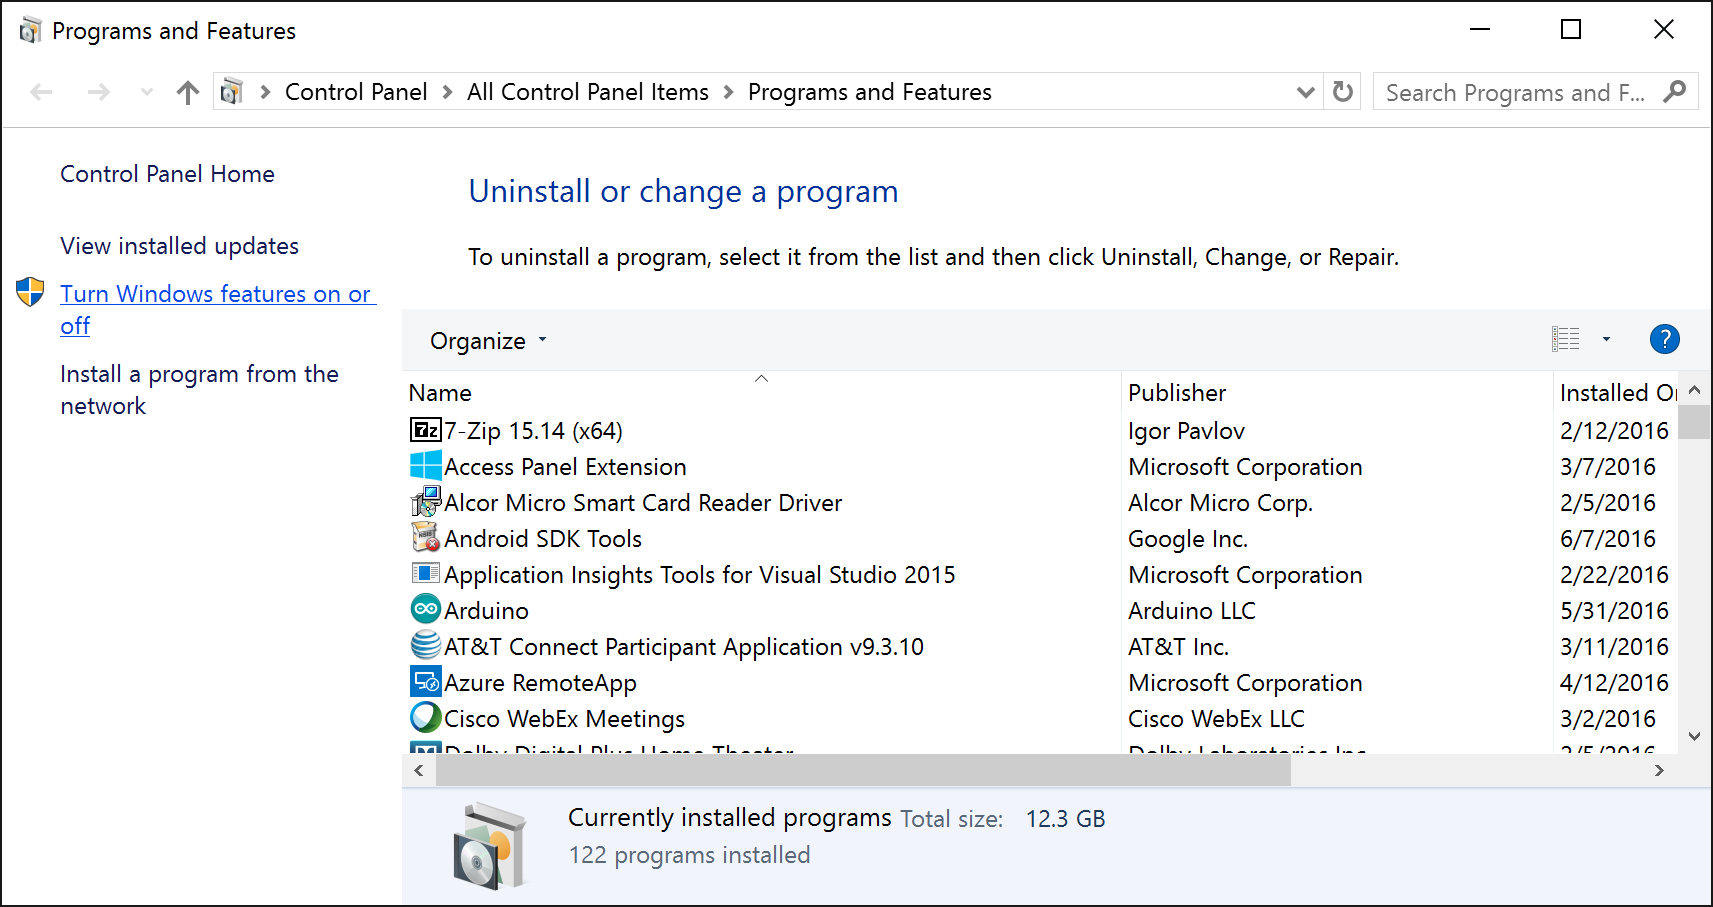
Check Hyper-V from the list.
Additionally, installation via PowerShell or DISM is covered in this Microsoft blog post: https://msdn.microsoft.com/en-us/virtualization/hyperv_on_windows/quick_start/walkthrough_install
Again, ensure after making changes to your VHD, you generalize the machine and shut it down as outlined here: https://azure.microsoft.com/en-us/documentation/articles/virtual-machines-windows-upload-image/
PowerShell Way
A few Microsoft employees/consultants have released a PowerShell script that will take a Microsoft provided ISO and convert/generalize it into VHD format. We can simply take this converted VHD and upload it into Azure as-is. Please note, the only downside to creating the VM this way is that the machine may not be completely patched, so you will have to rely on the machines doing Windows Updates once they make it into the lands of Azure.
Pro Tip: If you are going to create the VHD from an ISO, I would recommend doing this from an Azure VM. Since the VHD/disk we are creating will originate from the source media of a “local instance”, your VM will deploy fine with HUB licensing. The advantage of creating the VM in Azure is the upload of your VM will take significantly less time due to the high throughput of egress traffic in Azure. When going through this tutorial, I ended up maxing out my storage account’s read rate before hitting network connectivity bottlenecks. Please note, bandwidth fees may apply in Azure for utilizing this method though.
- Download the Convert-WindowsImage.ps1 script from Microsoft
- https://gallery.technet.microsoft.com/scriptcenter/Convert-WindowsImageps1-0fe23a8f
- Download your Windows Server ISO from the Microsoft Volume Licensing center
- https://www.microsoft.com/Licensing/servicecenter/default.aspx
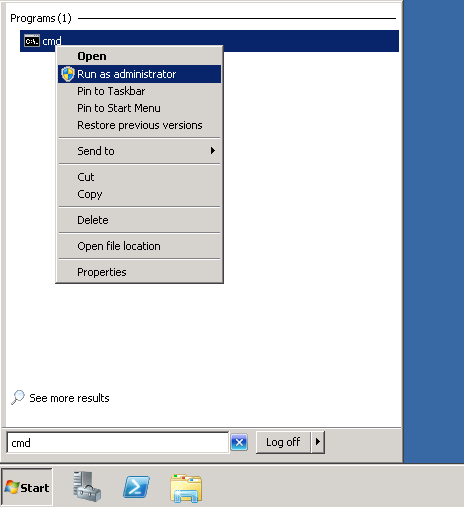
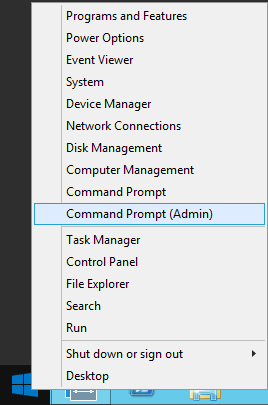
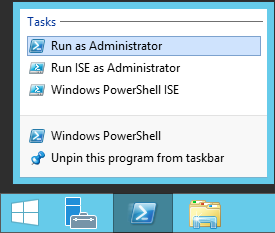
- Open PowerShell as an Administrator
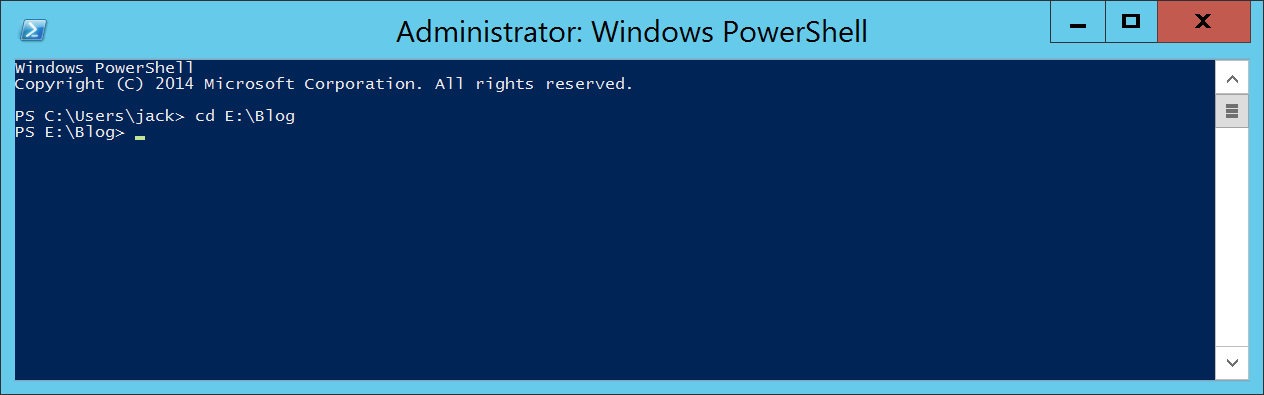
- Navigate to the directory that contains both the ISO and the Covert-WindowsImage.ps1 script
- Execute the following command to pre-load (dot-source) the PowerShell function
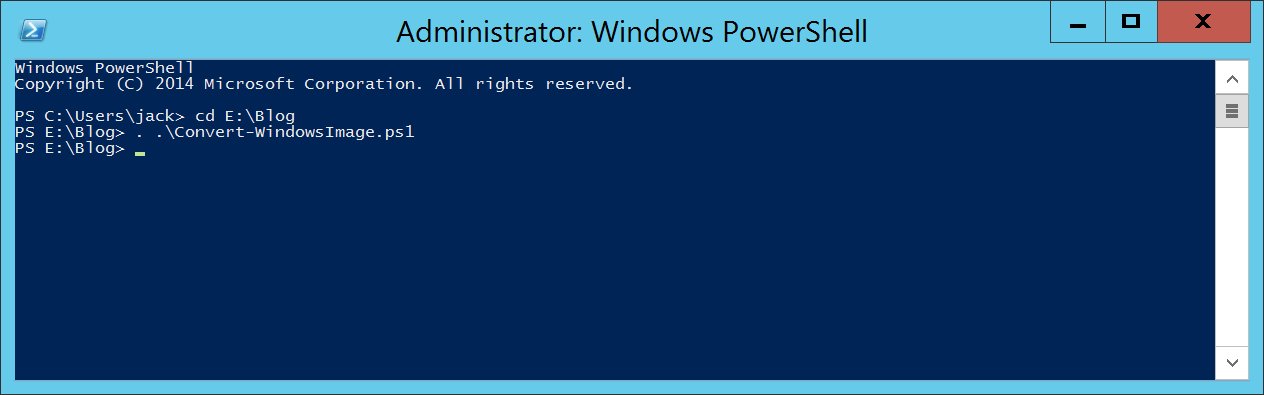
. .\Convert-WindowsImage.ps1
- Execute the following command
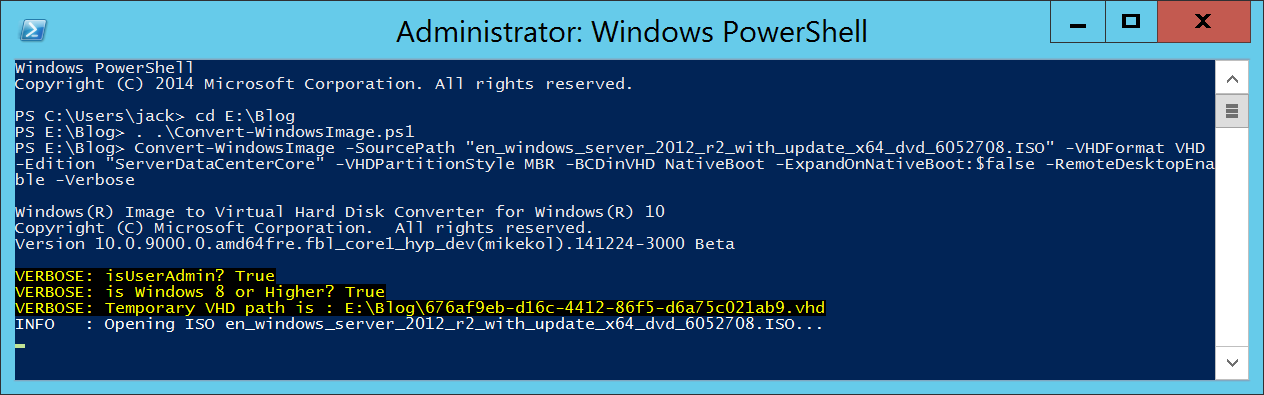
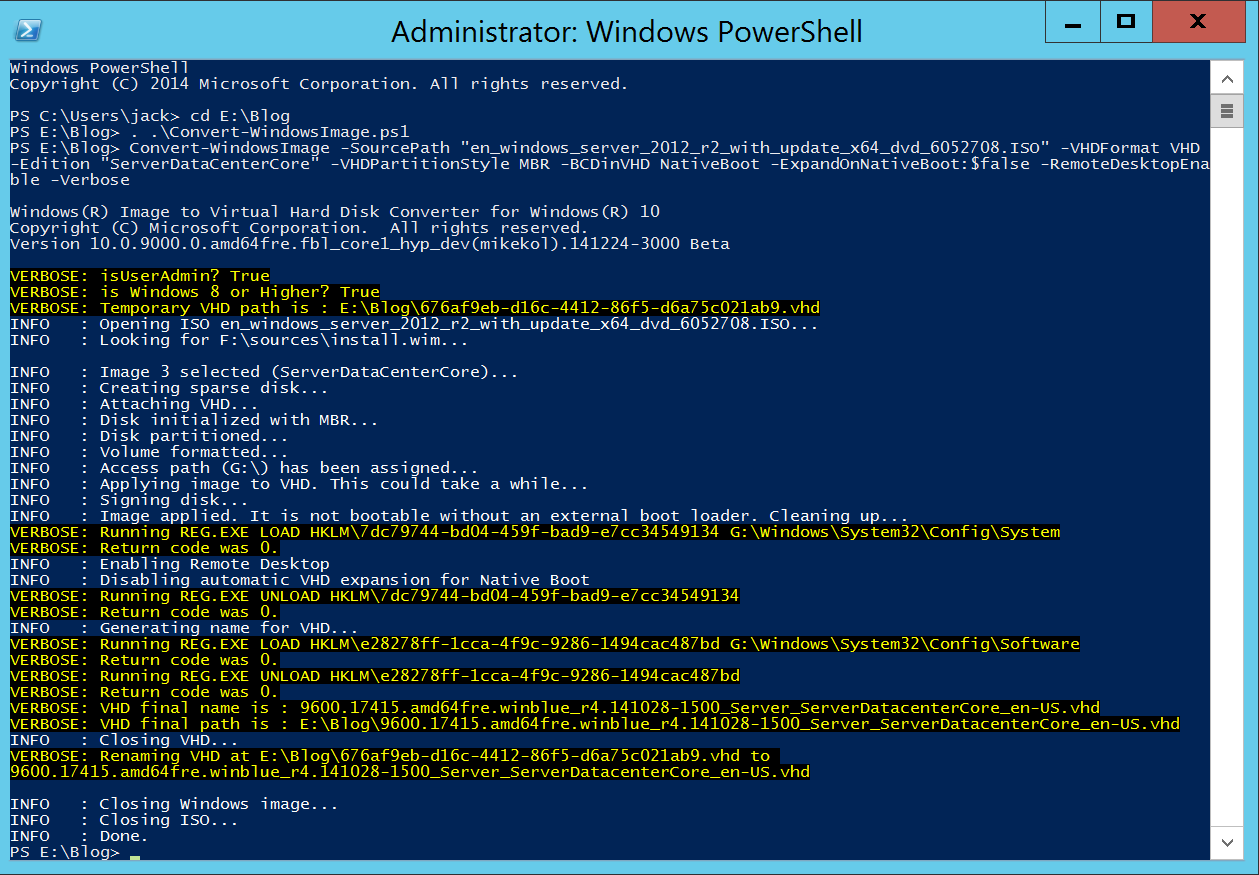
Convert-WindowsImage -SourcePath "en_windows_server_2012_r2_with_update_x64_dvd_6052708.ISO" -VHDFormat VHD -Edition "ServerDataCenterCore" -VHDPartitionStyle MBR -BCDinVHD NativeBoot -ExpandOnNativeBoot:$false -RemoteDesktopEnable -Verbose
- You should receive a “Done” message once the VHD has been created
2. How to upload the VHD into Azure
First, you will need the latest Azure PowerShell Modules. These can be downloaded for free from the Azure website. If you are new to Azure, this will be a link to the Web Platform installer, in which the link below should automatically select the Azure PowerShell modules to be downloaded. You do not need the Command Line installer if prompted, only the Azure PowerShell Modules.
https://www.microsoft.com/web/handlers/webpi.ashx/getinstaller/WindowsAzurePowershellGet.3f.3f.3fnew.appids
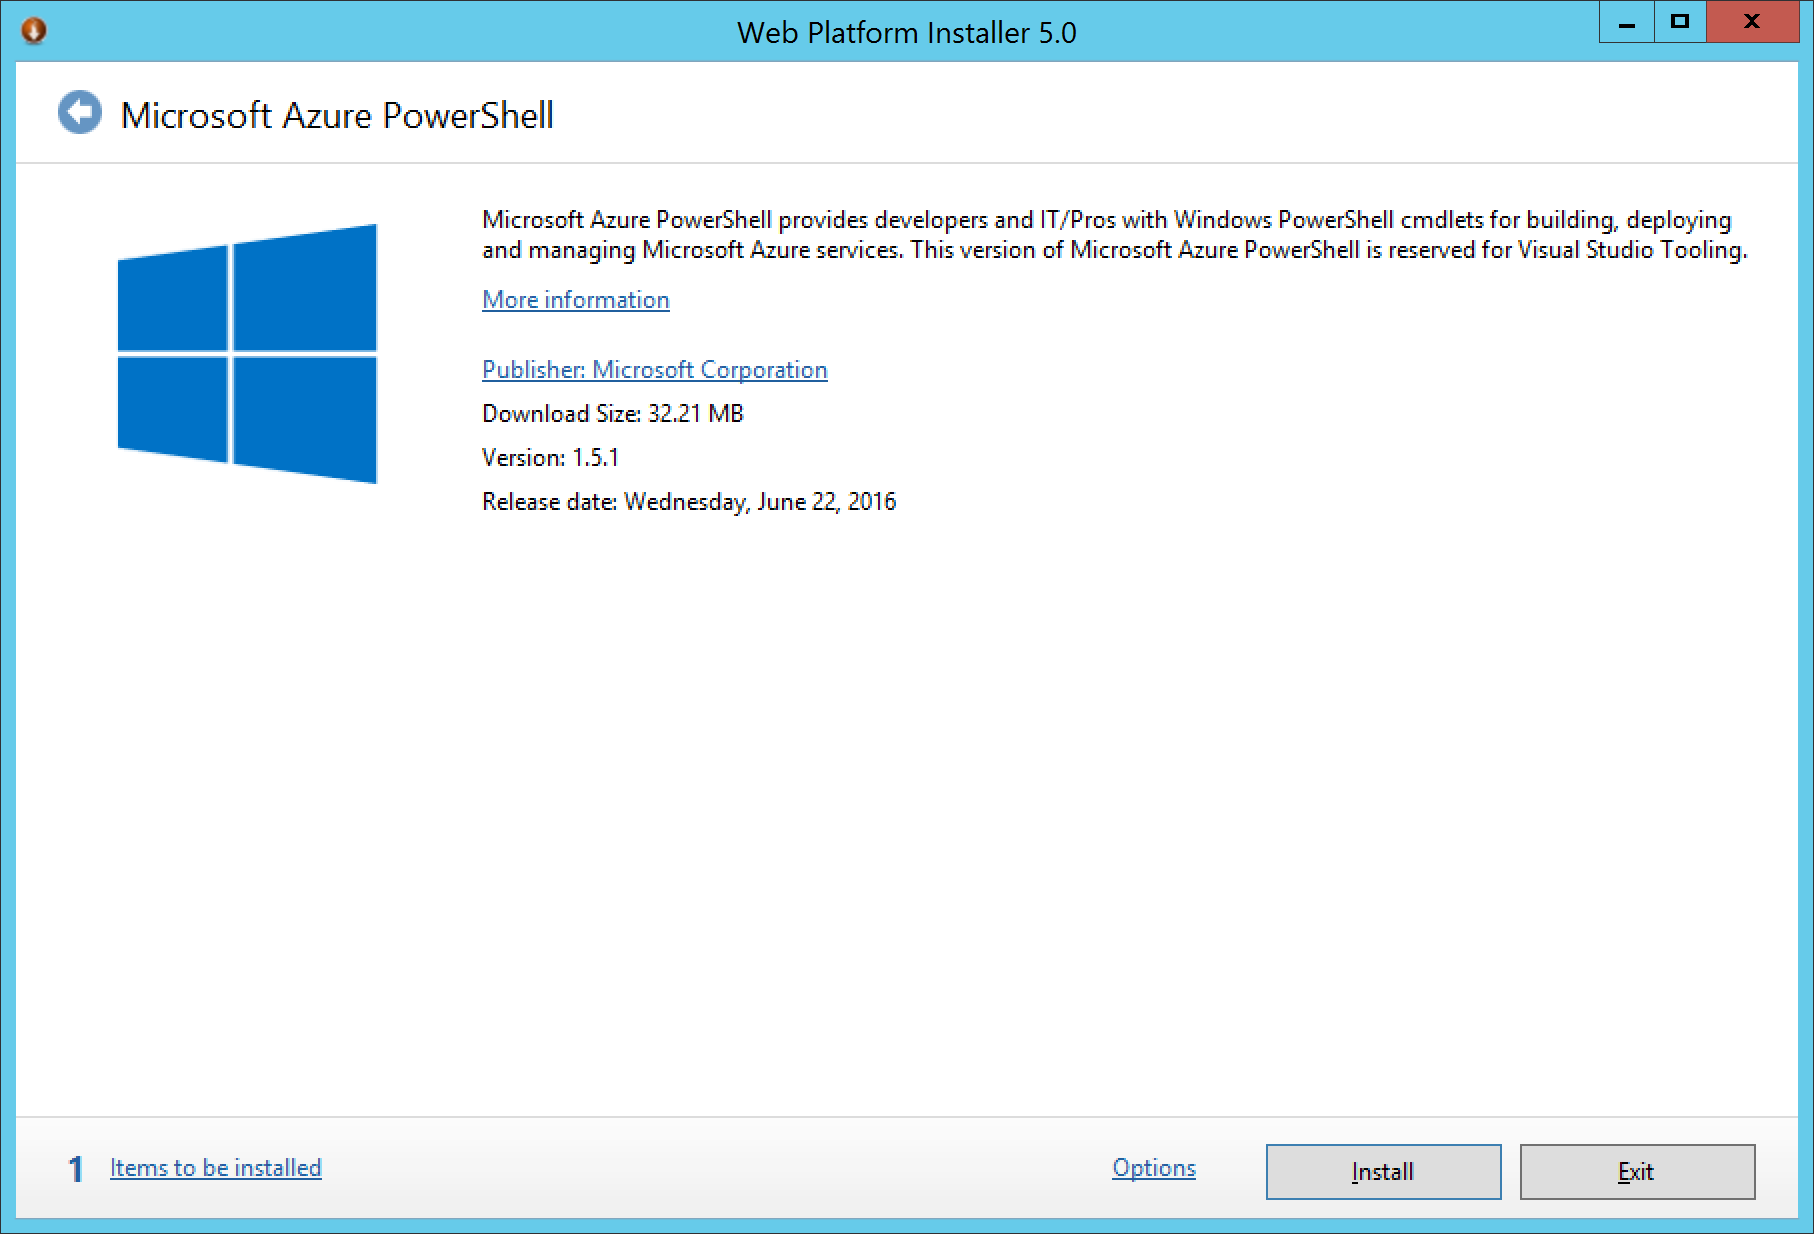
Once installed, complete the instructions below.
- Open up PowerShell
- Login to your Azure account
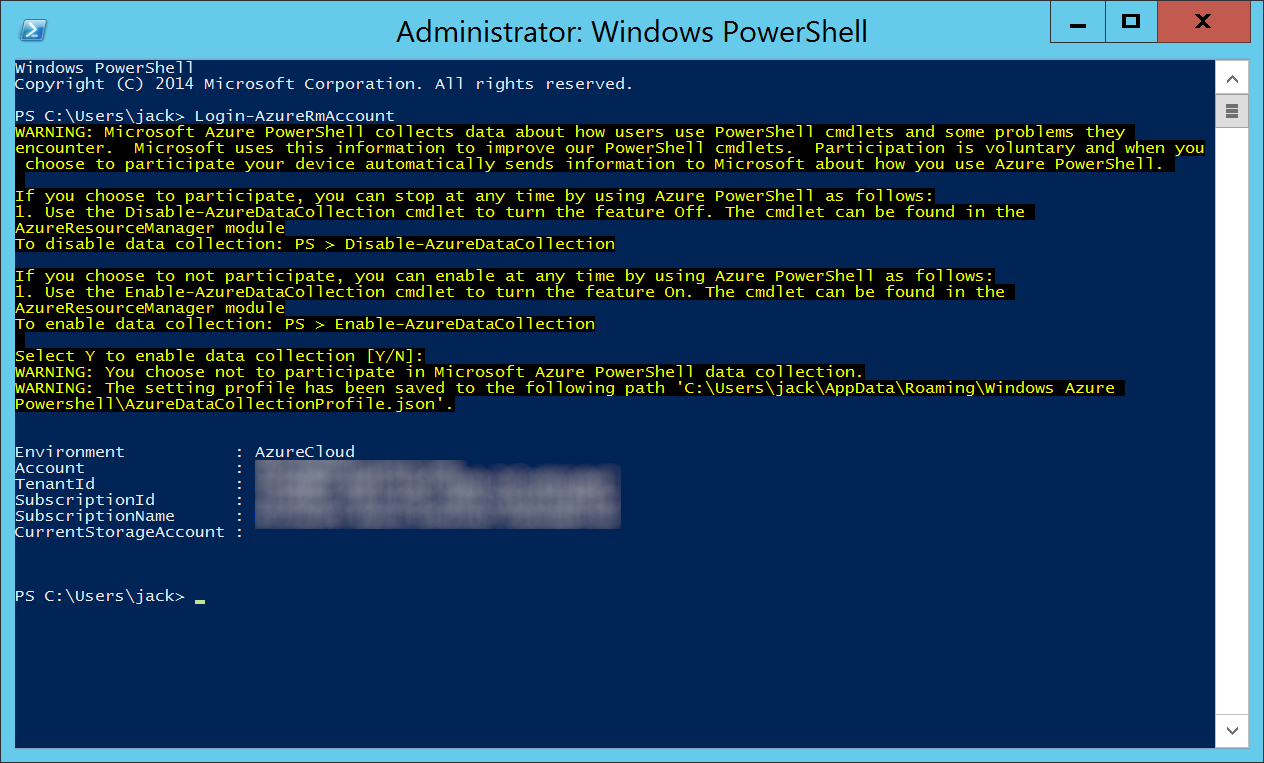
Login-AzureRmAccount
- Execute the following command below, substituting in the correct values applicable to your environment:
-RessourceGroupName – Specifies the name of the resource group of the virtual machine.
-Destination – Specifies the URI of a blob in Blob Storage. The parameter supports SAS URI, although patching scenarios destination cannot be an SAS URI. My URL shows Premium storage, but Premium storage is not required for HUB.
-LocalFilePath – Specifies the path of the local .vhd file.
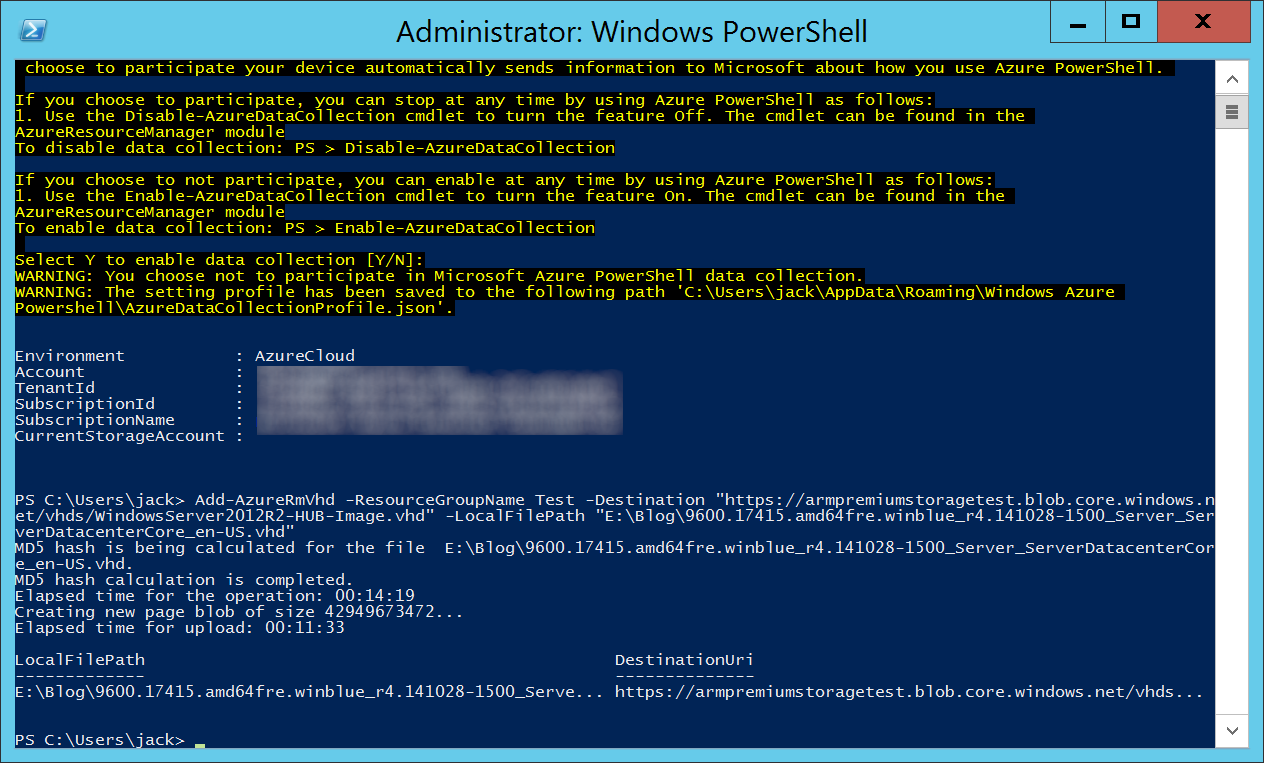
Add-AzureRmVhd -ResourceGroupName Test -Destination "https://armpremiumstoragetest.blob.core.windows.net/vhds/WindowsServer2012R2-HUB-Image.vhd" -LocalFilePath "E:\Blog\9600.17415.amd64fre.winblue_r4.141028-1500_Server_ServerDatacenterCore_en-US.vhd"
3. How to deploy VMs from your VHD
Copy the template below:
{
  "$schema": "https://schema.management.azure.com/schemas/2015-01-01/deploymentTemplate.json#",
  "contentVersion": "1.0.0.0",
  "parameters": {
    "vmName": {
      "type": "string",
      "metadata": {
        "description": "Name of the VM you wish to deploy"
      }
    },
	"VMStorageAccount": {
      "type": "string",
      "metadata": {
        "description": "This is the name of the your storage account to deploy the VM to"
      }
    },
	"virtualNetworkName": {
      "type": "string",
      "metadata": {
        "description": "Name of the virtual network the VM should be deployed to"
      }
    },
	"subnetName": {
      "type": "string",
      "metadata": {
        "description": "Name of the subnet the VM should be deployed to"
      }
    },
	"publicIPAddressName": {
      "type": "string",
      "metadata": {
        "description": "Name of the public IP address for your VM."
      }
    },
    "dnsLabelPrefix": {
      "type": "string",
      "metadata": {
        "description": "DNS Label for the Public IP. Must be lowercase. It should match with the following regular expression: ^[a-z][a-z0-9-]{1,61}[a-z0-9]$ or it will raise an error."
      }
    },
    "adminUserName": {
      "type": "string",
      "metadata": {
        "description": "UserName for the Virtual Machine"
      }
    },
    "adminPassword": {
      "type": "securestring",
      "metadata": {
        "description": "Password for the Virtual Machine"
      }
    },
	"publicIPAddressType": {
      "type": "string",
      "allowedValues": [
        "Dynamic",
        "Static"
      ],
	  "defaultValue": "Dynamic",
      "metadata": {
        "description": "IP Address type for the public IP of the VM"
      }
    },
    "vmSize": {
      "type": "string",
      "metadata": {
        "description": "This is the size of your VM"
      },
	  "defaultValue": "Standard_DS1_v2"
    }
  },
  "variables": {
    "location": "[resourceGroup().location]",
    "nicName": "[concat(parameters('vmName'),'nic')]",
	"osDiskVhdUri": "https://myosdiskvhduri.blob.core.windows.net/vhds/myimage.vhd",
	"osType": "Windows",
    "vnetID": "[resourceId('Microsoft.Network/virtualNetworks',parameters('virtualNetworkName'))]",
    "subnet1Ref": "[concat(variables('vnetID'),'/subnets/',parameters('subnetName'))]",
    "osDiskVhdName": "[concat('https://',parameters('VMStorageAccount'),'.blob.core.windows.net/vhds/',parameters('vmName'),'-osDisk.vhd')]",
    "apiVersion": "2015-06-15"
  },
  "resources": [
    {
      "apiVersion": "[variables('apiVersion')]",
      "type": "Microsoft.Network/publicIPAddresses",
      "name": "[parameters('publicIPAddressName')]",
      "location": "[variables('location')]",
      "properties": {
        "publicIPAllocationMethod": "[parameters('publicIPAddressType')]",
        "dnsSettings": {
          "domainNameLabel": "[parameters('dnsLabelPrefix')]"
        }
      }
    },
    {
      "apiVersion": "[variables('apiVersion')]",
      "type": "Microsoft.Network/networkInterfaces",
      "name": "[variables('nicName')]",
      "location": "[variables('location')]",
      "dependsOn": [
        "[concat('Microsoft.Network/publicIPAddresses/', parameters('publicIPAddressName'))]"
      ],
      "properties": {
        "ipConfigurations": [
          {
            "name": "ipconfig1",
            "properties": {
              "privateIPAllocationMethod": "Dynamic",
              "publicIPAddress": {
                "id": "[resourceId('Microsoft.Network/publicIPAddresses',parameters('publicIPAddressName'))]"
              },
              "subnet": {
                "id": "[variables('subnet1Ref')]"
              }
            }
          }
        ]
      }
    },
    {
      "apiVersion": "[variables('apiVersion')]",
      "type": "Microsoft.Compute/virtualMachines",
      "name": "[parameters('vmName')]",
      "location": "[variables('location')]",
      "dependsOn": [
        "[concat('Microsoft.Network/networkInterfaces/', variables('nicName'))]"
      ],
      "properties": {
        "licenseType": "Windows_Server",
        "hardwareProfile": {
          "vmSize": "[parameters('vmSize')]"
        },
        "osProfile": {
          "computerName": "[parameters('vmName')]",
          "adminUsername": "[parameters('adminUsername')]",
          "adminPassword": "[parameters('adminPassword')]"
                 },
        "storageProfile": {
          "osDisk": {
            "name": "[concat(parameters('vmName'),'-osDisk')]",
            "osType": "[variables('osType')]",
            "caching": "ReadWrite",
            "createOption": "FromImage",
            "image": {
              "uri": "[variables('osDiskVhdUri')]"
            },
            "vhd": {
              "uri": "[variables('osDiskVhdName')]"
            }
          }
        },
        "networkProfile": {
          "networkInterfaces": [
            {
              "id": "[resourceId('Microsoft.Network/networkInterfaces',variables('nicName'))]"
            }
          ]
        },
        "diagnosticsProfile": {
          "bootDiagnostics": {
             "enabled": "true",
             "storageUri": "[concat('https://',parameters('VMStorageAccount'),'.blob.core.windows.net')]"
          }
        }
      }
    }
  ]
}
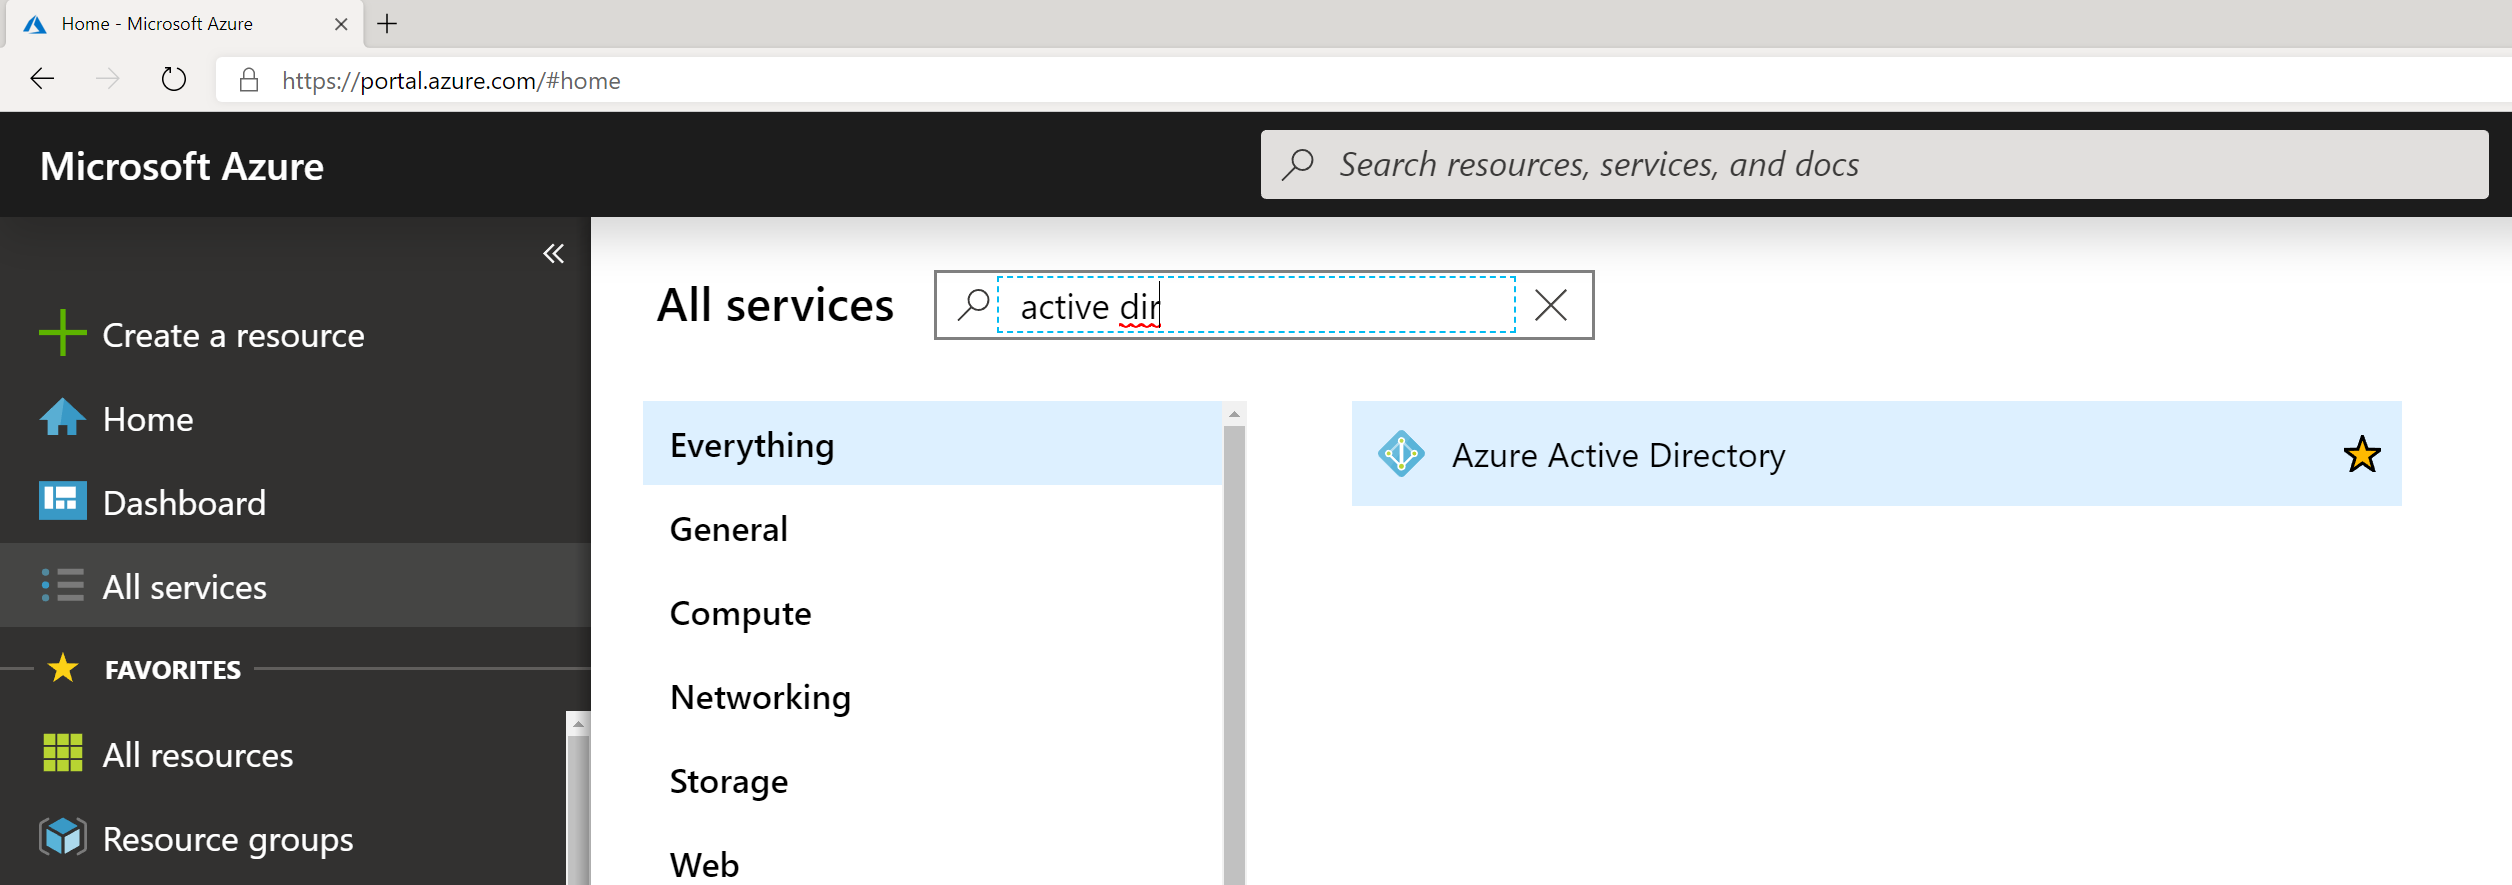
- Login to the Azure Portal
- https://portal.azure.com
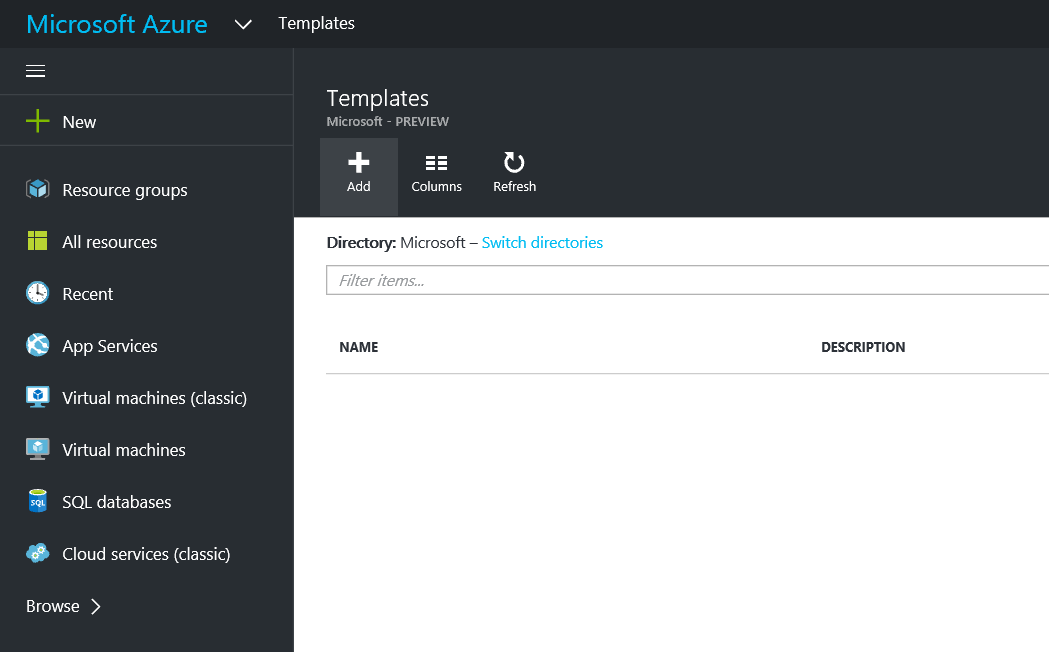
- Select Browse, click Templates, click Add
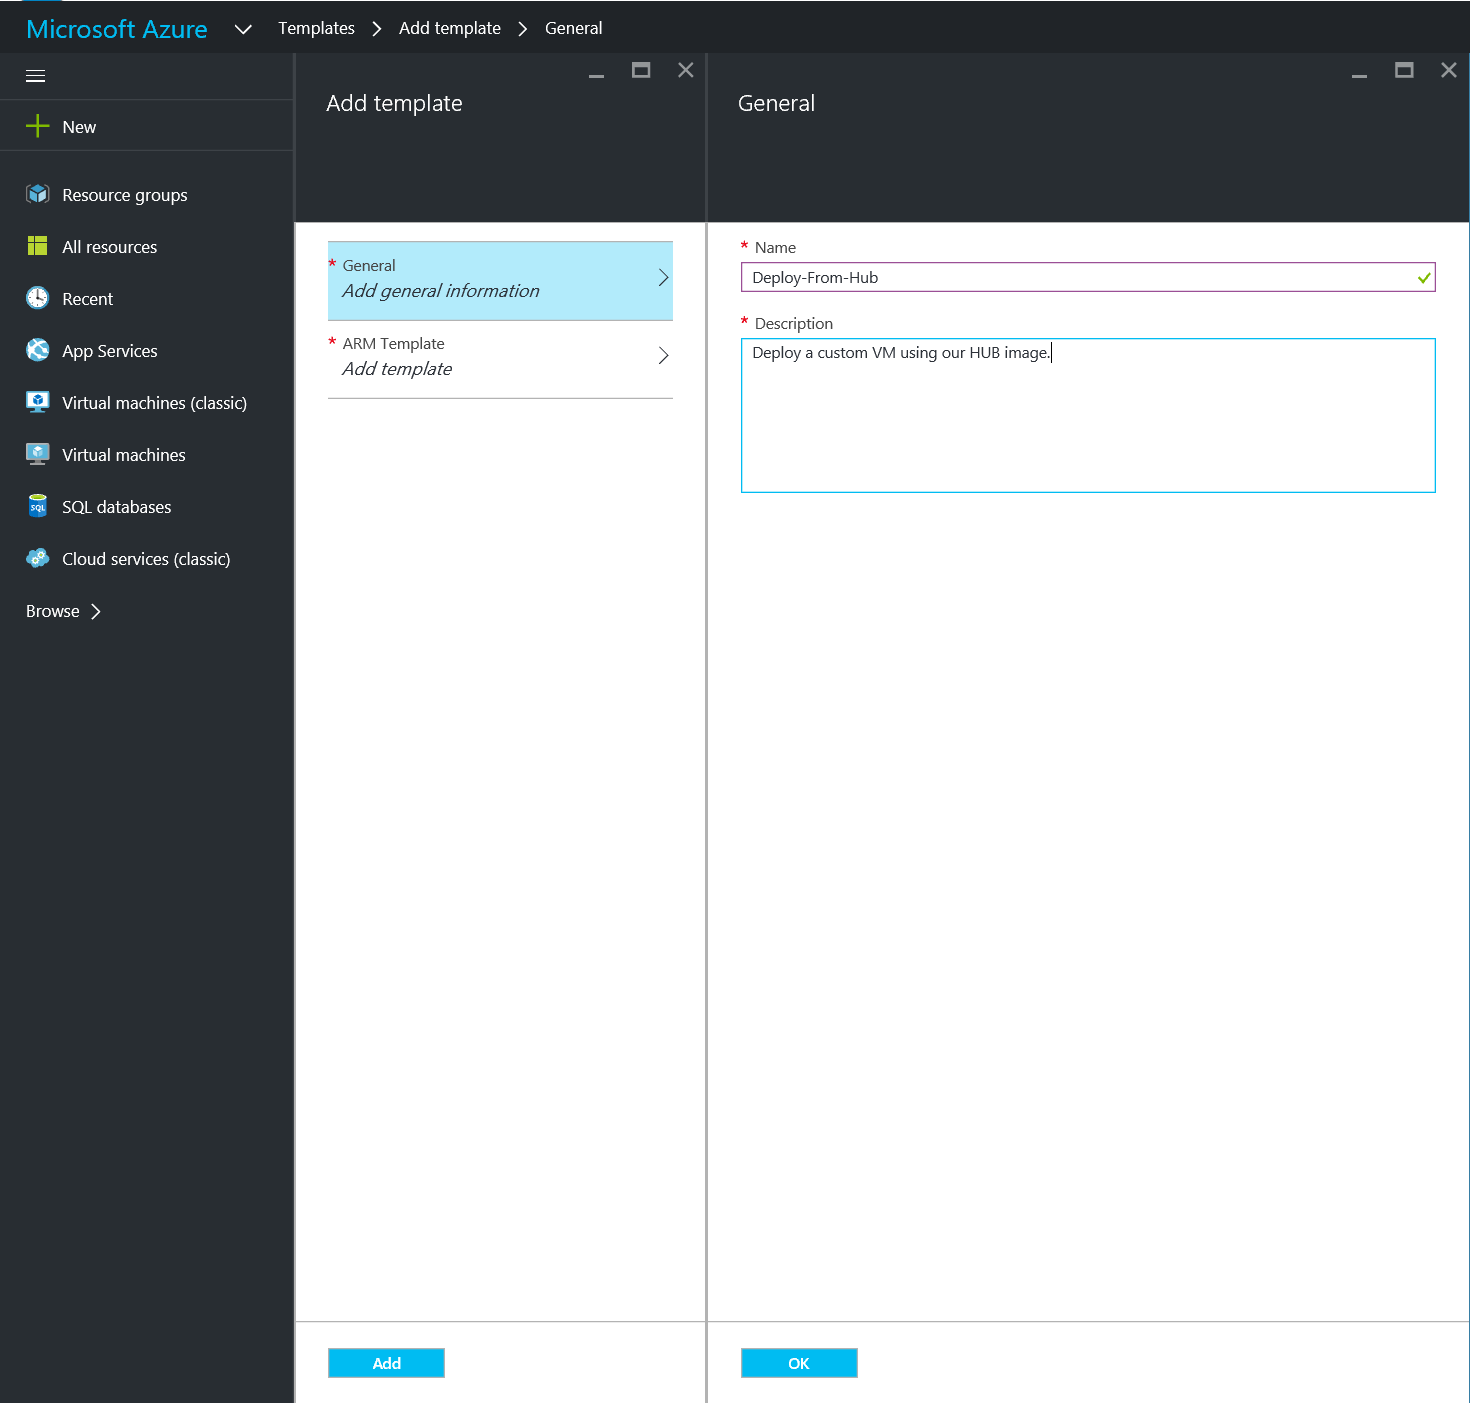
- Type in a Name and Description, click OK
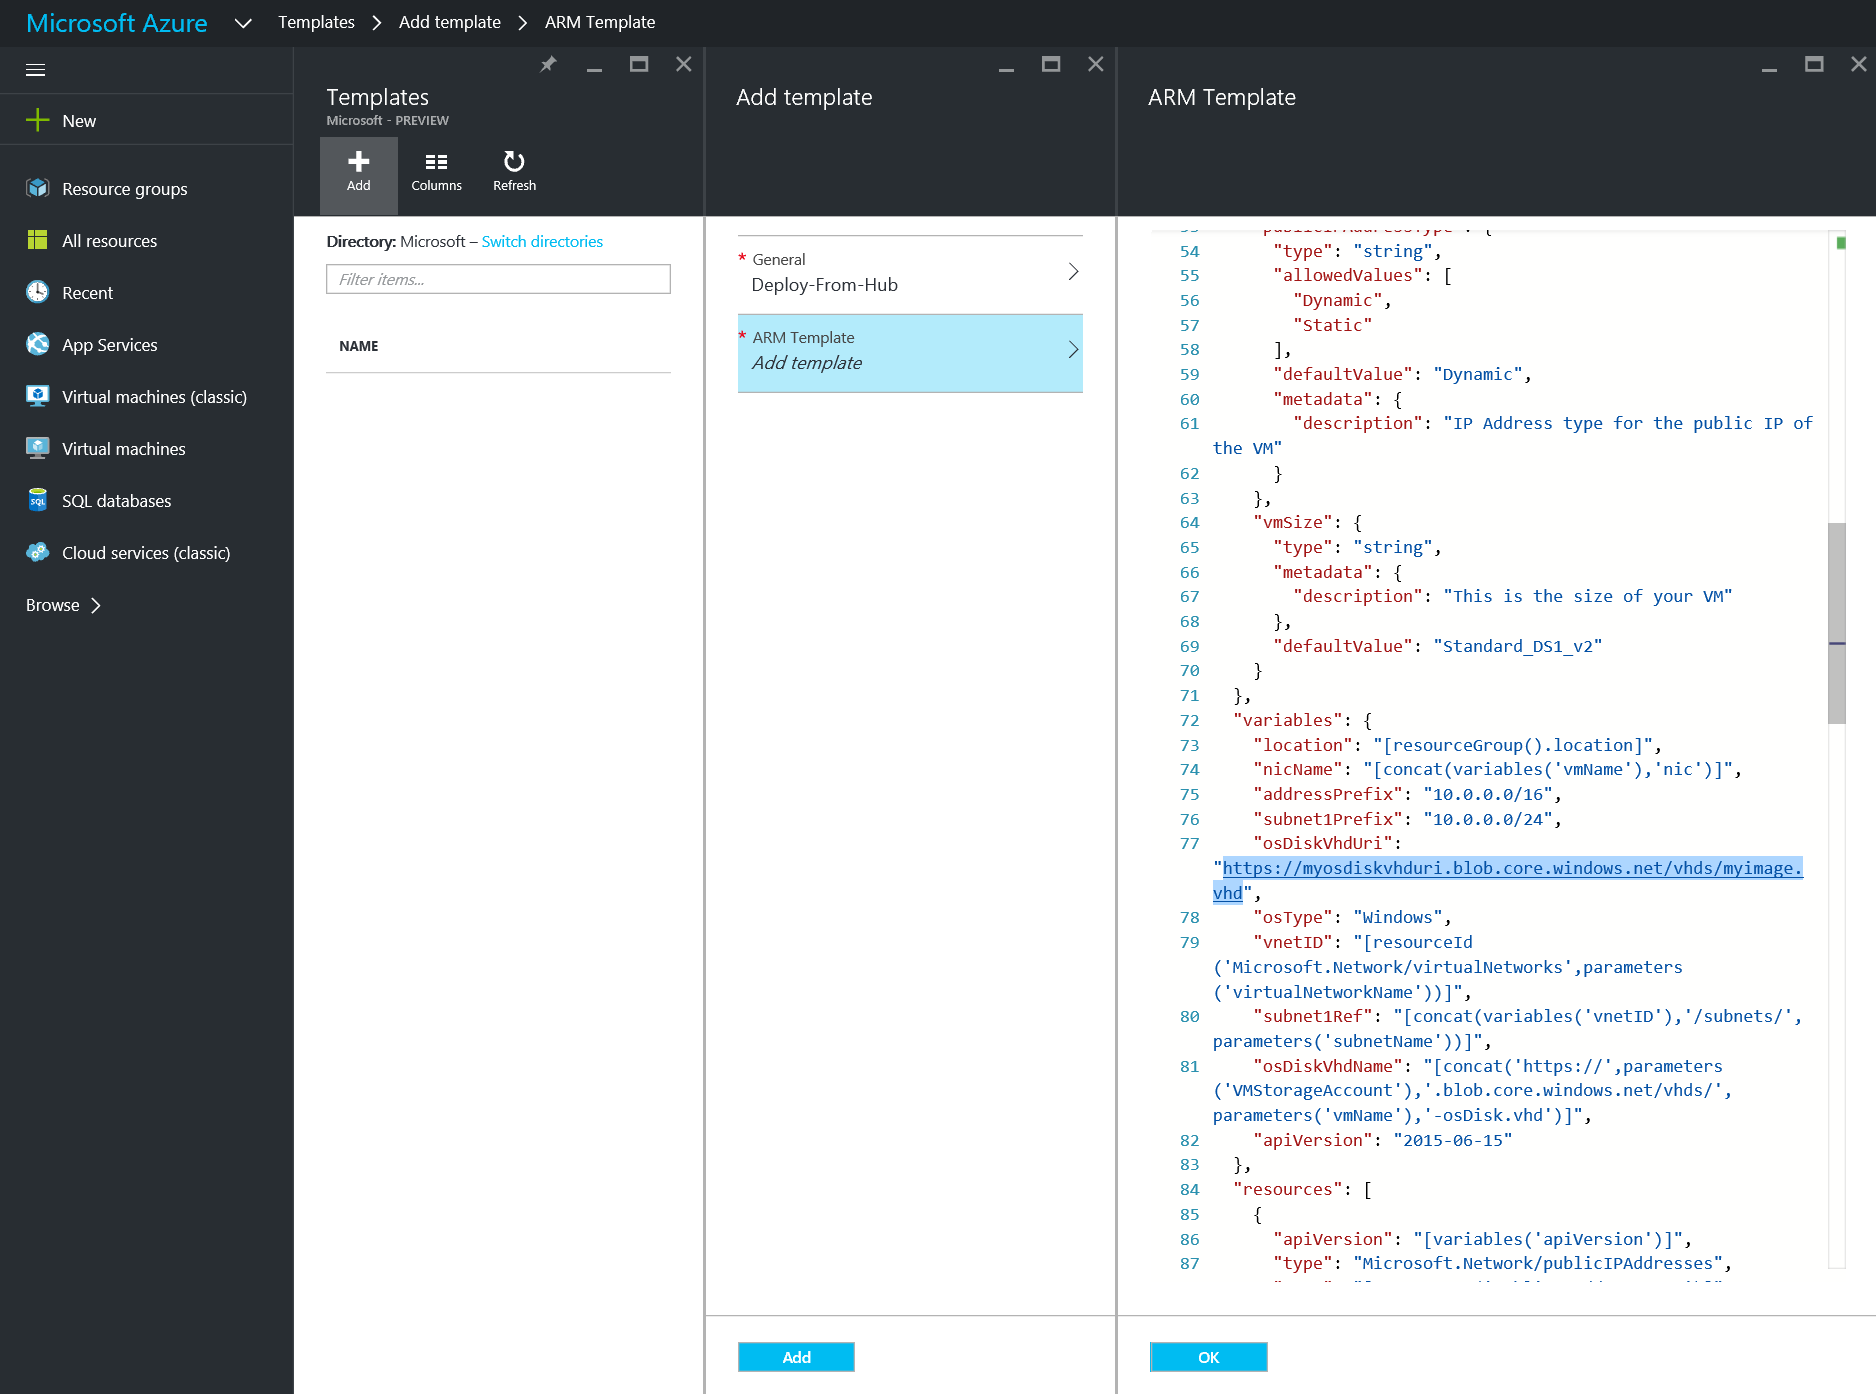
- Paste in the template above, ensure you change the osDiskVhdUri, and click OK
- Once you have deploy the script, click Add, select your template, and click Deploy
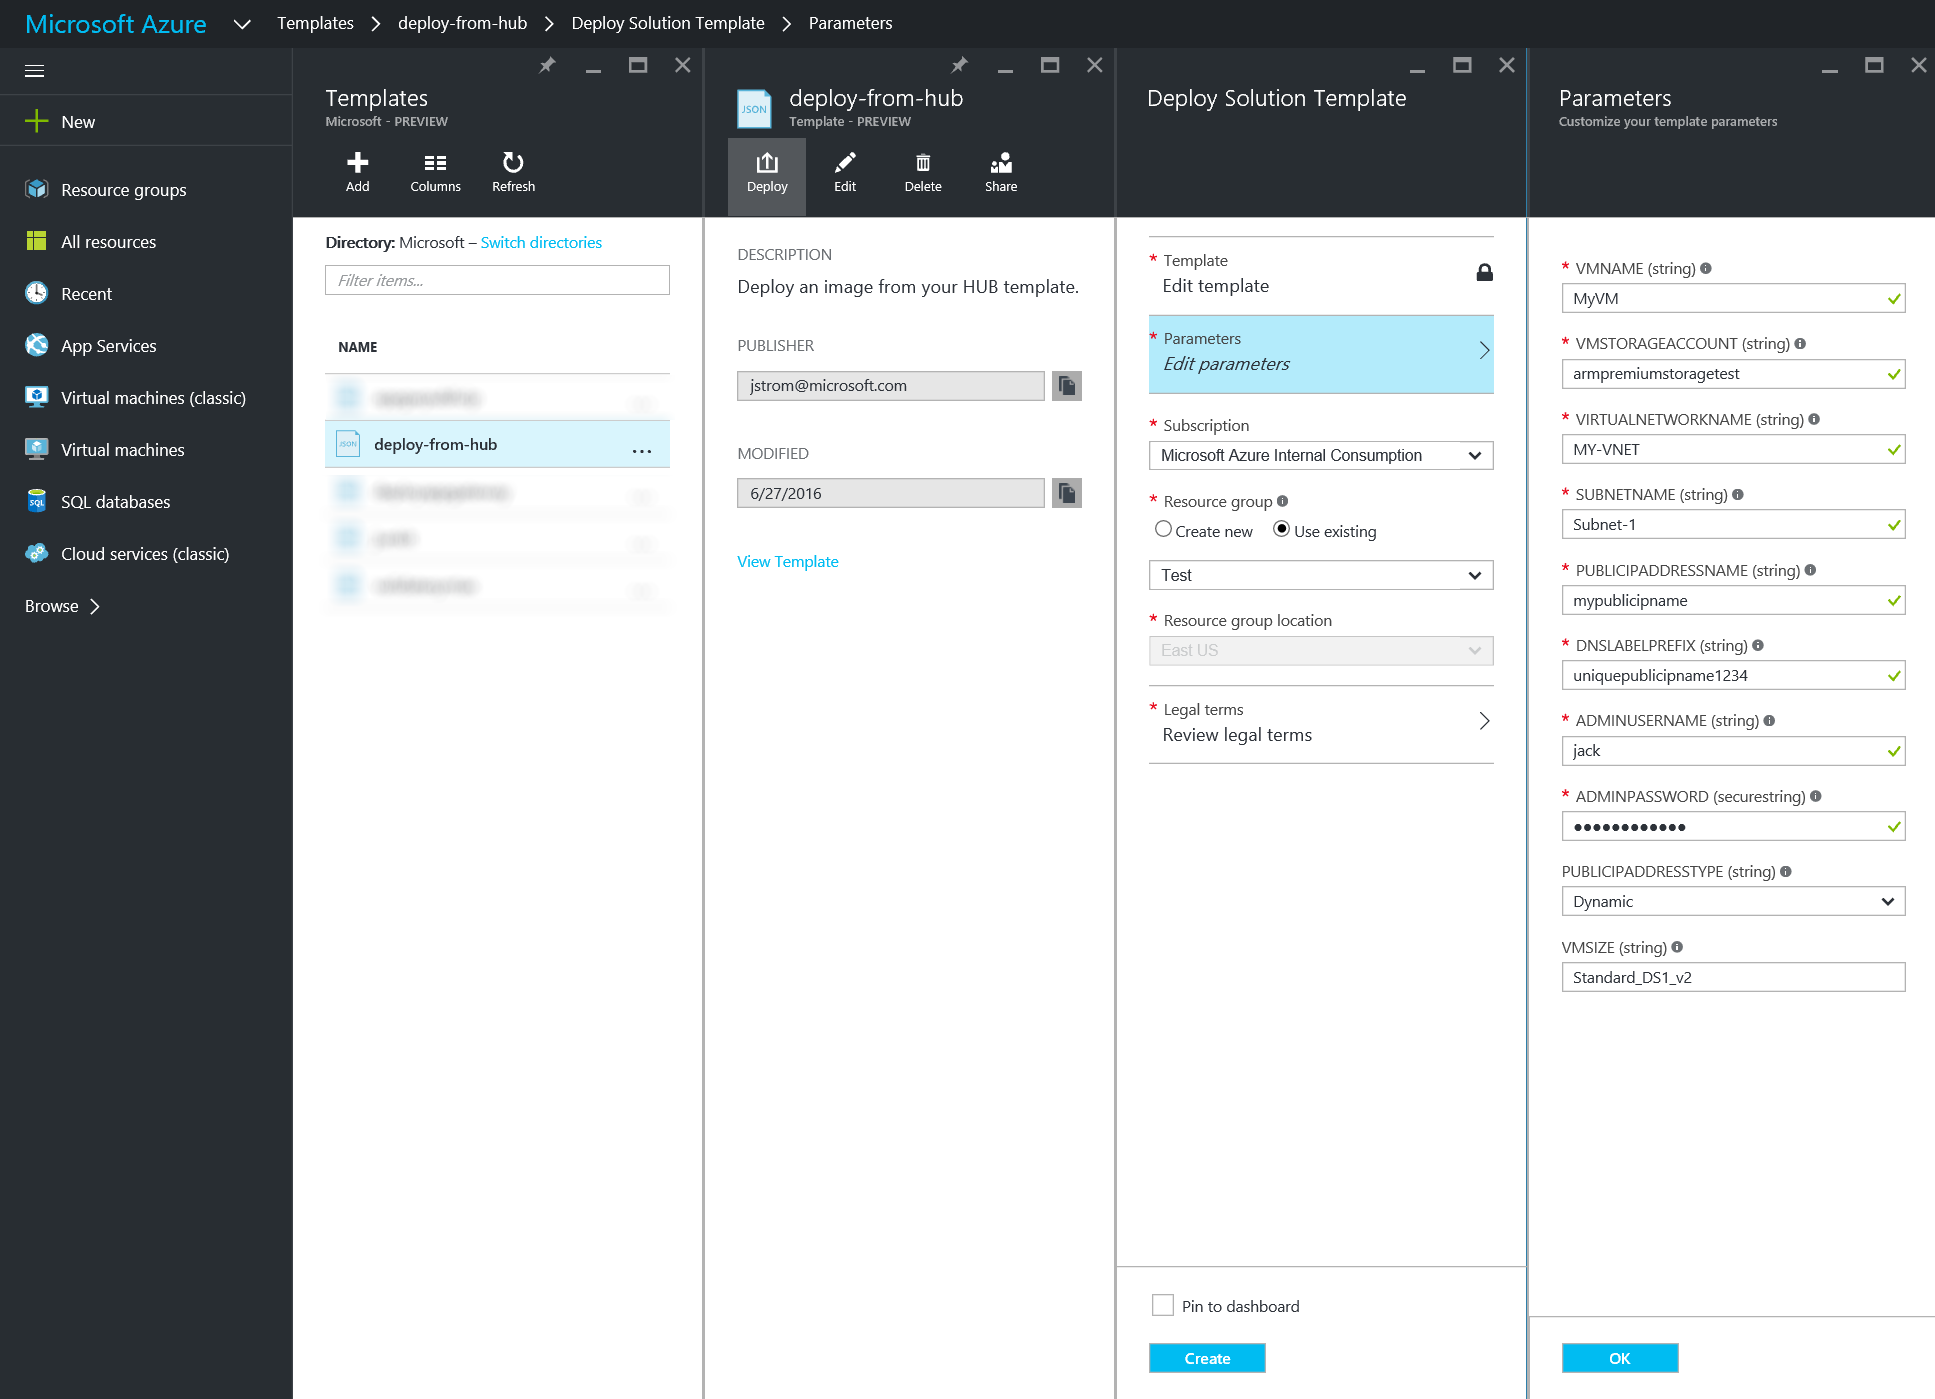
At this point, you should be able to deploy from the template and create your VM from the HUB licensed VHD! 🙂
Notes: The above script takes into account that you are deploying against standard storage. You may need to edit the above script if you want to deploy to premium storage as diagnostics data does not support being deployed to a Premium Storage account as of 6/27/2016.
Notes: The above script assumes your Virtual Network and Subnet have been previously created. It will not create a virtual network and subnet if they do not exist.