Edit: This scenario is unofrtunately no longer supported by Microsoft. More details can be found here: https://learn.microsoft.com/microsoft-365/enterprise/configure-exchange-server-for-hybrid-modern-authentication
Wouldn’t it be awesome to be able to do the following with Outlook Web Access being published in your on-premises environment today?
- Cheap proxy solution to prevent direct internet access to your servers
- Mask the IPs of your on-premises infrastructure
- Enable Azure MFA (Multi-Factor Authentication) for OWA?
- Have a Single-Sign on experience into Outlook Web Application via federation?
- Have the application be selectable from your “My Apps” page (myapps.microsoft.com)
- Have the application be selectable from the “Waffle Menu” of Office 365
If you are looking for any of the above, you are in-luck and we can enable this easily through Azure AD Application Proxy. If you organization is using Office 365 or Azure AD already and have licensing for Azure AD Premium or Basic, you are good to go. If you have the Enterprise Mobility Suite, this will grant you to Azure AD Premium licensing which should make you good to go as well.
Configuration
- Prerequisite: Enable Kerberos Authentication for Outlook Web Access On-Premises
- Login to one of your domain controllers and open up Active Directory Users and Computers
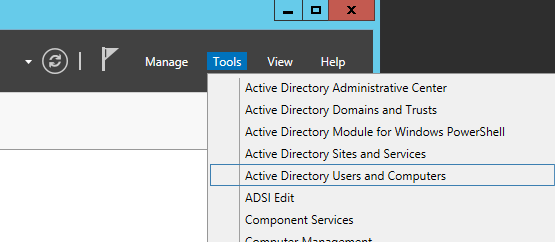
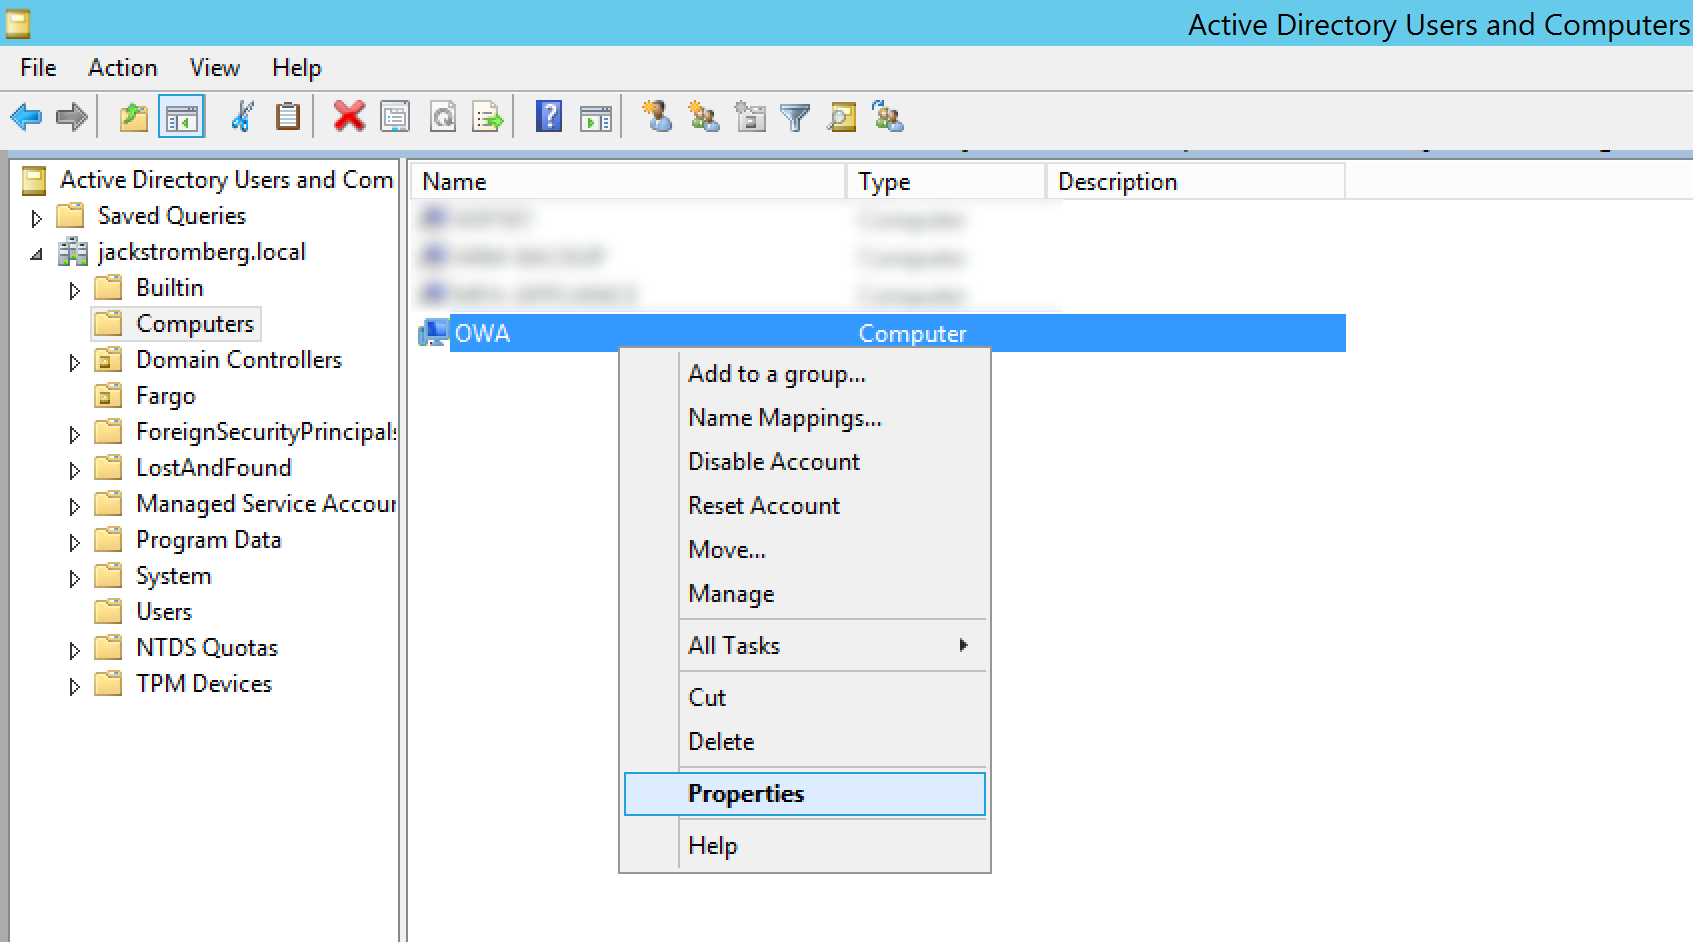
- Find the Computer object within your organization we will run the Azure AD Connector on later in the tutorial and right click Properties on it
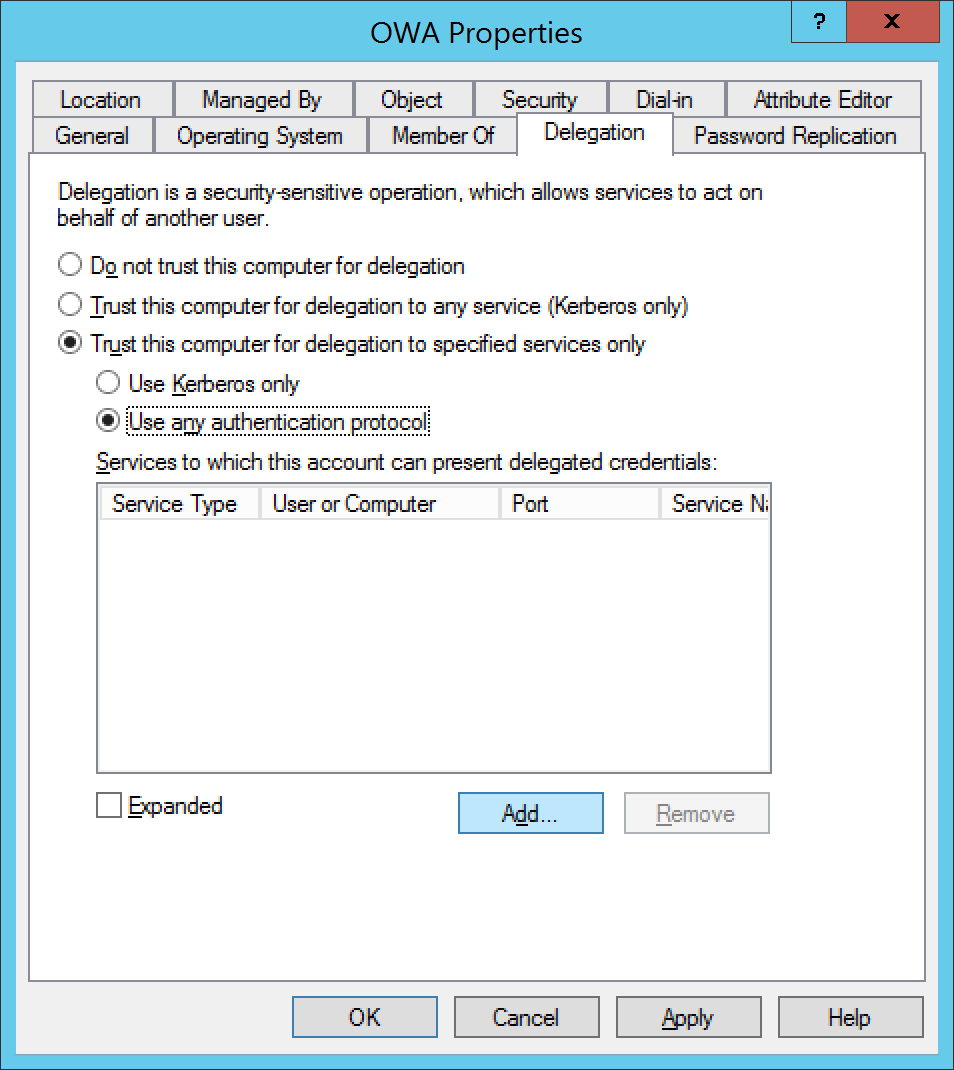
- Select the Delegation tab, select Trust this computer for delegation to specified services only, check Use any authentication protocol, and click on Add…
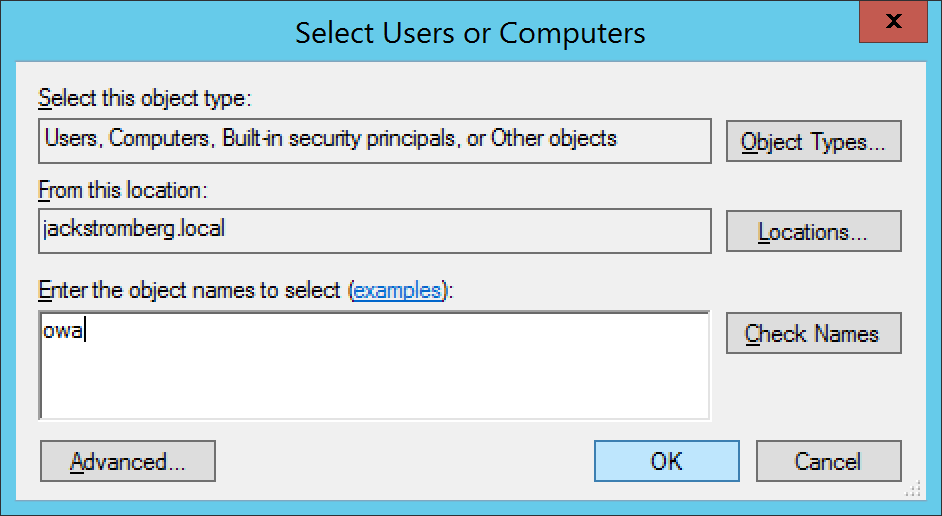
- Select Users or Computers…
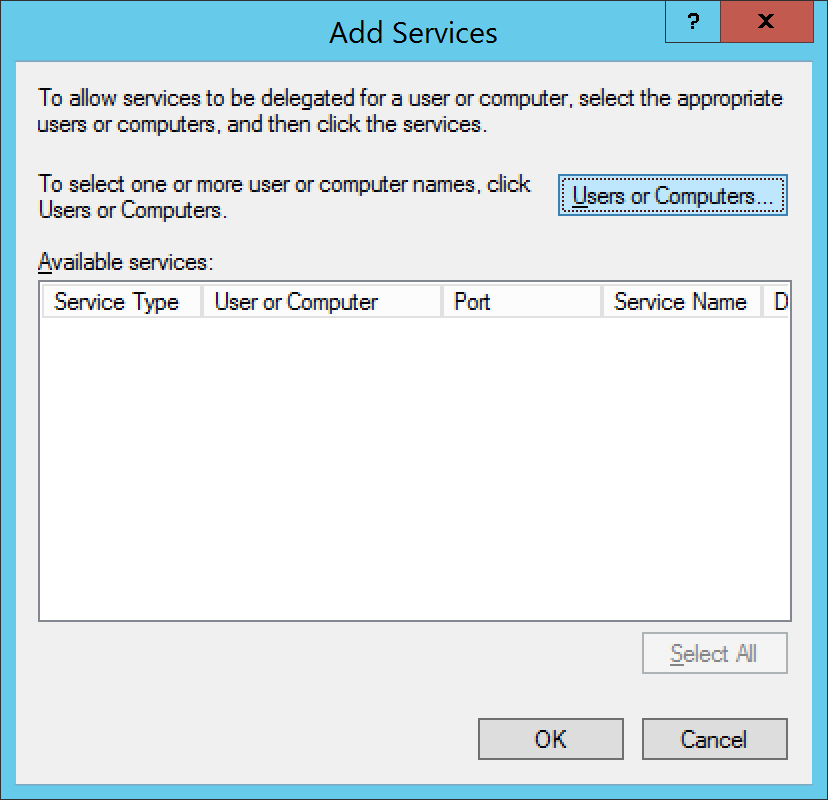
- Type in the machine name and click OK
- Select http and click OK
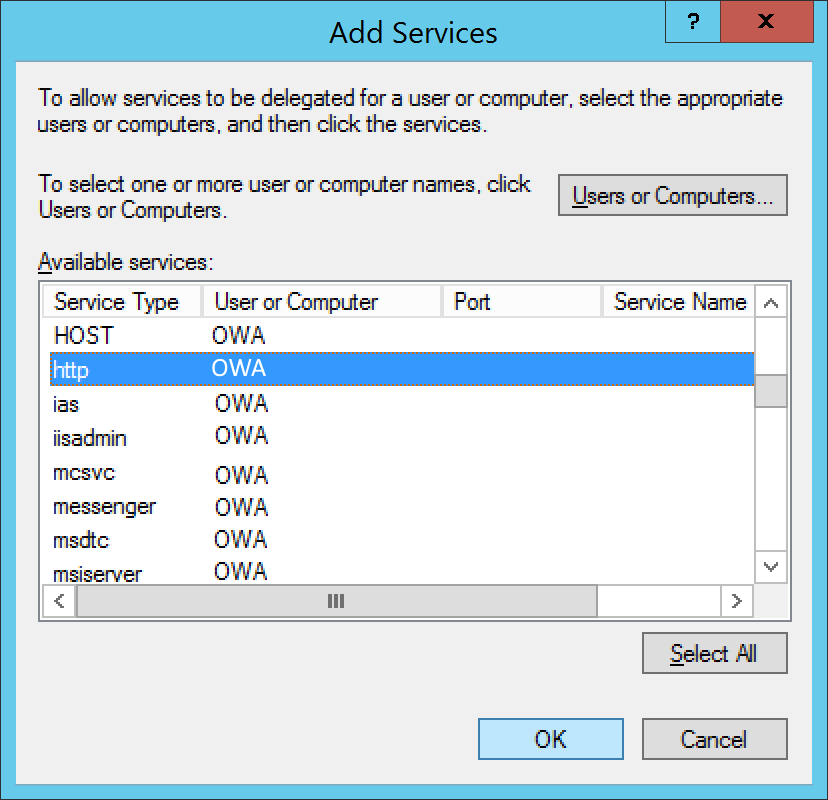
- Click OK on the Add Services page
- Login to one of your domain controllers and open up Active Directory Users and Computers
- Pre-Requisite: Enable Exchange On-Premises to use Integrated Windows Authentication (instructions for Exchange 2010 or 2013 can be found below)
- Exchange 2010
- Open the Exchange Management Console for your Exchange server
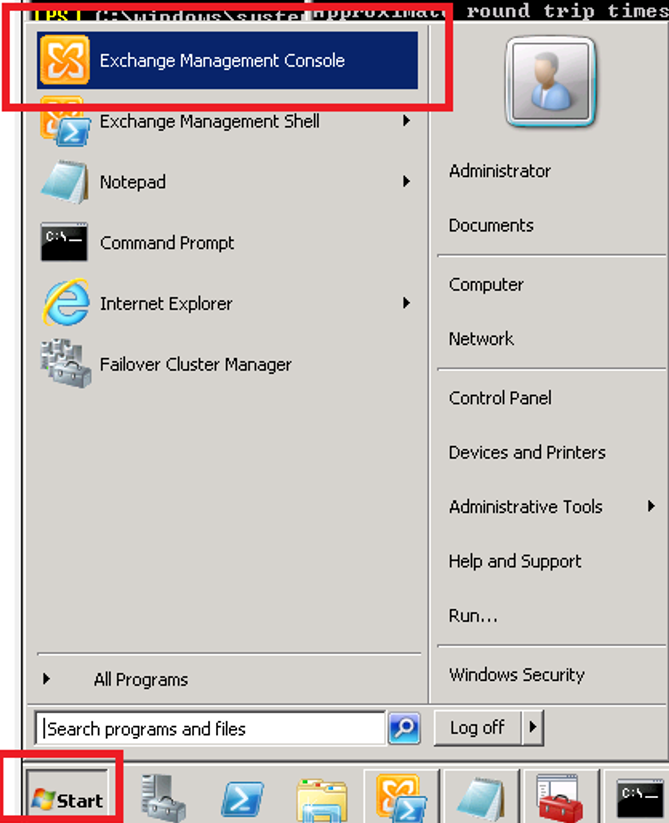
- Expand Server Configuration, select Client Access, under Outlook Web App, right click on your web app and select Properties

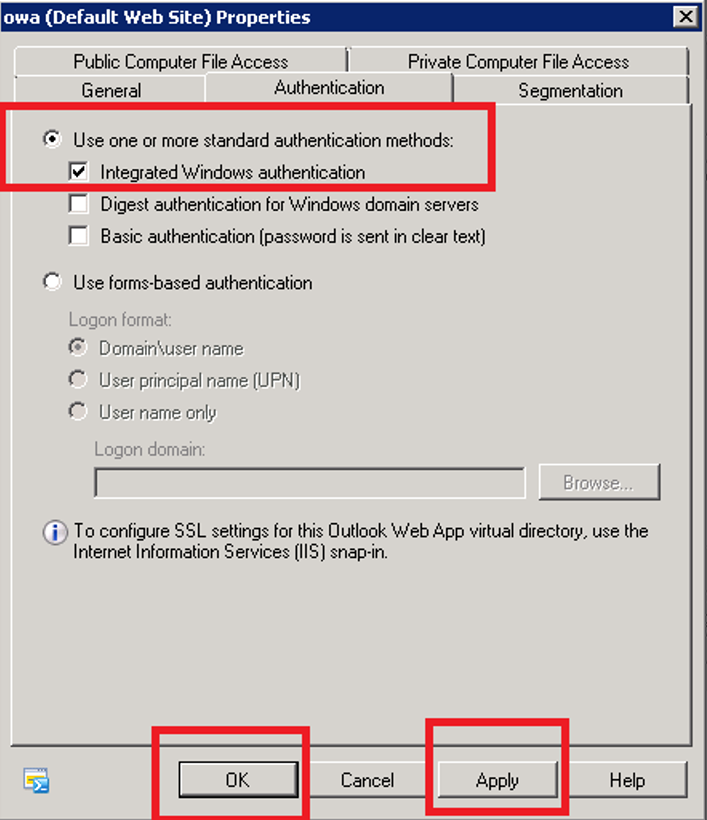
- Select the Authentication tab and check Use one or more standard authentication methods. Once checked, check Integrated Windows authentication and click the Apply and OK buttons.
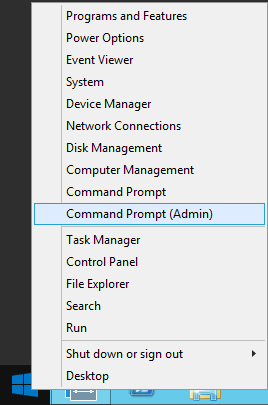
- Open a command prompt
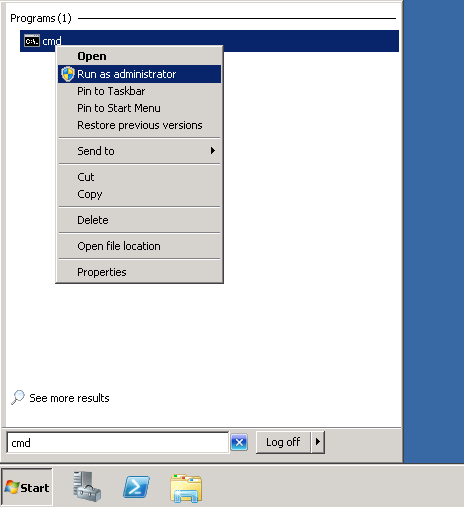
- Execute the iisreset command

- Open the Exchange Management Console for your Exchange server
- Exchange 2013
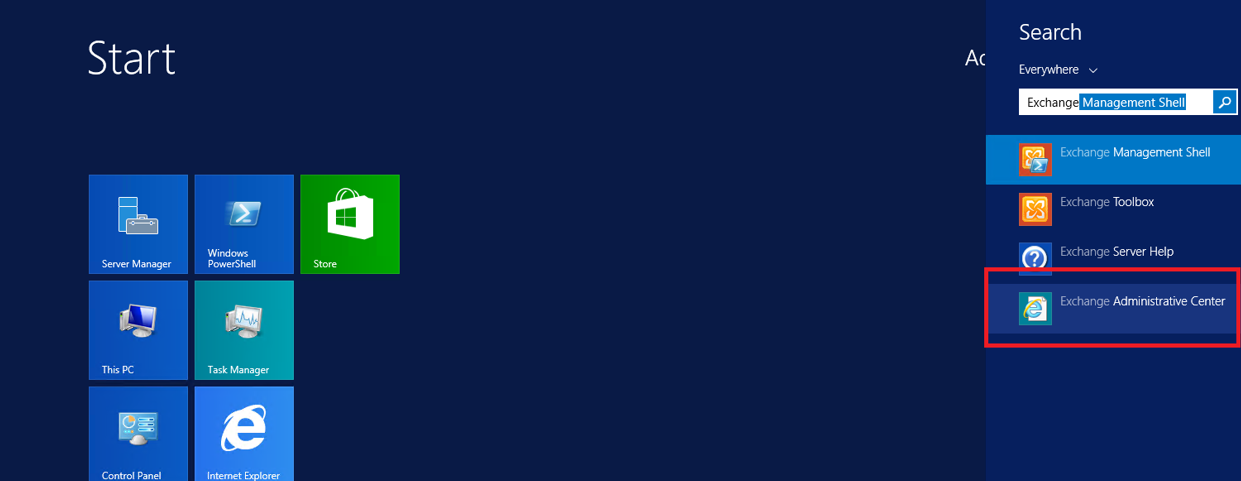
- Open the Exchange Administrative Center
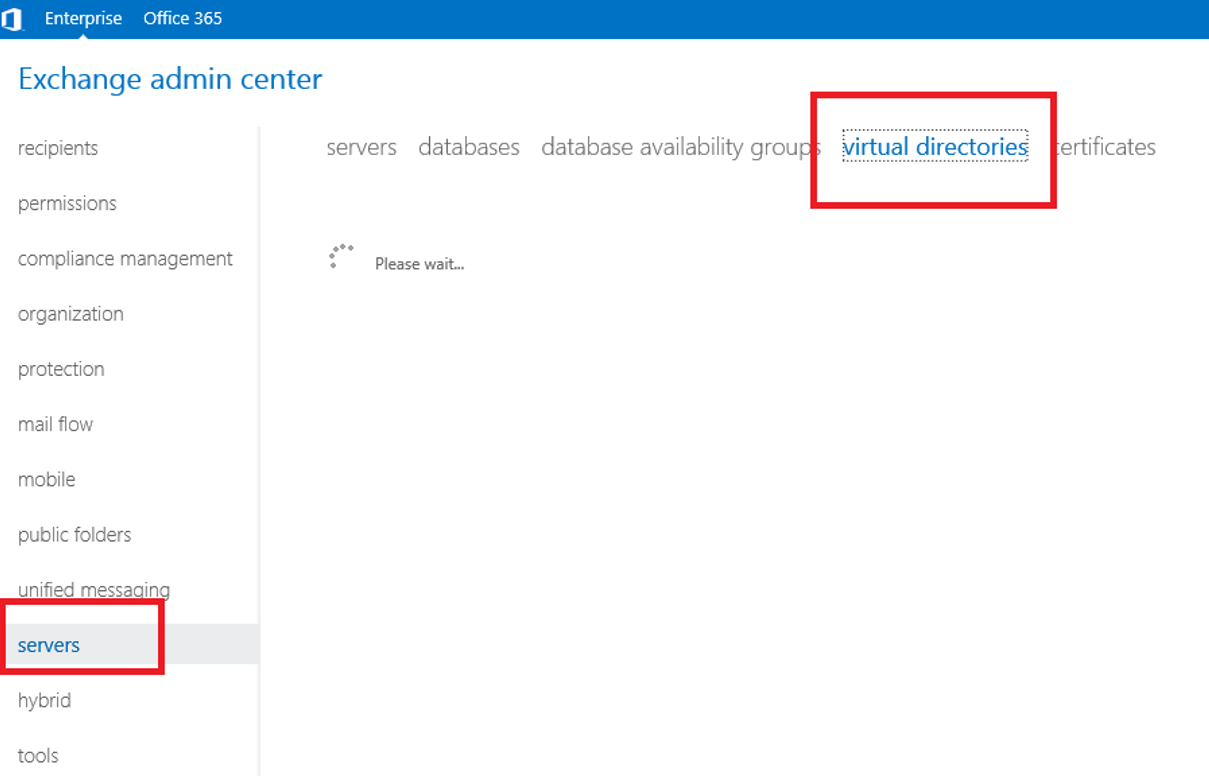
- Login to the admin center, click on Servers and select the Virtual Directories tab
- Select server and then double click on the OWA Virtual Directory and select the applications tab
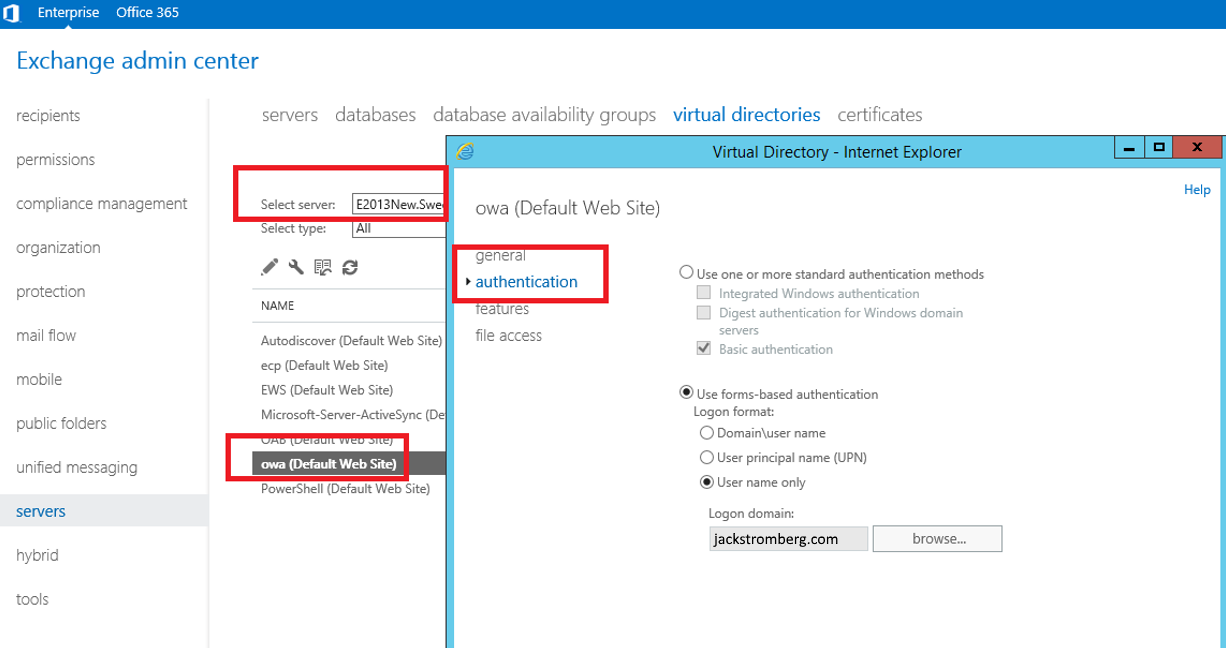
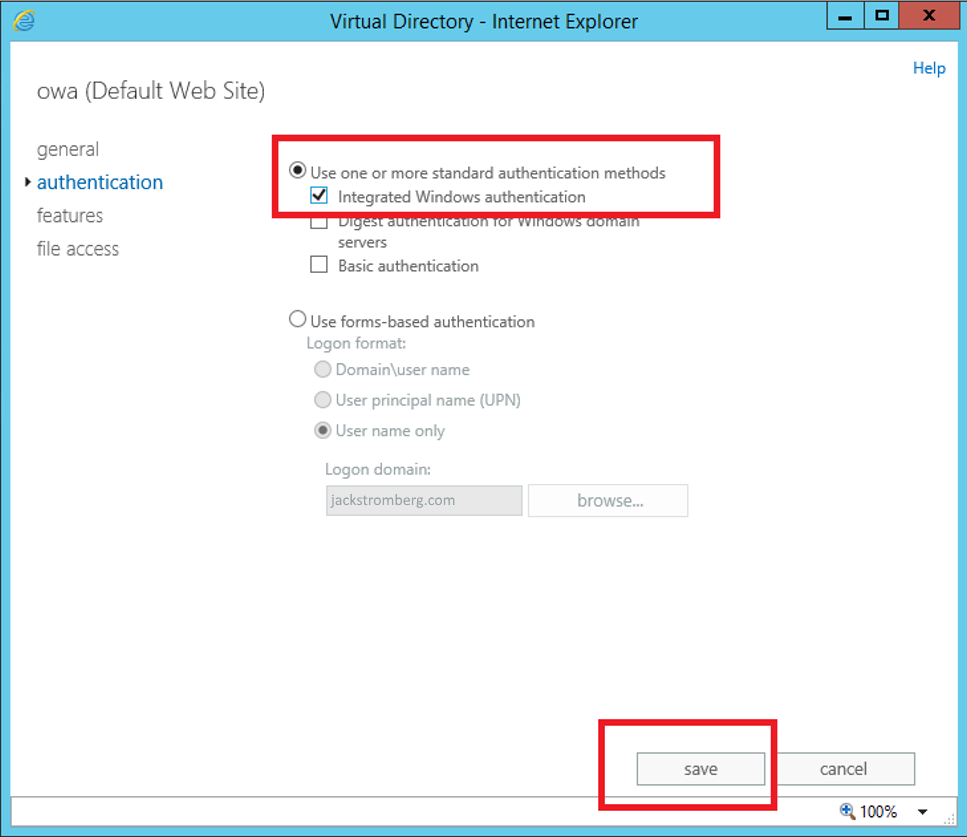
- On the authentication tab, select Use one or more standard authentication methods, select Integrated Windows authentication, and click save
- Open a command prompt
- Execute the iisrest command
- Open the Exchange Administrative Center
- Exchange 2010
- Login to the Azure Portal
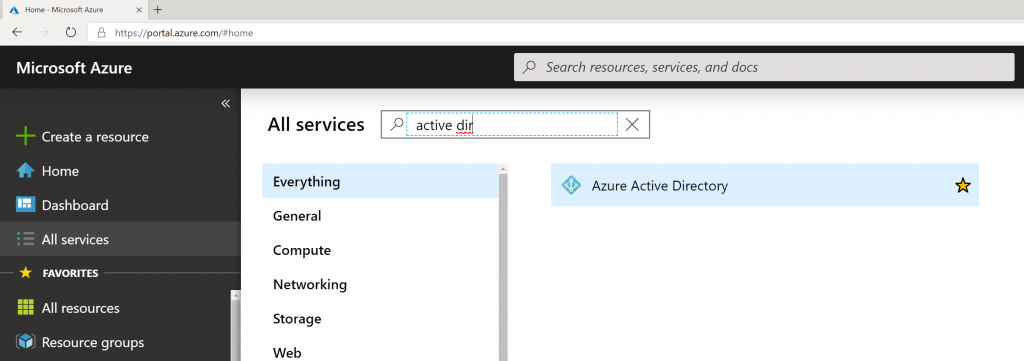
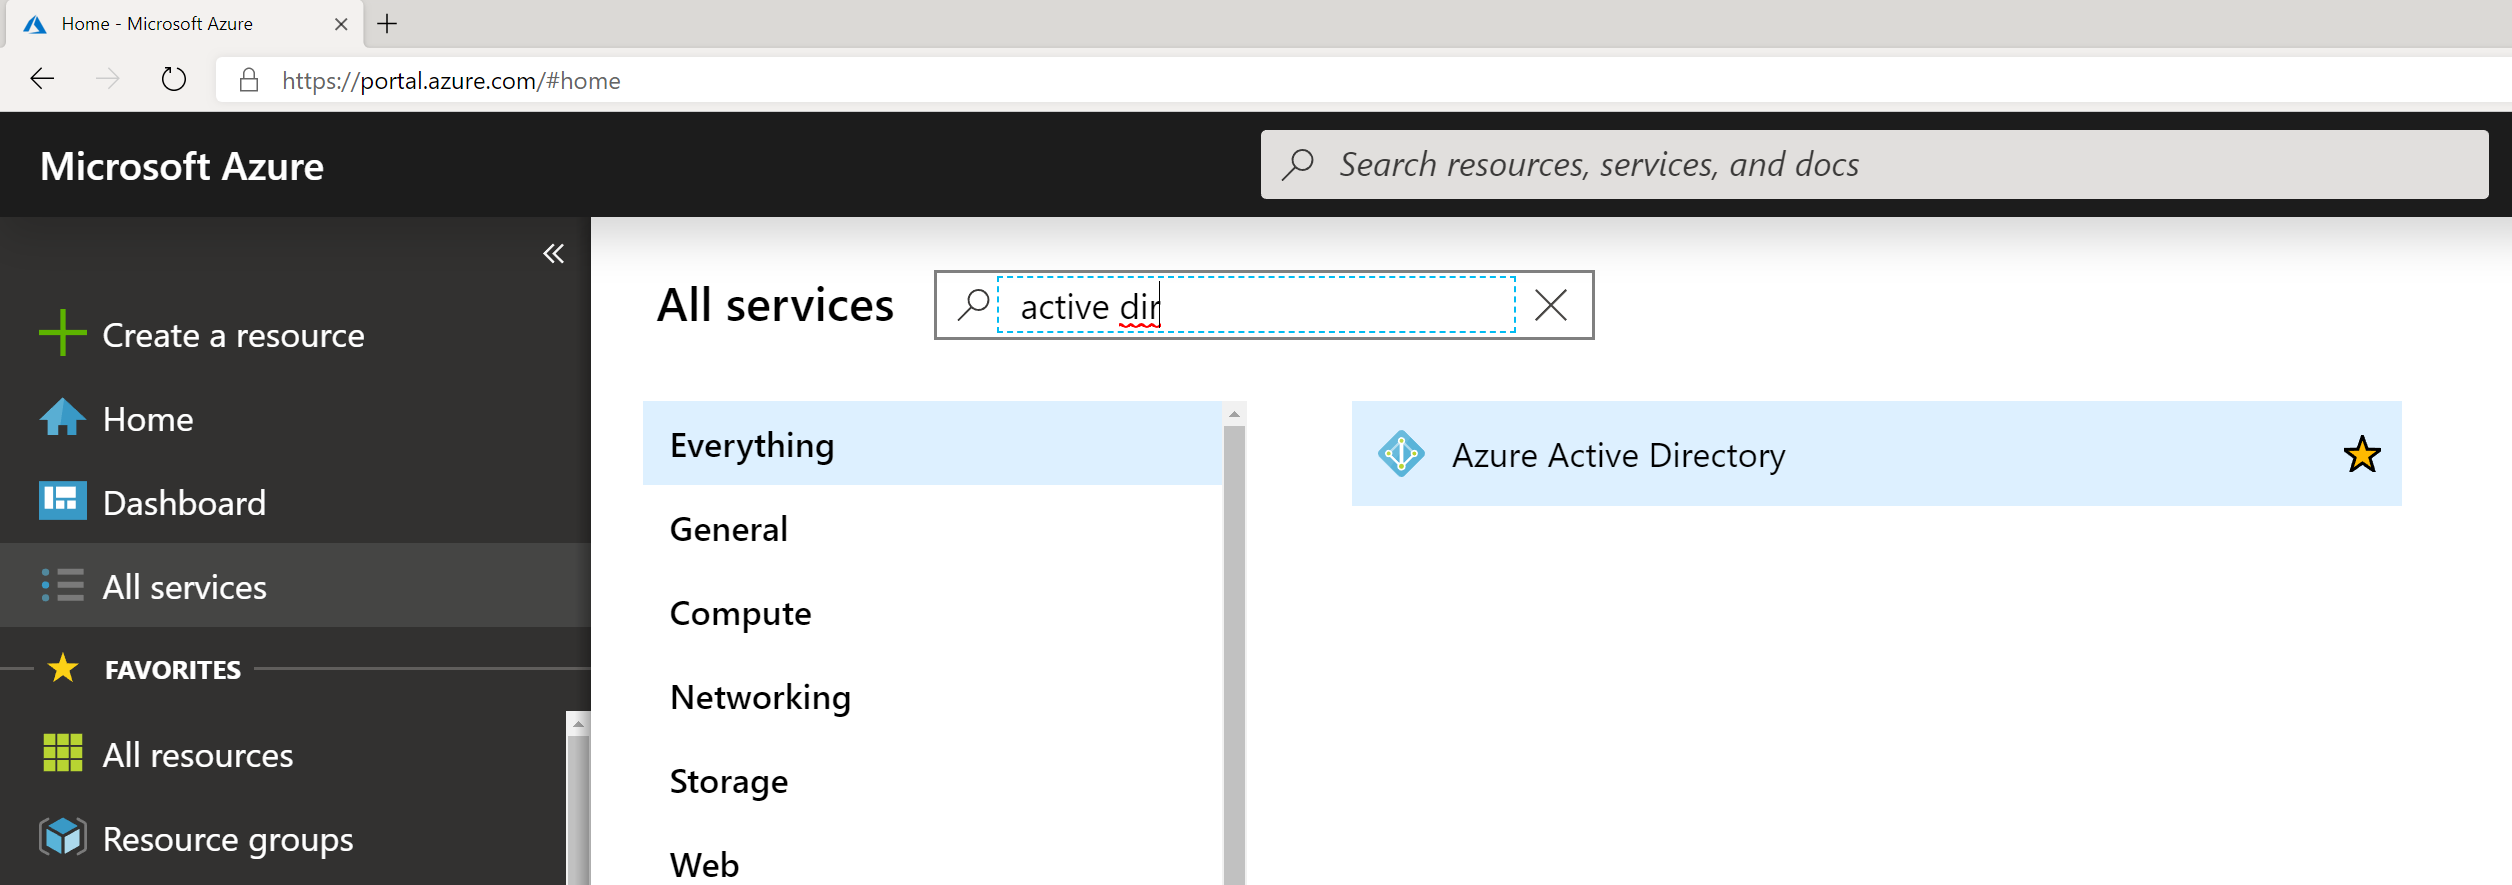
- Select All services -> Azure Active Directory on the left side
- Select Application proxy in the sub blade and select + Configure app

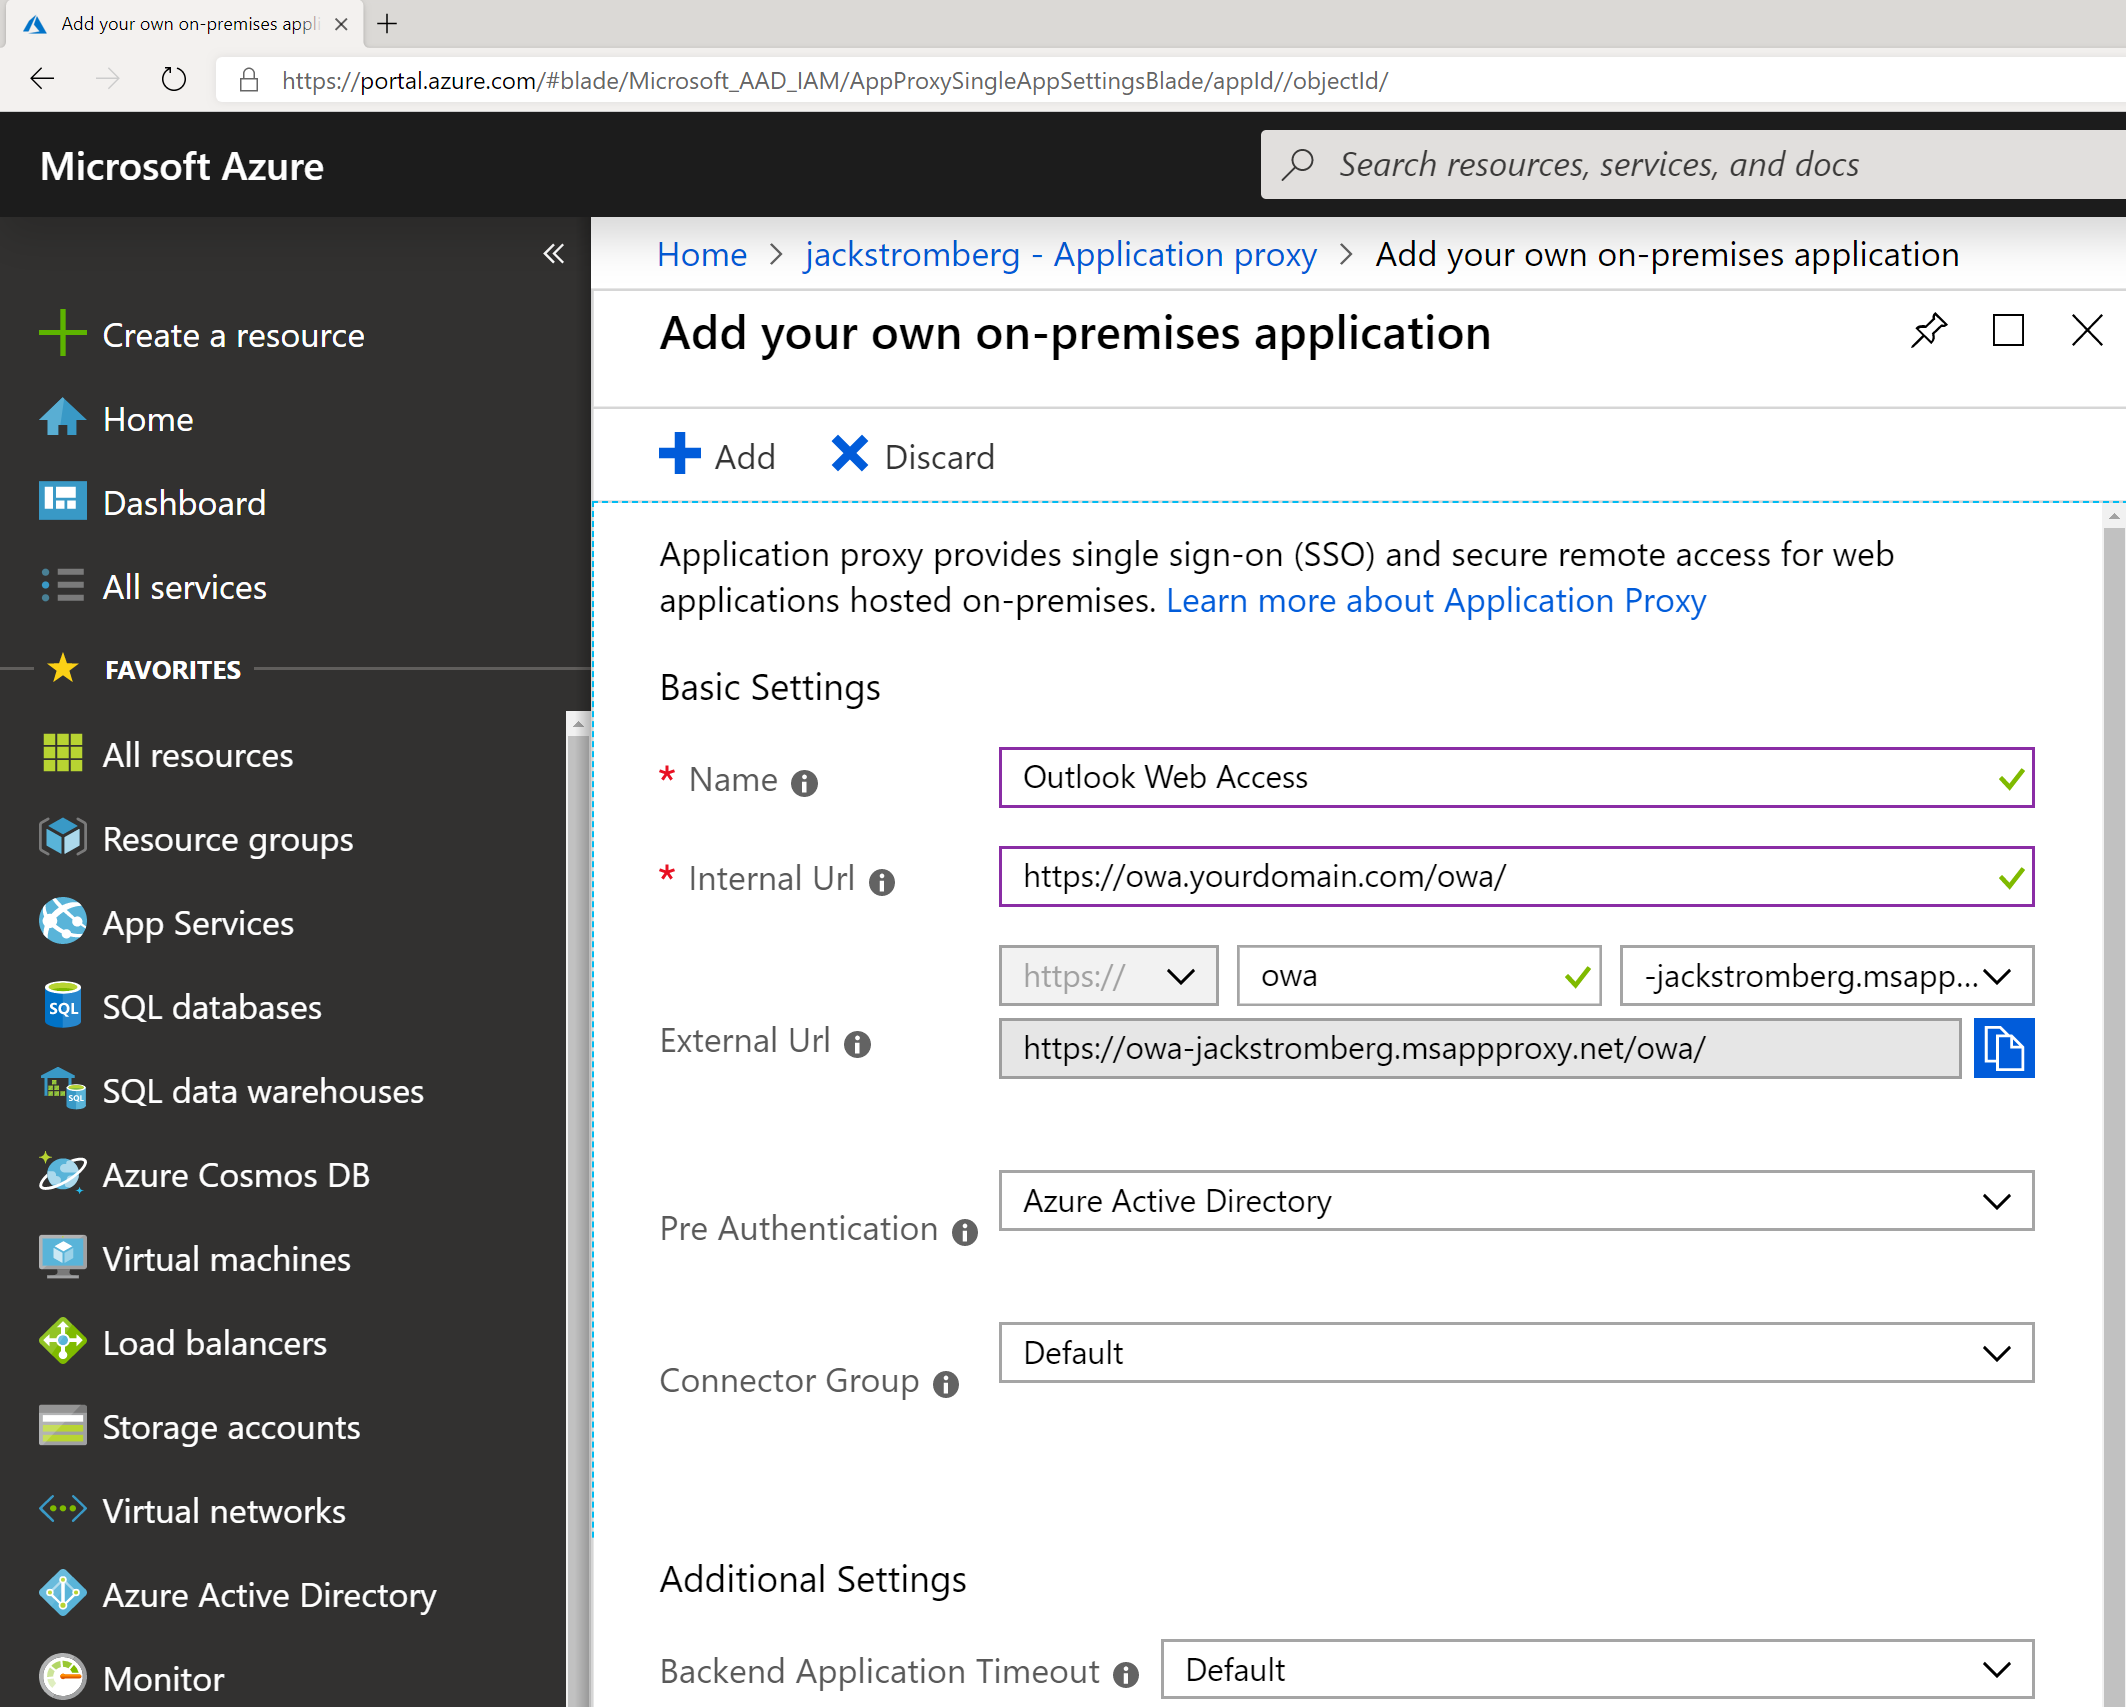
- Enter in the following information for the application:
- Name: Outlook Web Access
- Internal URL: https://owa.yourdomain.com/owa/ (this is the internal URL to owa)
- Pre-Authentication: Azure Active Directory
- Connector Group: Default
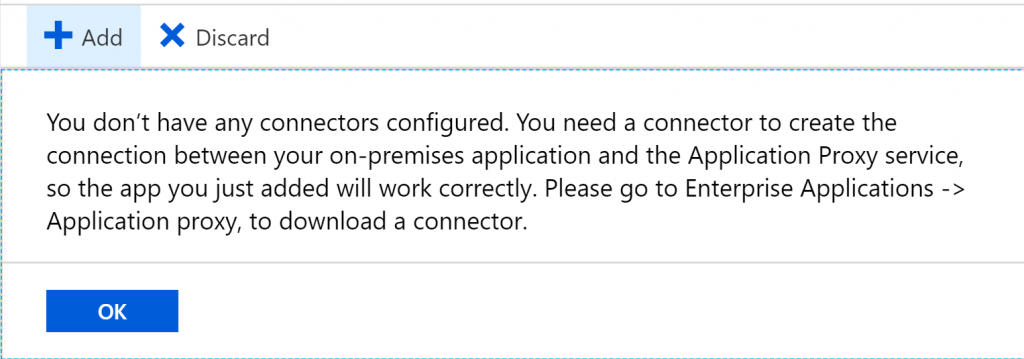
- Click + Add

- Select OK if not prompted about having a connector
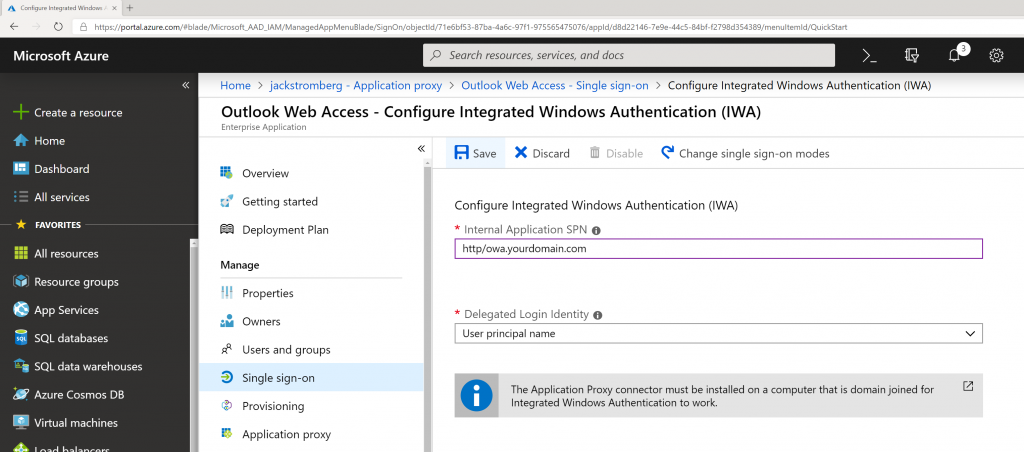
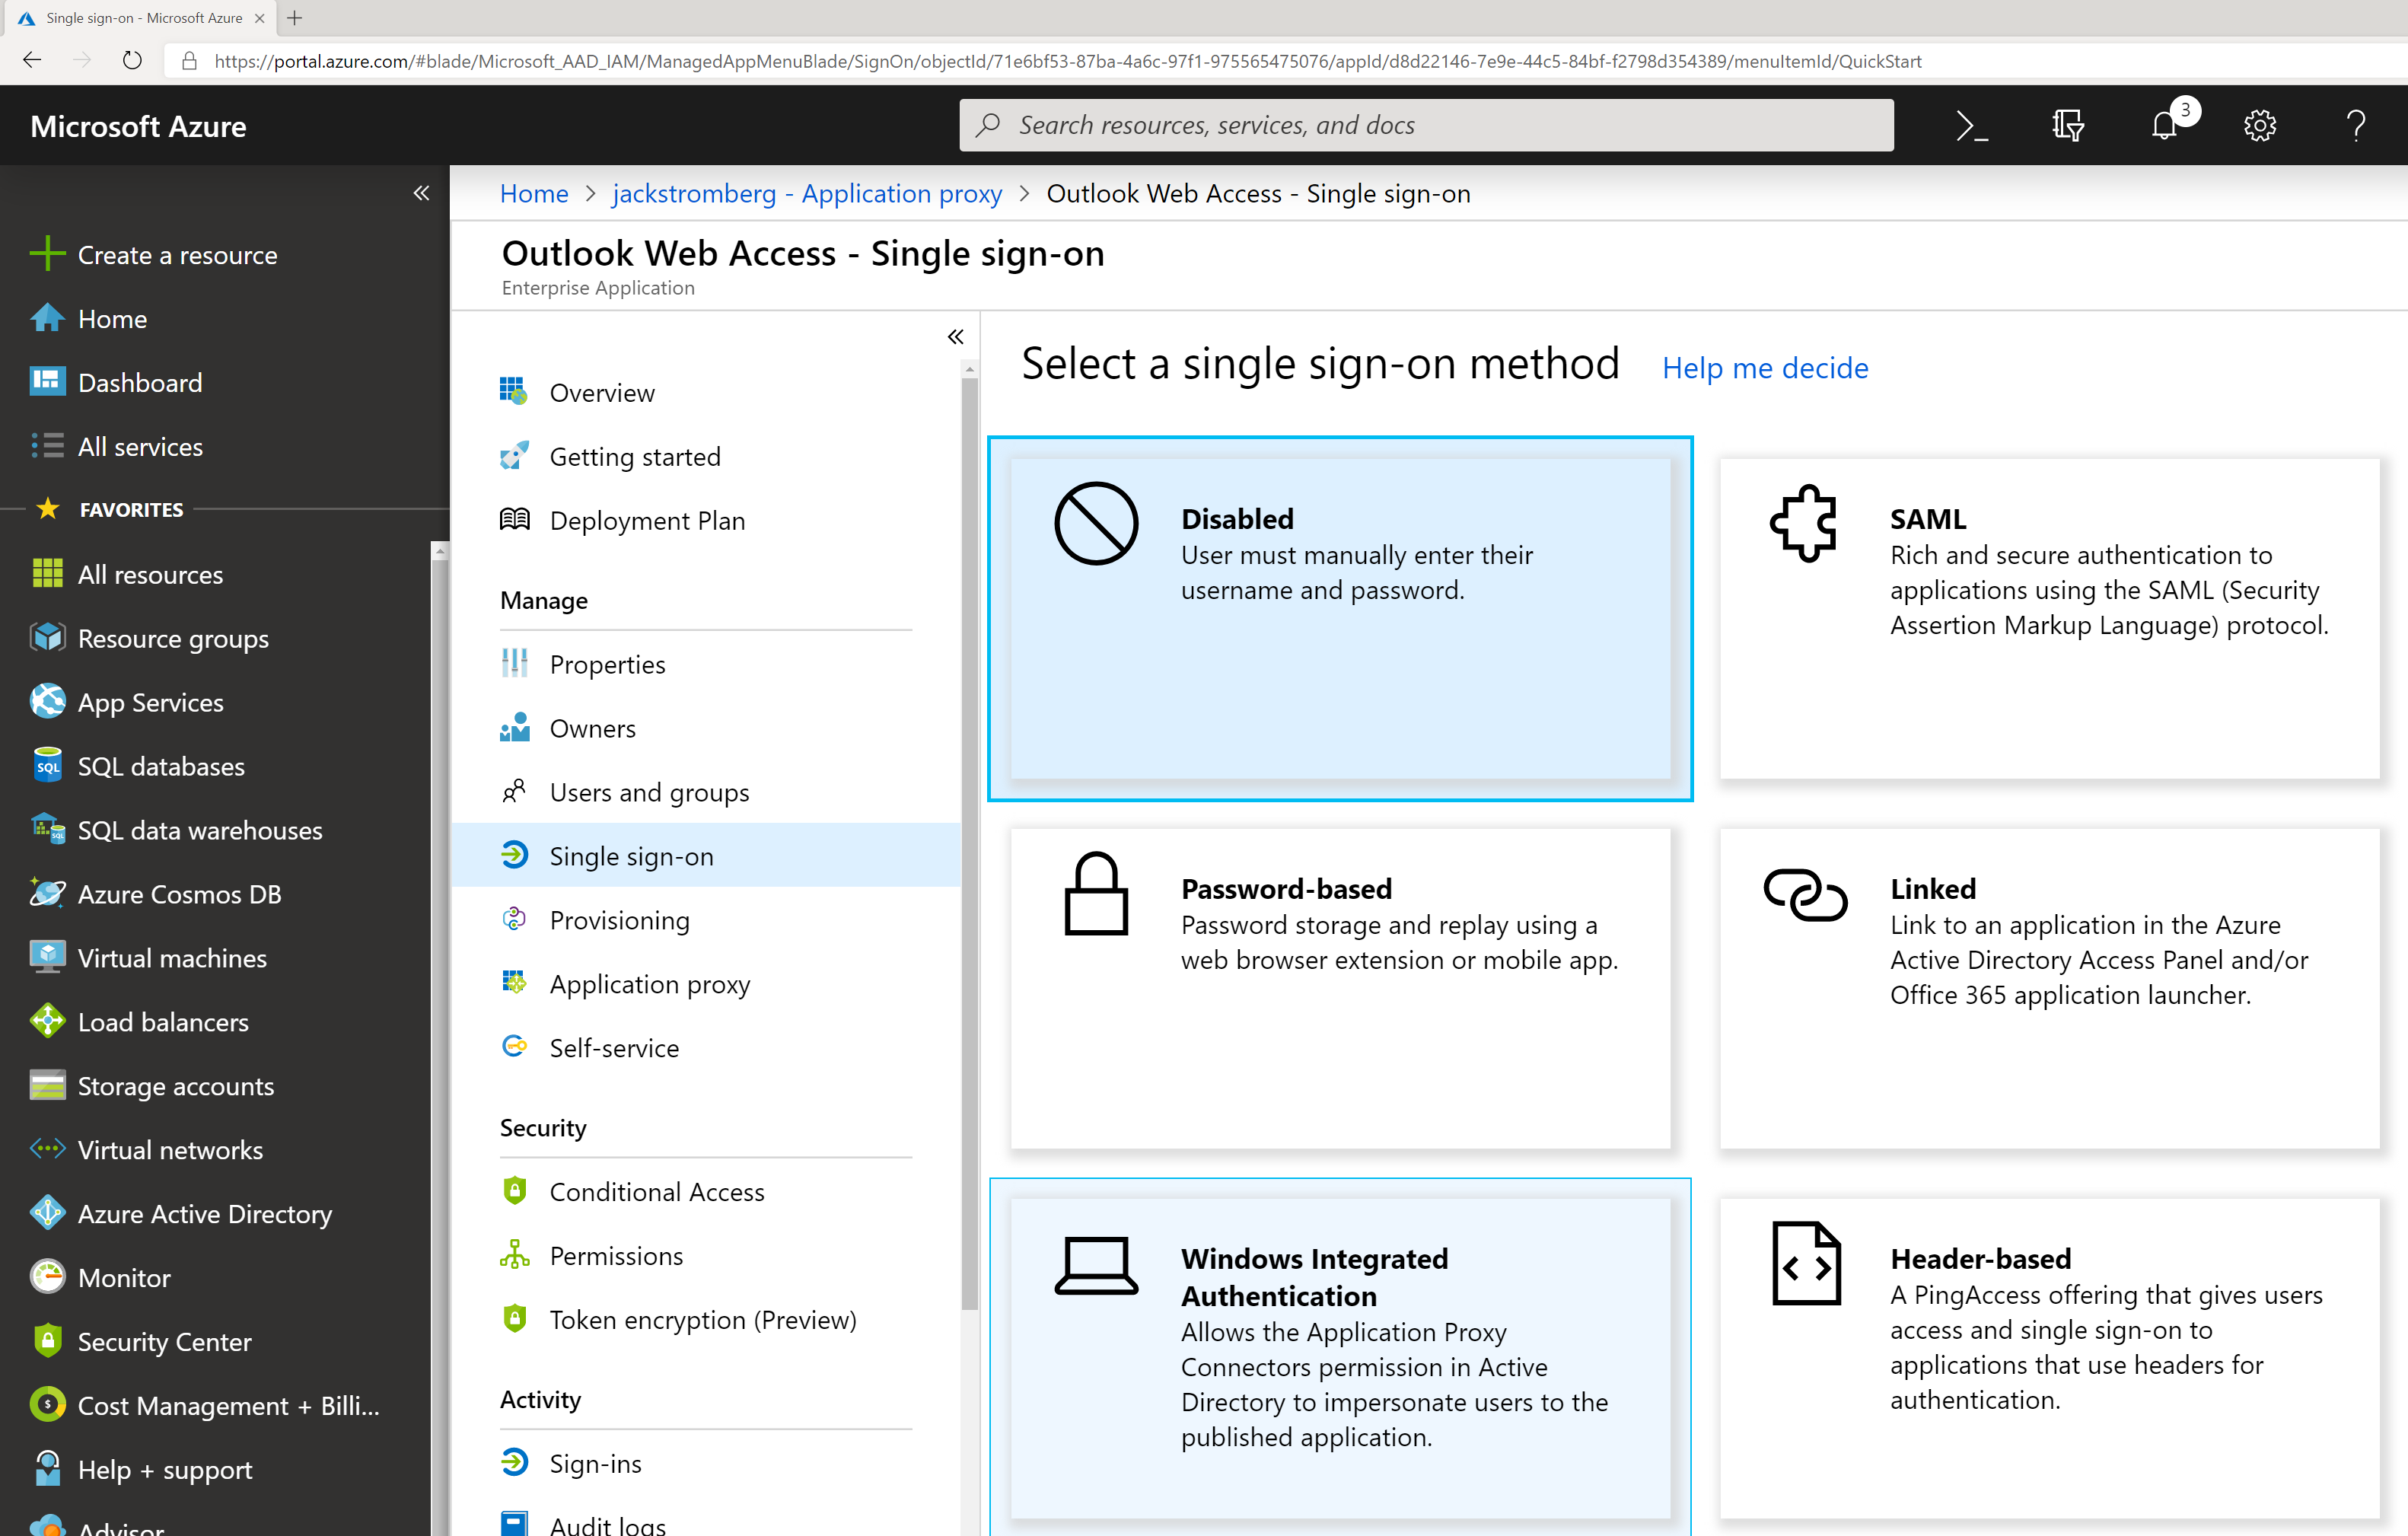
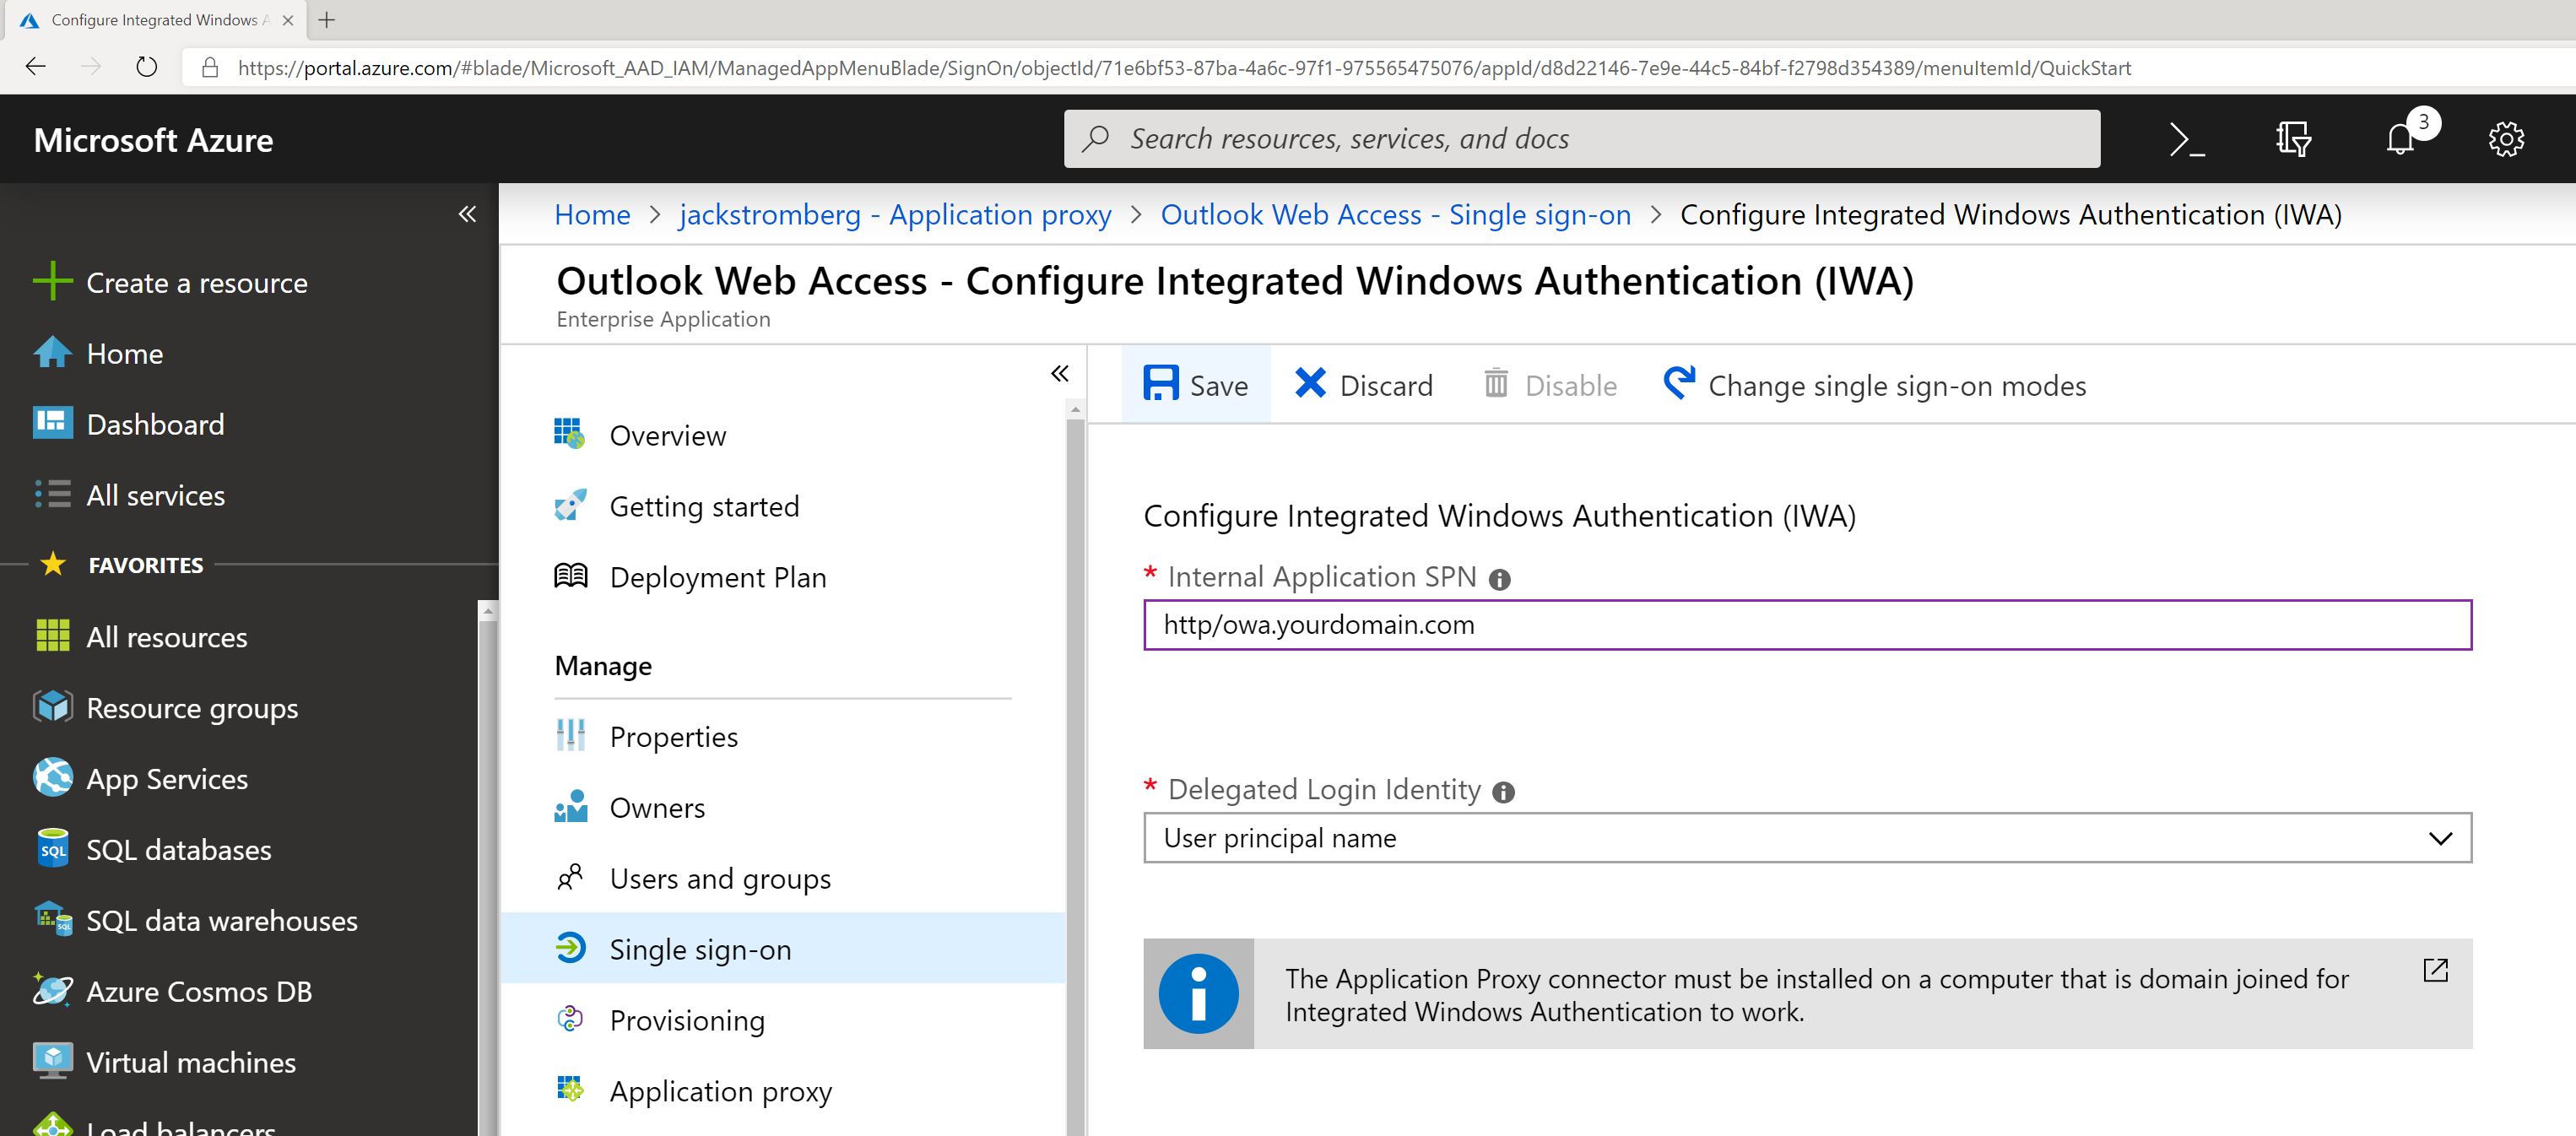
- Once your application is created, you should be redirected to Azure Active Directory -> Enterprise Applications -> Outlook Web Access. On this blade, select Single sign-on and then select the Windows Integrated Authentication button

- Use the following configuration
- Internal Application SPN: http/owa.yourdomain.com
- This is the Service Principal Name to the Exchange Server. The value for this was provided earlier in this tutorial.
- Delegated Login Identity: User Principal Name
- Click Save
- Note: If you cannot do Kerberos based authentication (Integrated Windows Authentication) in your environment, you can Discard the changes continue to use Azure AD Application proxy, however the end user will be prompted for credentials just as if they browsed directly to OWA.
- Internal Application SPN: http/owa.yourdomain.com
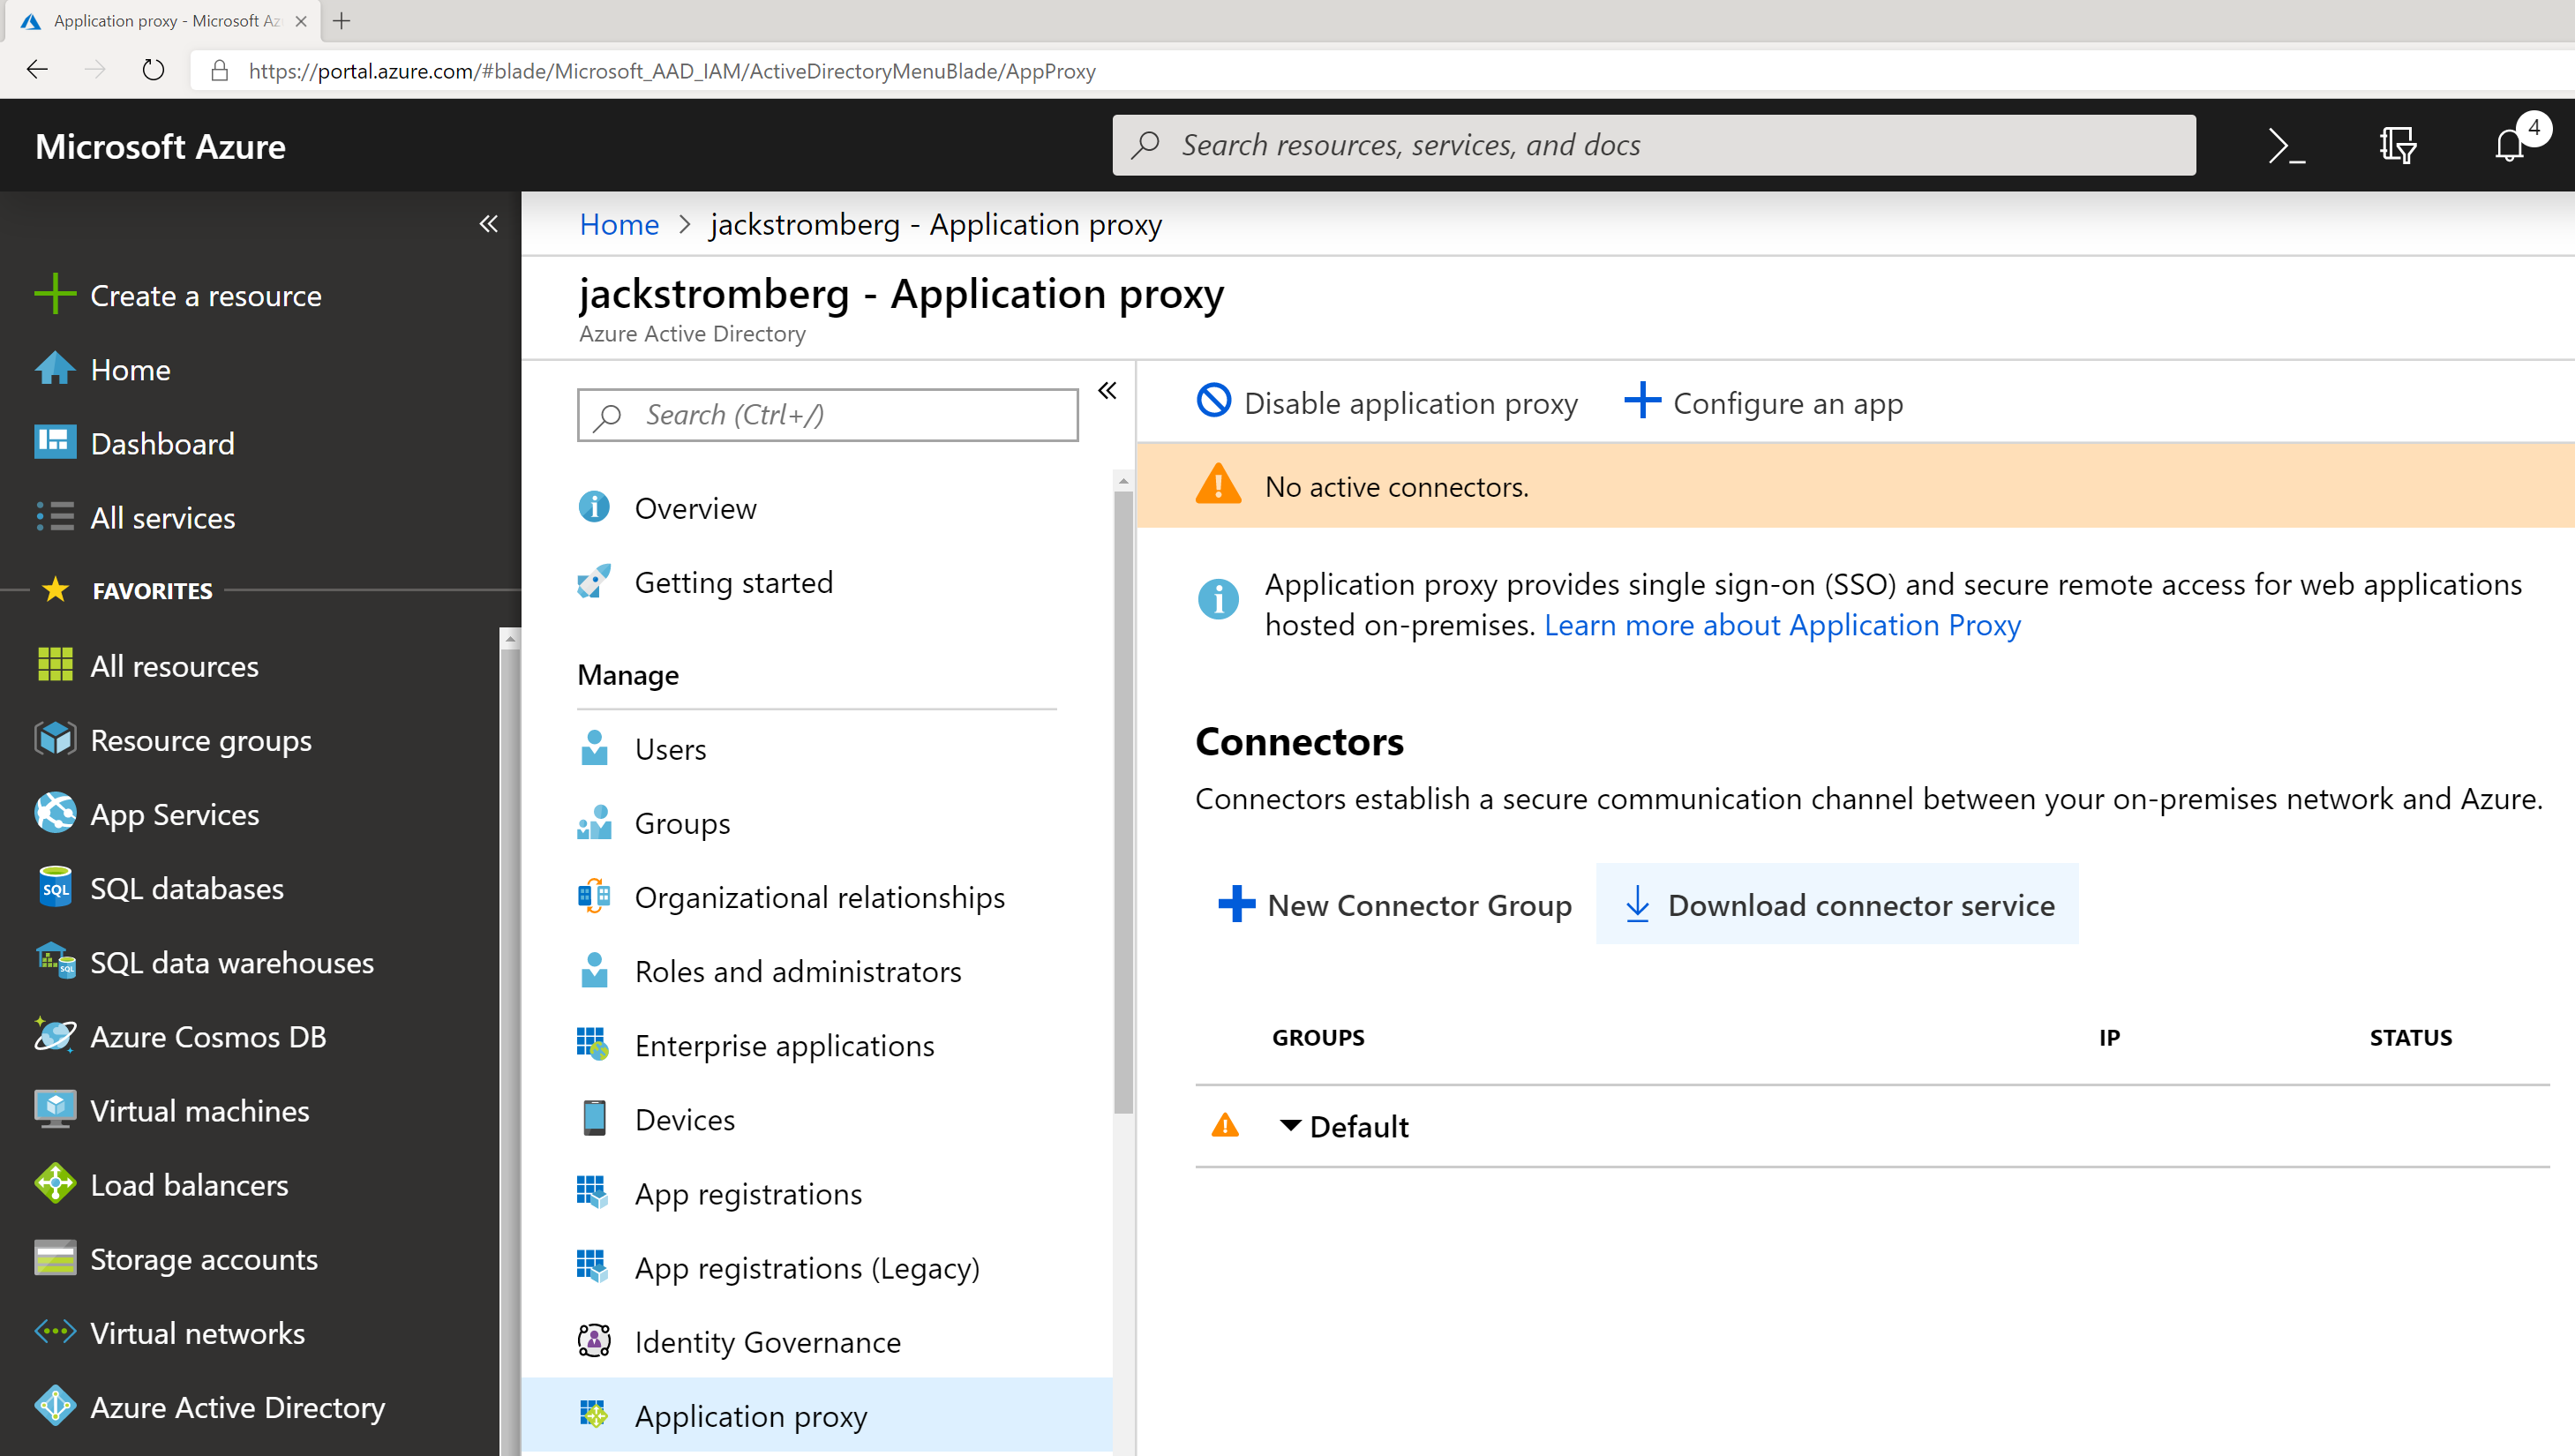
- Go back to All Services -> Azure Active Directory -> Application Proxy and click the Download connector service button

- Click the Accept terms & Download button
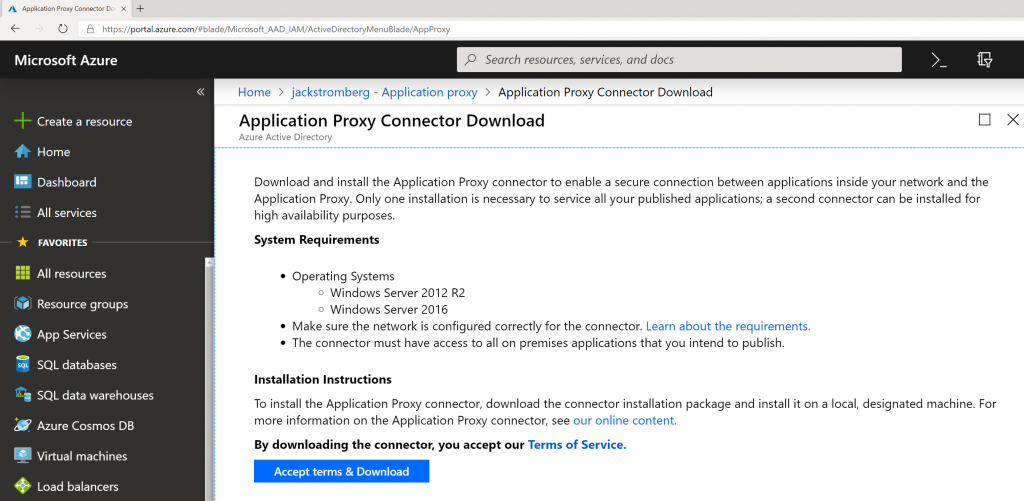
- Note: Although the download has a generic name, the download is customized specifically for your application (Outlook Web Access in this case). If you create other applications within your Azure AD tenant, make sure you always use the Download button inside of each application so it generates the correct installer.
- Click the Accept terms & Download button
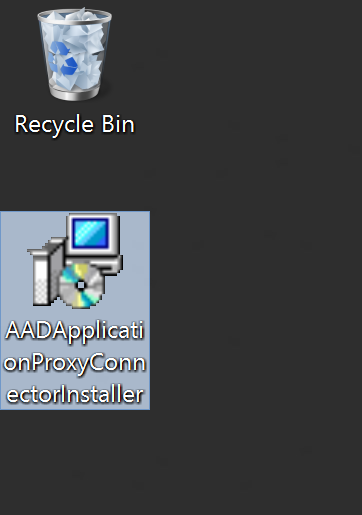
- Copy the AADApplicationProxyConnectorInstaller.exe connector to any server in your environment that can access your OWA instance internally and run the installer
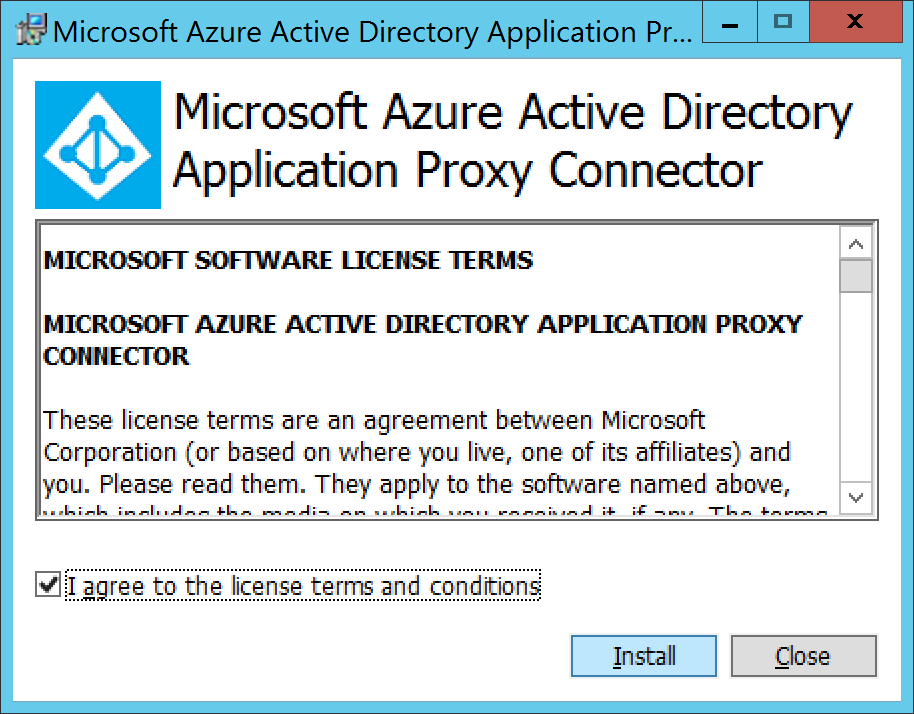
- Check I agree to the license terms and conditions and click Install
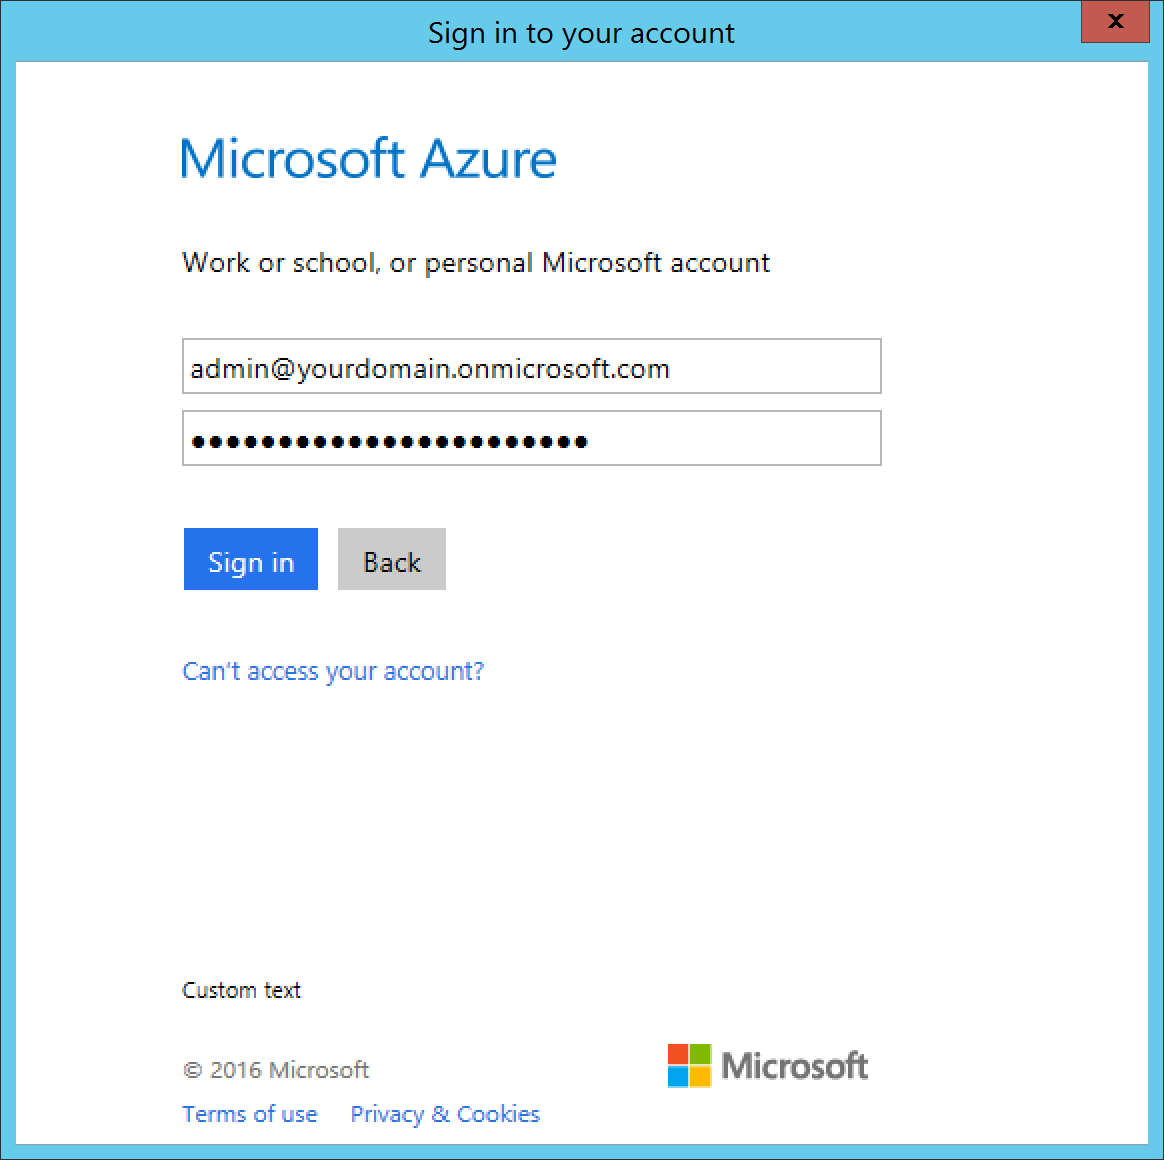
- Type in your Global Administrator credentials to register the agent to your Azure AD tenant and click Sign in
- Click Close if it shows Setup Success
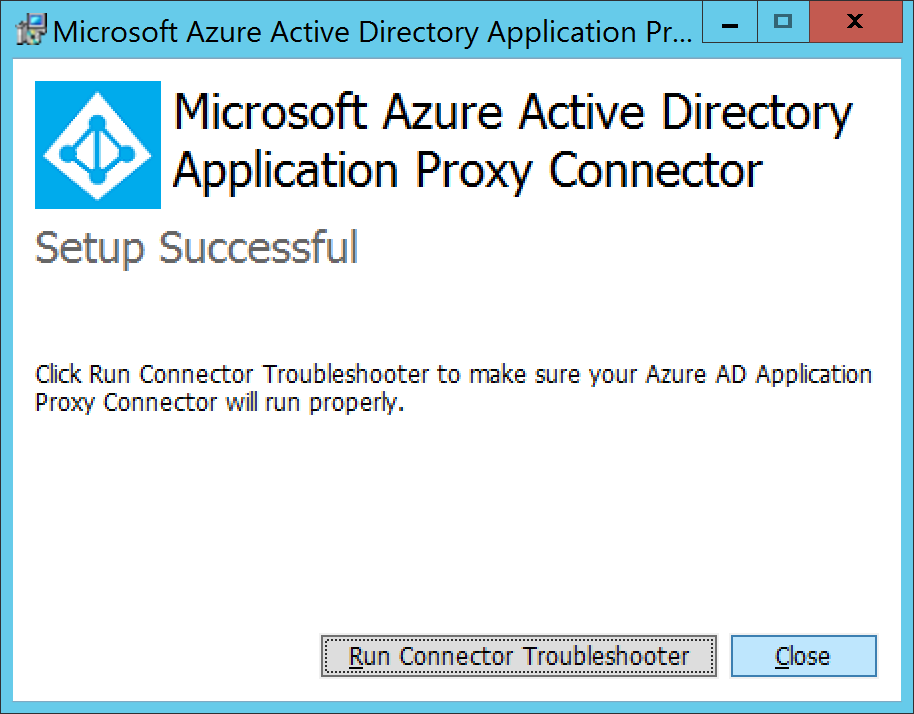 Optional: You can run the Connector Troubleshooter if you would like. It will install a quick application that will show you the results of the test in your web browser once it has completed.

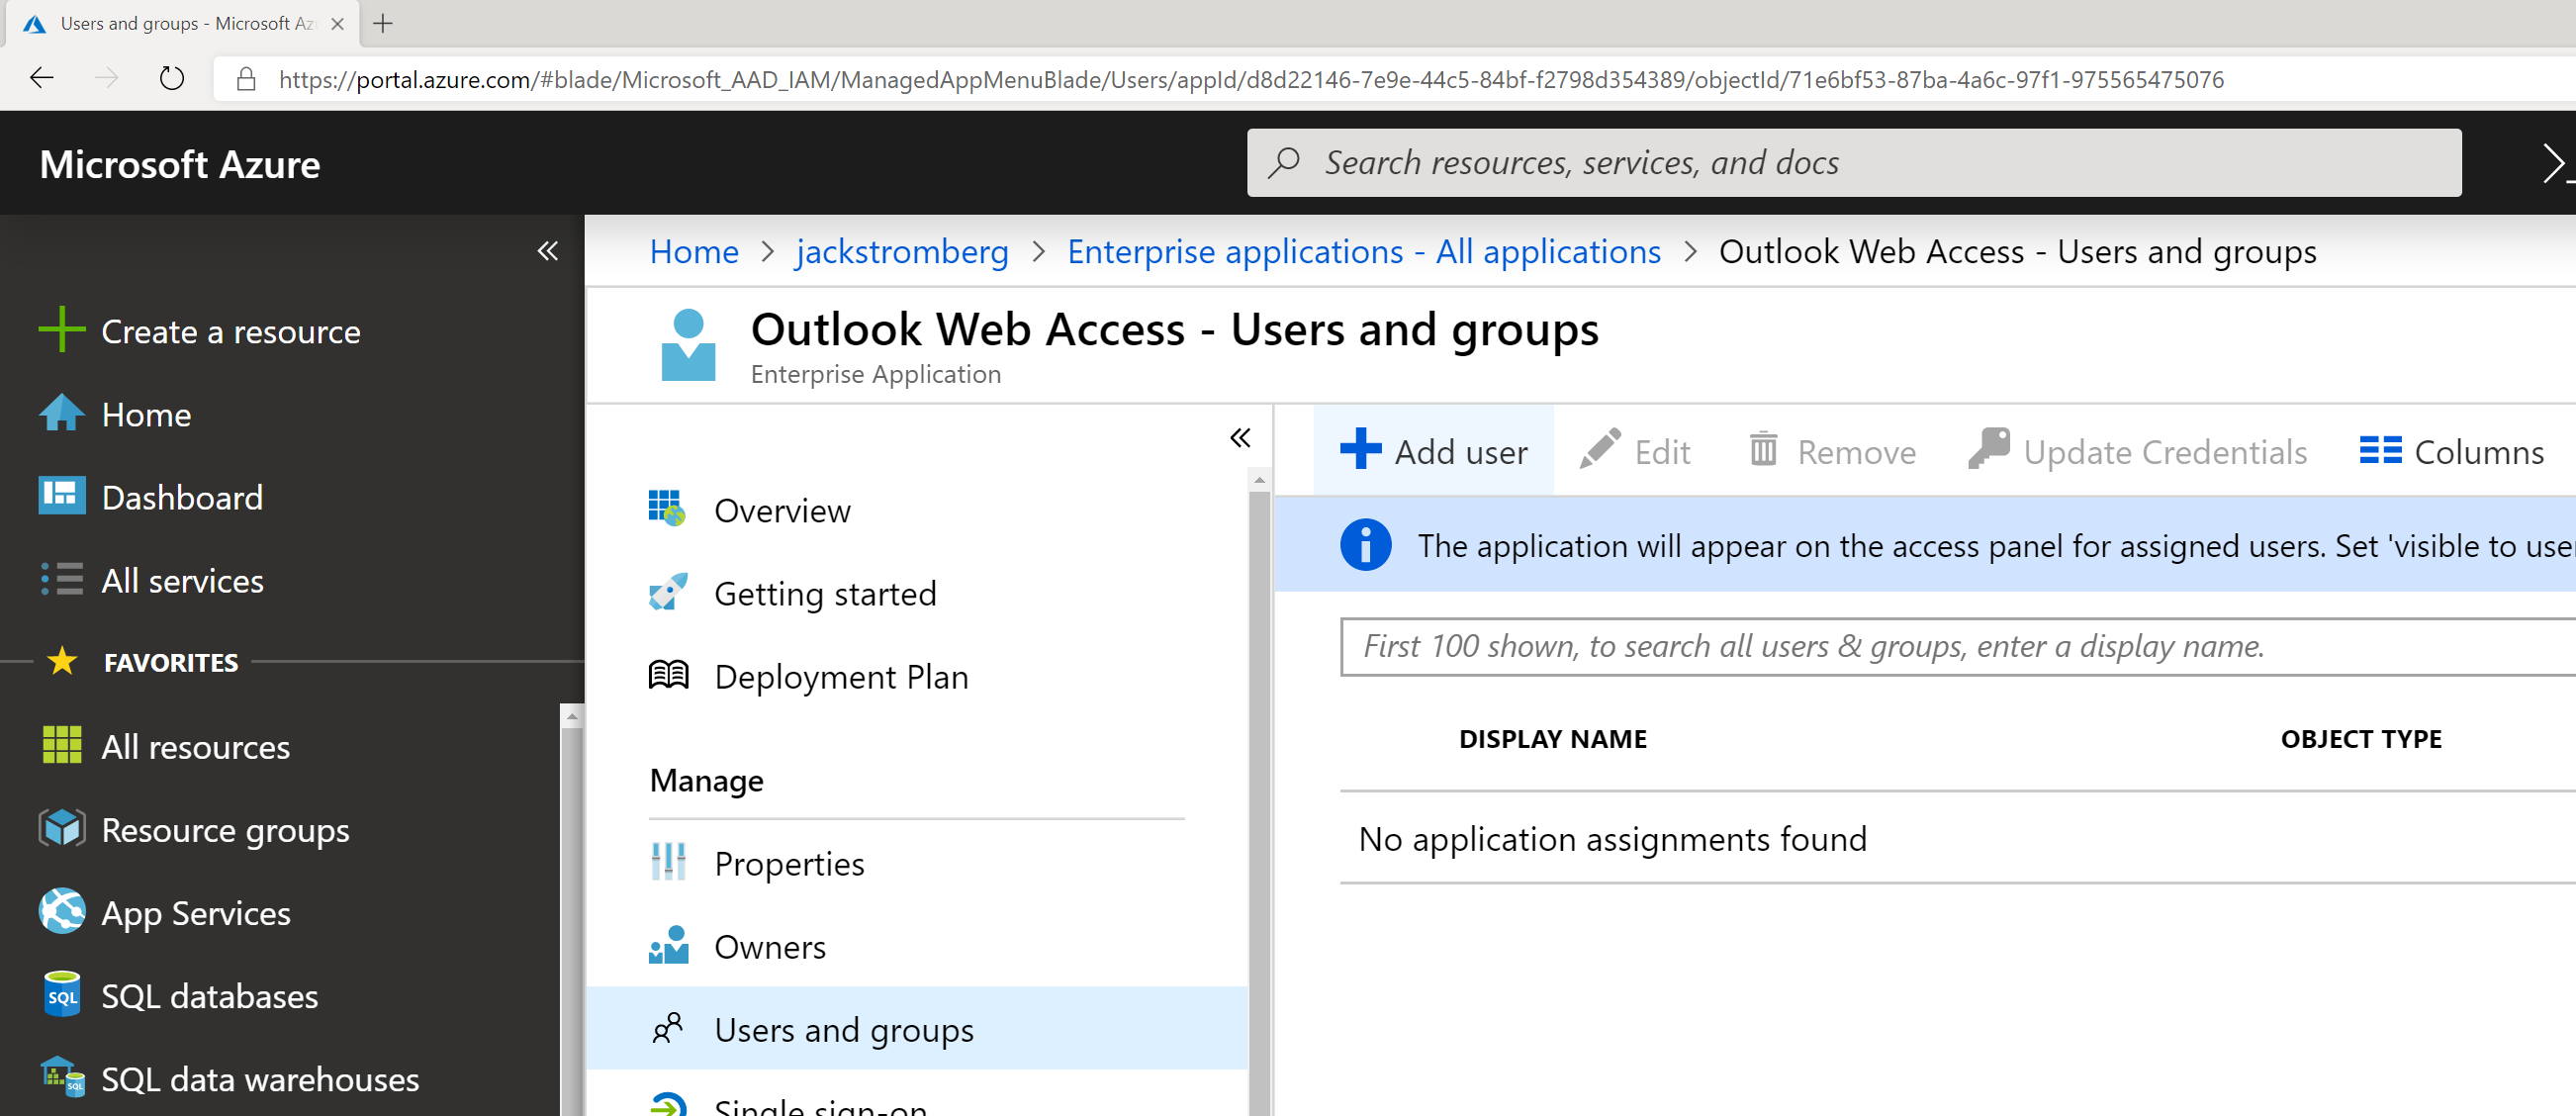
- Go back to the Azure Portal and navigate to Azure Active Directory -> Enterprise Applications -> Outlook Web Access. Select Users and groups and click the +Add user button to assign the group or users that should use the application.

- Note: This group could be synchronized from on-premises to Azure AD or created in the cloud
- Note: Assigning a user or group to this application will automatically make the application show up in the My Apps portal
- Note: Users or Groups must be defined to use the application or they will receive an error upon logging in


Test
- Login to https://myapps.microsoft.com as one of the assigned users to the Outlook Web Access application
- Select the Outlook Web Access application
If all went well, you should be logged into Outlook Web Access on-premises and see your corresponding mailbox. At this point, I would proceed with adding a vanity domain name that matches your organization as well as corresponding SSL certificate for the domain name instead of leveraging the default msapprpoxy.net domain name. Additionally, you can always find a nice little icon for the application to make it look like OWA as well 🙂