Scenario: You want to upgrade your ADFS 2.0 or 2.1 farm using WID (Windows Internal Database) from Server 2008 R2 to Server 2012 R2. In this scenario, I have 2 ADFS servers (one as the primary and a second for failover purposes), and 2 ADFS Proxy servers (for load balancing/failover purposes).
NOTE: Prior to writing this article I had only found limited documentation provided by Microsoft on a proper upgrade path for this. Since then, it apperas that tools had been included with the Server 2012 installation media which will greatly cutdown on the number of steps needed as well as provide as little downtime as possible. I would highly recommend giving this article a read before proceeding with my article: http://blogs.technet.com/b/askpfeplat/archive/2014/03/31/how-to-build-your-adfs-lab-part4-upgrading-to-server-2012-r2.aspx
My article should still work, but it is definitely not the most efficient way to do an upgrade as pointed out in the technet article above. My guide essentially goes over cutting over to a completely new ADFS deployment "an upgrade", side-by-side to your production environment. As pointed out below, you cannot add a Server 2012 R2 machine to a Server 2008 R2 ADFS farm as documented in their earlier help articles.
Tutorial
- Login to one of your slave ADFS nodes (secondary server) running Server 2008 R2
- Remove the node from your load balancer
- Stop the AD FS 2.0 Windows Service
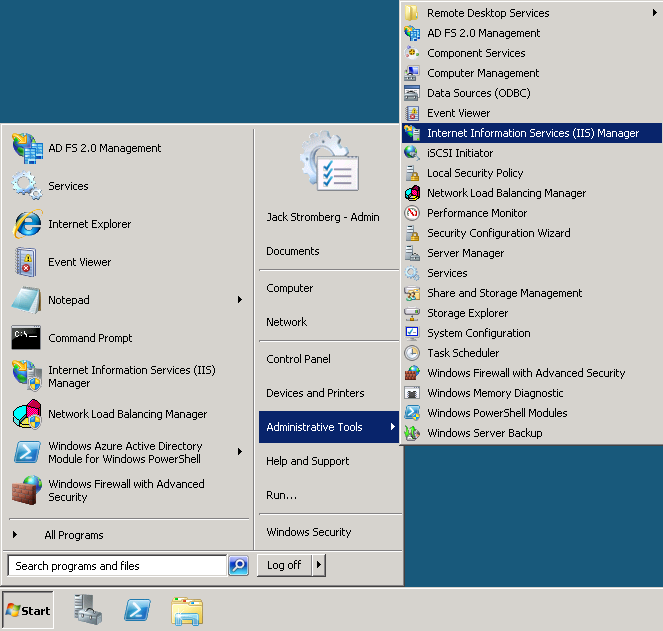
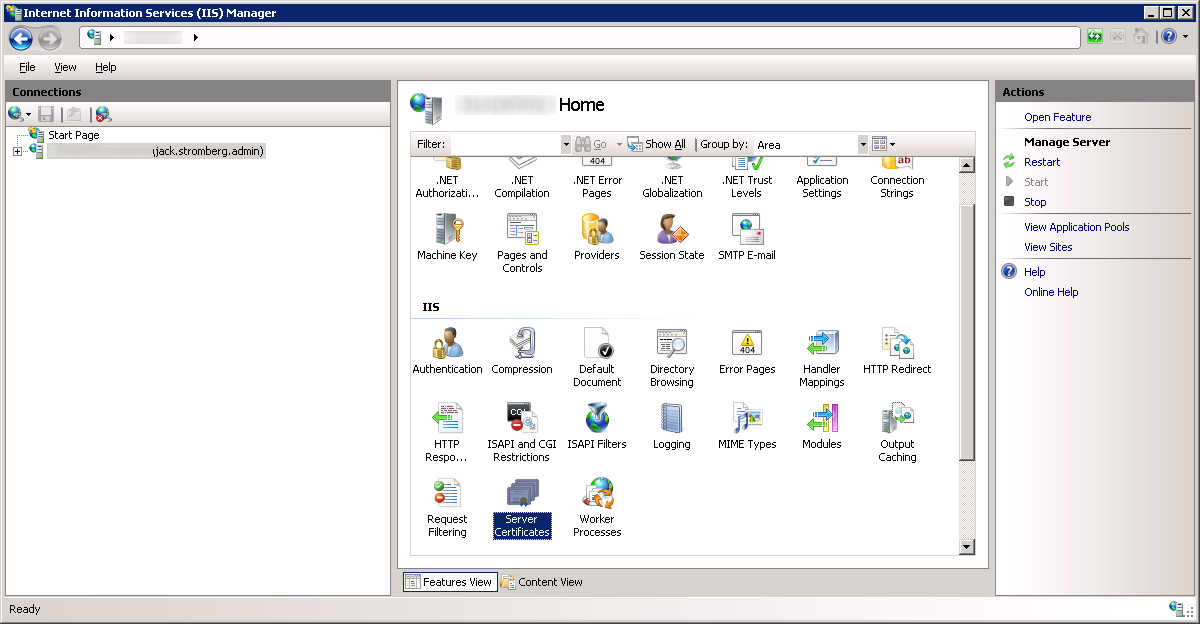
- Click Start -> Administrative Tools -> Internet Information Services (IIS) Manager
- Select your server and double click on Server Certificates
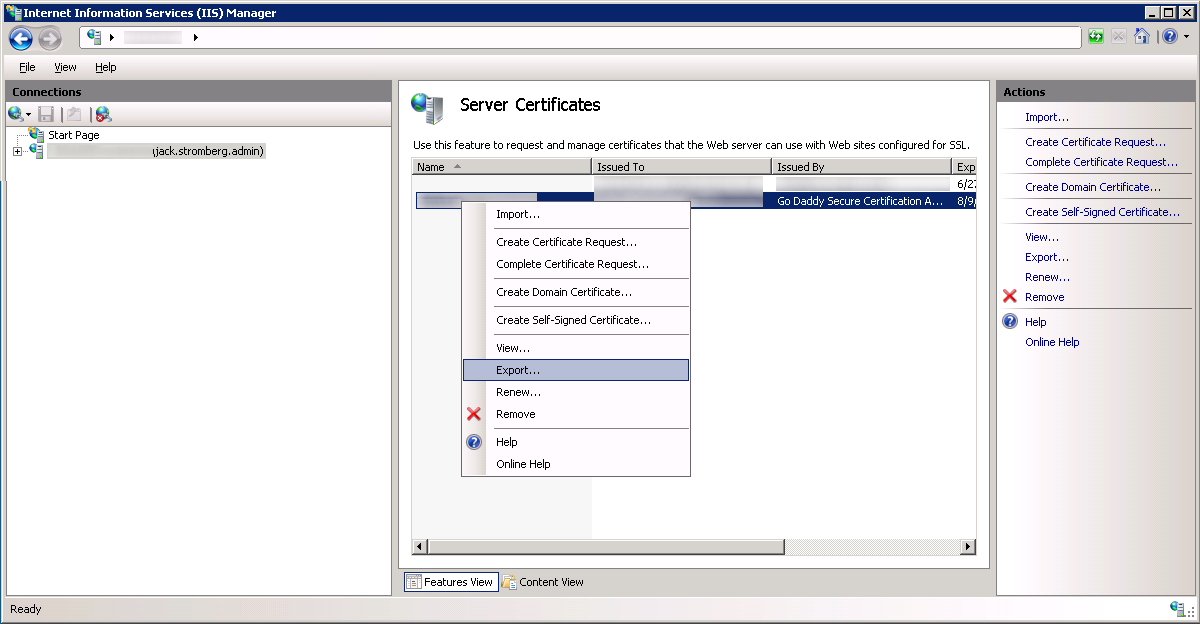
- Right click on your certificate and select Export...
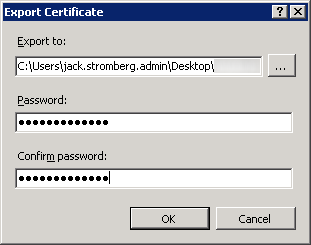
- Export the certificate to your desktop, type in a password to protect the exported certificate/private key, and select OK
- Copy the pfx (exported certificate/private key) to your local machine; we will import this on our new server later.
- Disjoin the ADFS machine from the domain
- Turn the ADFS machine off and retire it
- Create a new Server 2012 R2 machine with the same name and IP as your Server 2008 R2 ADFS machine
- While the new ADFS machine is being created, login to one of your ADFS proxy servers
- Remove the proxy from your load balancer
- Stop the AD FS 2.0 Windows Service
- Turn the machine off and retire it
- Create a new Server 2012 R2 machine with the same name and IP as your Server 2008 R2 ADFS Proxy machine
- While the new ADFS proxy machine is being created, login to your new ADFS Server 2012 R2 machine.
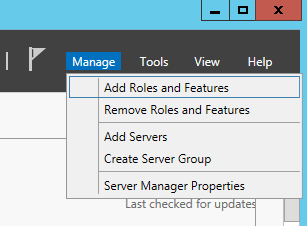
- Open up Server Manage and select Manage -> Add Roles and Features
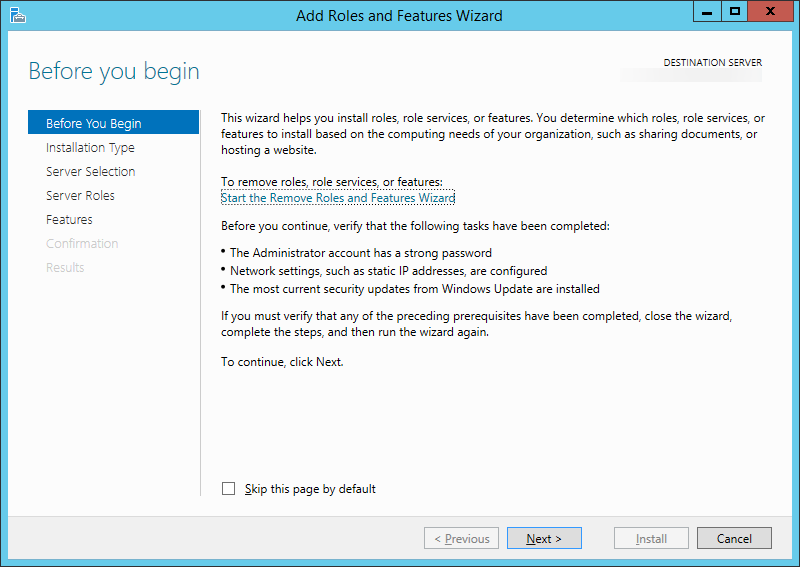
- On the Before You Begin screen, click Next >
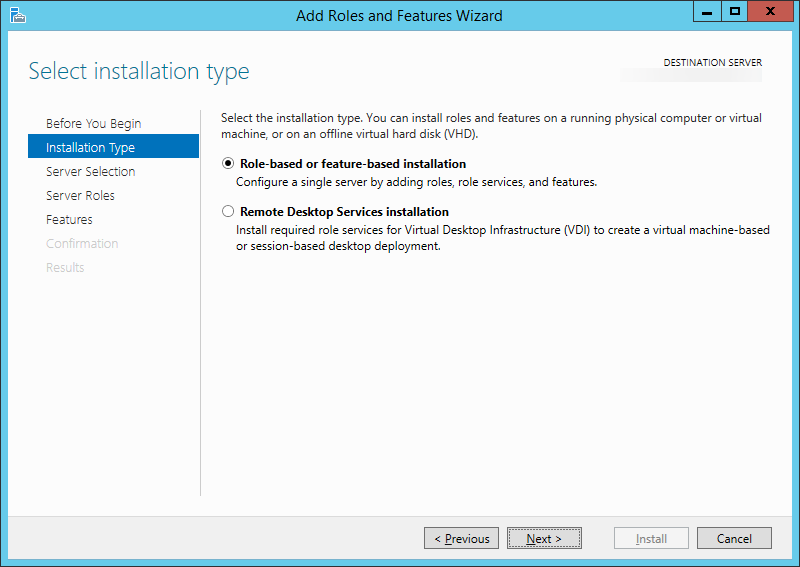
- Select Role-based or feature-based installation and click Next >
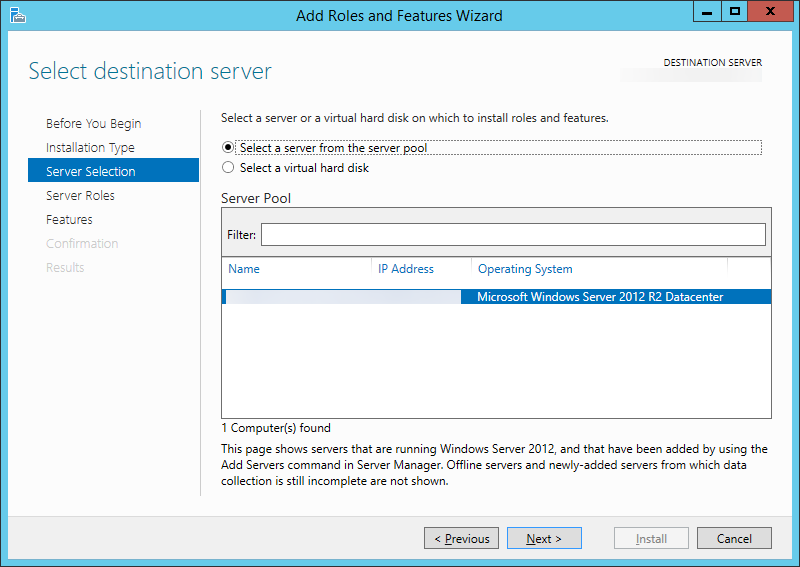
- Select your server and click Next >
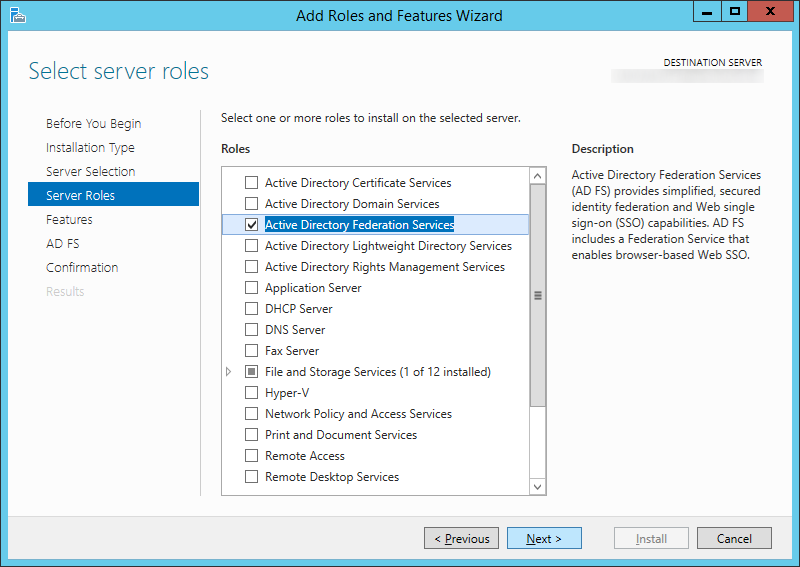
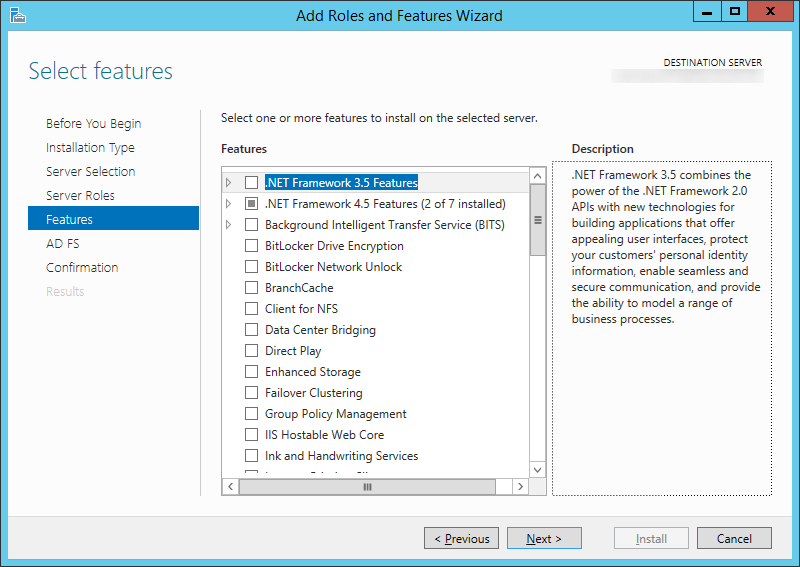
- Check Active Directory Federation Services and click Next >
- Click Next > on Features
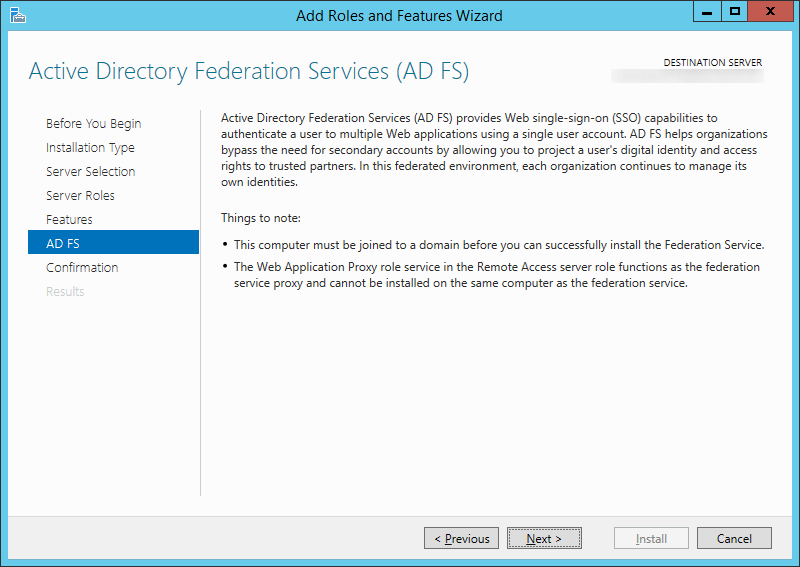
- Click Next > on AD FS
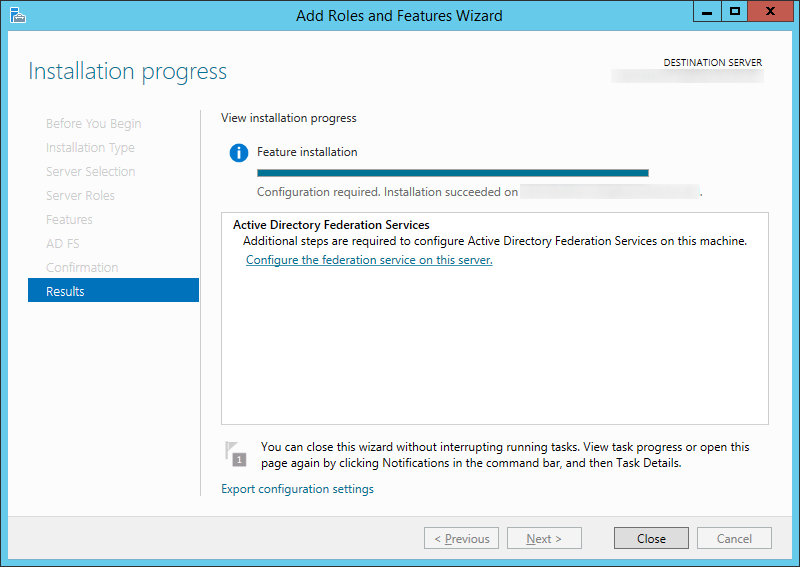
- Click Install

- Click on the Configure the federation service on this server. link once the installation has completed successfully.
- Check Create the first federation server in a federation server farm on the Welcome screen for the Active Directory Federation Services Configuration Wizard and then click Next >
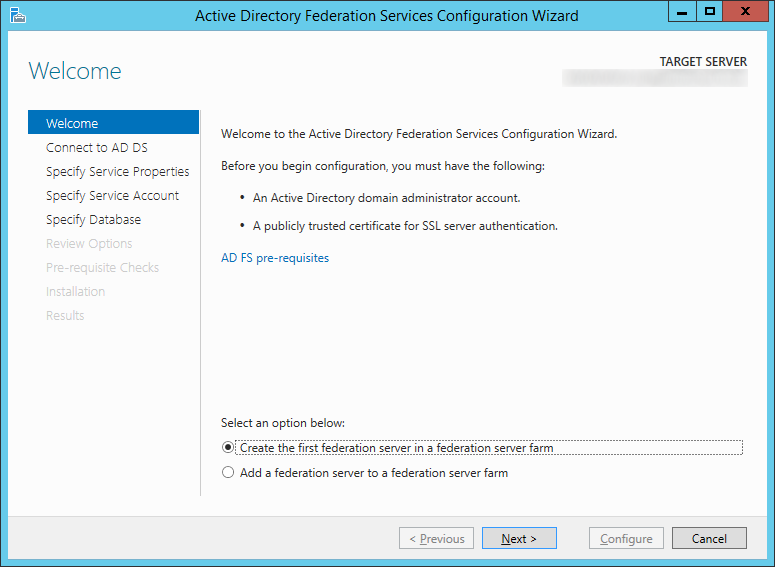
- Please see my notes below on why we did not check Create the first federation server in a federation server farm.
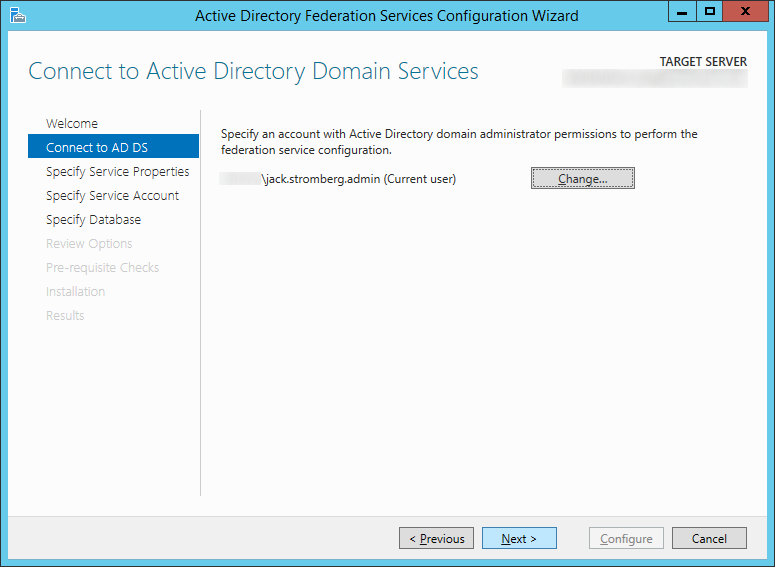
- Click Next > on the Connect to AD DS step
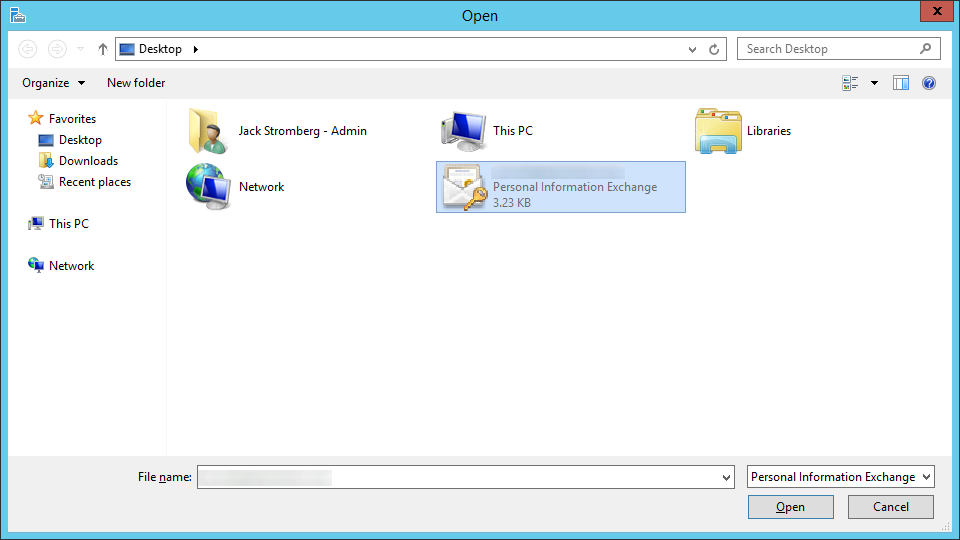
- Copy the .pfx file we exported from the ADFS server earlier to the new ADFS server
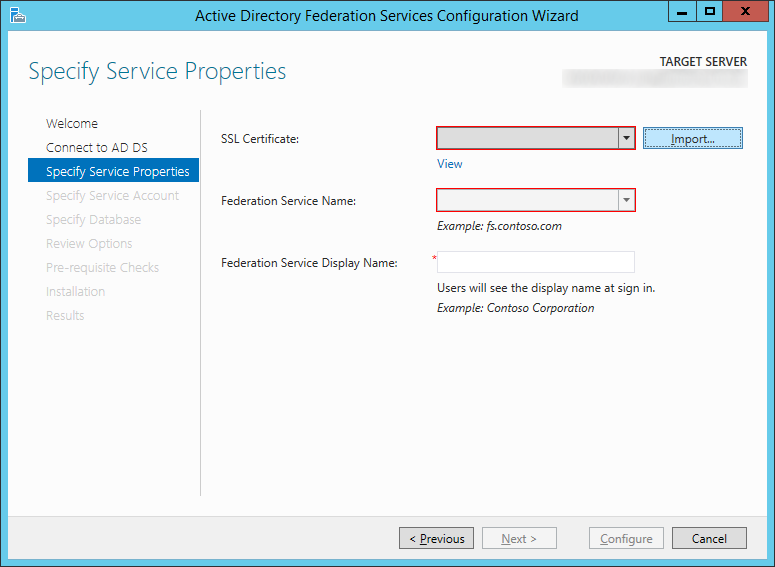
- On the Specify Service Properties screen, click on the Import... button
- Select your certificate and click Open
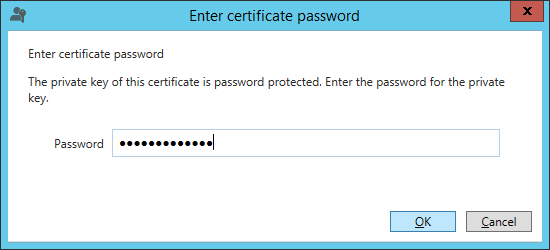
- Type in the password to the exported certificate and click OK
- Type in a Federation Service Display Name that will be shown to your users when they login to the ADFS service (this can be anything), and click Next >

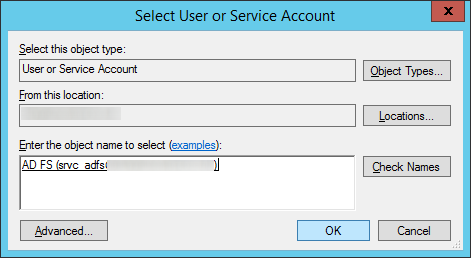
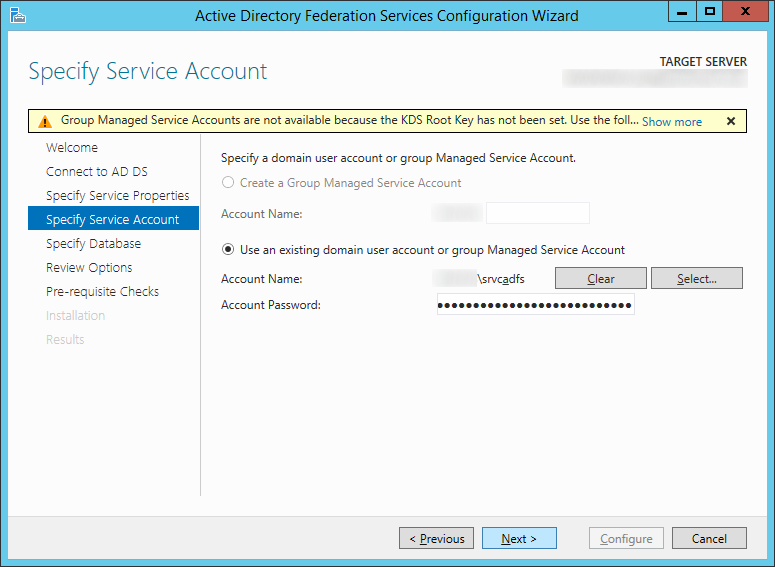
- On the Specify Service Account screen, click the Select... button
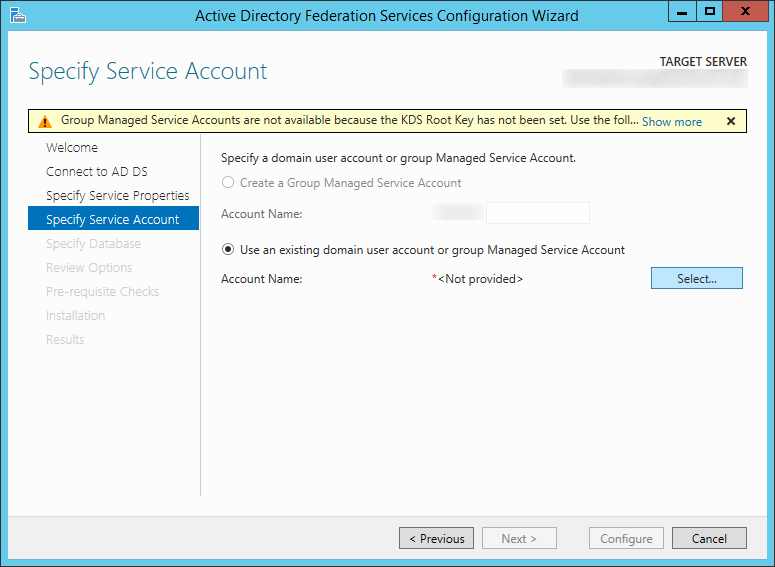
- Type in the name of your service account you wish to use for ADFS, click the Check Names button to verify you don't have any typos, and click OK
- Type in the password for the ADFS service account and click Next >
- Click Next > on the Specify Configuration Database
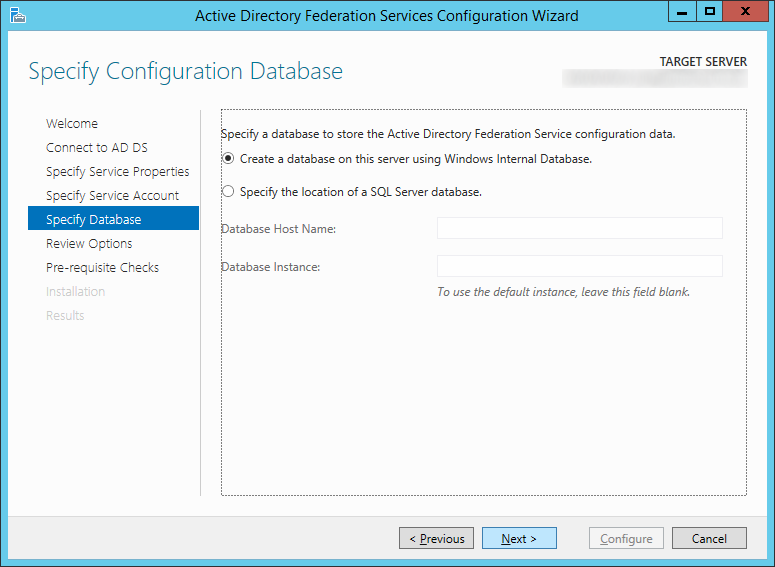
- Note: I choose to continue to use WID, you can switch to SQL if you would like now, however that is outside of the scope of this document.
- Click Next > on the Review Options screen
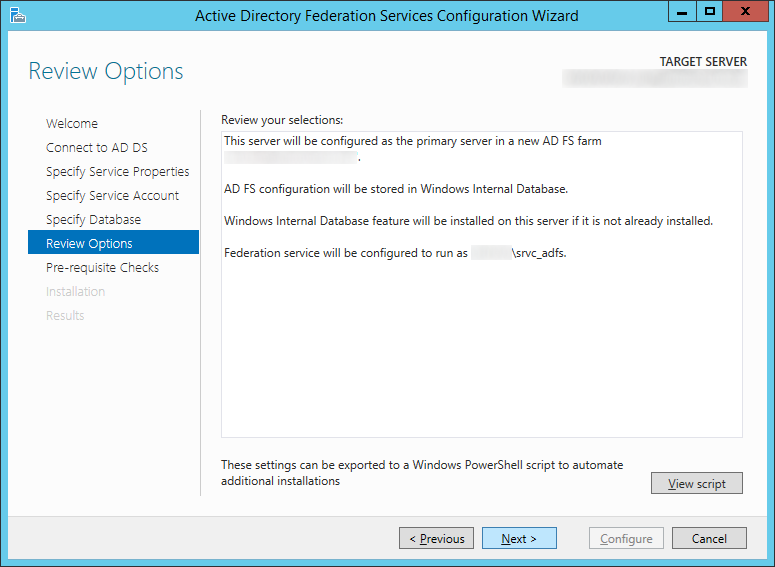
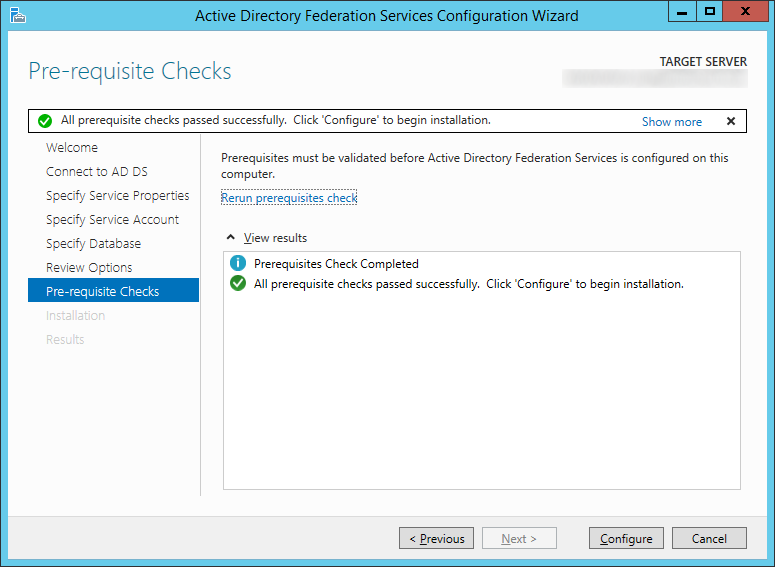
- Click the Configure button once all the prerequsite checks have passed successfully
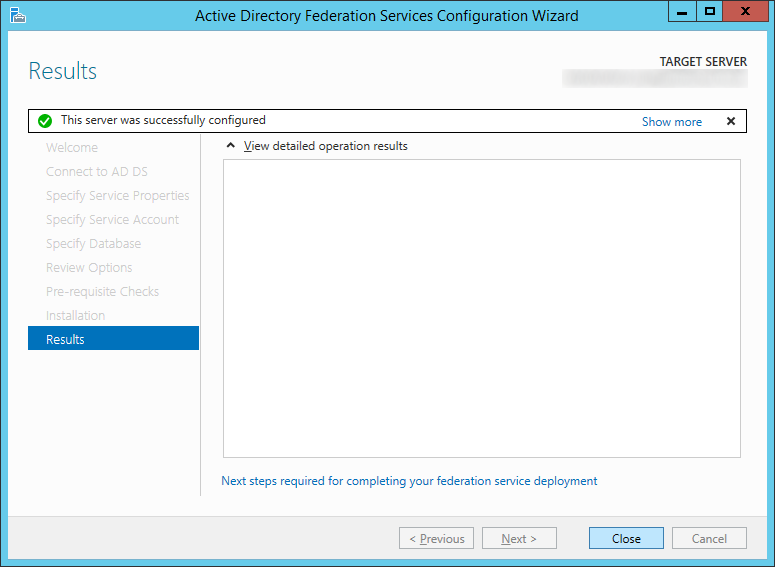
- Click Close once the server has successfully been configured
- Open up Internet Explorer on the new ADFS machine and navigate to https://localhost/adfs/ls/IdpInitiatedSignon.aspx to ensure the service is properly running
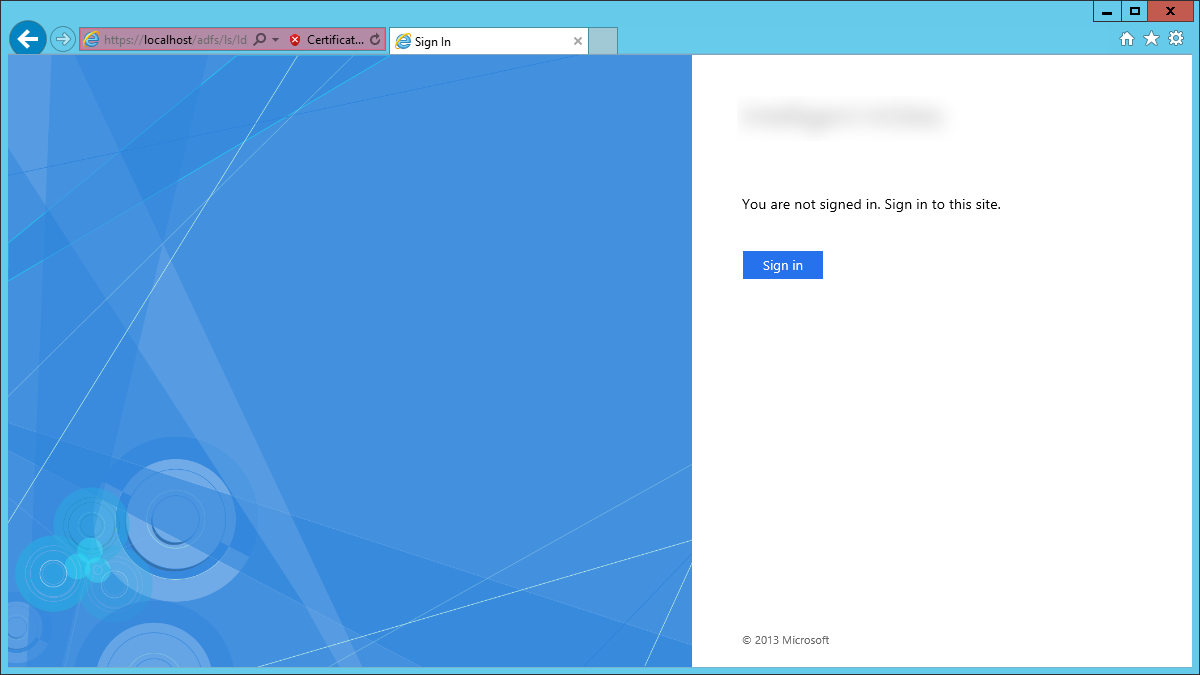
- Note: you should receive an invalid ssl certificate error; that is OK, we will switch the DNS records over once we are ready to transition from our old farm to the new one.
- Next, login to your Server 2008 R2 primary ADFS server and recreate the federation trusts on the new Server 2012 R2 primary ADFS server
- Start -> Administrative Tools -> AD FS 2.0 Management; select Trust Relationships -> Relying Party Trusts
- Recreate all the rules/trusts from your original ADFS server on your new Server 2012 R2 ADFS machine
- Note: If you are recreating rules for Office 365, you will need to wait until you switch over our new Server 2012 R2 environment to production. The reason is when you setup the new ADFS instance, some of the certificates will change causing a certificate mismatch/preventing your users from logging in. You will need to make sure you follow the following steps when resetting up the Office 365 trust to ensure your users don't receive "Error 80041317": http://support.microsoft.com/kb/2647020/en-us
- Login to your new ADFS Proxy server
- Import your SSL cerficate from your old ADFS server (from step 8) onto the server's Local Machine certificate store
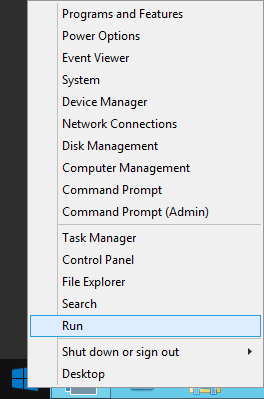
- Right click on Start and select Run
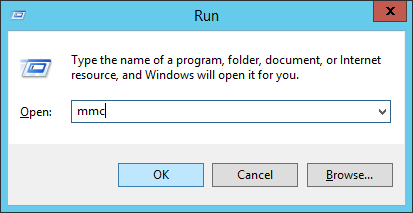
- Type MMC and click OK
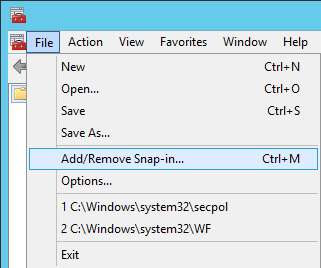
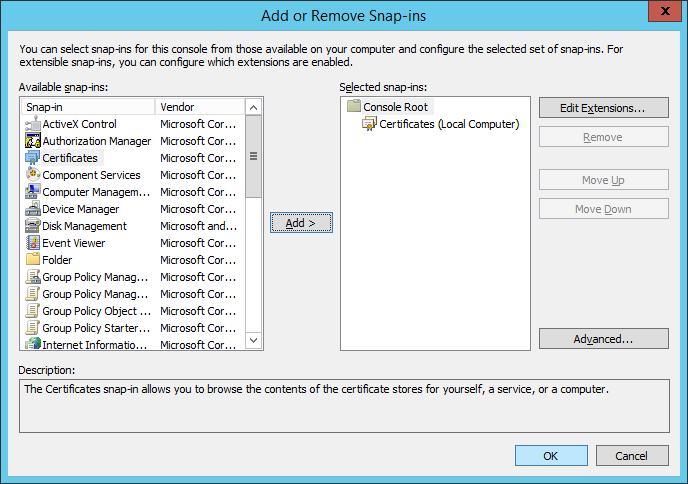
- Click File -> Add/Remove Snap-in...
- Select Certificates and click Add >
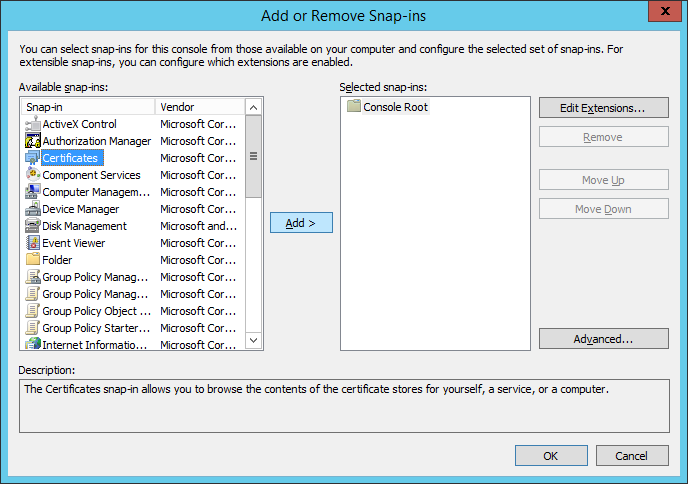
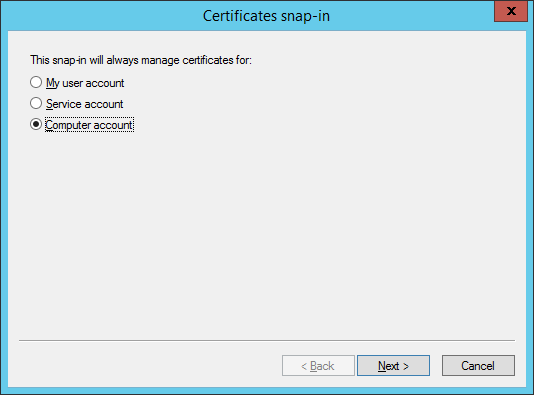
- Select Computer account and click Next >
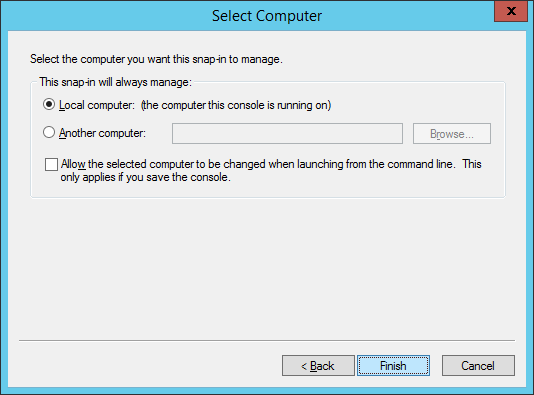
- Select Finish
- Click OK on the Add or Remove Snap-ins screen
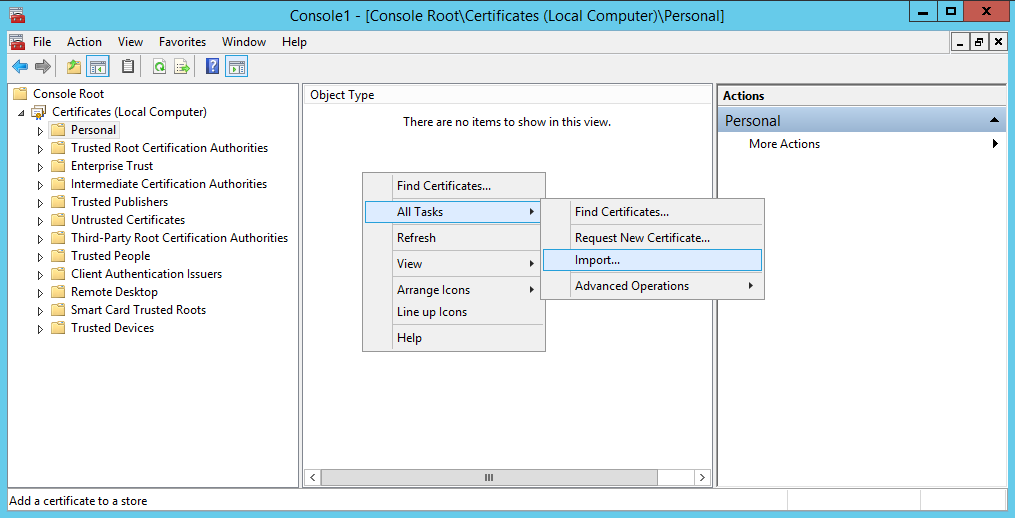
- Expand Certificates (Local Computer), select Personal, and right click, select All Tasks -> Import...
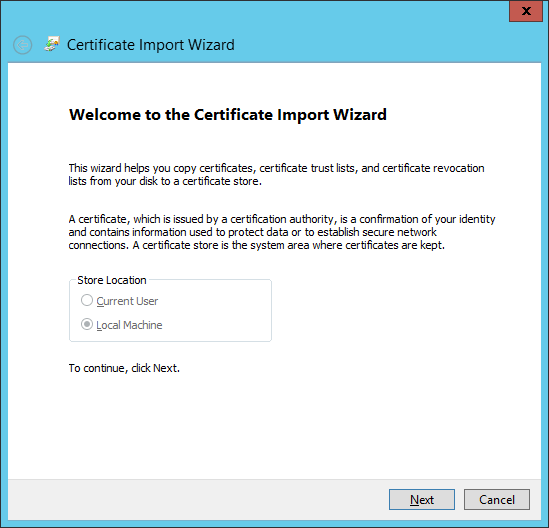
- Click Next on the Certificate Import Wizard
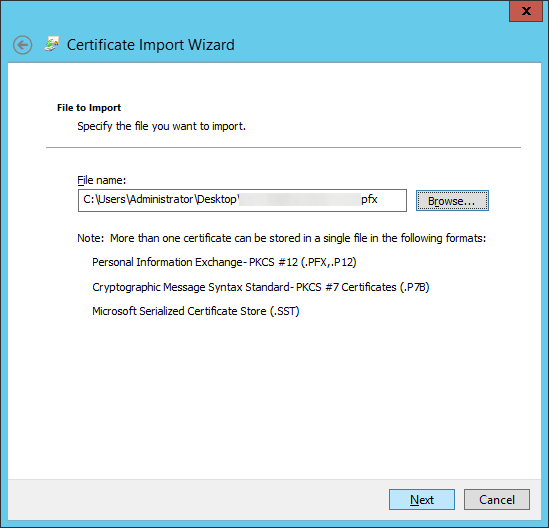
- Click the Browse... button
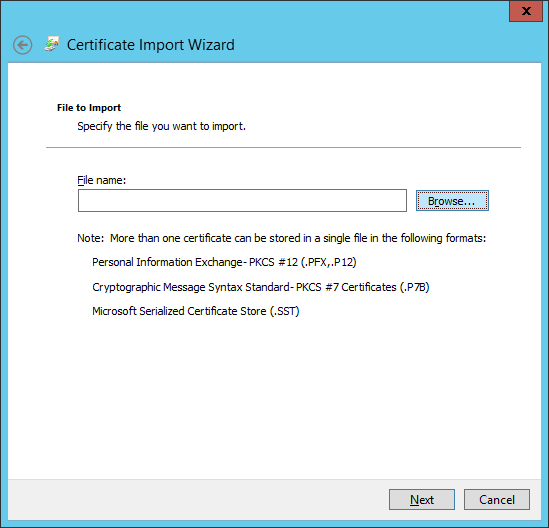
- Select your certificate and click Open
- Note: You may need to click on the dropdown box in the bottom right and select All Files for your pfx file to show up.
- Click Next on the File to Import screen
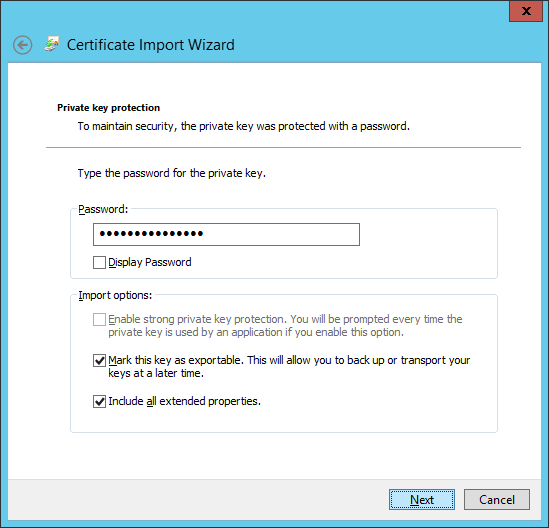
- Type in the password to the pfx file, check Mark this key as exportable, and click Next
- Ensure Place all certificates in the following store shows Personal and click Next

- Click Finish
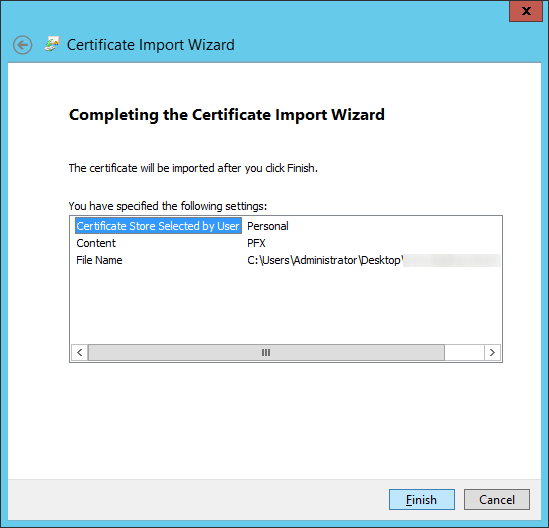
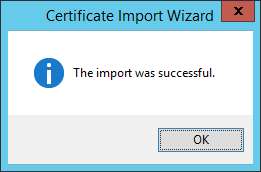
- Click OK on the Certificate Import Wizard successful dialog box
- Right click on Start and select Run
- Edit the hosts file to point your DNS record to your new ADFS server
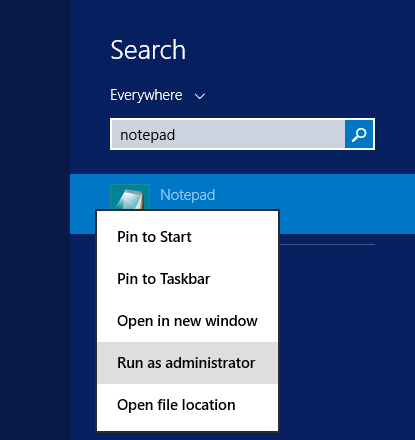
- Open Notepad as an Administrator
- Open the following file: C:\Windows\System32\drivers\etc\hosts
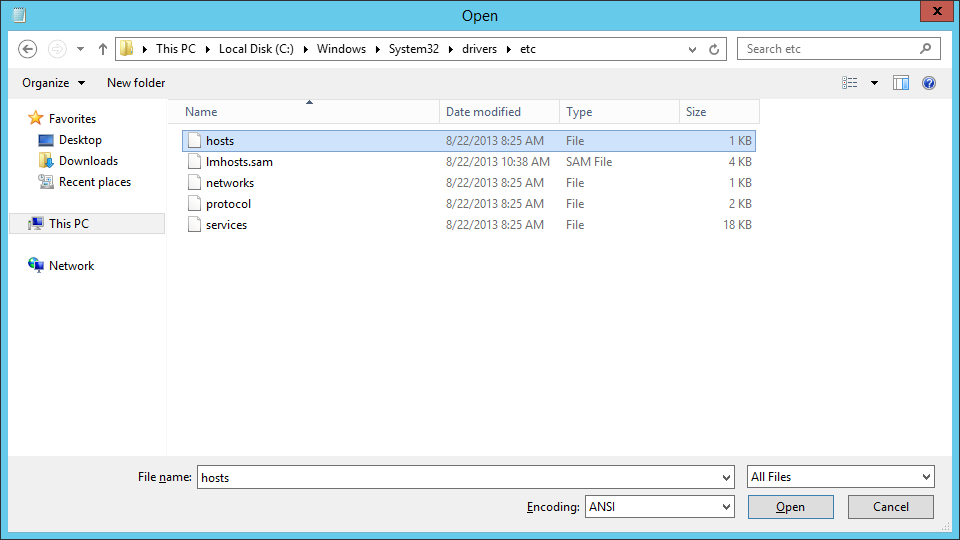
- Add in your DNS entry and point to your new ADFS server
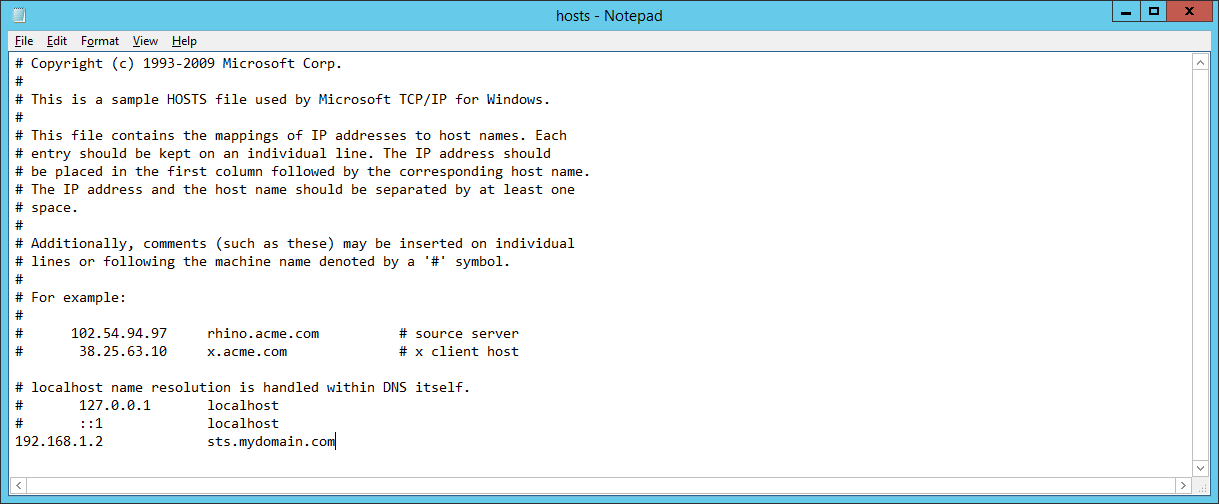
- Save the file
- Note: We will come back to this later and update it to point to our load balancer once we switch over everything. For now, this lets us test our new deployment while switching things over.
- Open Notepad as an Administrator
- Open up Server Manager

- Click Manage -> Add Roles and Features
- Click Next > on the Before you begin screen
- Select Role-based or feature based installation and click Next >
- Select your server and click Next >
- Check Remote Access on the Server Roles screen
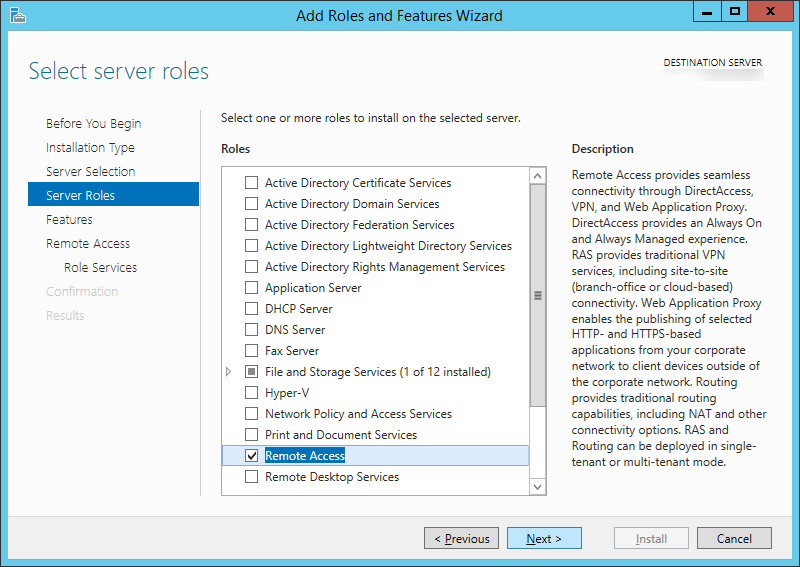
- Click Next > on the Features screen
- Click Next > on the Remote Access screen
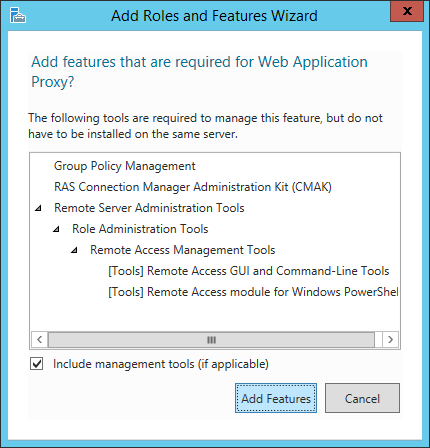
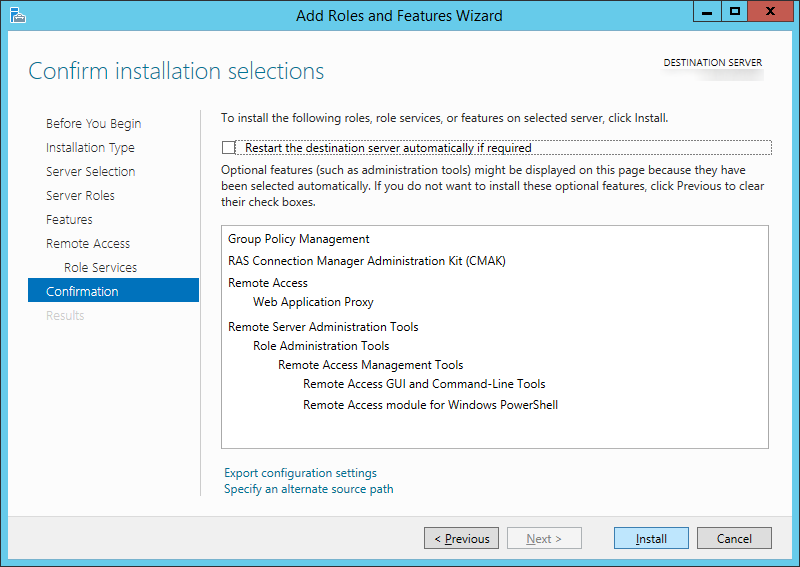
- Check Web Application Proxy
- ClickAdd Features on the Add Roles and Features Wizard dialog box
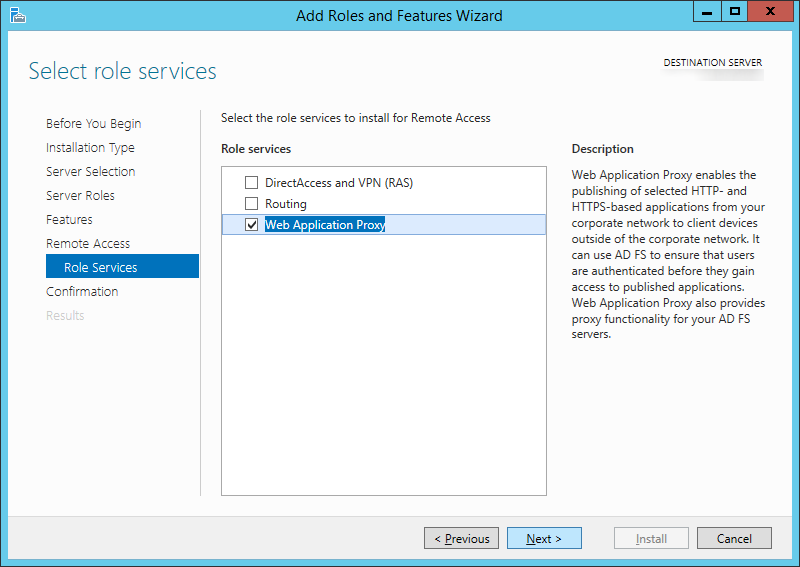
- Click Next > on the Roles Services screen
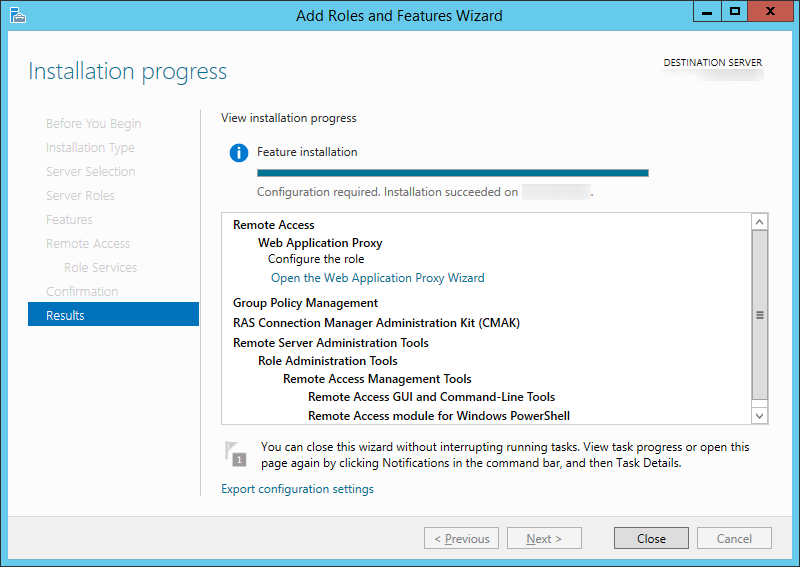
- Click Install on the Confirmation screen
- Click on the Open the Web Application Proxy Wizard link once the installation succeeds
- Click Next > on the Welcome screen
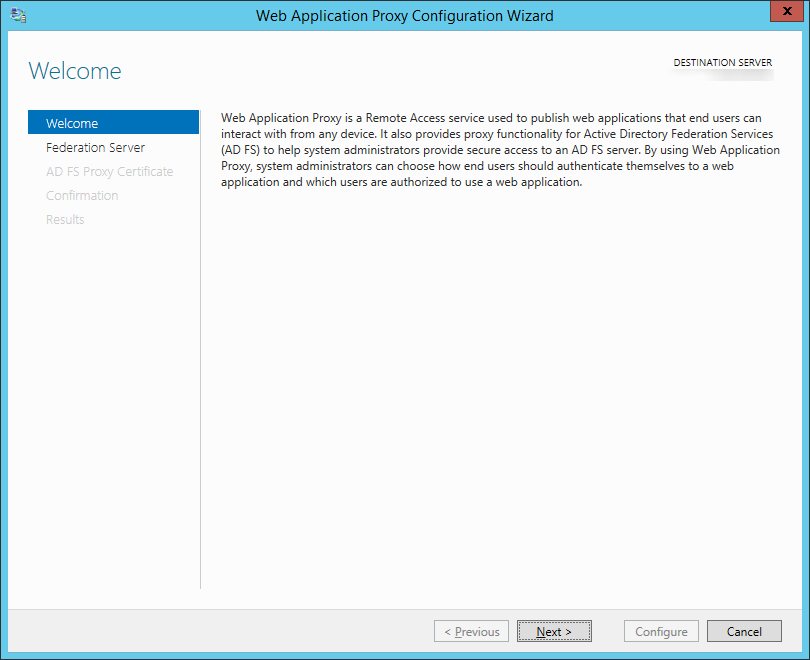
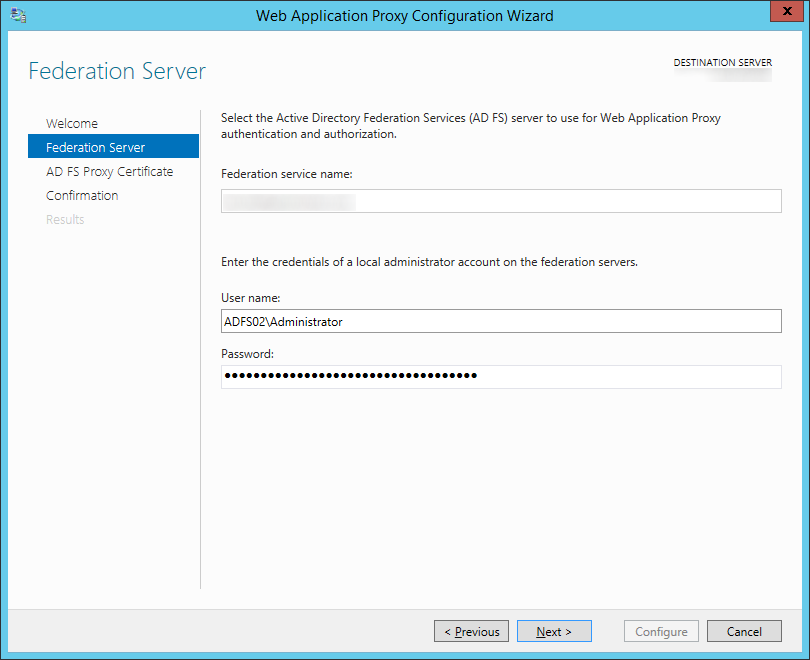
- Type in the FQDN to your ADFS server, the credentials of an account with local admin privileges, and then click Next >
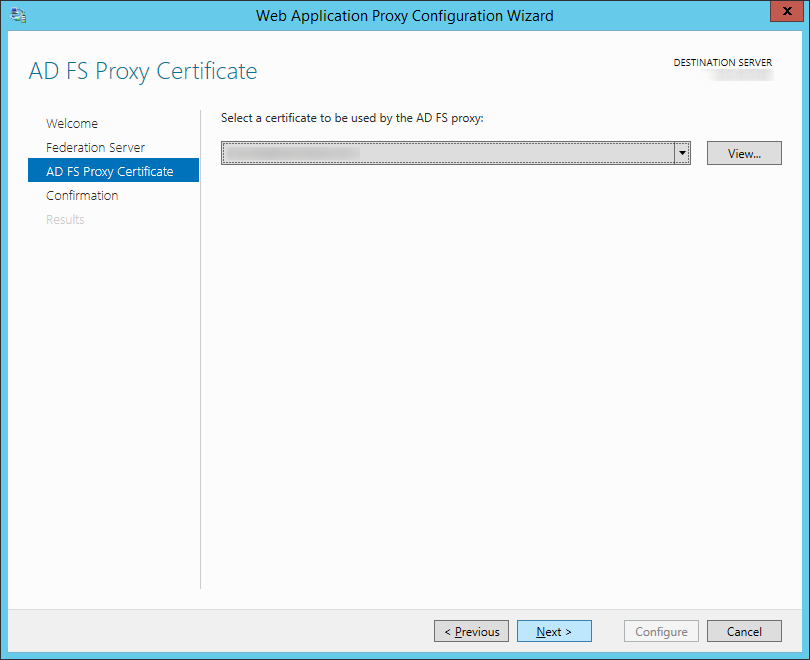
- Select your certificate on the AD FS Proxy Certificate screen and click Next >
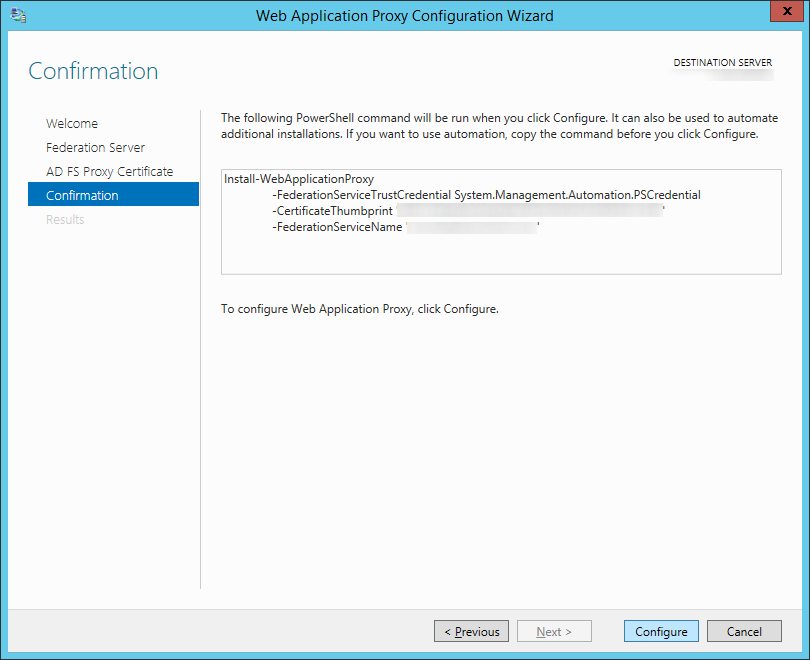
- Click Configure on the Confirmation screen
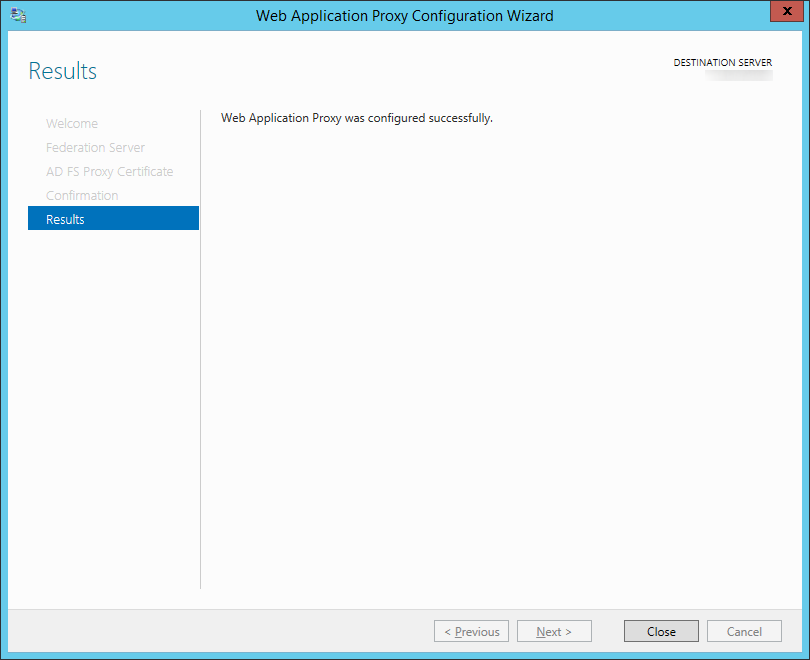
- Click Close once the Web Application Proxy has been successfully configured.
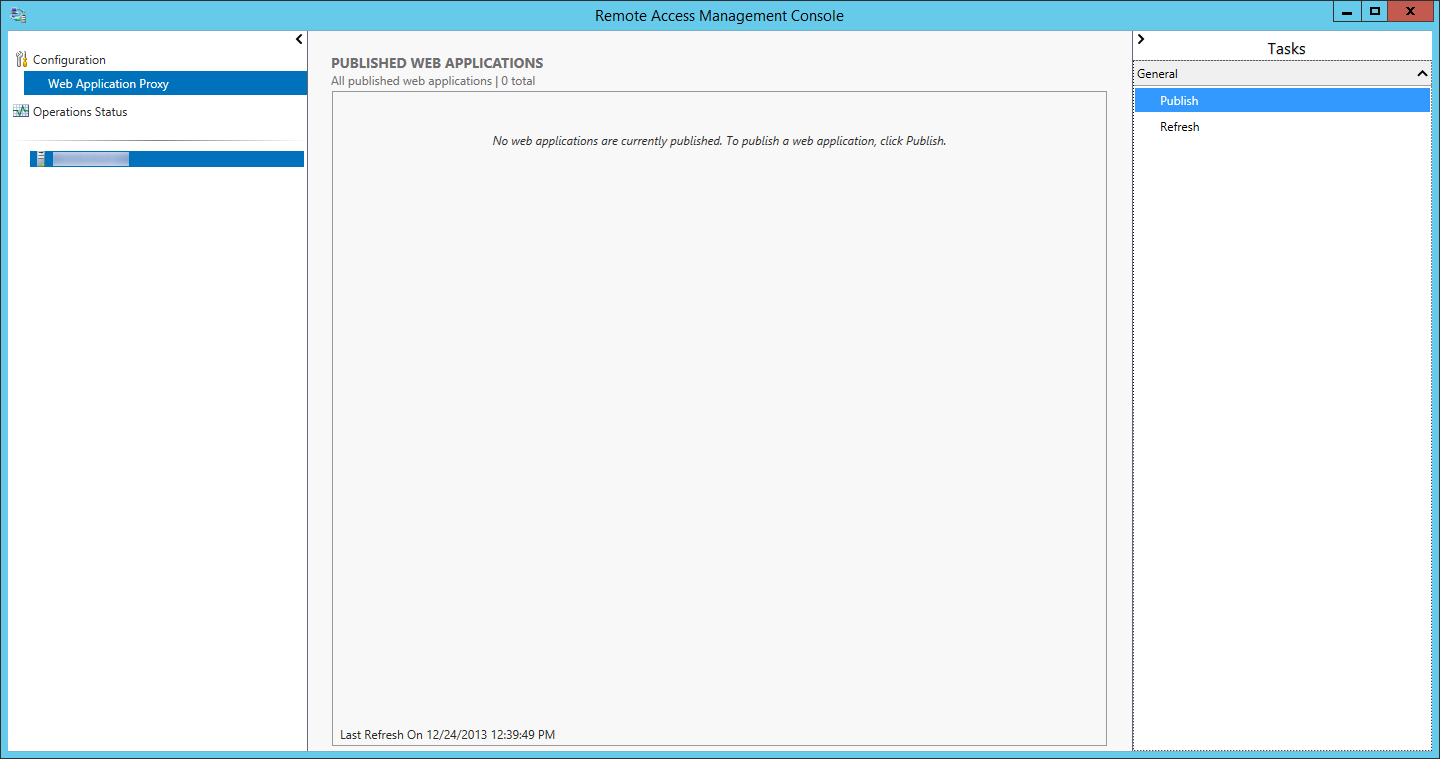
- After you click close a new window should open. On the Remote Access Management Console, select Publish
- Note: This step only needs to be done once. It will replicate to all other proxy servers when you set those up at a later time.
- Note: This step only needs to be done once. It will replicate to all other proxy servers when you set those up at a later time.
- Click Next > on the Welcome screen

- Select Pass-through and click Next >
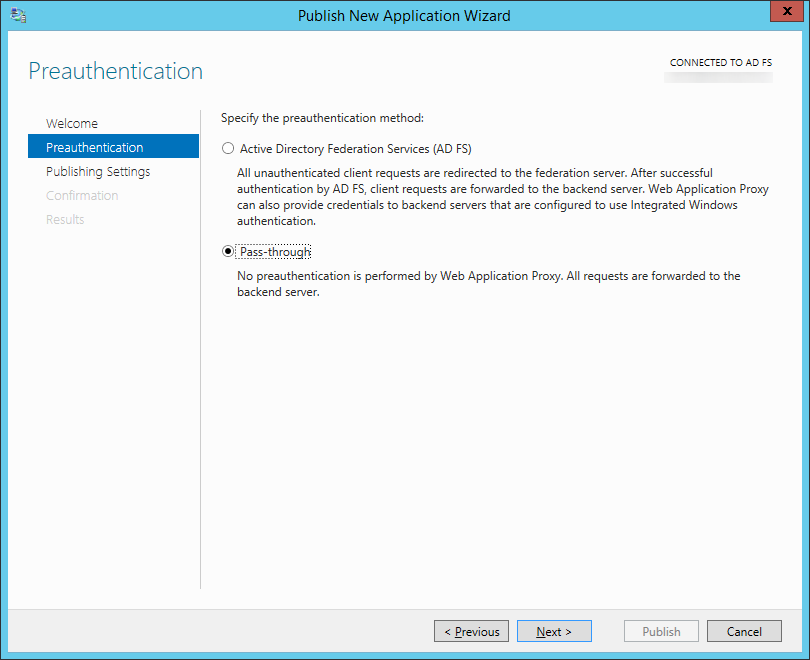
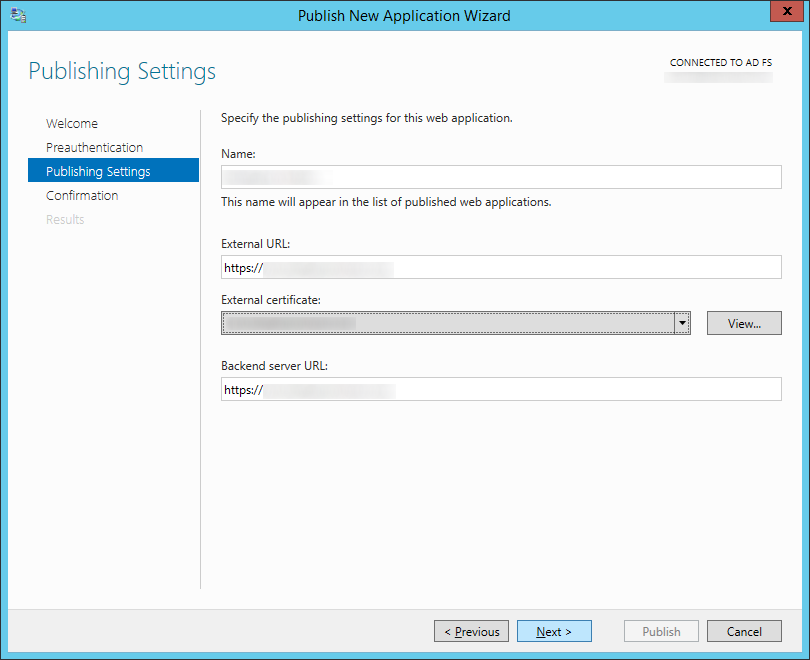
- Enter in a name, external URL, and internal URL for your federated server (mine were both the same since I use split-dns). Click Next >
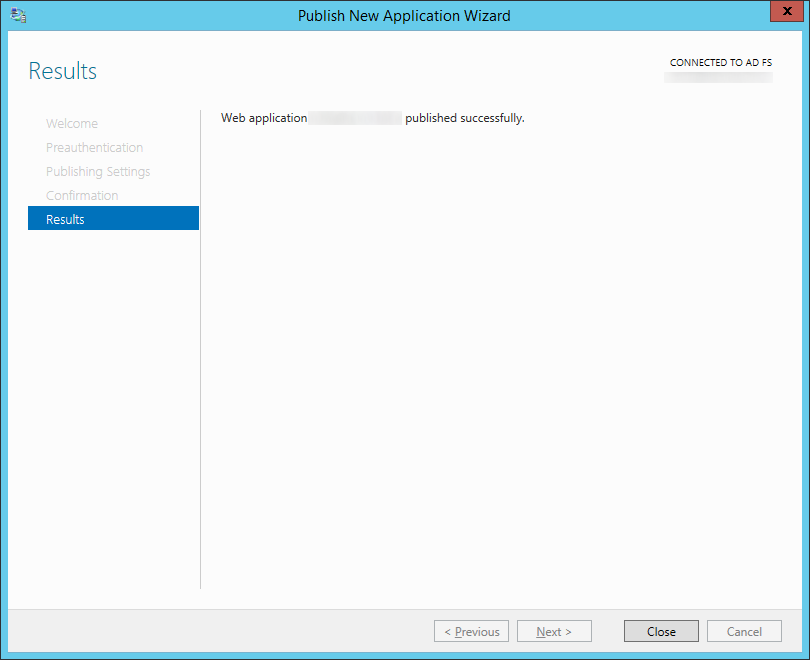
- Click Close
- Add the new Server 2012 R2 ADFS machine to your load balancer and remove your Server 2008 R2 machine.
- Add the new Server 2012 R2 ADFS Proxy machine to your load balancer and remove your Server 2008 R2 proxy machine.
- Update the hosts file on your Server 2012 R2 proxy machine to point to your load balanced Server 2012 R2 ADFS environment
- Retire your Server 2008 R2 ADFS environment
- Disjoin the ADFS proxy server from the domain and recycle the machine
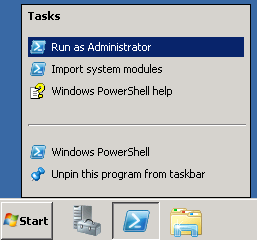
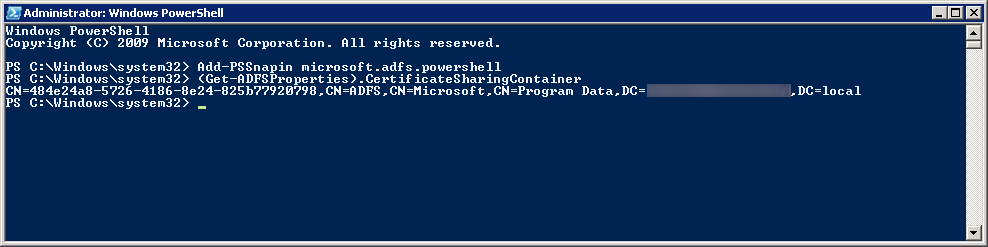
- Open up PowerShell as an Administrator
- Execute the following commands:
- Add-PsSnapin Microsoft.Adfs.Powershell
Get-AdfsProperties
- Add-PsSnapin Microsoft.Adfs.Powershell
- Stop the service on your Server 2008 R2 ADFS machine running the old ADFS farm
- Execute the following command to remove the ADFS Farm info from AD (substituting in the information from the Get-AdfsProperties command):
- $delme = New-Object System.DirectoryServices.DirectoryEntry("LDAP://CN=484e24a8-5726-4186-8e24-825b77920798,CN=ADFS,CN=Microsoft,CN=Program Data,DC=mydomain,DC=local")
$delme.DeleteTree()
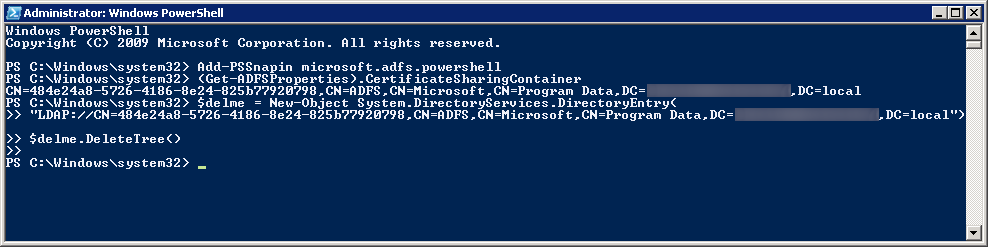
- $delme = New-Object System.DirectoryServices.DirectoryEntry("LDAP://CN=484e24a8-5726-4186-8e24-825b77920798,CN=ADFS,CN=Microsoft,CN=Program Data,DC=mydomain,DC=local")
- Disjoin the ADFS machine from the domain and recycle the machine
- Add a new Server 2012 R2 machine and WAP machine to your new ADFS environment for redudnancy (same steps as above, except in Step 27, you will select Add a federation server to federation server farm
Notes: Here is the upgrade compatibility matrix for upgrading ADFS from a specific version to Server 2012: http://technet.microsoft.com/en-us/library/jj647765.aspx
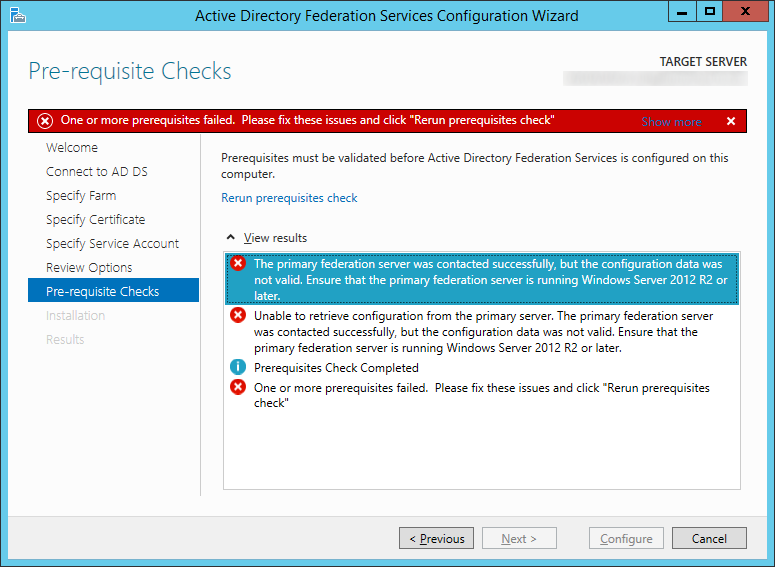
Why did I not check Add a federation server to a federation server farm on the Welcome screen for the Active Directory Federation Services Configuration Wizard?
The reason behind not checking this is I believe Microsoft has a bug in their discovery tool in adding another machine to a farm running ADFS 3.0. When adding a Server 2012 R2 machine to a farm with only Server 2008 R2 machines running ADFS 2.0, you will receive the following error:
The primary federation server was contacted successfully, but the configuration data was not valid. Ensure that the primary federation server is running Windows Server 2012 R2 or later. Unable to retrieve configuration from the primary server. The primary federation server was contacted successfully, but the configuration data was not valid. Ensure that the primary federation server is running Windows Server 2012 R2 or later. Prerequisites Check Completed One or more prerequisites failed. Please fix these issues and click "Rerun prerequisites check"
Symptom: You receive the following error while setting up the WAP (proxy) server:
An error occurred when attempting to establish a trust relationship with the federation service. Error: Not Found
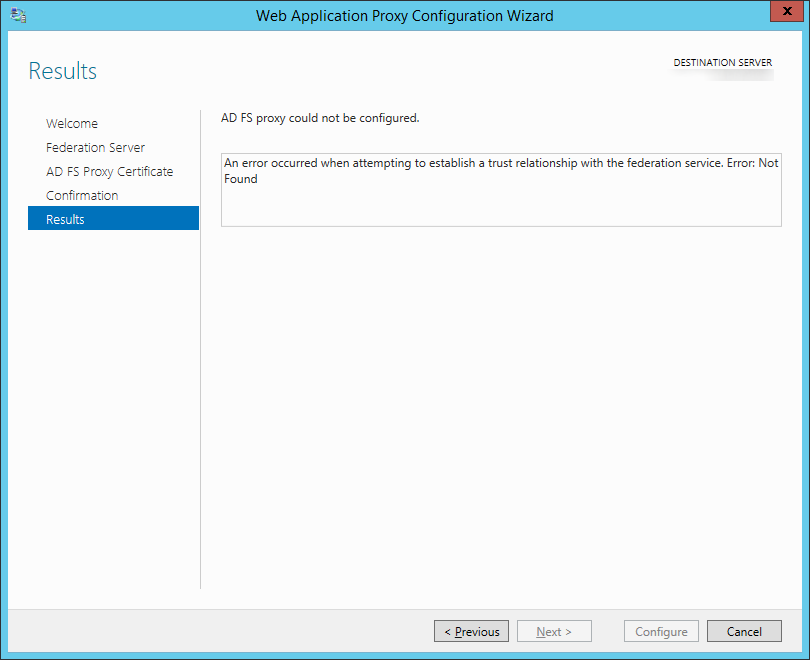
Resolution: Make sure you update the DNS records of your ADFS deployment to point to your new ADFS server. Both the ADFS proxy and ADFS server must be running the same OS version (in this case, Server 2012 R2).