Tag Archives: powershell

Uninstall all Azure PowerShell Modules

With Azure PowerShell modules changing all the time and the recent introduction of the PowerShell modules being renamed from AzureRm to Az, you may want to totally uninstall all modules and reinstall to make sure you are using the latest and greatest modules.

To do so, StackOverflow user BlueSky, wrote a handy dandy script that will go through and cleanup all the Azure(RM)(AD) modules.  Simply open up PowerShell as an Administrator and execute the following PowerShell workflow/commands:

workflow Uninstall-AzureModules
{
    $Modules = @()
    $Modules += (Get-Module -ListAvailable Azure*).Name
    $Modules += (Get-Module -ListAvailable Az.*).Name
    Foreach -parallel ($Module in ($Modules | Get-Unique))
    { 
        Write-Output ("Uninstalling: $Module")
        Uninstall-Module $Module -Force
    }
}
Uninstall-AzureModules
Uninstall-AzureModules   #second invocation to truly remove everything

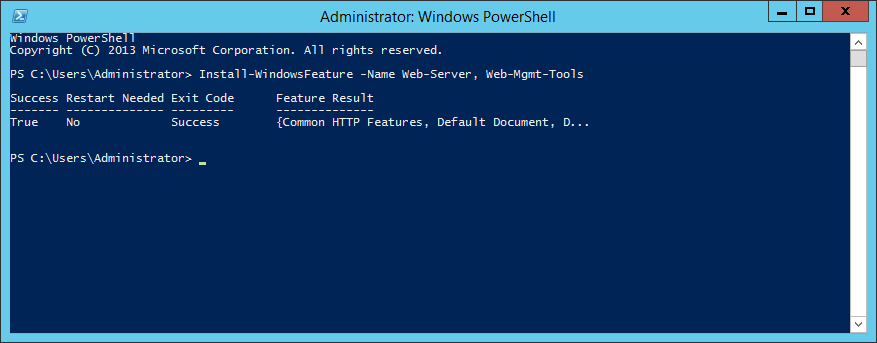
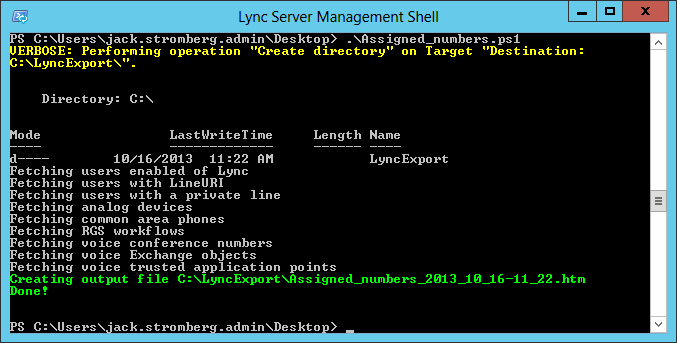
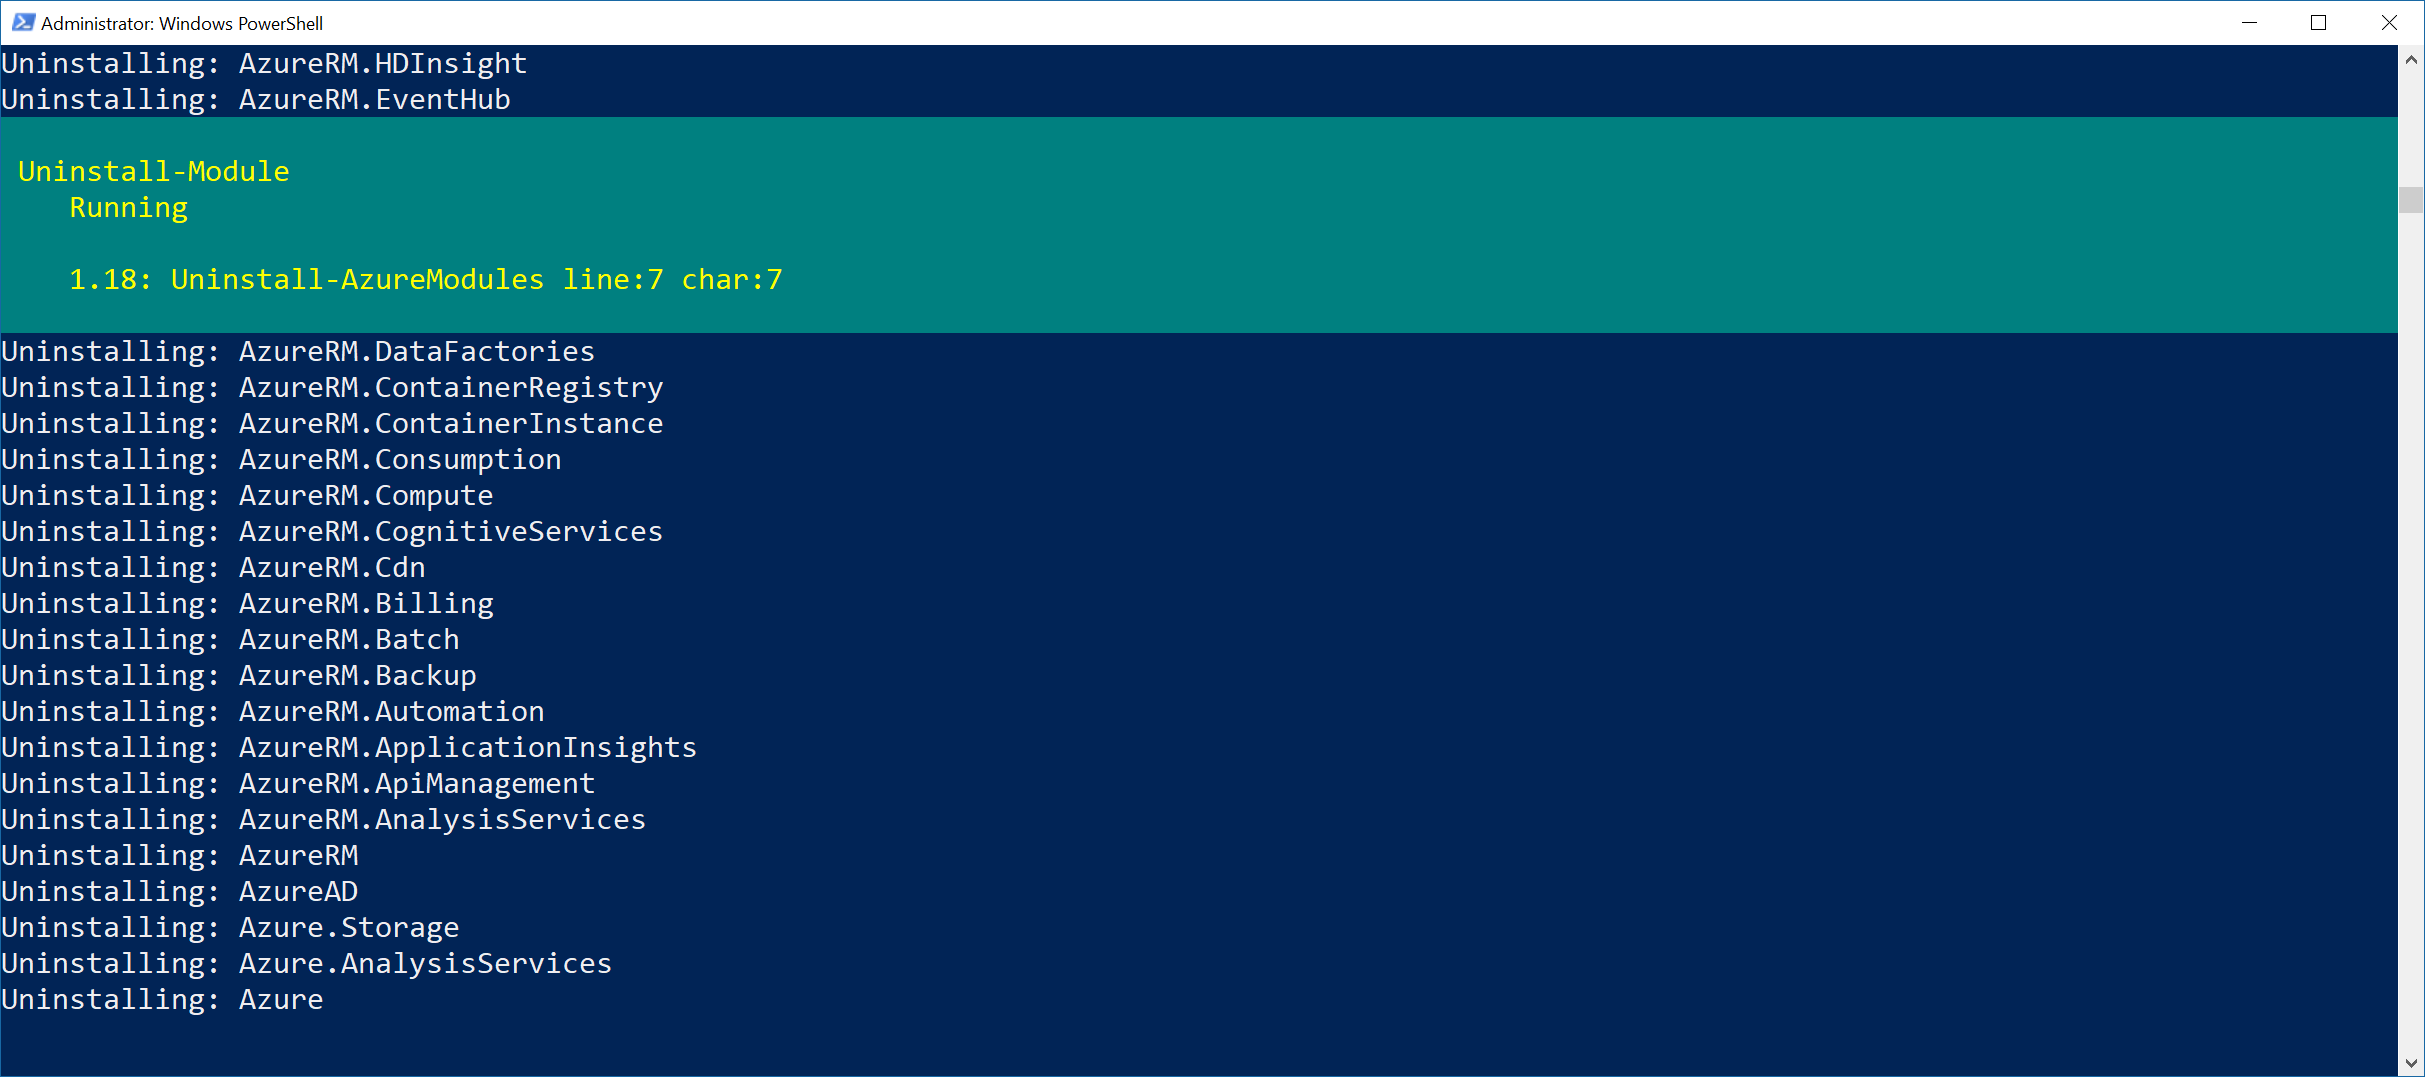
The thing about the PowerShell script above being a workflow is this allows you to remove all the modules in parallel vs one-by-one.  Here's a screenshot of the script in action.

Hope this helps!

Exporting TPM Owner Key and BitLocker Recovery Password from Active Directory via PowerShell

Synopsis: When looking up a BitLocker Recovery Password or TPM Owner Key, the process can be quite laborious.  This post contains a PowerShell script to help automate the process of manually looking at attributes in Active Directory to pull such information.

Download a copy of the script here (make sure to remove the .txt at the end): Get-TPMandBitlockerInfo.ps1.txt

Run the script with PowerShell

Get-TPMOwnerInfo - Run with PowerShell

Here are the results it should return
Get-TPMOwnerInfo - PowerShell


Here is a copy of the script in Plain Text

<#
.SYNOPSIS
    Automates the process on gathering BitLocker recovery password and TPM owner password.

.DESCRIPTION
    This script will lookup multiple attribute in Active Directory and display the correlating
    values that hold sensitive BitLocker information.  Additionally, the TPM Owner Password
    can be exported to a .tpm file, which can be used to make changes to the correlating machine.

.NOTES
    File Name      : Get-TPMandBitlockerInfo.ps1
    Author         : Jack Stromberg (jackstromberg.com)
    Prerequisite   : PowerShell V2 over Vista and upper
    Version History: 2/5/2015 (original release)

.LINK
    Script posted over at:
    http://jackstromberg.com/2015/02/exporting-tpm-owner-key-and-bitlocker-recovery-password-from-active-directory-via-powershell/
#>

clear
Write-Host "~Enter in the correct credentials to access the BitLocker and TPM Owner attributes~"
$UserName = Read-Host "Enter User Name" 
$Password = Read-Host -AsSecureString "Enter Your Password" 
$credential = New-Object -TypeName System.Management.Automation.PSCredential -ArgumentList $UserName , $Password 

# Get input on which machine to lookup
$computer = Read-Host 'Enter in machine name'

# Import our Active Directory PowerShell commands
Import-Module ActiveDirectory

# Check if the Computer Object exists in AD
$computerObject = Get-ADComputer -Filter {cn -eq $computer} -Property msTPM-OwnerInformation, msTPM-TpmInformationForComputer -Credential $credential
if($computerObject -eq $null){
    Write-Host "Computer object not found.  Exiting the script..."
    Cmd /c pause
	Exit
}

# Windows Vista and 7 stores the TPM owner password in the msTPM-OwnerInformation attribute, check that first.
# If the key hasn't been stored there, check the msTPM-TpmInformationForComputer object to see if it was backed up on a Win 8 or greater machine
if($computerObject.'msTPM-OwnerInformation' -eq $null){
    #Check if the computer object has had the TPM info backed up to AD
    if($computerObject.'msTPM-TpmInformationForComputer' -ne $null){
        # Grab the TPM Owner Password from the msTPM-InformationObject
        $TPMObject = Get-ADObject -Identity $computerObject.'msTPM-TpmInformationForComputer' -Properties msTPM-OwnerInformation  -Credential $credential
        $TPMRecoveryKey = $TPMObject.'msTPM-OwnerInformation'
    }else{
        $TPMRecoveryKey = '<not set>'
    }
}else{
    # Windows 7 and older OS TPM Owner Password
    $TPMRecoveryKey = $computerObject.'msTPM-OwnerInformation'
}

# Check if the computer object has had a BitLocker Recovery Password backed up to AD
$BitLockerObject = Get-ADObject -Filter {objectclass -eq 'msFVE-RecoveryInformation'} -SearchBase $computerObject.DistinguishedName -Properties 'msFVE-RecoveryPassword' -Credential $credential | Select-Object -Last 1
if($BitLockerObject.'msFVE-RecoveryPassword'){
    $BitLockerRecoveryKey = $BitLockerObject.'msFVE-RecoveryPassword'
}else{
    $BitLockerRecoveryKey = '<not set>'
}

#Print out our findings
Write-Host 'TPM Owner Recovery Key:' $TPMRecoveryKey
Write-Host 'BitLocker Recovery Password:' $BitLockerRecoveryKey

# Export TPM Owner Password File
if($computerObject.'msTPM-TpmInformationForComputer' -ne $null){
    $exportToFile = Read-Host 'Would you like to export the recovery key [y or n]'
    if($exportToFile -ne 'y'){
        Exit
    }

    $TPMOwnerFile = '<?xml version="1.0" encoding="UTF-8"?><ownerAuth>' + $TPMRecoveryKey + '</ownerAuth>'
    $TPMOwnerFile | Out-File "TPMOwnerPasswordFile.tpm"
}else{
    Cmd /c pause
}

[Tutorial] How to install IIS on Server 2012 and Server 2012 R2

Here is a tutorial on how to install IIS on Server 2012 and Server 2012 R2.  The installation process for this is very straight forward and does not differ much from Server 2008 R2.  This guide will only go over the basic install, additional configuration of IIS is outside the scope of this tutorial.  Before beginning, you can choose to install IIS via PowerShell or the GUI.  Either option will result with the exact same configuration.

PowerShell

  1. Open an elevated PowerShell console
    Server 2012 - PowerShell - Run as Administrator
  2. Execute the following command
    1. Install-WindowsFeature -Name Web-Server, Web-Mgmt-Tools
      PowerShell - Install-WindowsFeature -Name Web-Server Web-Mgmt-Tools

      1. Note: Web-Mgmt-Tools is optional, but in most instances added to get the Internet Information Services (IIS) Manager GUI snap-in to manage IIS

GUI

  1. Open Server Manager
    Server Manager
  2. Click on Manage - Add Roles and Features
    Server 2012 - Manage - Add Roles and Features
  3. Click Next > on the Before You Begin screen
    Add Roles and Features Wizard - Before you begin
  4. Click Next > on the Installation Type screen
    Add Roles and Features Wizard - Select installation type
  5. Click Next > on the Server Selection screen
    Add Roles and Features Wizard - Confirm installation selections - Restart the destination server automatically if required
  6. Select Web Server (IIS) from the list on Server Roles and click on the Add Features button once prompted.  Click Next >
    Add Roles and Features Wizard - Add features that are required for web server iis
    Add Roles and Features Wizard - Server Roles - Web Server IIS
  7. Click Next > on the Features screen
    Add Roles and Features Wizard - Features - Default
  8. Click Next > on the Web Server Role (IIS) screen
    Add Roles and Features Wizard - Web Server Role IIS
  9. Click Next > on the Role Services screen
    Add Roles and Features Wizard - Web Server Role IIS - Role Services
  10. Click Install on the Confirmation screen
    Add Roles and Features Wizard - Web Sever Role - Confirmation

PowerShell command to find all disabled users in Active Directory

Here is a quick powershell command to find all users inside of your Active Directory domain that have been marked as disabled (this will exclude disabled computers):

Get-ADUser -Filter {Enabled -eq $false} | FT samAccountName

Additionally, you can specify which additional options you would like to show by change the filter table command we are piping the results to.  For example, this command will show the samAccountName, first name, and last name of the disabled users.

Get-ADUser -Filter {Enabled -eq $false} | FT samAccountName, GivenName, Surname

If you want no formatting whatsoever and have AD spit a bunch of information back at you, try running just the Get-ADUser part with the filter applied.

Get-ADUser -Filter {Enabled -eq $false

The following command below can be used to pull a list of disabled users and computers:

Search-ADAccount -AccountDisabled


Export a list of numbers used in Lync Server 2013

Today I was curious how many numbers we have used up on our DID block and wanted to pull a report specifying which numbers were allocated to which user, conference room, etc.  After a quick Google search, I came accross a powershell script by Lasse Nordvik Wedø.  Attached below is a copy of his powershell script with a few modifications by me to pull a couple of extra attributes about the user from Active Directory.  Please make sure to drop him a comment on his blog, located here: http://tech.rundtomrundt.com/2012/04/listing-all-deployed-numbers-in-lync.html

The following list of numbers will be generated to a .htm web report:

  • Users enabled in Lync without a number assigned
  • Users with a number assigned to them
  • Users with a private line
  • Analog devices
  • Common Area Phone Numbers
  • Response Group Numbers
  • Meeting (dialin) numbers
  • Meeting Room Objects
  • Exchange Objects
  • Application endpoints with a LineURI

The script can be downloaded here (make sure to remove the .txt extension once you have downloaded it): Assigned_numbers.ps1

Here is an image of executing the powershell script:
Assigned Numbers

Here is an image of the result (webpage):
Assigned Numbers Webpage

Here is an image of what the htm file looks like when you open it up:
Assigned Numbers Results

Additionally, if you are looking for a complete resource of different attributes you can pull from the Get-ADUser command, see the following technet article: http://social.technet.microsoft.com/wiki/contents/articles/12037.active-directory-get-aduser-default-and-extended-properties.aspx

Lync - Manually set a Lync user's PIN via powershell

If you would like to manually assign a PIN number to a user in Lync, please follow the steps below:

  1. Login to your Lync Front End Server
  2. Open up the Lync Server Management Shell
  3. Execute the following command
    1. Set-CsClientPin -Identity "DOMAIN\user" -Pin 123456

The technet article defining all the parameters of this command can be found here: http://technet.microsoft.com/en-us/library/gg398929.aspx

Lync - Filter failed to return unique result error

Symptom: You receive the following error when trying to assign an Enterprise Voice number to a new user via powershell or the Lync Admin Web GUI (CSCP):

Filter failed to return unique result, "[SipAddress : sip:[email protected]] [LineURI : tel:+15555555555] [PrivateLine : tel:+15555555555] "

Solution: Execute the following commands below to see what the number is currently assigned to.

This command will check all users for the requested number.

Get-CsUser | where {$_.LineURI -eq "tel:+15555555555" -or $_.PrivateLine -eq "tel:+15555555555"} | Sort-Object LineURI | Select-Object Displayname, LineURI, PrivateLine

This command will check all common area phones for the requested number:

Get-CsCommonAreaPhone | where {$_.LineURI -eq "tel:+15555555555"} | Sort-Object LineURI | Select-Object Identity, LineURI, DisplayNumber, DisplayName, Description

This command will check all response groups for the requested number:

Get-CsRgsWorkflow | where {$_.LineURI -eq "tel:+15555555555"} | Sort-Object LineURI | Select-Object Name, Identity, LineURI, DisplayNumber, Description

This command will check all exchange contacts for unified messaging:

Get-CsExUmContact | where {$_.LineURI -eq "tel:+15555555555"} | Sort-Object LineURI | Select-Object identity, LineURI

Notes: I stumbled across these powershell commands from "The Regular IT Guy"; please check out his site here http://onlize.wordpress.com/2013/07/01/lync-add-user-error-filter-failed-to-return-unique-result/

Configuring Lync Server to push out latest Microsoft Lync Phone Edition firmware

I noticed today that a large shipment of Polycom phones we were going to deploy were using the RTM version of Lync Phone Edition and were outdated compared to Microsoft's latest version.  That being said, here is a guide on how to update the firmware for your phones.

At the time of this writing, it appears there are only a few different manufacturers that distribute the Microsoft Lync Phone Edition phones.  For reference, here are the Microsoft URLs for each of those phone types:

Deploying latest firmware for the Microsoft Lync Phone Edition

  1. Download the latest firmware for the Lync Phone Edition device.
    1. In my case, I want to push out the latest firmware for the Polycom CX600s, which can be found here (links to the firmware of other phones can be found above in this same article): http://www.microsoft.com/en-us/download/details.aspx?id=23866
  2. Double click on the downloaded file (UCUpdates.exe), and run through the wizard.
    1. Select your language:
      Microsoft Lync Phone Edition Wizard - Select Language
    2. Accept the EULA
      Microsoft Lync Phone Edition Wizard - Accept EULA
    3. On this step, extract the files to a folder you can recognize.  All firmware downloads are called UCUpdates.exe and ucupdates.cab, so I highly recommend you sort out each firmware to a corresponding folder.
      Microsoft Lync Phone Edition Wizard - Extract To 
    4. Click the "Click this link to open folder in Windows Explorer." and verify you see the ucupdates.cab file.
      Microsoft Lync Phone Edition Wizard - Open Extracted Contents
    5. Here we see the ucupdates.cab file.
      ucupdates - Extracted files
  3. Copy the ucupdates.cab file over to your Lync Front End Server if you didn't in the first step.
  4. Execute the following powershell command (where the WebServer is the Front End Pool or Front End Server in a standalone instance):
    1. Import-CsDeviceUpdate -Identity service:WebServer:lync.mydomain.local -FileName "C:\Polycom CX600\ucupdates.cab" -Verbose
      1. Note: I added the optional -Verbose parameter to show the output of what the PowerShell command is doing behind the scenes.  Some people have mentioned this step taking awhile to complete, this will at least give you some comfort if things are moving forward or not.
  5. Once the command has completed successfully, head over to the Lync Server Control Panel (LSCP) (Web GUI), and navigate to Clients > Device Update.  Here you should see the firmware for your device and you should notice that the version shows up under the "Pending Version" column.  This means that the firmware will NOT be pushed until we manually approve it.
    LSCP - Clients - Device Update - Polycom
  6. Now we will push out the firmware to one device to ensure the firmware actually works.  Inside of the Lync Server Control Panel, click on the Test Device tab.
    1. Click the New... button and then select Global test device
    2. For Device Name, type in something like Polycom CX600 to identify what will be pushed to it, and then enter in the MAC address of the phone in the Unique identifier field.
      1. Note: if you use the MAC address as the Unique identifier, make sure you leave out any special characters, it should be only the hex address.
    3. Here is a screenshot below of my test device:
      LSCP - Clients - Test Device
  7. At this point, all you need to do is wait until the phone reboots and applies the update automatically (you don't need to approve the firmware or anything like that, it just starts to deploy to the test device).
    1. If you want to check what is going on, if you login to your front end server and navigate to C:\inetpub\logs\LogFiles\<randomID>, you can see the process of the phone trying to pull the update files and then reconnecting with the updates.  In my case, I could see the phone boot, pull the new firmware files, and then reboot and make new requests with the latest version in the headers.
    2. 2013-05-16 15:43:13 192.168.1.21 POST /locationinformation/liservice.svc/mex - 443 - 192.168.2.2 OCPhone/4.0.7577.4066+(Microsoft+Lync+2010+Phone+Edition) - 200 0 0 114
      2013-05-16 15:43:13 192.168.1.21 POST /RequestHandler/ucdevice.upx - 443 - 192.168.2.2 Microsoft+UCPhone+Device+(lcs_se_w14_main:1077577:2012/02/18:16:44:15) - 200 0 0 219
      2013-05-16 15:43:13 192.168.1.21 GET /RequestHandler/Files/UCPhone/POLYCOM/CX600/Rev-5/ENU/4.0.7577.4387/CPE/CPE.nbt - 80 - 192.168.2.2 Microsoft+UCPhone+Device+(lcs_se_w14_main:1077577:2012/02/18:16:44:15) - 200 0 995 240
      2013-05-16 15:43:13 192.168.1.21 POST /groupexpansion/service.svc/mex - 443 - 192.168.2.2 OCPhone/4.0.7577.4066+(Microsoft+Lync+2010+Phone+Edition) - 200 0 0 30
      2013-05-16 15:43:15 192.168.1.21 POST /WebTicket/WebTicketService.svc/mex - 443 - 192.168.2.2 OCPhone/4.0.7577.4066+(Microsoft+Lync+2010+Phone+Edition) - 200 0 0 129
      2013-05-16 15:43:17 192.168.1.21 POST /WebTicket/WebTicketService.svc/cert - 443 - 192.168.2.2 OCPhone/4.0.7577.4066+(Microsoft+Lync+2010+Phone+Edition) - 200 0 0 68
      2013-05-16 15:43:17 192.168.1.21 POST /locationinformation/liservice.svc/WebTicket_Bearer - 443 - 192.168.2.2 OCPhone/4.0.7577.4066+(Microsoft+Lync+2010+Phone+Edition) - 200 0 0 197
      ..........Some random logs here..........
      2013-05-16 15:44:16 192.168.1.21 GET /RequestHandler/Files/UCPhone/POLYCOM/CX600/Rev-5/ENU/4.0.7577.4387/CPE/CPE.nbt - 80 - 192.168.2.2 Microsoft+UCPhone+Device+(lcs_se_w14_main:1077577:2012/02/18:16:44:15) - 200 0 0 61951
      2013-05-16 15:44:16 192.168.1.21 GET /RequestHandler/Files/UCPhone/POLYCOM/CX600/Rev-5/ENU/4.0.7577.4387/CPE/CPE.cat - 80 - 192.168.2.2 Microsoft+UCPhone+Device+(lcs_se_w14_main:1077577:2012/02/18:16:44:15) - 200 0 0 44
      2013-05-16 15:44:16 192.168.1.21 GET /RequestHandler/Files/UCPhone/POLYCOM/CX600/Rev-5/ENU/4.0.7577.4387/CPE/CPE.cat - 80 - 192.168.2.2 Microsoft+UCPhone+Device+(lcs_se_w14_main:1077577:2012/02/18:16:44:15) - 200 0 0 10
      ..........Some random logs here..........
      2013-05-16 15:51:55 192.168.1.21 POST /groupexpansion/service.svc/mex - 443 - 192.168.2.2 OCPhone/4.0.7577.4387+(Microsoft+Lync+Phone+Edition) - 200 0 0 11
      2013-05-16 15:51:55 192.168.1.21 POST /locationinformation/liservice.svc/mex - 443 - 192.168.2.2 OCPhone/4.0.7577.4387+(Microsoft+Lync+Phone+Edition) - 200 0 0 8
      2013-05-16 15:51:56 192.168.1.21 POST /WebTicket/WebTicketService.svc/mex - 443 - 192.168.2.2 OCPhone/4.0.7577.4387+(Microsoft+Lync+Phone+Edition) - 200 0 0 10
  8. Once the firmware has been applied to your test device and all is well, we need to approve the firmware for all phones in the organization.  To do so, follow the steps below.
    1. Navigate to Clients -> Device Update
    2. Click Edit, Select all
    3. Click Action, Approve
      LSCP - Clients - Device Update - Approve

Lync 2012 Creating CommonAreaPhone - Filter failed to return unique result

Symptom:

You receive the following error when executing the New-CsCommonAreaPhone command via PowerShell.

New-CsCommonAreaPhone : Filter failed to return unique result, "[LineURI : tel:+15555555555] [PrivateLine : tel:+15555555555] "
At line:1 char:1
+ New-CsCommonAreaPhone -LineUri "tel:+15555555555" -RegistrarPool "lync.mydomain ...
+ ~~~~~~~~~~~~~~~~~~~~~~~~~~~~~~~~~~~~~~~~~~~~~~~~~~~~~~~~~~~~~~~~~~~~~~~~~~~~~~~~
+ CategoryInfo          : NotSpecified: (:) [New-CsCommonAreaPhone], InvalidOperationException
+ FullyQualifiedErrorId : System.InvalidOperationException,Microsoft.Rtc.Management.AD.Cmdlets.NewOcsCommonAreaPhoneCmdlet

Solution:
This means that the phone number has been assigned to either another user or response group. Make sure the number is not in use by Lync.