This tutorial assumes you already have iTunes setup, you are logged into it with your Apple account, and your iPad has been synchronized to your iTunes account. Also, this guide assumes you are using an iPad, but I believe the steps are the same for an iPod touch as well.
- Open up iTunes
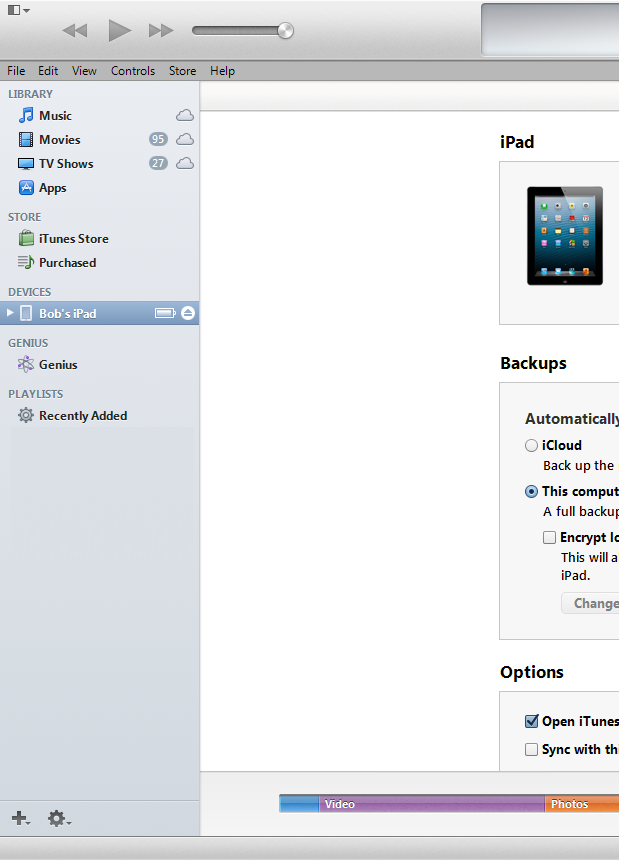
- Plug-in your iPad
- Press the Alt key, click on the View menu, and then select Show Sidebar
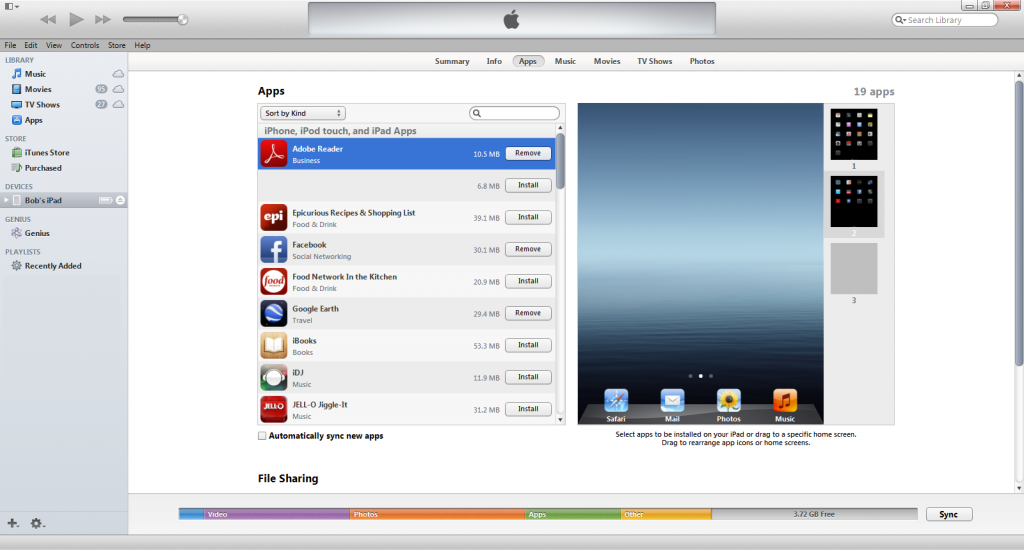
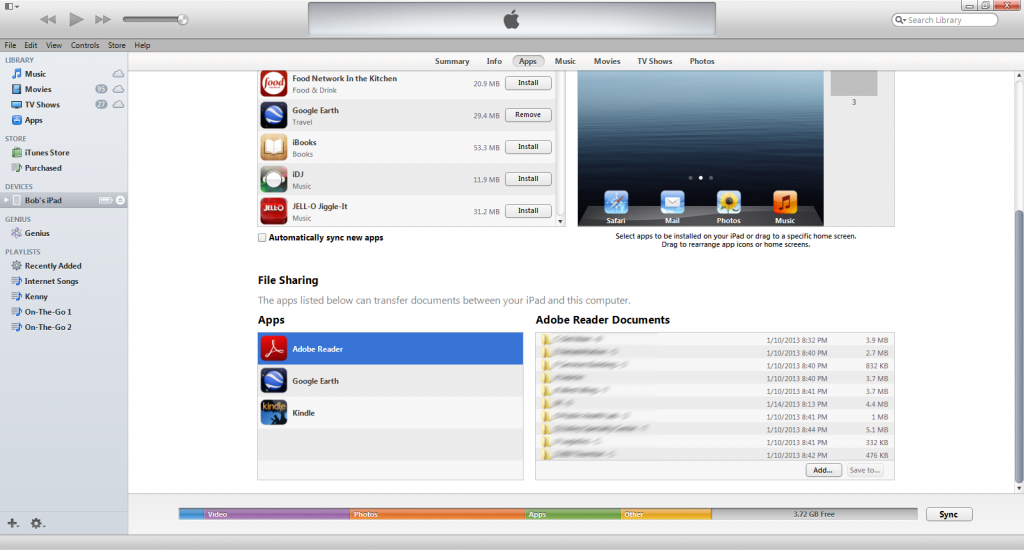
- Getting to the Adobe Reader app on your iPad
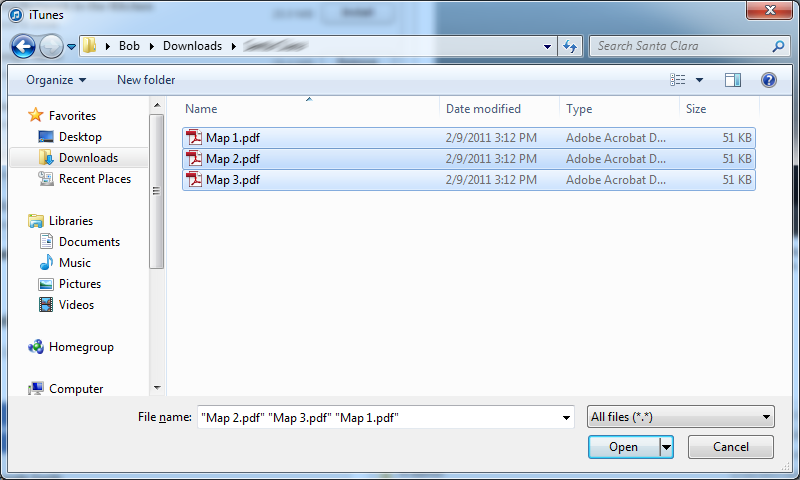
- To add files to your iPad
- To backup files from your iPad to your computer
- Click on the folder you want and click on the Save To… button
- Navigate to the folder you want to place the folder in (iTunes will create the folder inside of the folder you are selecting).
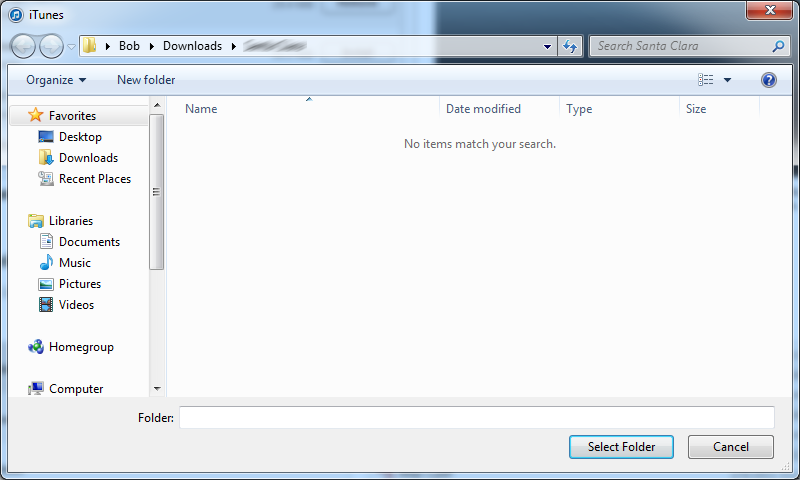
- Click the Select Folder button (you do not need to type in anything, just click the button)
- At this point, if you were to navigate to your folder, you should see the folder you selected in iTunes, and then inside of that folder, the folder you selected to backup.
- Note: iTunes doesn't copy files from the folder you selected, it copies the folder and sub-items in it to a new folder that you selected.
- At this point, if you were to navigate to your folder, you should see the folder you selected in iTunes, and then inside of that folder, the folder you selected to backup.
- To create folders on your iPad, do the following:
- Launch the Adobe Reader application
- Click on Documents on the left side
- Click the Edit button in the top right
- Click on the Folder icon with a + sign on it
- Type in the folder name and click Save
- To move PDFs into a folder, launch the Adobe Reader app on your iPad (NOTE: you cannot drag the files inside of iTunes into the folders)
- Click on Documents on the left side
- Click the Edit button in the top right
- Find your PDFs and click on the little Circle icon next to it
- When you do that, it should turn red with a check mark
- Click on the icon with a diagonal arrow on a folder
- Click Move selected documents
- Select the folder you want to move the PDFs to
