This tutorial will cover deployment of Windows Server 2012 R2's latest version of DirectAccess. While there are multiple ways to configure Direct Access, I tried to pull together what I believe are the best/recommended practices and what I believe would be a common deployment between organizations. If you have any thoughts/feedback on how to improve this deployment, please leave a comment below.
Before beginning, if you are curious what DirectAccess is, here is a brief overview of what it is and what it will allow us to accomplish.
DirectAccess, also known as Unified Remote Access, is a VPN-like technology that provides intranet connectivity to client computers when they are connected to the Internet. Unlike many traditional VPN connections, which must be initiated and terminated by explicit user action, DirectAccess connections are designed to connect automatically as soon as the computer connects to the Internet. DirectAccess was introduced in Windows Server 2008 R2, providing this service to Windows 7 and Windows 8 "Enterprise" edition clients.
http://en.wikipedia.org/wiki/DirectAccess
Prerequisites
- Domain Admin rights to complete the tutorial below
- Windows Server 2012 R2 machine
- Two network cards - One in your internal network, the other in your DMZ
- Joined to your domain
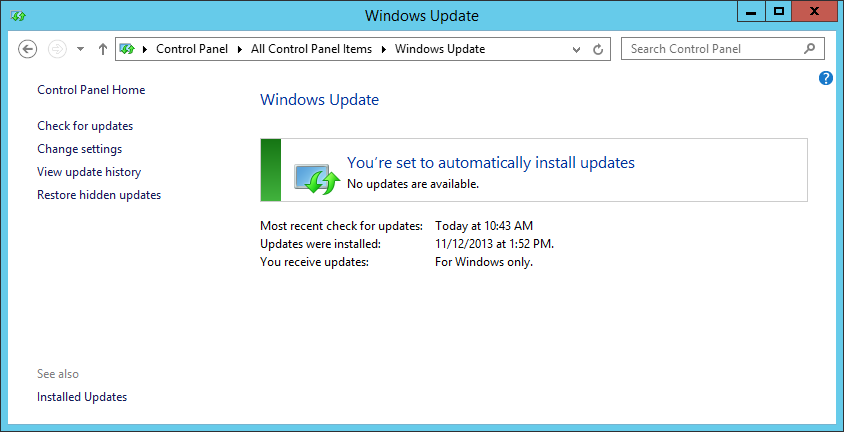
- Latest Windows Updates
(seriously, apply these, there are updates released specifically for DirectAccess)
- DMZ
- PKI Setup (Public Key Infrastructure to issue self-signed certificates)
- Custom template setup for issuing servers with an intended purpose of Server Authentication
- Certificate auto-enrollment has been configured
- Active Directory Security Group designated with Computer Objects allowed to use DirectAccess
- Login to your Server 2012 R2 server we will be using for installing the Direct Access
- Ensure all windows updates have been applied.
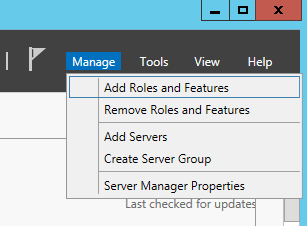
- Open up Server Manager

- Select Manage -> Add Roles and Features
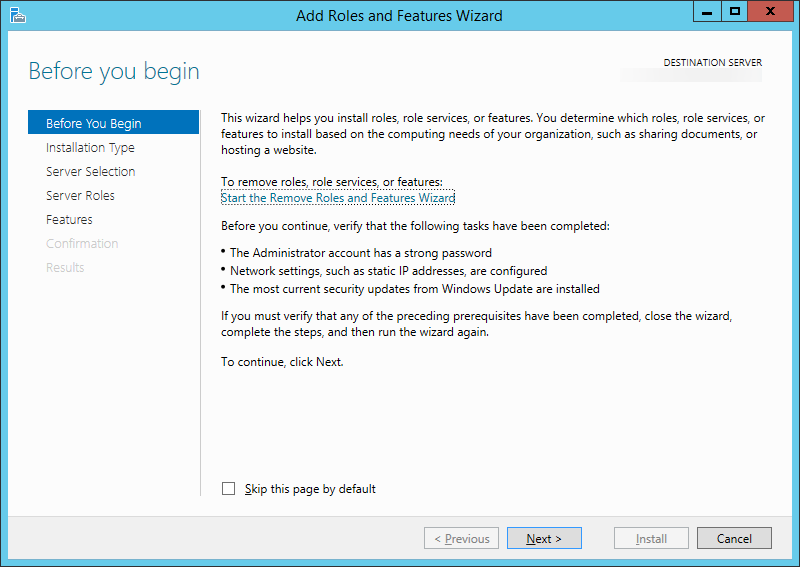
- Click Next > on the Before you Begin step
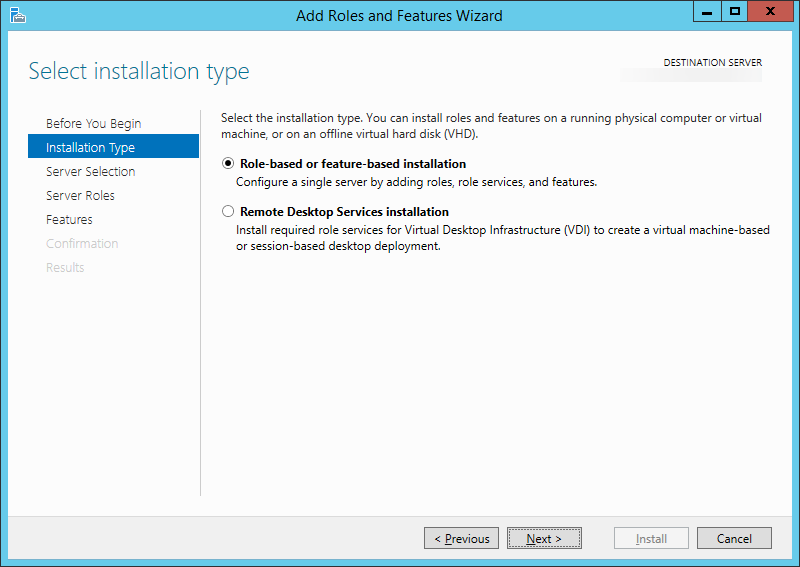
- Ensure Role-based or feature-based installation is checked and click Next >
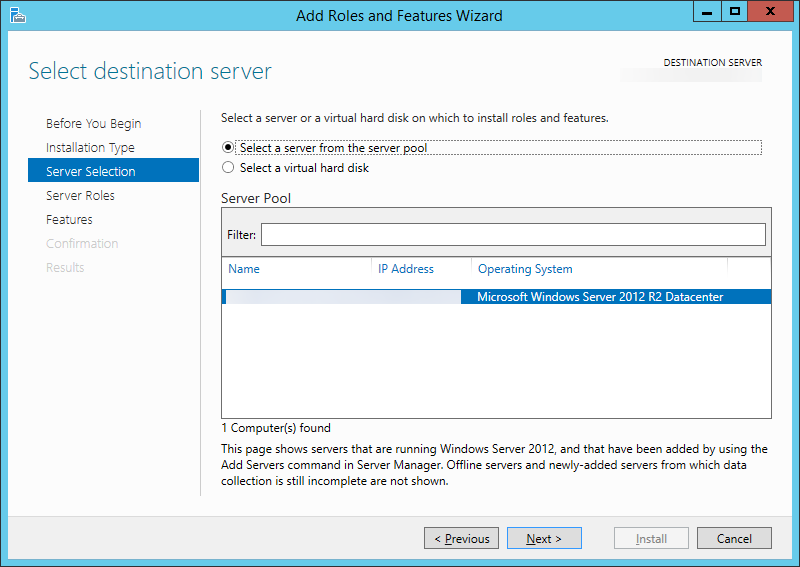
- Select Next > on the Select destination server step
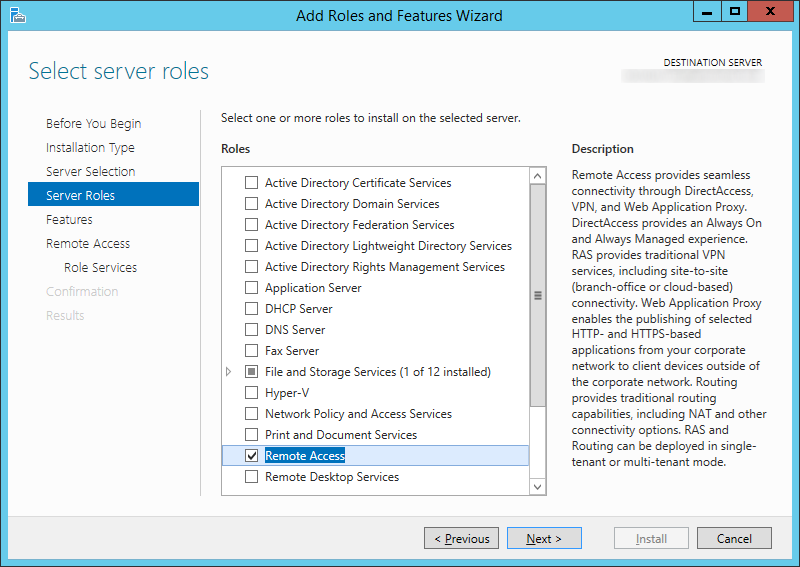
- Check Remote Access and click Next >
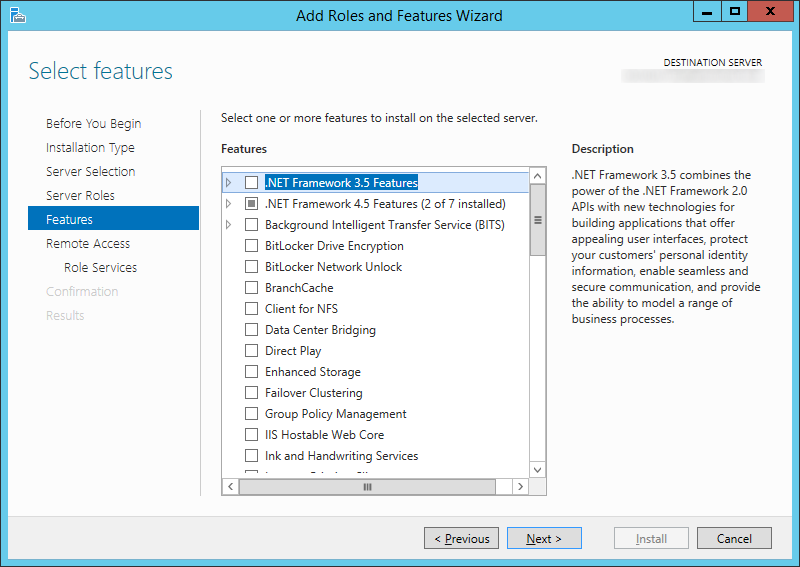
- Click Next > on the Select Features step
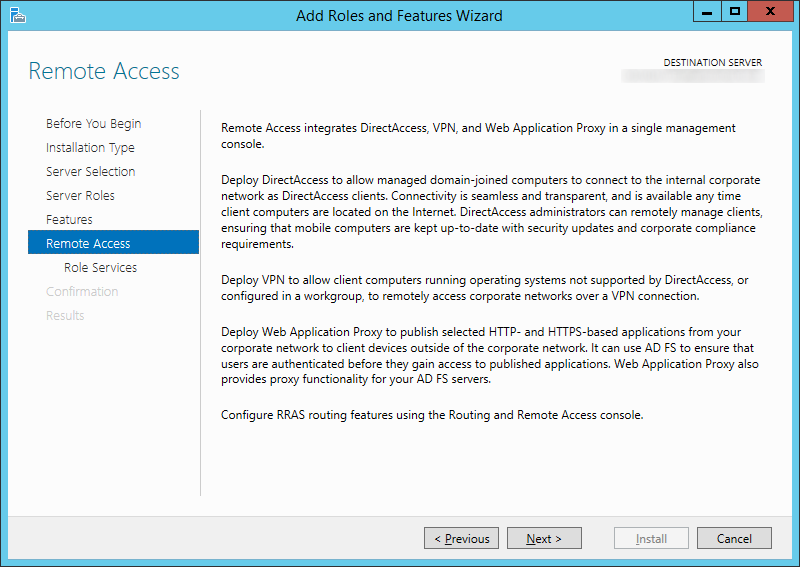
- Click Next > on the Remote Access step
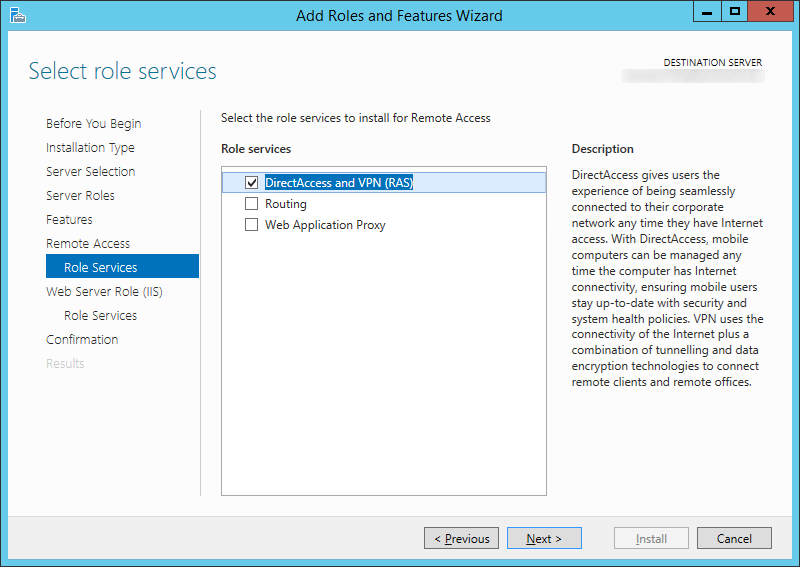
- Check DirectAccess and VPN (RAS)

- Click the Add Features button on the dialog box that prompts
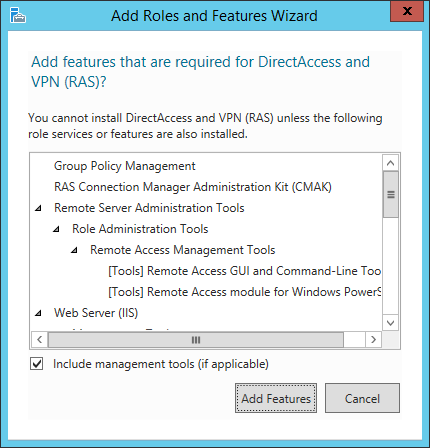
- Check DirectAccess and VPN (RAS) and then click Next >
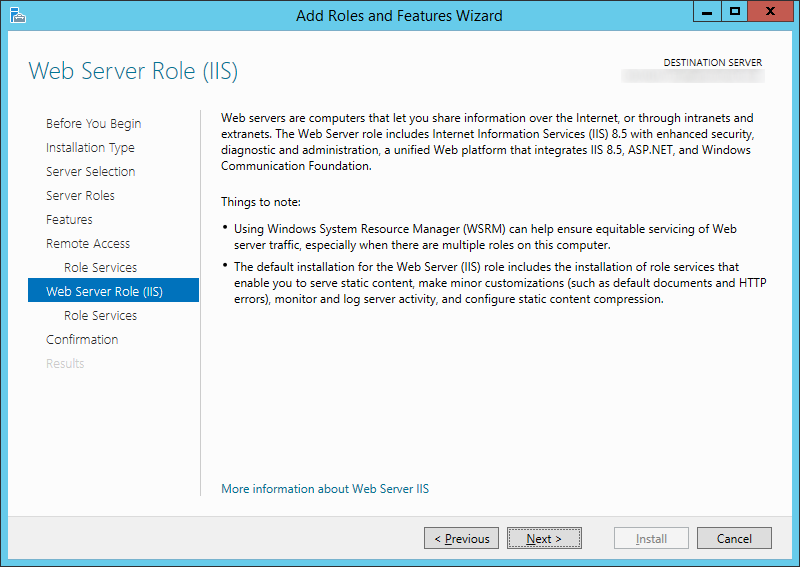
- Click Next > on the Web Server Role (IIS) page
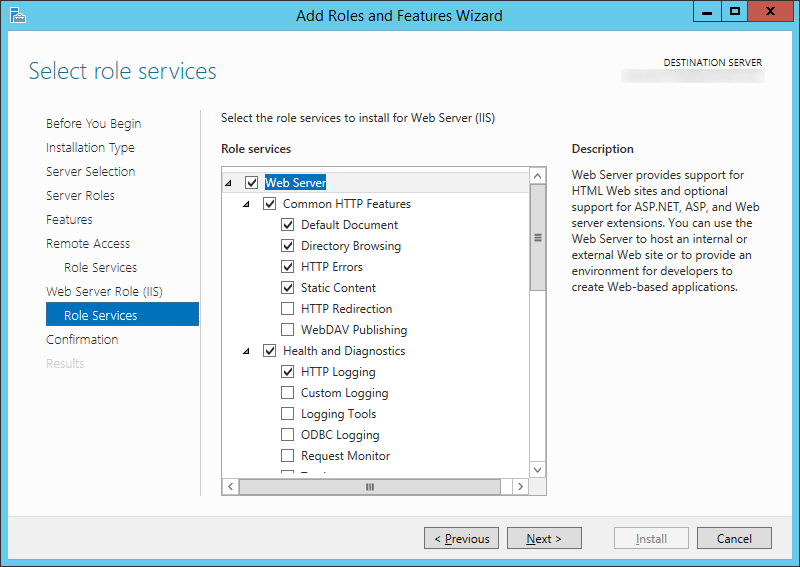
- Click Next > on the Role Services page
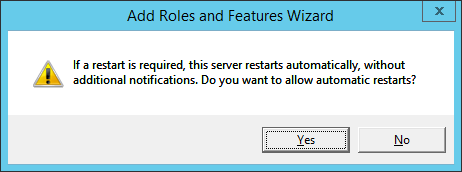
- Check the Restart the destination server automatically if required checkbox and click Yes on the dialog box.
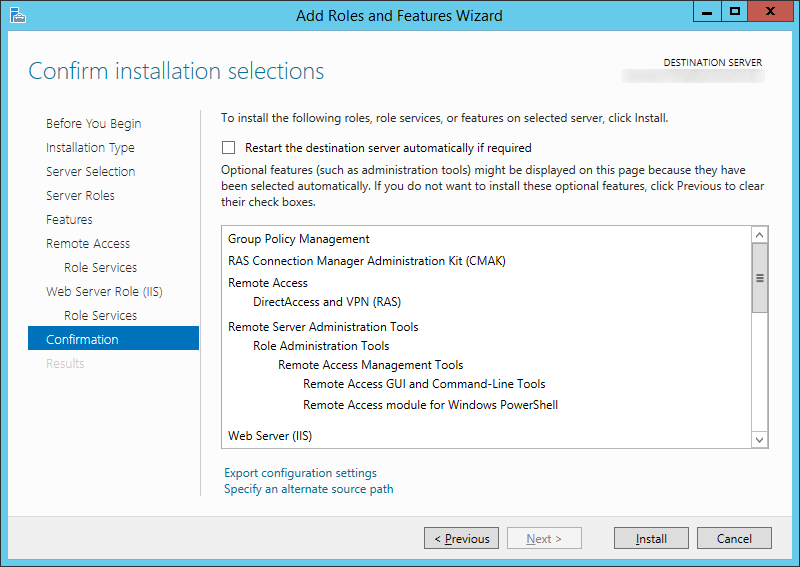
- Click Install

- Click Close when the install has completed
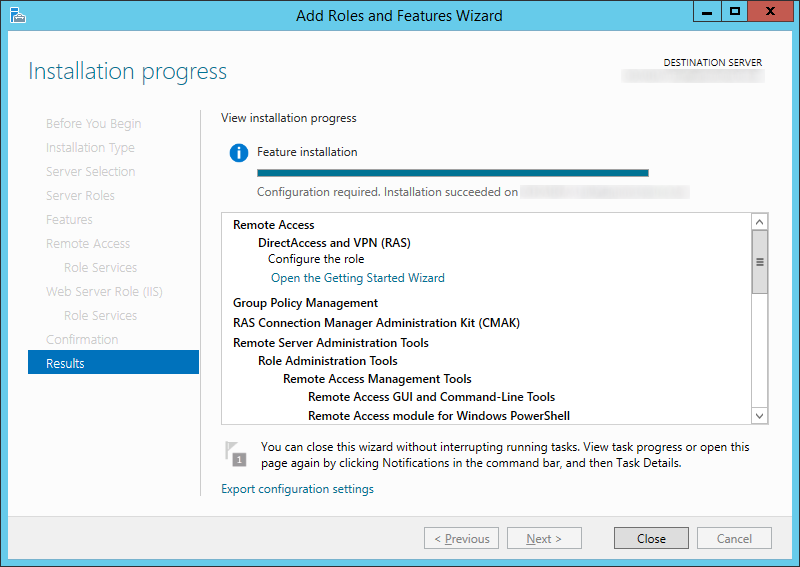
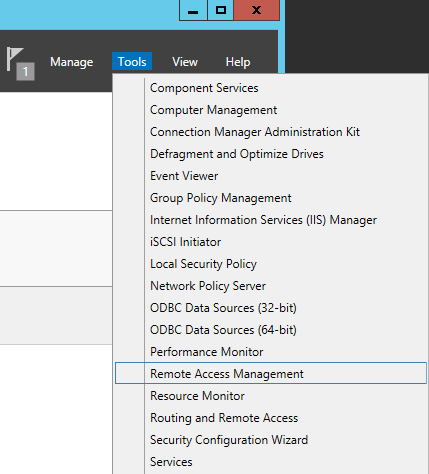
- Back in Server Manager, click on Tools -> Remote Access Management (You can ignore the warning icon, the Open the Getting Started Wizard will only do a quick setup of DirectAccess. We want to do a full deployment).
Here is what the quick deployment looks like. Don't click on this.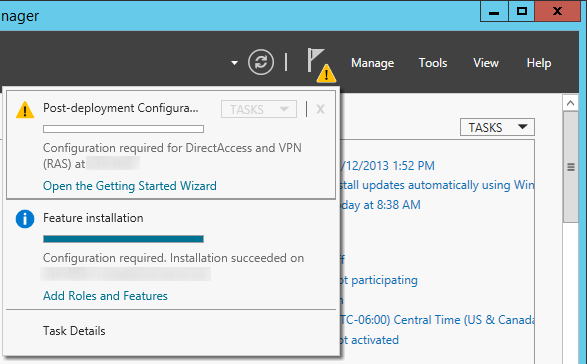
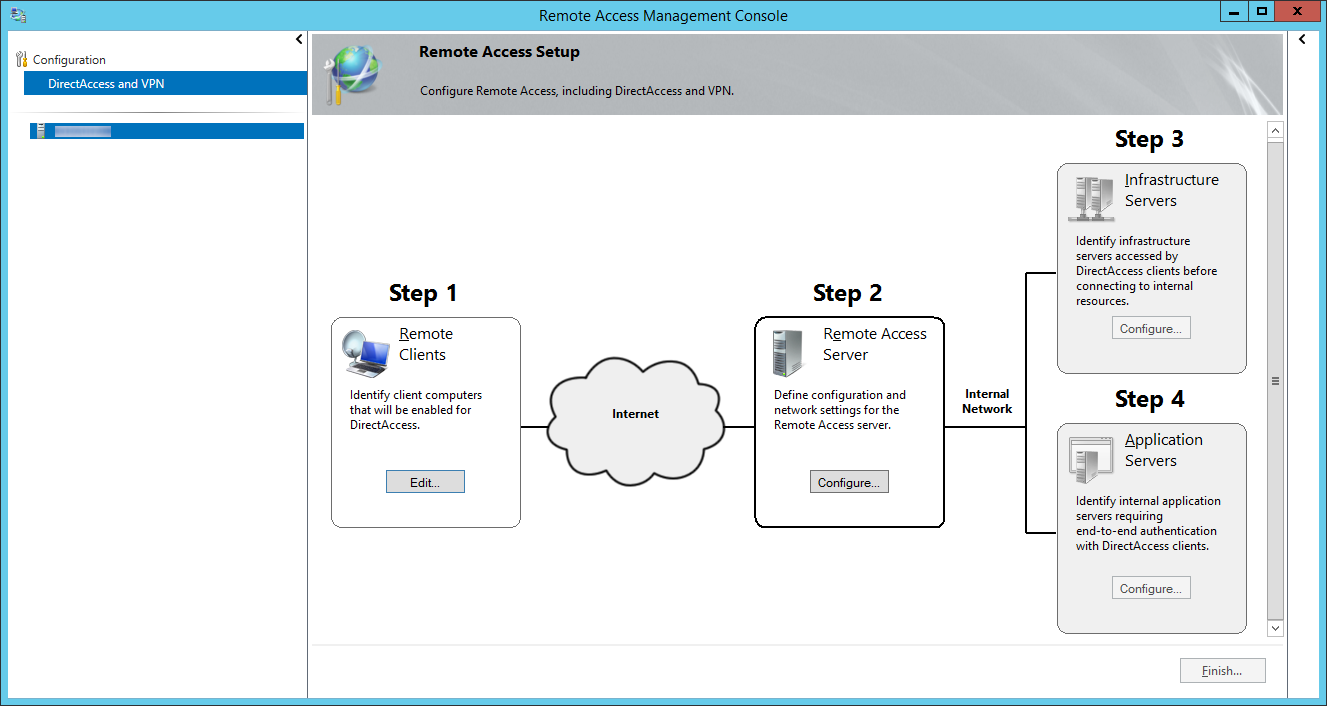
- On the Remote Access Management Console, click on DirectAccess and VPN on the top left and then click on the Run the Remote Access Setup Wizard.
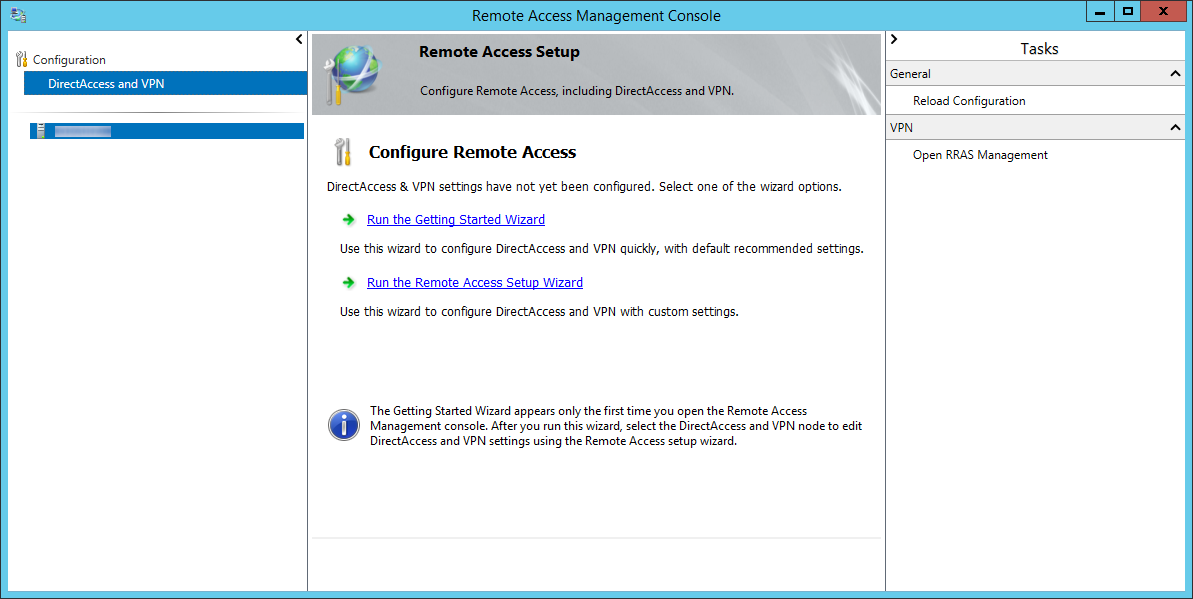
- On the Configure Remote Access window, select Deploy DirectAccess only

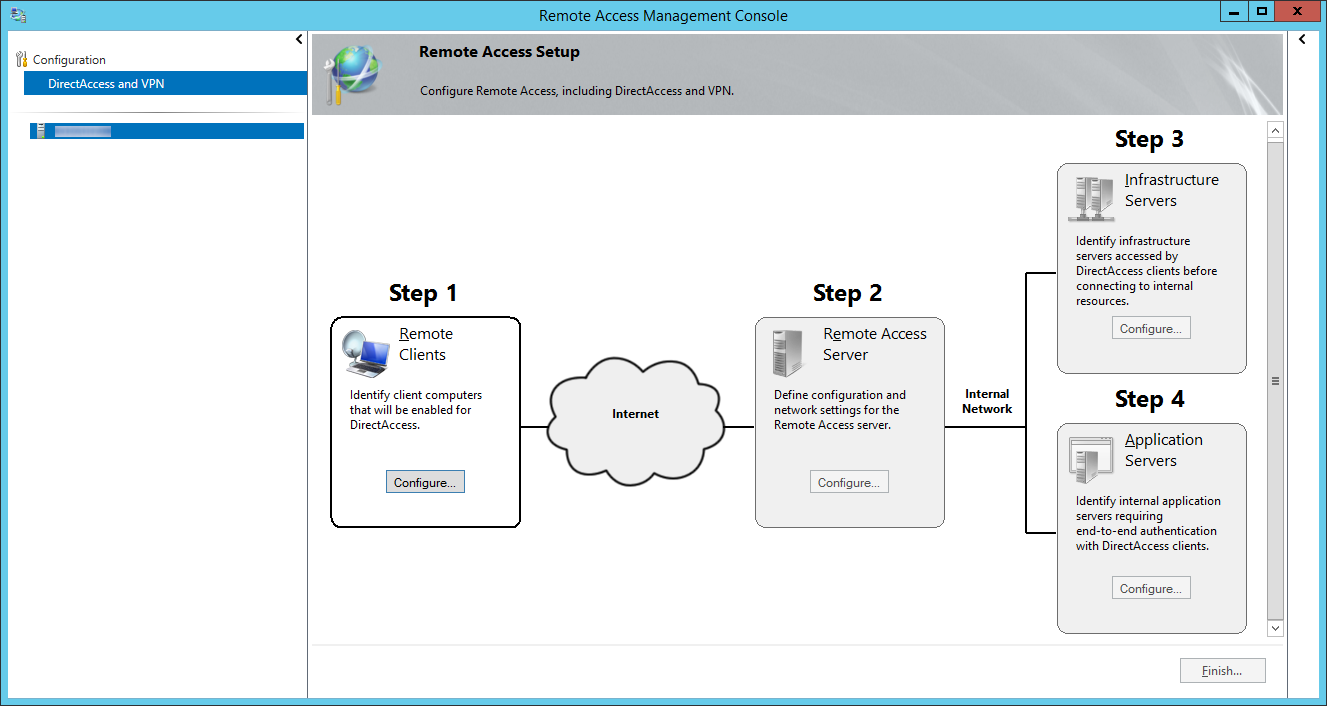
- Click on the Configure... button for Step 1: Remote Clients
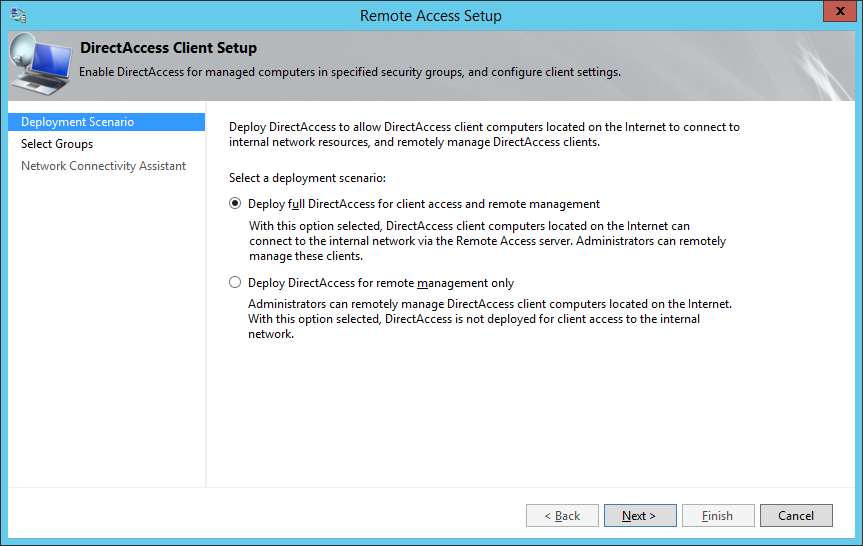
- Select Deploy full DirectAccess for client access and remote management and click Next >
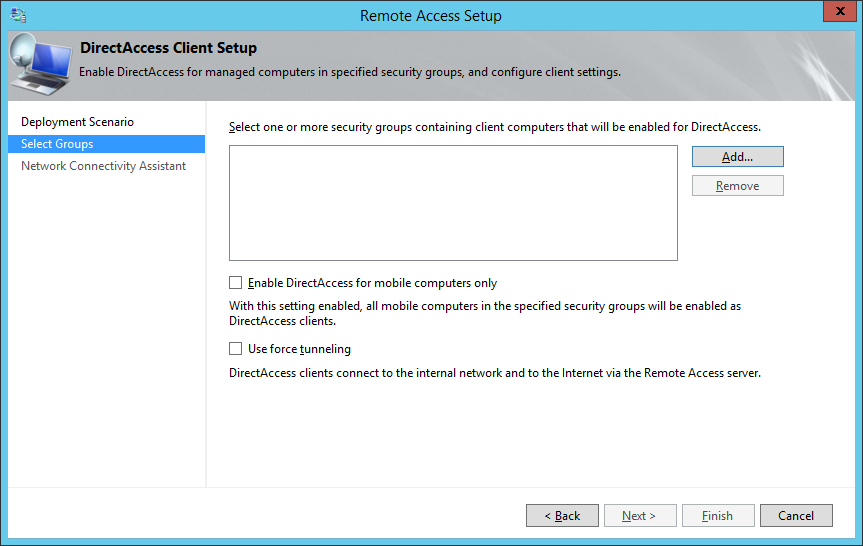
- Click on the Add... button
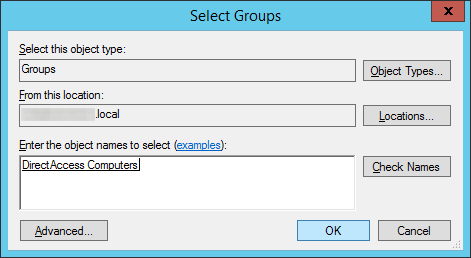
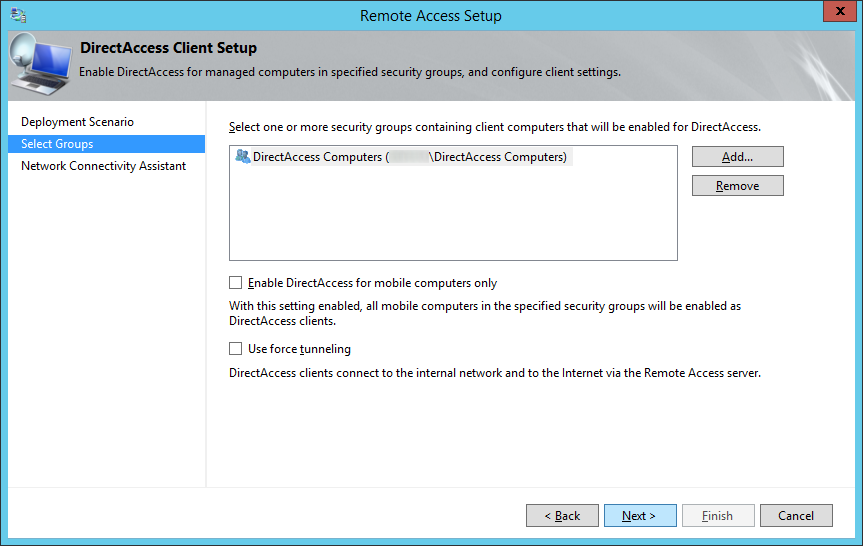
- Select the security group inside of Active Directory that will contain computer objects allowed to use DirectAccess and click OK
- Optionally, uncheck or check Enable DirectAccess for mobile computers only as well as Use force tunneling and click Next >
- If Enable DirectAccess for mobile computers is checked, WMI will query the machine to determine if it is a laptop/tablet. If WMI determines the machine is not a "mobile device", the group policy object will not be applied to those machines in the security group. In short, if checked, DirectAccess will not be applied to computers that are desktops or VMs placed inside the security group.
- If Use force tunneling is checked, computers will always use the direct access server when remote. For example, if the user surfs the web to a public website like jackstromberg.com, the traffic will go through the DirectAccess tunnel and back to the machine, rather than directly to the ISP. Generally, this is used for strict compliance environments that want all network traffic to flow through a central gateway.
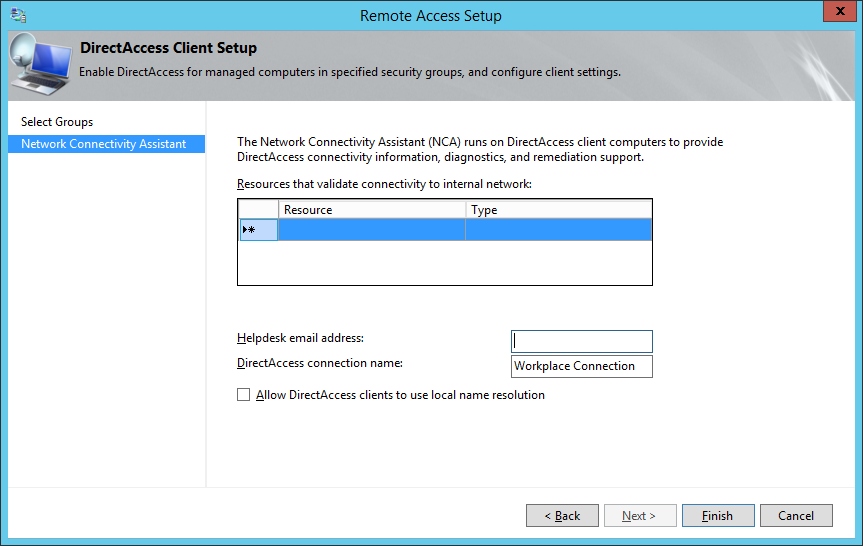
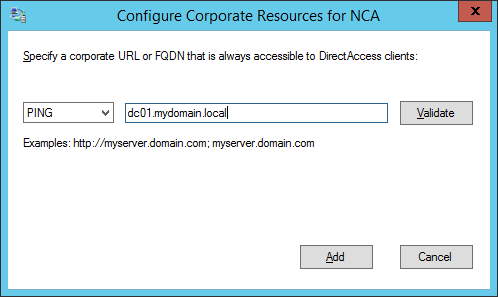
- Double click on the Resource | Type row
- What this step is trying to do is find a resource on the internal network that the client can "ping" to ensure the DirectAccess client has successfully connected to the internal network.
- What this step is trying to do is find a resource on the internal network that the client can "ping" to ensure the DirectAccess client has successfully connected to the internal network.
- Select whether you want the client to verify it has connected to the internal network via a HTTP response or network ping, optionally click the validate button to test the connection, and then click Add
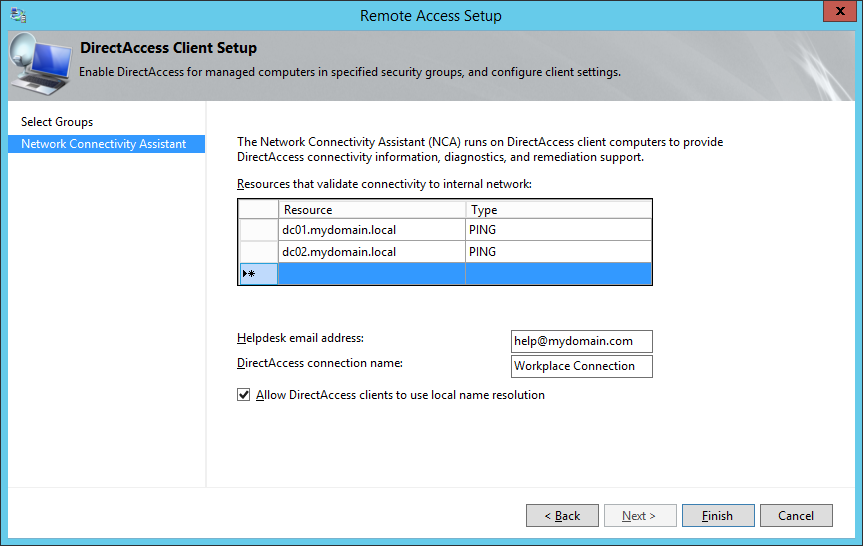
- You may want to add a couple resources for failover testing purposes, however it isn't recommended to list every resource on your internal network.
- You may want to add a couple resources for failover testing purposes, however it isn't recommended to list every resource on your internal network.
- Enter in your Helpdesk email address and DirectAccess connection name (this name will show up as the name of the connection a user would use), and check Allow DirectAccess clients to use local name resolution and click Finish.
- Based on what I could find, checking Allow DirectAccess clients to use local name resolution will allow the DirectAccess client to use the DNS server published by DHCP on the physical network they are connected to. In the event the Network Location server is unavailable, the client would then use the local DNS server for name resolution; allowing the client to at least access some things via DNS.
- Based on what I could find, checking Allow DirectAccess clients to use local name resolution will allow the DirectAccess client to use the DNS server published by DHCP on the physical network they are connected to. In the event the Network Location server is unavailable, the client would then use the local DNS server for name resolution; allowing the client to at least access some things via DNS.
- Click on Configure... next to Step 2: Remote Access Server
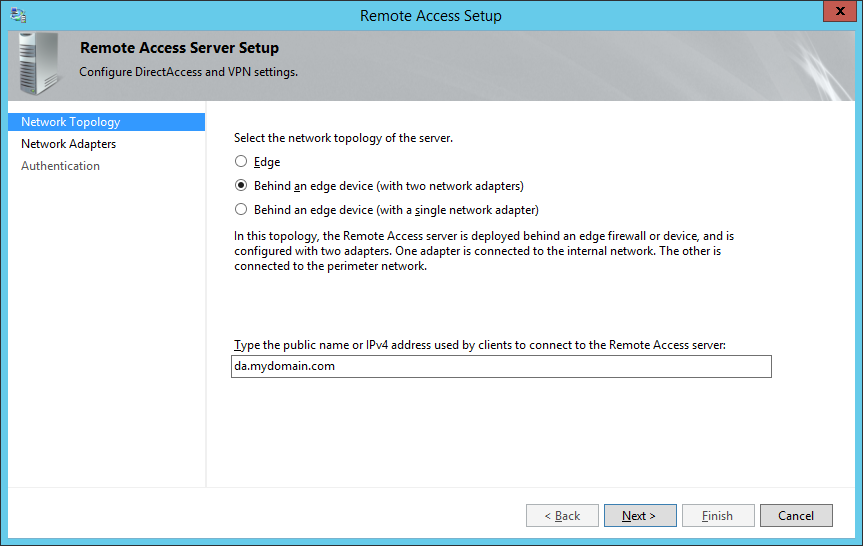
- On the Remote Access Server Setup page, select Behind an edge device (with two network adapters) and ensure you specify a public facing DNS record that DirectAccess will use to connect back to your environment, and then click Next >
- NOTE: By default, your domain's FQDN will be used, so if you have a .local domain, you will want to switch this to your actual .com, .net, .org, .whatever.
- As an additional side note, hereis some information from the following KB article on what the differences are between each of the topologies. From what I gather, using the dual NIC configuration is Microsoft's best practice from a security standpoint.
- Two adapters—With two network adapters, Remote Access can be configured with one network adapter connected directly to the Internet, and the other is connected to the internal network. Or alternatively the server is installed behind an edge device such as a firewall or a router. In this configuration one network adapter is connected to the perimeter network, the other is connected to the internal network.
- Single network adapter—In this configuration the Remote Access server is installed behind an edge device such as a firewall or a router. The network adapter is connected to the internal network.
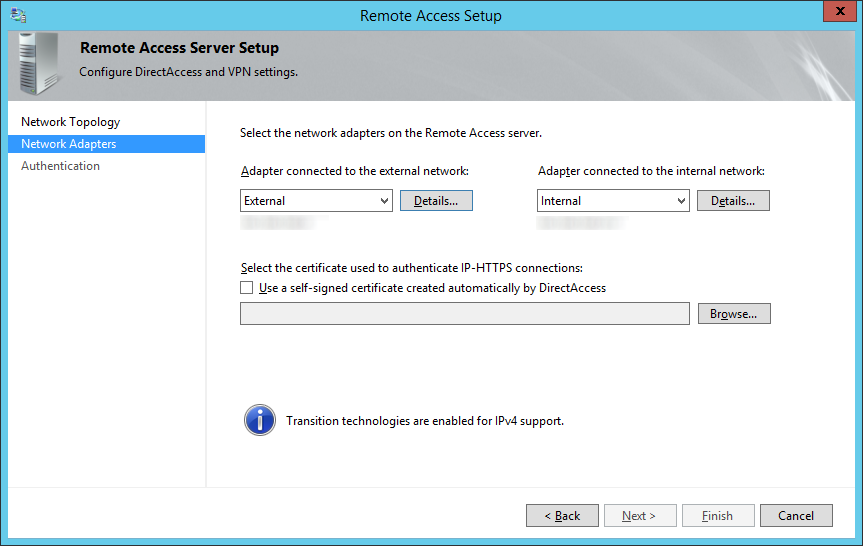
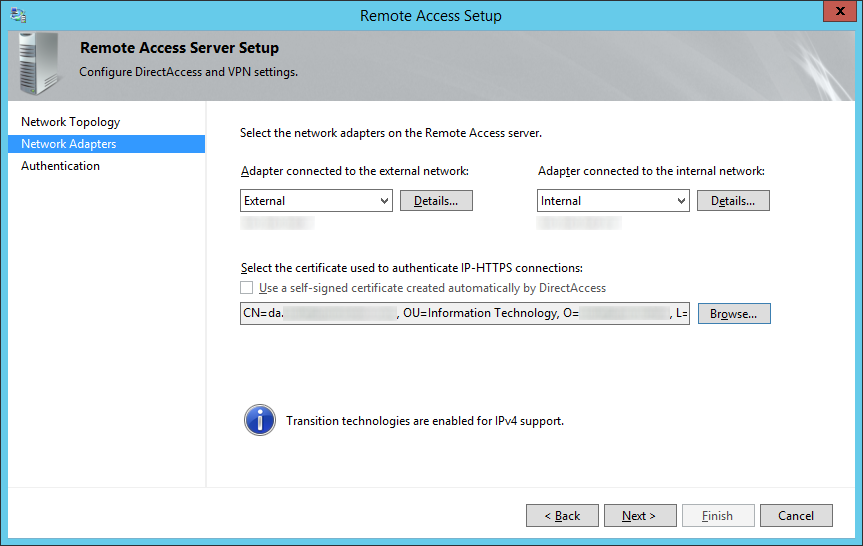
- On the Network Adapters step, select your External (DMZ) and Internal (LAN) adapters.
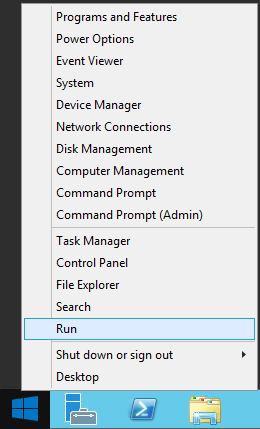
- Leave the Remote Access Setup screen open and right click on Start button and select Run
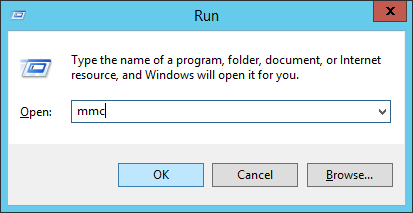
- Type mmc and select OK
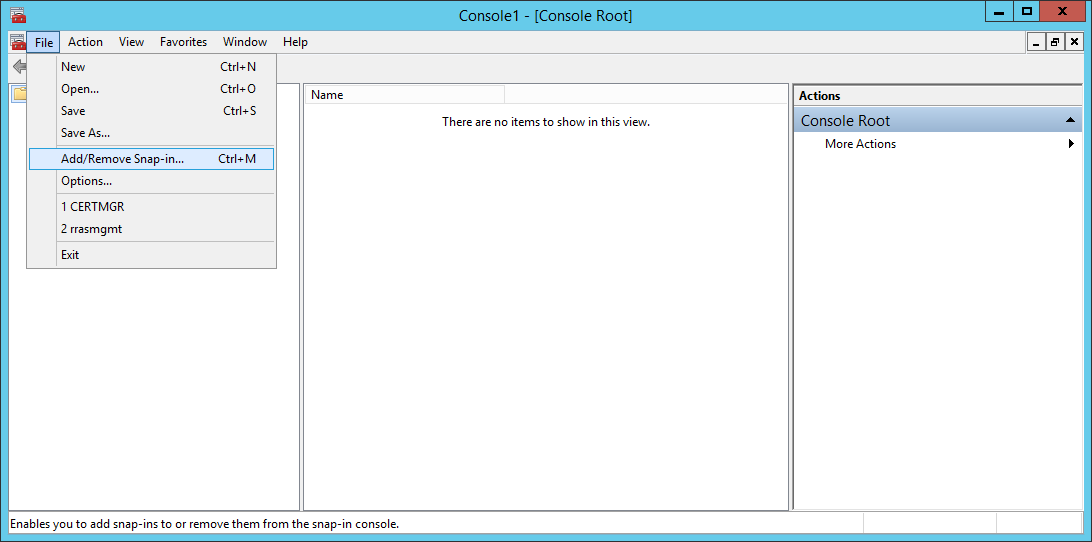
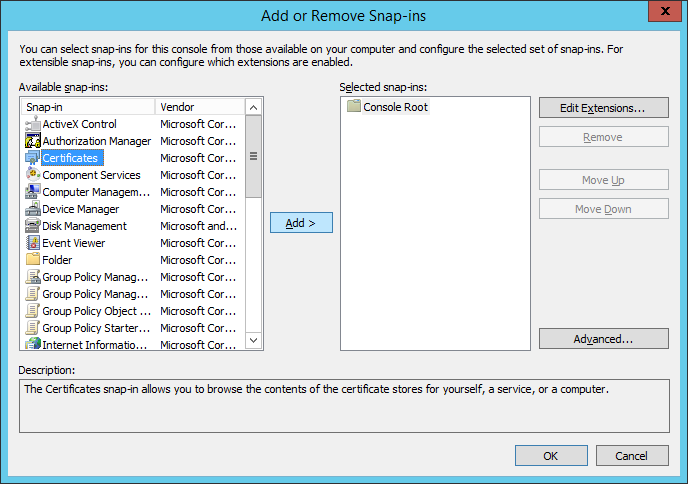
- Click File -> Add/Remove Snap-in...
- Select Certificates and click Add >
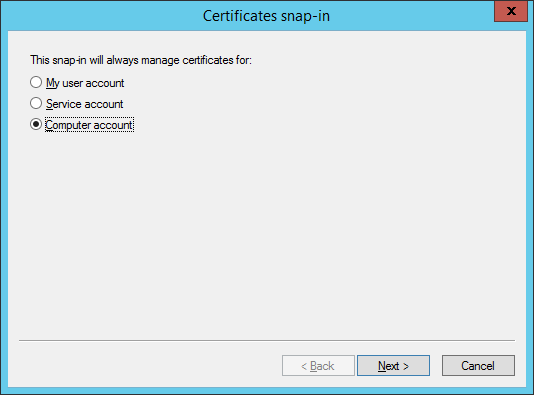
- Select Computer account and click Next >
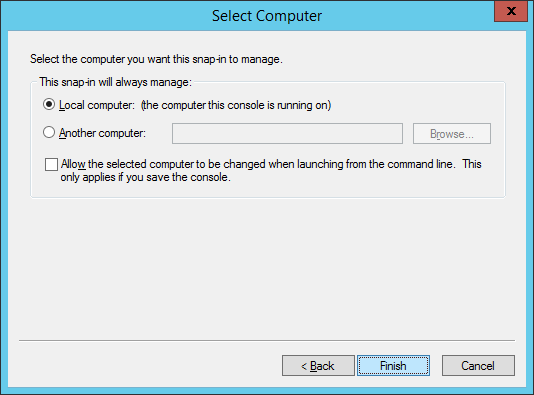
- Ensure Local Computer is selected and click Finish
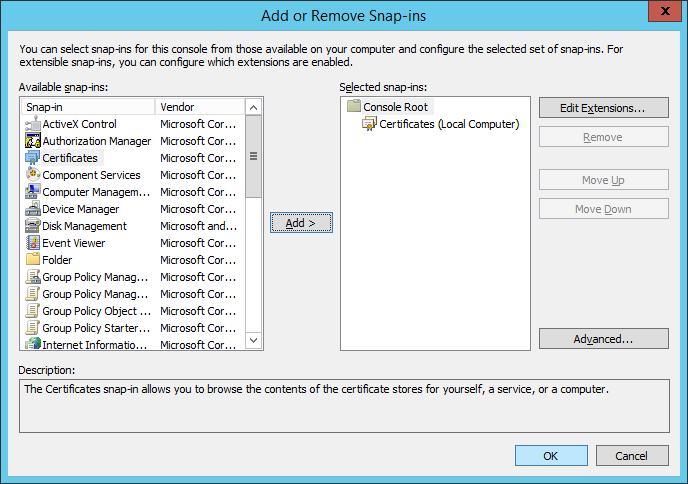
- Click OK on the Add or Remove Snap-ins machine
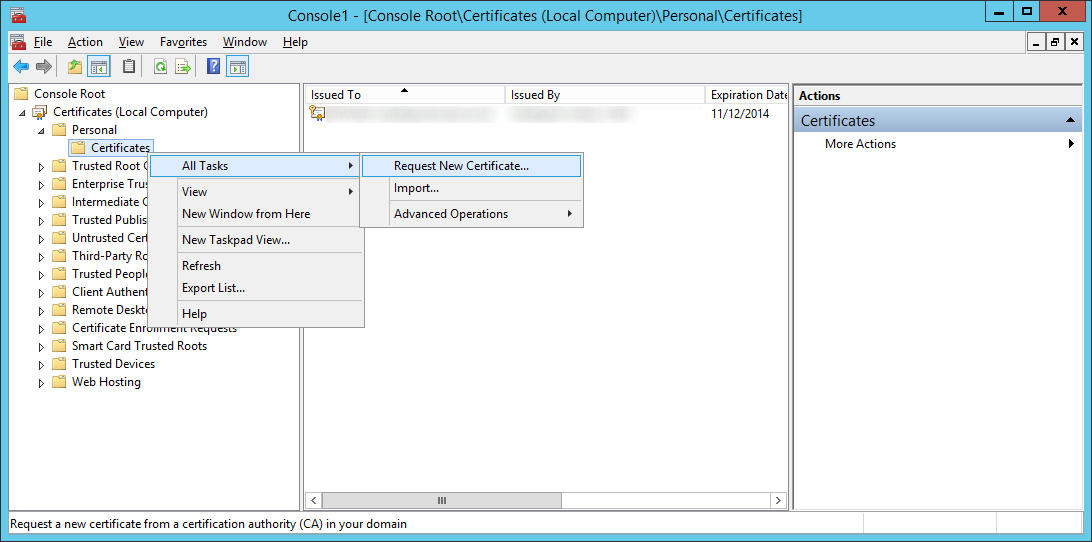
- Expand Certificates (Local Computer) -> Personal -> Certificates, right click on Certificates and select Request New Certificate...
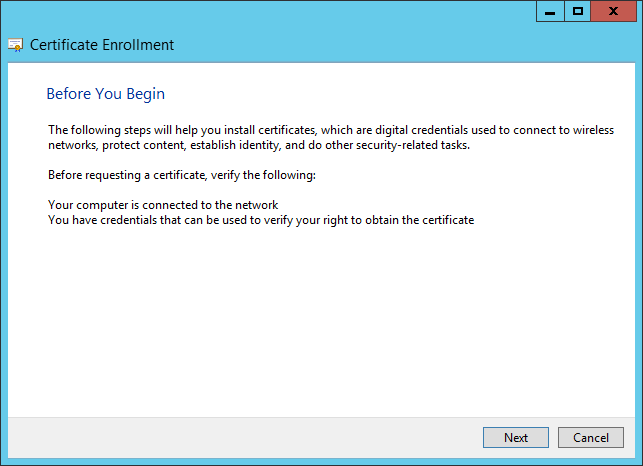
- Click Next on the Before You Begin screen
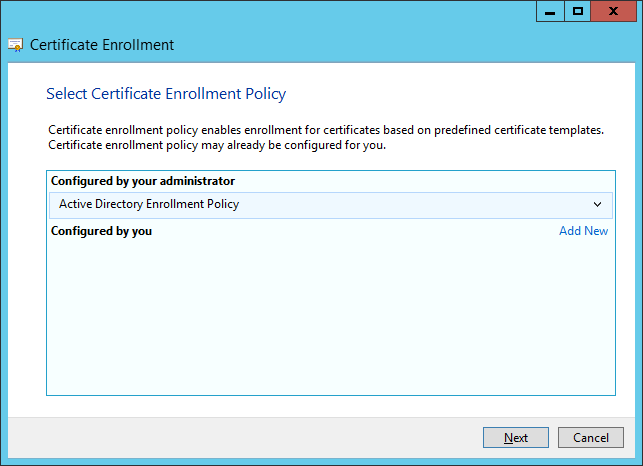
- Click Next on the Select Certificate Enrollment Policy
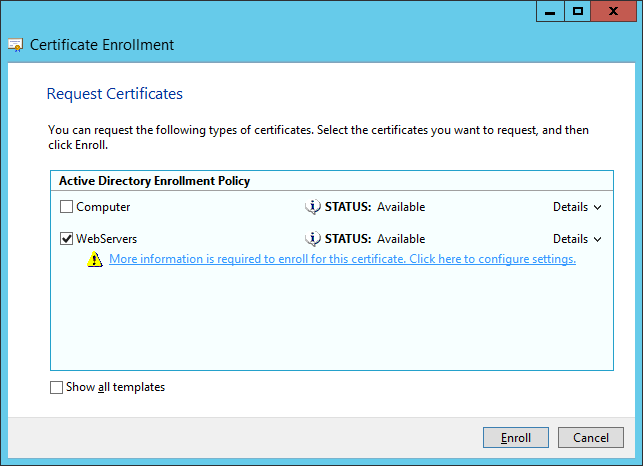
- Select your template that will support server authentication and click More information is required to enroll for this certificate. Click here to configure settings.
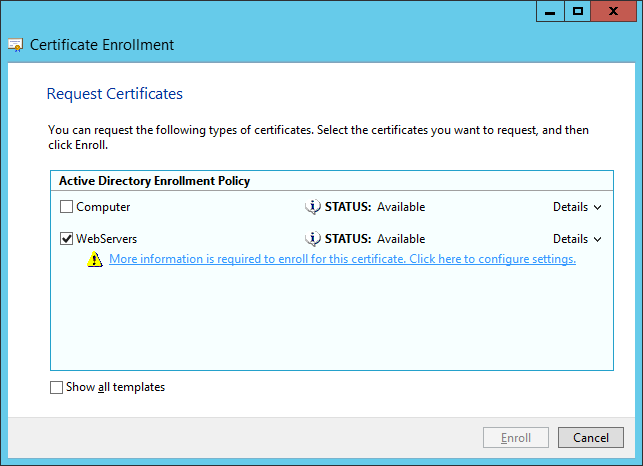
- Note: The WebServers enrollment policy is not something out of the box configured by Microsoft. You will need to manually login to your certificate authority, duplicate the Web Servers template with the settings you wish, ensure your usergroup can Enroll for a certificate, and then publish it to AD.
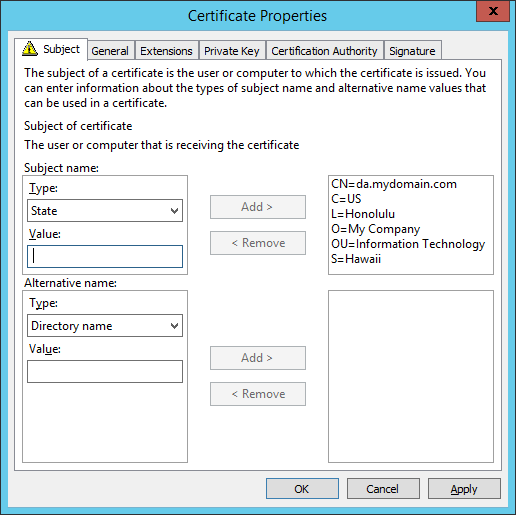
- On the Subject tab, enter the following values (substituting in your company's information):
Common name: da.mydomain.com
Country: US
Locality: Honolulu
Organization: My Company
Organization Unit: Information Technology
State: Hawaii
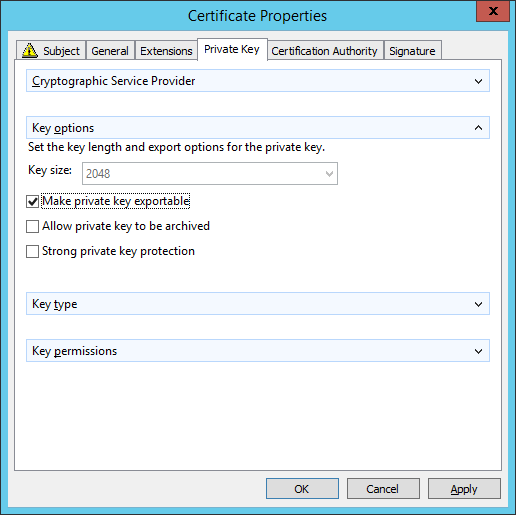
- On the Private Key tab, expand Key options and check Make private key exportable. Click Apply when done.
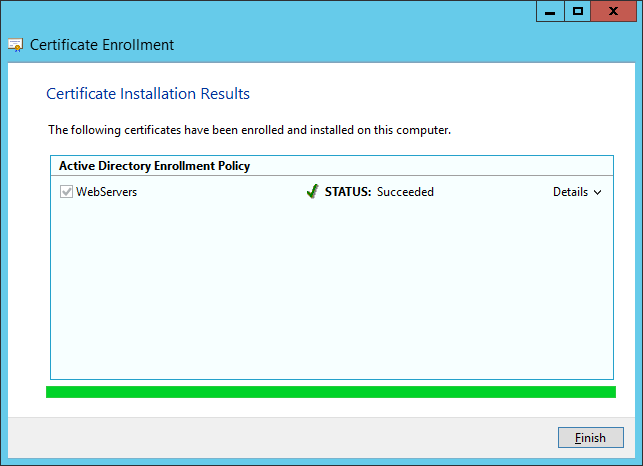
- Click Enroll.
- Click Finish.
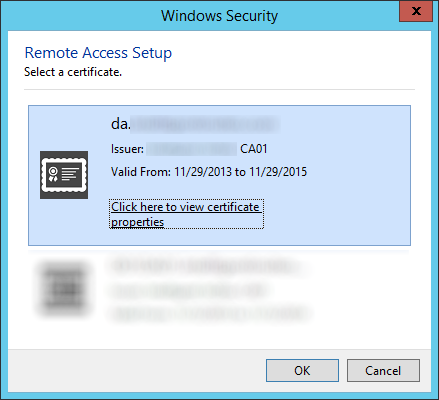
- Go back to the Remote Access Setup screen and click Browse...
- Select your da.mydomain.com certificate we just created and click OK.
- Click Next >
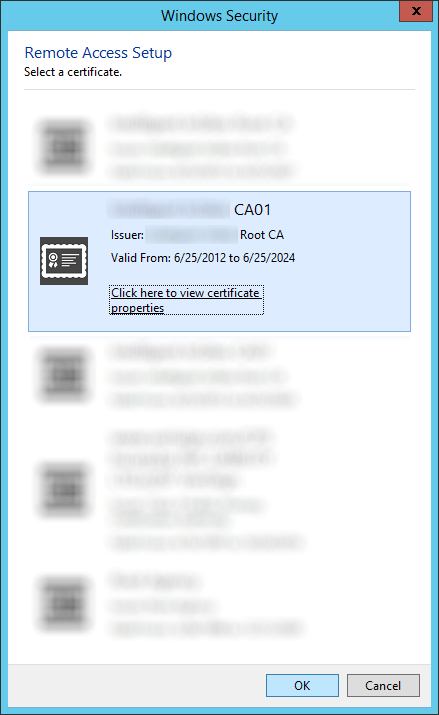
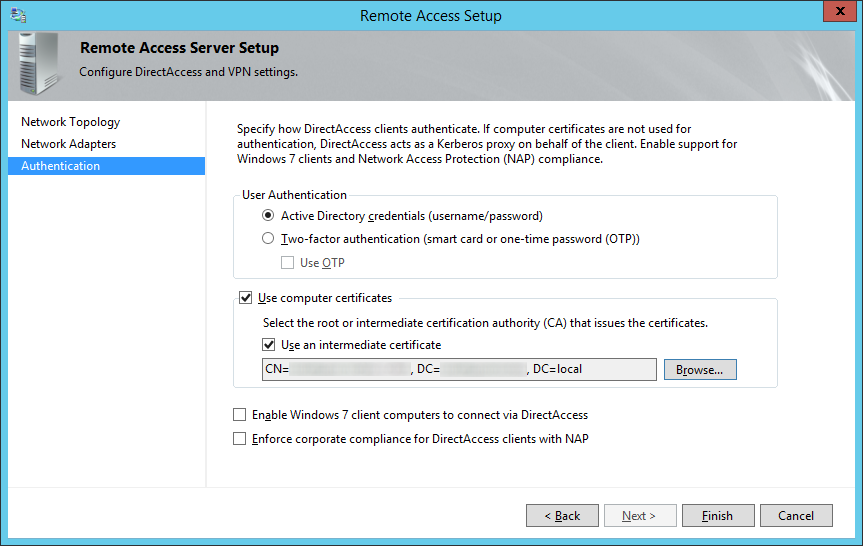
- Check Use computer certificates and check Use an intermediate certificate and then click Browse...
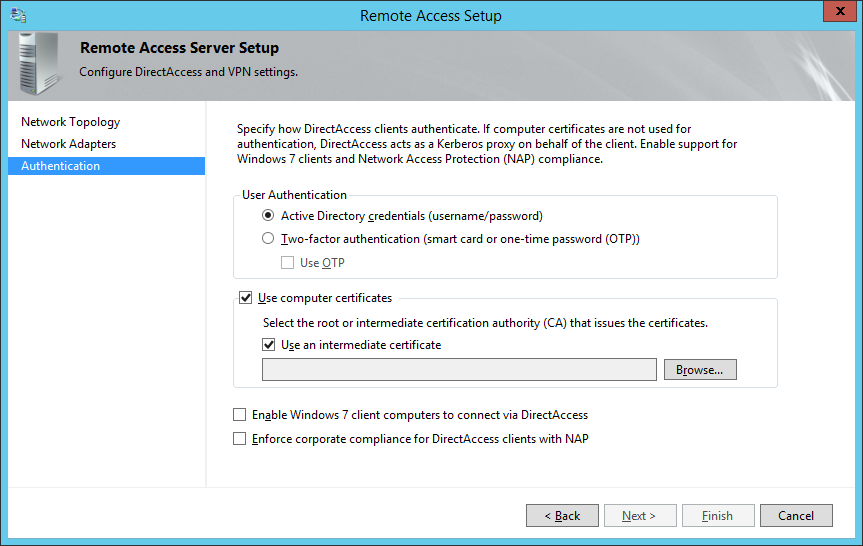
- Select the certificate authority that will be issuing the client certificates and click click OK
- Optionally, you may enable Enable Windows 7 client computers to connect via DirectAccess as well as Enforce corporate compliance for DirectAccess clients with NAP. Note: Configuring these two options are not covered in the scope of this tutorial. Click Finish when done.
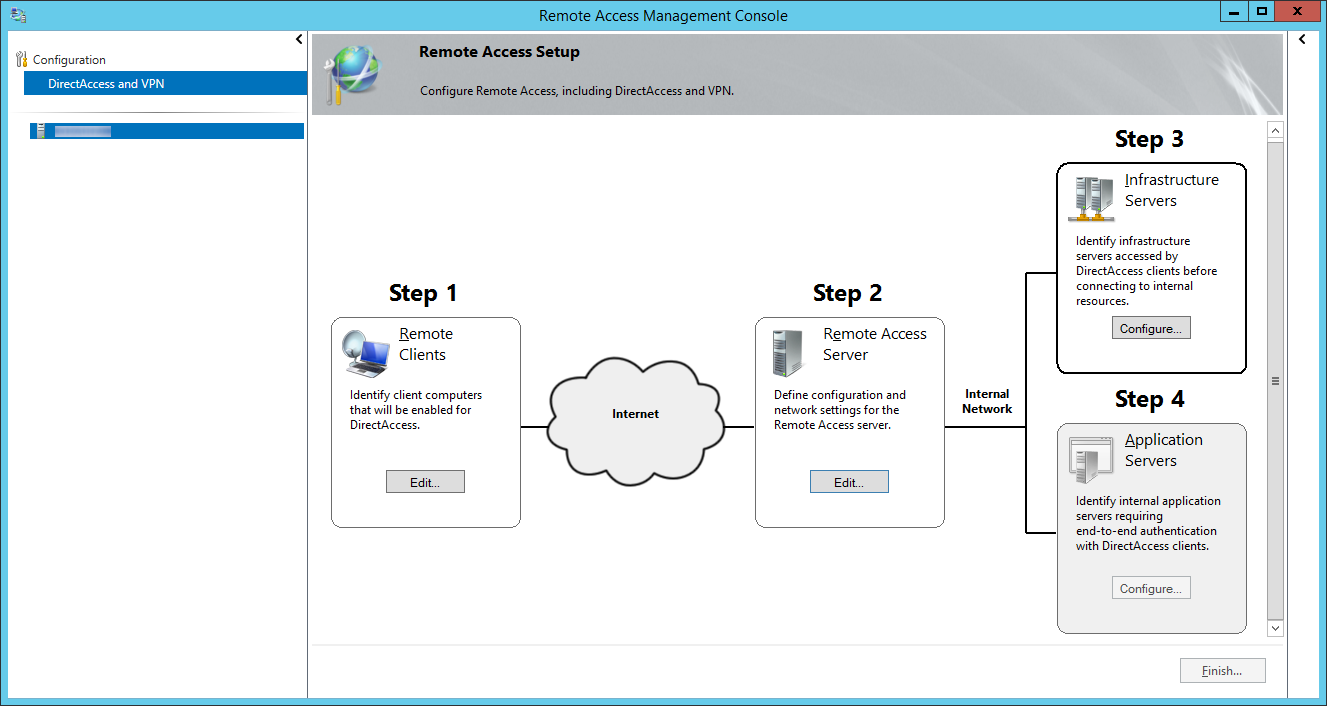
- Click on Configure... next to Step 3: Infrastructure Servers
- On the Remote Access Setup screen, check The network location server is deployed on a remote web server (recommended), type in the website address to the Network Location Server, and click Next >
- So for whatever reason, there aren't many articles explaining what exactly the network location server is and how to set it up. From what I gather, the Network Location Server is merely a server with a website running on it that the client can contact to ensure it has reached the internal network. The webpage can be the default IIS webpage; just ensure the website is NOT accessible externally.
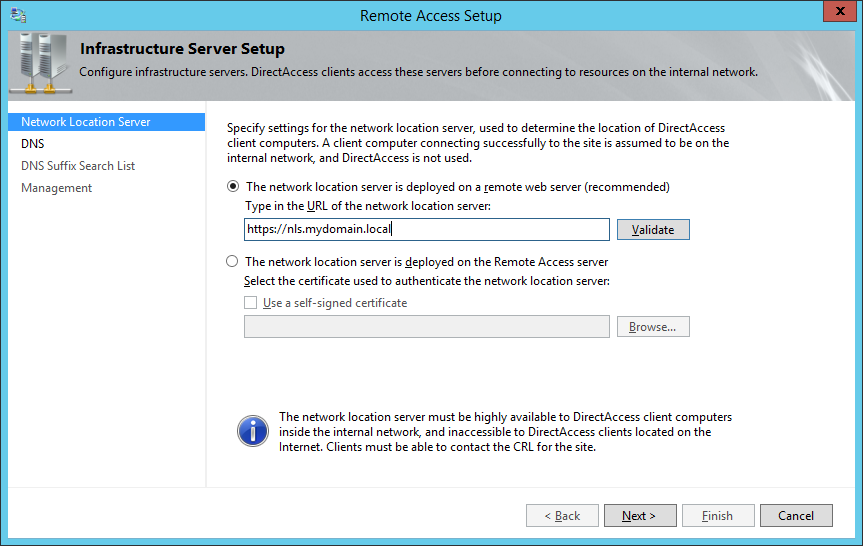
- So for whatever reason, there aren't many articles explaining what exactly the network location server is and how to set it up. From what I gather, the Network Location Server is merely a server with a website running on it that the client can contact to ensure it has reached the internal network. The webpage can be the default IIS webpage; just ensure the website is NOT accessible externally.
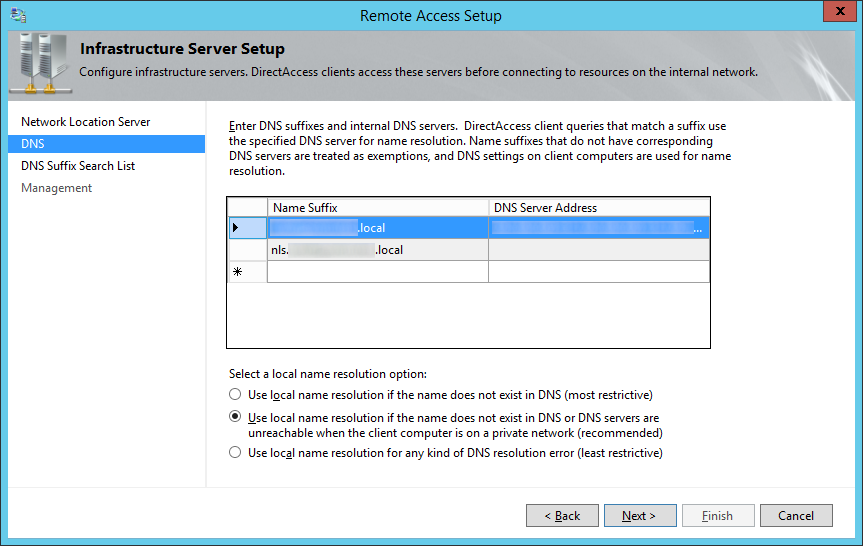
- Specify any additional DNS servers you wish to use for name resolution, ensure Use local name resolution if the name does not exist in DNS or DNS servers are unreachable when the client computer is on a private network (recommended) is checked and click Next >
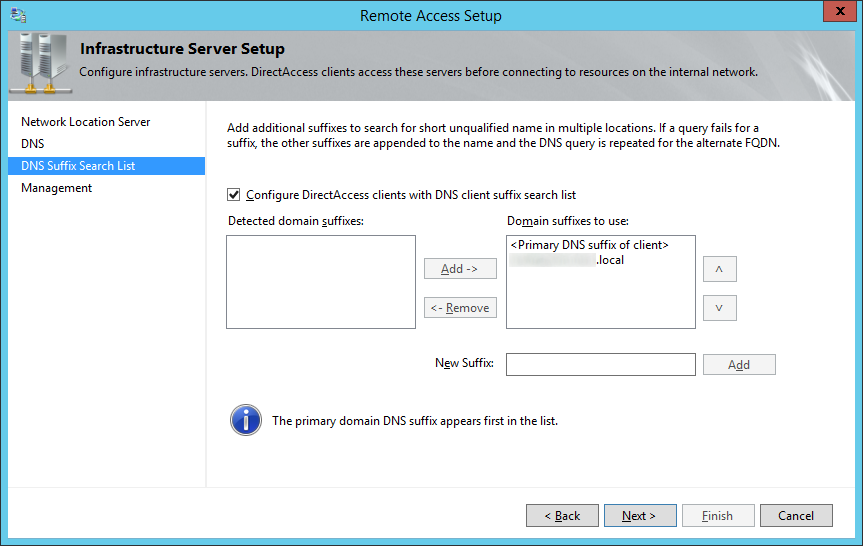
- Check Configure DirectAccess clients with DNS client suffix search list, ensure your local domain's suffix has been added, and click Next >
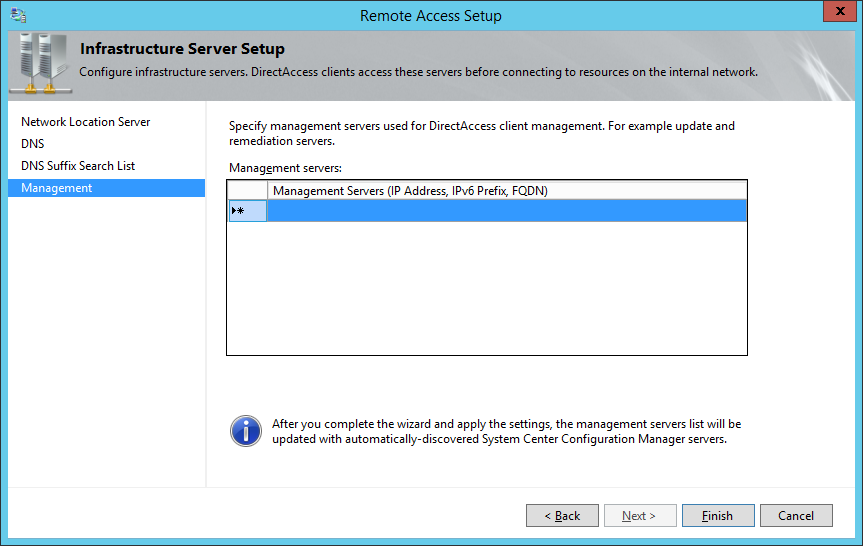
- Click Finish on the Management page.
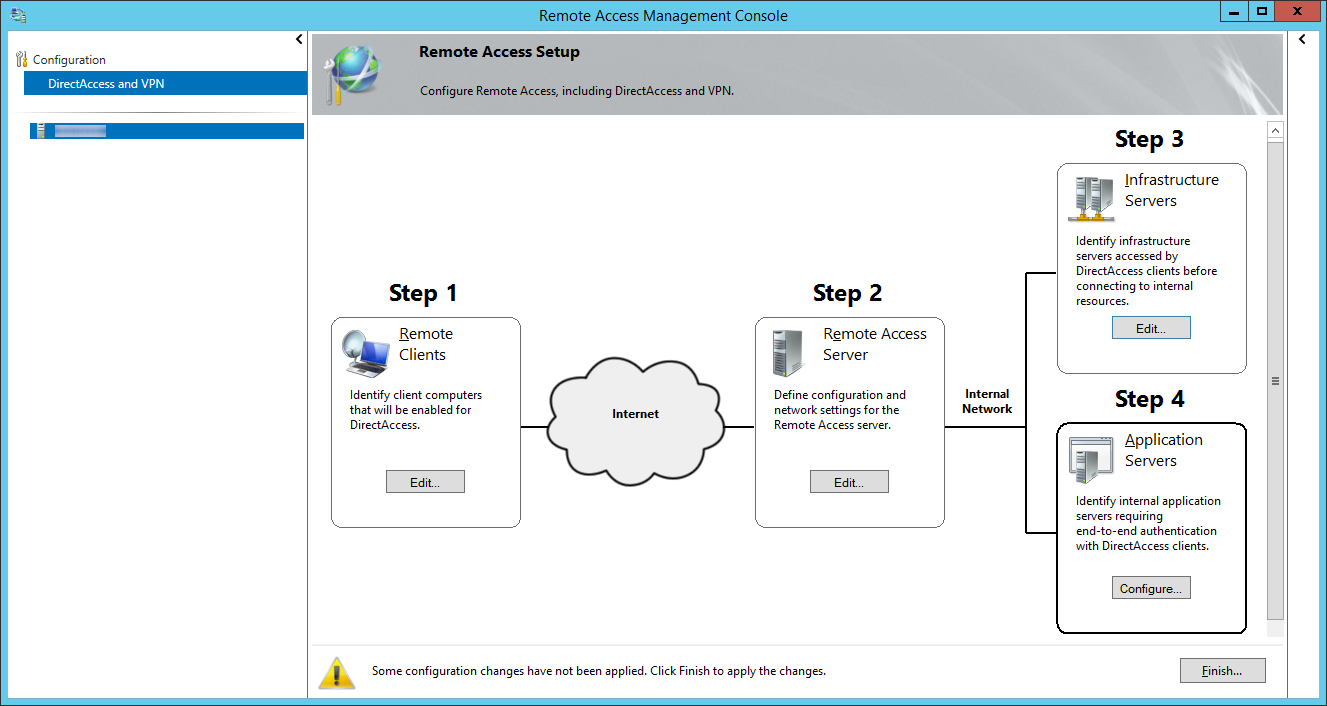
- Click the Configure.... button on Step 4: Application Servers
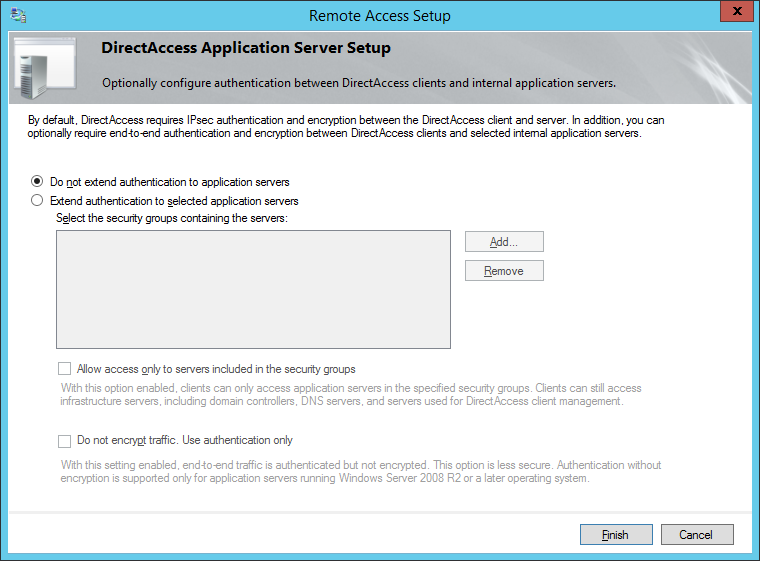
- Check Do not extend authentication to application servers and click Finish
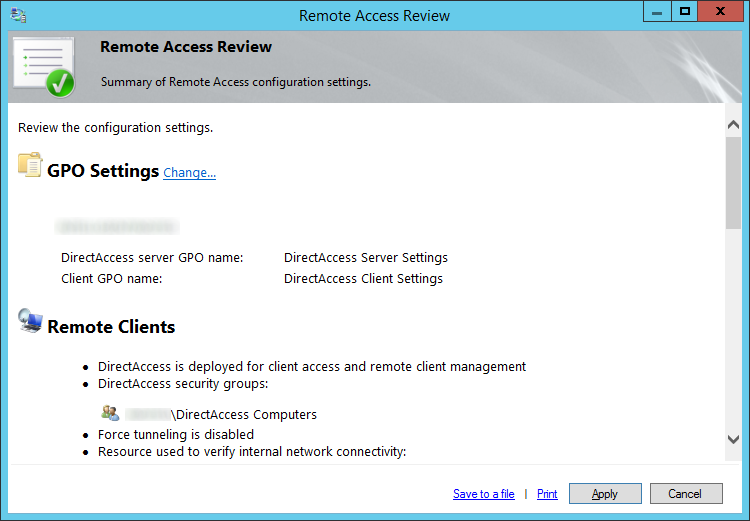
- Click Finish... on the Remote Access Management Console page

- Click Apply on the Remote Access Review page
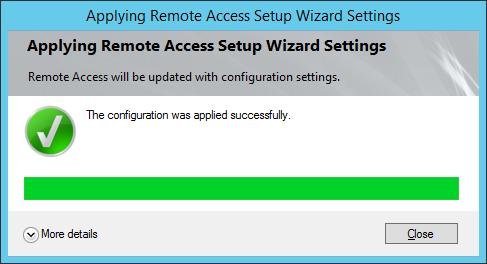
- Click Close once direct access has successfully finished deploying
- Login to one of your Windows 8.X Enterprise machines that is inside of your DirectAccess Compuers security group and run a gpupdate from command line to pull down the latest group policy.
- At this point, you should now be able to login to your network via DirectAccess!
NOTES:
Here is a pretty good resource from Microsoft on helping plan your DirectAccess deployment. Once you click on the link, in the bottom left corner, you will find two steps to some good KB articles: http://technet.microsoft.com/en-us/library/jj134262.aspx
Here is another article from Microsoft with a more indepth explanation about where to place the Network Location Server: http://technet.microsoft.com/en-us/library/ee382275(v=ws.10).aspx