If you've been following my last two tutorials (Home Assistant + Docker + Z-Wave + Raspberry Pi | Jack Stromberg and How to update Home Assistant Docker Container | Jack Stromberg) on running Home Assistant via Docker and how to keep the container updated, you may have noticed that 2021 has been a big year for larger changes, with a surprising change coming to how Home Assistant handles Z-Wave Devices.
In Home Assistant v2021.2, Home Assistant announced the Z-Wave integration as deprecated in favor of a new integration called Z-Wave JS. In Home Assistant v2021.3, many fixes were implemented, with the notable limitation of Door Sensors being removed.
So why the change?
As per the Home Assistant v2021.2 announcement:
More and more people were concerned about the future of Z-Wave with Home Assistant; meanwhile the Z-Wave JS project was rapidly growing and gathering a large community around it. Long story short: Home Assistant and Z-Wave JS teamed up! And a lot of contributors jumped on the train!
This new integration is based on the same base principles as the OpenZWave integration: It is decoupled from Home Assistant. Instead of MQTT, the Z-Wave JS integration uses a WebSocket connection to a Z-Wave JS server.
This means, in order to use this new integration, you’ll need to run the Z-Wave JS server that sits in between your Z-Wave USB stick and Home Assistant. There are multiple options available for running the Z-Wave JS server, via Docker or manually, and there is also a Home Assistant add-on available.
So how do I upgrade?
This article reflects the steps I took to update my Z-Wave implementation.
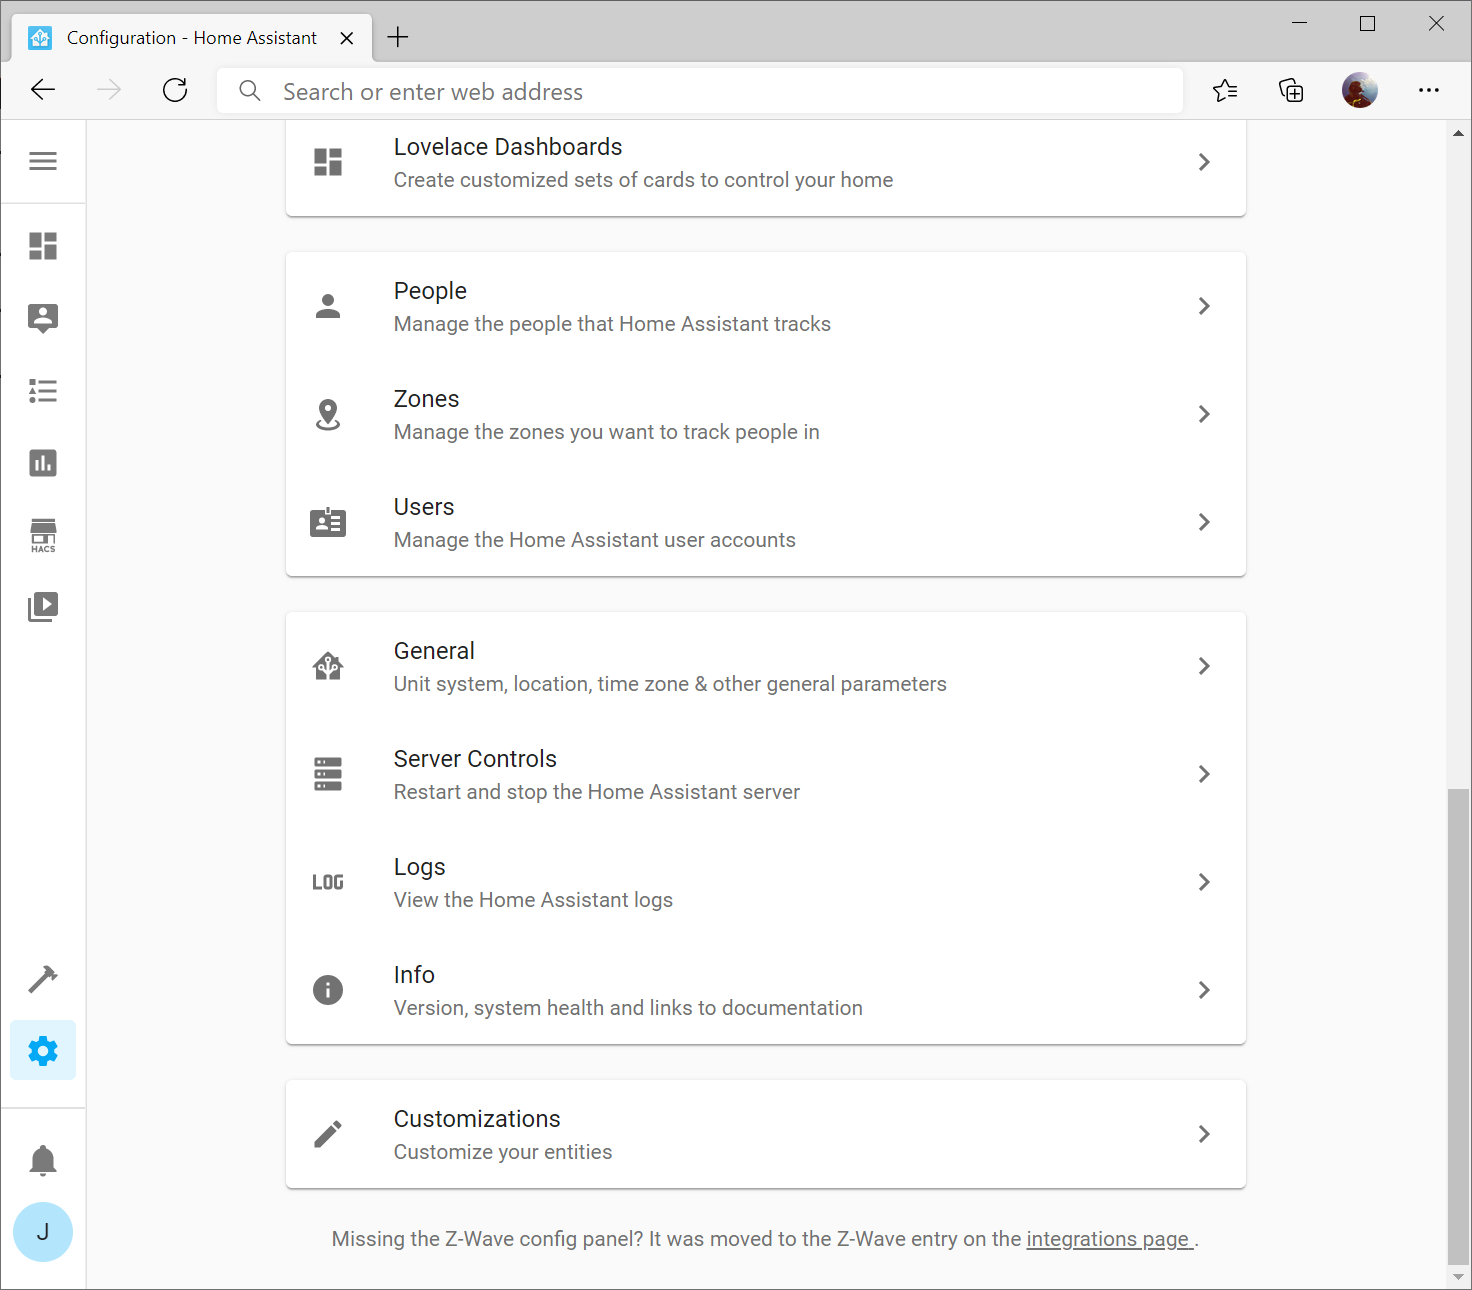
Ensure you are running Home Assistant v2021.3.2 or greater
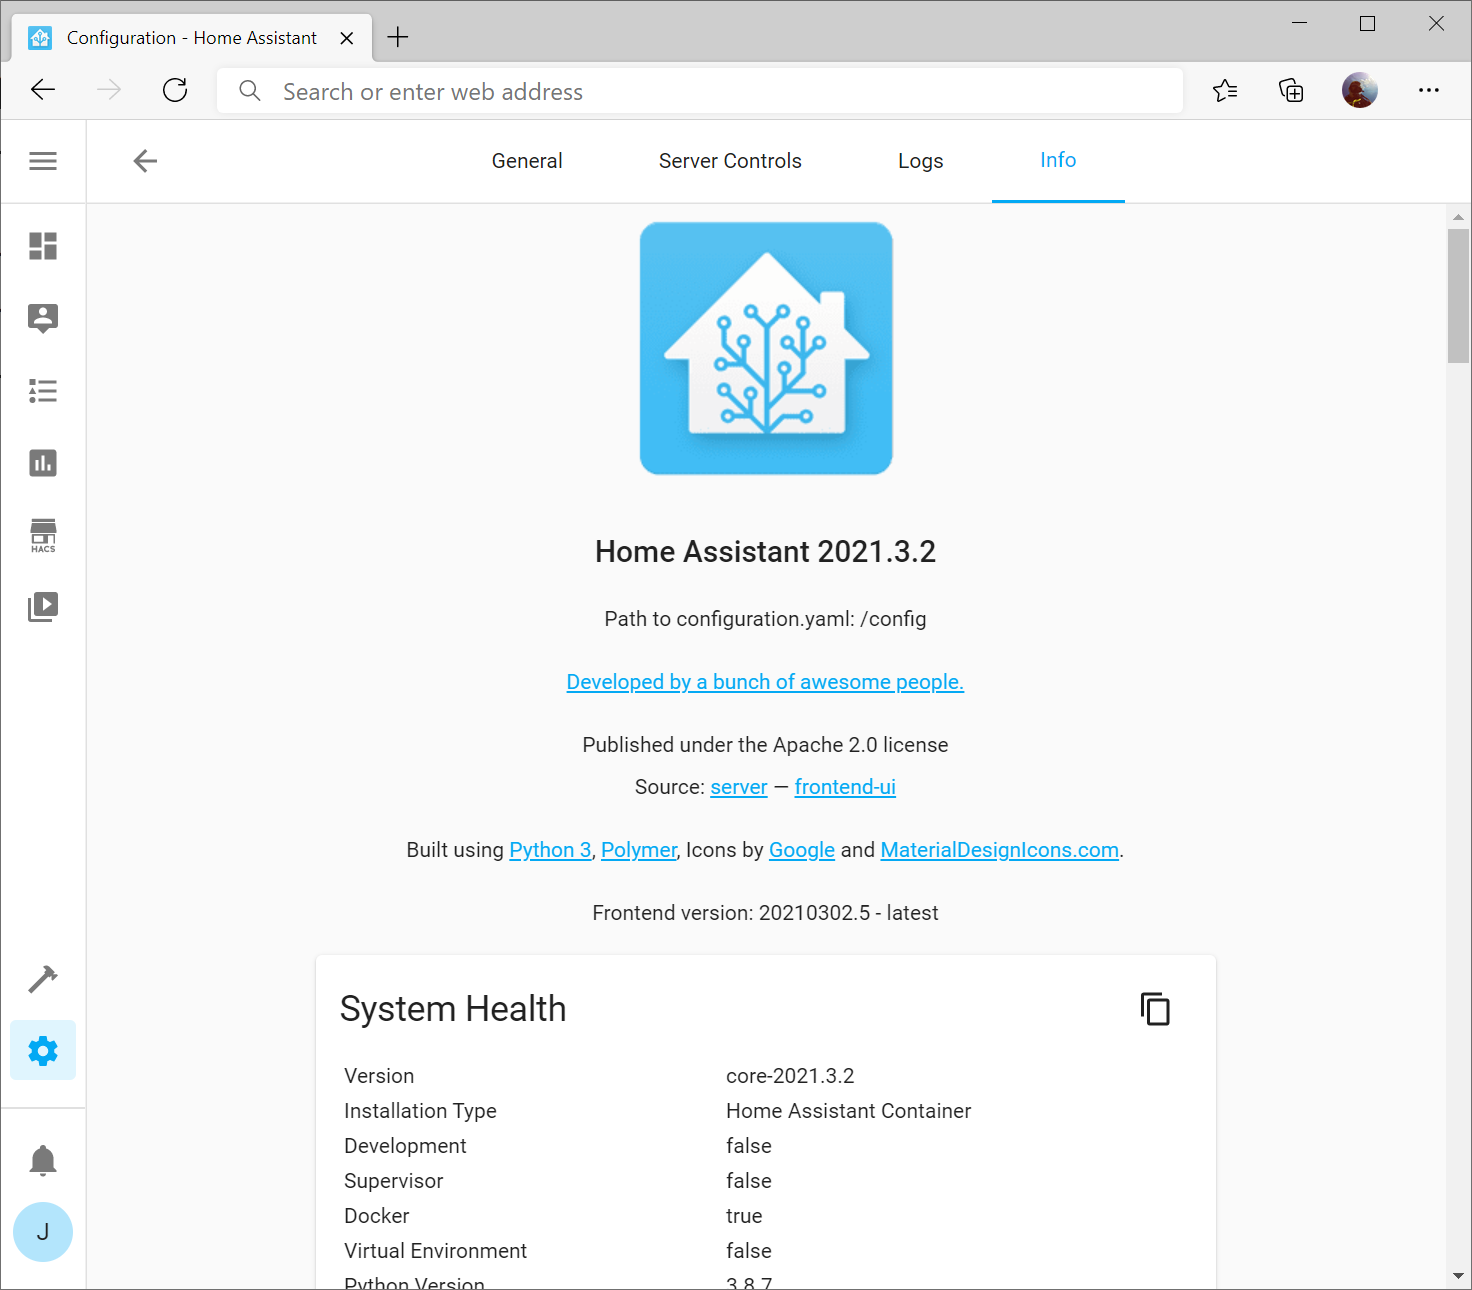
This will ensure you have support for most all sensors. You can find your Home Assistant version by selecting the Configuration gear on the left menu, and then selecting Info
Here you should see the version of Home Assistant (in my case 2021.3.2)
If you are not running the latest version, you can follow my upgrade steps here: How to update Home Assistant Docker Container | Jack Stromberg
Create a backup
It's rather critical to create a backup, especially in this case if you need to roll back to the older OpenZWave integration if you find many of your devices not being compatible. One downside in not using Home Assistant's OS is you don't have the "Supervisor" option to create a full backup.
To complete this step, I'd recommend checking out this blog post here which provides several options: Backing up Home Assistant | Tinkering with Home Automation (ceard.tech)
Alternatively, you can be extremely lazy and less cautious by simply copying the configuration folder containing your docker config:
sudo cp /home/docker/home-assistant/ /home/docker/home-assistant-backup/ -RUpdate your Operating System
Execute the following commands against your machine:
sudo sh -c 'apt update && apt upgrade'Make sure you restart your machine to ensure your kernel updates to the latest version:
sudo shutdown -r -t nowDocument Z-Wave entity IDs
The easiest way to do this is to navigate to Developer Tools (hammer icon on the left menu) and then type node_id into the Attributes column's filter.

In this case, you'll want to write down the node_id and the name of the entity it maps to. If you want to do this quickly, you can single click on the table, press Control + A to select all contents, or cmd+a on a Mac, and copy the contents into Word or Excel (Excel works remarkably well).
Document & Comment Z-Wave Stick Hardware ID and Network Key
SSH to your server and find your configuration.yaml file (if using my tutorial it should be /home/docker/home-assistant/configuration.yaml). Open the file in vi
sudo vi configuration.yamlFind the section of code labeled zwave: and copy the information (we'll need it later) as well as comment out the following lines like so:
#zwave:
#  usb_path: /dev/ttyACM0
#  network_key: "0xAA, 0xBB, 0xCC, 0xDD, 0xEE, 0xFF, 0x00, 0x11, 0x22, 0x33, 0x44, 0x55, 0x66, 0x77, 0x88, 0x99"
Type :wq to write the changes to the file and quit vi
Uninstall Z-Wave integration
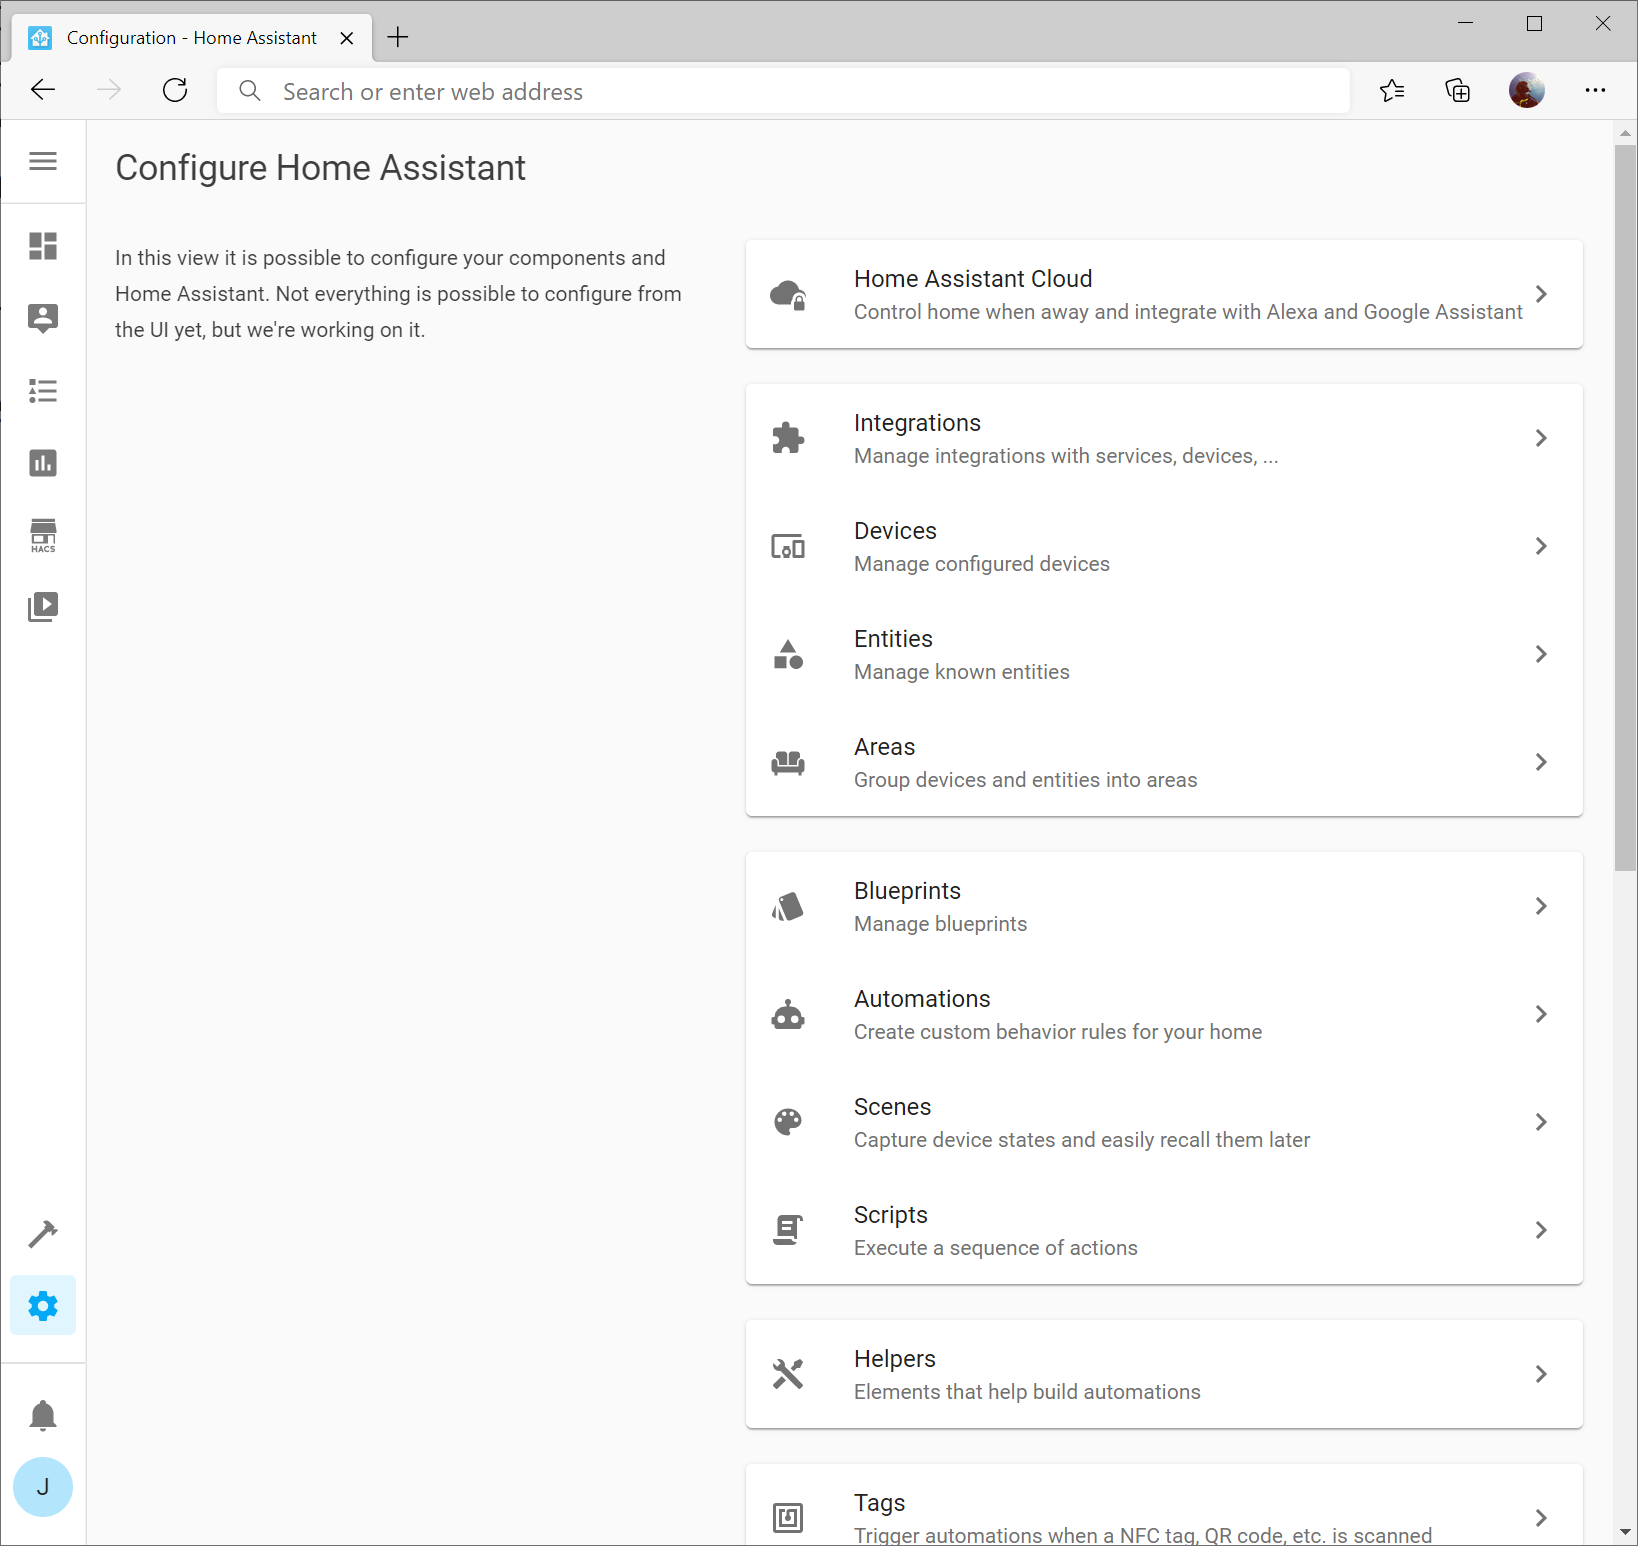
Navigate to Configuration -> Integrations
Click the three dots on the Z-Wave integration and select Delete
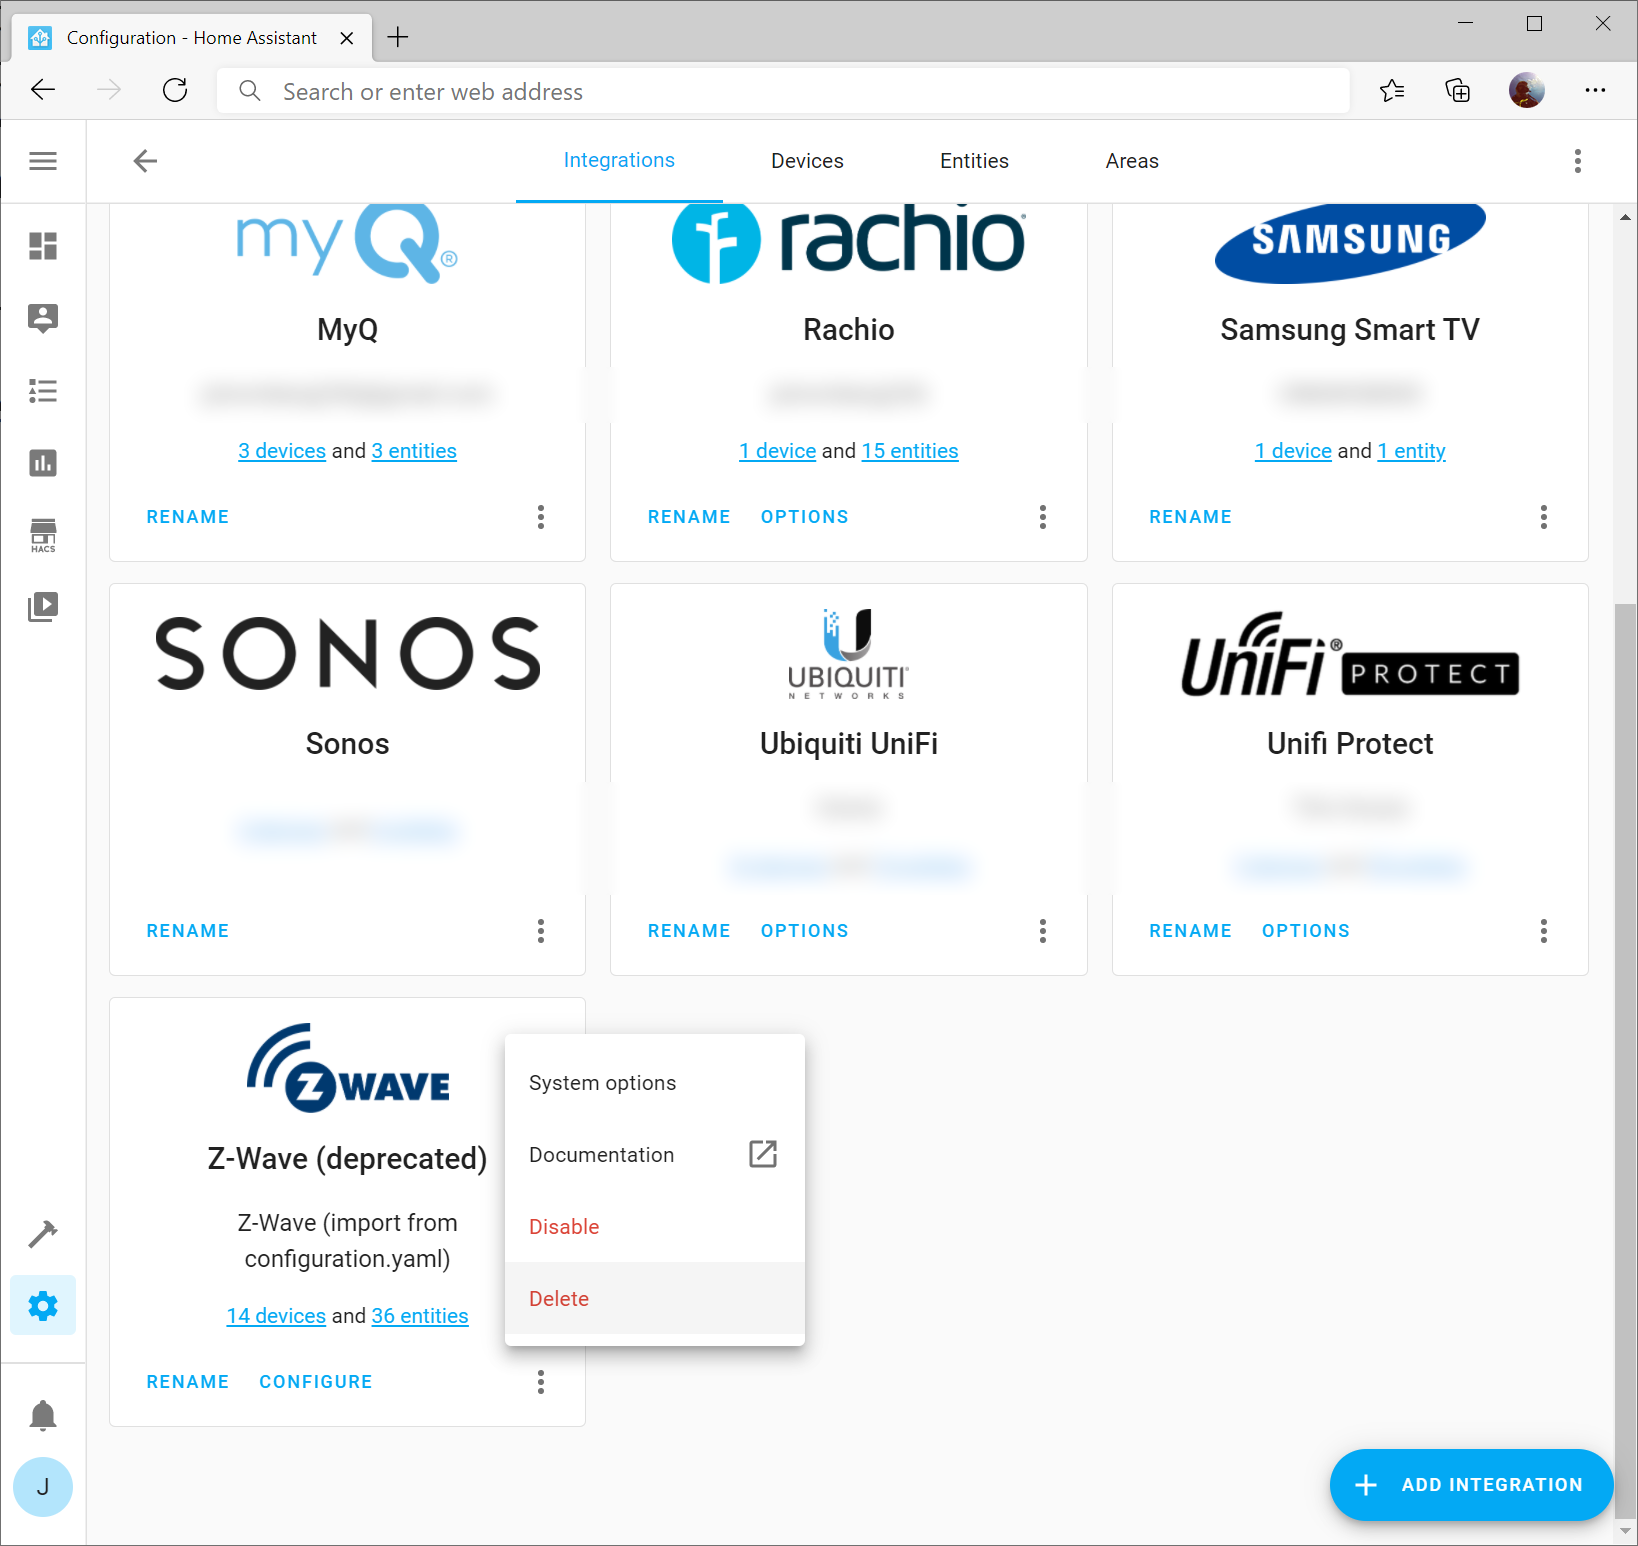
Click OK when prompted
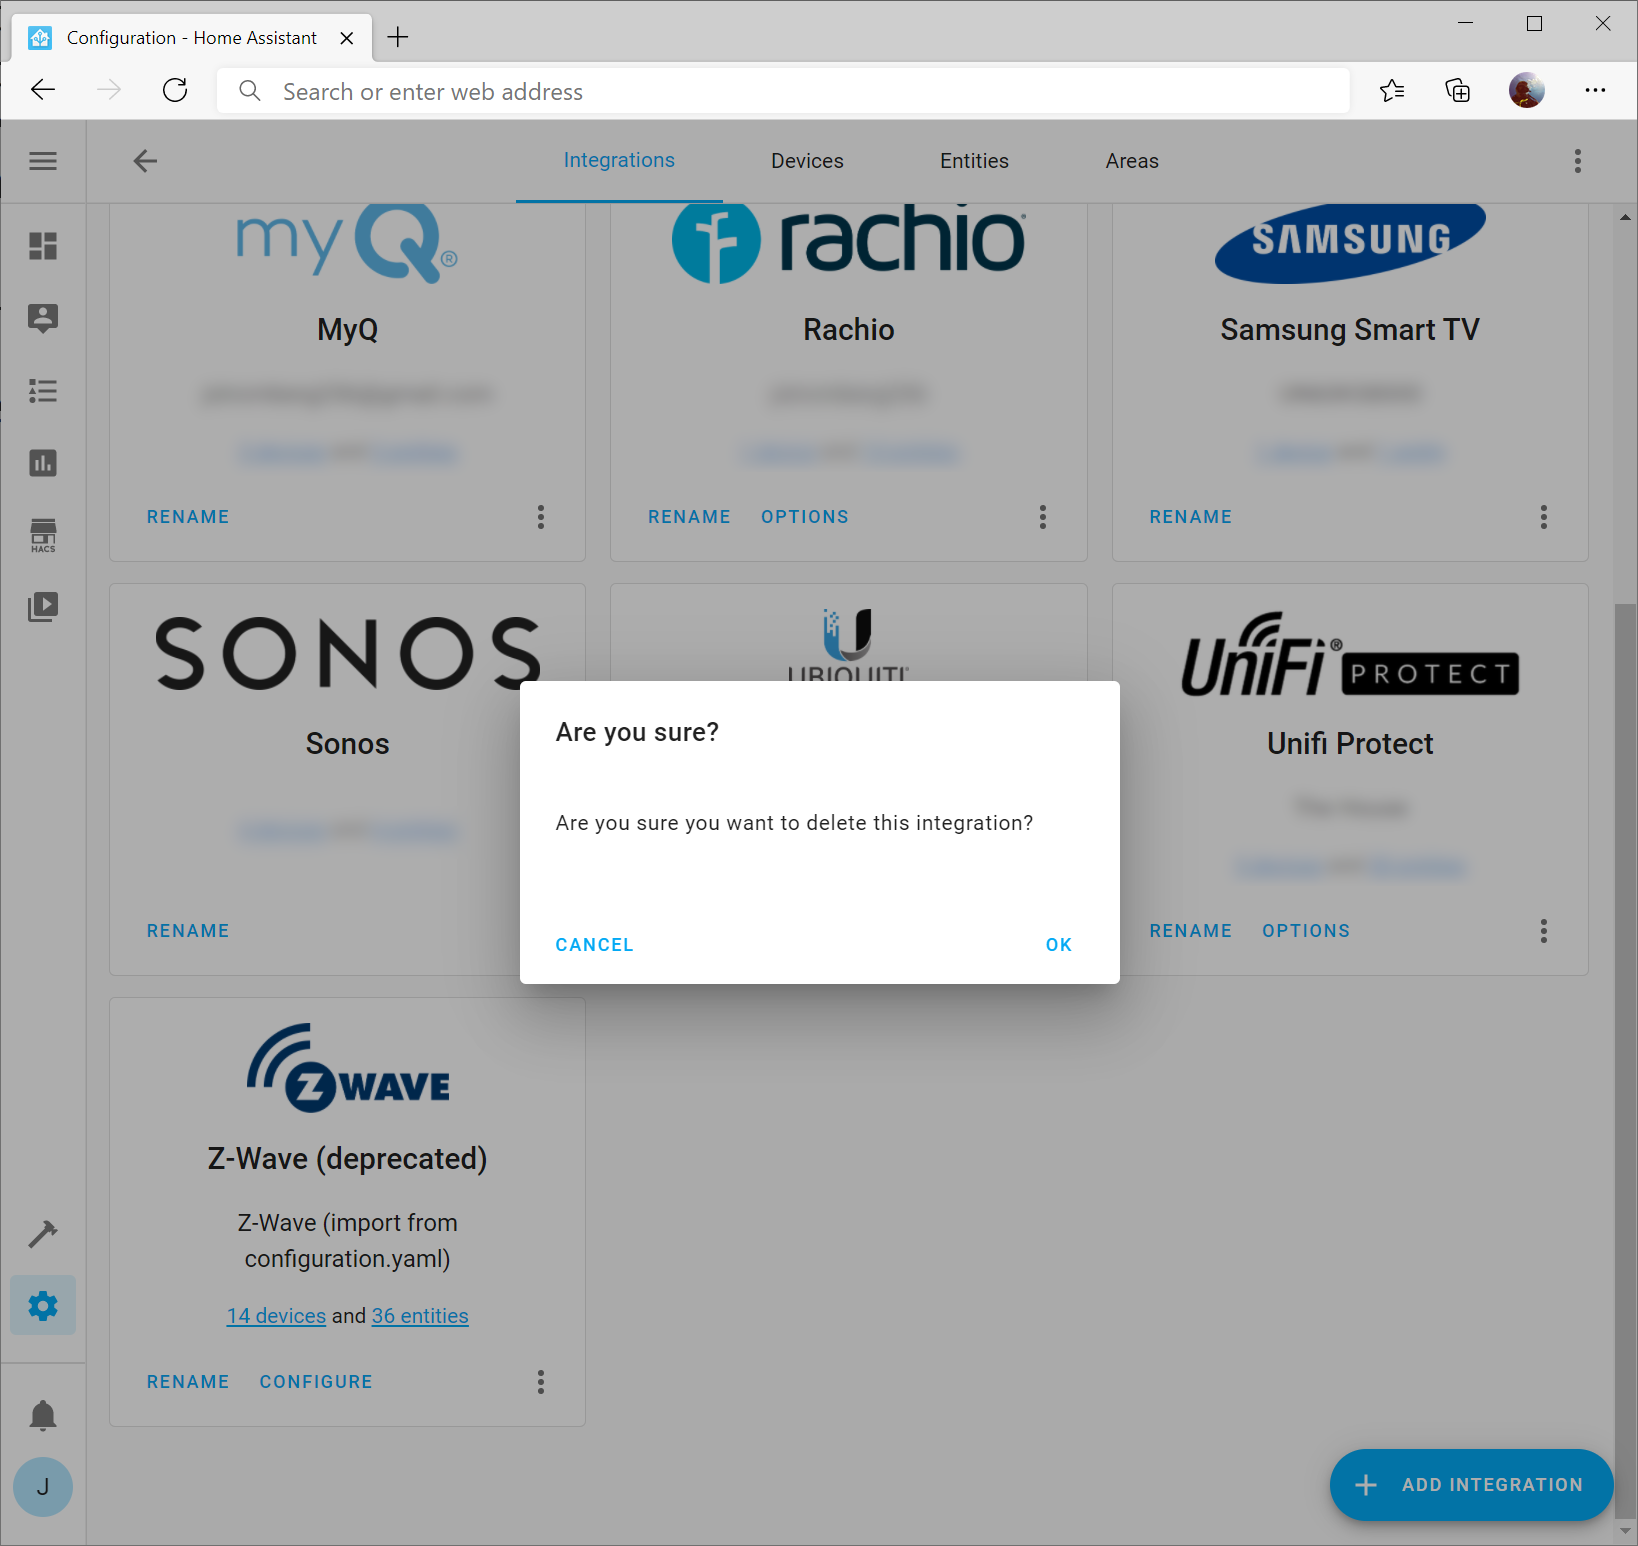
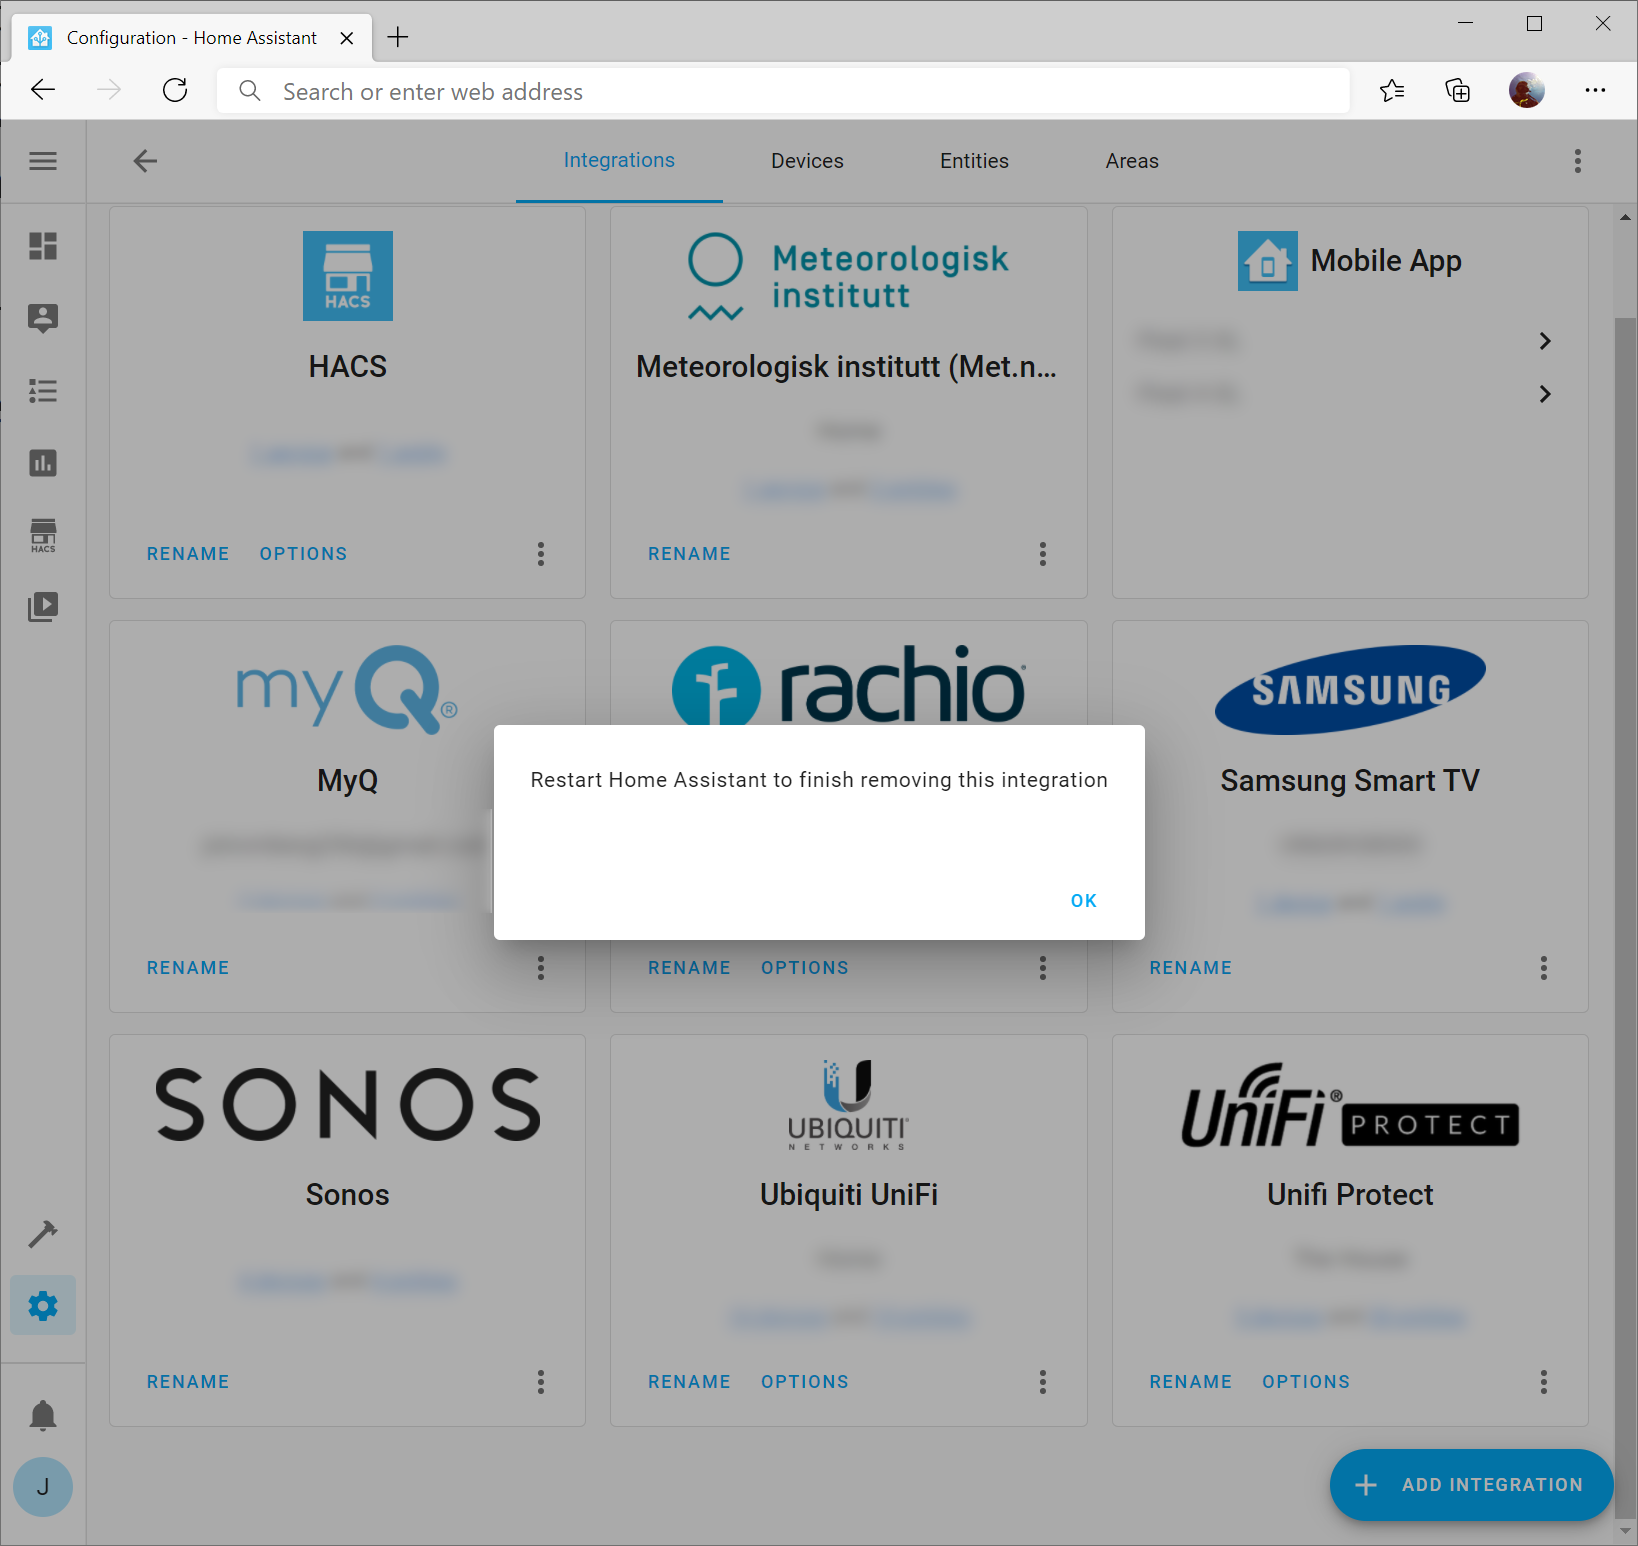
Click OK on the prompt that you should restart home assistant (it won't restart home assistant at this point)
Restart Home Assistant
While we can restart Home Assistant from the web UI, we need to ensure that the Docker container running home assistant no longer needs access to your Z-Wave stick directly (Z-Wave JS Server will be what interfaces with the device directly). In this case, you will need to SSH into your Home Assistant server and stop / remove / start the container accordingly.
Stop the Docker container
sudo docker stop home-assistantRemove the container
sudo docker rm home-assistantDeploy the new container configuration, which removes any device mappings to your Z-Wave stick/device
sudo docker run --init -d --restart=always --name="home-assistant" -e "TZ=America/Chicago" -v /home/docker/home-assistant:/config --net=host homeassistant/raspberrypi4-homeassistant:stableInstall Z-Wave JS Server
Create a new directory for the zwave-js server configuration files
sudo mkdir /home/docker/zwave-js/Run the docker container (the first port listed is for the Z-Wave JS Web Interface, the second port is the Z-Wave JS WebSocket listener)
sudo docker run -d --restart=always -p 8091:8091 -p 3000:3000 --device=/dev/ttyACM0 --name="zwave-js" -e "TZ=America/Chicago" -v /home/docker/zwave-js:/usr/src/app/store zwavejs/zwavejs2mqtt:latestConfigure Z-Wave JS Server
Navigate to the JS Web Server
http://serverIP:8091/settingsOn the settings page, enter the following configuration values (ensuring you substitute in the correct values obtained in the previous steps)
- Serial Port: /dev/ttyACM0
- Network Key: AABBCCDDEEFF00112233445566778899
- Take your existing network key you obtained earlier and remove the 0x and "s to only leave one long hex string. For example:
- Before
- 0xAA, 0xBB, 0xCC, 0xDD, 0xEE, 0xFF, 0x00, 0x11, 0x22, 0x33, 0x44, 0x55, 0x66, 0x77, 0x88, 0x99
- After
- AABBCCDDEEFF00112233445566778899
- Before
- Take your existing network key you obtained earlier and remove the 0x and "s to only leave one long hex string. For example:
- Log Enabled: Disabled (toggled should be grayed)
- Commands Timeout: 30 seconds
- Disable MQTT Gateway: Can be enabled if you have no use for MQTT
Click the Home Assistant menu and set the following:
- WS Server: Enabled
- Server Port: 3000
Click SAVE

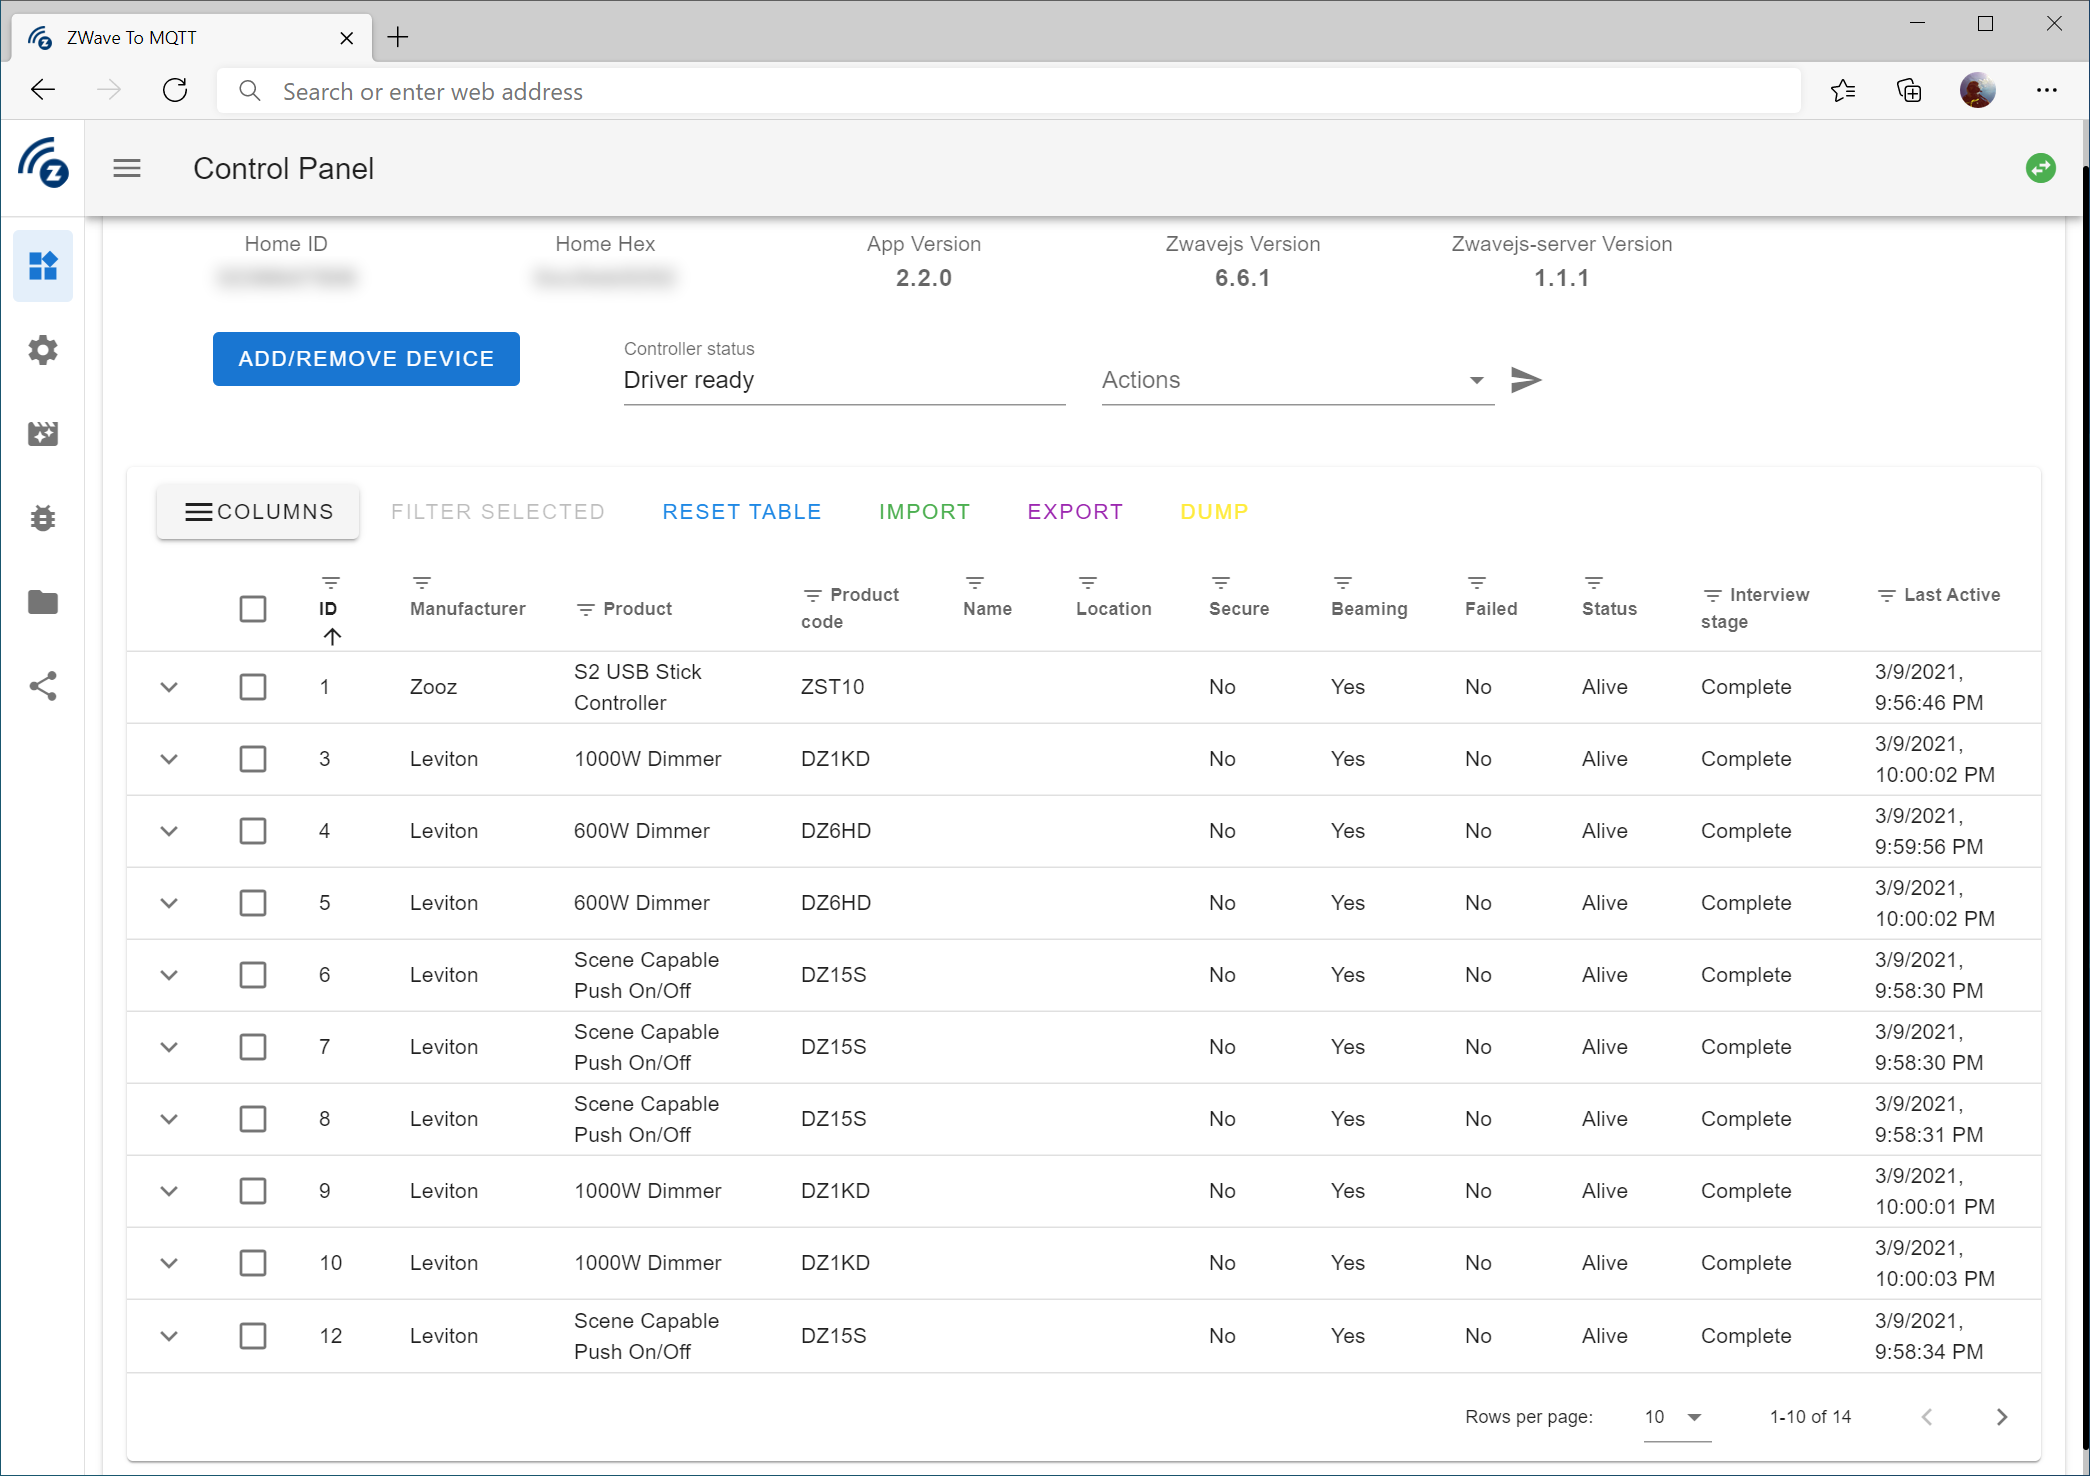
Verify you see devices
Click on the Control Panel icon on the top left of the Z-Wave JS Web UI. Verify that you see the amount of devices you previously had.
At this point, I would recommend waiting a few minutes / possibly hours to let the table populate with all the device information.
Install Z-Wave JS Integration
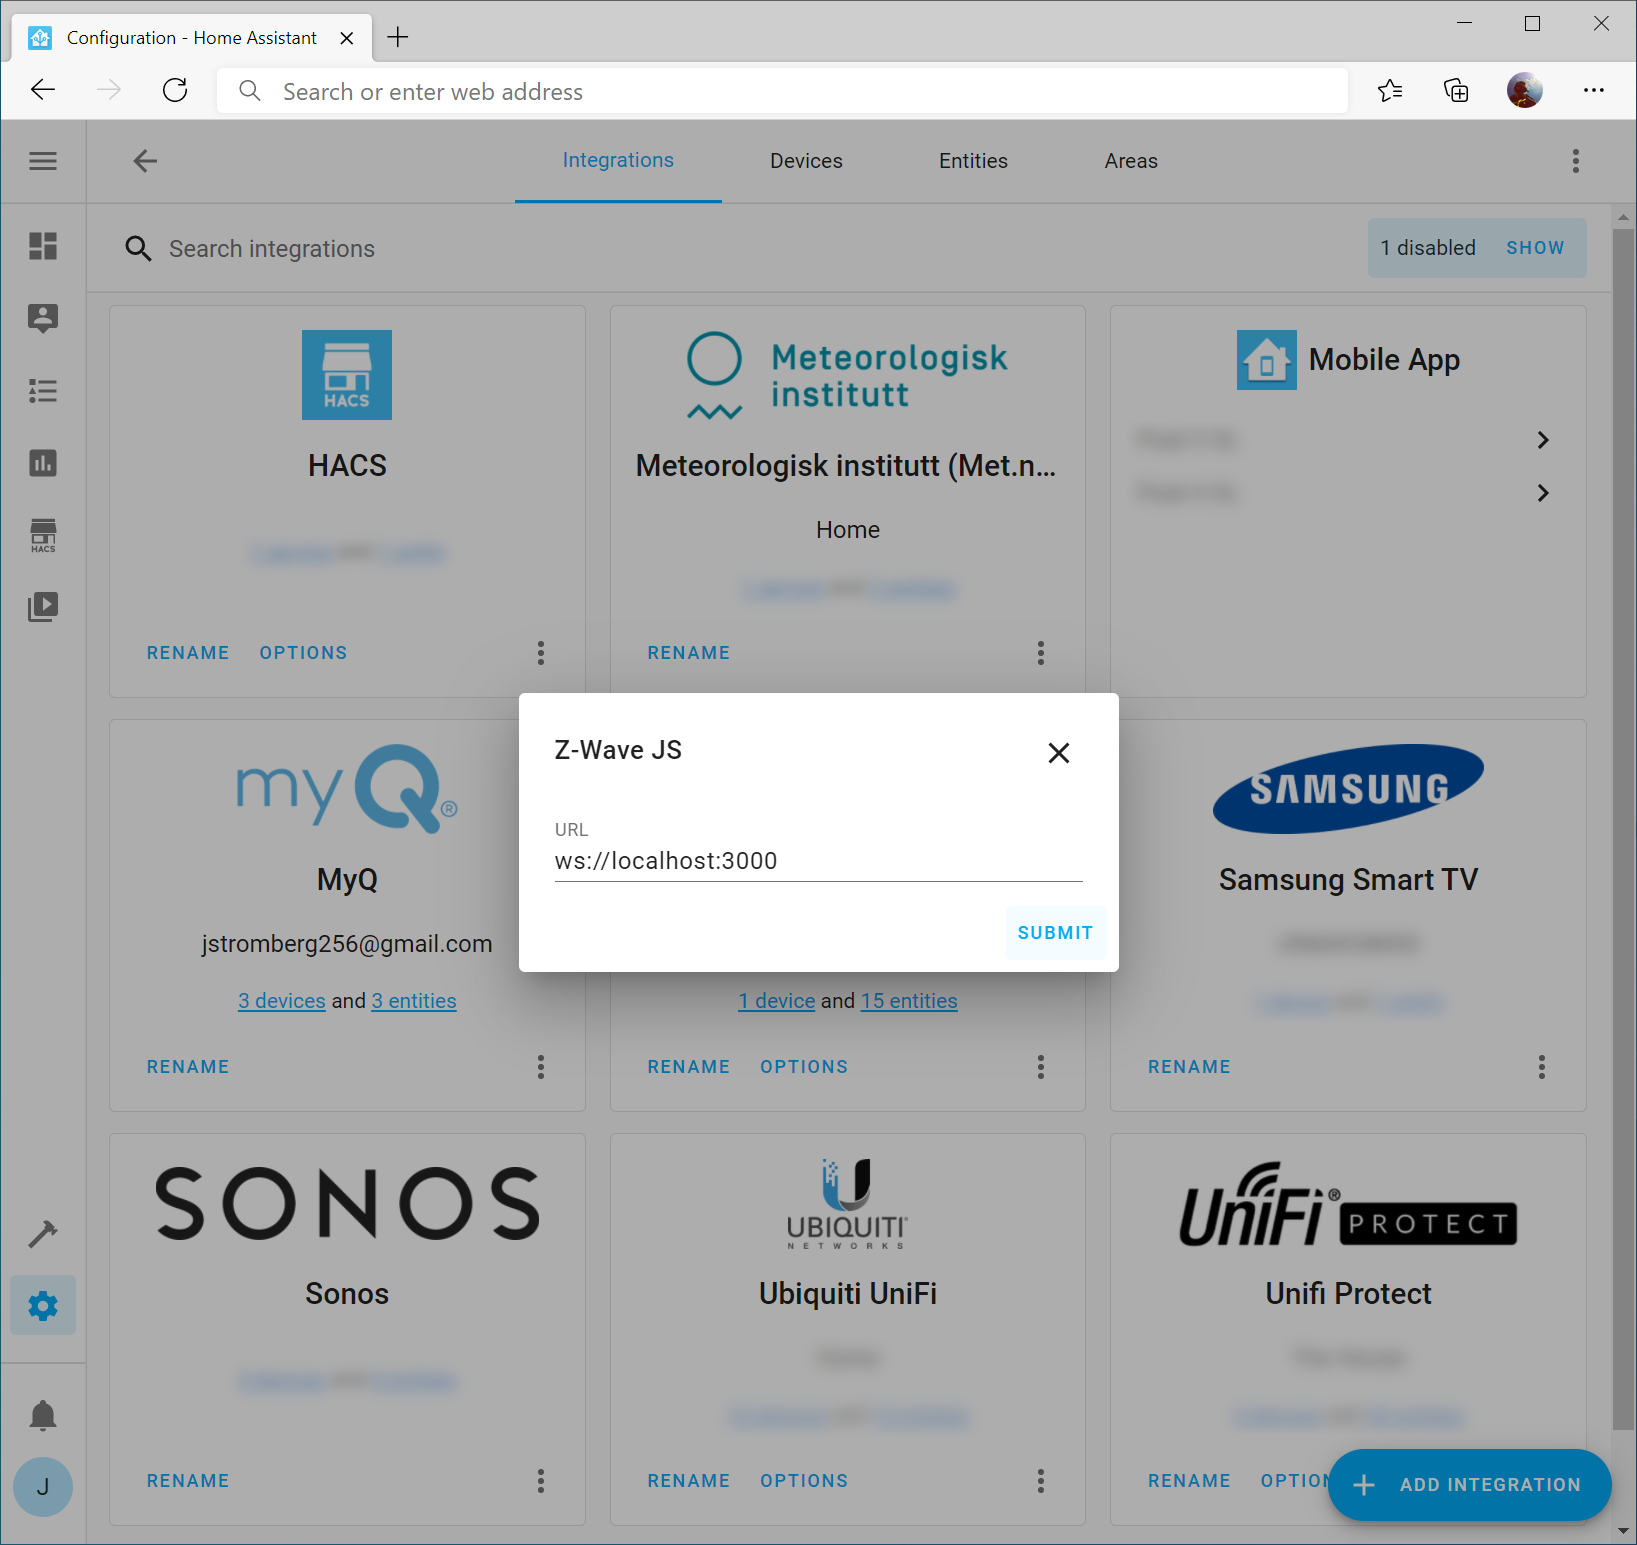
I would recommend a full refresh of the web page for Home Assistant and then navigate back to Configuration -> Integrations

Click the Add Integration button and search for Z-Wave JS

Click Submit to accept the URL as-is (assuming you are running the container on the same server running the Home Assistant container; if not, you can specify the IP address of the server hosting the Z-Wave JS Server container as well).
If all went well, you should see your Z-Wave devices and you can click Finish (Note: I wouldn't worry about specifying Areas since it's likely you have no idea what device is what at this point)
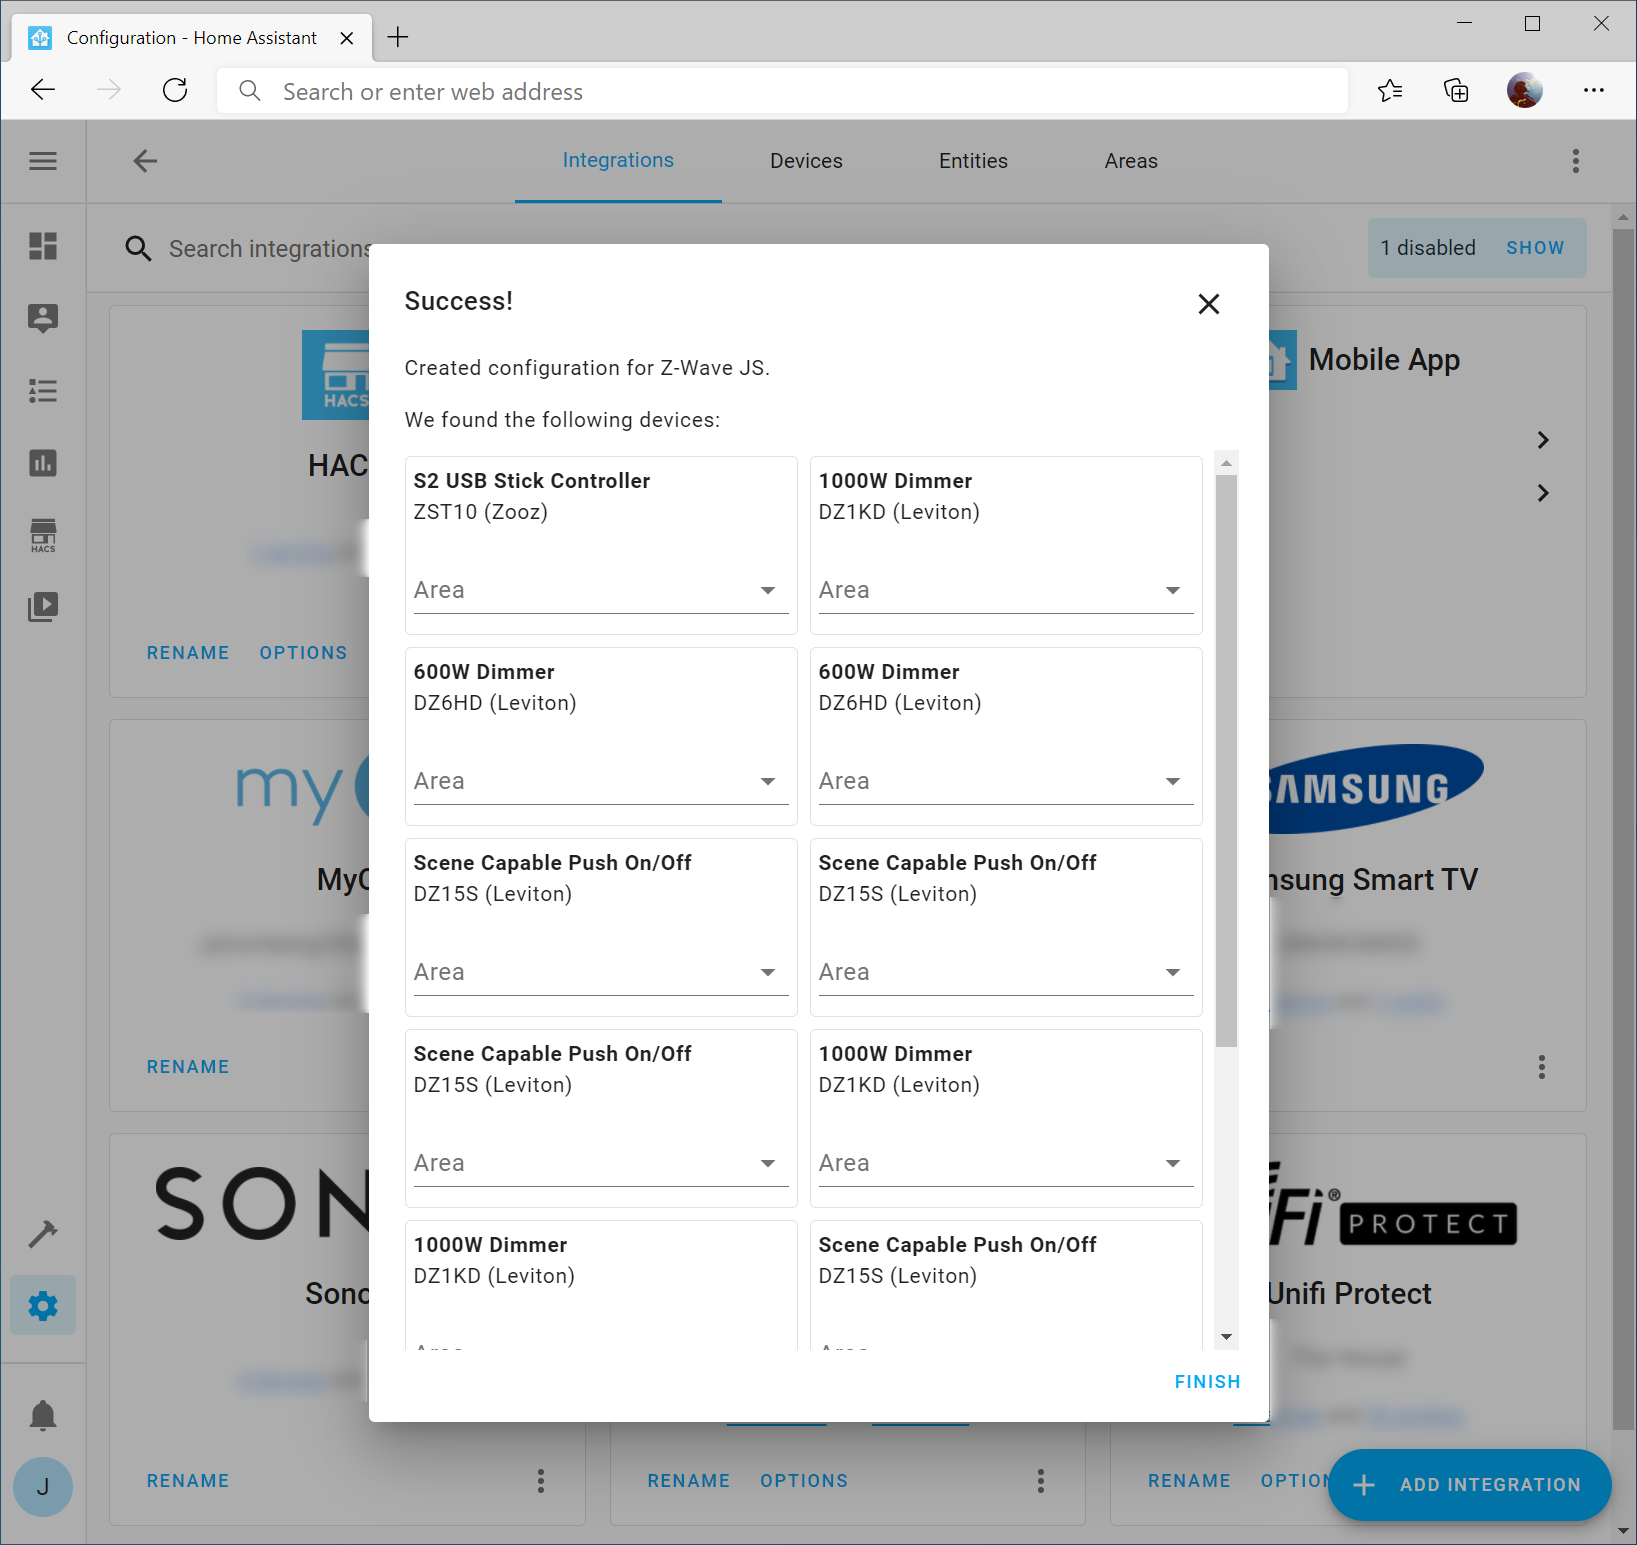
Update your Z-Wave Device Names in Home Assistant
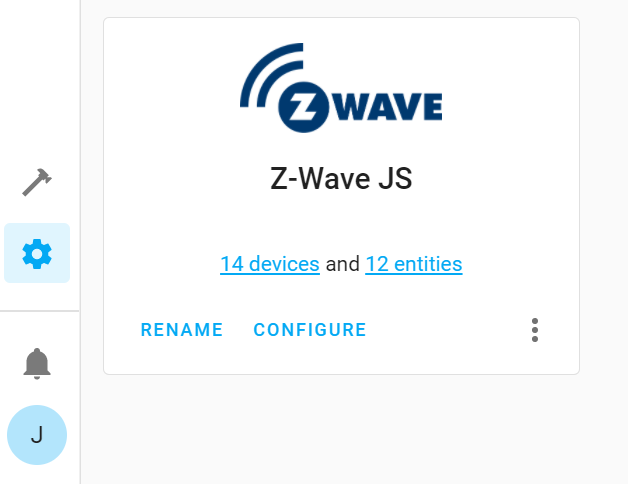
The last step is to update your device names to match your existing device names. To do this, on the Configuration -> Integrations page, select the devices link on the Z-Wave JS integration tile
Next, select one of the items in your list. In my case, I'm going to select the first 1000W Dimmer I have.
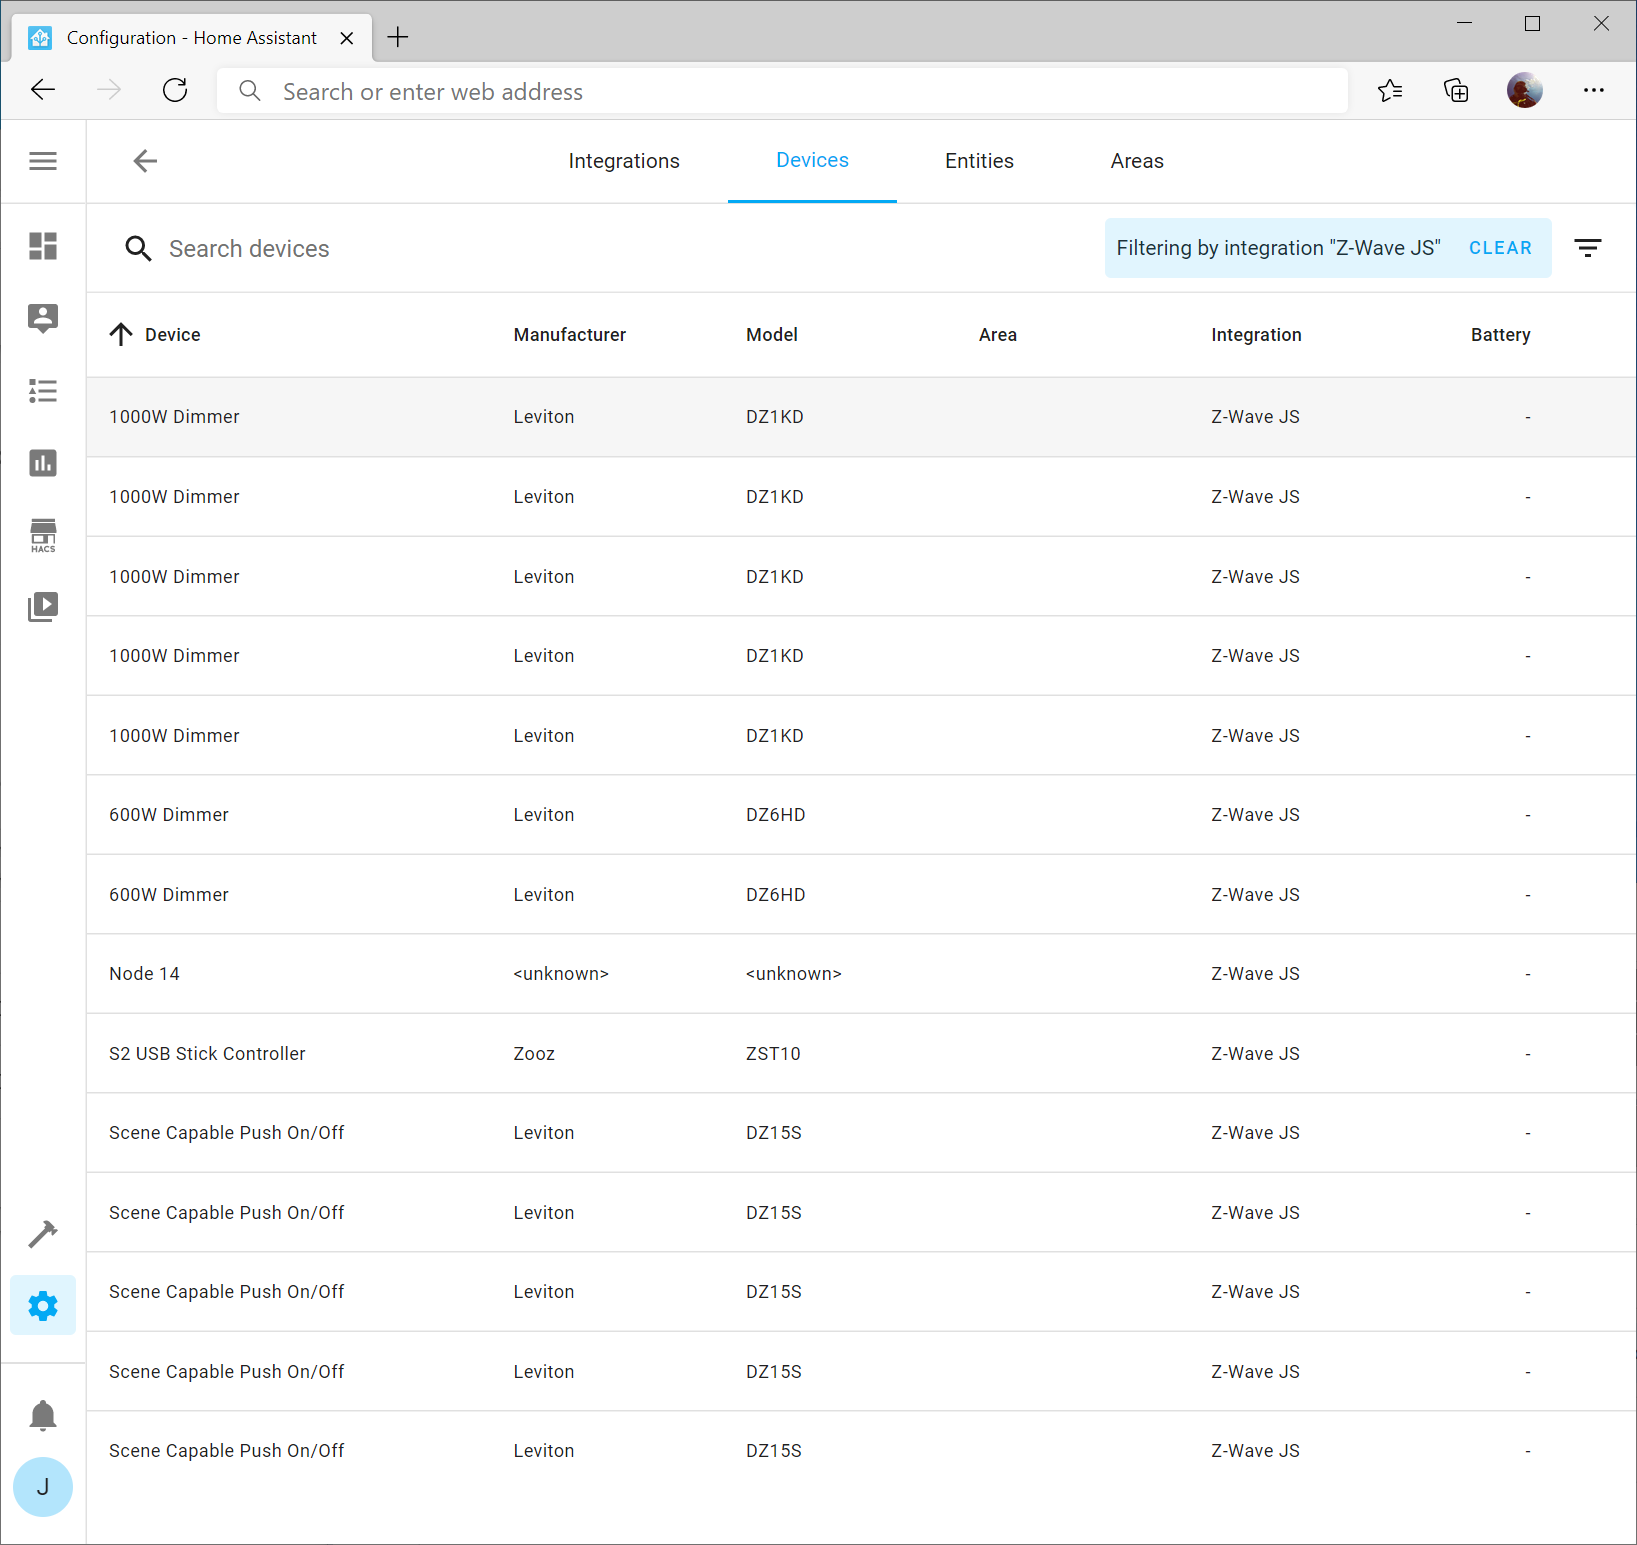
On the device, you should see Node ID. This can be looked up on your list of devices you exported in the previous steps.

Click the Device Name (in my case 1000W Dimmer) and specify the correct information for the device. Once done, click Update

Rinse and repeat
Go through each of the devices you have and update their corresponding names. If you click Advanced settings, you can specify the area for the device as well.
Congrats!
If you've made it this far, you have successfully migrated to the latest Z-Wave integration for Home Assistant!
I just did this set of steps last night and it worked great! I had been using the native zwave integration in homeassistant, and with a lot of the newer devices I'd added they were not fully supported, resulting in a lot of hackery (pulling openzwave xml configs from github, adding them to my install manually and then adding the new device). With ZwaveJS I think all of them are fully supported out of the box.
One update that probably happened to the zwavejs2mqtt docker container after this article was written is that there is the beginning of S2 support -- which has 4 keys total -- the legacy NetworkKey goes in the S0 slot in the UI. You can generate 3 new keys for S2 Unauthenticated, S2 Authenticated, and S2 Access Control.
Thanks for the article.