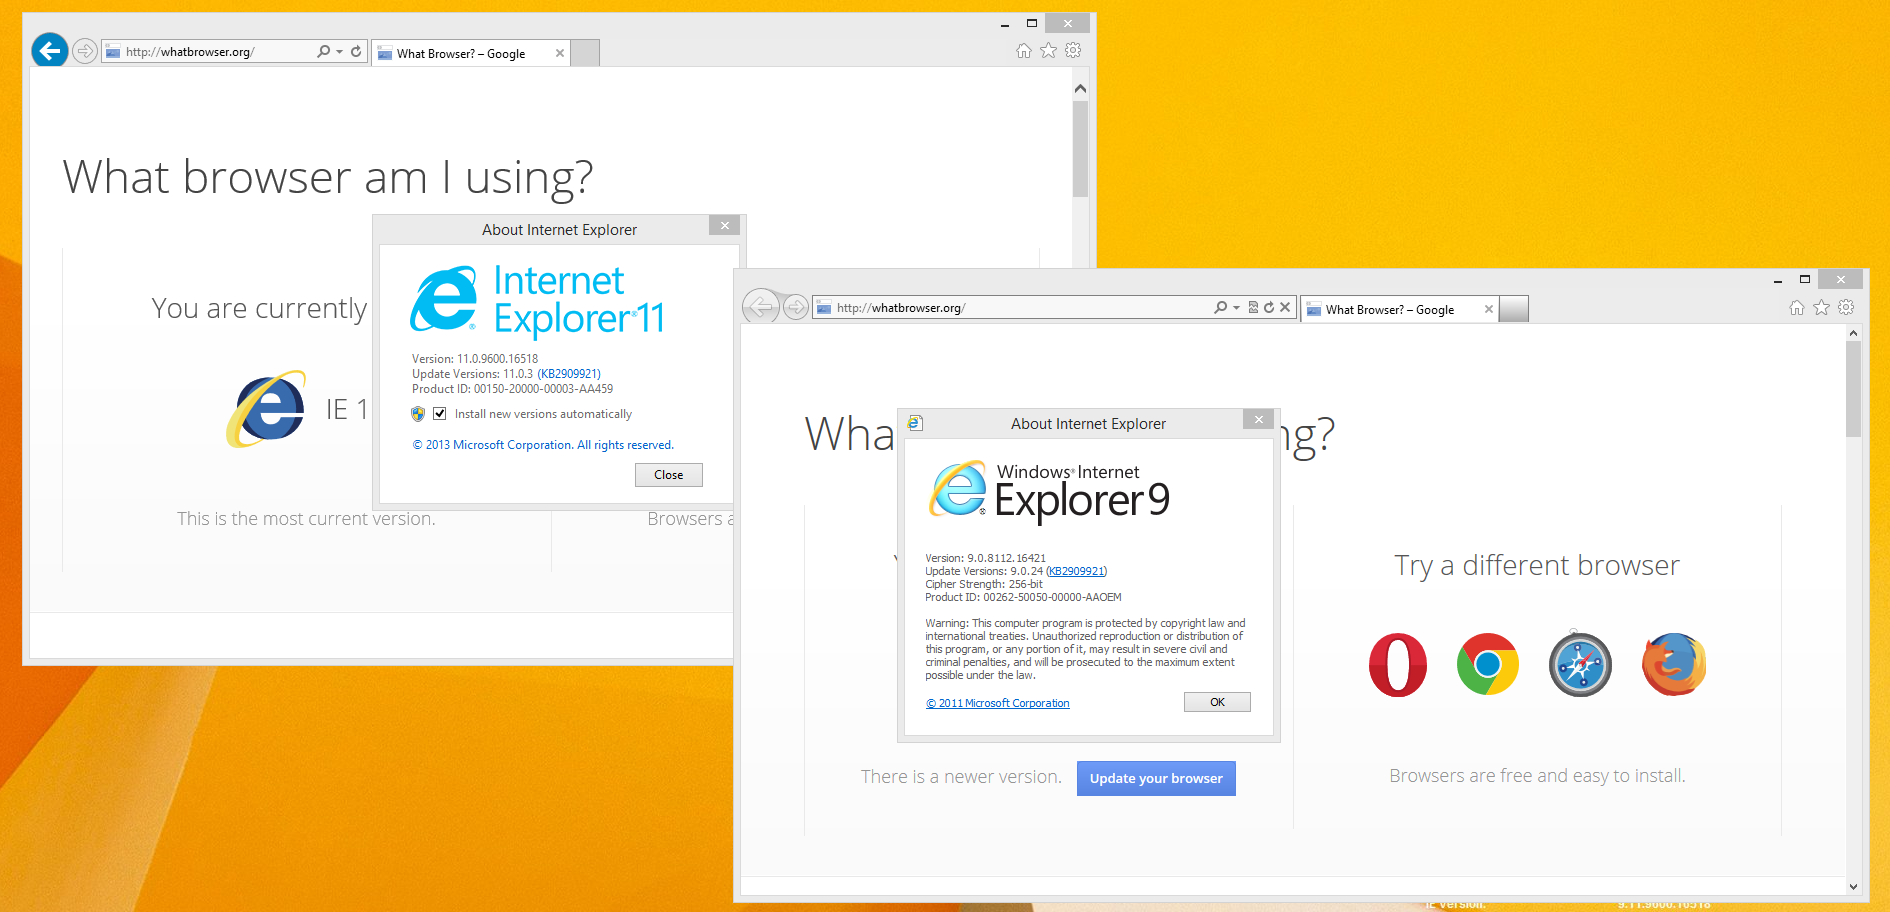
Here is a comprehensive guide on how to ThinApp or virtualizate Internet Explorer 9 so you can run it in tandom with other Internet Explorer versions.
- Start your VM
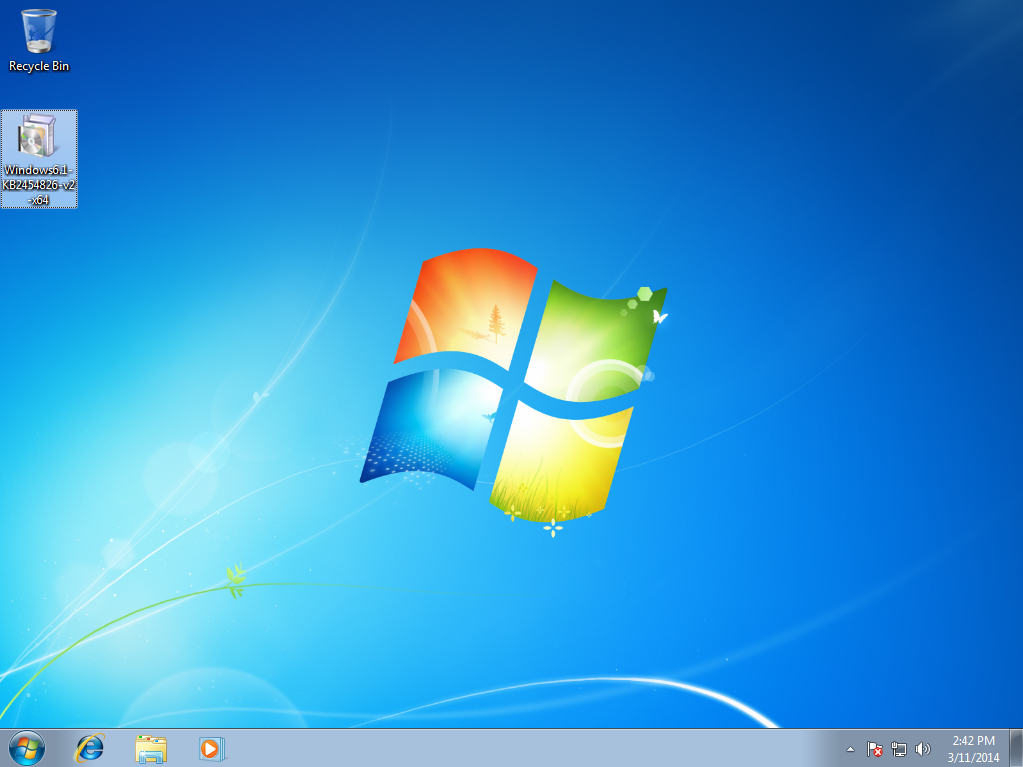
- For this tutorial, I am using a blank Windows 7 64-bit instance (not with SP1) using ThinApp Setup Capture 5.0.
- Make sure you have the Internet Explorer 9 pre-requisites package installed. The prerequisites can be found in this KB article: http://support.microsoft.com/kb/2399238
Use Windows6.1-KB2454826-v2-x64.msi or Windows6.1-KB2454826-v2-x32.msi depending on your machine (one is 32-bit the other is 64-bit)
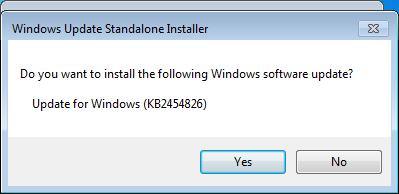
- Run the MSI
- Click Yes when it asks to install
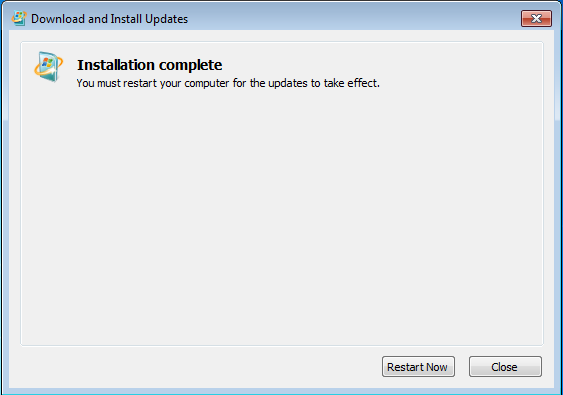
- Restart your machine when prompted
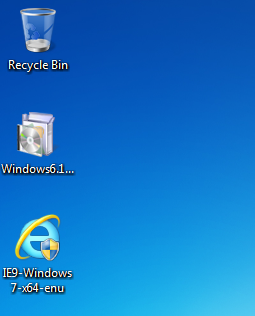
- Copy the IE9 offline installer to your machine
http://windows.microsoft.com/en-us/internet-explorer/ie-9-worldwide-languages
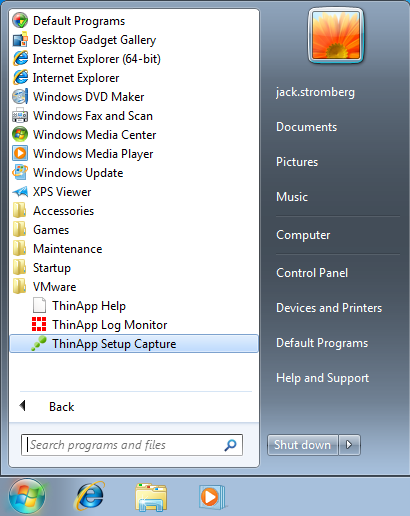
- Run the VMware->ThinApp Setup Capture program
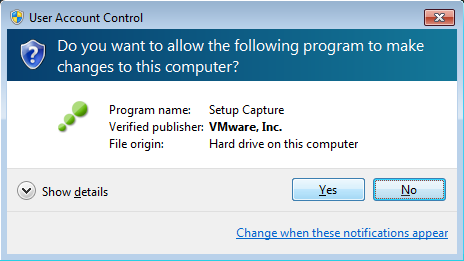
- Click Yes on the UAC Setup Capture dialog
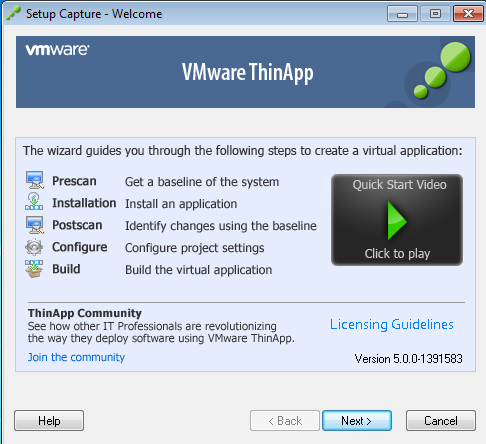
- Click Next on the Setup Capture - Welcome screen
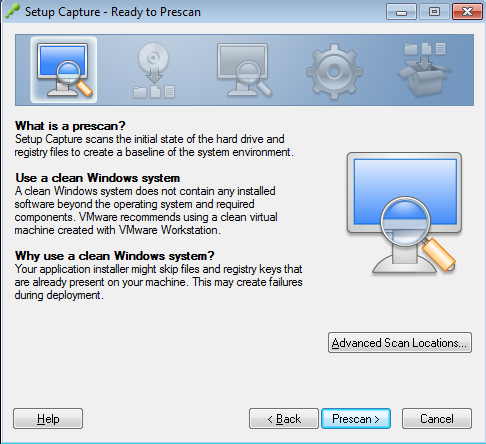
- Click the Prescan > button
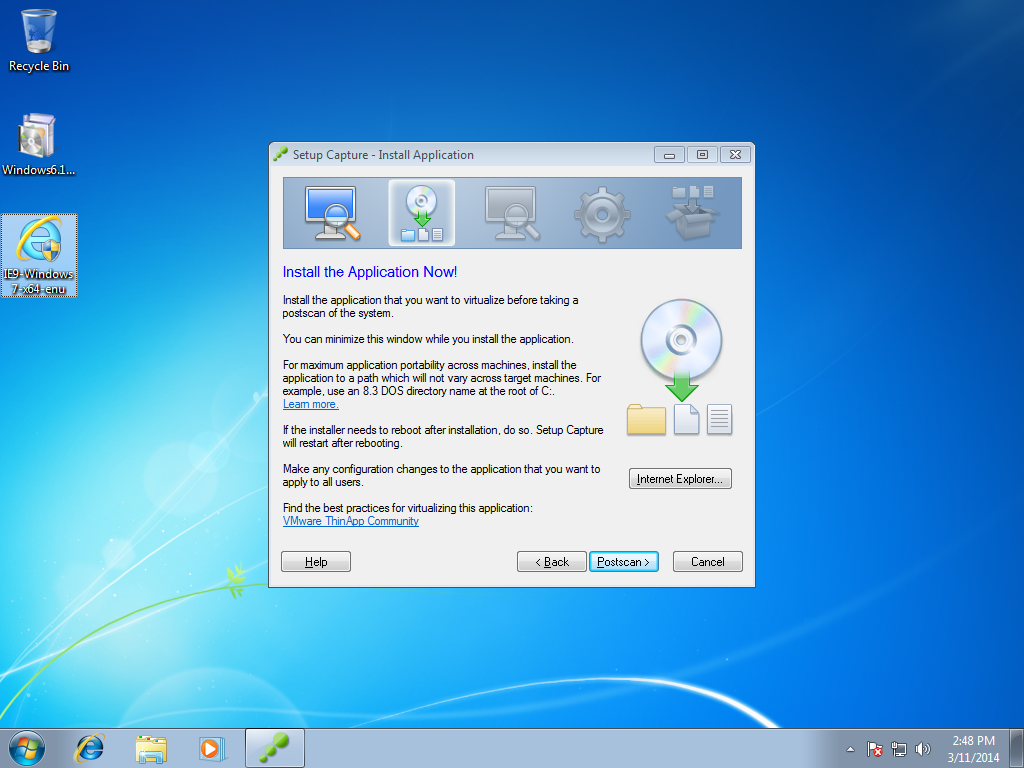
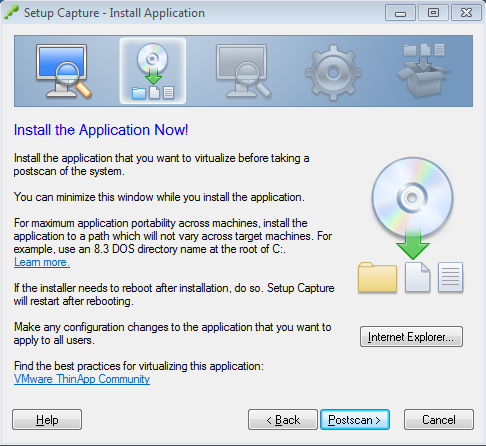
- Run the installer IE9-Windows7-x64-enu.exe when you get to the Install the Application Now! screen
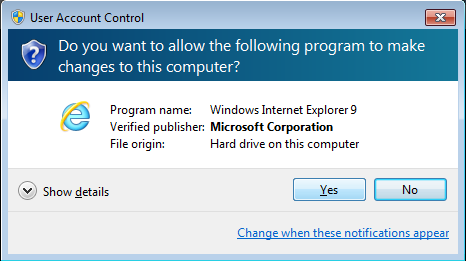
- Click Yes on the UAC screen
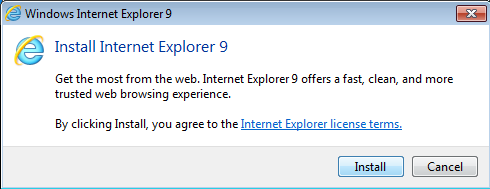
- Click Install
- Click Restart now when prompted
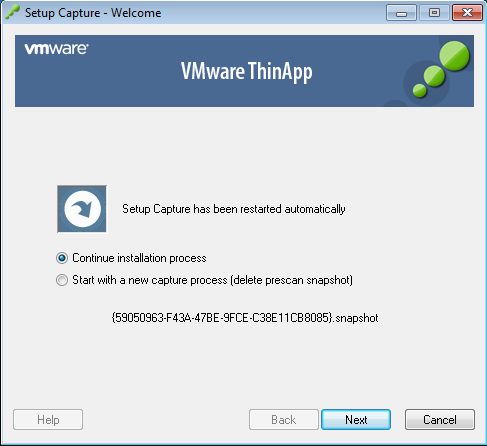
- Click Yes on the UAC popup to launch the Setup Capture process again
- Click Next on the Continue installation process window
- Launch the Internet Explorer 9 program
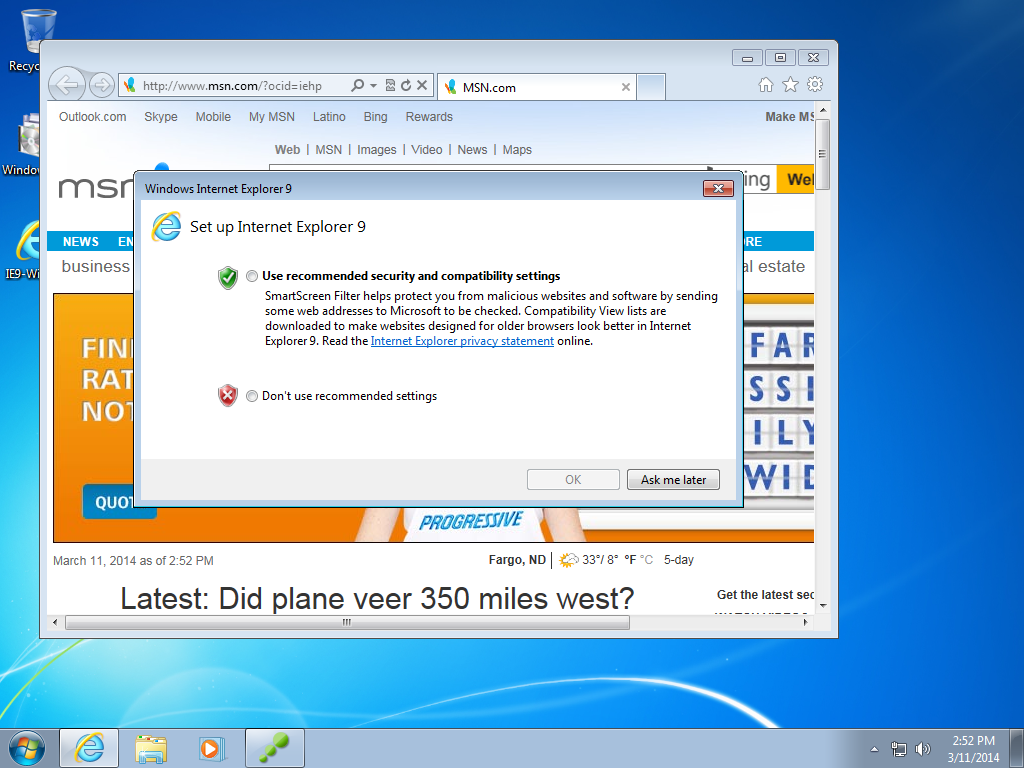
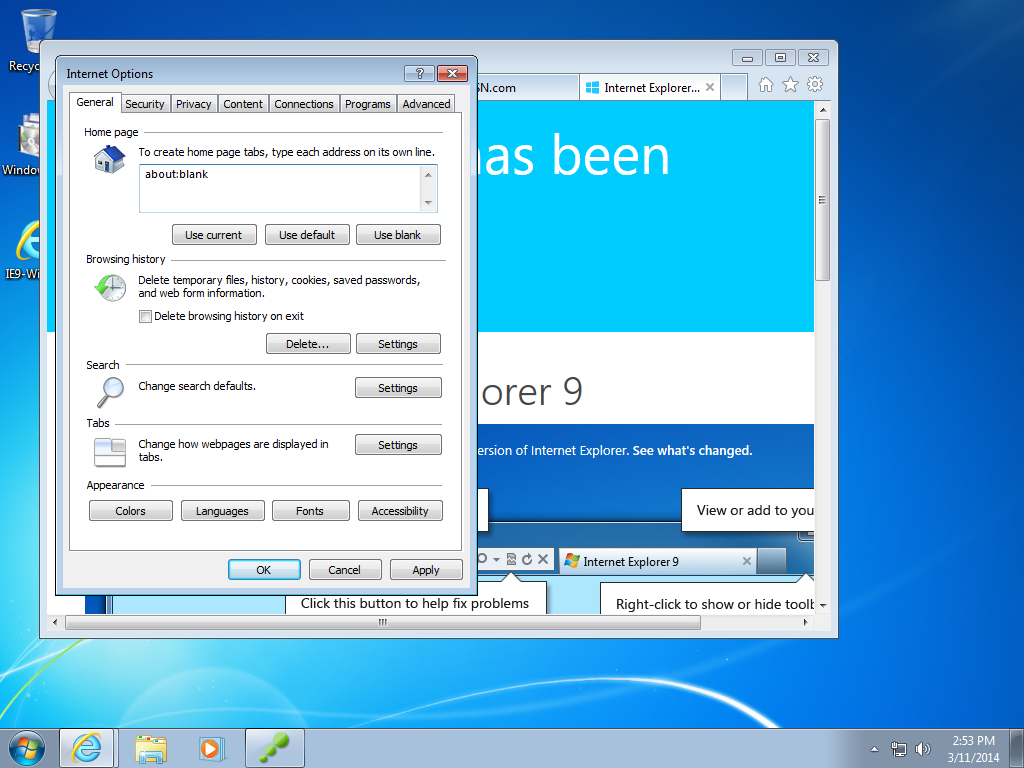
- Customize Internet Explorer how you want it on your main machine. You can set security settings, default homepage, etc. (I like to set my homepage to about:blank since the ThinApps I have usually get deployed in virtual environments). Close Internet Explorer when you have things the way you want.
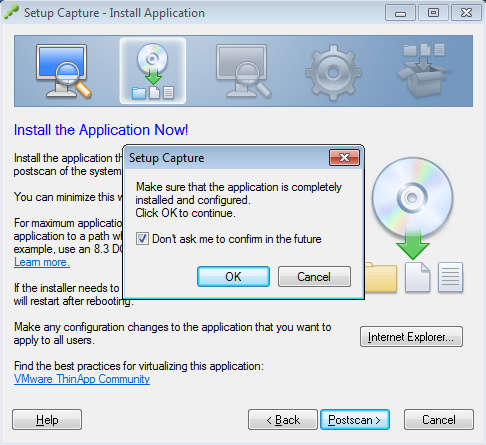
- Click Postscan > when you have finished customing Internet Explorer 9
- Click OK on the Setup Capture screen
- Uncheck the desktop.exe and inetcpl.exe Entry Points and click Next >
(I suppose you could leave the inetcpl.exe, but I feel leaving it unchecked is a cleaner solution).

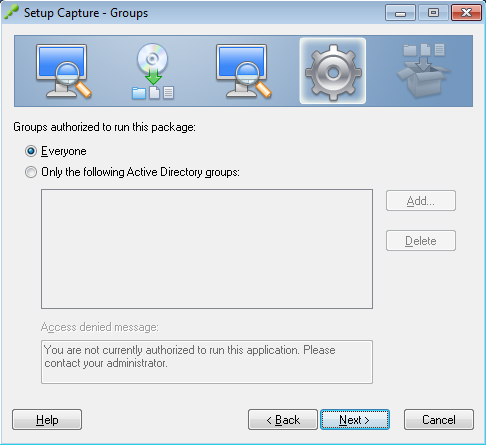
- Click Next >

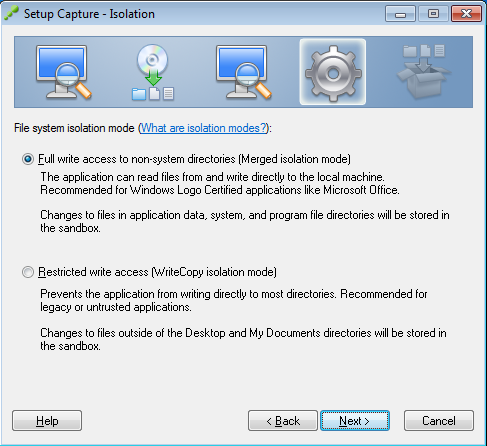
- Click Next >
- Click Next >
- Click Next >
(you can select No if you want to)
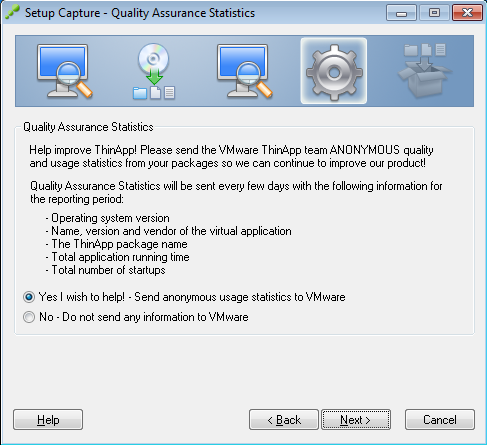
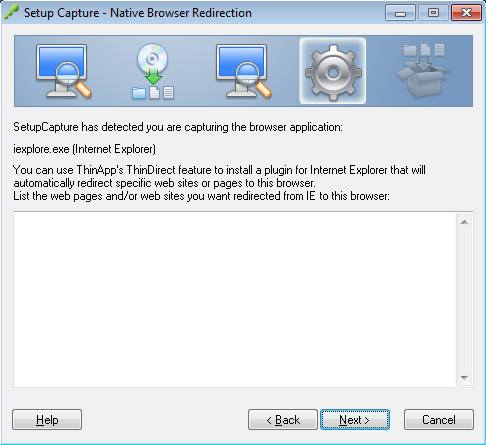
- Click Next >
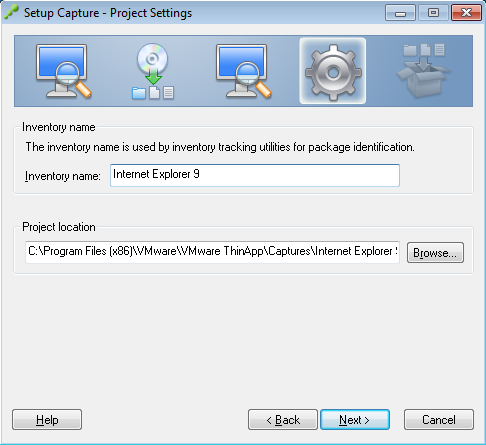
- Change the Inventory name to Internet Explorer 9 and click Next >
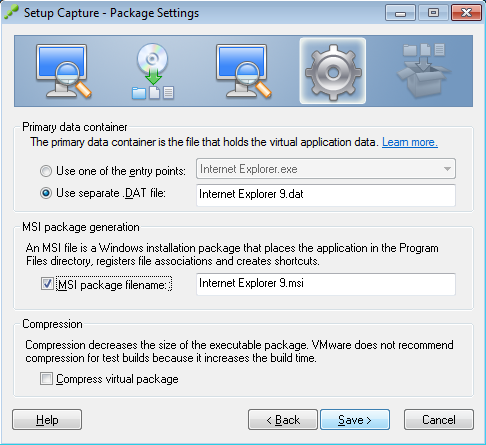
- Ensure Use seperate .DAT file is checked, check Generate MSI package if you want to deploy this as an installer, click Save >
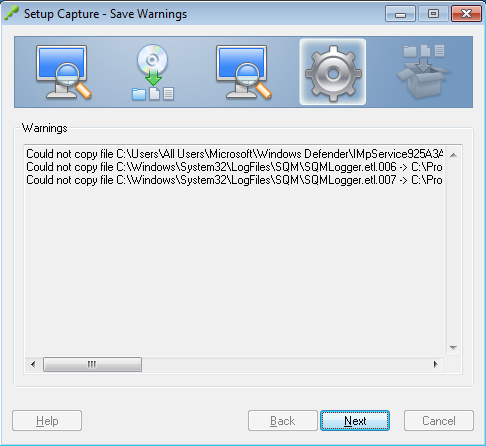
- Click Next if you receive some capture warnings provided they look like they aren't Internet Explorer related.
Note: Your warnings could look a little different than mine, that is ok.
- Optional Step: Deploying a desktop icon
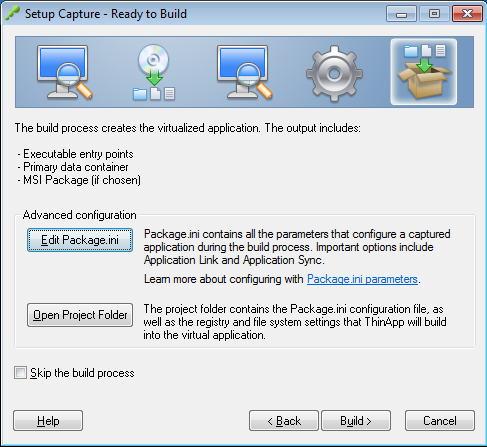
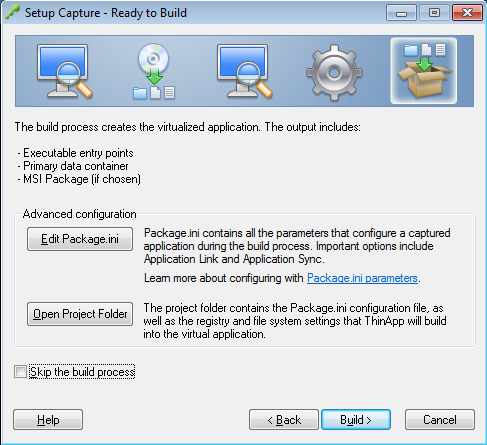
- Click Edit Package.ini
- Scroll down to Internet Explorer.exe and change the Shortcuts line to contain %Desktop%;%Programs% and change [Internet Explorer.exe] to [Internet Explorer 9.exe]. Save and exit notepad.
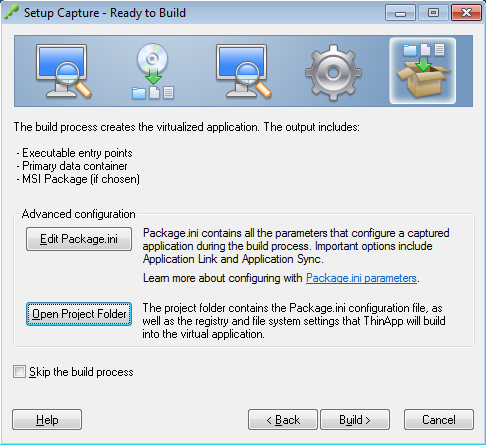
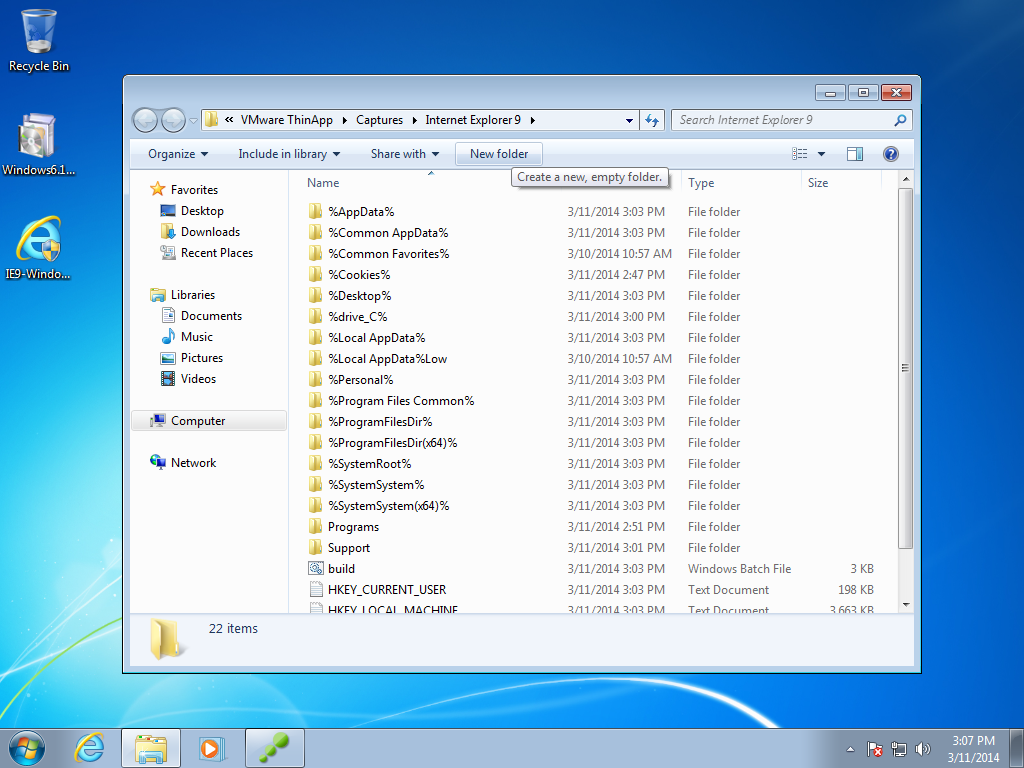
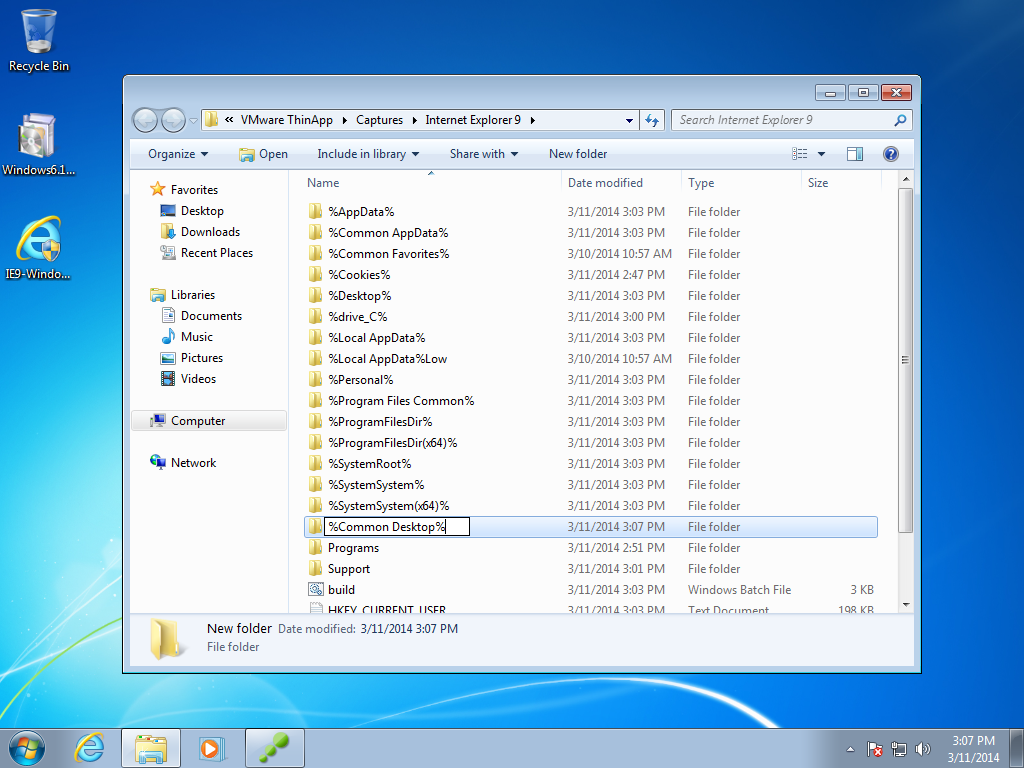
- Click on Open Project Folder
- Click New Folder
- Click Continue on the UAC popup
- Enter %Common Desktop% on the new folder name
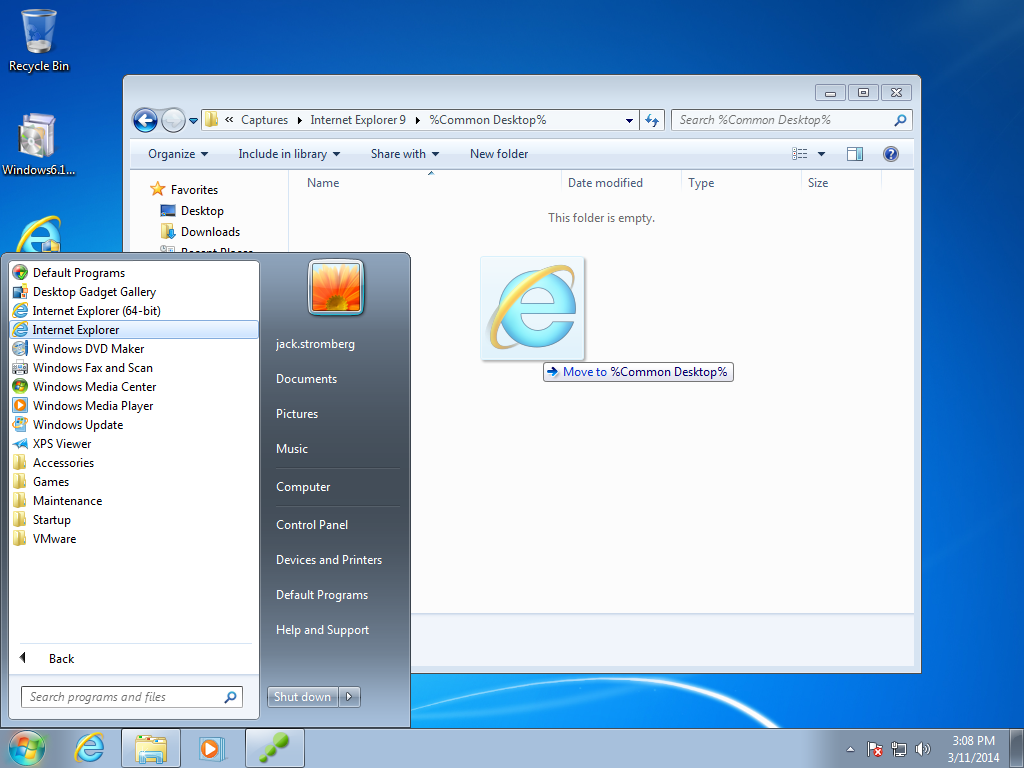
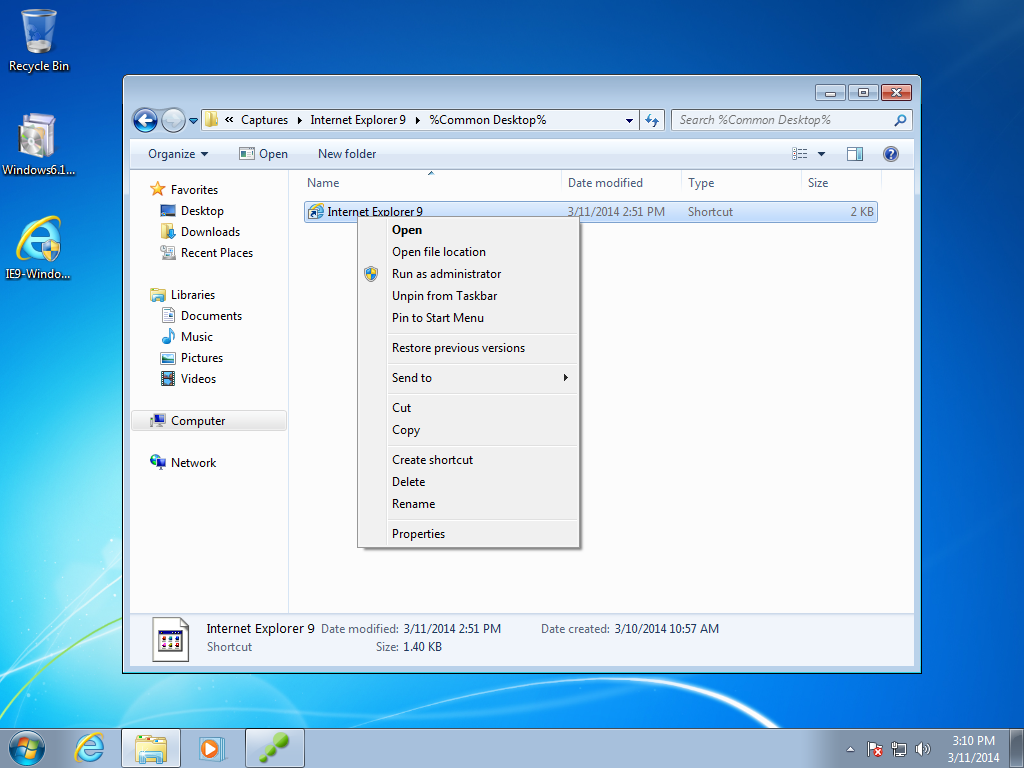
- Drag the Internet Explorer icon from your start menu into your new %Common Desktop% folder
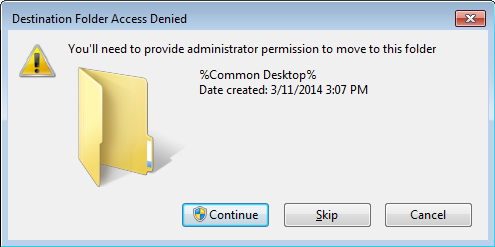
- Click Continue on the UAC popup
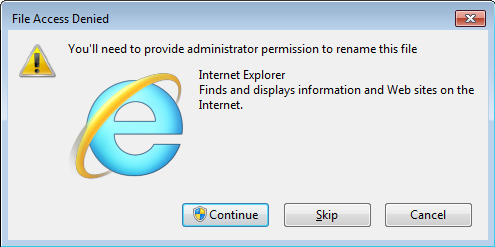
- Rename the icon to Internet Explorer 9
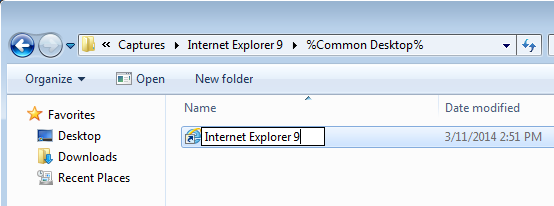
- Click Continue on the UAC popup
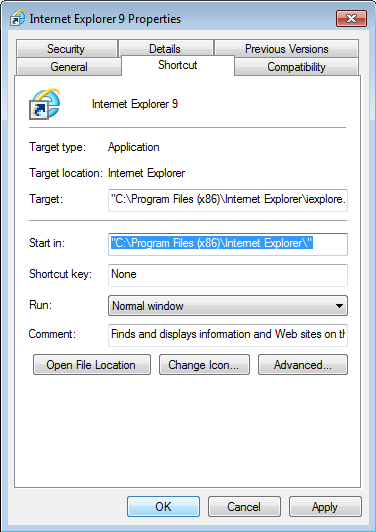
- Right click on the icon and select Properties
- Change the Start in path from %HOMEDRIVE%%HOMEPATH% to "C:\Program Files (x86)\Internet Explorer\" and click OK
- Click Edit Package.ini
- Click Build >
- Click Finish

- Test your Internet Explorer 9 Thinapp on another machine! 🙂