As you have probably found out, Microsoft no longer provides a traditional installer for Microsoft Office 2013. Additionally, you also probably know that the installer they do provide sucks down the installation files on each PC via the internet, which takes forever to deploy and install Office in an enterprise environment. That being said, here is the solution on how to deploy Office 2013 in an Enterprise environment! 🙂
- Download the Office Deployment Tool for Click-to-Run
- Once downloaded, run officedeploymenttool.exe
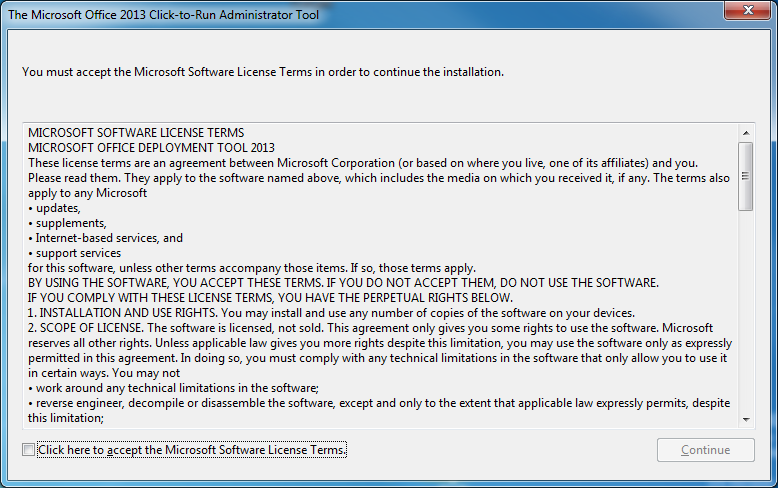
- Accept the EULA
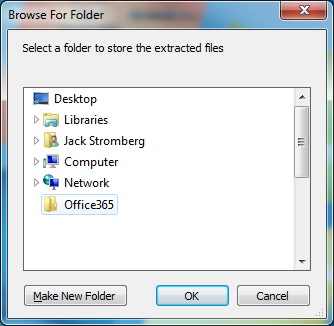
- Select a folder for it to extract the setup.exe file to
- Accept the EULA
- Navigate to the folder you made is step 2.2 via Windows Explorer and edit the configuration.xml file with your favorite text editor (notepad, notepad++, etc.)
- Remove any text inside the configuration.xml file and use the following code:
<Configuration>

<Add OfficeClientEdition="32" >

<Product ID="O365ProPlusRetail">

<Language ID="en-us" />

</Product>

</Add>

<Updates Enabled="TRUE" UpdatePath="" />

<Display Level="None" AcceptEULA="TRUE" />

<Logging Name="OfficeSetup.txt" Path="%temp%" />

</Configuration>- Note: I used the 32-bit client installer instead of the 64-bit build. The reasoning behind this is Microsoft advises to stay on the 32-bit build to ensure compatibility to browser plugins that have not been written for the 64-bit office build.
- What this code will do is deploy a 64-bit version of Office 365 Professional Plus, automatically accept the EULA when prompted, and log installation progress to a text file called OfficeSetup.txt to your temporary files folder.
- NOTE: If you want to download the 32-bit version of Office 365 Professional Plus, simply change the OfficeClientEdition="64" attribute above to OfficeClientEdition="32"
- Save configuration.xml and minimize your text editor, we will come back to this file later.
- Next, open up a command prompt and navigate to the folder you made in step 2.2
- Now, we will download the necessary files from Microsoft used to deploy Office internally on our network. To do so, execute the following command:
- setup.exe /DOWNLOAD
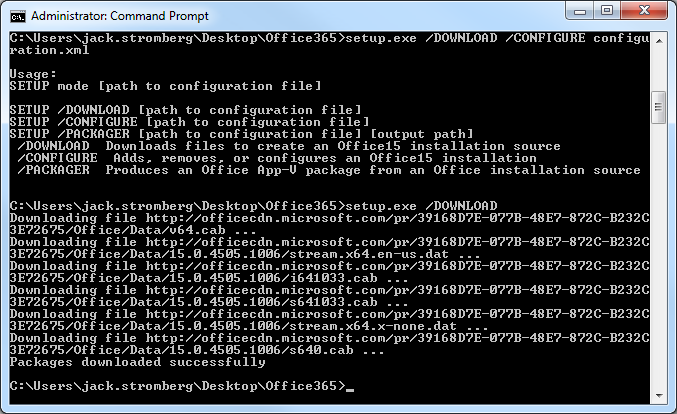
- setup.exe /DOWNLOAD
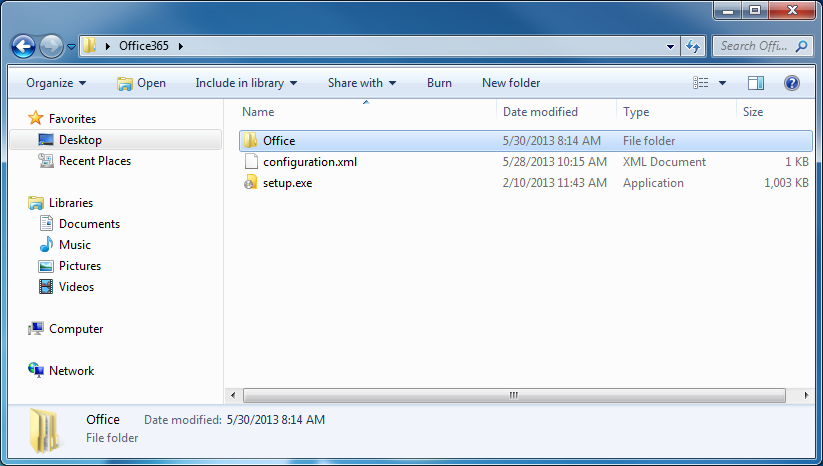
- You should now see a folder called "Office" once the files have successfully completed.
- Create a network share where these files can be grabbed from during an installation. Once done, open up your text editor with the configuration.xml file.
- Add the following attribute to your <Add OfficeClientEdition="64"> line:
- SourcePath="\\server\share\Office"
- So the entire line should look something like <Add OfficeClientEdition="32" SourcePath="\\server\share\Office">
- Now make a new file called deploy.bat inside of your folder we created in step 2.2
- Paste the following code into that file:
@echo off

pushd %~dp0

echo /******************************************

echo /* Installing Office 365

echo /******************************************

setup.exe /CONFIGURE configuration.xml

pause
- Once the command has executed, Office 365 Professional Plus should automatically be deployed on the machine! The last step is for the user to login to their profile and activate Office 365 using their Office365 credentials.
Hope this helps! If anyone finds a better solution, please let me know and I can update the guide 🙂
Notes:
Here is a link to what Product IDs are supported for deployment: http://support.microsoft.com/kb/2842297