This guide is in continuation to my guide on deploying system center 2012 r2 configuration manager, as found here.
This guide will go over installing the Application Catalog to allow users to choose software they may wish to download and install (that you have already approved), configuring the SCCM client options, deploying the client, and verifying the client has been installed.
Configuring Application Catalog
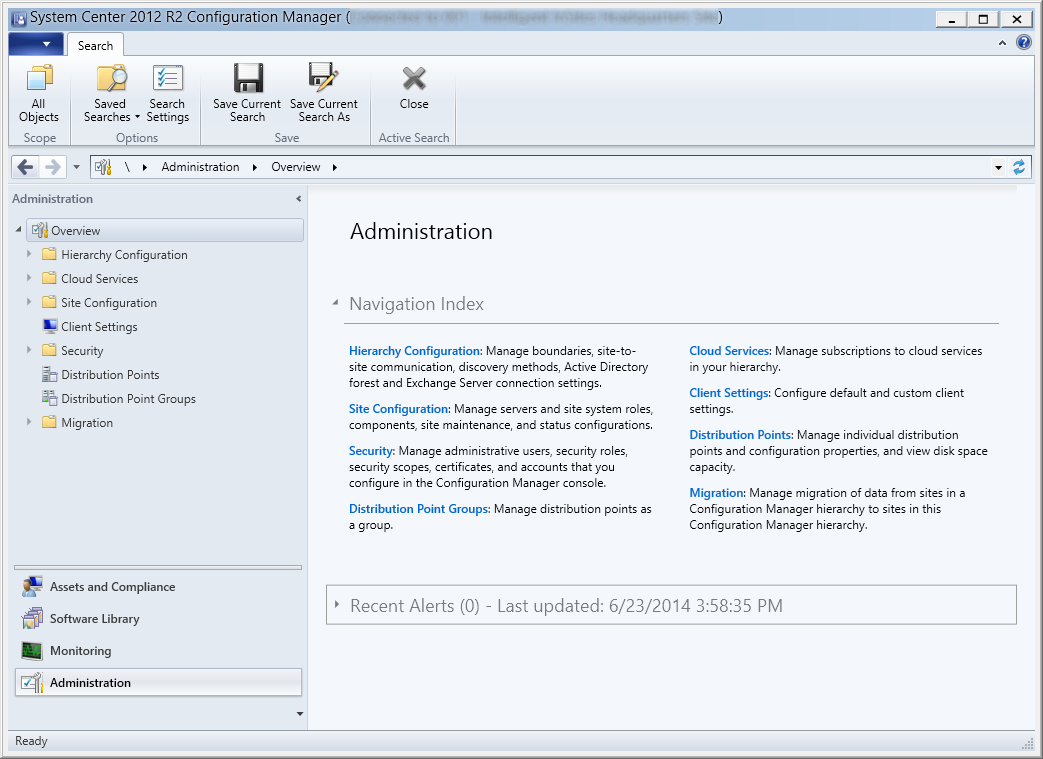
- Launch the System Center 2012 R2 Configuration Manager console

- Click on Administration in the bottom left corner
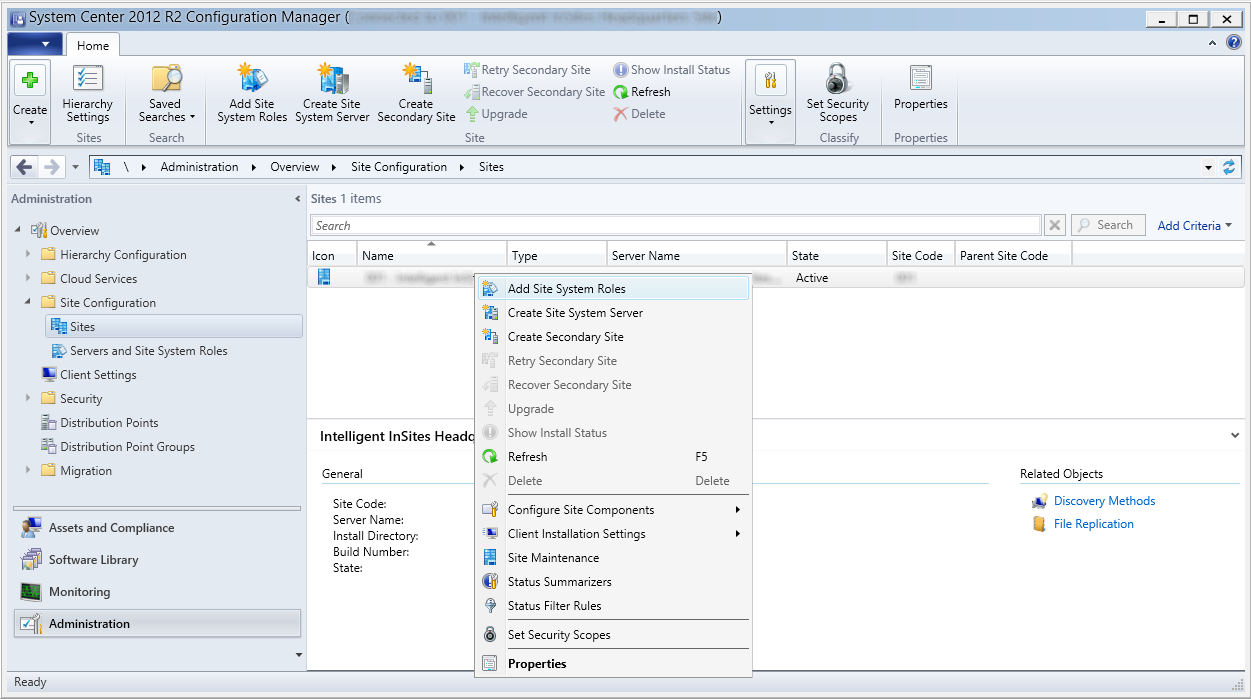
- Expand Site Configuration and select Sites and right click on your site and select Add Site System Roles
- Click Next >

- Click Next >

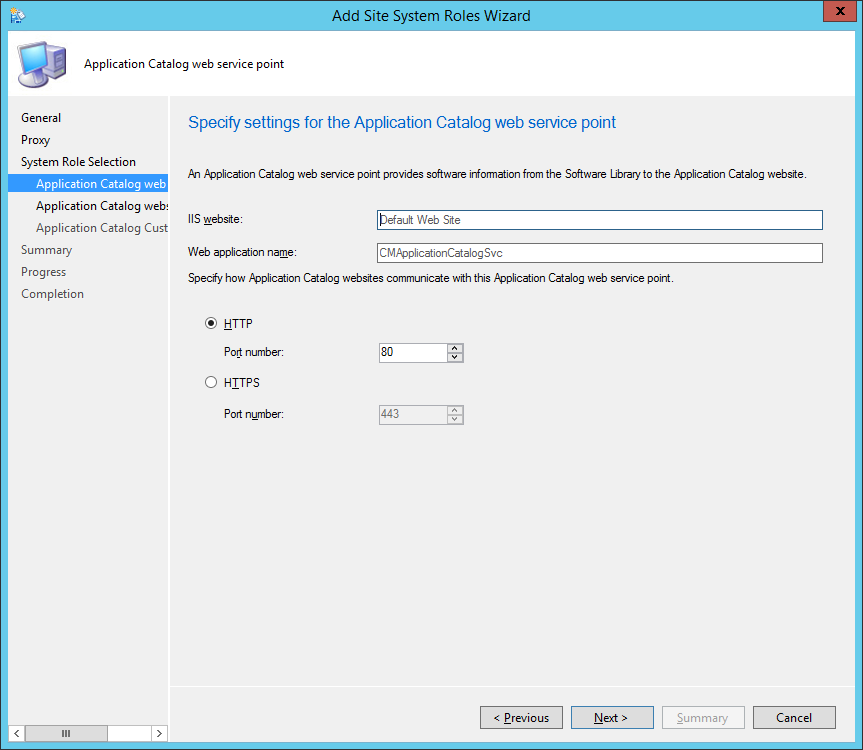
- Check Application Catalog Web Service Point, Application Catalog Website Point, and click Next >

- Click Next >
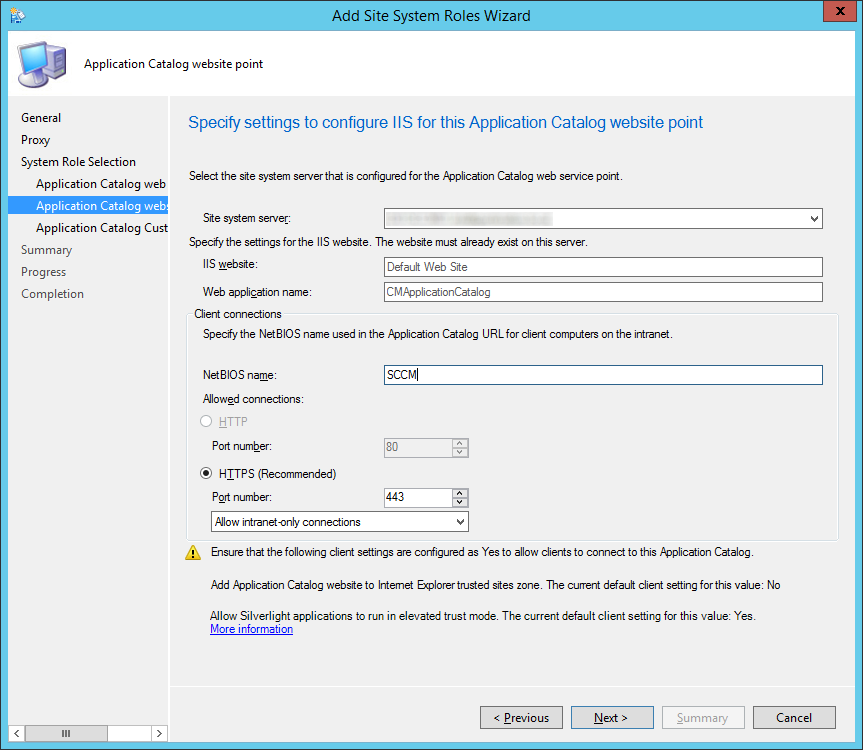
- NOTE: If you have a PKI environment, go ahead and check HTTPS and hit Next > to encrypt your network traffic
- Click Next >
- Enter your Organization name, select a Website theme, and click Next >
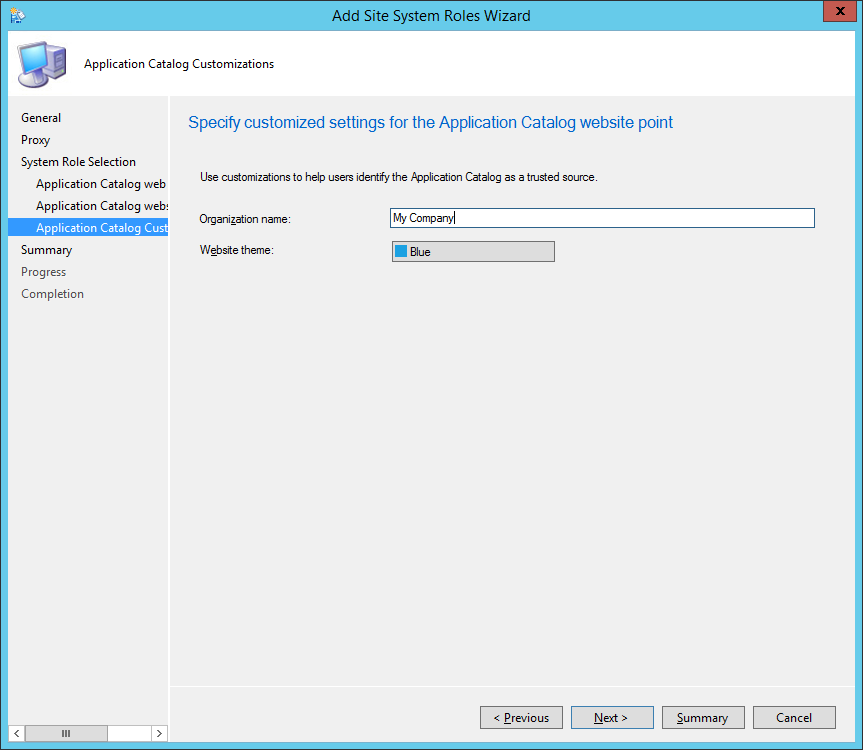
- Click Next >
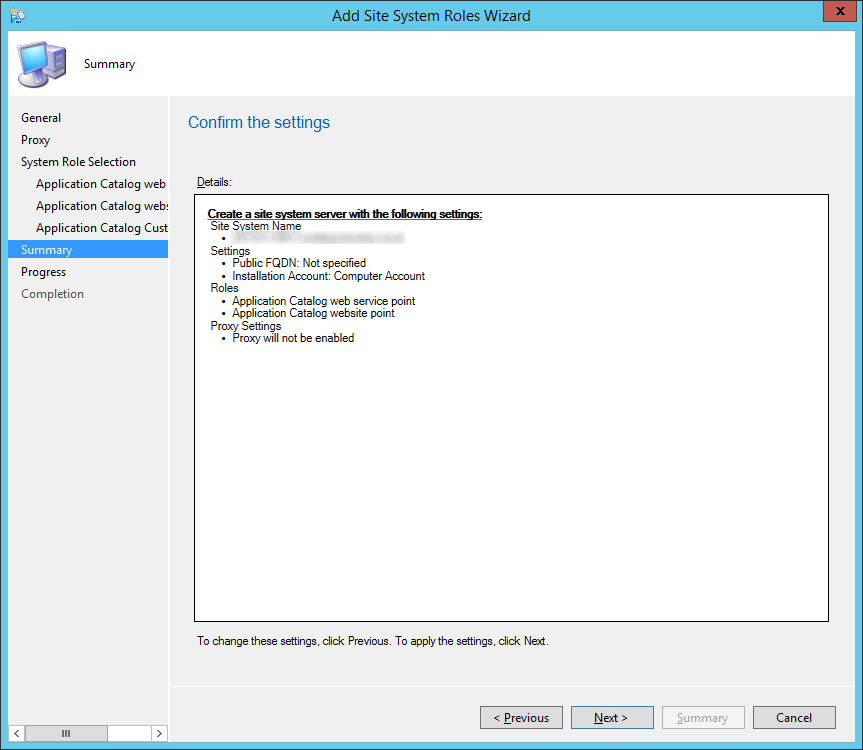
- Click Close

- Verify you can access the website from a remote machine (you will need Silverlight in order to browse the page)
- https://sccm.mydomain.com/cmapplicationcatalog
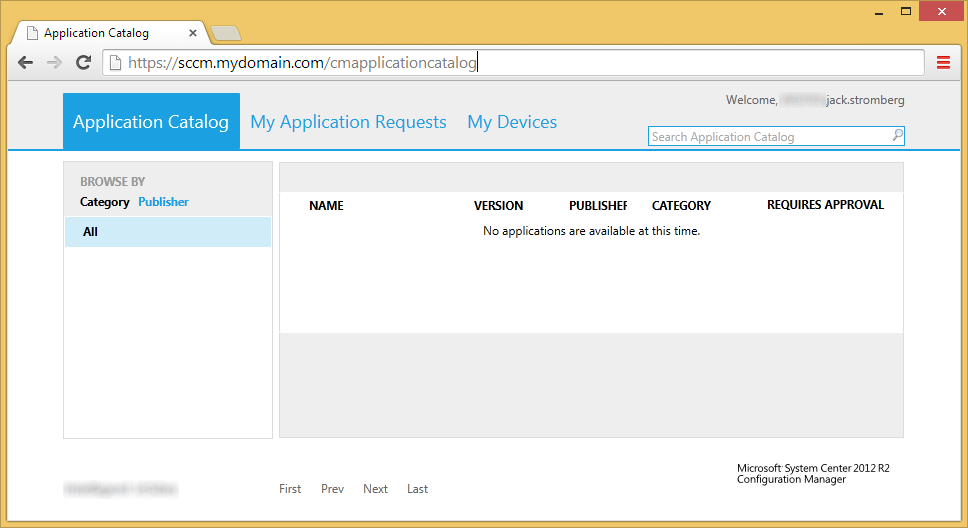
- https://sccm.mydomain.com/cmapplicationcatalog
Configuring SCCM Agent Settings
- Launch the System Center 2012 R2 Configuration Manager console

- Click on Administration in the bottom left corner

- Click Client Settings, right click on Default Client Settings, select Properties
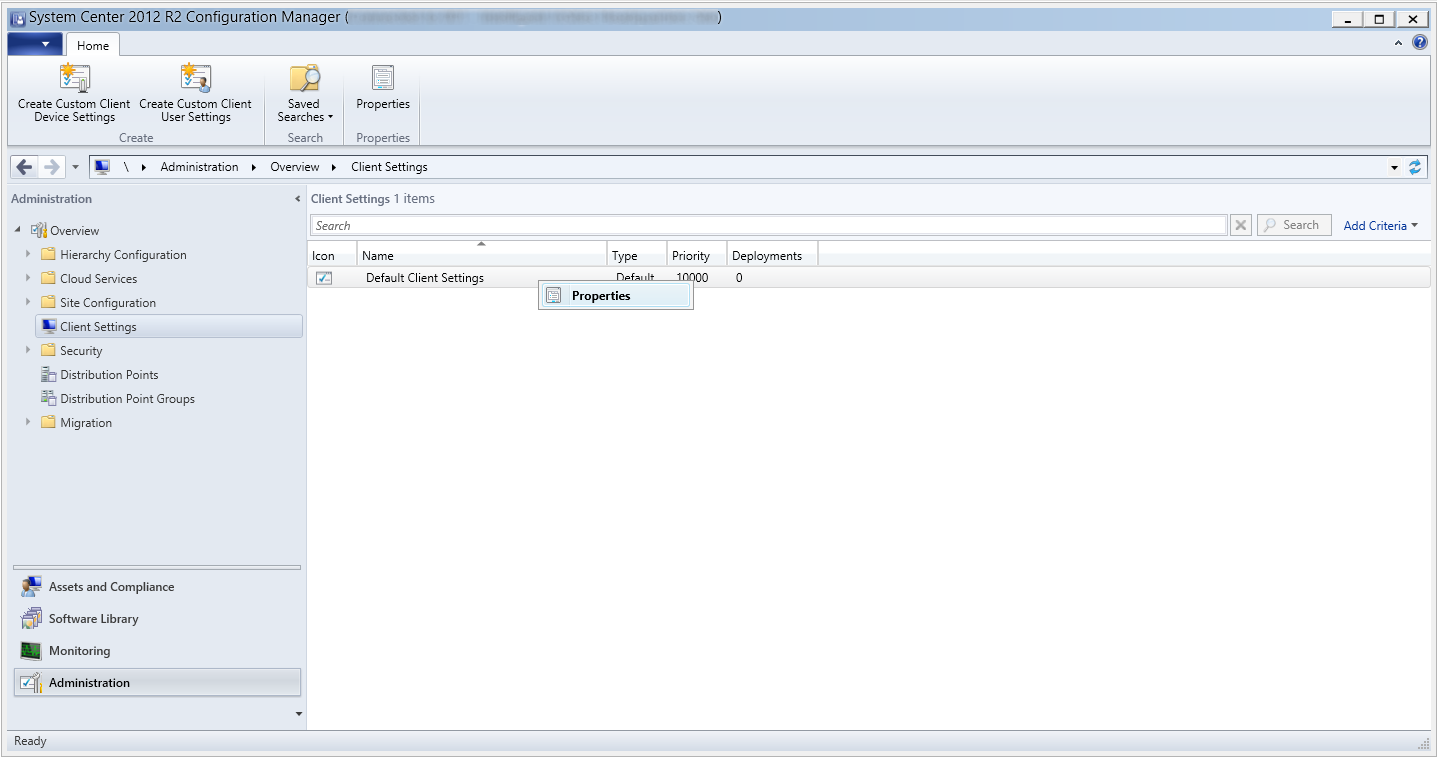
- Select Computer Agent and then click on the Set Website... button near Default Application Catalog website point
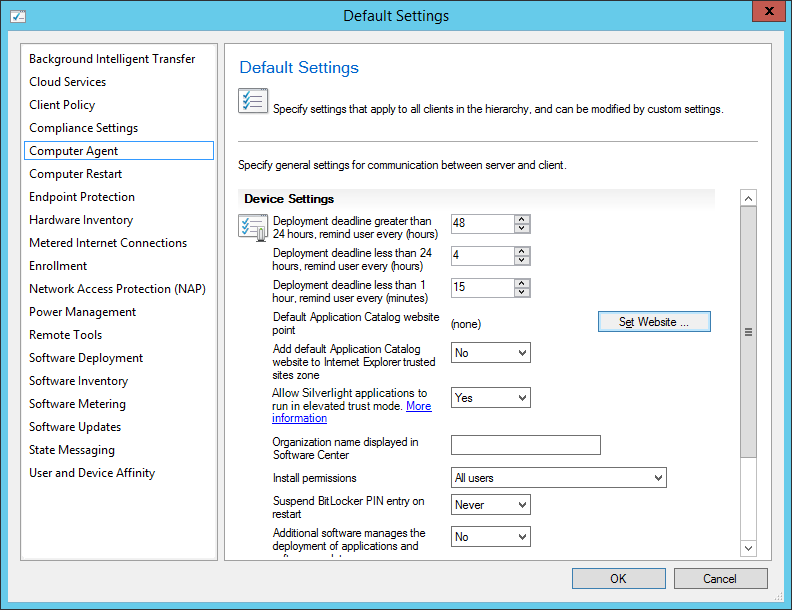
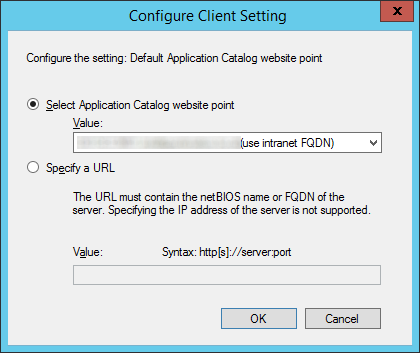
- Select the value that matches your intranet FQDN and click OK
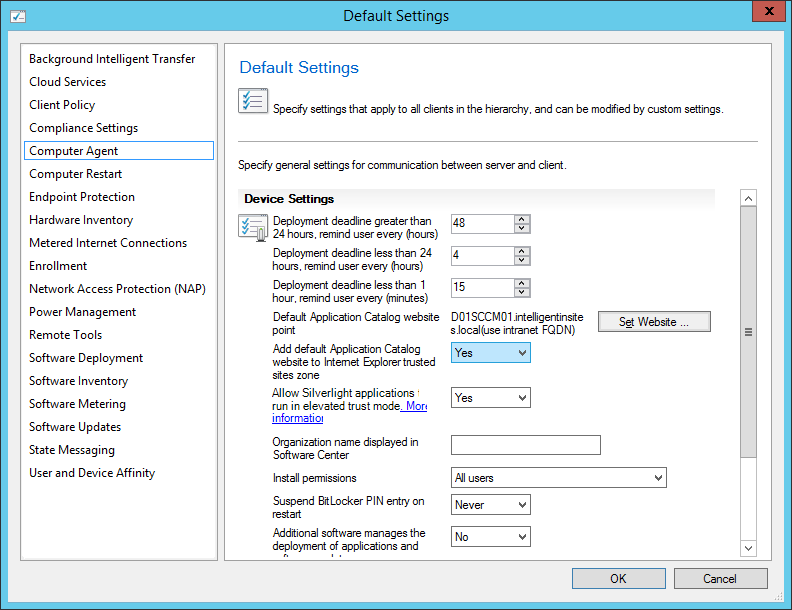
- Select Yes under Add default Application Catalog website to Internet Explorer trusted site zone
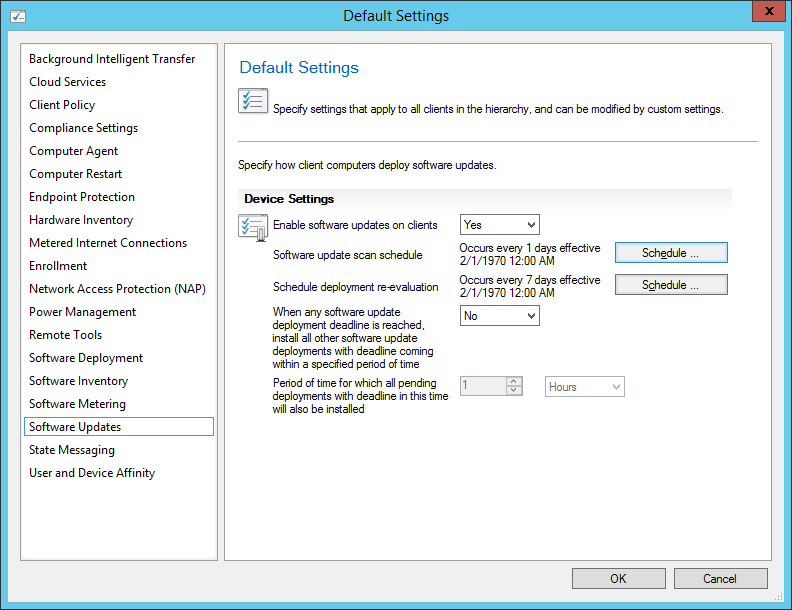
- Click on Software Updates and schedule software updates to happen every 1 days
- Click on User and Device Affinity and set Allow user to define their primary devices to Yes
- NOTE: What is User Device Affinity? User device affinity in Microsoft System Center 2012 Configuration Manager is a method of associating a user with one or more specified devices. User device affinity can eliminate the need to know the names of a user’s devices in order to deploy an application to that user. Instead of deploying the application to all of the user’s devices, you deploy the application to the user. Then, user device affinity automatically ensures that the application install on all devices that are associated with that user. More info can be found here: http://technet.microsoft.com/en-us/library/gg699365.aspx
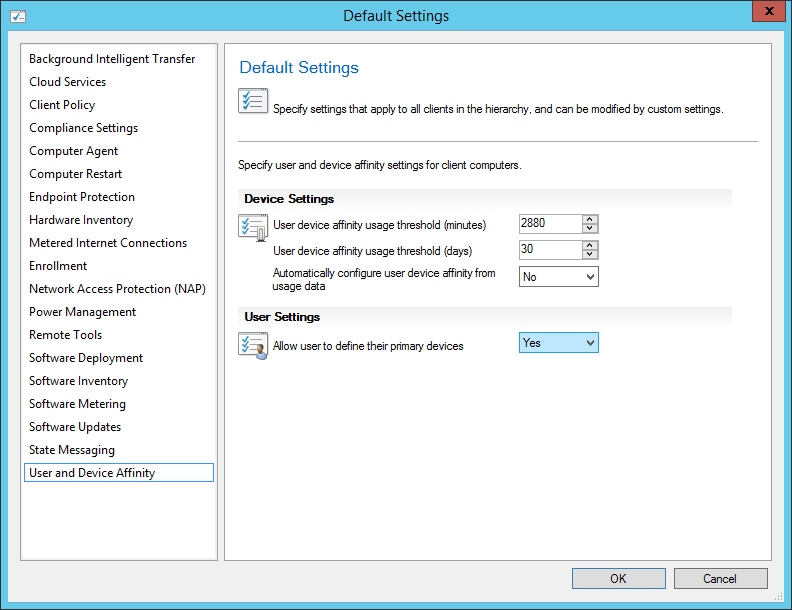
- NOTE: What is User Device Affinity? User device affinity in Microsoft System Center 2012 Configuration Manager is a method of associating a user with one or more specified devices. User device affinity can eliminate the need to know the names of a user’s devices in order to deploy an application to that user. Instead of deploying the application to all of the user’s devices, you deploy the application to the user. Then, user device affinity automatically ensures that the application install on all devices that are associated with that user. More info can be found here: http://technet.microsoft.com/en-us/library/gg699365.aspx
- Click OK
Preparing deployment credentials to install SCCM Agent to clients
- Launch the System Center 2012 R2 Configuration Manager console

- Click on Administration in the bottom left corner

- Select Site Configuration, Sites, and then click Settings->Client Installation Settings->Client Push Installation
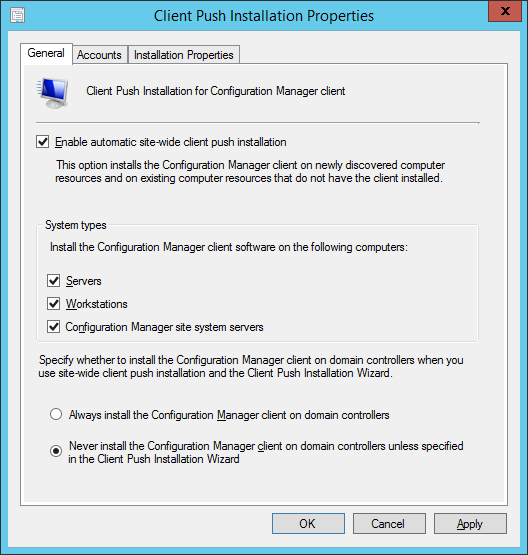
- Check Enable automatic site-wide client push installation and check all options to under System types to cover all machines in your environment
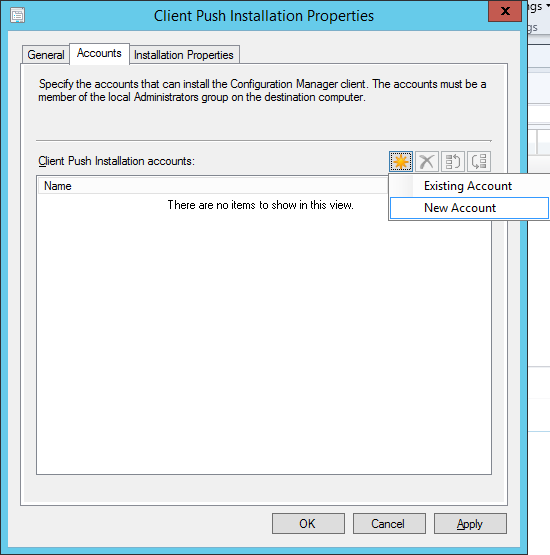
- Select the Accounts tab and then click the yellow star and select New Account
- Enter in the SCCMCP user credentials (that have local admin privileges on the remote machines), click the Verify button, and type in the path to one of the shared folders on your machine.
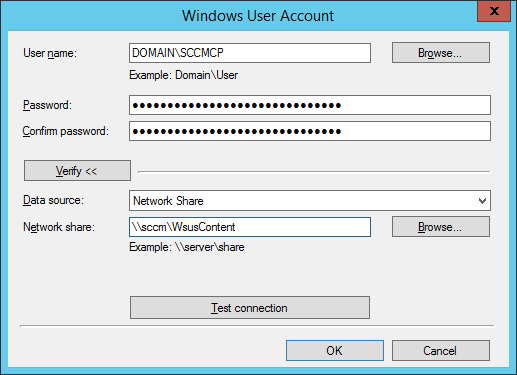
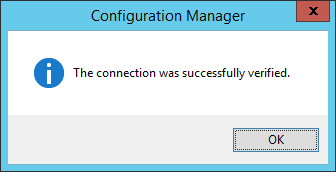
- Click Test Connection and hit OK on the Configuration Manager dialog
- Click OK
Deploy the SCCM Agent to clients
- Launch the System Center 2012 R2 Configuration Manager console

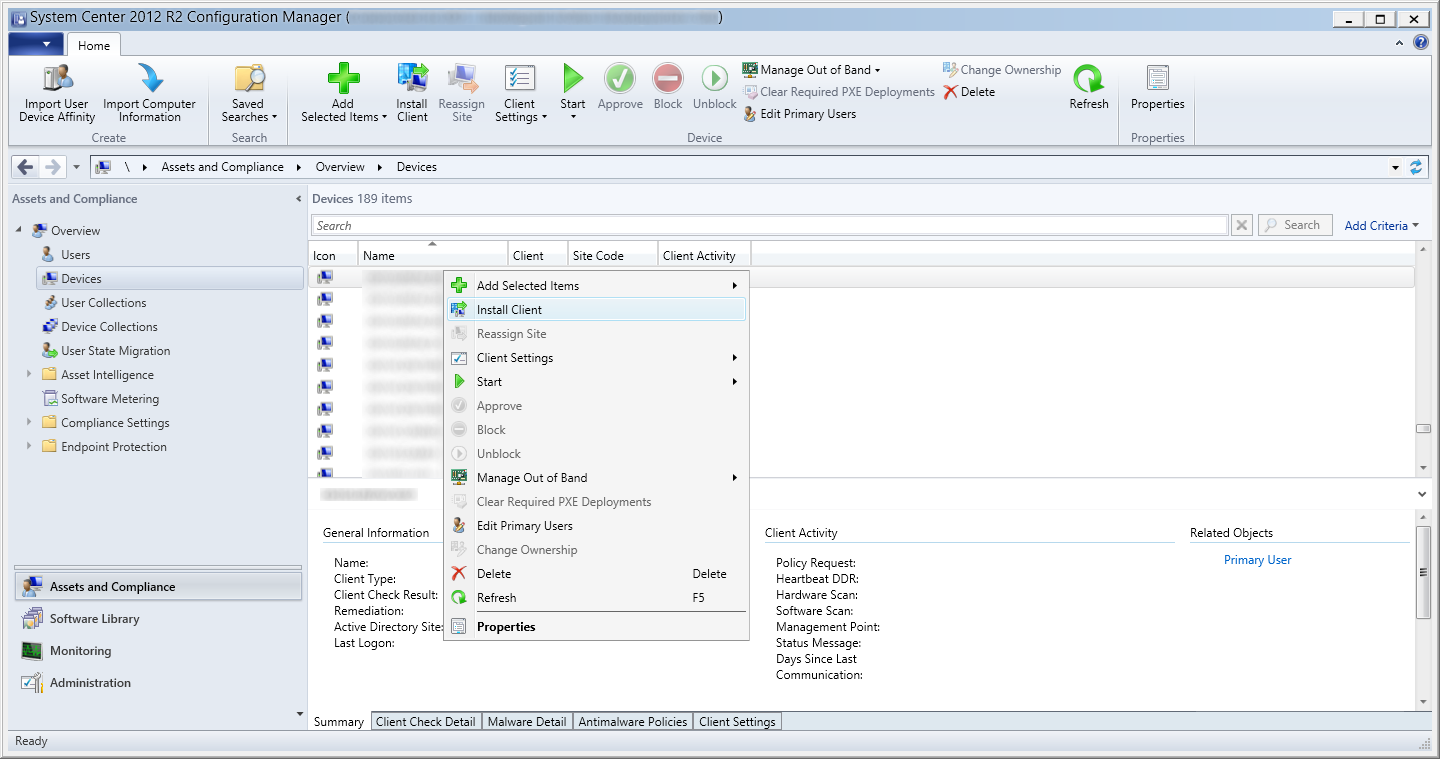
- Select Devices, right click on the client you wish to deploy the agent to and select Install Client
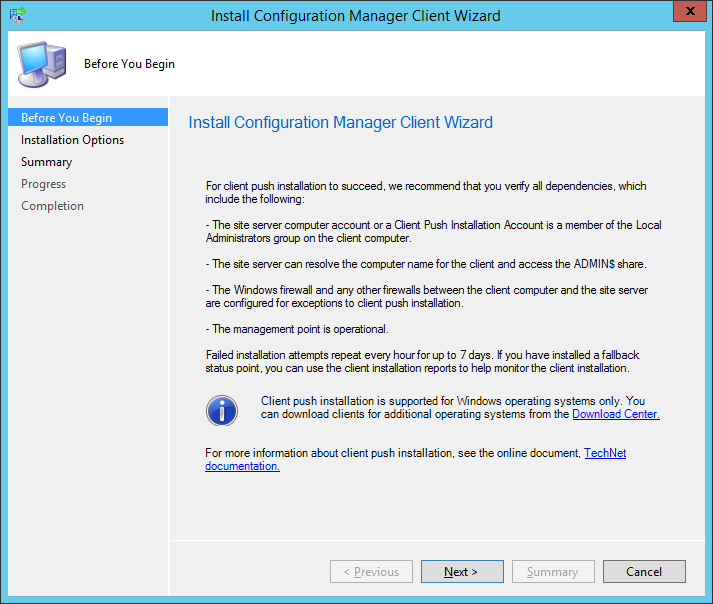
- Click Next >
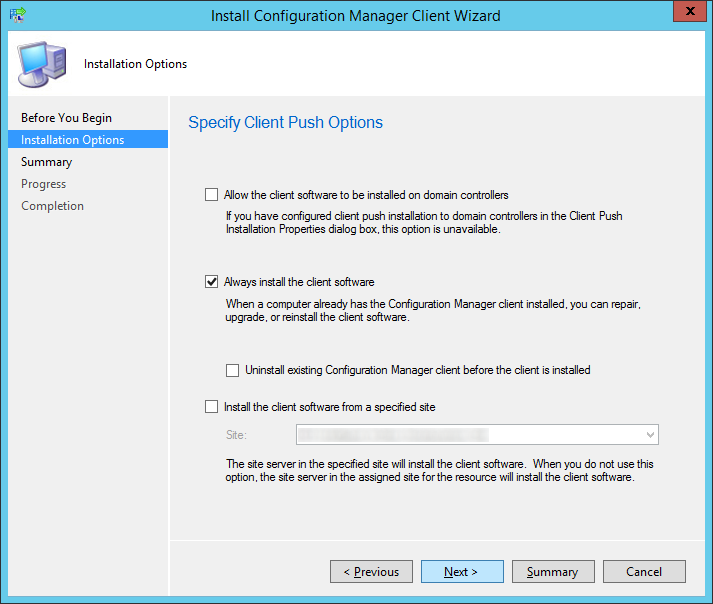
- Check Always install the client software optionally check the others and click Next >
- Click Next >
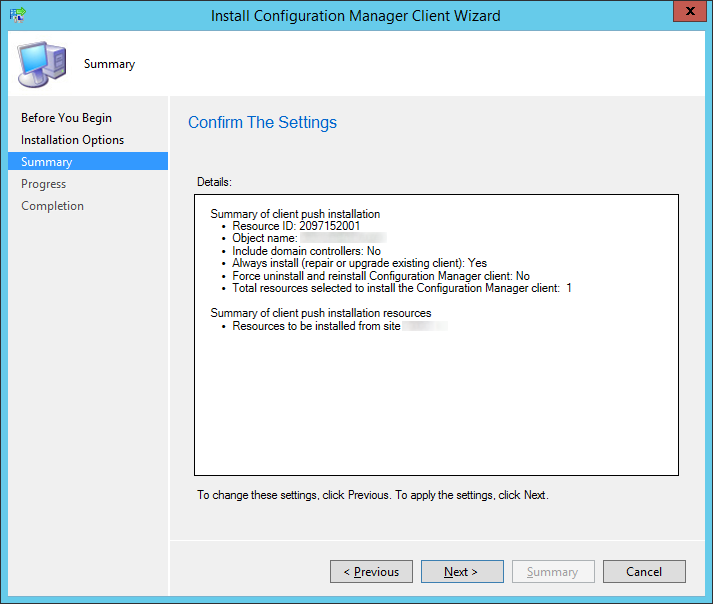
- Click Close
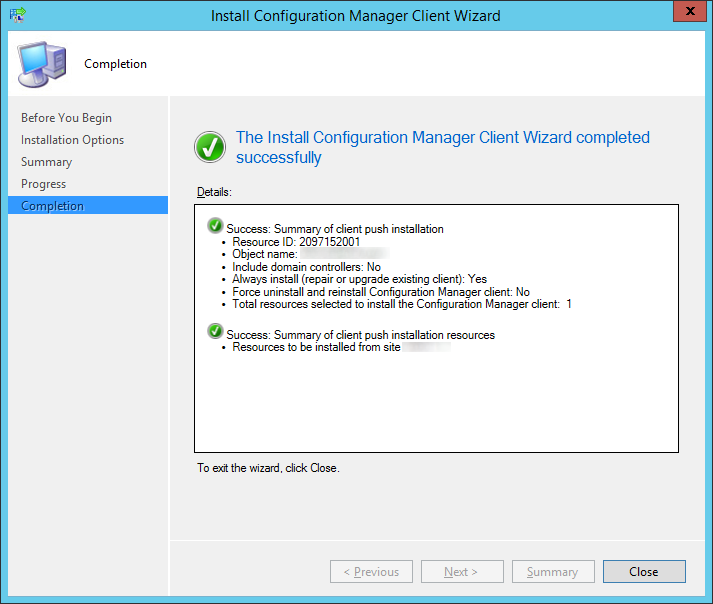
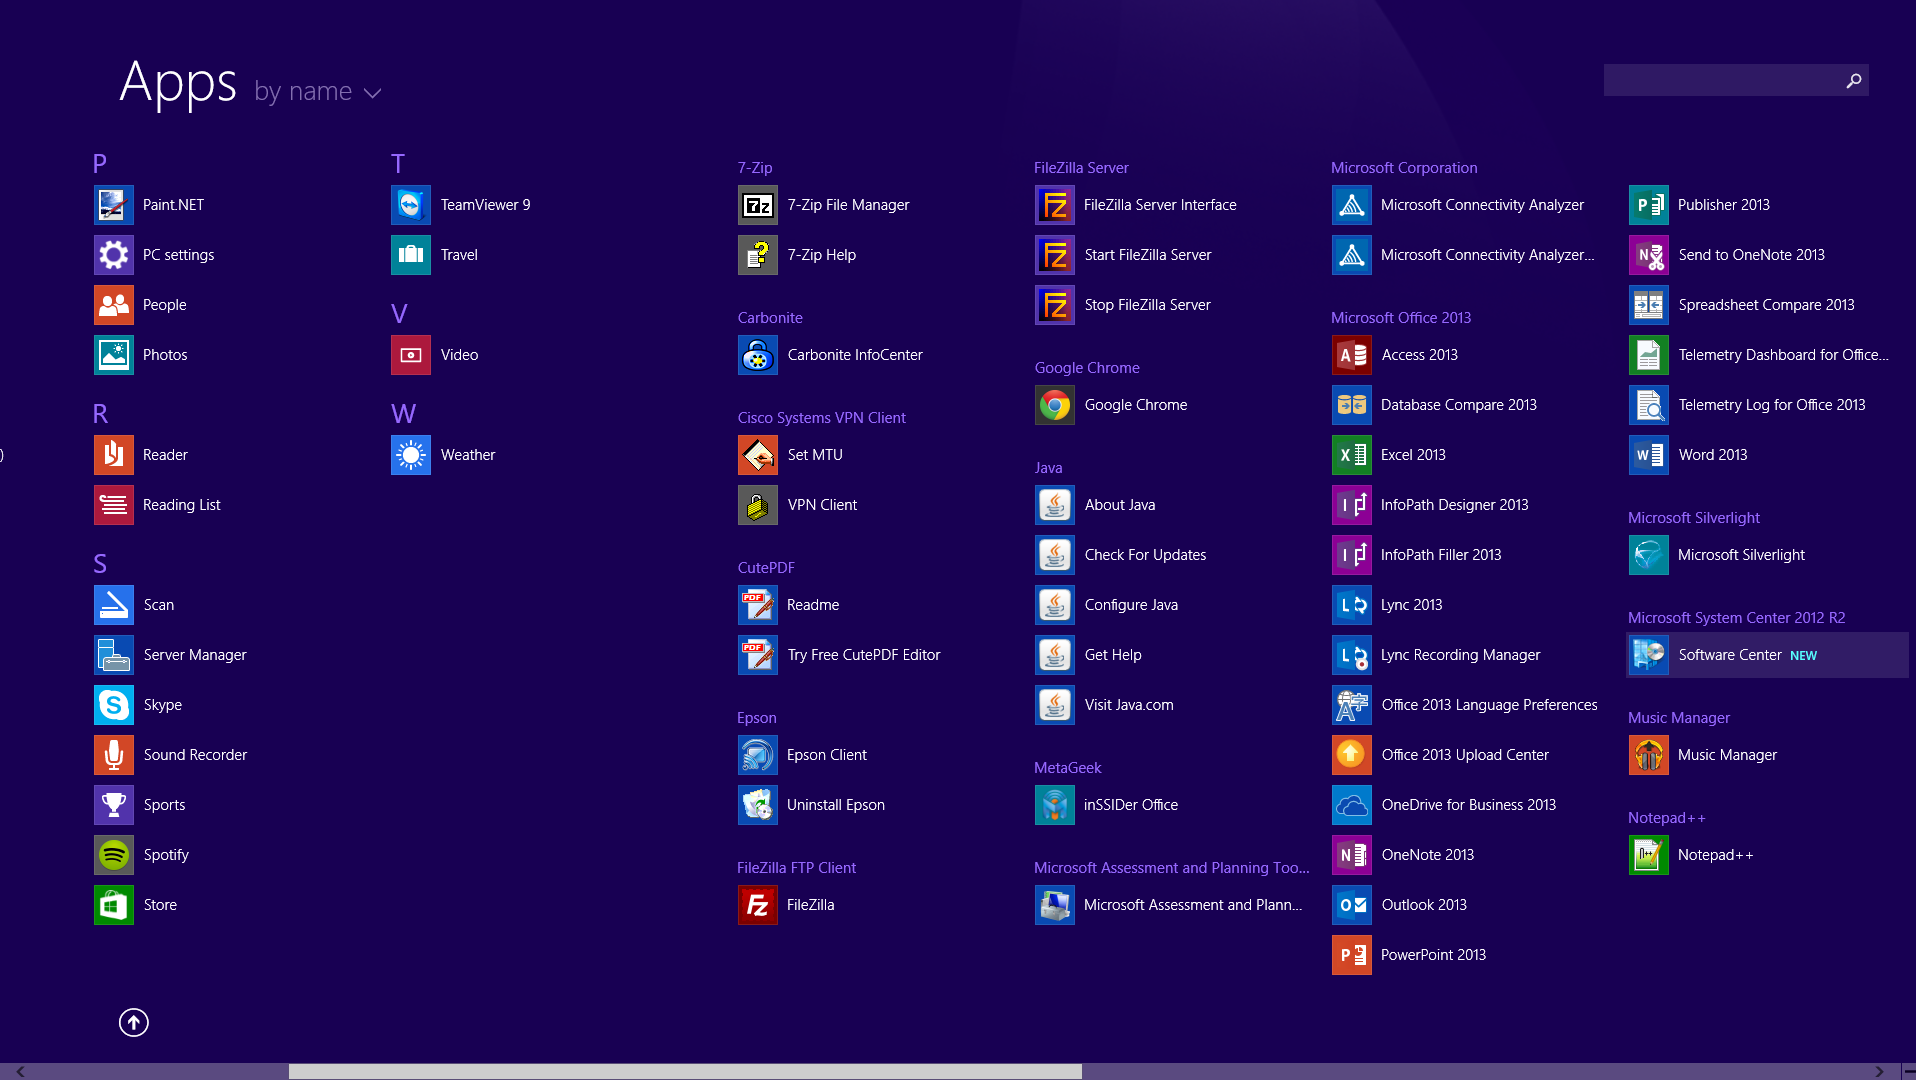
After about 5 minutes or so, you should see an entry in your start menu called Software Center. If you see this, you have successfully deployed the SCCM client! 🙂
Pingback: System Center 2012 Configuration Manager R2 (SCCM 2012 R2) Standalone Deployment | Jack Stromberg