This tutorial will review how to create a bootable USB drive to flash the fimrware/bios on your Lenovo device.
Before we begin, Lenovo offers three different downloads for Firmware today:
- Windows installer/flash utility (.exe)
- CD ISO version (.iso) to burn to a disk
- USB Flash Package (.zip)
While the USB Flash Package (.zip) is exactly what we are looking for, by default if you just drag the files onto your USB drive, it won't boot to the flash utility. In this case, the instructions below will show you have to make the drive bootable and then launch the USB Flash Package.
Make a bootable drive
First, you will want to download a copy of the Rufus utility. This utility is an open source utility for Windows only, but will allow you to make a bootable USB drive. You can obtain a copy of the utility here. Rufus' website can officially be found here: https://rufus.ie/
Once installed, open the application. Select your USB device you wish to flash (note this will erase all data on your device) and set the Boot selection to FreeDOS. Once your Device and Boot selection has been set, go ahead and click Start to flash the device.

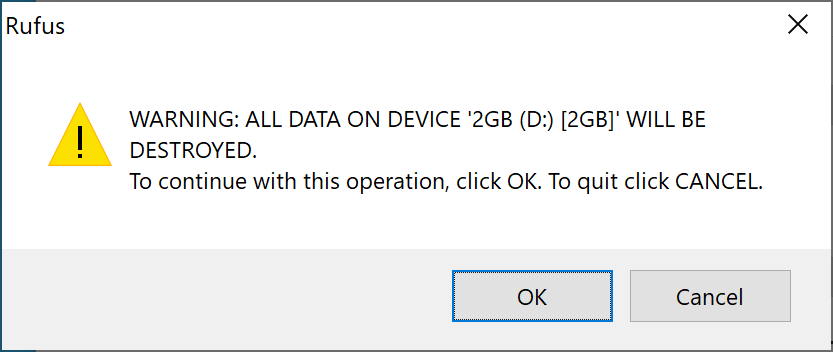
You will be prompted to confirm you are OK with erasing the device. Go ahead and click OK if you are sure you have selected the correct device in the prior step.
Once completed, you should see a green bar that says READY. This is kinda misleading, wish it would say completed, but your device should be flashed at this point.

Download the right firmware from Lenovo
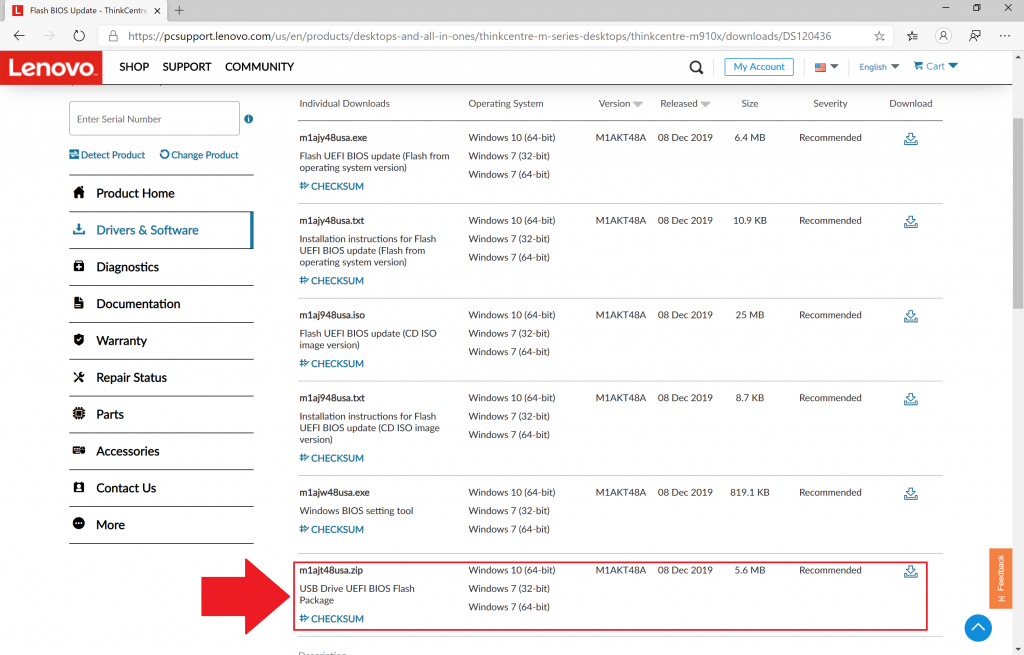
As mentioned earlier, Lenovo offers 3 different types of downloads on their website. You will want a copy of the zipped installer as shown in the screenshot below.
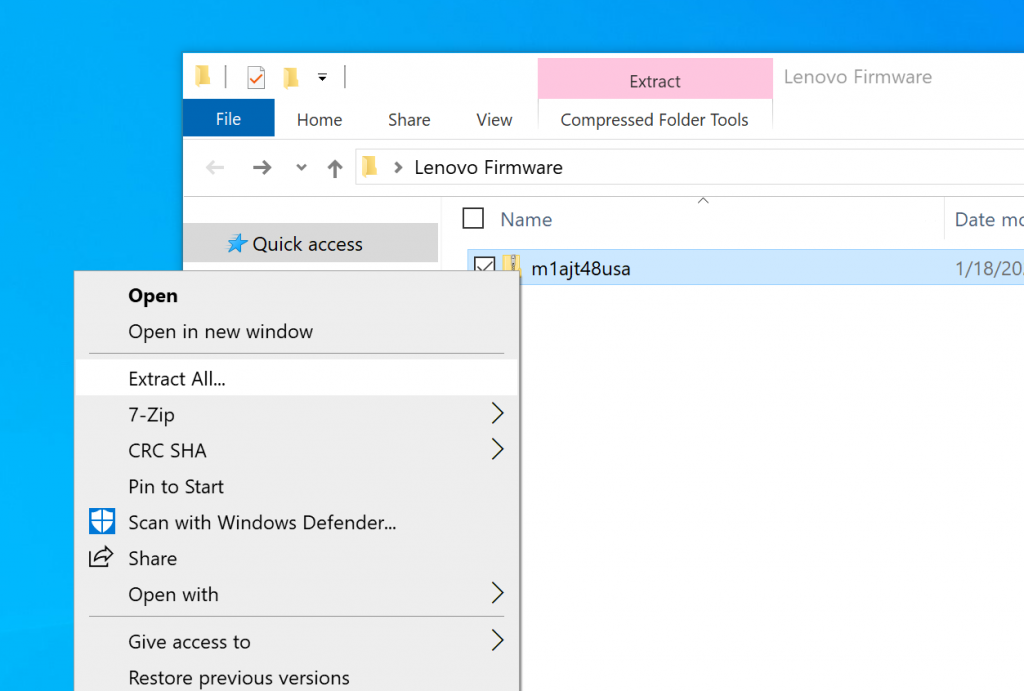
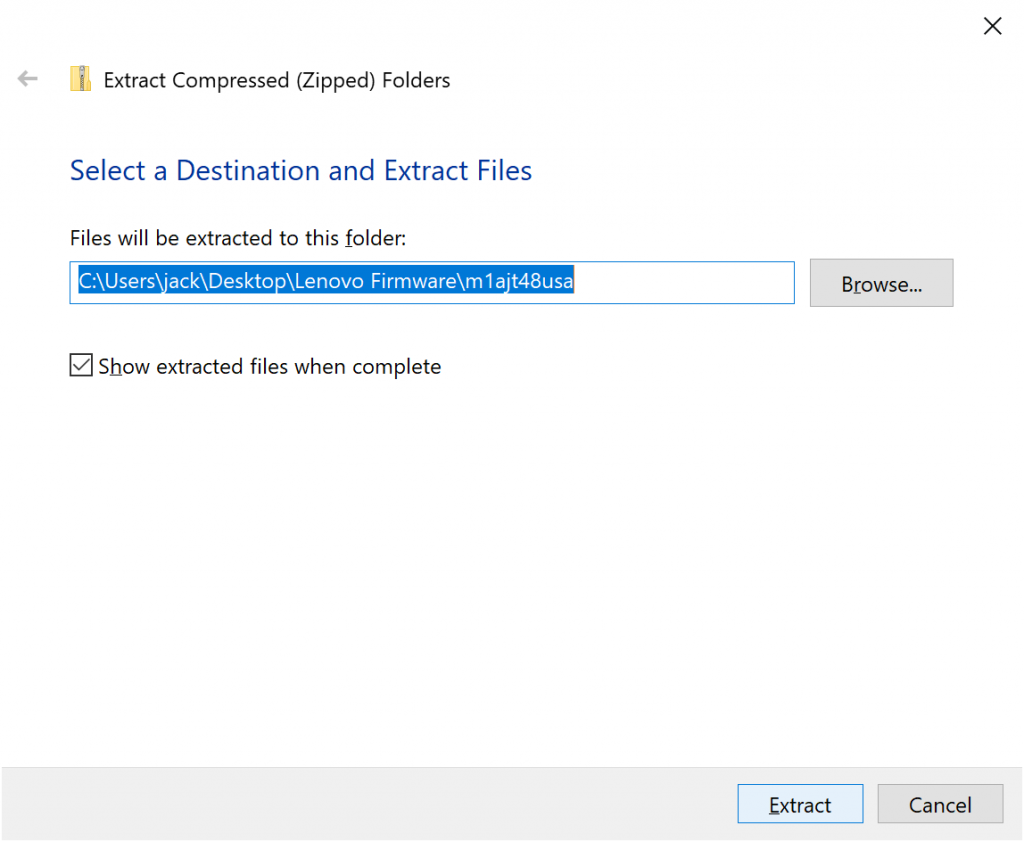
Once downloaded, navigate to where you downloaded the zipped file, right click, and select Extract All... If you don't see Extract All... then try downloading a copy of 7-Zip, which is a fantastic free archiver solution that can open all types of compressed files (zip, 7zip, tar.gz, etc)
Copy the extracted files to your bootable USB drive
Once you have extracted the files from the zipped folder from Lenovo, you will want to copy and paste the files from the extracted directory to the bootable USB drive. To show visually, I opened two file explorer windows, one in the directory of the extracted firmware and the other on the bootable USB drive. I simply dragged and dropped the files from the firmware directory to the bootable USB drive.
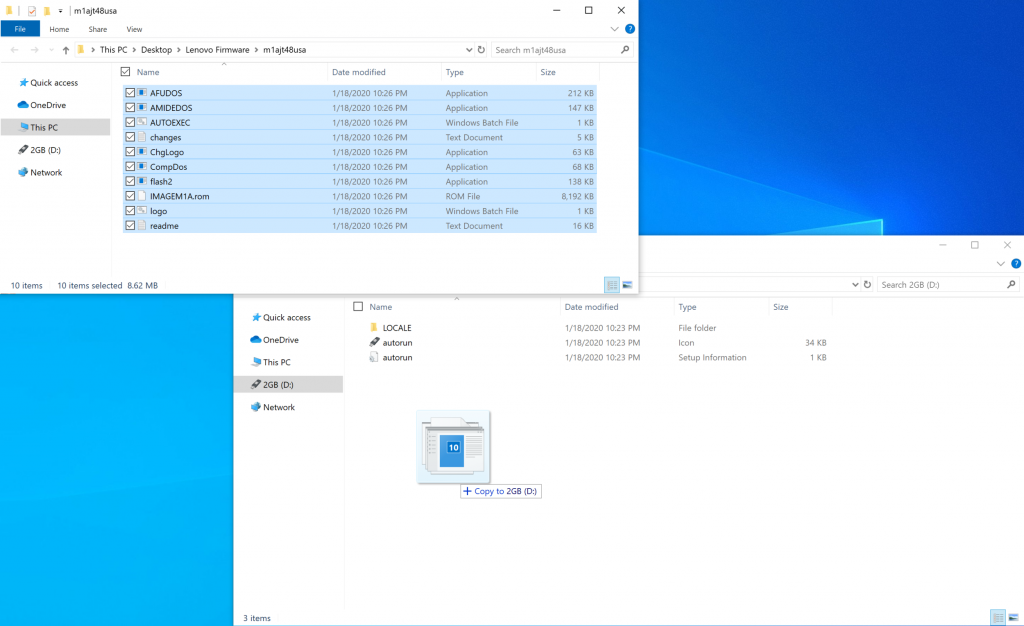
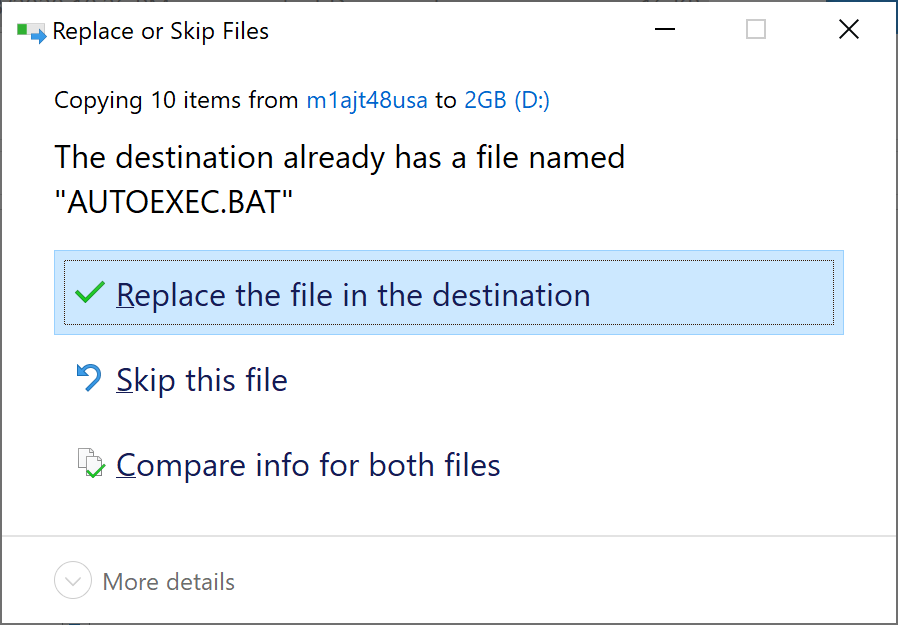
When you try to copy the files from the firmware directory to the bootable USB drive, you will be prompted to replace AUTOEXEC.BAT. Make sure to Replace the file in the destination as this will execute the command to launch the flash2 utility, which actually writes the firmware to the device.
Plug in the drive and set the device to boot to it
At this point, you should have a bootable USB device that you can now plugin to your Lenovo device. You can unplug it from your client machine and plug it in to your Lenovo device. Make sure you set your Lenovo device to boot from the USB drive (this can usually be set by pressing the F1 or F2 keys during the post screen).
What to expect
Upon boot, you should be greeted by the Lenovo flash utility, which will ask if you want to update your device. Please note, that in my experience, once I select yes the device needed to reboot several times and may boot into the BIOS. The utility will tell you when everything is completed, so make sure you don't power down your device or unplug your USB drive after the first or second reboot, make sure you wait things out. As with updating any firmware, make sure you don't do this in a storm or on a device with low battery as you ensuring little chance of disruption as possible is absolutely critical.
Summary
At this point, you should have a bootable USB drive created by Rufus and FreeDOS that can be paired with Lenovo's firmware to go around and flash your devices. Hope this helps!
Would this method work on a lenovo thinkpad t530 with a black screen? I flashed a bios and now it has a black screen ... Please advise if you can.
Not sure what a black screen means, but you can flash the bios even if an operating system is not present.
I have done the same I have a Lenovo miix 320-10icr and a member of Lenovo premier support team this article worked great
HOW TO CREATE A BOOTABLE BIOS FLASH USB MEMORY KEY
1. Attach a USB memory key to your Windows system, then format the USB memory key.
Note: A medium formatted with NTFS or exFAT is not supported by this Flash Update process.
Use FAT32 or FAT16 as a file system of the medium.
2. Open command prompt with administrator right, then move to a directory of this
package.
3. Run mkusbkey.bat in the directory with following command format, then finish
creating BIOS flash USB memory key.
Syntax : mkusbkey.bat [Drive]
[Drive]
D:,E:,F:... : Drive letter assigned to the USB memory key
Example : mkusbkey D:
--------------------------------------------------------------------------------
HOW TO UPDATE BIOS AND EC FIRMWARE BY BIOS FLASH USB MEMORY KEY
1. Make sure that a system main battery is fully charged and AC power is
attached. On tablet system, attach an external keyborad.
2. BIOS Setup item Startup->UEFI/Legacy Boot needs to be "Both" or
"UEFI Only"
3. Attach a BIOS flash USB memory key to the target system.
4. Power on the target system, then press F12 key to show Boot Menu.
5. Select USB HDD in the Boot Menu, then press Enter to make the target system
boot from the USB memory key.
6. BIOS/EC firmware update process will start. Please proceed according to the
display on the screen. System will reboot several times and actual firmware
update process will occur during these system reboot events.
Do not power off the target system during these system reboot events to
complete firmware update process until operating system boots up.
Where can I find this file named "mkusbkey.bat"?
That's specific to lenovo's bios utility and not specific to this tutorial.
I searched my BIOS flash utility 9sjt9cusa.zip for my Lenovo ThinkCentre E31 and found no file named mkusbkey.bat
Here is the list of files (10 total) in this BIOS flash package:
AFUDOS.exe
AMIDEDOS.exe
AUTOEXEC.BAT
changes.txt
Chglogo.exe
compDos.exe
flash2.exe
IMAGE9S.CAP
logo.bat
readme.txt
If utilizing this guide, I don't believe you need to use mkusbkey.bat. mkusbkey.bat is if you were not utilizing rufus and following the instructions from Lenovo. Prior to writing this guide, such instructions were not offered by Lenovo.
I'm trying to update bios of lenono X1 gev and they only offer zipped version for Linux. Windows gets only iso and exe. Can I use the linux version on windows machine?
If it's .exe you may be able to run from Windows. If it's already a bootable iso, try using that as the image source for your usb. I don't have an article for how to do this with Linux unfortunately.
it worked , TKS
Been searching for hours! Installed loads of iso software but nothing worked. This is so simple and actually works! OMG
There is zip or iso available for my device, only an exe.
I can't run it on the device as the motherboard is bricked, so how do I flash the working bios from the exe to the dead mobo?
If the motherboard itself is bricked, you would have to flash the chip itself; which is outside the scope of this. You might be able to find an already programmed bios chip on ebay; that would likely be your best bet.