In Visual Studio 2012, Microsoft removed the ability to make quick installers for your application. Now they recommend using a third party like Wix or InstallShield. This tutorial will go over using InstallSheild's free light version to make an installer for your application.
Please note, you cannot use InstallShield's product with the Express versions of Visual Studio. If you use the express edition, you will not see the "Other Project Types" and "Setup and Deployment" folders mentioned later on.
First head over to InstallShield's website and register for the product. It is free, but you have to register with a valid email address to receive a license key:
Download and install the program.
Once installation is done, launch the program below as an Administrator:
C:\Program Files (x86)\InstallShield\2012SpringLE\System\TSConfig.exe
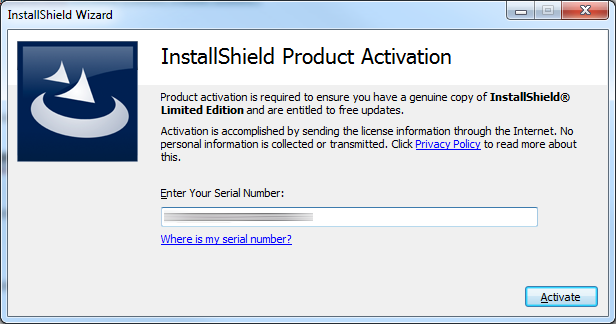
Enter your serial number from an auto-generated email they sent you when you downloaded InstallShield Limited and hit Activate.
Next, open up Visual Studio 2012 (again, note we are not using express)
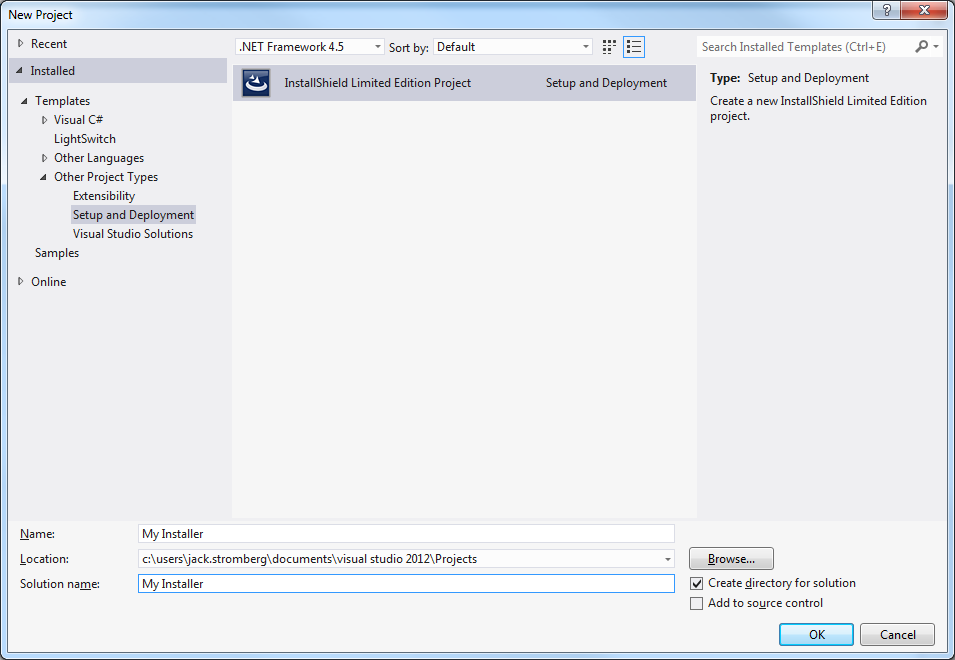
Click File->New Project.
Expand Other Project Types and select Setup and Deployment. Inside of there, you should see InstallShield Limited Edition Project (again, you won't see this in Visual Studio Express editions). Click OK.
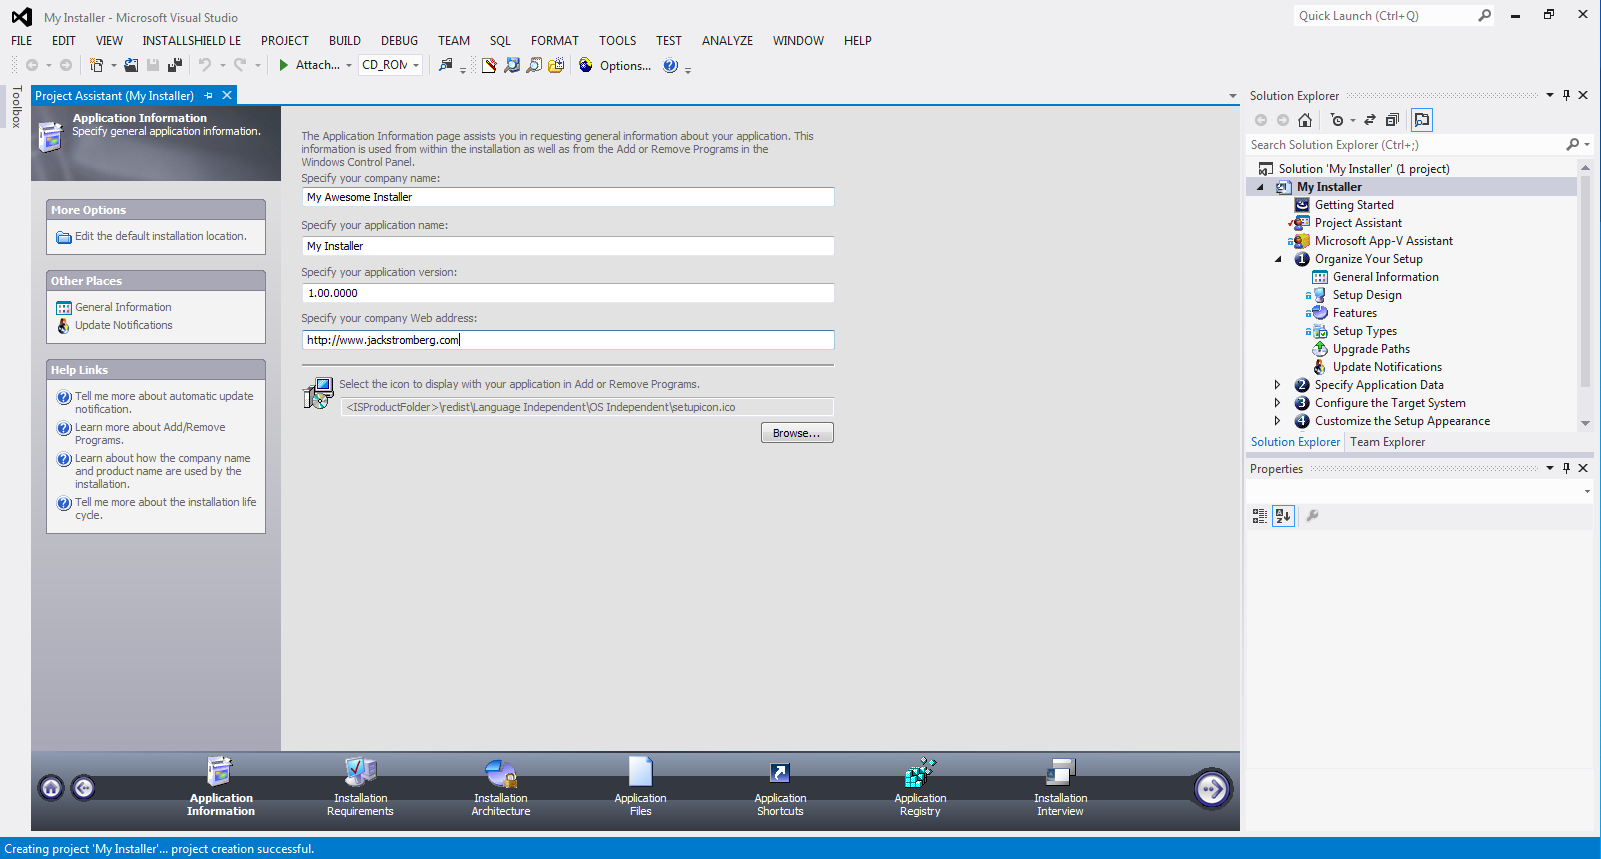
At this point, you should see a guided GUI (Project Assistant) to create your installer. Inside of the Solution Explorer, you will see additional items you can select to configure advanced options.


