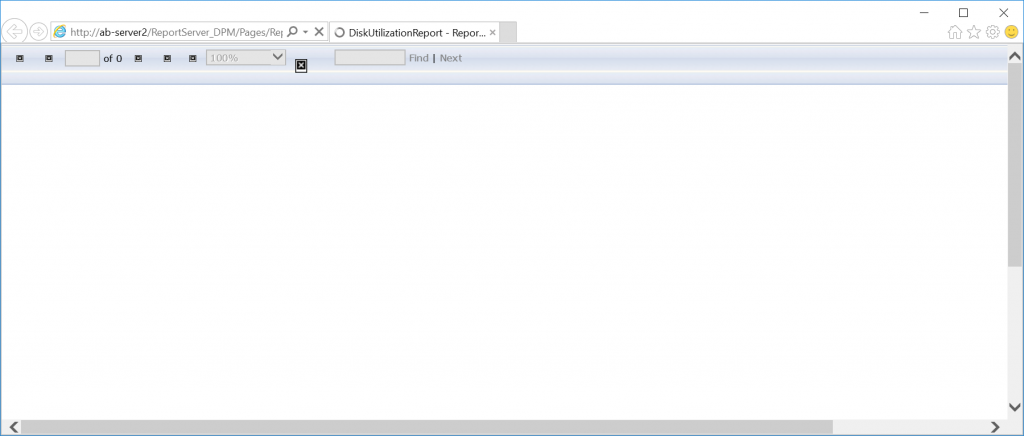
After installing System Center Data Protection Manager from scratch or after performing an upgrade from DPM 2012 R2, when you attempt to schedule a report to be mailed, you receive the following popup error or notice that when you generate a report you just receive a white page in your browser that continues to load indefinitely:
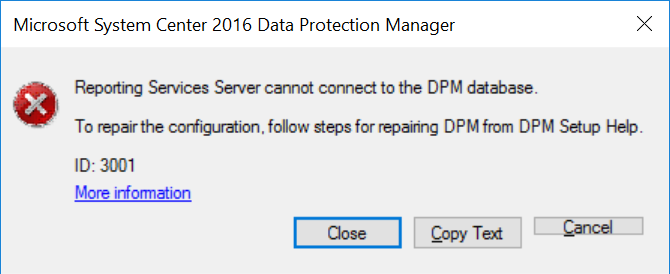
Reporting Services Server cannot connect to the DPM database.
To repair the configuration, follow steps for repairing DPM from DPM Setup Help.
ID: 3001
More Information
Unfortunately, following the repair steps suggested in the More Information link does not resolve the problem.
Resolution for SQL Server 2016 and later
- On the DPM server, open Computer Management, expand Local Users and Groups, click Groups, and create a new local group with the following information (replace items in red with the actual server name/hostname of your machine):
- Group name: DPMDBReaders$DPMSERVERNAME
- Description: This group is internally used by Microsoft System Center 2016 Data Protection Manager.
- On the DPM server, open Computer Management, expand Local Users and Groups, click Users, and create a new local user with the following information (replace items in red with the actual server name/hostname of your machine):
- User name: DPMR$DPMSERVERNAME
- Full name: DPMR$DPMSERVERNAME
- Description: This account is used for SQL reporting to generate reports for DPM 2016.
- Enter a strong password
- Check Password never expires
- Select your recently created DPMR$DPMSERVERNAME account and click on the Membership of tab
- Add the DPMDBReaders$DPMSERVERNAME group we created in step 1
- Click OK
- Start Microsoft SQL Server Management Studio and connect to the SQL instance used by DPM.
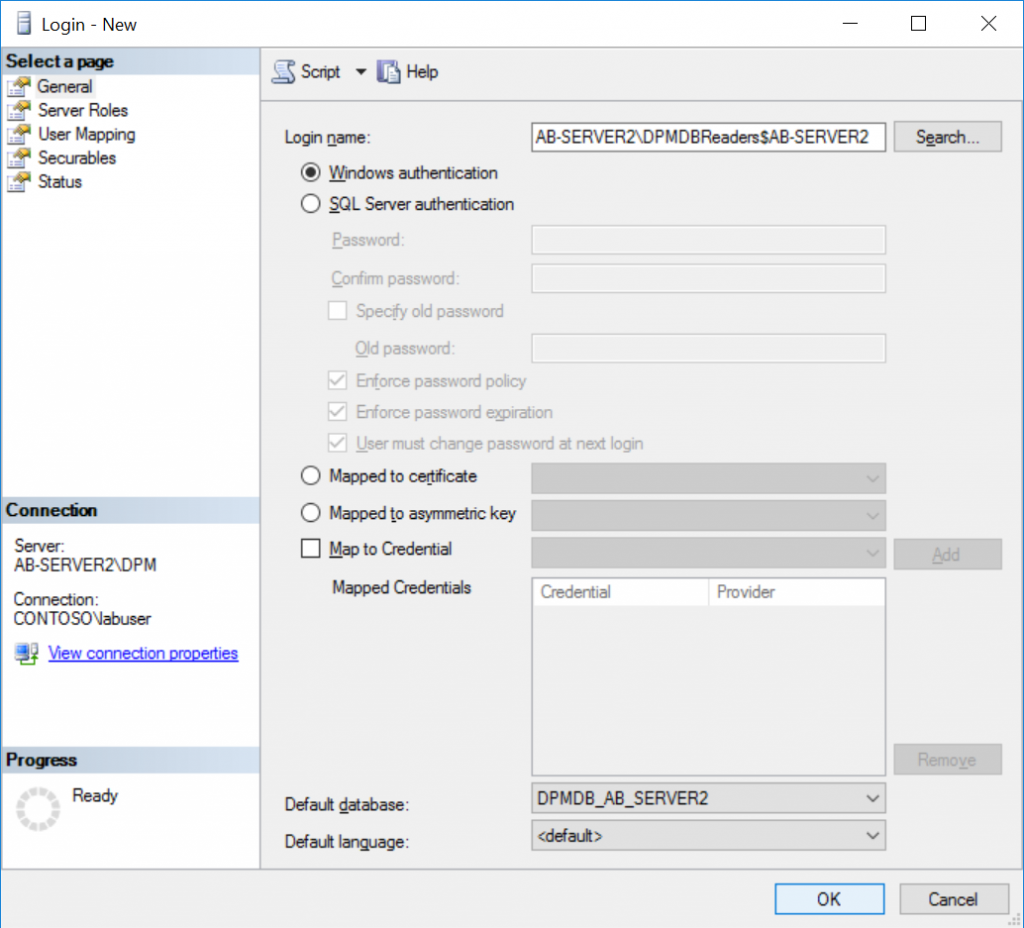
- Expand Security, right-click on the Logins, select New login
- Click on the Search... button and add the local group DPMDBReaders$DPMSERVERNAME
- Set the Default database to YourDPMDatabase
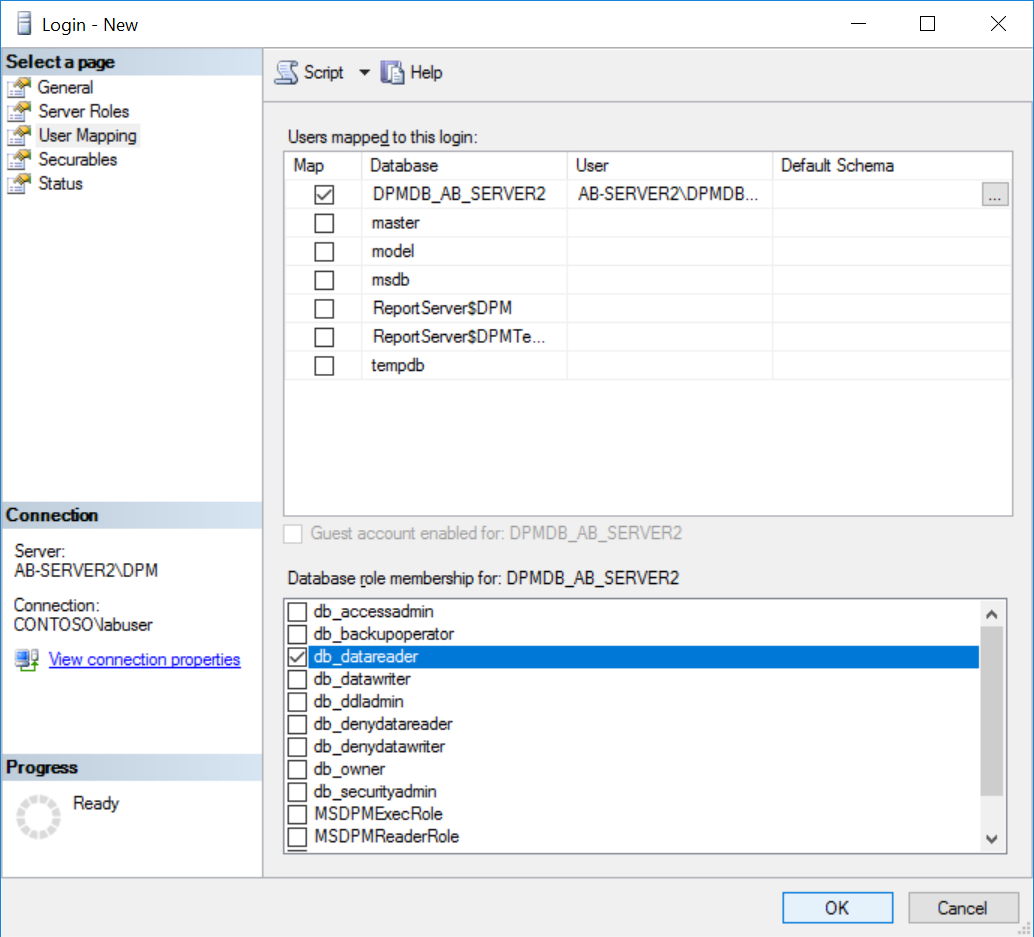
- Click on the User Mapping section, check the checkbox for YourDPMDatabase, and check the checkbox for the db_datareader role.

- Click OK
- Expand Security, right-click on the Logins, select New login
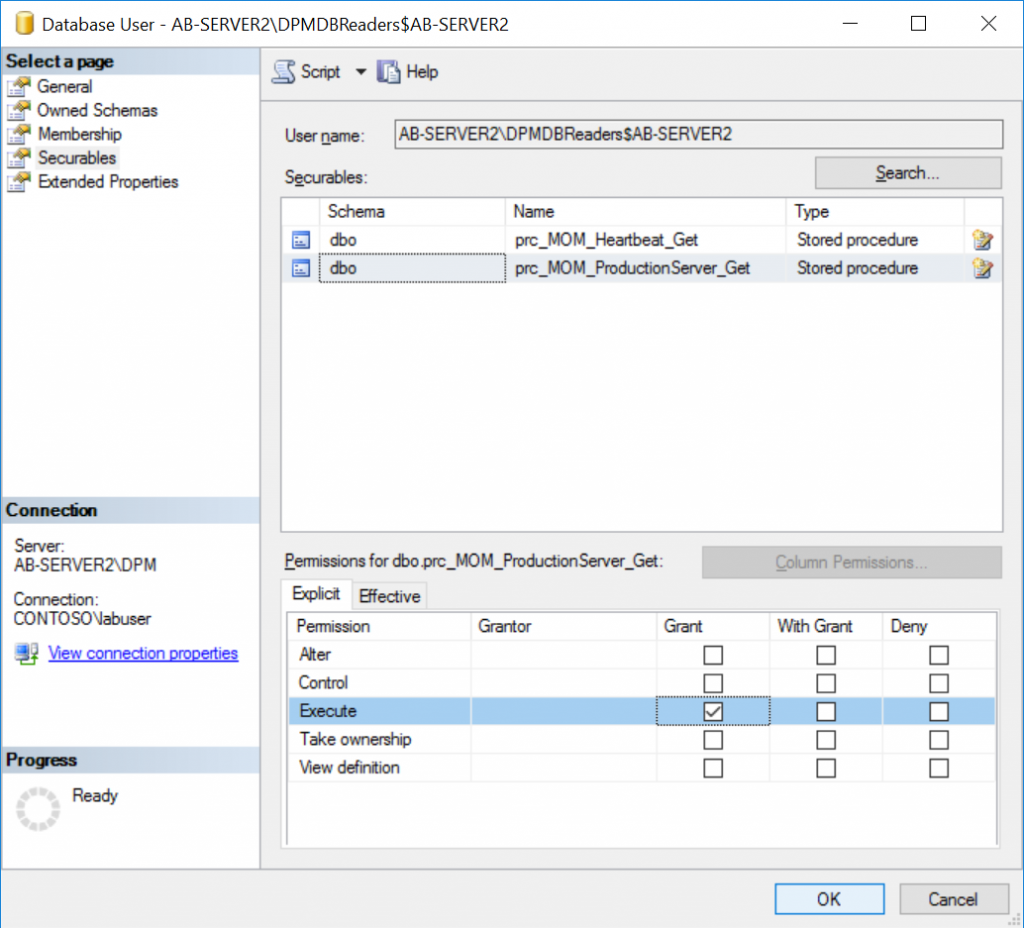
- In Microsoft SQL Server Management Studio, expand Databases, expand YourDPMDatabase, expand Security, expand Users, and right click Properties on the DPMDBReaders$DPMSERVERNAME group you granted access to in step 4.
- Click on Securables
- Click the Search... button
- Select Specific objects... and click OK
- Click the Object Types... button
- Check Stored precedures and click OK
- Click the Browse... button
- Check [dbo].[prc_MOM_Heartbeat_Get] and [dbo].[prc_MOM_ProductionServerGet] and click OK
- Click OK on the Select objects dialog box
- Place a checkbox in the Grant column for the Execute row.
- Make sure you do this step for both [dbo].[prc_MOM_Heartbeat_Get] and [dbo].[prc_MOM_ProductionServerGet], checking the box once will only update one of the storage procedures.
- Make sure you do this step for both [dbo].[prc_MOM_Heartbeat_Get] and [dbo].[prc_MOM_ProductionServerGet], checking the box once will only update one of the storage procedures.
- Click OK
- Exit Microsoft SQL Server Management Studio.
- Open Reporting Services Configuration Manager and connect to the SqlServer and Instance hosting the DPM reports (as you go through this, replace the items in Red with your applicable values).
- Click on the Web Portal URL menu item and click on the listed URL for DPM.
- Click on the DPMReports_GUID folder to open the DPM reports page.
- Click on the DPMReporterDataSource Data Source to open its properties.
- Under Credentials, use the following configuration:
- Select the Using the following credentials radio button
- Type of credentials: Windows user name and password
- User name: DPMR$DPMSERVERNAME
- Password: EnterYourPasswordToTheAccount
- Ensure Log in using these credentials, but then try to impersonate the user viewing the report is unchecked
- Click the Test connection button
- Ensure it says Connected successfully
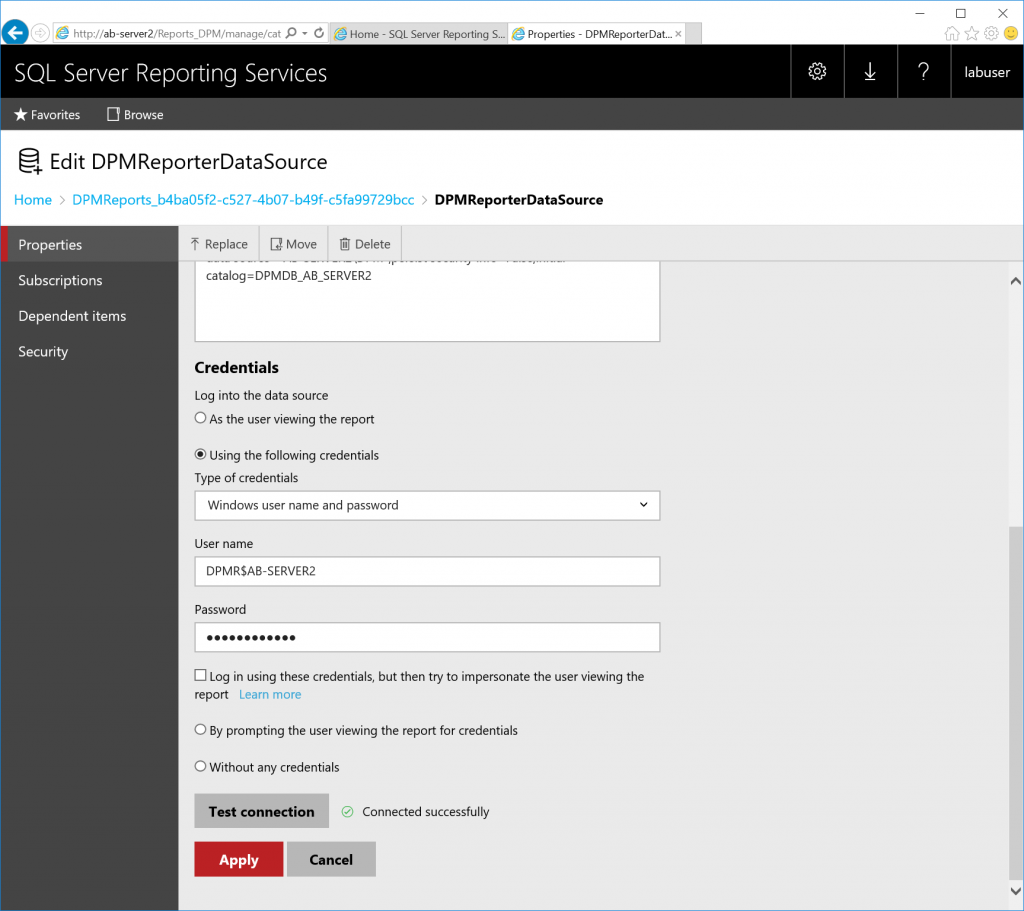
- Ensure it says Connected successfully
- Click Apply
- Close out of your web browser
- Back in the Reporting Services Configuration Manager window, complete the following steps
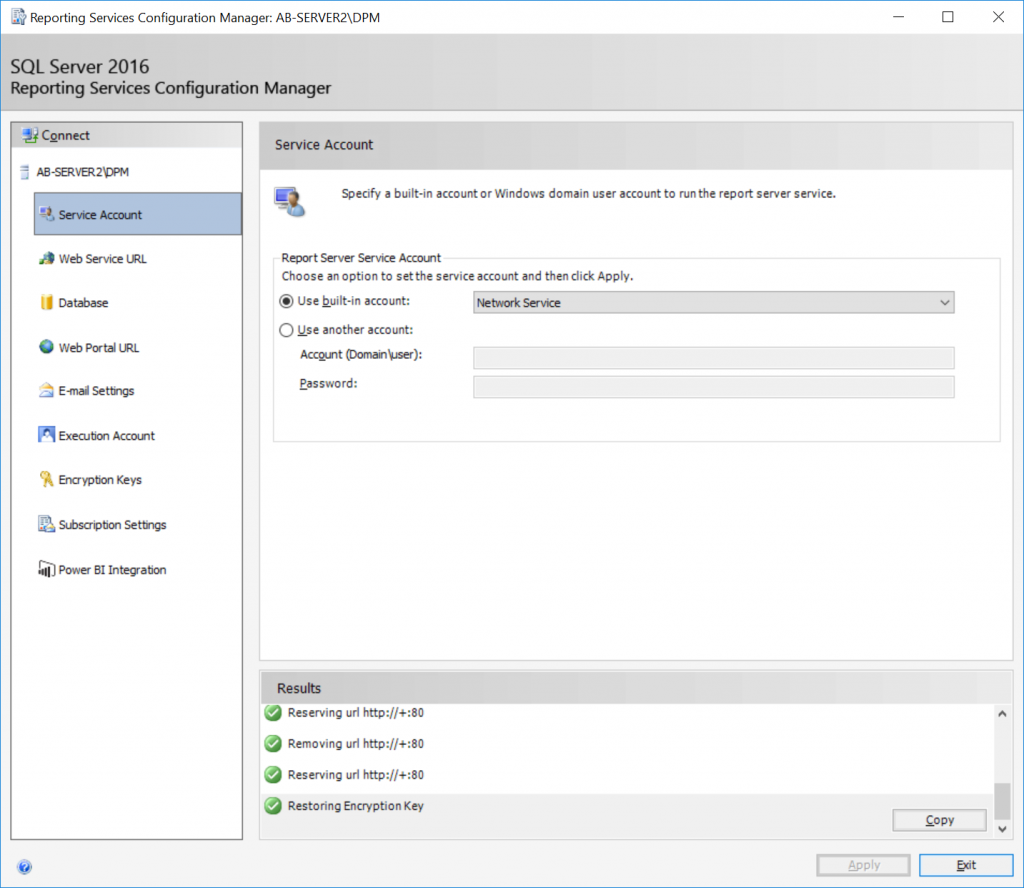
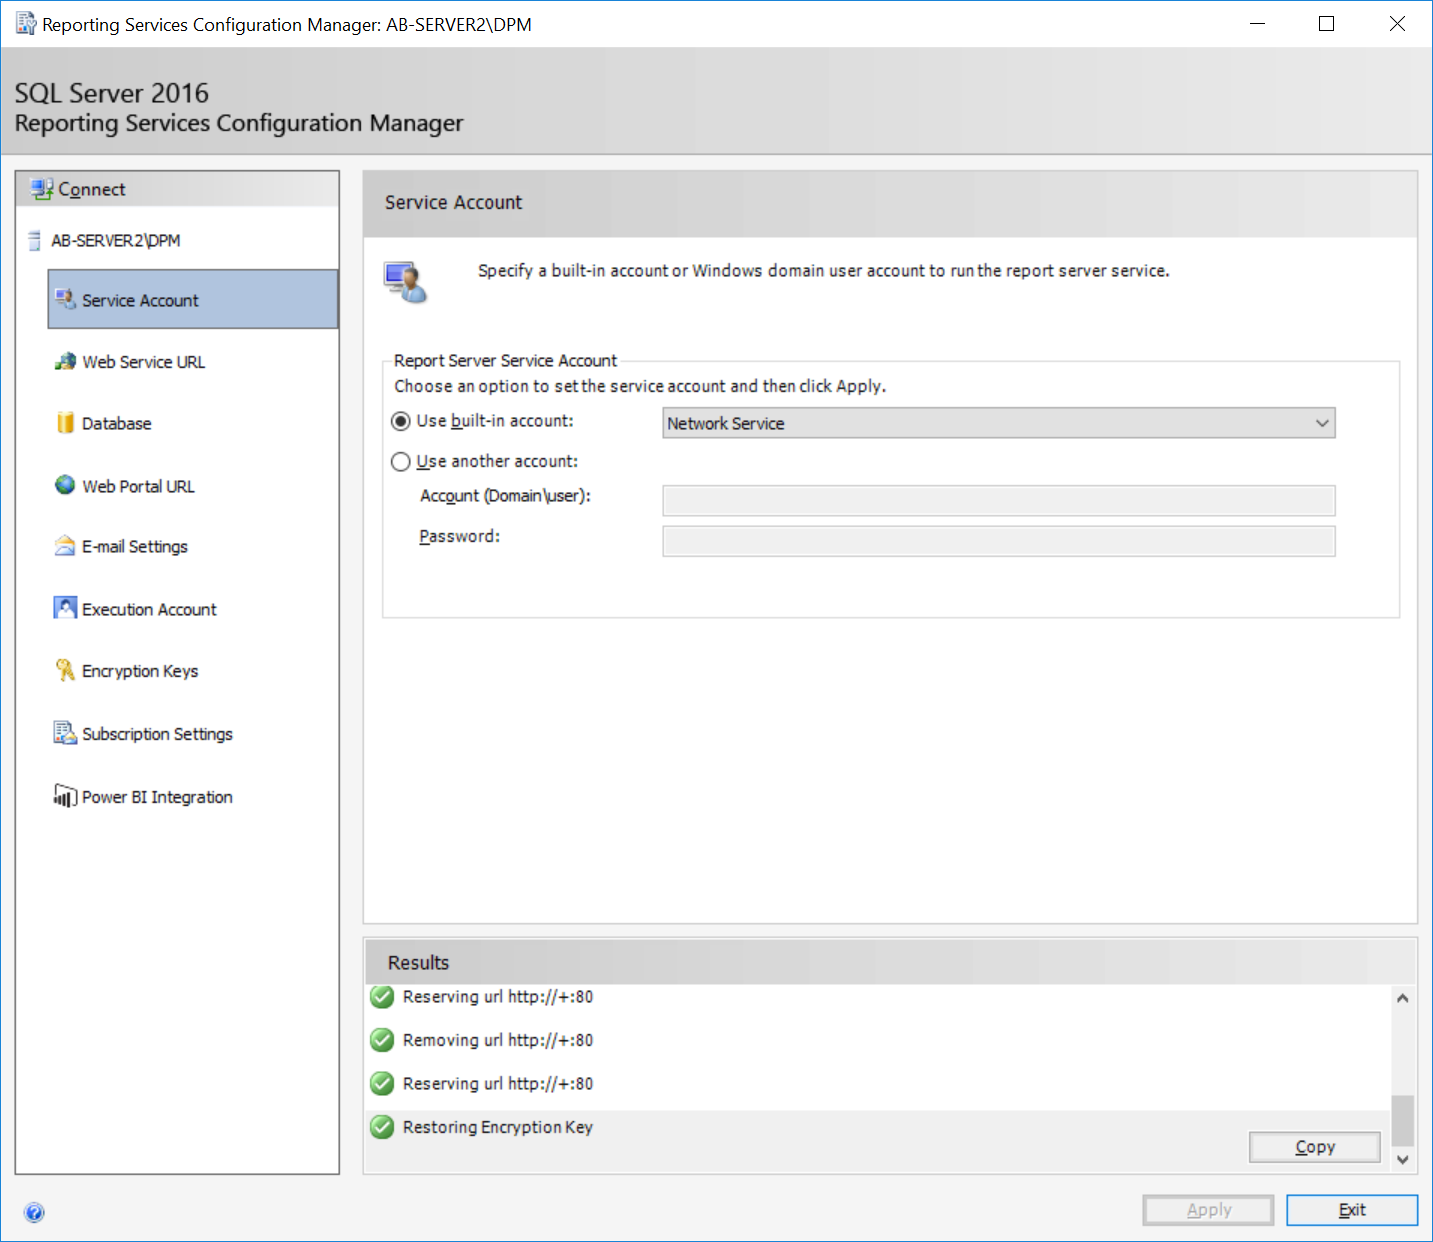
- Select the Service Account menu item
- Ensure Use built-in account is set to Network Service
- Check the Use built-in account radio button
- Set the account to Network Service
- Click Apply
- You will be prompted to save an encryption key. Save the key to location of your choosing, and type a password to be used to encrypt the file. Click OK
- You will then be prompted to specify an account with administrator privileges. Click OK to use your current account.
- Reboot the DPM Server


At this point, you should now be able to schedule e-mail reports without experiencing the original error and your reports should load properly!
Thanks for sharing this post,
is very helpful article.