Recently, I just configured a MPLS link to a remote office and noticed user experience isn't quite what it is at the centralized office. In an effort to help speed up the user's experience (response time in domain authentication and DNS resolution), we will be going over setting up a Read-Only Domain Controller to allow users to authenticate to the domain in the event the connection between the remote site and the main site would go down, as well as create a cached copy of DNS at the remote site to help increase response times in DNS intensive applications (particularly, web browsing experience).
Requirements
- Active Directory has been properly configured at a main facility
- You have servers that are running Windows Server 2003 or greater
- The domain functional level is set to Server 2003 or higher
- If there is windows server 2003 environment, the Active Directory schema needs to be extended for RODC installation by running the command: adprep /rodcprep
- PDC emulator operation master should be on Windows server 2008
- Execute the following command to find out which machine is the PDC emulator if you are unsure:
- dsquery server -hasfsmo pdc
- Execute the following command to find out which machine is the PDC emulator if you are unsure:
Instructions
- Deploy a new server (I used Server 2008 R2 in this example).
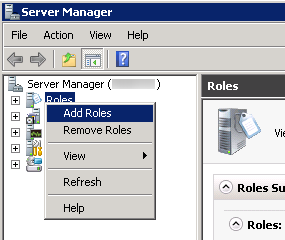
- Open up Server Manager, right click on Roles and select Add Roles
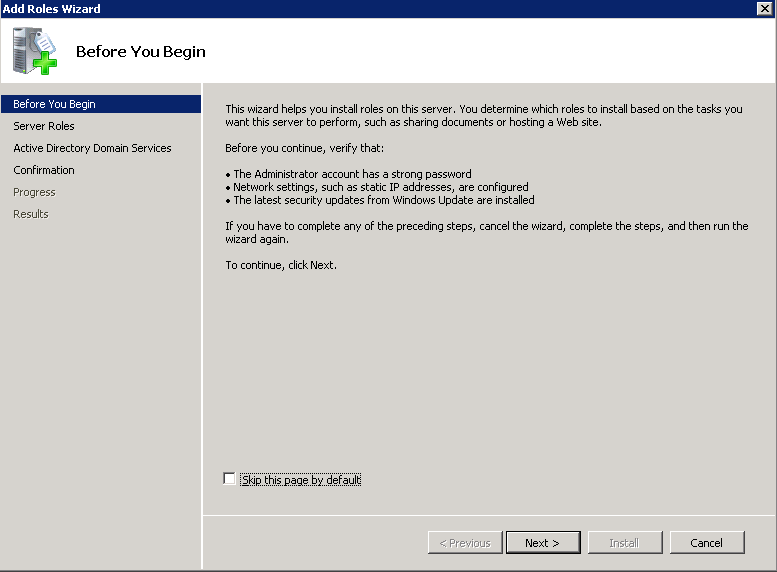
- Click Next on the Before You Begin screen.
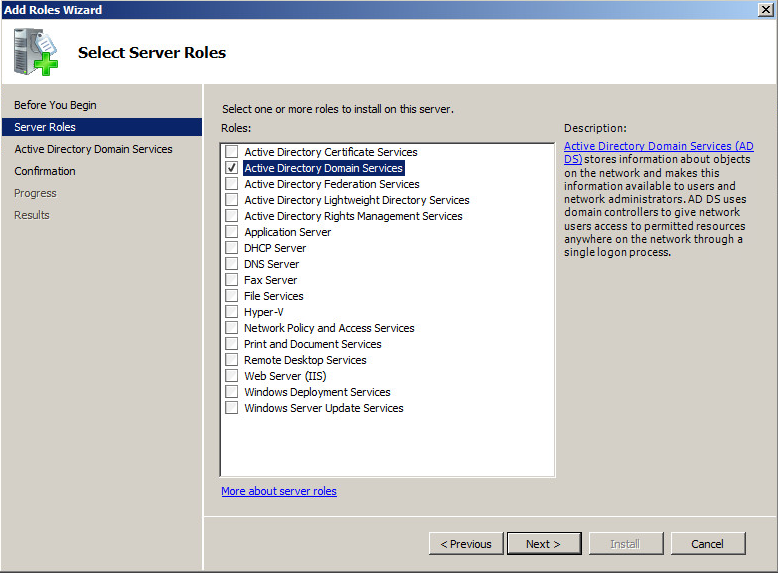
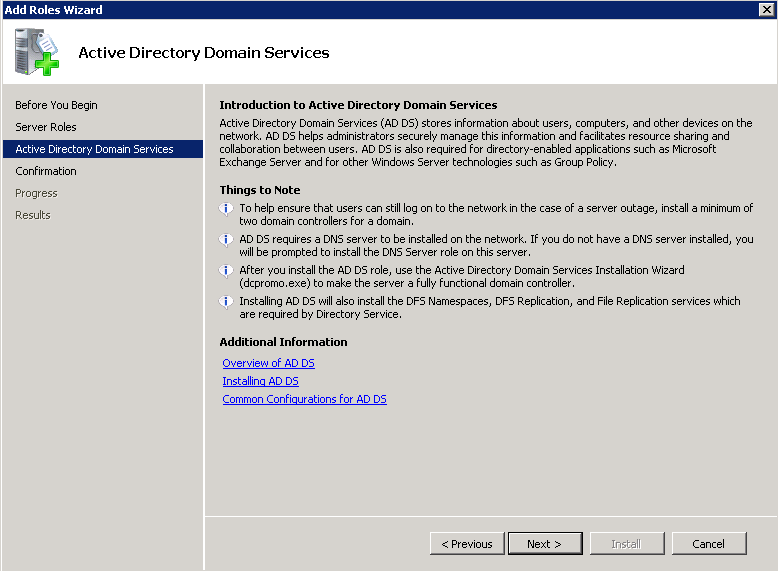
- Check Active Directory Domain Services on the Add Roles Wizard and click Next >
- Click Next > on the Active Directory Domain Services screen.
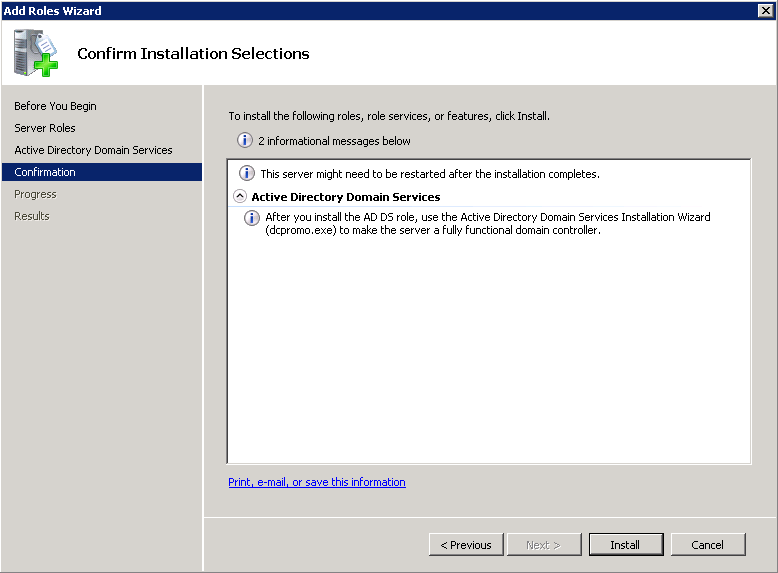
- Click Install on the Confirm Installation Selections screen.
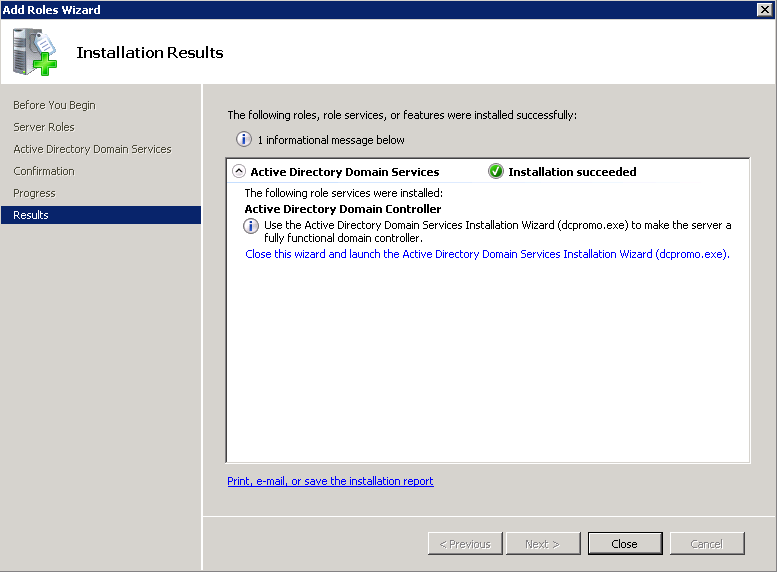
- Click Close when the installation is done.
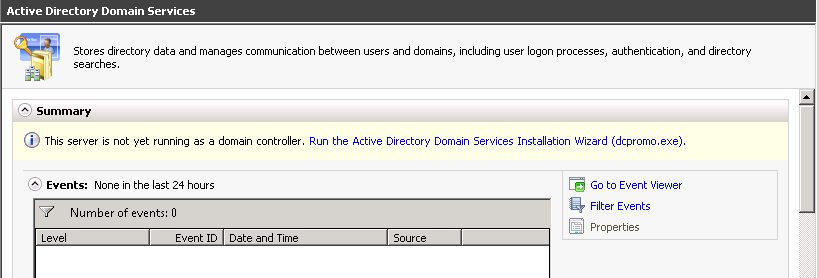
- Click on Active Directory Domain Services once the installation is done, back in Server Manager.
- Select Run the Active Directory Domain Services Installation Wizard (dcpromo.exe)
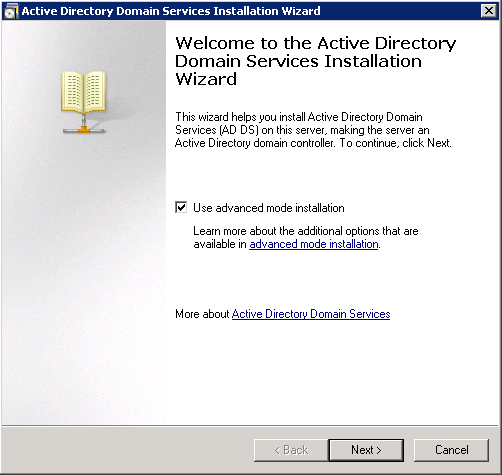
- Once you see the Active Directory Domain Services Installation Wizard, check the Use advanced mode installation checkbox and click Next >
- Click Next > on the Operating System Compatibility step.
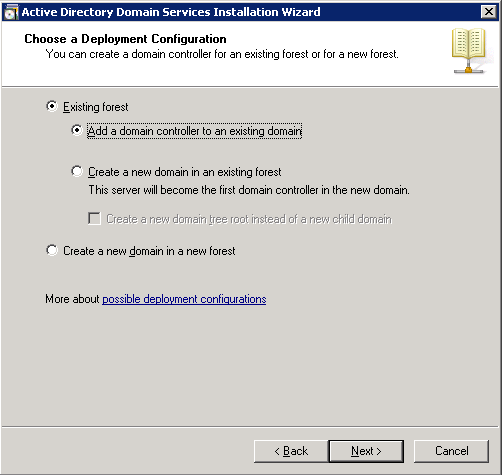
- Check Existing forest, and then check Add domain controller to an existing domain
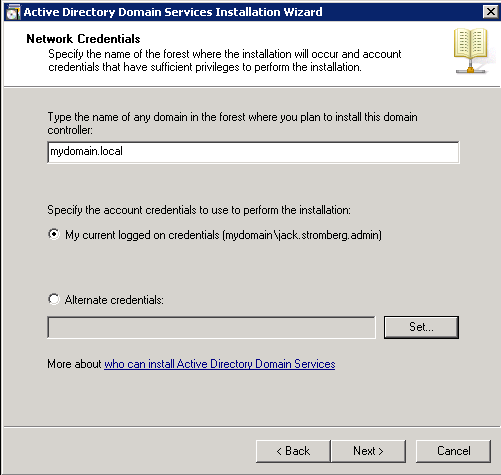
- On the Network Credentials page, type in the name of the domain you want to connect to and then specify the credentials to add the machine. These credentials must have at least domain admin privileges to join the DC to the network.
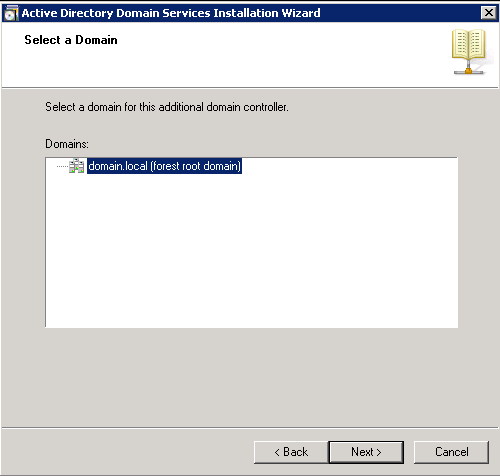
- On the select a domain screen, select your domain and click Next >
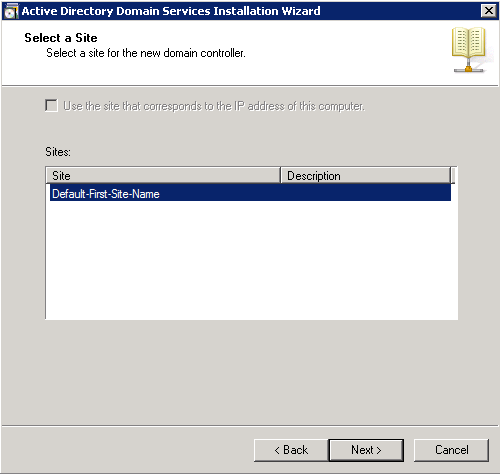
- Select a site and then click Next >
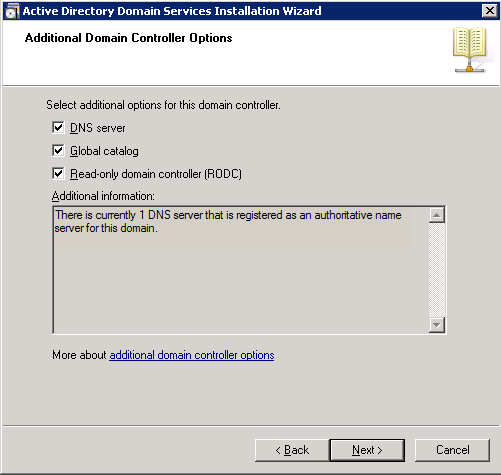
- On the Additional Domain Controller Options page, check DNS Server, Global catalog, and Read-only domain controller (RODC) boxes for each of the rolls and select Next >
- Here is some information on what each of the choices do. This is from the following KB article by Microsoft: http://technet.microsoft.com/en-us/library/cc754629(v=ws.10).aspx
- DNS server: This option is selected by default so that your domain controller can function as a DNS server. If you do not want the domain controller to be a DNS server, clear this check box. However, if you do not install the DNS server role on the RODC and the RODC is the only domain controller in the branch office, users in the branch office will not be able to perform name resolution when the WAN to the hub site is offline.
- Global catalog: This option is selected by default. It adds the read-only directory partitions of the global catalog to the domain controller, and it enables global catalog search functionality. If you do not want the domain controller to be a global catalog server, clear this option. However, if you do not install a global catalog server in the branch office or enable universal group membership caching for the site that includes the RODC, users in the branch office will not be able to log on to the domain when the WAN to the hub site is offline.
- Read-only domain controller. When you create an RODC account, this option is selected by default and you cannot clear it.
- Here is some information on what each of the choices do. This is from the following KB article by Microsoft: http://technet.microsoft.com/en-us/library/cc754629(v=ws.10).aspx
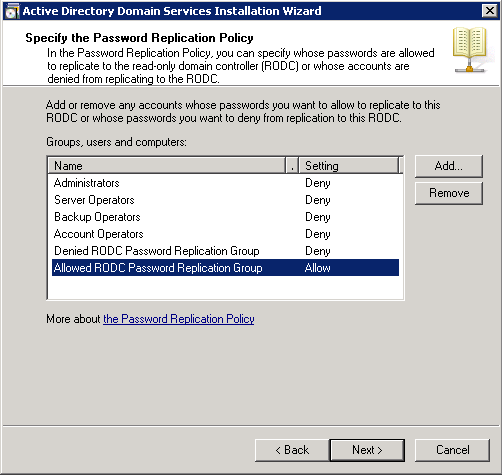
- On the Specify the Password Replication Policy step, adjust the settings for each group, specifying if you want to cache user credentials on the Read-Only domain controller. In this tutorial, I left all of the options Deny except the Allowed RODC Password Replication Group, which is default per Microsoft. Click Next > once you have determined the settings you want to use.
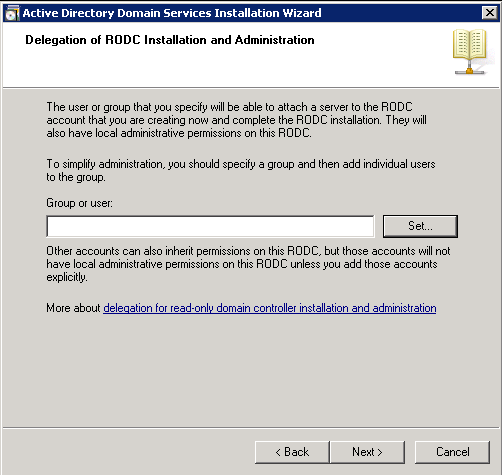
- On the Delegation of RODC Installation and Administration step, click the Set... button and select either a user or security group of users that you wish to have Administrative access to the read-only domain controller. If this is a remote office where you have a designated IT member(s), you would want to create a security group on your read/write DC and then select the group. However, if you will always know only one individual will login to the RODC, you can specify their user as the one to have local Administrative privileges. Lastly, if you don't want anyone to be able to mess with the RODC, you can simply click Next > and that will only allow members of the Domain Admins or Enterprise Admins security groups to manage the RODC. Click Next > once you have decided what security group or user you wish to allow local administrative access to the machine.
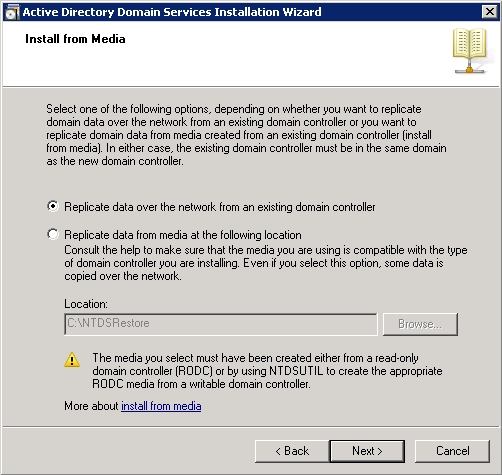
- Click Next > on the Install from Media screen to pull the most current information from one of your active domain controllers.
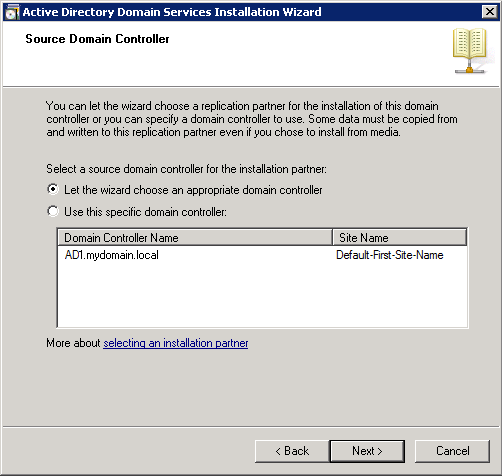
- Click Next > on the Source Domain Controller screen to Let the wizard choose an appropriate domain controller to replicate from. If you prefer replication from a specific machine, you may check the Use this specific domain controller box, select the machine from the list, and then click Next >.
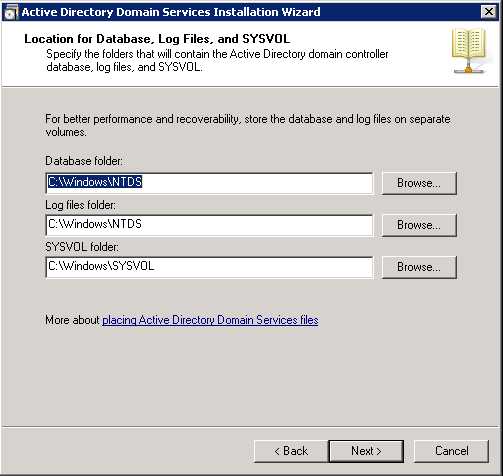
- Click Next > on the Location to store the Database, Log Files, and SYSVOL; unless you wish to relocate those files to a separate partition.
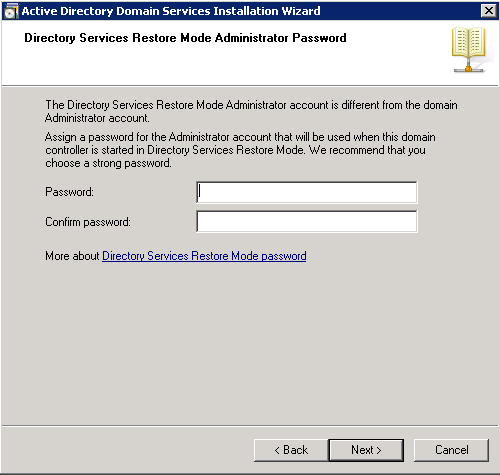
- On the Directory Services Restore Mode Administrator Password, enter a strong password to be used in the event you need to put the DC in restore mode.
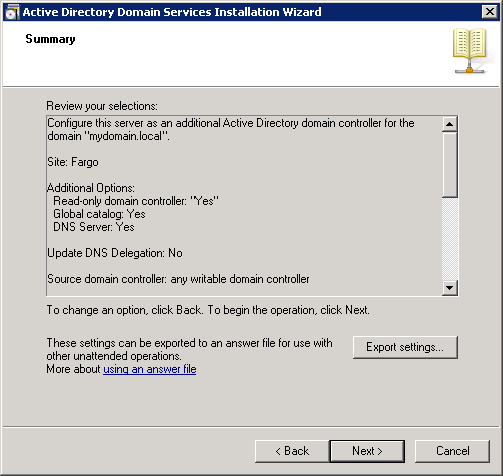
- At this point, you can export the settings to make an answer file or you can click Next > for the server to begin applying the configuration.
- Click Finish once done and Restart when prompted.
Upon restart, you should be good to go! I would recommend running the Microsoft Best Practice analyzer and checking the Windows event logs to ensure everything is good to go.