DPM 2016 is primarily geared towards using mail servers that require authentication (rightfully so, that's a best security practice). However, many IT organizations have local mail relay servers with anonymous authentication that are used for several IT services in the organization. Unfortunately, DPM 2016 gets a bit wonky using unauthenticated mail servers and will likely give you a generic error that says:
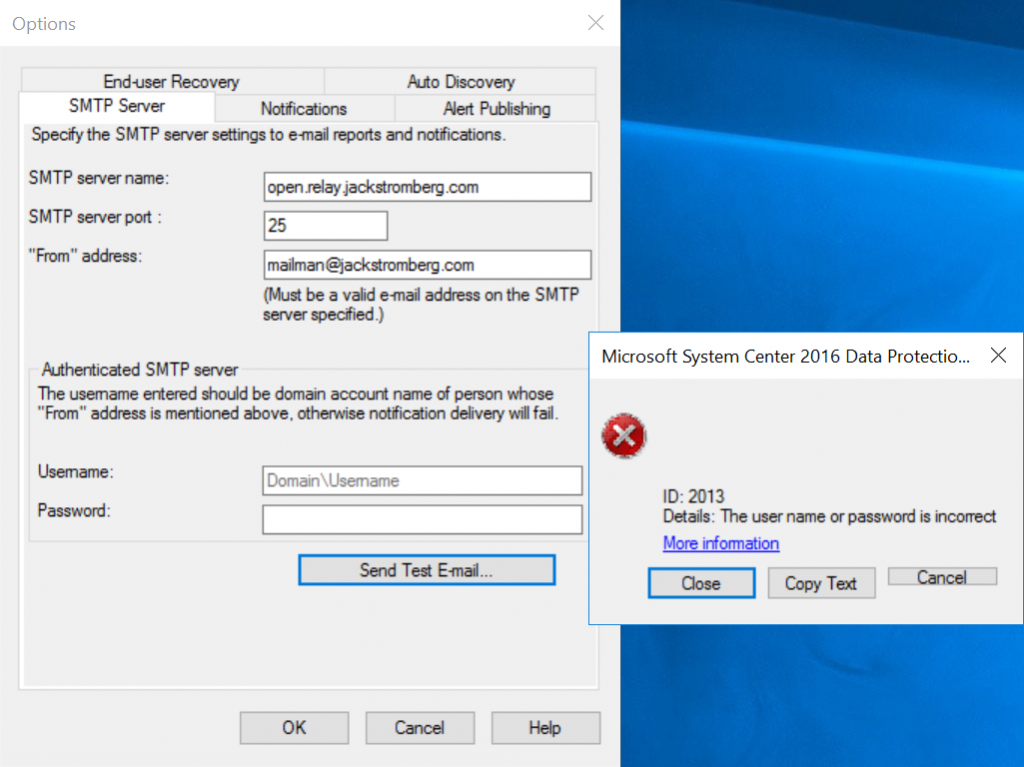
Details: The user name or password is incorrect
And if you ignore the error and head over to the notifications tab to configure a notification, you will be presented with another generic error:
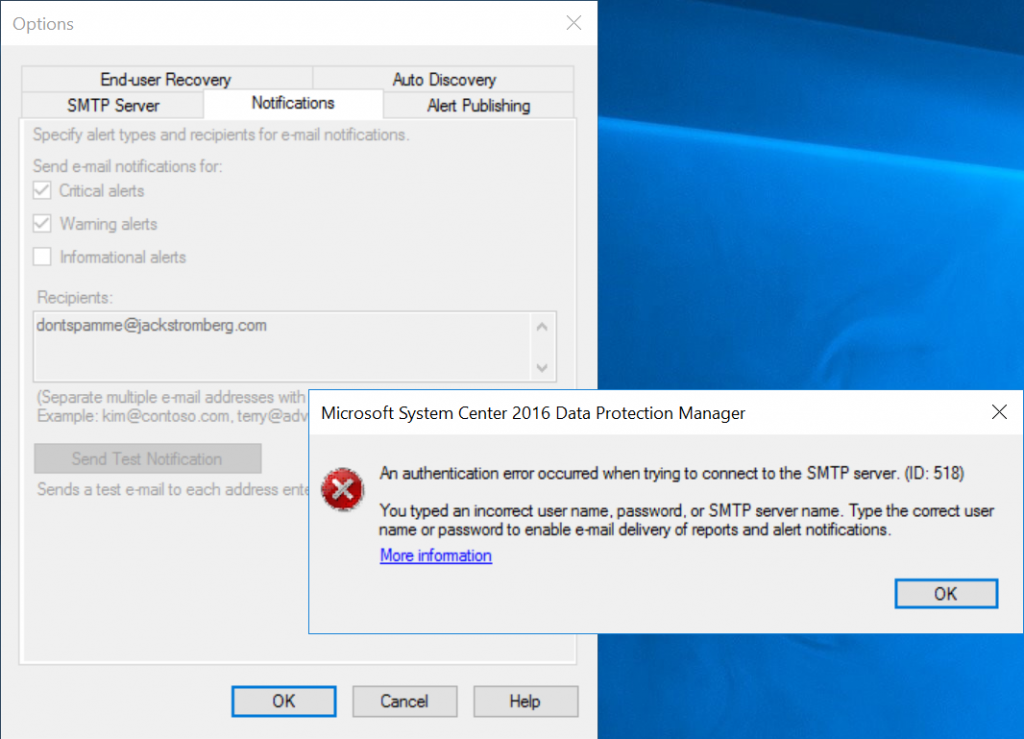
You typed an incorrect user name, password, or SMTP server name. Type the correct user name or password to enable e-mail delivery of reports and alert notifications.
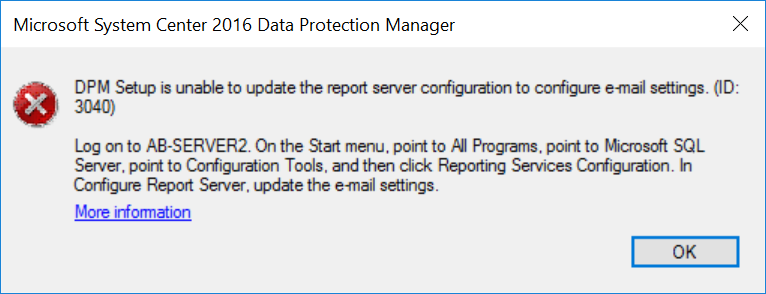
And if you are trying to configure scheduled emails you may receive an error about reporting services:
One thing I may do before getting too far ahead though is validate you can send an email from the DPM server. This can easily be done via PowerShell by executing the following command:
Send-MailMessage -SMTPServer localhost -To [email protected] -From [email protected] -Subject "Test Email from DPM Server" -Body "Howdy! This is a test from the DPM Sever. If you see this, mail relay is working!"When executing the PowerShell command, it won't return anything, but you should hopefully see a message in your mailbox. If you do, you've at least ruled out network/mail issues.
Once you've ruled out connectivity/the mail server, we will complete the following steps below to configure DPM.
- Configure E-mail for SQL Server Reporting Services
- Create a Local User Account
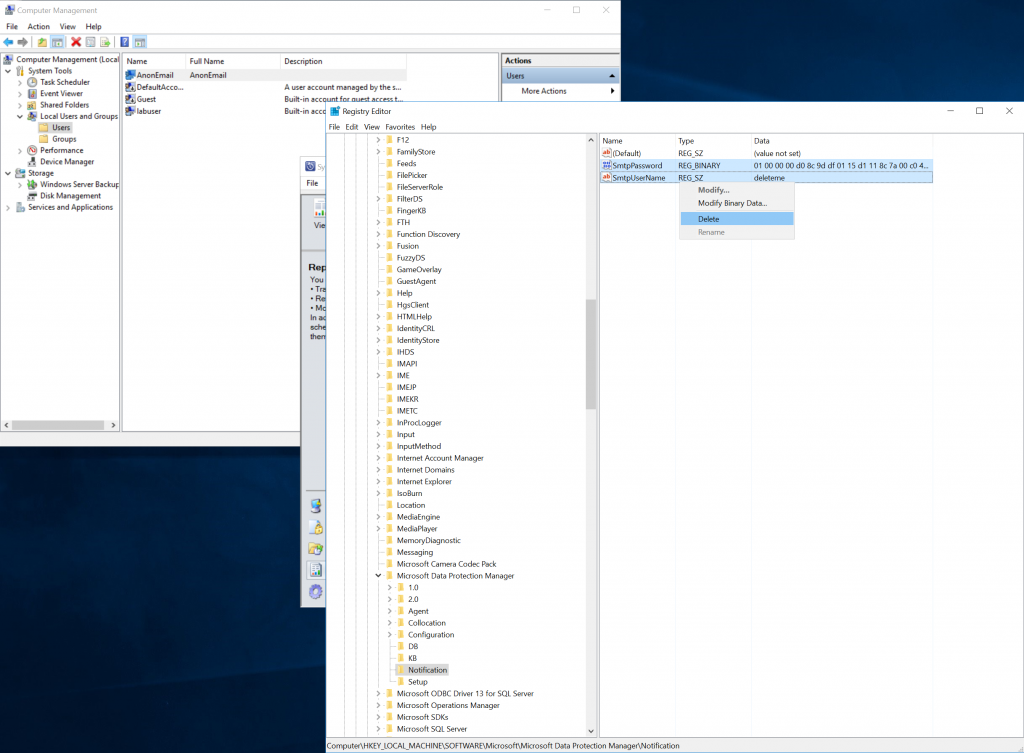
- Remove any artifacts left in the registry
- Update the SMTP settings in DPM.
Configuration
- Configure SQL Server Reporting Services
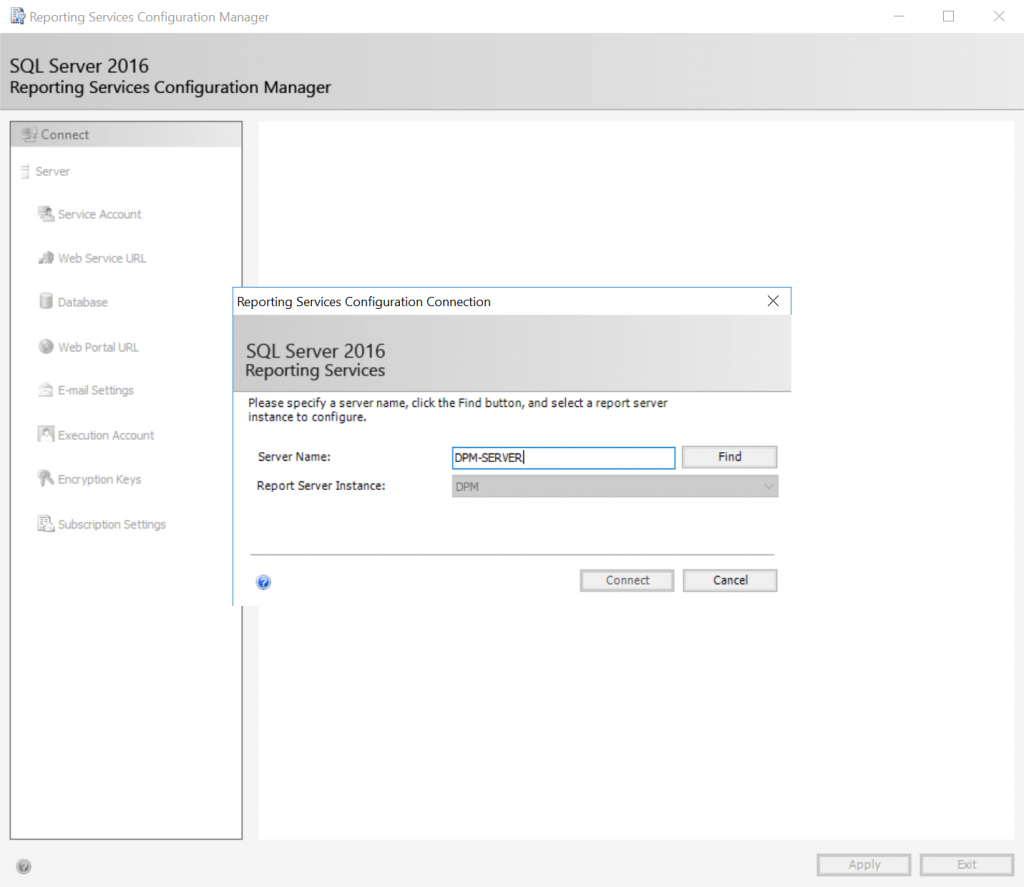
- Open Reporting Services Configuration Manager
- Sign into your DPM instance
- Select E-mail Settings and leverage the following configuration
- Sender Address: [email protected]
- SMTP Server: emailserver.yourdomain.com
- Authentication: No authentication
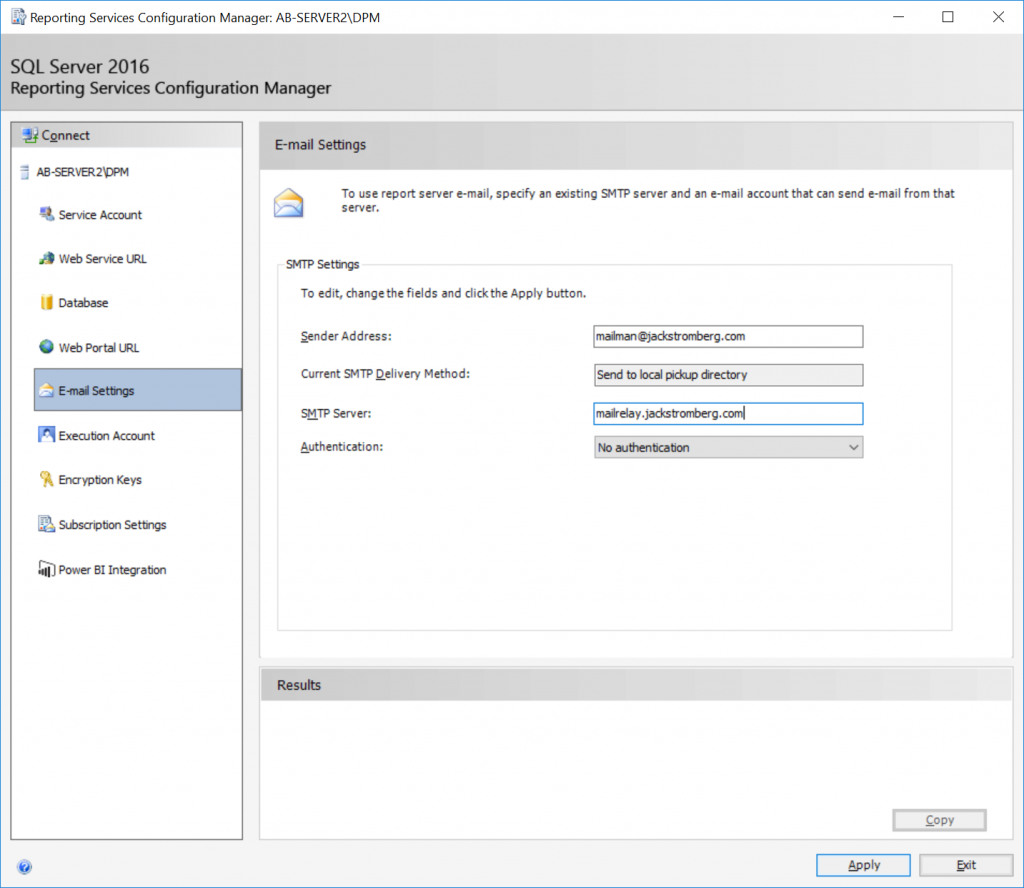
- Click Apply
- Create a local user account
- Open Computer Management, expand Local Users and Groups, select Users, and Create a new local user on the machine
- Create the user (I used anonemail as the account name, but anything can be specified)
- Remove all group membership
- This account doesn't need to be a part of any group, including the Users group
- This account should not be a part of administrators (I've seen other blog posts mention you must use administrator, that is 100% not necessary and can be considered a security risk)
- Ensure the account is enabled
- A disabled account will not work
- Open Computer Management, expand Local Users and Groups, select Users, and Create a new local user on the machine
- Cleanup the registry
- Reboot the DPM Server
- Technically, you could restart two services:
SQL Server Reporting Services instance for DPM and the DPM service, but a reboot never hurts 😉
- Technically, you could restart two services:
- Configure DPM to use SMTP relay
- Close out of the DPM and reopen
- Select Reporting, waiting for the screen to finish loading, and then select Action, Options
- Select the SMTP Server tab and enter
- SMTP sever name: relayserver.mydomain.com
- SMTP server port: 25
- "From" Address: [email protected]
- Username: .\localuserwecreatedearlier
- Ensure you have .\ to designate the user is local
- Password: LocalUserAccountPassword
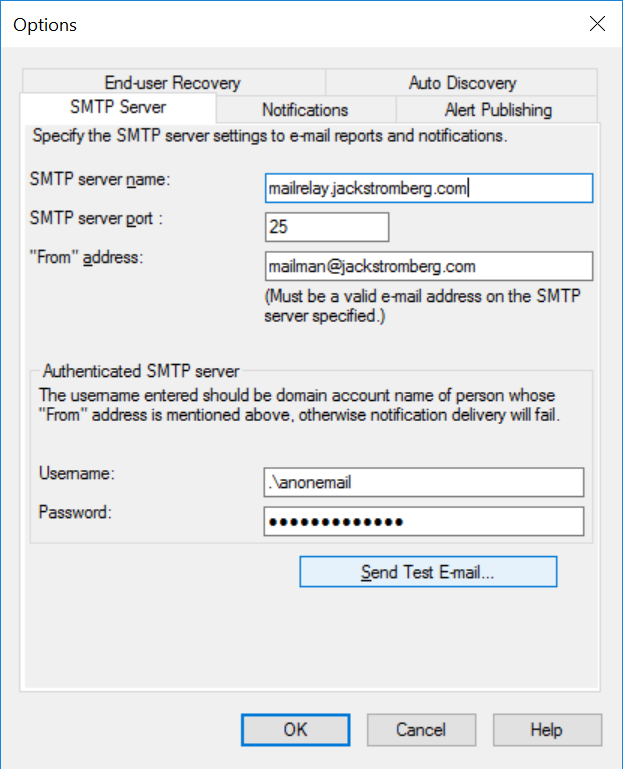
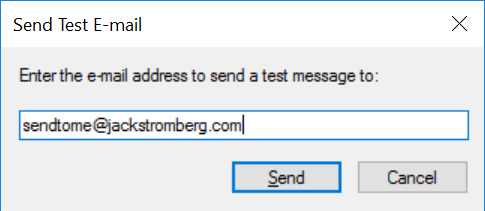
- Click the Send Test E-Mail button and specify an email address to send a test email to validate all is well
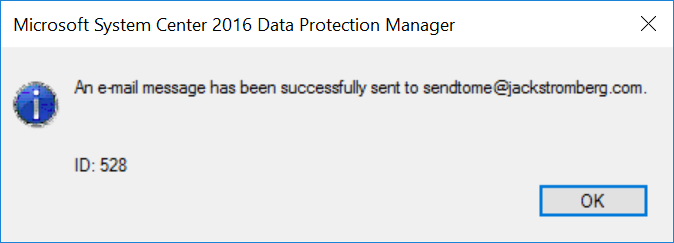
- Success!
- Click OK on the Options window to save your settings
At this point, you should be able to relay emails through your open relay as well as schedule emails for reports without error.
