Here are some notes on deploying VMware vCloud Director 5.5. I fealt the process as a whole was very confusing as there really isn't a definitive guide out there for folks going from vCenter to a suite product such as vCloud Director.
Prerequisites / Tutorial To-Do List
- Microsoft SQL Server 2008 R2
- The SQL Server must use Mixed Mode authentication (cannot use Windows Authentication, must be a SQL account) We'll go over configuring this in the guide.
- Linux VM
- Must run one of the following OSes (I'm using CentOS6 for this guide)
- CentOS 6 (64-bit) Update 4
- Red Hat Enterprise Linux 5 (64-bit) Update 4
- Red Hat Enterprise Linux 5 (64-bit) Update 5
- Red Hat Enterprise Linux 5 (64-bit) Update 6
- Red Hat Enterprise Linux 5 (64-bit) Update 7
- Red Hat Enterprise Linux 5 (64-bit) Update 8
- Red Hat Enterprise Linux 5 (64-bit) Update 9
- Red Hat Enterprise Linux 6 (64-bit) Update 1
- Red Hat Enterprise Linux 6 (64-bit) Update 2
- Red Hat Enterprise Linux 6 (64-bit) Update 3
- Red Hat Enterprise Linux 6 (64-bit) Update 4
- Two network adapters
- At least 4 GB of memory
- Hard drive space for the OS and an additional 2 GB of disk space for vmware installation and log files
- Must run one of the following OSes (I'm using CentOS6 for this guide)
- Working ESXi environment with vCenter Server
- VMware vCloud Networking and Security 5.5.x
- VMware vCloud Director License Key
Best practicies article can be found here: http://kb.vmware.com/selfservice/microsites/search.do?language=en_US&cmd=displayKC&externalId=2059451
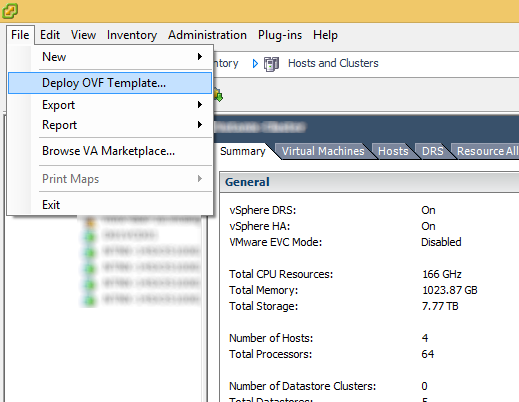
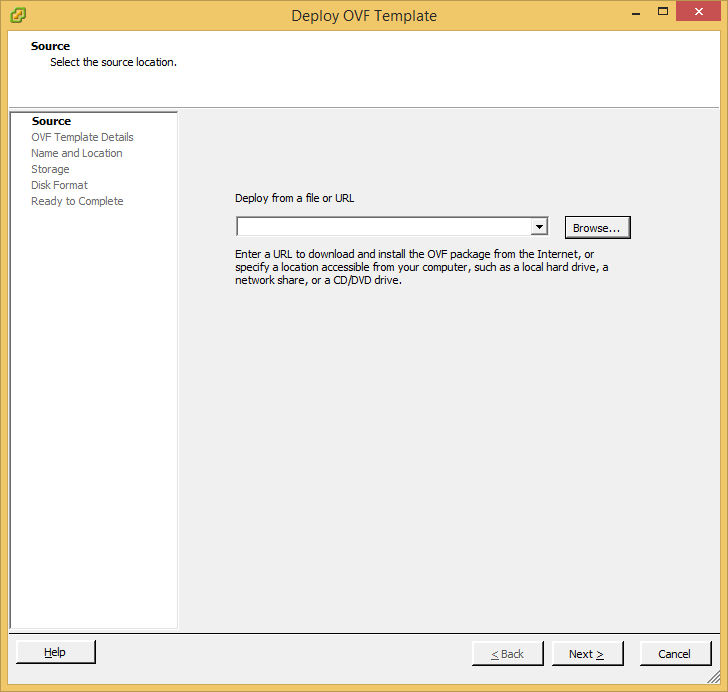
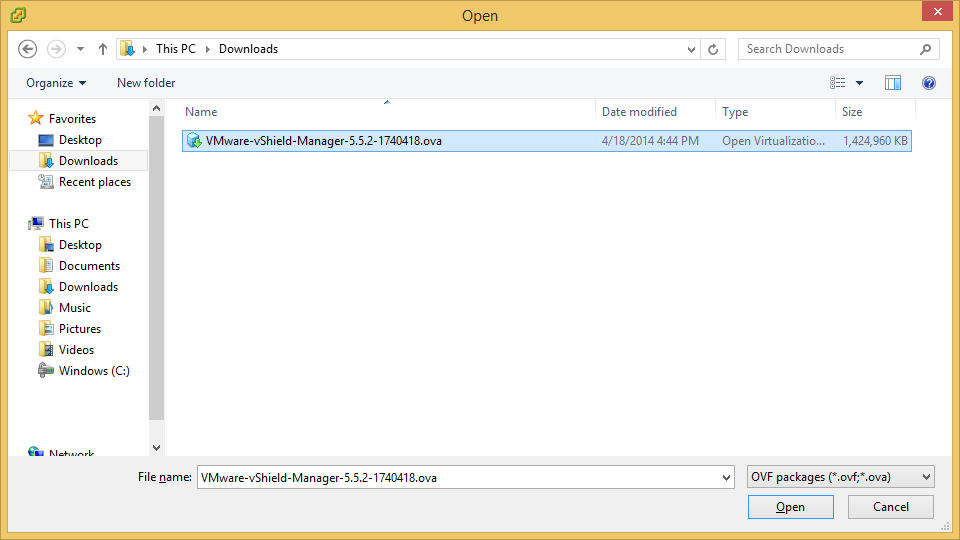
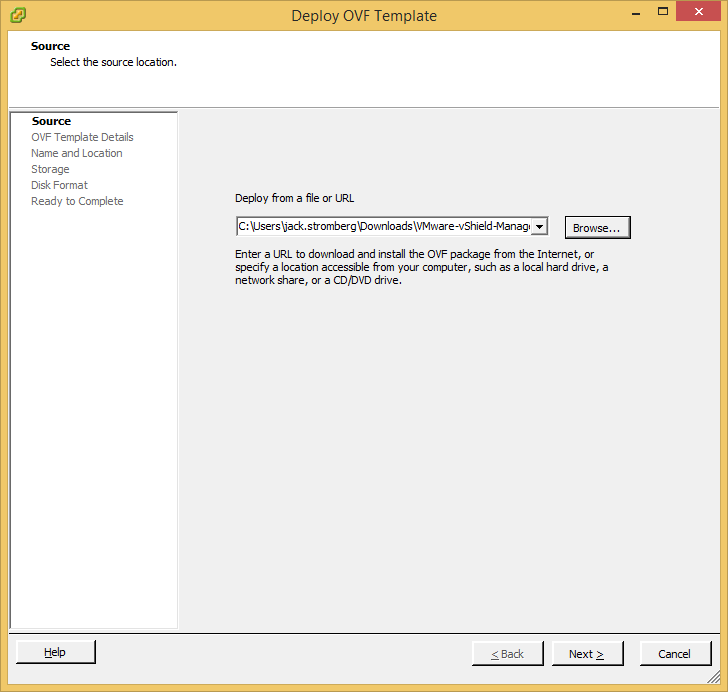
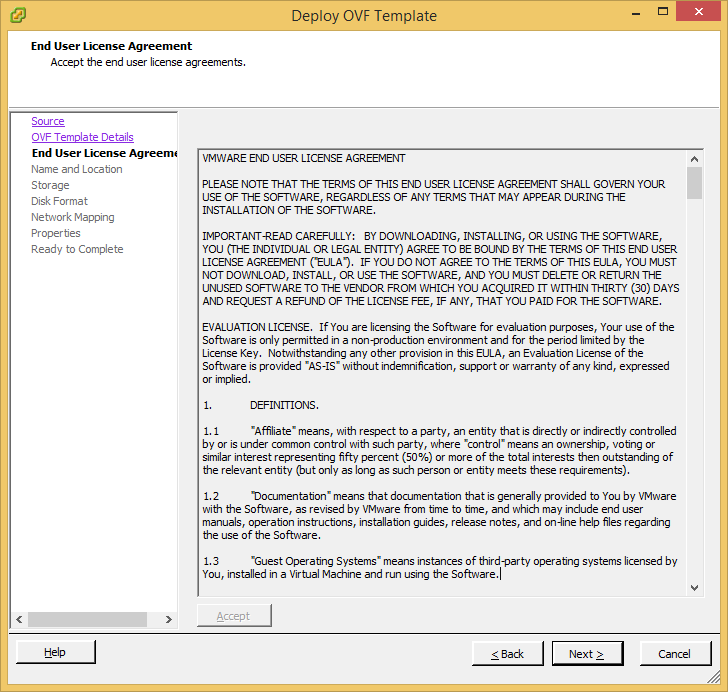
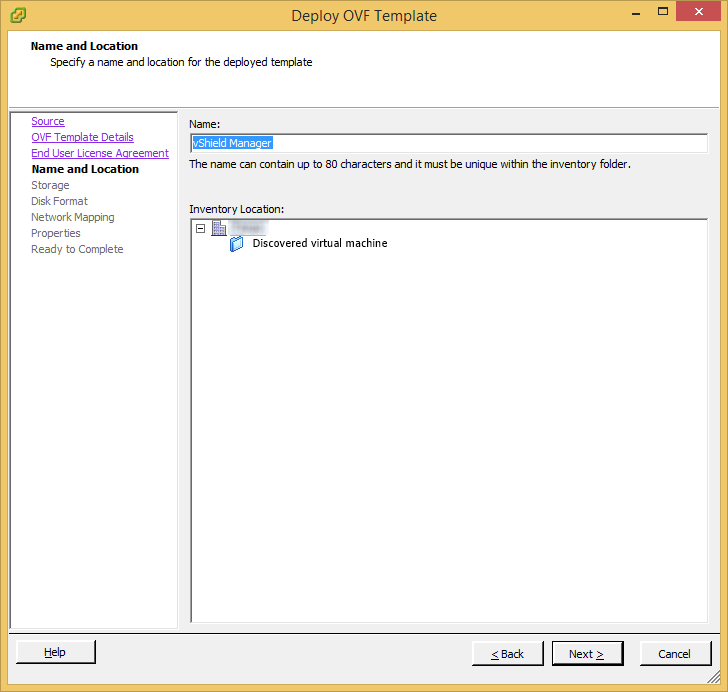
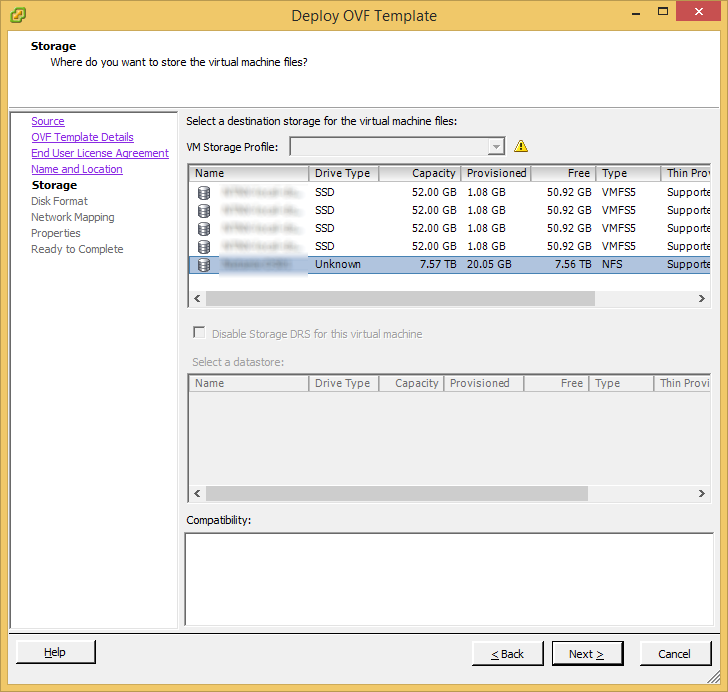
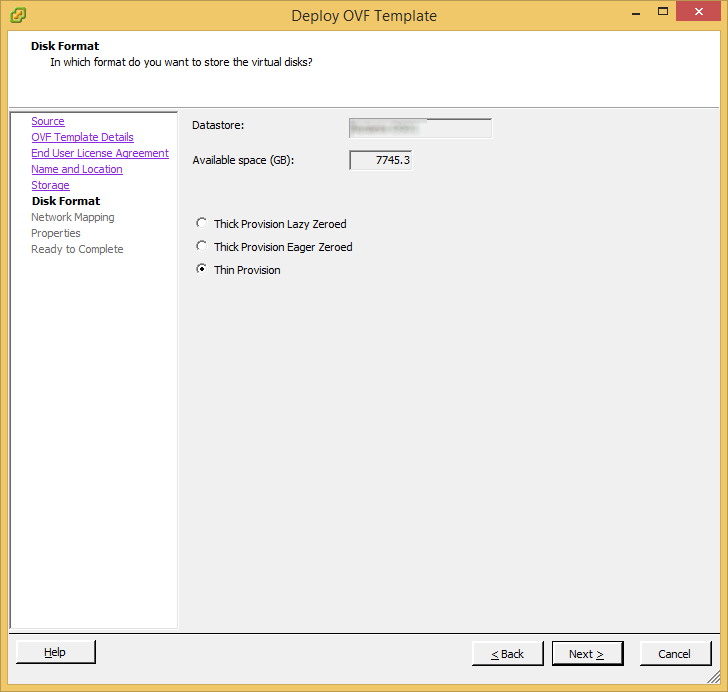
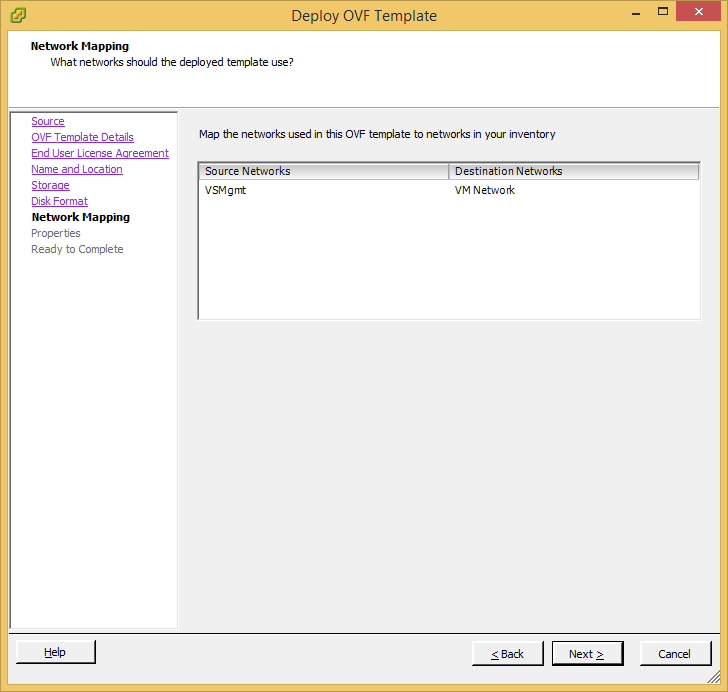
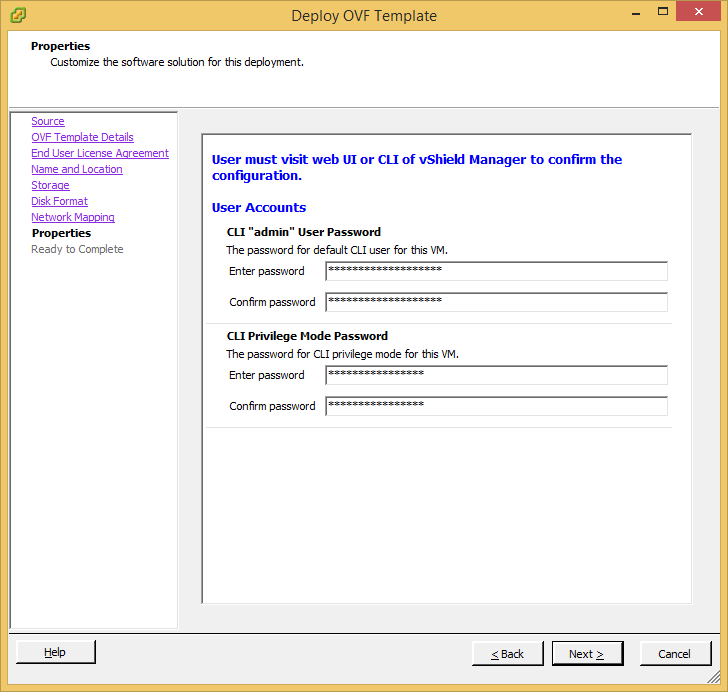
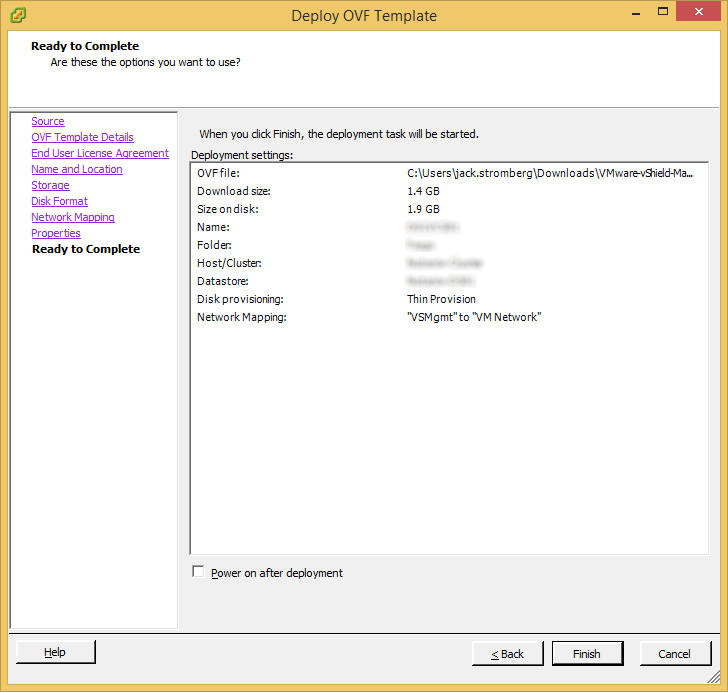
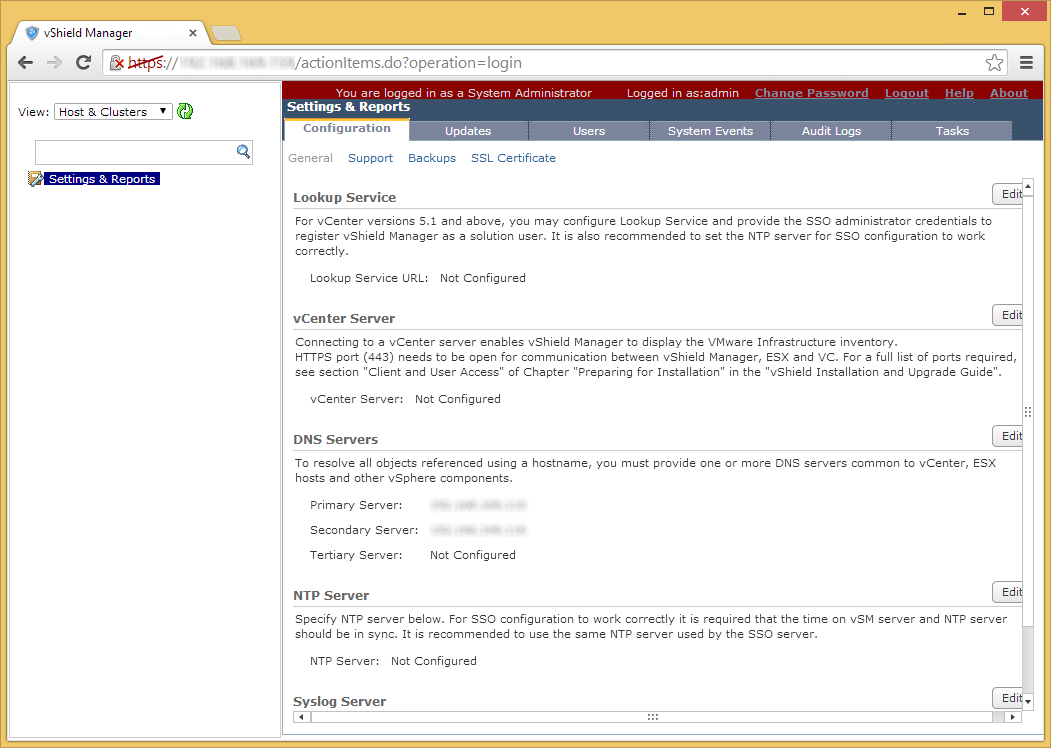
Deploy VMware vCloud Networking and Security 5.5.x
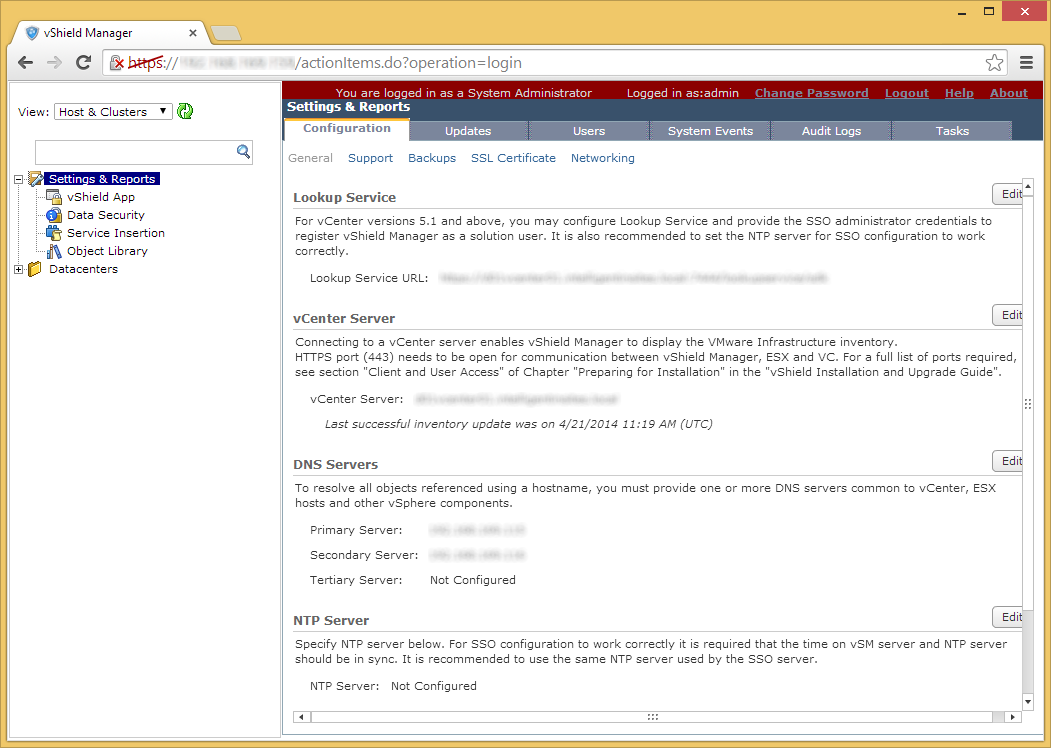
Prior to installing vCloud Director, you must have the VMware vCloud Networking and Security 5.5.x appliance configured and running. This product was formally called vShield, as is a required component of vCloud Director. Instructions on how to deploy this can be found here: http://jackstromberg.com/2014/04/tutorial-deploying-vmware-vcloud-networking-and-security-5-5/
Linux VM Installation (CentOS 6)
- Grab a copy of the live CD iso to install the OS
- Next your way to victory through the install, substituting in your location and server info.
- Install VM tools once you have your OS up and running
- Tutorial on how to install VMtools on CentOS 6 can be found here: http://jackstromberg.com/2014/04/tutorial-how-to-install-vmtools-on-centos-6/
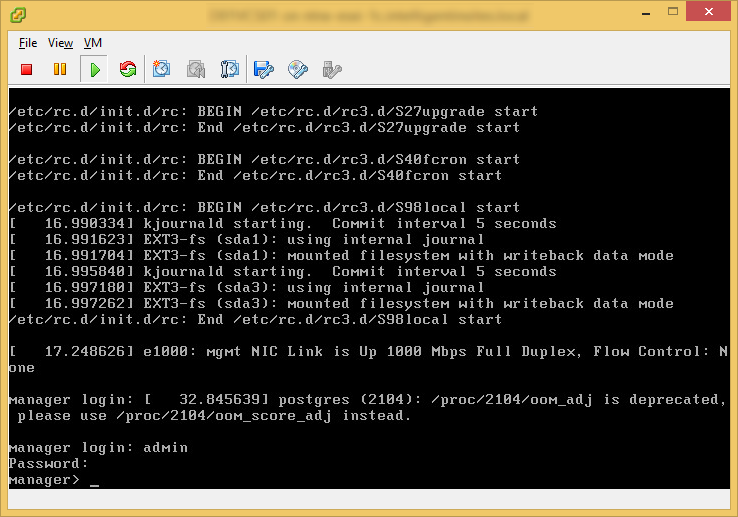
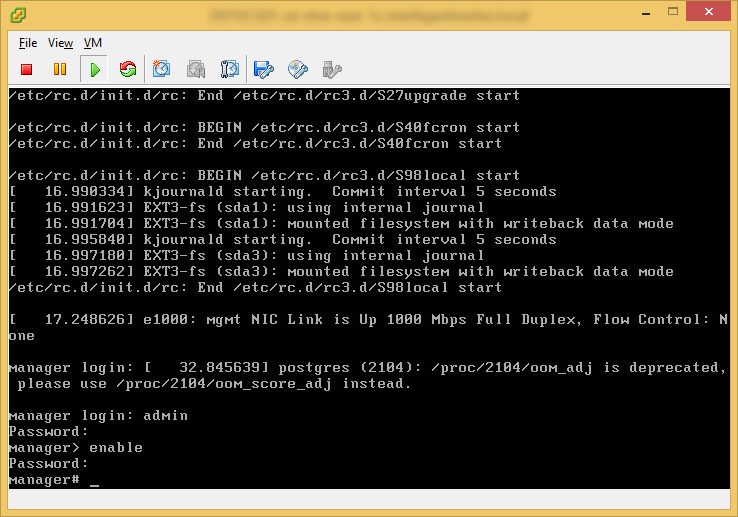
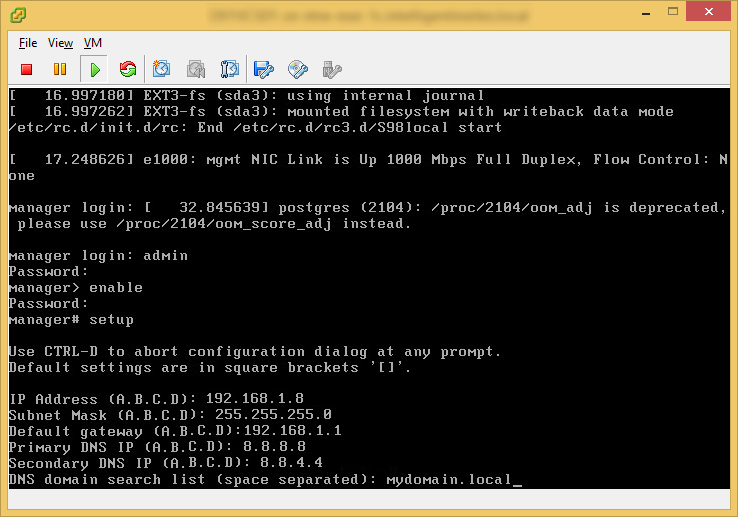
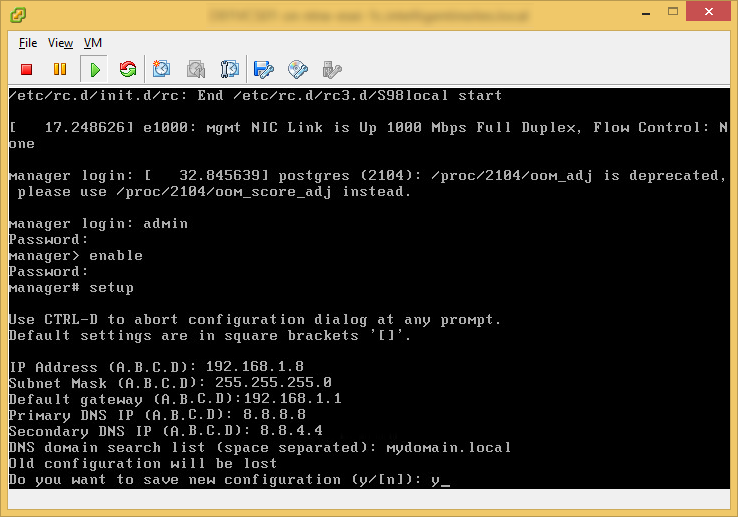
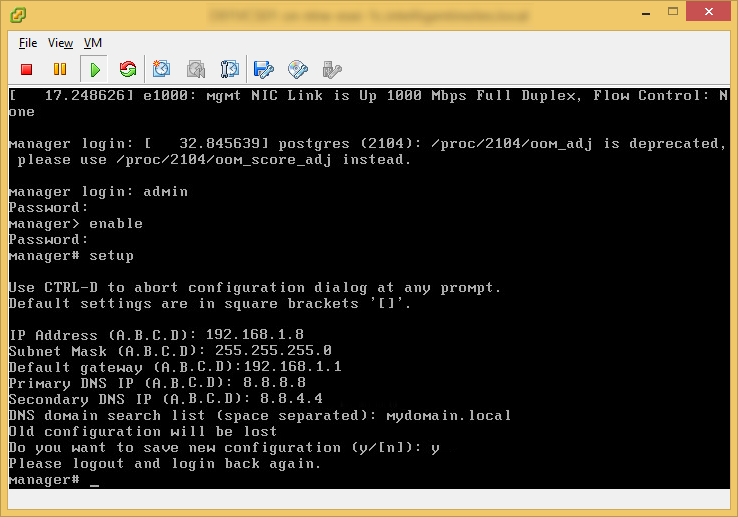
- Configure static IPs on each of your network cards
- Enable the firewall to allow inbound connections on port 443 (HTTPS)
- Tutorial on how to add firewall rules to CentOS 6 can be found here: http://jackstromberg.com/2014/04/tutorial-adding-firewall-rules-via-system-config-firewall-tui-on-centos-6/
Generate SSL certificates
We will need to generate some SSL certificates before running the vCloud Director installation. Please follow the steps below to create a java keystore that vCloud director will use for SSL. Below are two different methods of generating certificates. Use the first if you don't want to sign your certificates, use the second if you want to sign your certificate with an internal or external certificate authority. Note: Usually I create seperate keystores with for each service, in this case, VMware wants both certificates in the same keystore. Additionally, make sure you change the default password in the commands below to something stronger (other VMware products want you to use a generic password, this one you can change as it will be prompted during the install process).
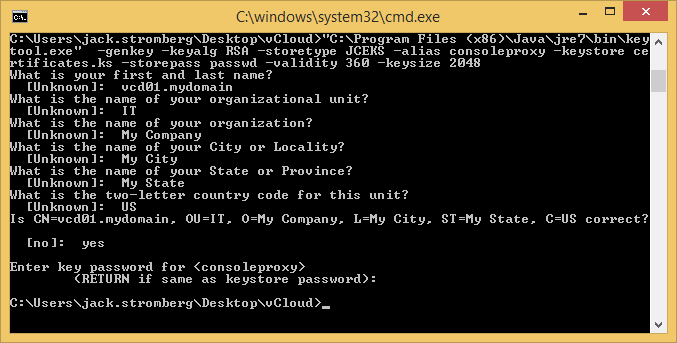
Creating Self-Signed Certificates
keytool -genkey -keyalg RSA -storetype JCEKS -alias http -keystore certificates.ks -storepass passwd -validity 360 -keysize 2048

keytool -genkey -keyalg RSA -storetype JCEKS -alias consoleproxy -keystore certificates.ks -storepass passwd -validity 360 -keysize 2048
--Verify both certificates are in the same keystore--
keytool -list -keystore certificates.ks -storetype JCEKS -storepass "passwd"

Creating Signed Certificate Requests (use this if you have an internal PKI, skip this step if you used self-signed certs above)
--Create the certificate requests--
- HTTP Web Cert Request
- keytool –certreq -keystore certificates.ks -storetype JCEKS -storepass passwd -alias http -file http.csr -validity 360 -keysize 2048
- Console Proxy Cert Request
- keytool -keystore certificates.ks -storetype JCEKS -storepass passwd -certreq –alias consoleproxy -file consoleproxy.csr -validity 360 -keysize 2048
--Import CA Chain--
- Root Certificate Authority
- keytool -storetype JCEKS -storepass passwd -keystore certificates.ks -import –alias root -file root.cer
- Intermediate Certificate Authority (only needed if you have one)
- keytool -storetype JCEKS -storepass passwd -keystore certificates.ks -import –alias intermediate -file intermediate.cer
--Import Signed Cert--
- HTTP Web Signed Cert
- keytool -storetype JCEKS -storepass passwd -keystore certificates.ks -import –alias http -file http.cer
- Console Proxy Signed Cert
- keytool -storetype JCEKS -storepass passwd -keystore certificates.ks -import –alias consoleproxy -file consoleproxy.cer
Note: Official VMware KB article on generating SSL certificates for vCloud Director: http://kb.vmware.com/selfservice/microsites/search.do?language=en_US&cmd=displayKC&externalId=1026309
Configure the Microsoft SQL (MSSQL) Server Database
- Login to your SQL Server/Cluster
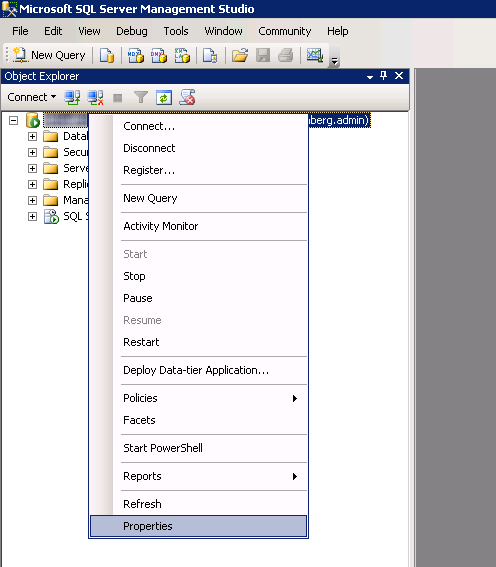
- Right click on your SQL Server and select Properties
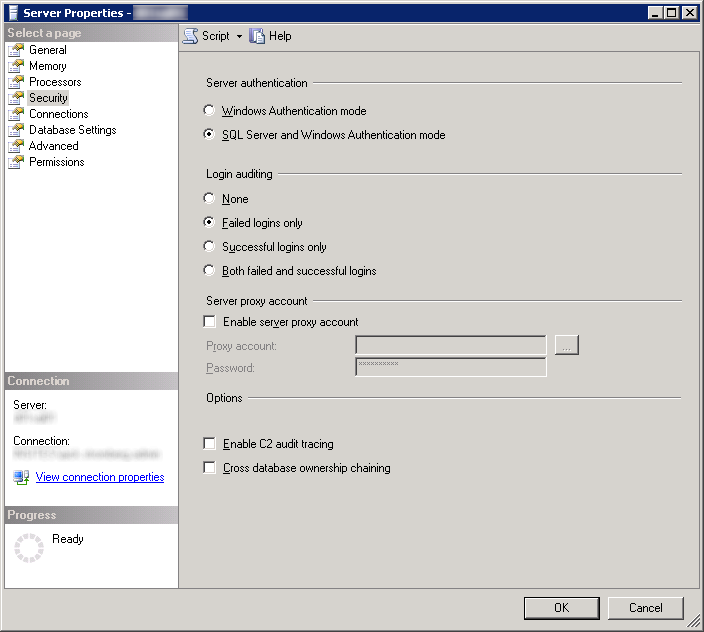
- Select the Security page and ensure SQL Server and Windows Authentication mode is checked
- Per VMware's documentation, Windows Authentication is not supported when using Microsoft SQL with vCloud Director.
- Per VMware's documentation, Windows Authentication is not supported when using Microsoft SQL with vCloud Director.
- Click OK
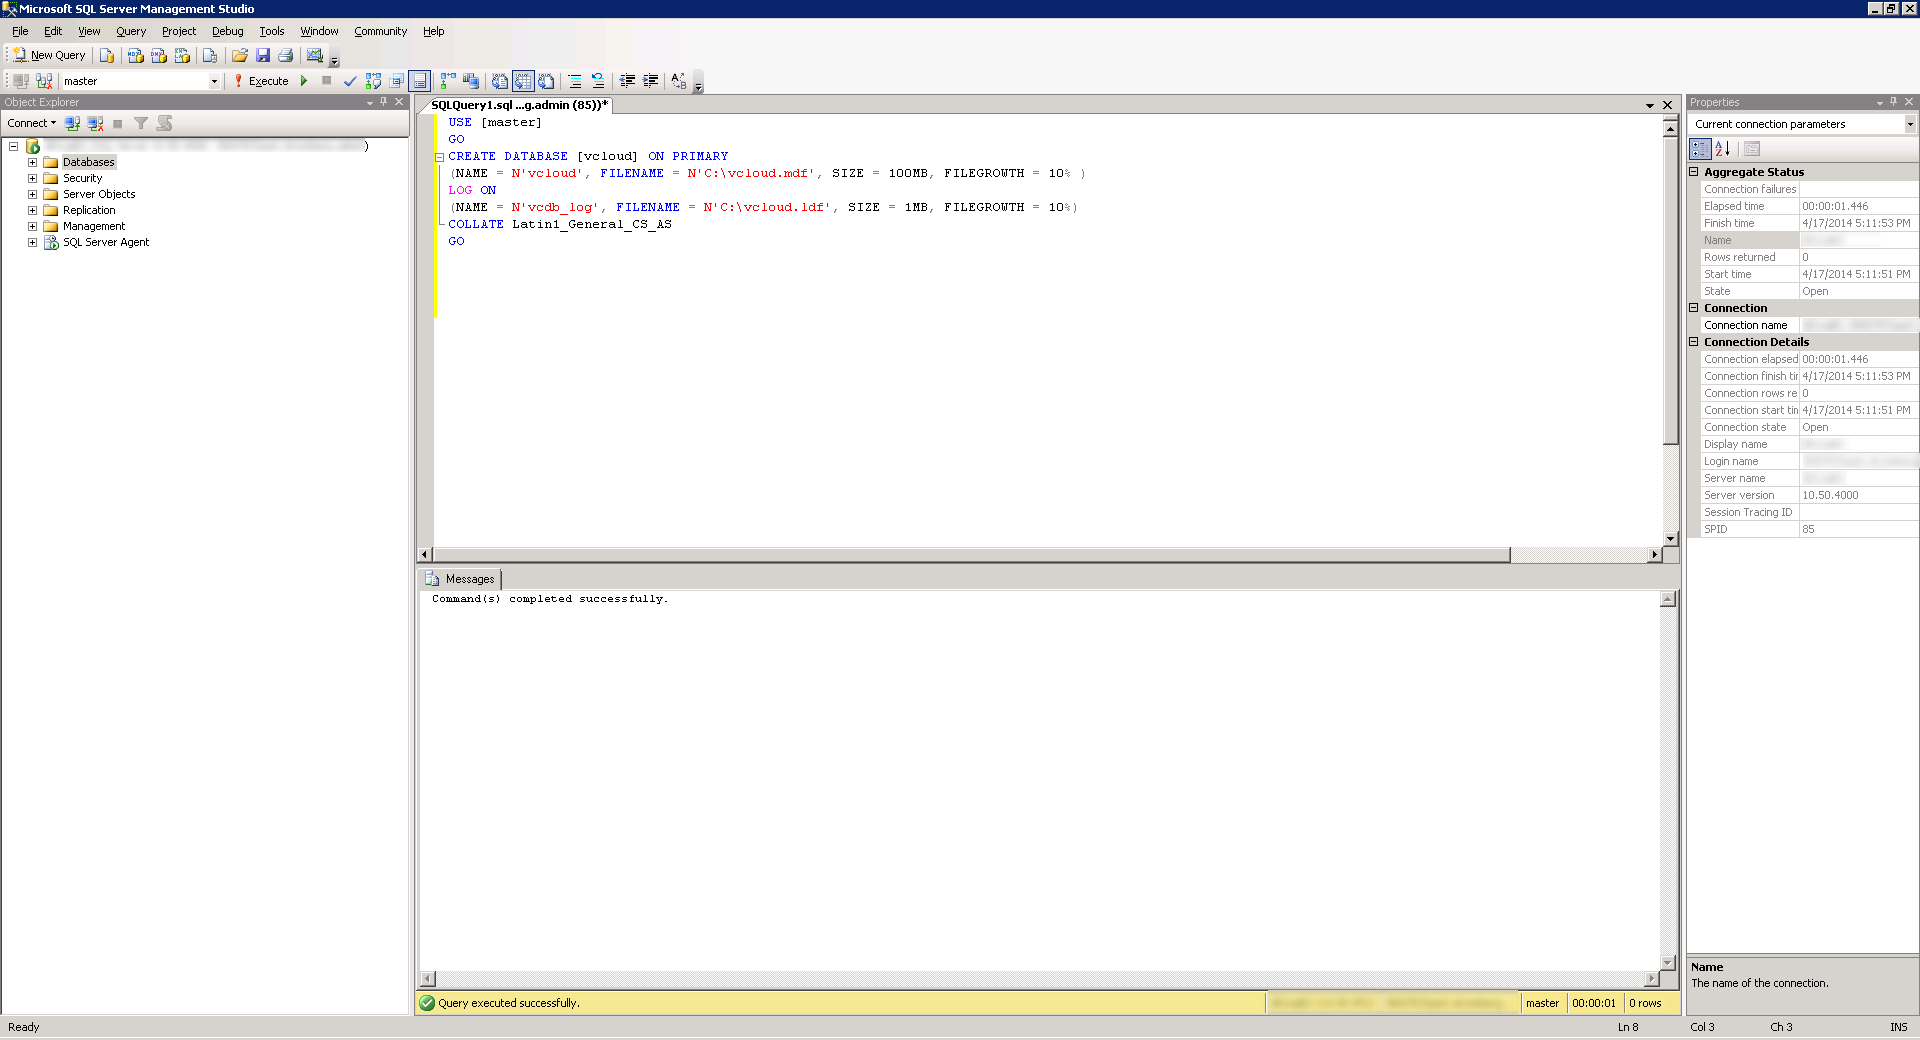
- Click on the New Query button and Execute the following query (make sure you change the path to the database and log files). This command will create the database instance and log files, specifying the proper collation sequence:
USE [master]

GO

CREATE DATABASE [vcloud] ON PRIMARY

(NAME = N'vcloud', FILENAME = N'C:\vcloud.mdf', SIZE = 100MB, FILEGROWTH = 10% )

LOG ON

(NAME = N'vcdb_log', FILENAME = N'C:\vcloud.ldf', SIZE = 1MB, FILEGROWTH = 10%)

COLLATE Latin1_General_CS_AS

GO
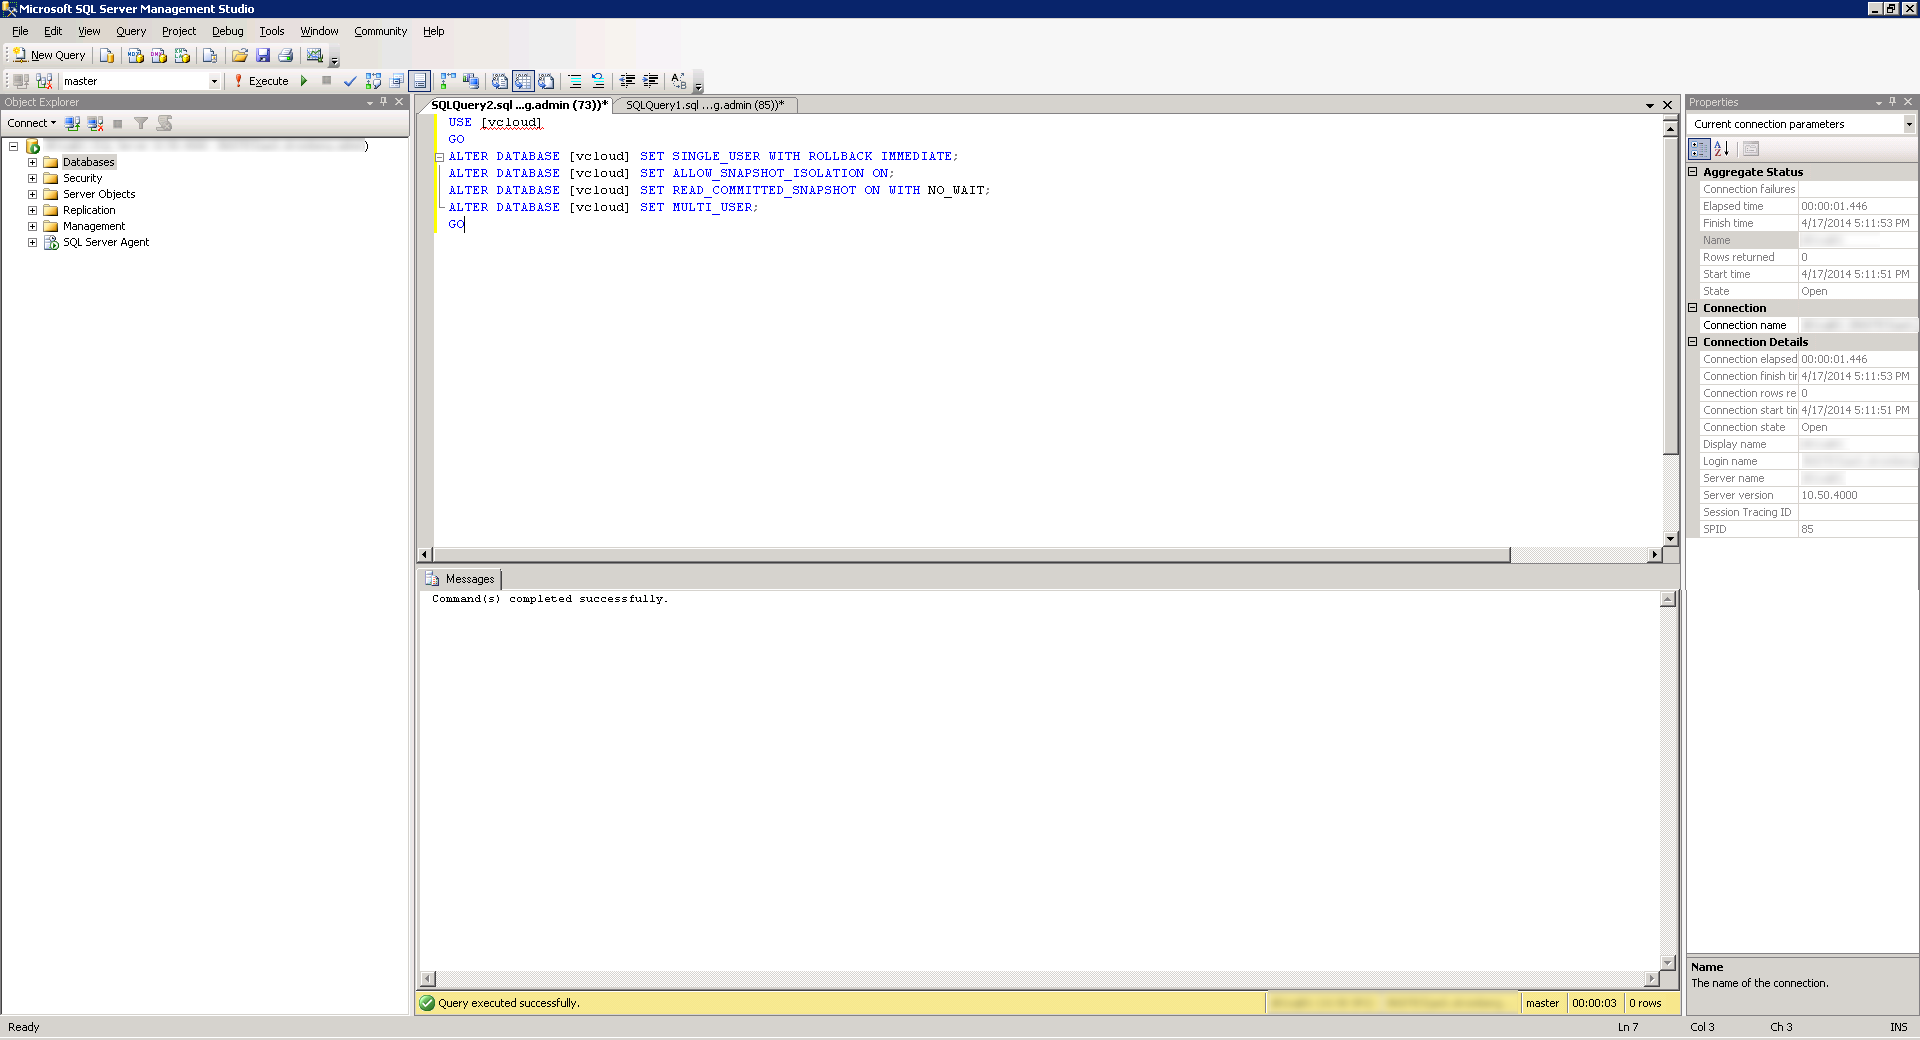
- Use VMware's recommended transaction isolation level. Click the New Query button again and then Execute the following query:
USE [vcloud]

GO

ALTER DATABASE [vcloud] SET SINGLE_USER WITH ROLLBACK IMMEDIATE;

ALTER DATABASE [vcloud] SET ALLOW_SNAPSHOT_ISOLATION ON;

ALTER DATABASE [vcloud] SET READ_COMMITTED_SNAPSHOT ON WITH NO_WAIT;

ALTER DATABASE [vcloud] SET MULTI_USER;

GO
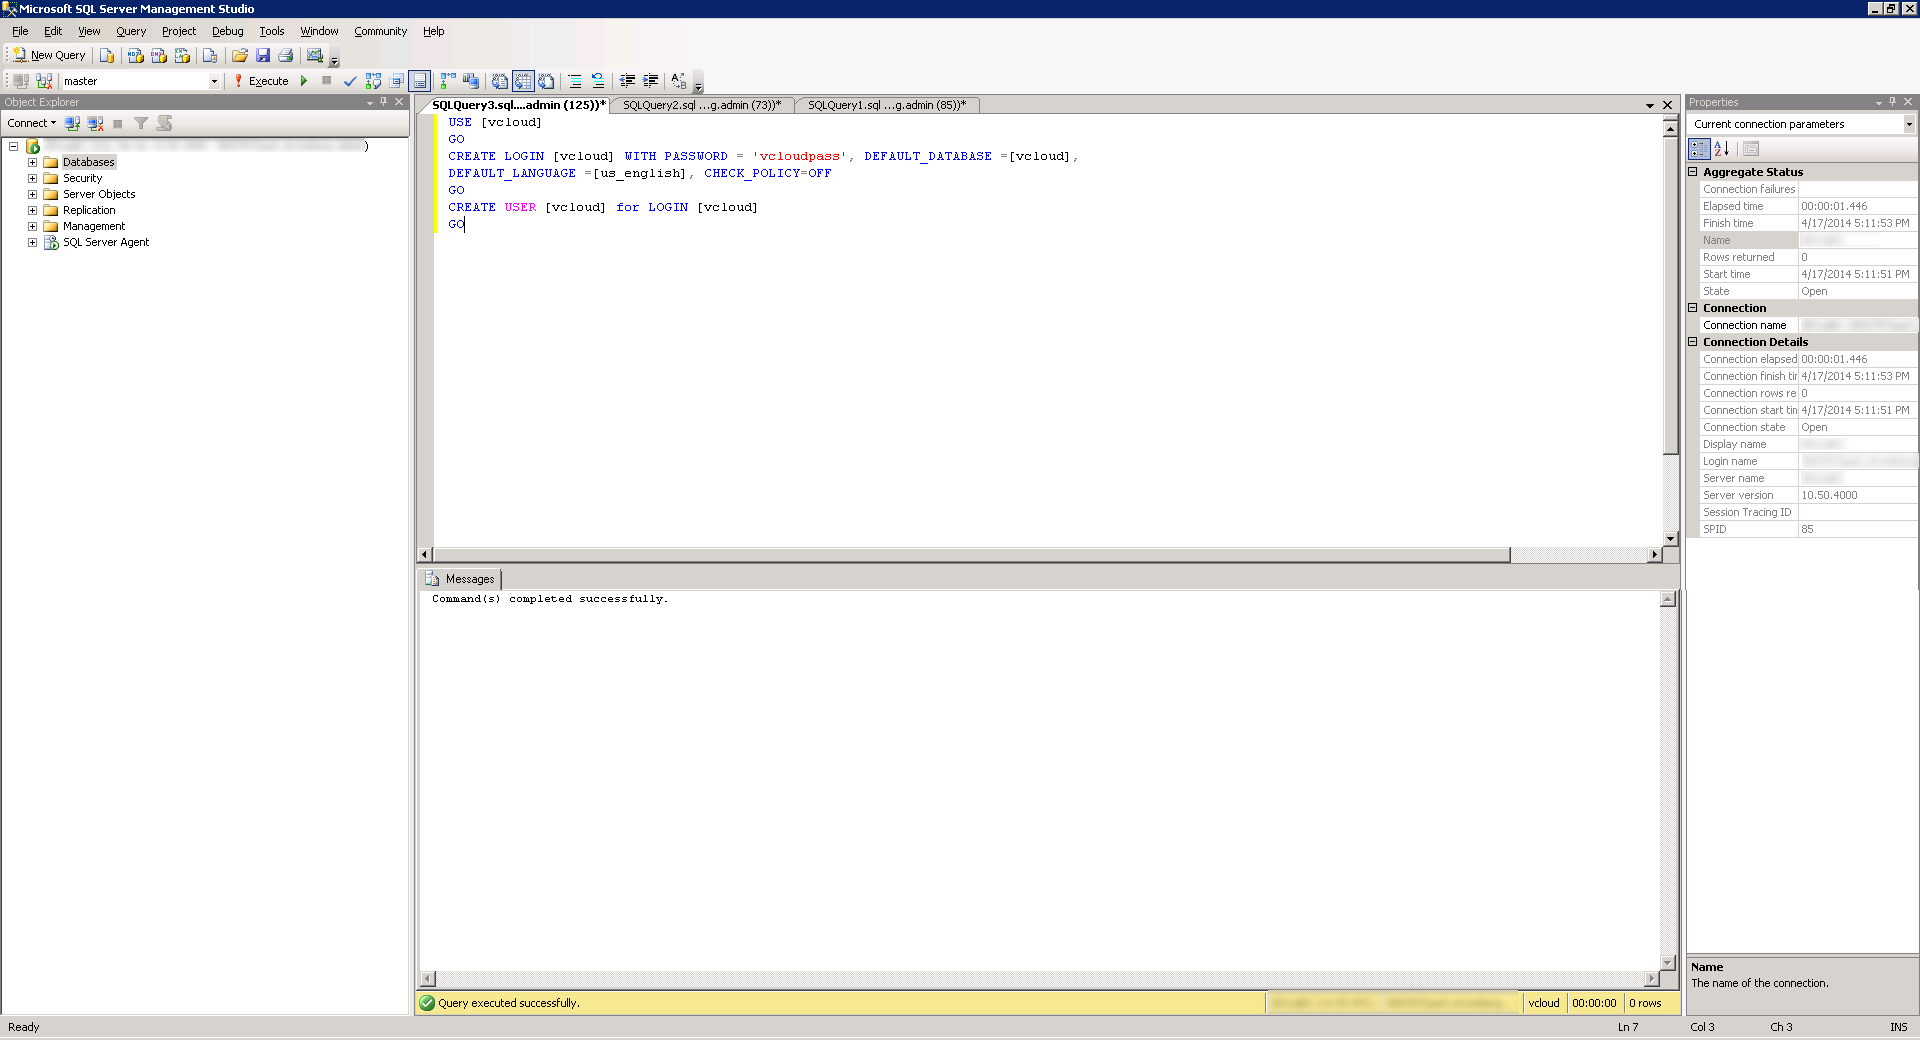
- Next, create the SQL User to connect to the database (we will use vcloud as the username, you can change this if you would like). Click the New Query button again and then Execute the following query (amke sure to change the default password):
USE [vcloud]

GO

CREATE LOGIN [vcloud] WITH PASSWORD = 'vcloudpass', DEFAULT_DATABASE =[vcloud],

DEFAULT_LANGUAGE =[us_english], CHECK_POLICY=OFF

GO

CREATE USER [vcloud] for LOGIN [vcloud]

GO
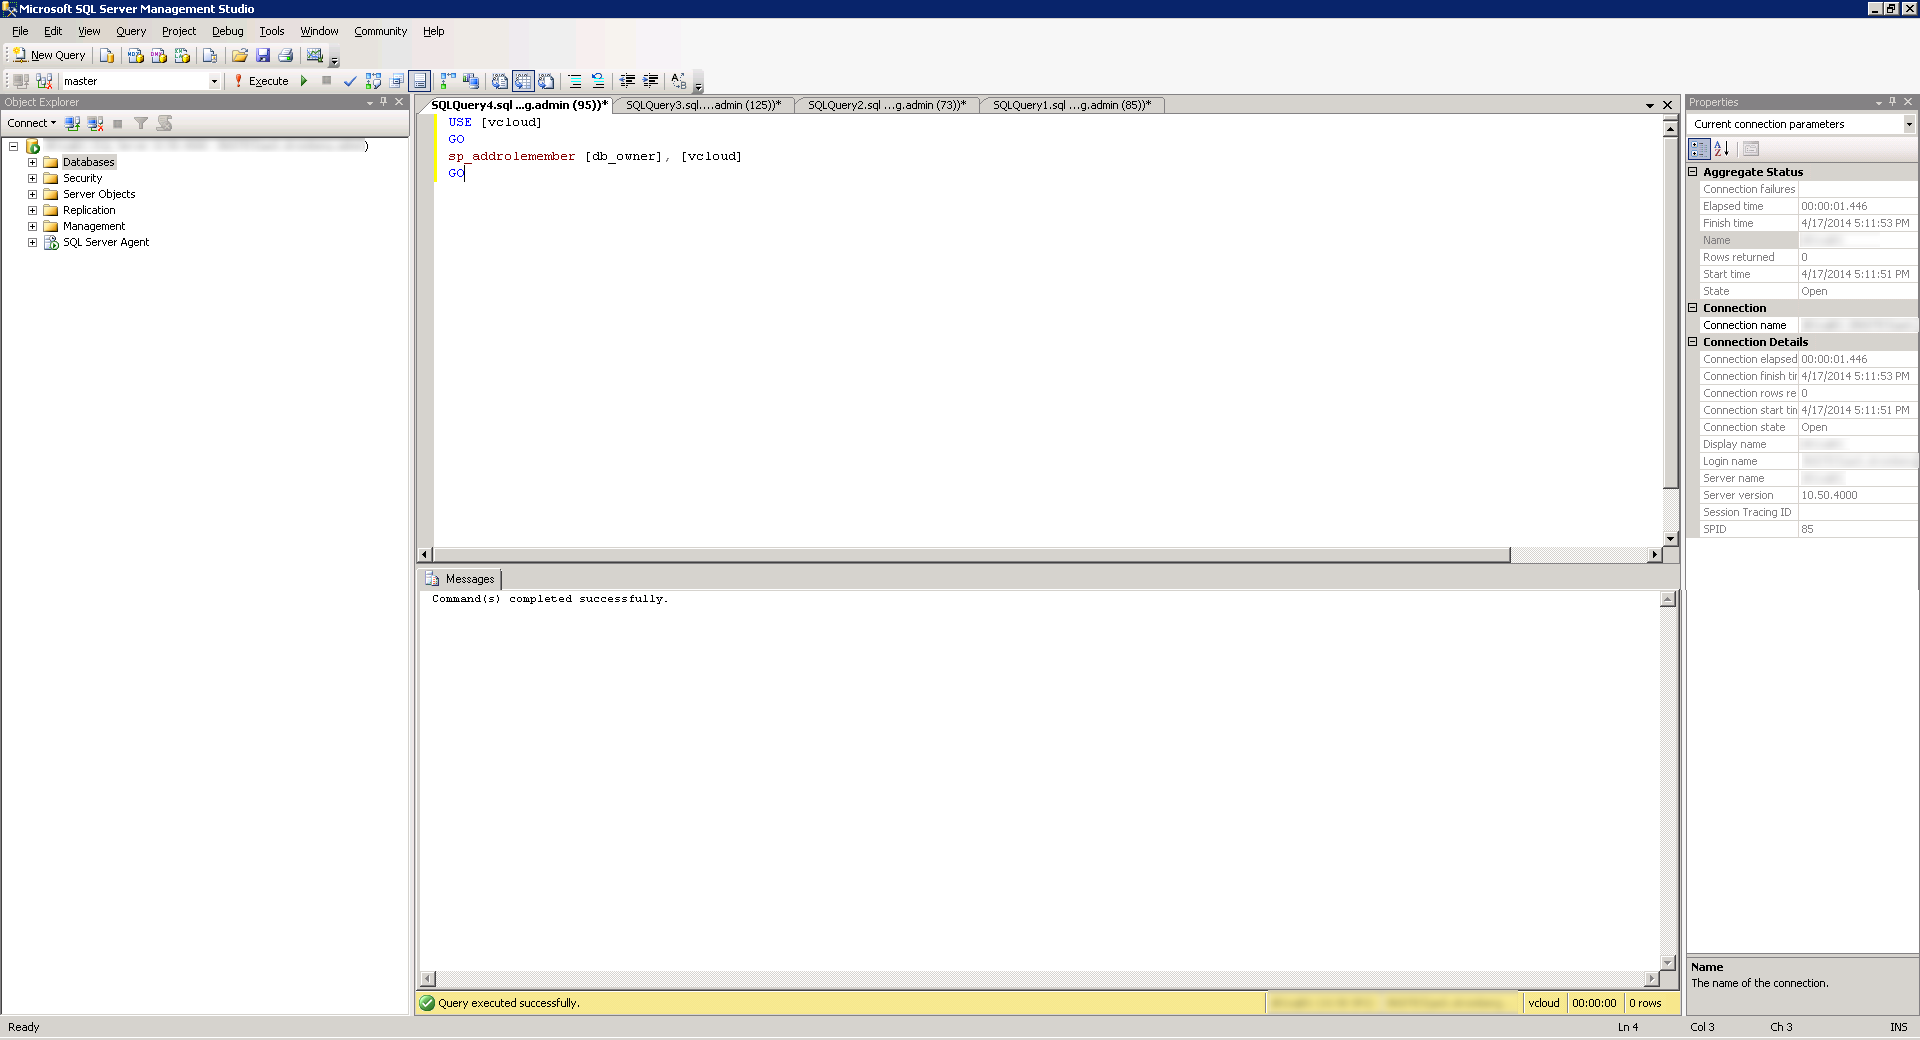
- Last, assign the proper permissions to the SQL user. We will need the user to have db_owner permissions for the install. Click the New Query button again and then Execute the following query:
USE [vcloud]

GO

sp_addrolemember [db_owner], [vcloud]

GO
The official VMware KB article on configuring MSSQL Server (and oracle) can be found here: http://kb.vmware.com/selfservice/microsites/search.do?language=en_US&cmd=displayKC&externalId=2034540
Install vCloud Director
- Copy the certificates.ks keystore over to the vCloud Director VM if you didn't generate them on it.
- I placed my ssl certificates in the following directory (VMware doesn't recommend a location, so I just picked this one): /opt/vmware/
- Download a copy of VMware vCloud Director 5.5.X from myvmware.com
- Open up Terminal
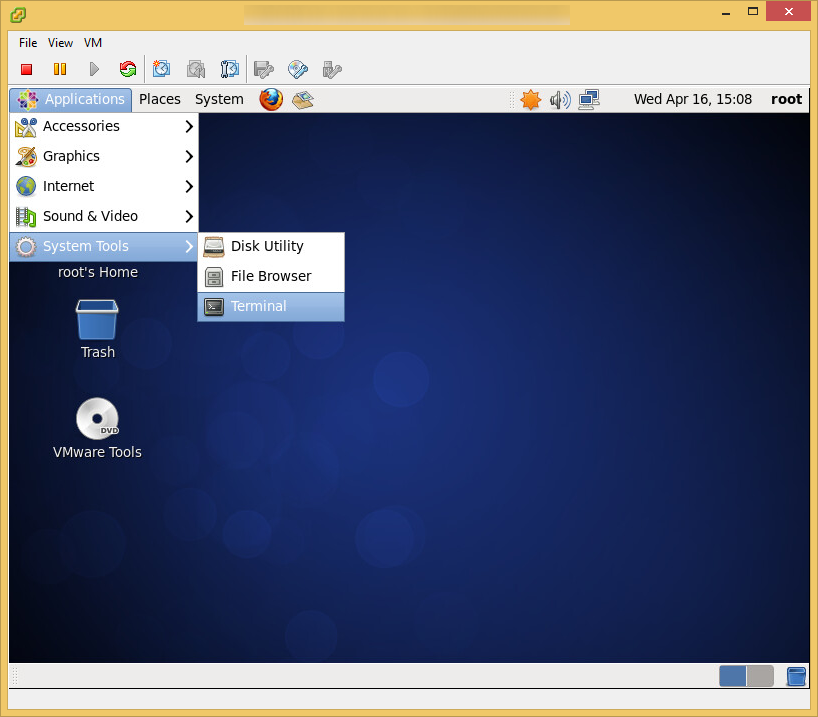
- Execute the following command to install one of the prerequisites for the vcloud director installer (CentOS should come preinstalled with the others)
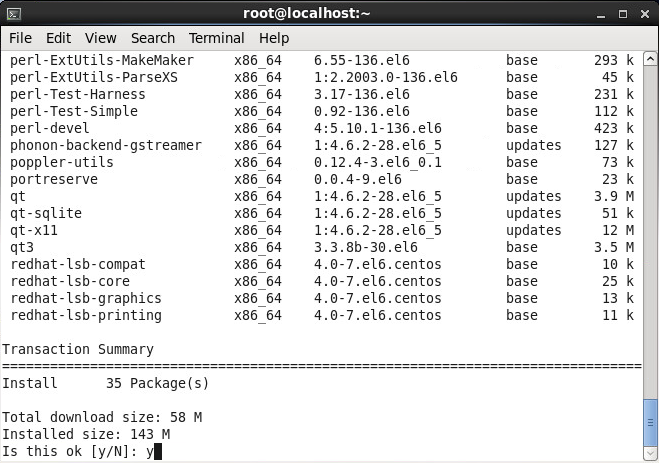
- yum install redhat-lsb
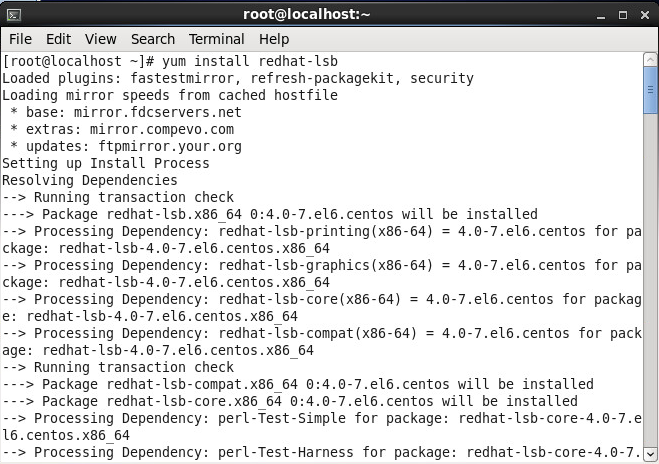
- yum install redhat-lsb
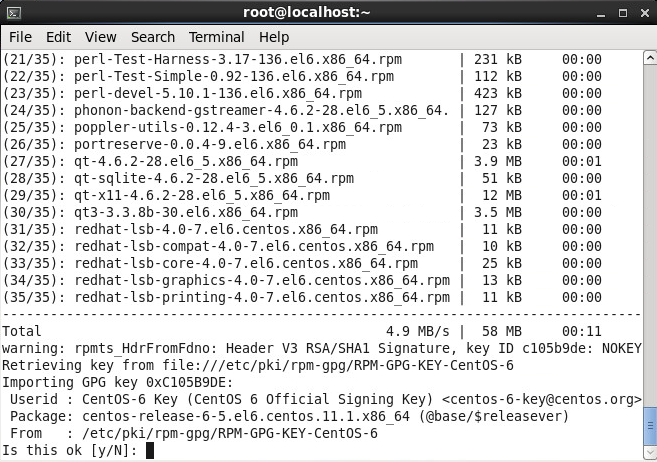
- Enter y and then press enter to continue the install
- Enter y and then press enter to continue the install
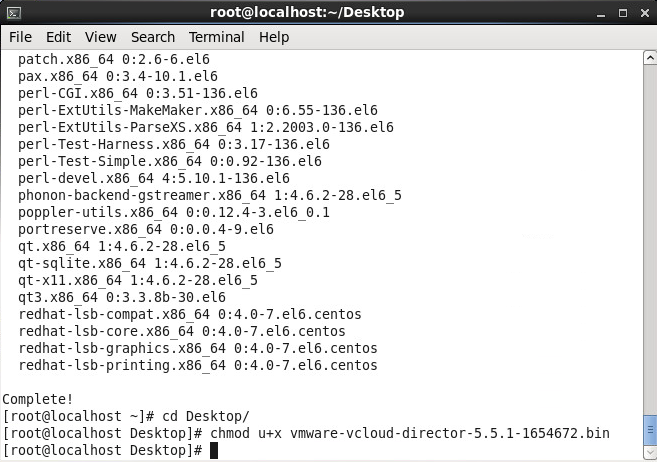
- Navigate to the folder where you downloaded the vmware-vcloud-director bin file and execute the following command to allow the bin file to be executed
- chmod u+x vmware-vcloud-director-5.5 (tab to the end of the file)
- chmod u+x vmware-vcloud-director-5.5 (tab to the end of the file)
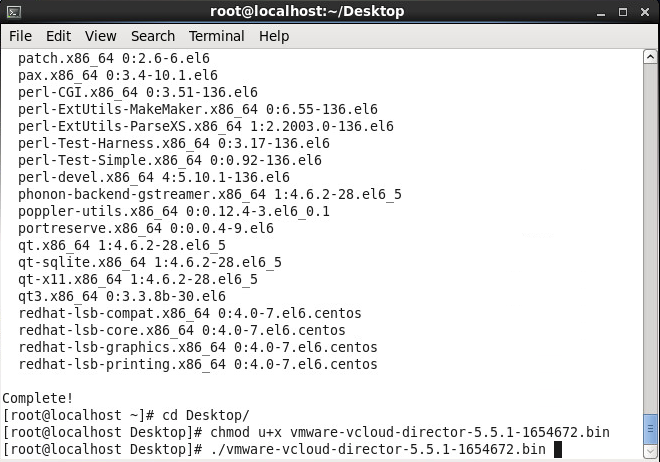
- Execute the following command to begin the installation
- ./vmware-vcloud-director (tab to the end of the file)
- ./vmware-vcloud-director (tab to the end of the file)
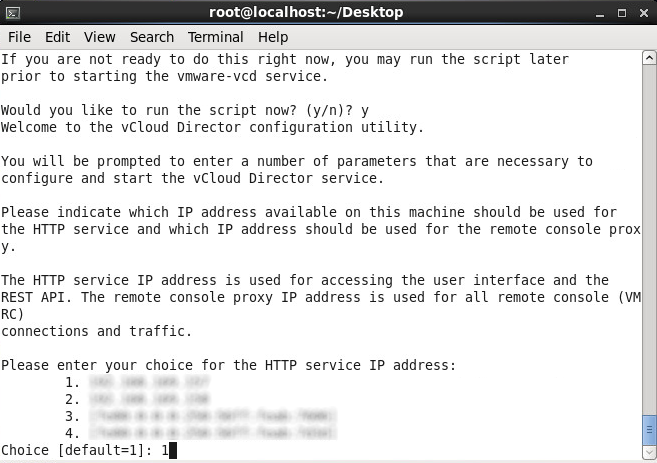
- Enter y to run the script after the installer verifies prerequisites

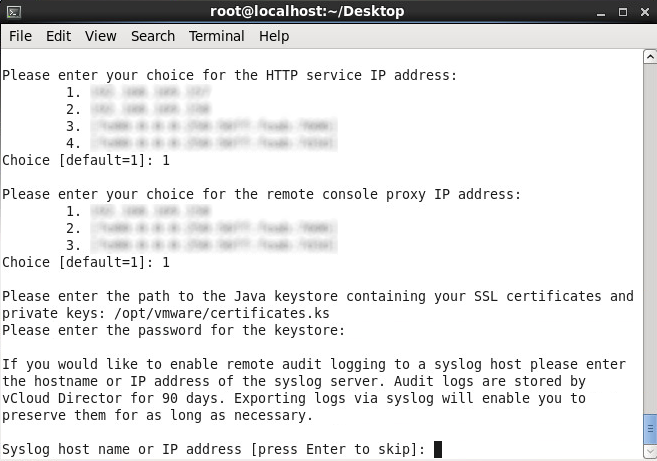
- Select which adapter you would like to assign the HTTP service to and press enter (this will be for the web management interface)
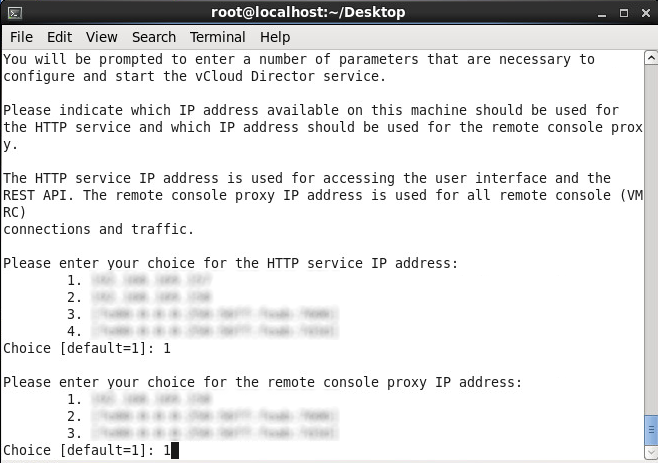
- Select which adapter you would like to assign the console proxy IP address to and press enter
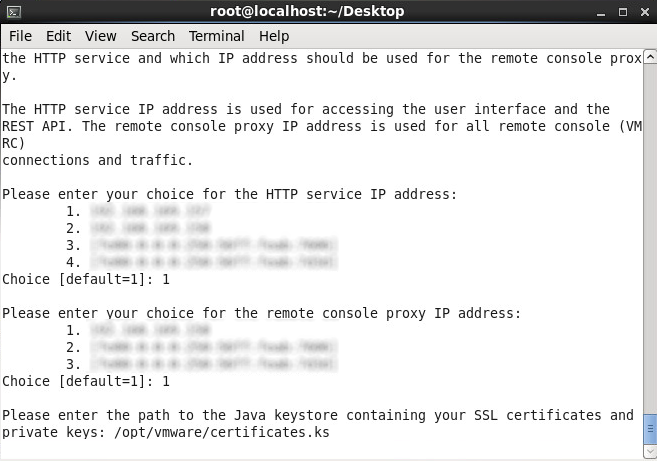
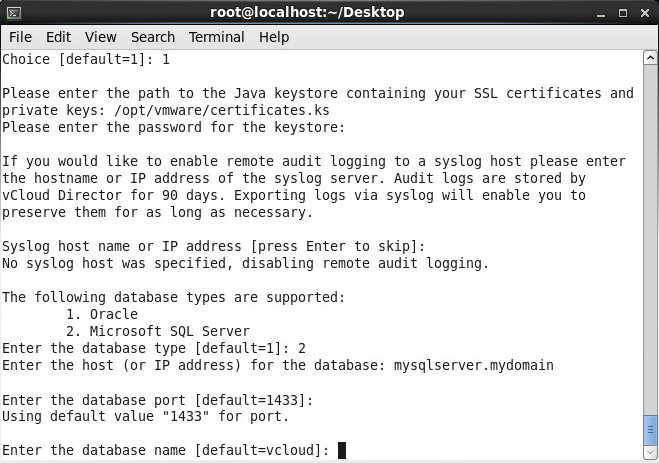
- Enter in the path to your certificates.ks file and press enter (in this tutorial, I used /opt/vmware/certificates.ks for example)
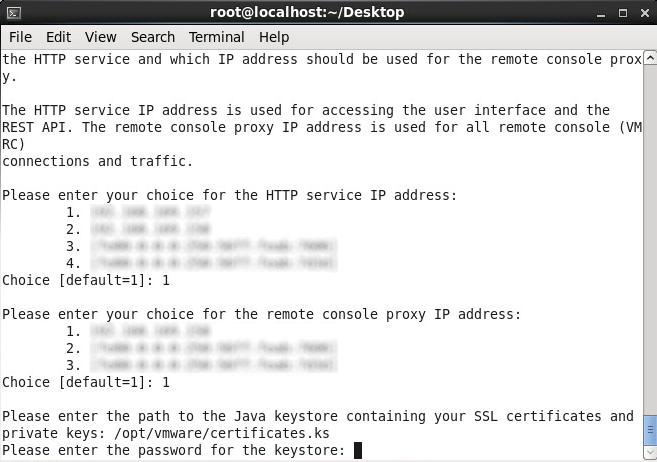
- Enter in the password to the keystore when prompted and press enter
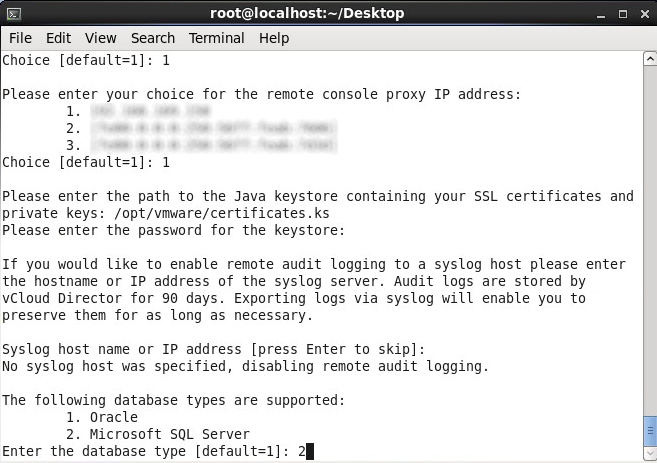
- If you have a syslog server enter in the IP to it, otherwise press enter to skip it
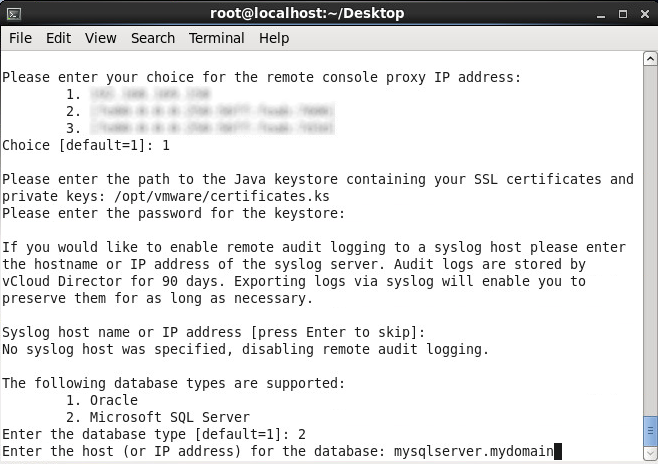
- Type 2 to use Microsoft SQL Server and press enter
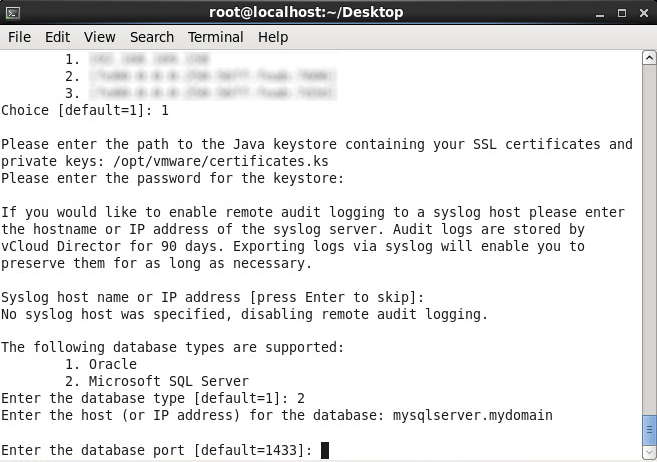
- Enter in the hostname or IP address to your MSSQL server and press enter
- Press enter to use the default SQL server port
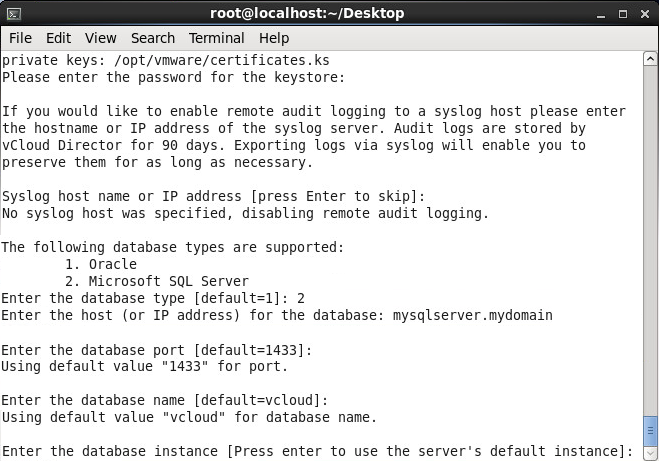
- Enter in the name of your sql database (using the default database name vcloud for this guide) and press enter
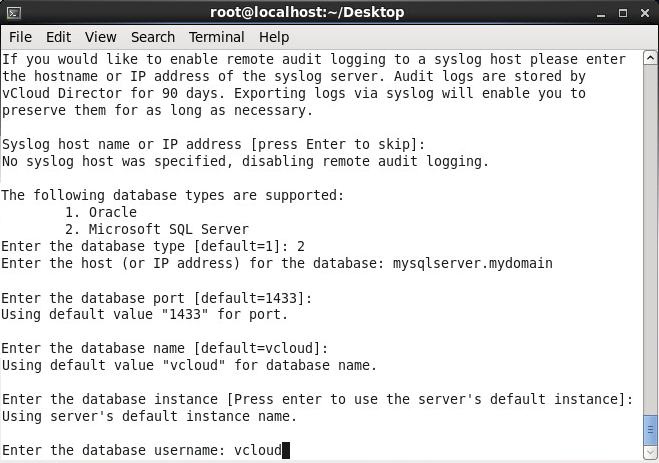
- Press enter to use the default database instance
- Enter your database user (vcloud is what we have been using for this tutorial) and press enter
- Enter the password to your sql user and press enter
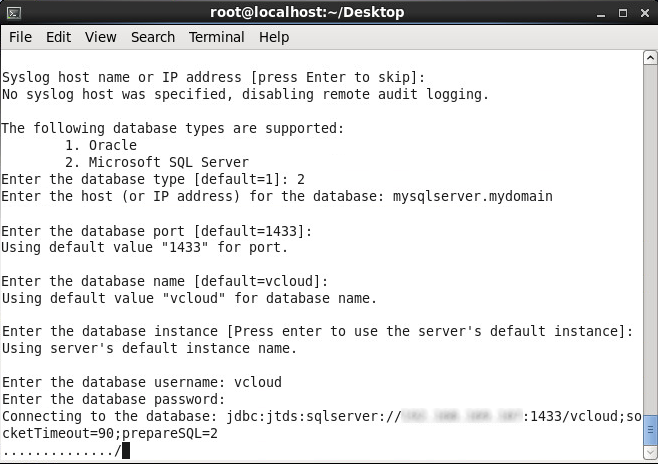
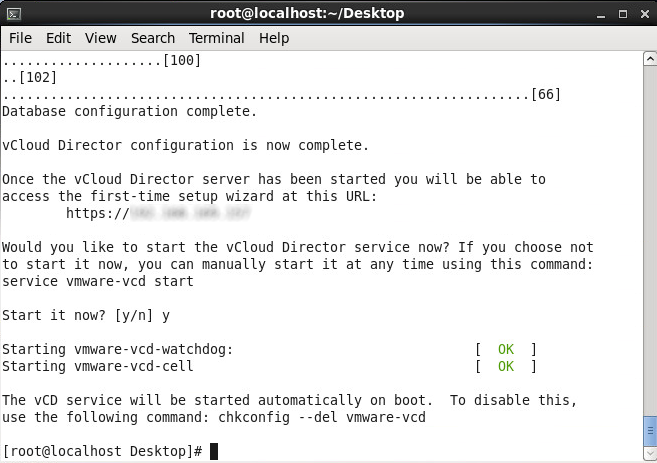
- Type y and press enter to start the service
Configuring vCloud Director
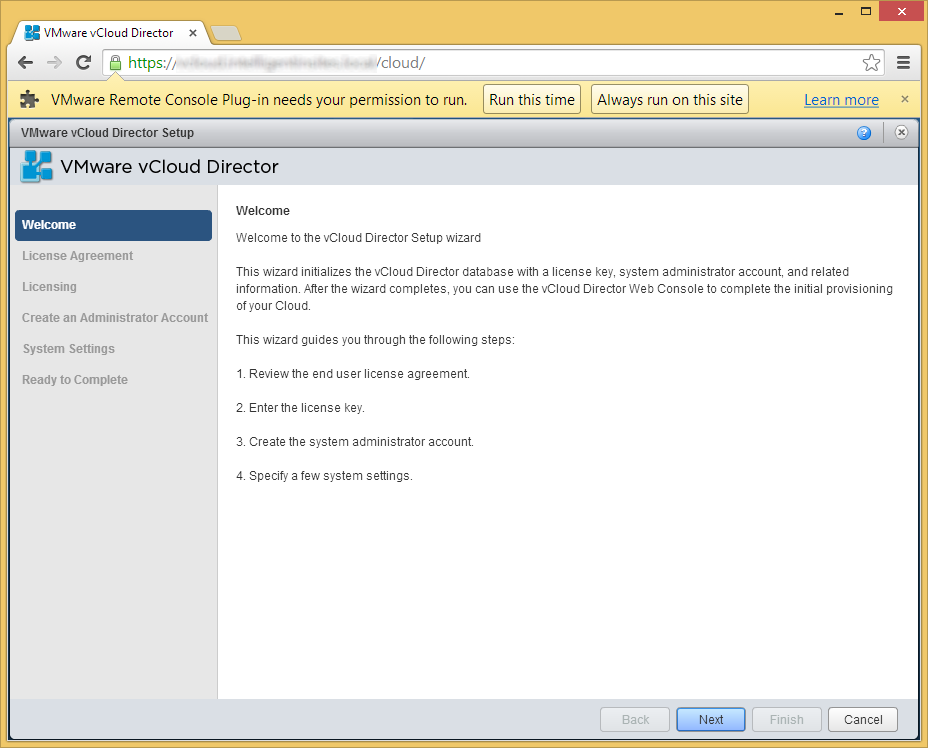
- Open up your web browser and navigate over to your vCloud instance
- Optionally, install the VMware Remote Console Plug-in if prompted and then click Next
- The VMware Remote Console plug-in is used to manage your VMs through the web. It is not needed during the installation process.
- The VMware Remote Console plug-in is used to manage your VMs through the web. It is not needed during the installation process.
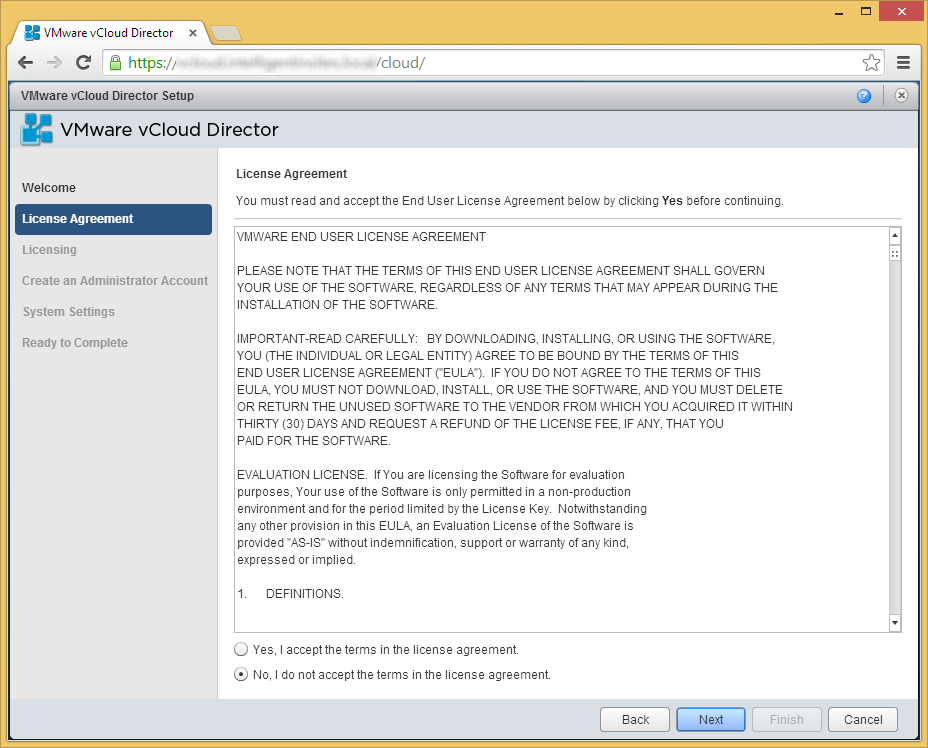
- "Read" and check Yes, I accept the terms in the license agreement and click Next
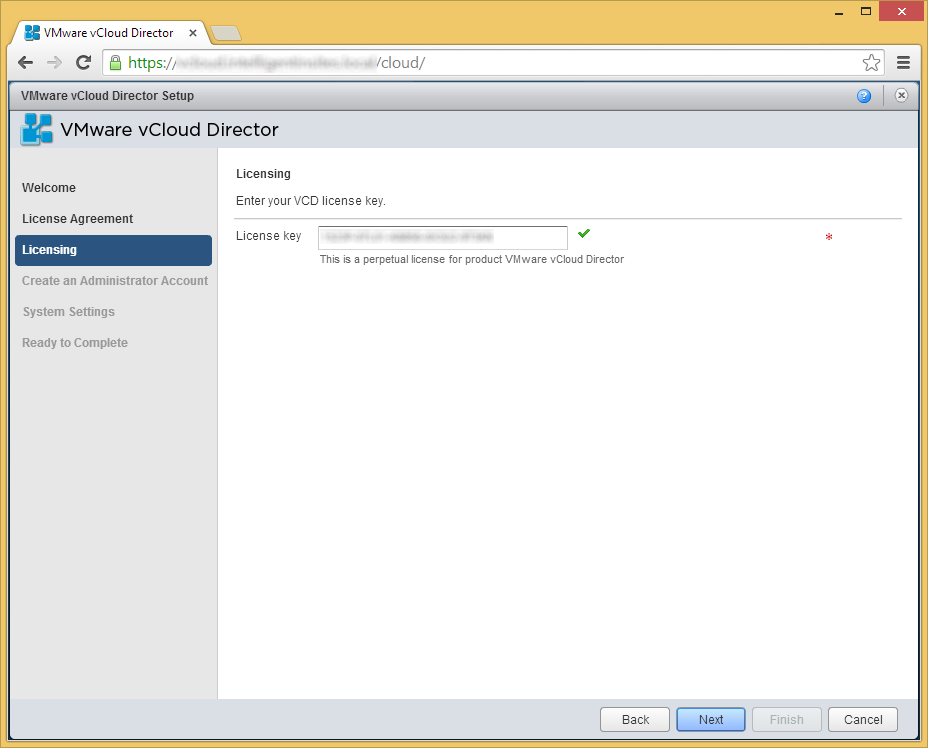
- Enter your vCloud Director license key (can be obtained my myvmware.com) and click Next
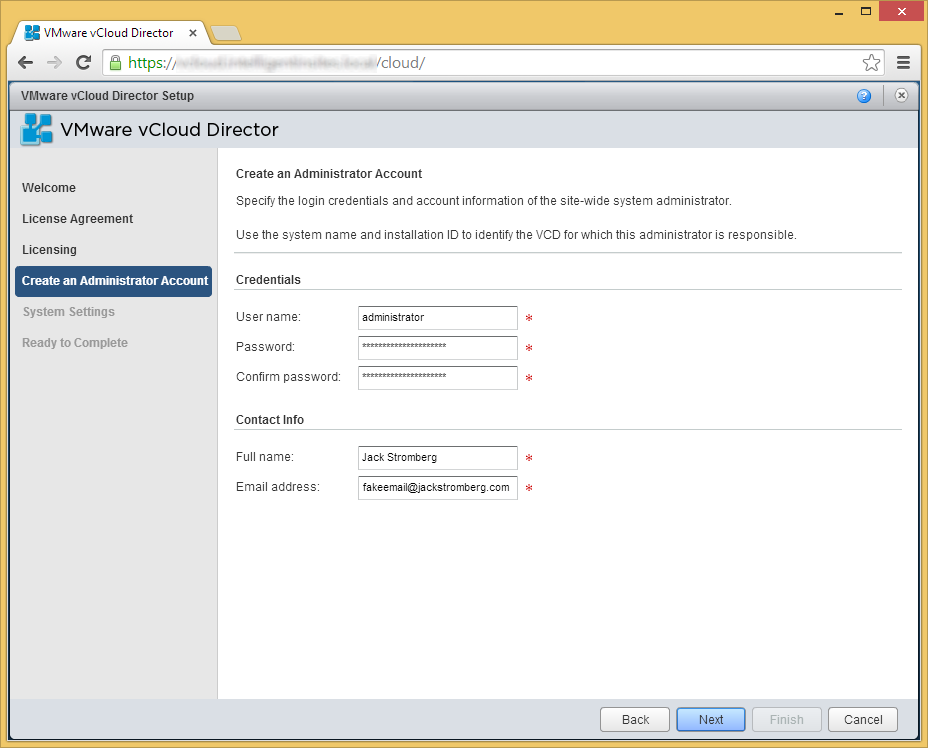
- Enter in an administrator account used to manage vCloud Director and then click Next
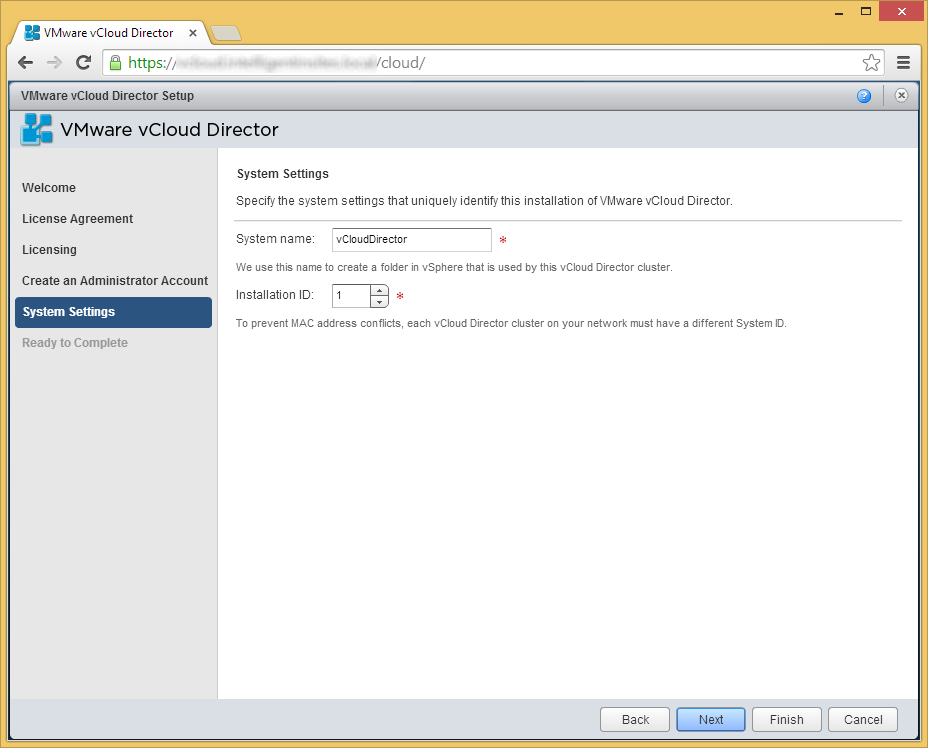
- Enter a system name (I used vCloudDirector) that gets added to vSphere. This is where all the vCloud Director VMs will go when they are provisioned. Click Next
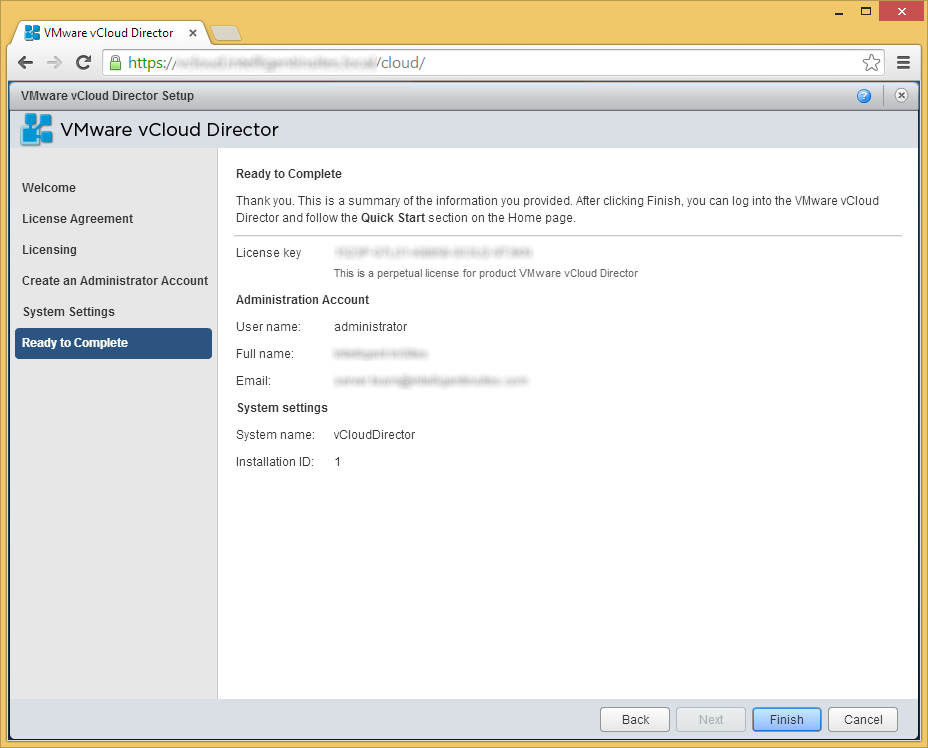
- Click Finish
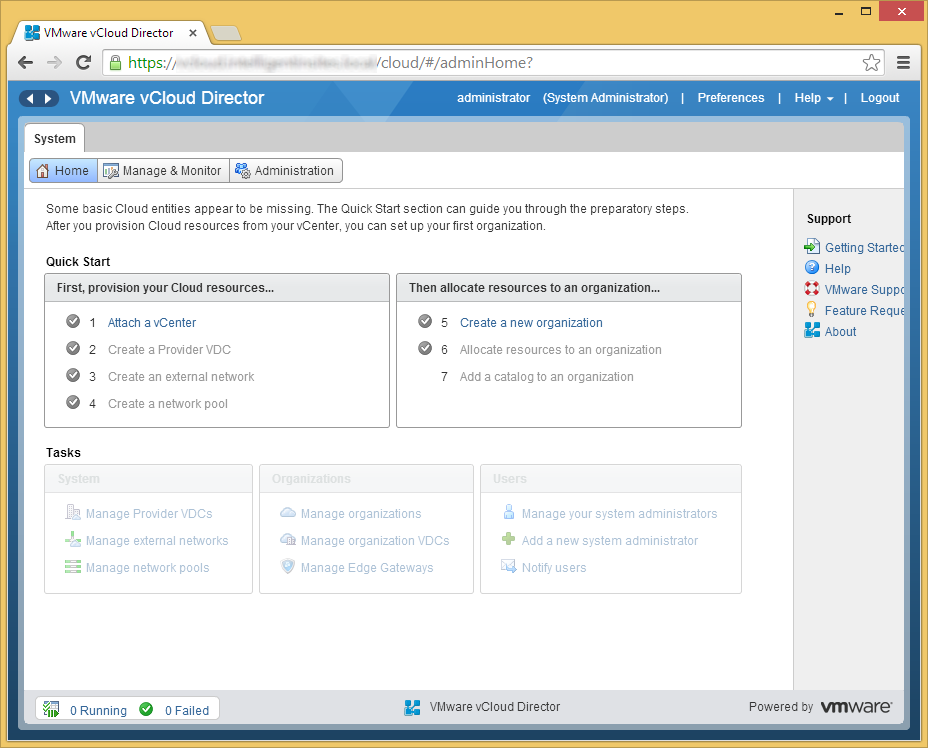
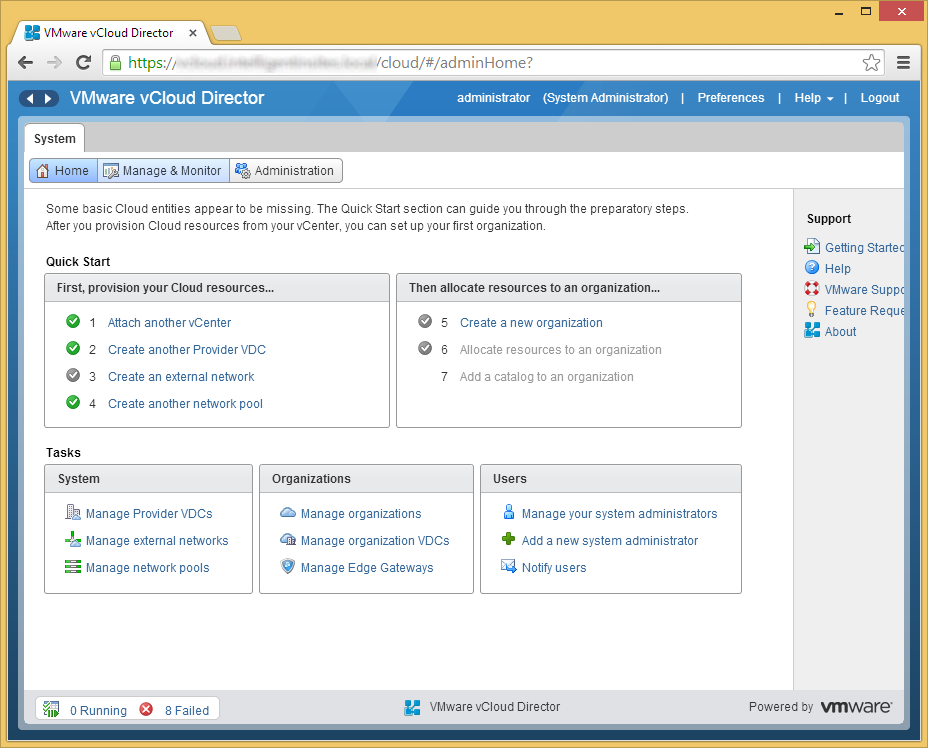
- Login using your Administrator account once redirected
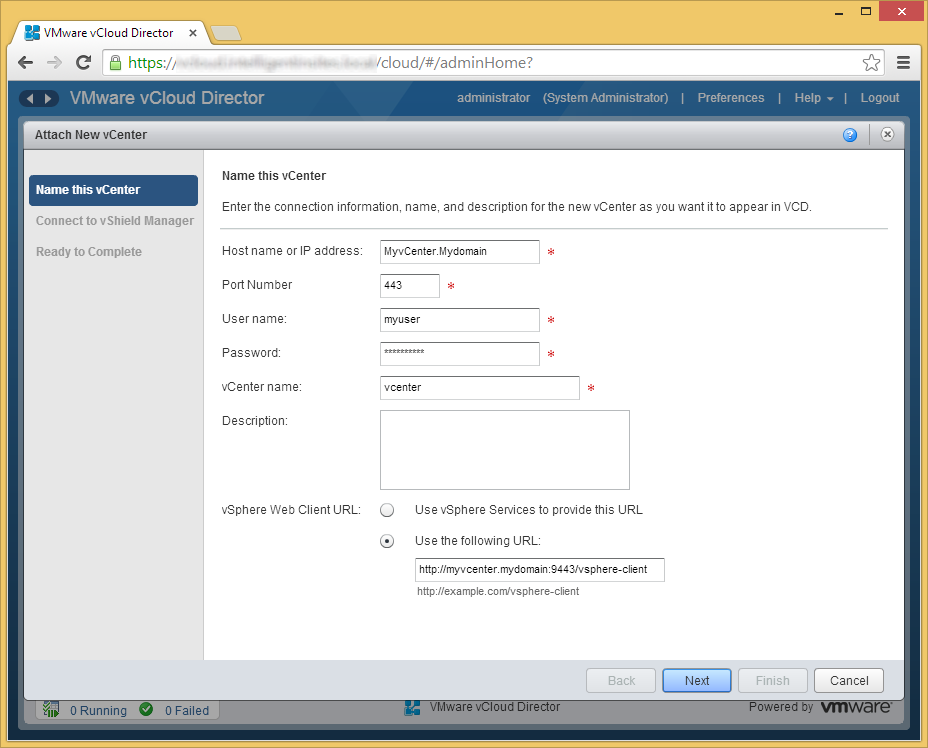
- Click on Attach a vCenter undernetth provision your Cloud resources...
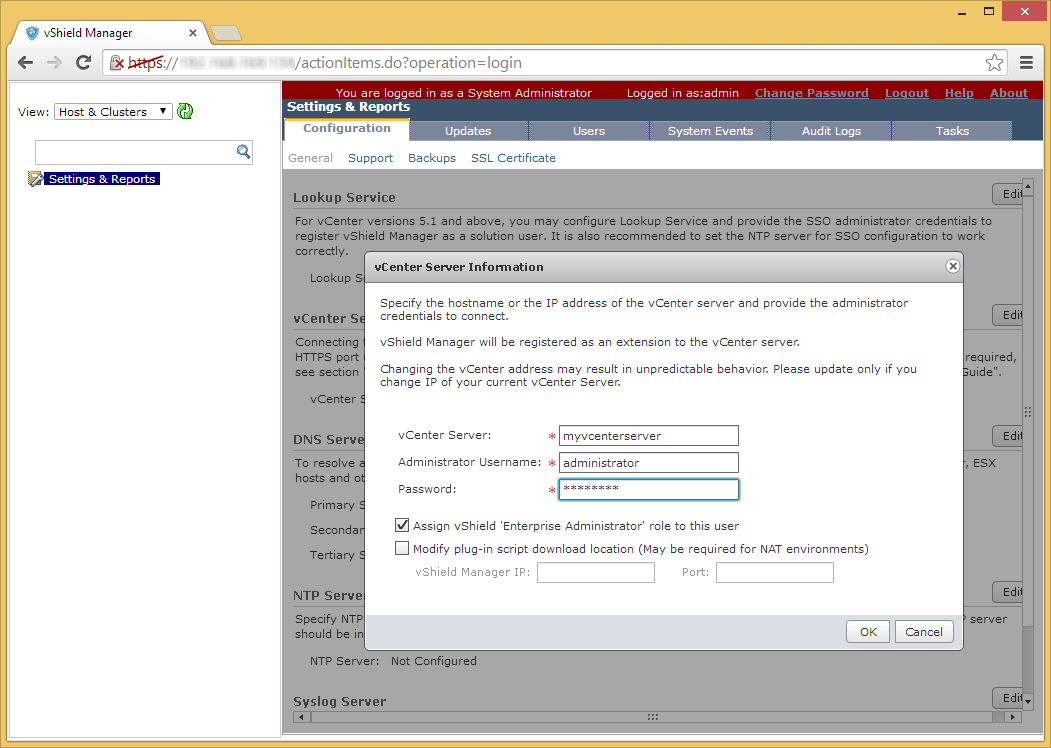
- Enter in your vCenter info and click Next
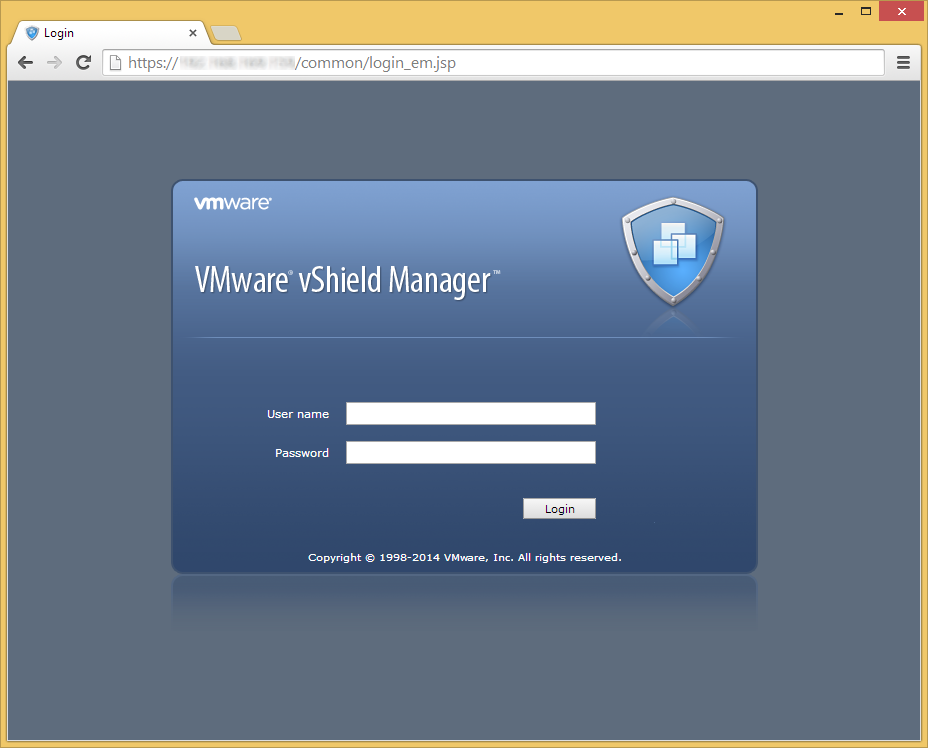
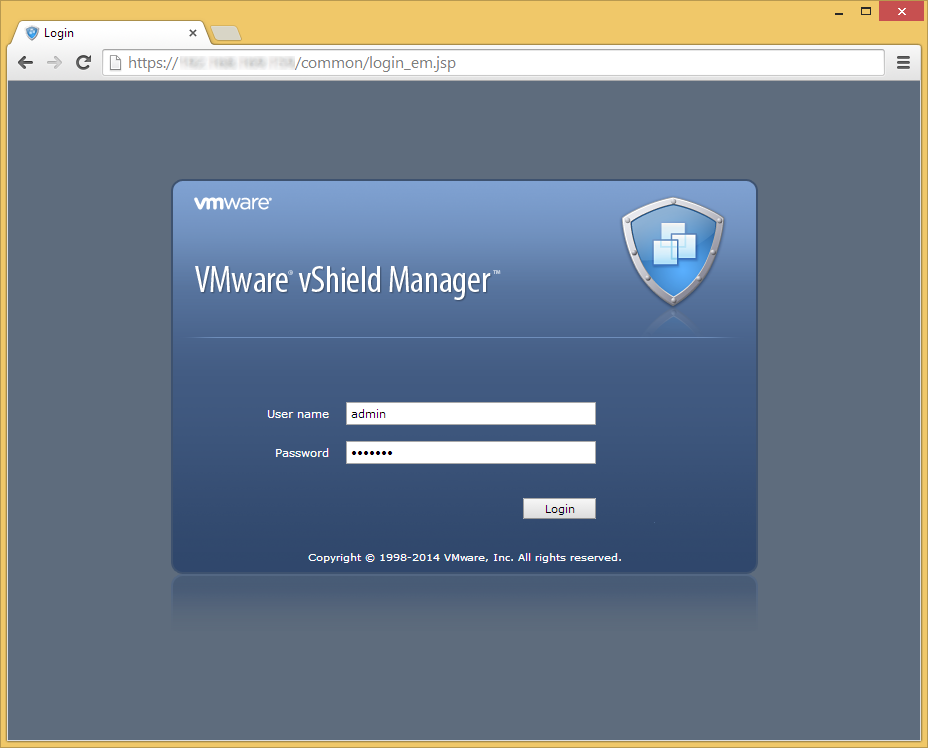
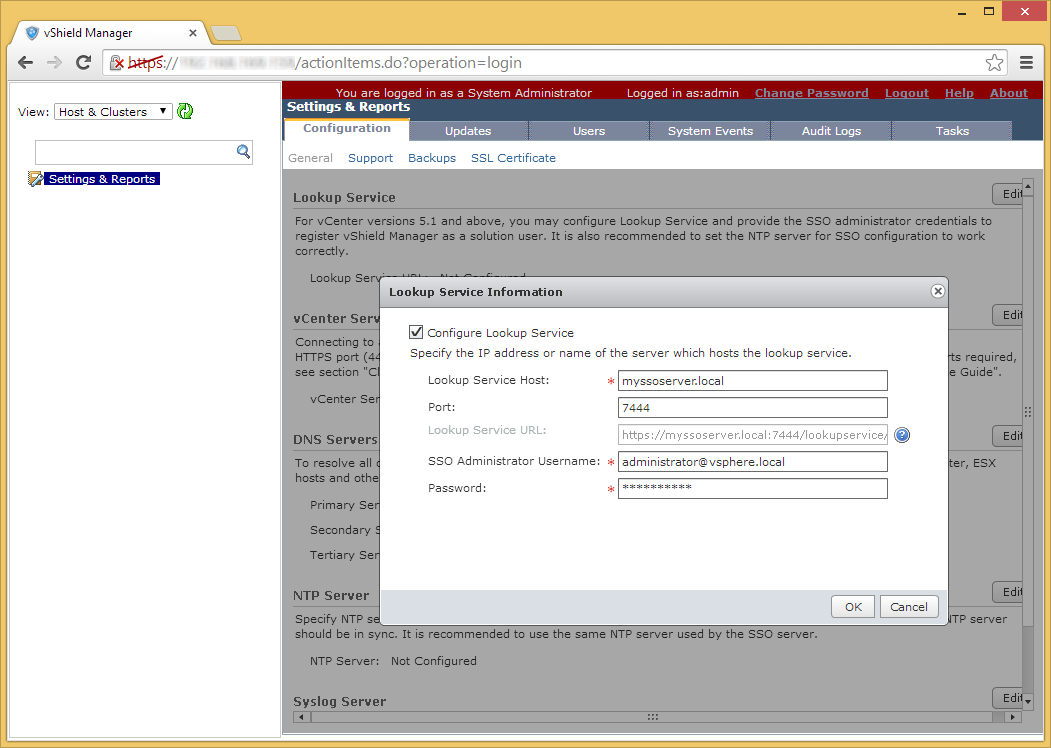
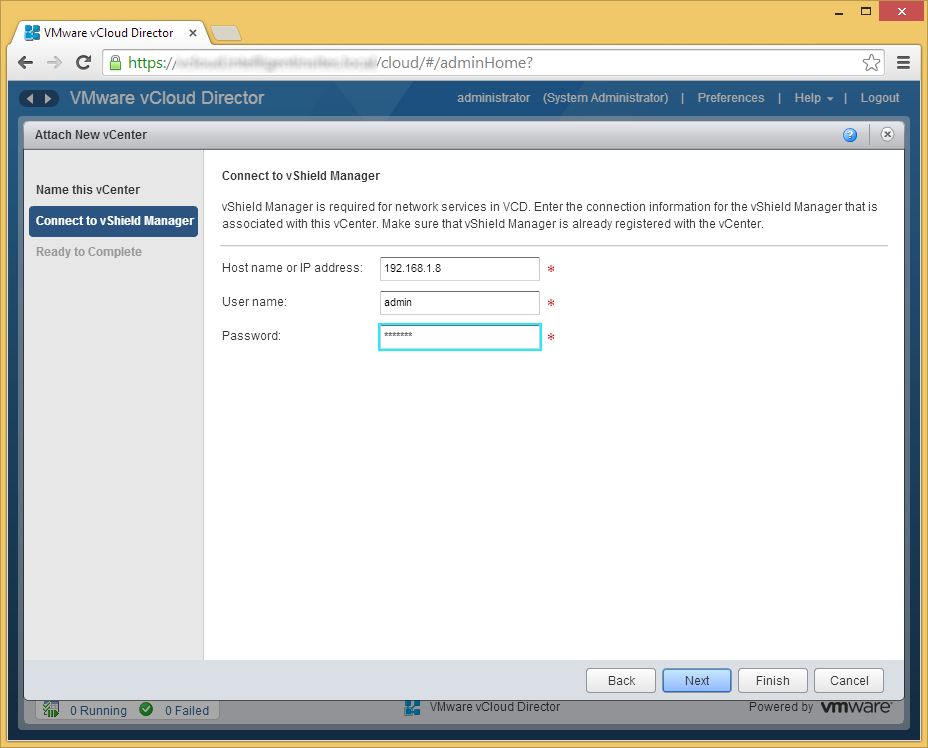
- Enter in the username and password to your vShield Manager instance and click Next
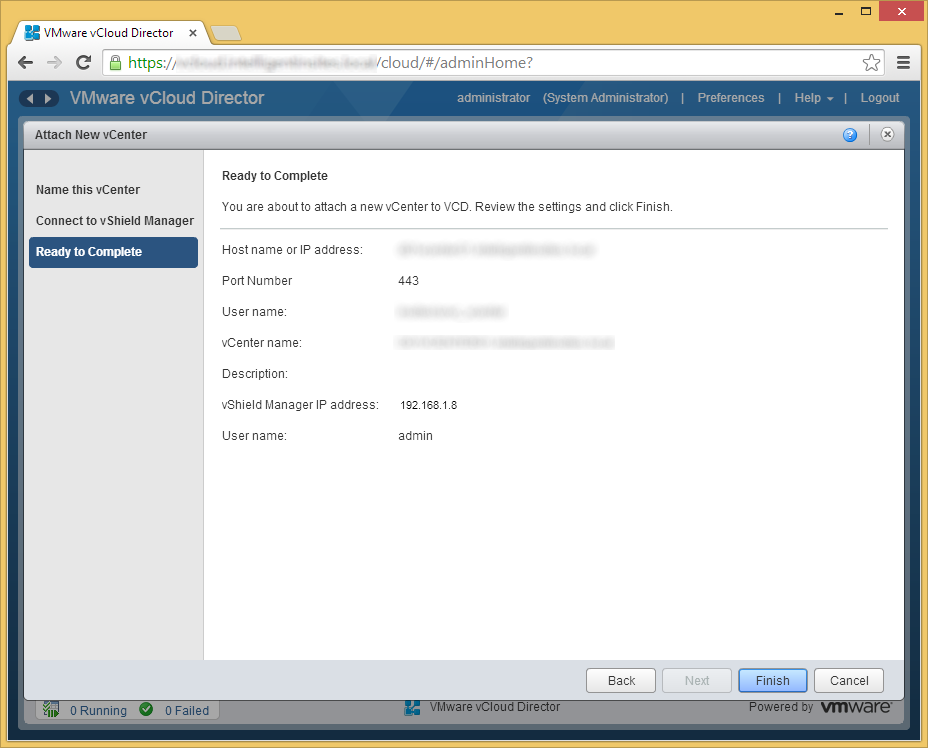
- Verify your settings and click Finish
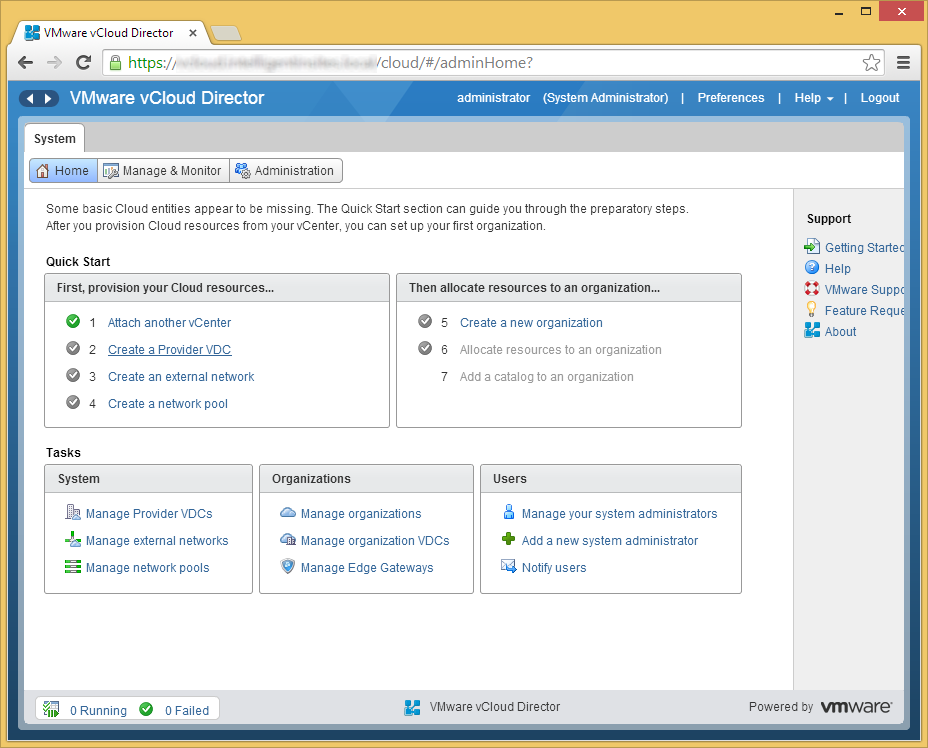
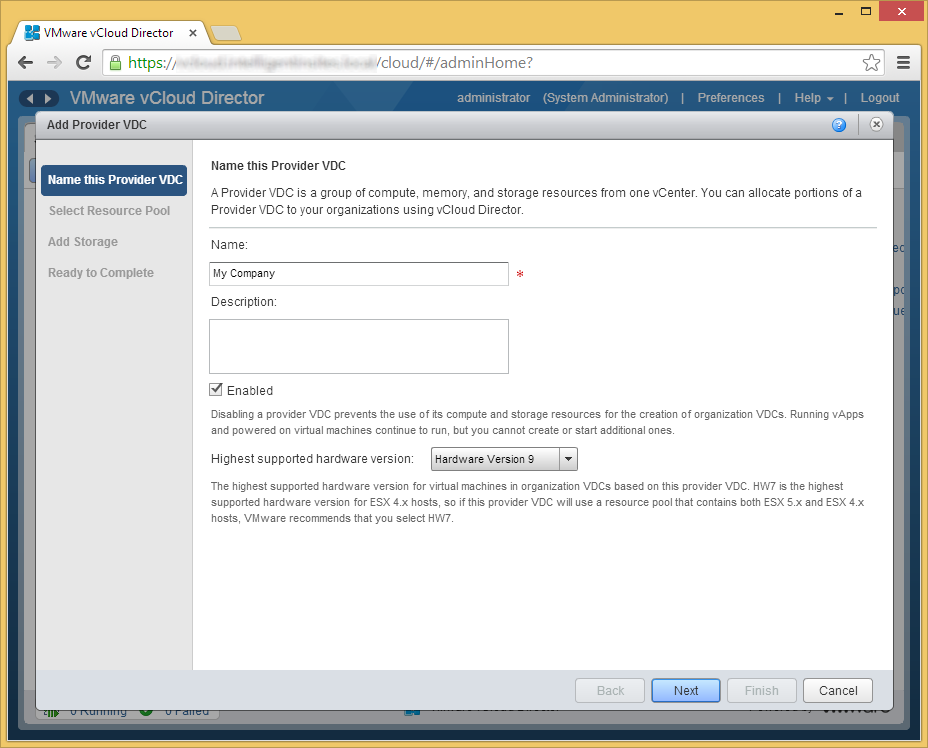
- Click on Step 2, Create a Provider VDC
- If you have different resource pools with different configurations, I would create a similar name for your vDC. In this example, I only have one resource pool containing all the resources in my environment, so I am going to name my vDC (Virtual Data Center) My Company. Click Next when ready to proceed.
- Additionally, you can select what supported hardware version you wish to use. As I have no ESX 4.x hosts, I am going to select Hardware version 9 as I have a newer environment.
- Note: Per VMware's website, here is the definition of a Provider vDC: A Provider vDC is a collection of compute, memory, and storage resources from one vCenter. A Provider vDC provides resources to organization vDCs.
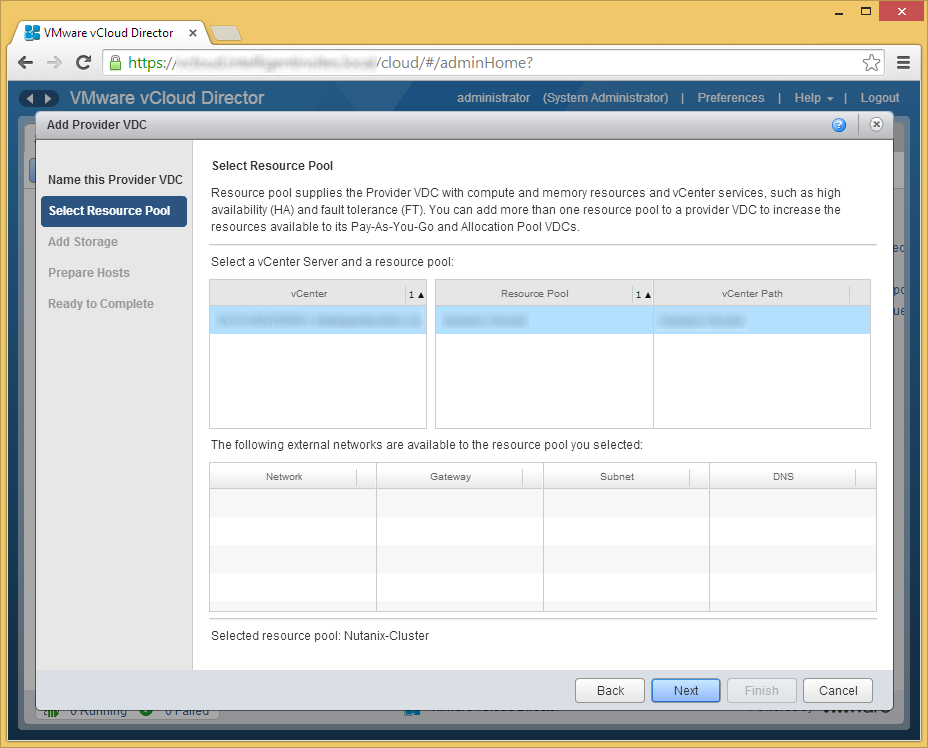
- Select a resource pool you wish to deploy the VMs to and click Next
- If you have a specific datastore or storage policy you wish to use for this vDC, select the Storage Policy/Datastore, click the Add button, and then click Next.

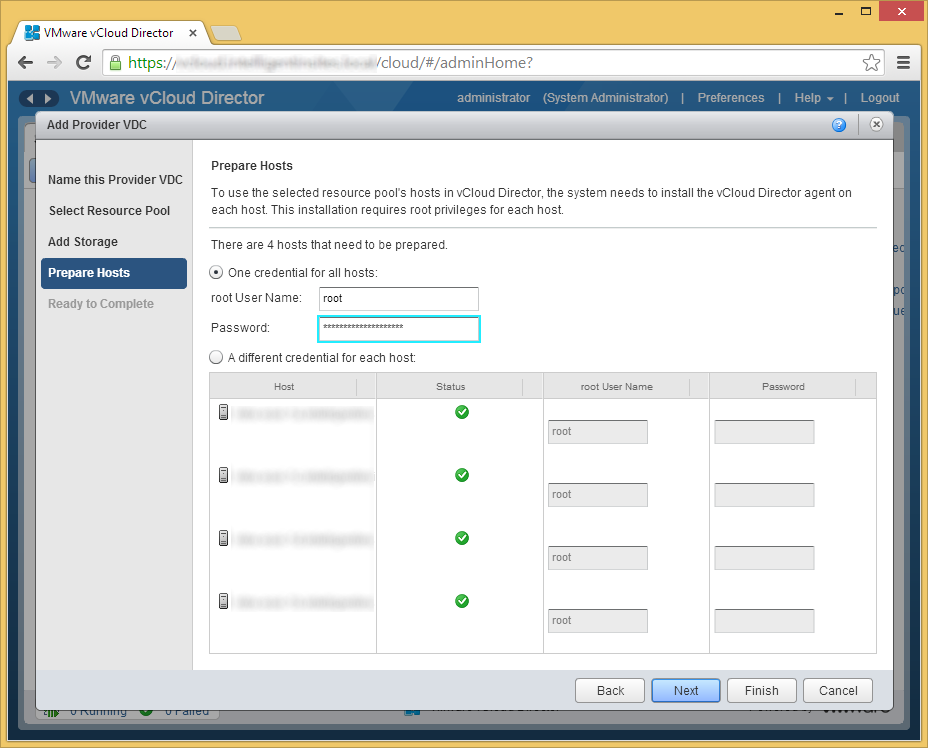
- Enter in the credentials to each of the hosts to deploy the vCloud Director agent. Once completed, click Next.
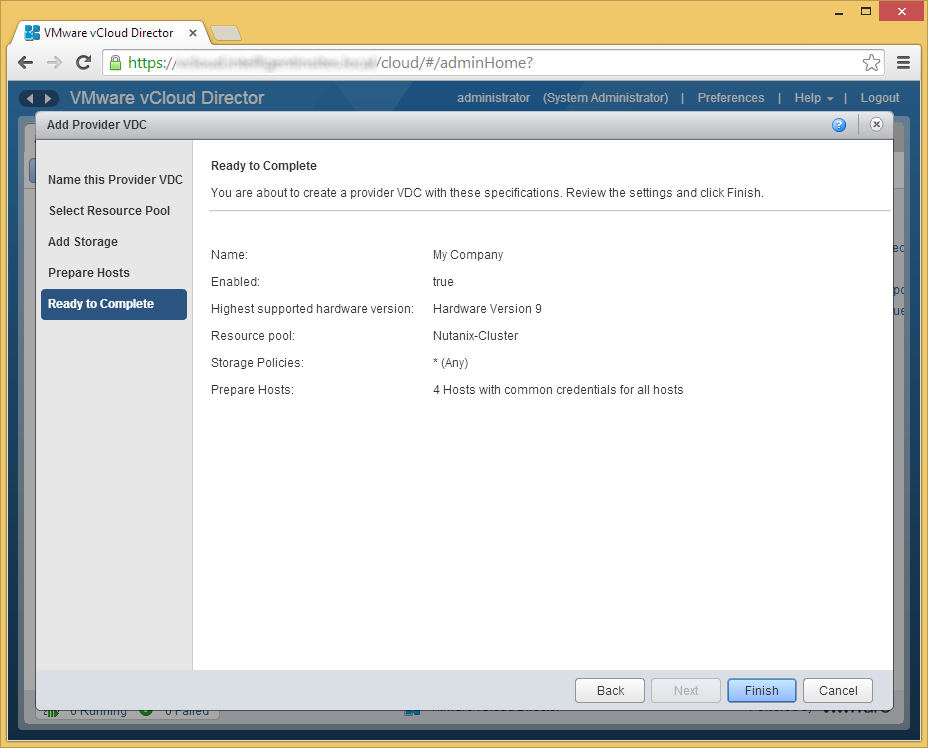
- Click Finish if the provided information looks correct
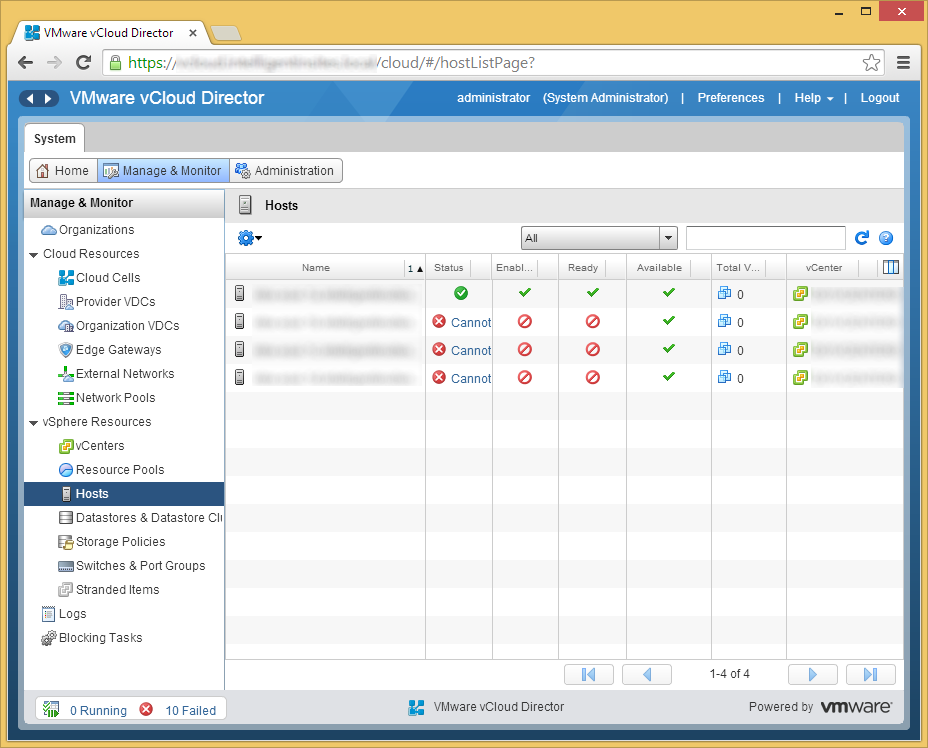
- Now, depending on your configuration, if you had other VMs deployed to this resource pool, you may receive an error stating that the machines cannot enter maintennace mode. The reason behind this is that DRS is preventing the hosts from entering maintnenace mode because DRS cannot move the VMs around to achieve High Availablity.
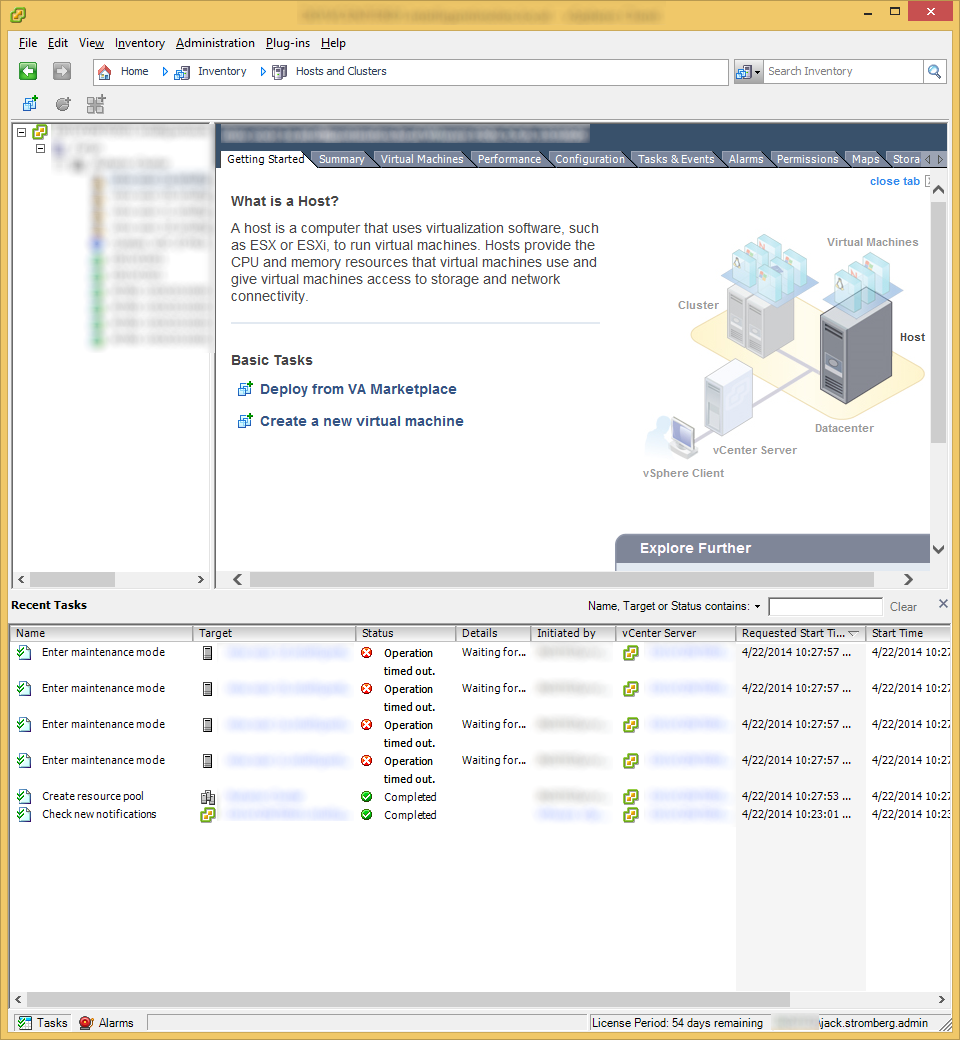
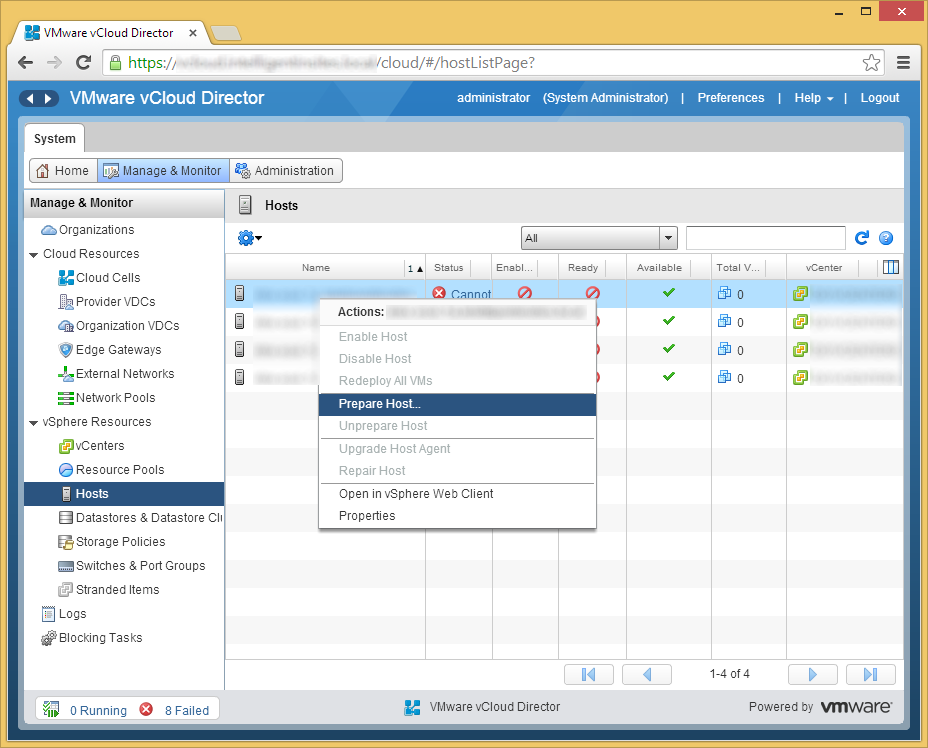
- If you see this behavior, you will have to manually deploy the vCloud Director agents to the hosts. To do this, click on the Manage & Monitor tab inside of vCloud Director.
- Select Hosts
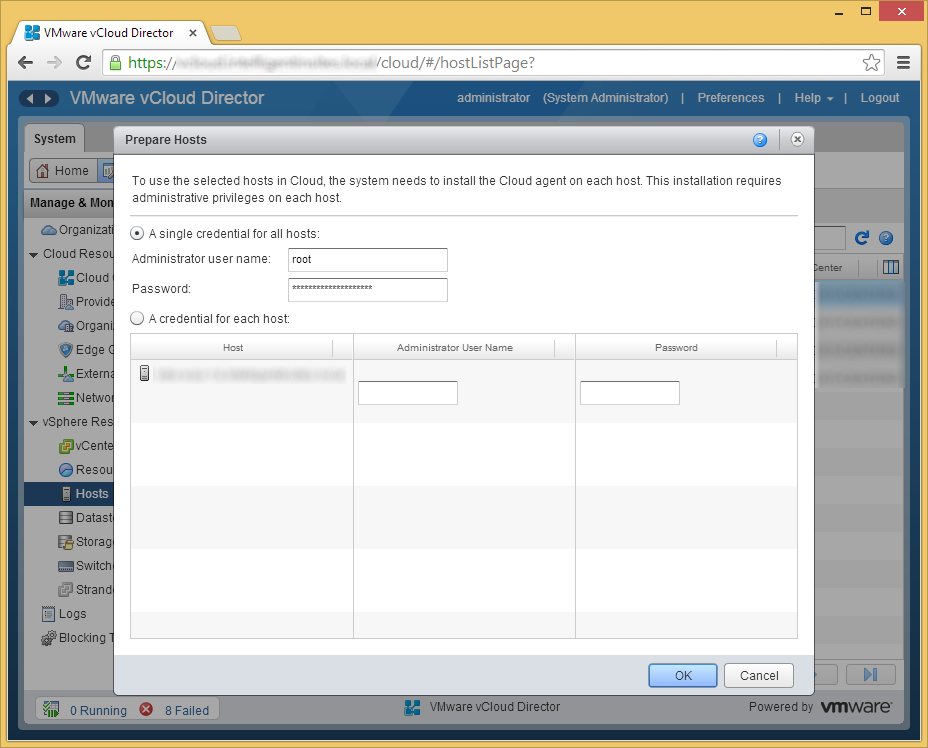
- Right click on one of the hosts and select Prepare Host...
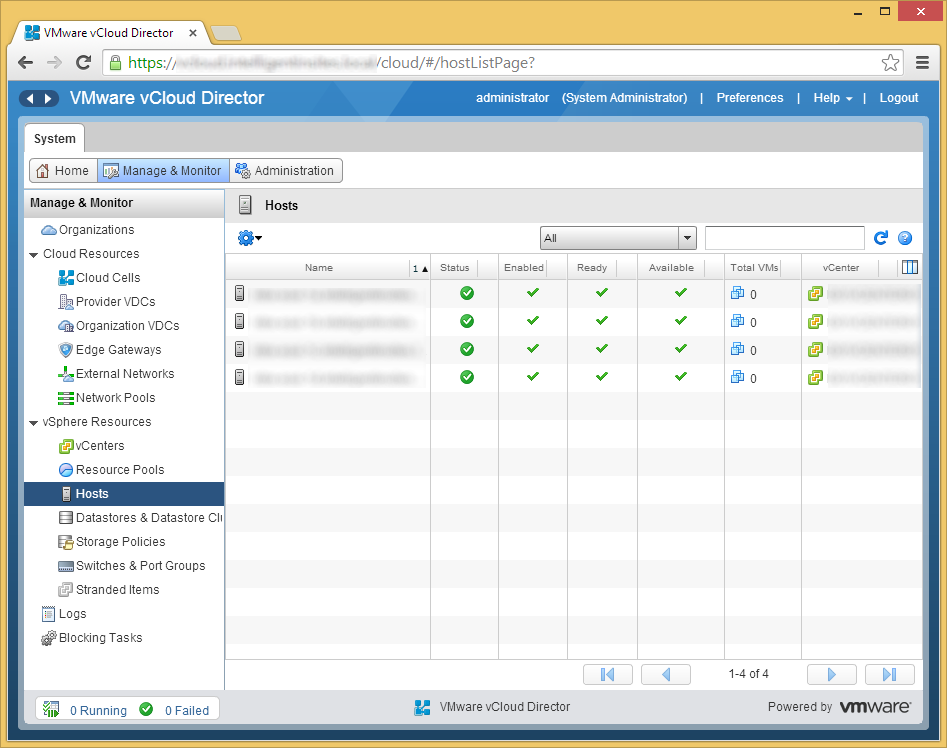
- Enter the username and password to the host and click OK
- Repeat this process for the other hosts in your cluster (you can select multiple hosts at a time. Now that we have at least one host available, we can failover a few VMs via)
- If you see this behavior, you will have to manually deploy the vCloud Director agents to the hosts. To do this, click on the Manage & Monitor tab inside of vCloud Director.
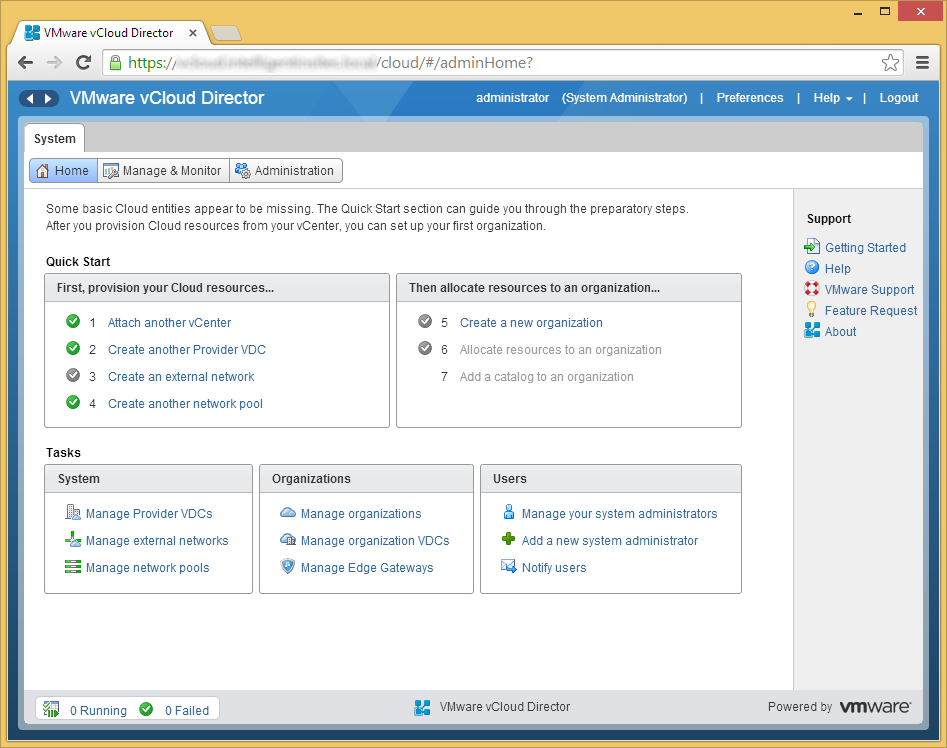
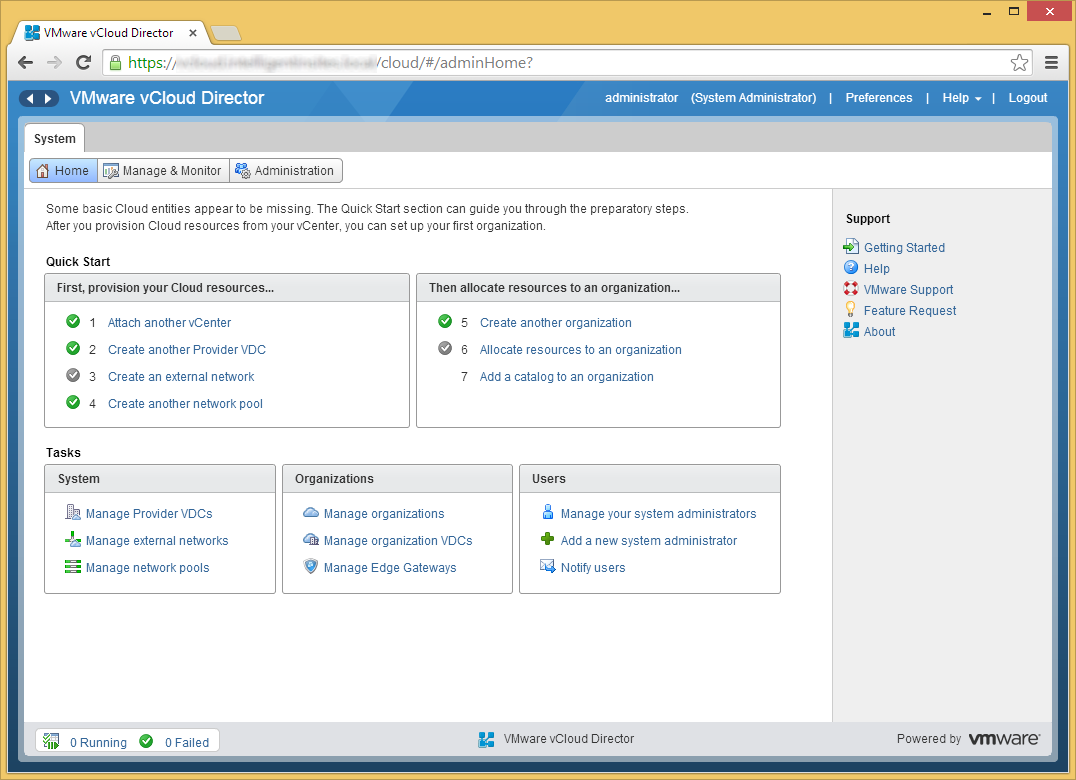
- Click on the Home tab and then click on the Create a new organization link
- Enter in your organization information and click Next
- The Organization name is simply a code used to generate a short url to identify the organization. Only letters and numbers are accepted in this field.
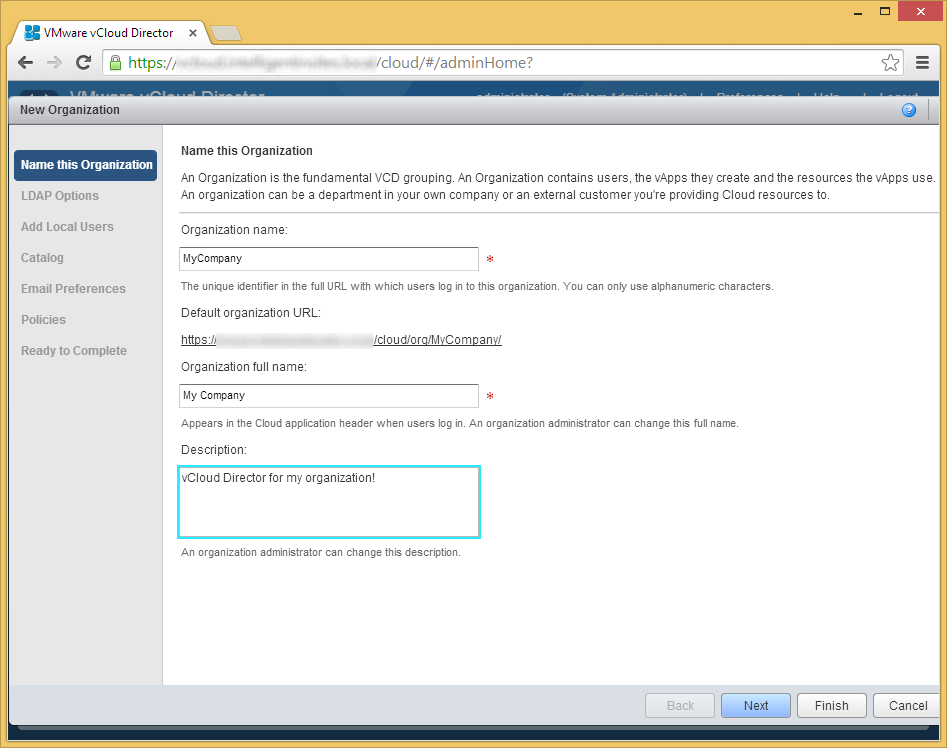
- The Organization name is simply a code used to generate a short url to identify the organization. Only letters and numbers are accepted in this field.
- Optionally select whether you want to use LDAP to provide access to vCloud Director and then click Next.

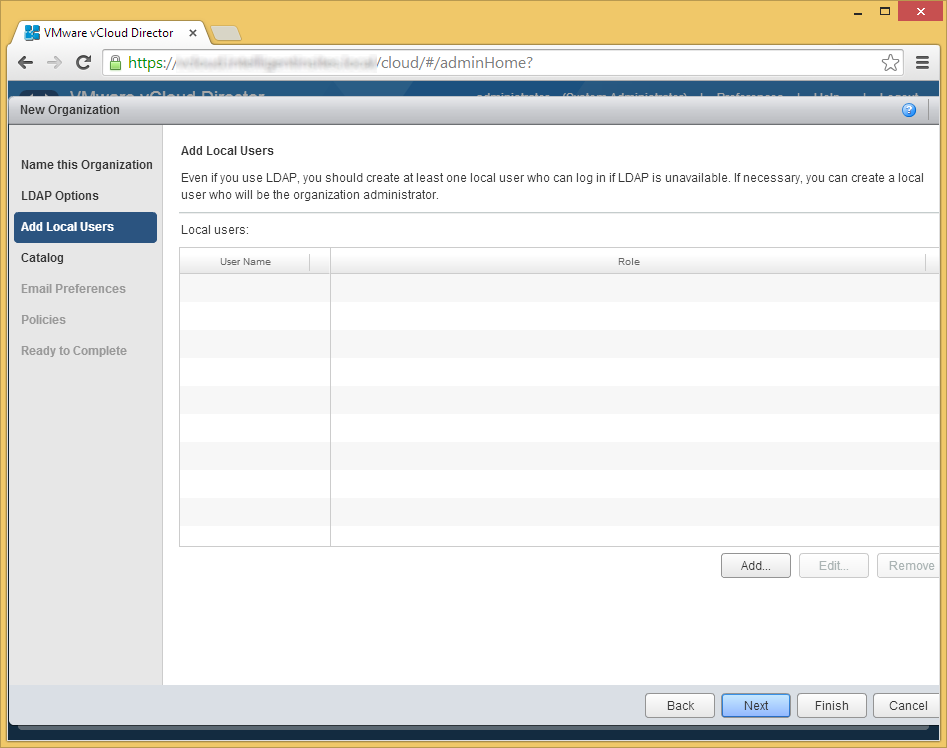
- On the Add Local Users page, click Add to add virtual vCloud Users (non-ldap). Click Next once you have added the users of your choice or click Next if you want to add users later.
- On the Catalog page, select whether or not you want to allow sharing/publishing between organizations. In this case, just click Next.
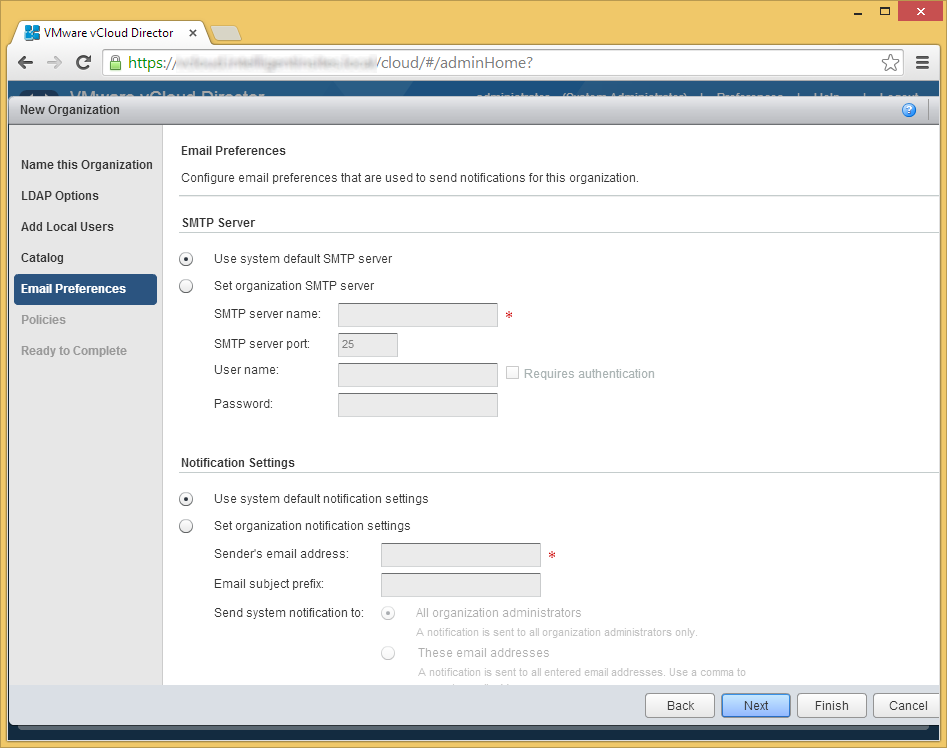
(oops, no picture for this one 🙁 ) - On the Email Preferences page, click Next
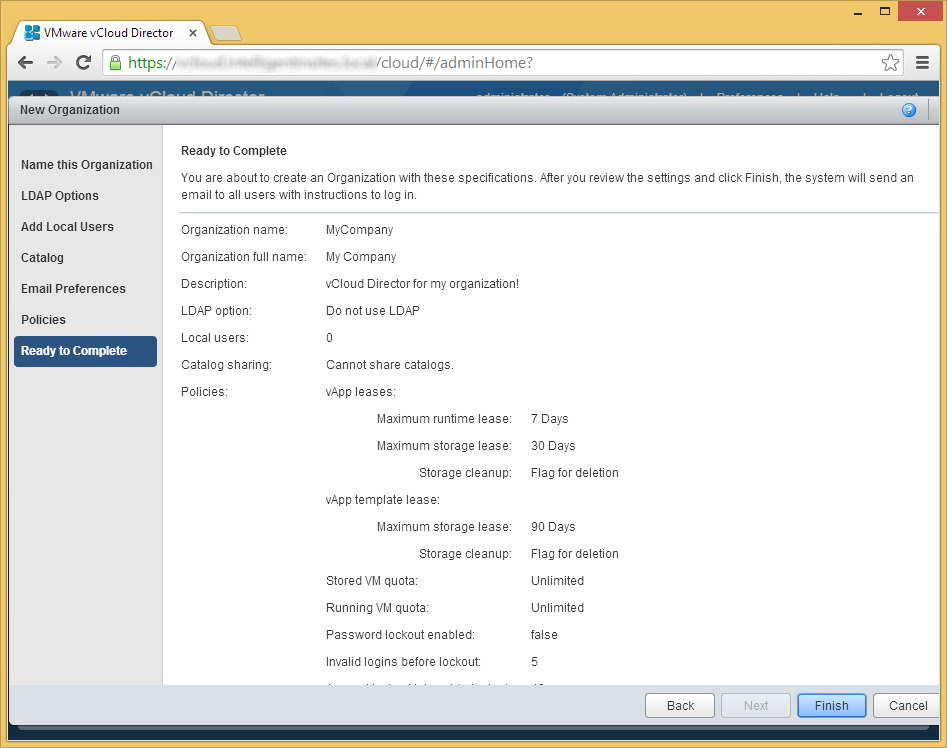
- Configure the policies to your liking. In this case I am going to leave things with their default settings and click Next
(Oops, no picture for this one 🙁 ) - Click Finish
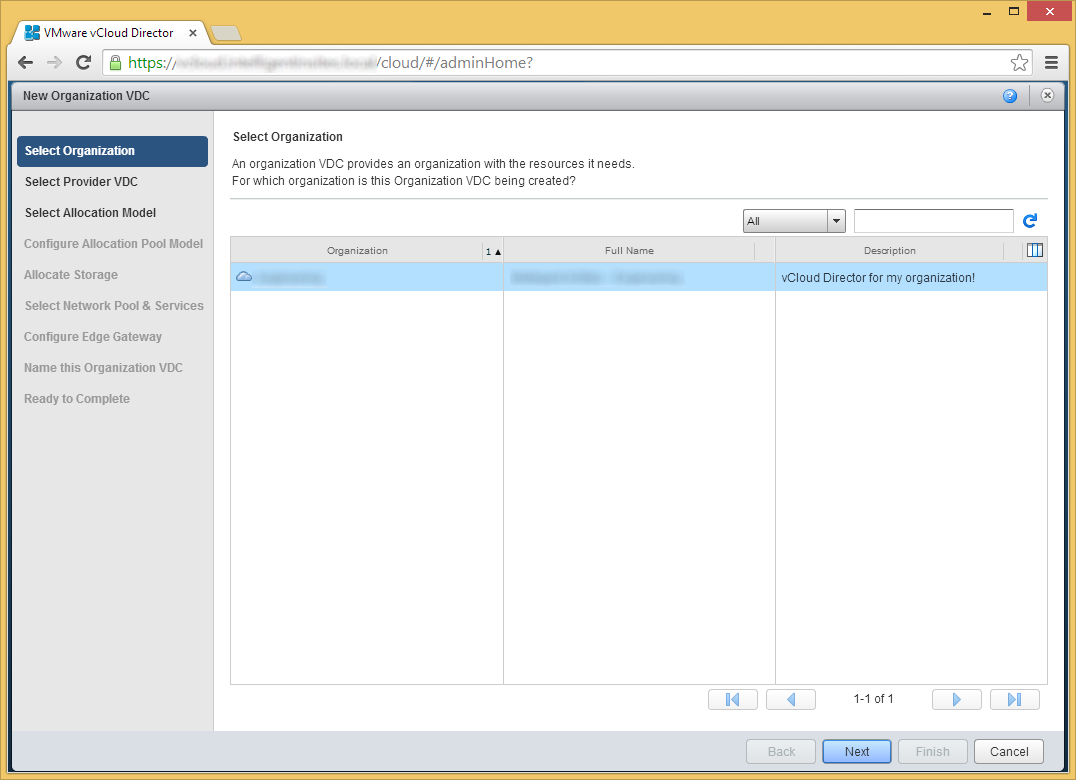
- Click on Step 6 Allocate resources to an organization
- Select the Organization you created and click Next
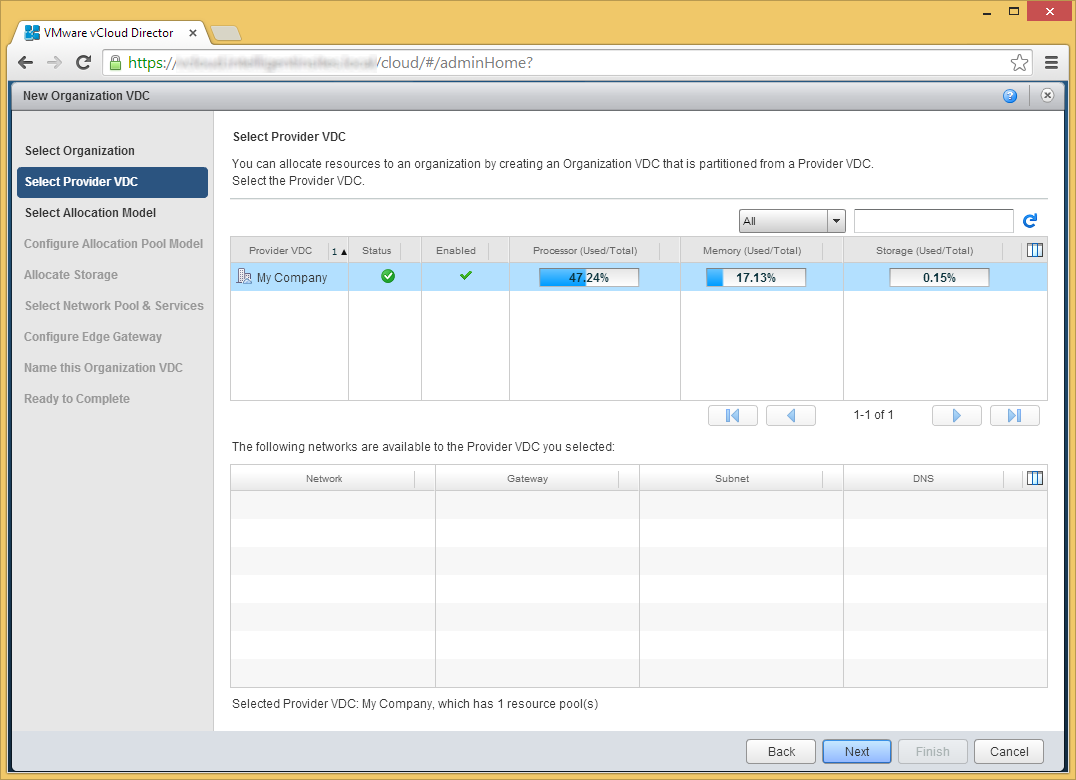
- Select your Provider VDC and click Next
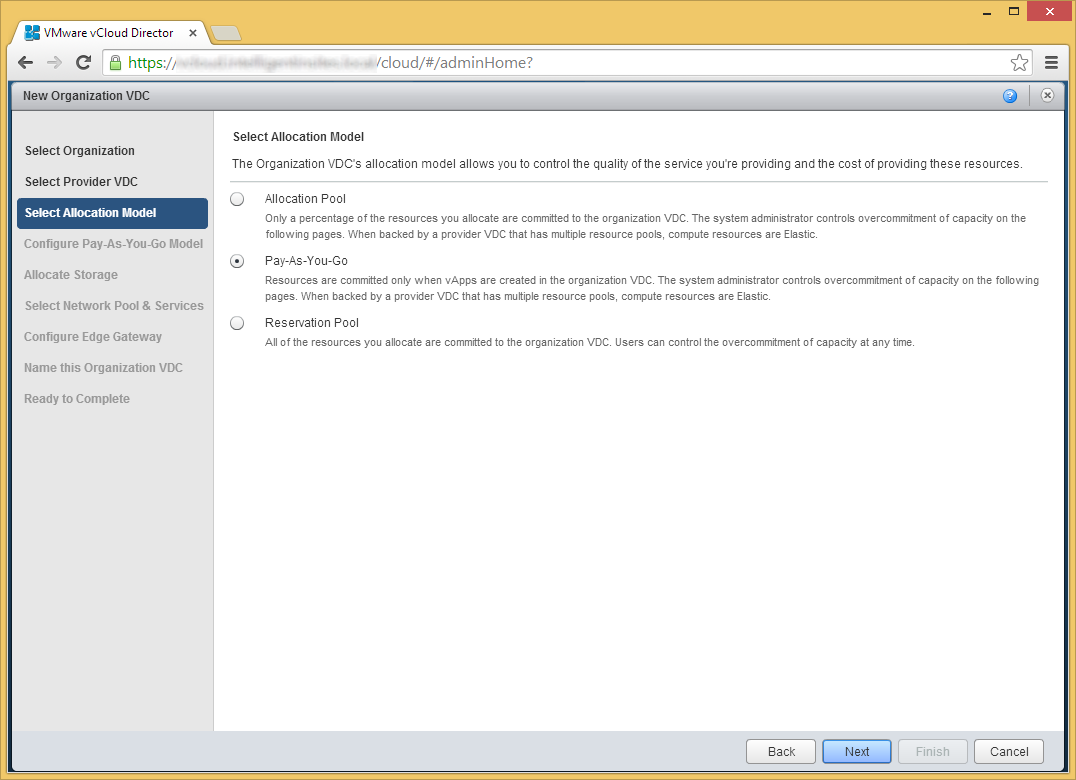
- Select the allocation model you choose to best fit your organization. In this case, I am going to use Pay-As-You-Go to only allocate used resources. Click Next.
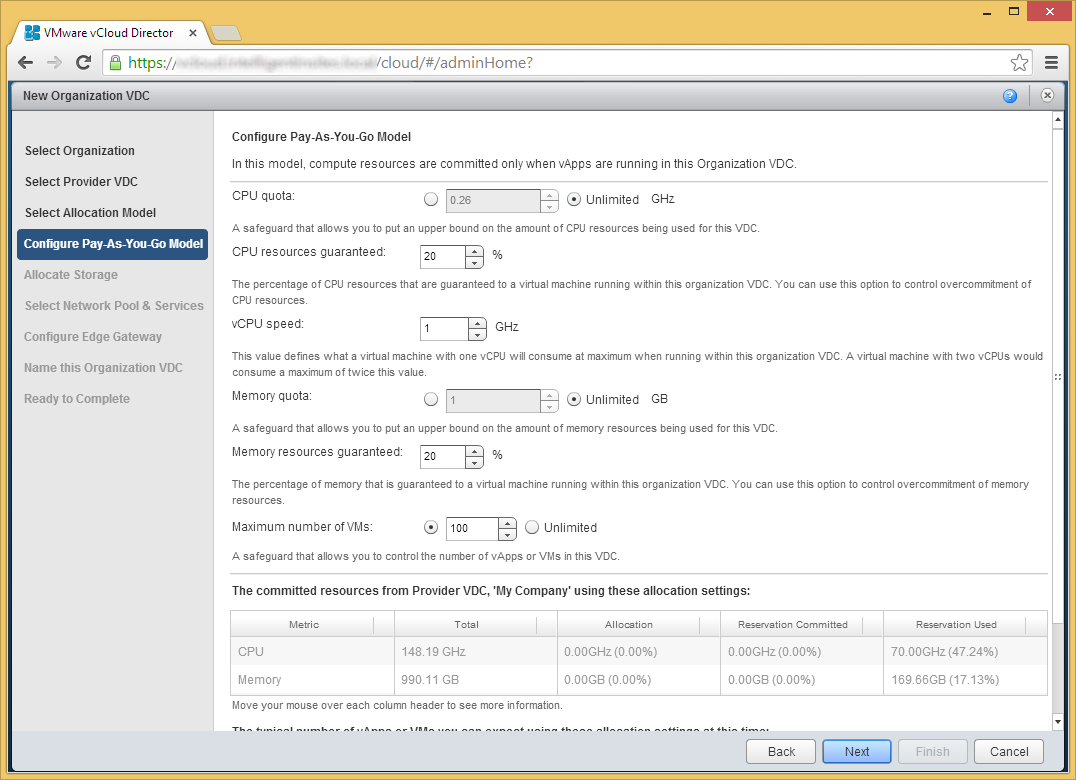
- Choose you you want to configure your allocation model from the previous step and click Next.
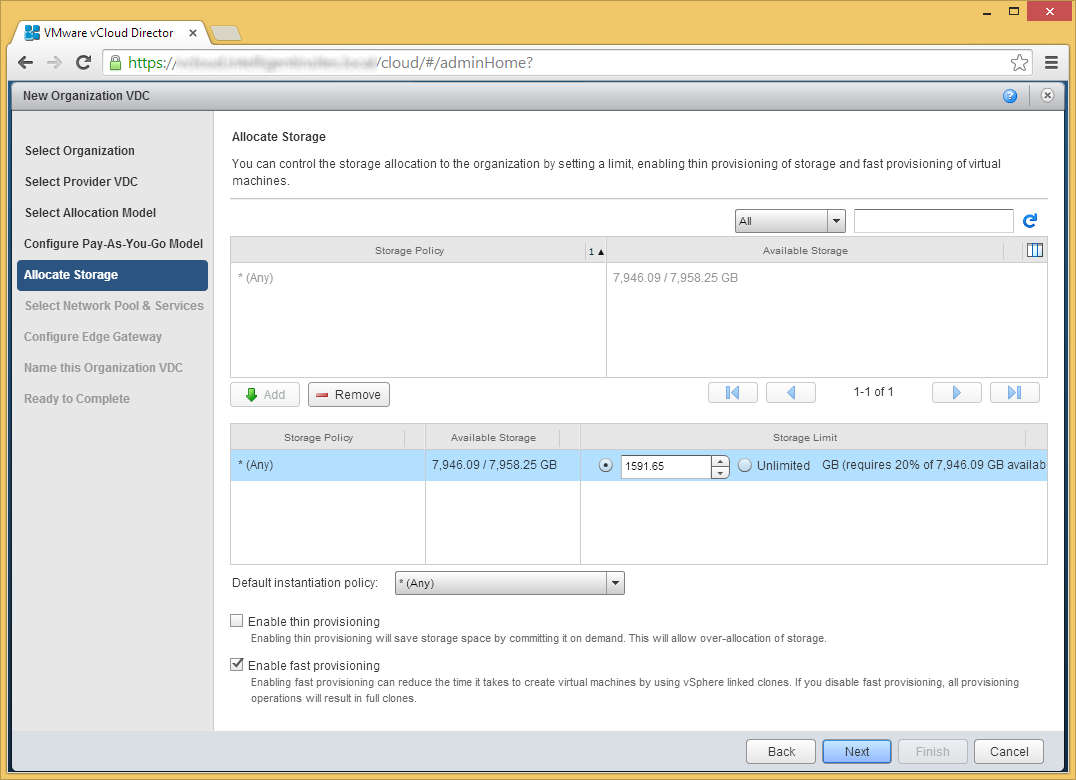
- Select the storage you want to use, click Add, and then click Next
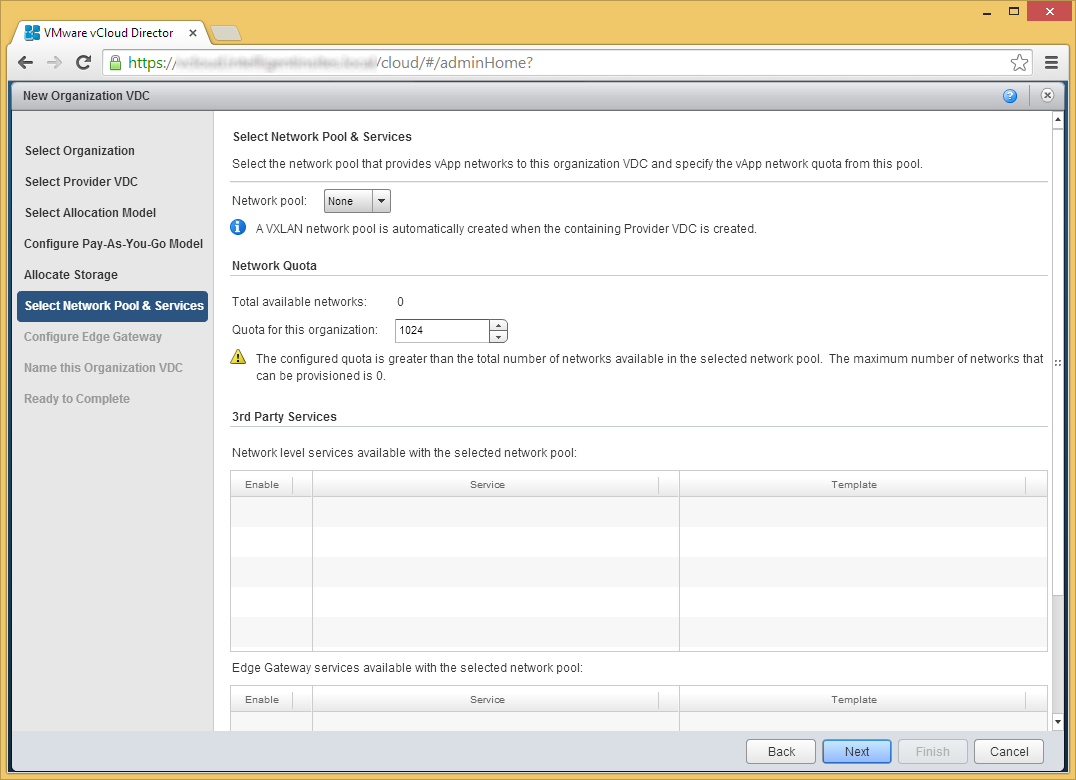
- Click Next on the Select Network Pool & Services page
- Click Next if you don't need an edge gateway to an external network
- An edge gateway is needed to provide access to other internal and external (internet) networks.
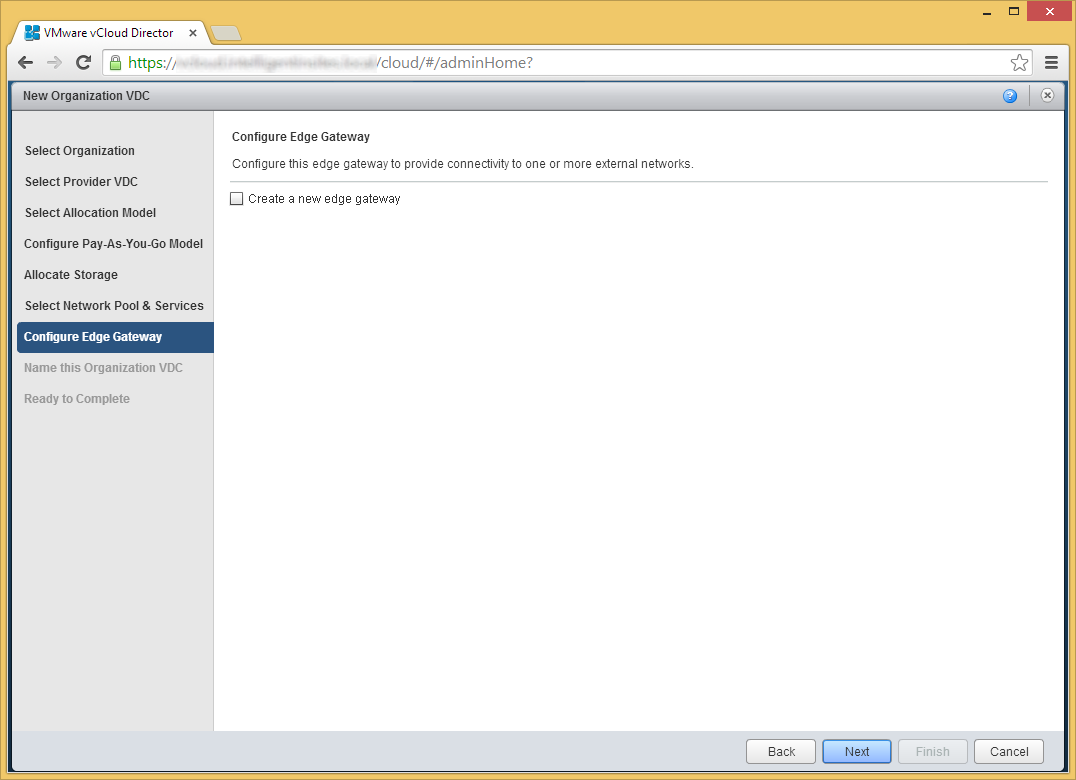
- An edge gateway is needed to provide access to other internal and external (internet) networks.
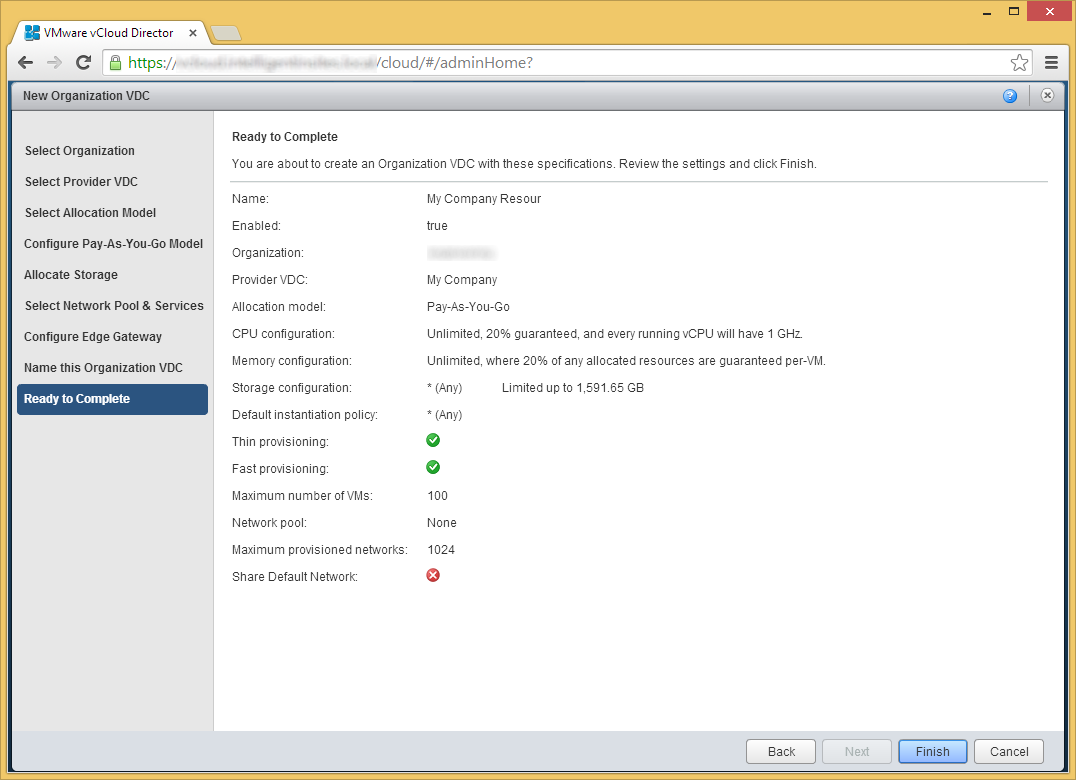
- Enter a name for the new Organization VDC and click Next
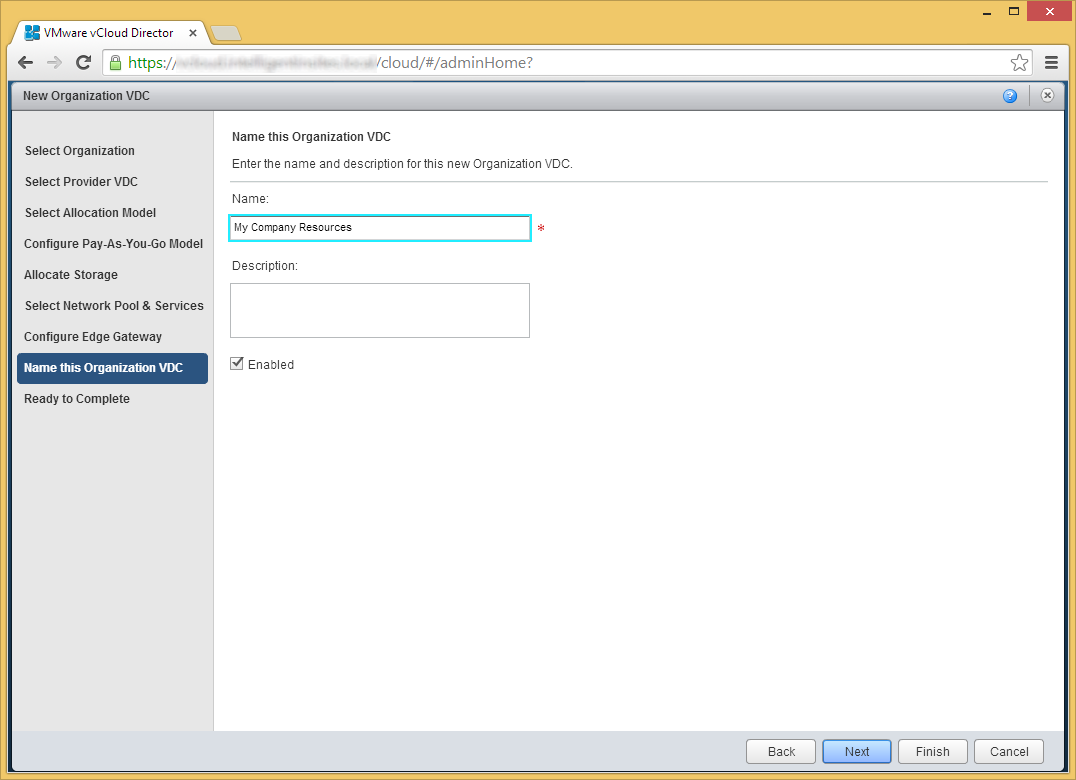
- Click Finish
At this point you should be able to publish a catalog or create a new VM from scratch in a completely isolated environment. You can add an external network or utilize a VXLAN with additional configurations to begin to connect your network to an outside world.
Hope this helps!