Use Case:
This guide will go over configuring Fiddler to intercept traffic from mobile devices for debugging purposes. This scenario can be beneficial in tracing/debugging SAML tokens issued from your IdP for a mobile application to consume. We will be able to validate all traffic flowing in/from the Android device.
Configuring/Setting up Fiddler:
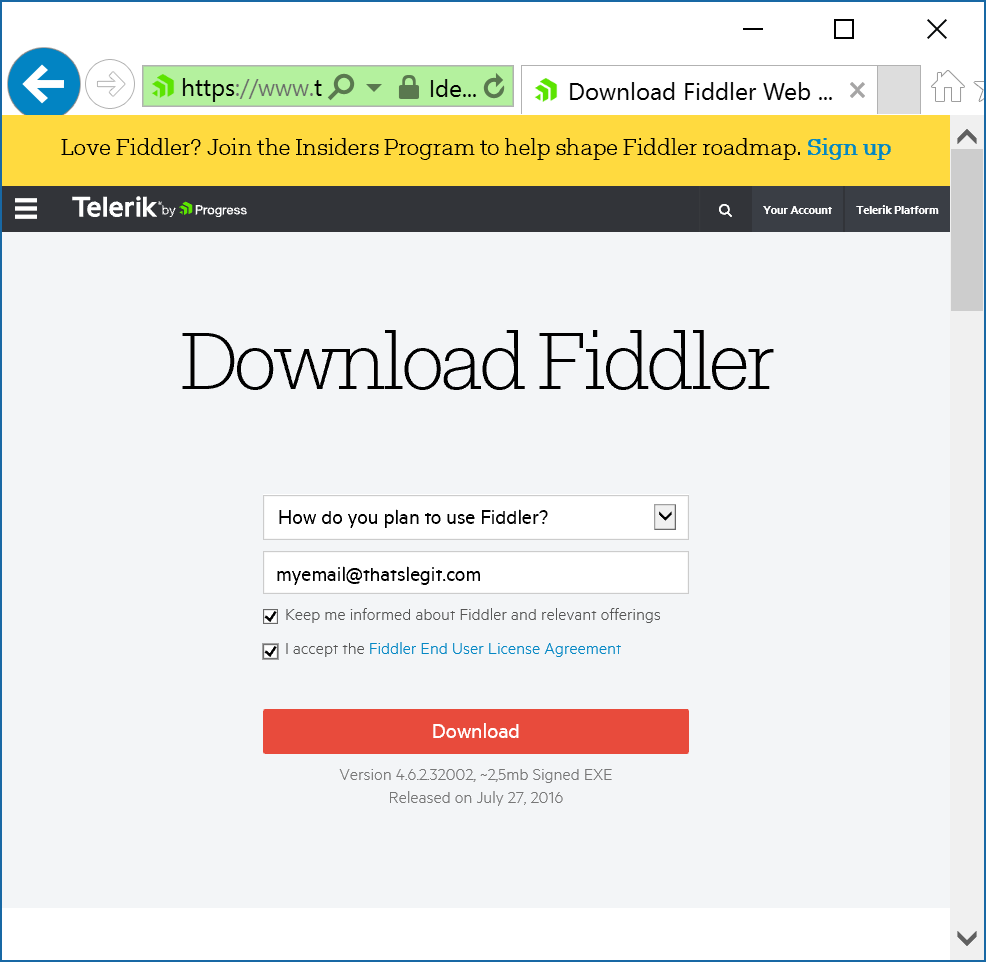
- Grab the latest copy of Fiddler from their website for Windows (it is a free download)
- Install Fiddler on your local machine
- Double click fiddlersetup.exe
- Agree to the End User License Agreement

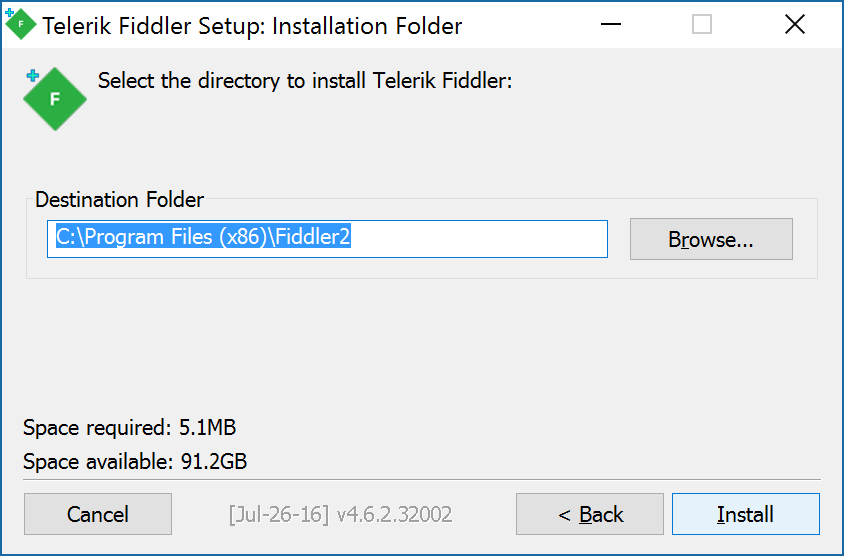
- Set the installation directory and click Install
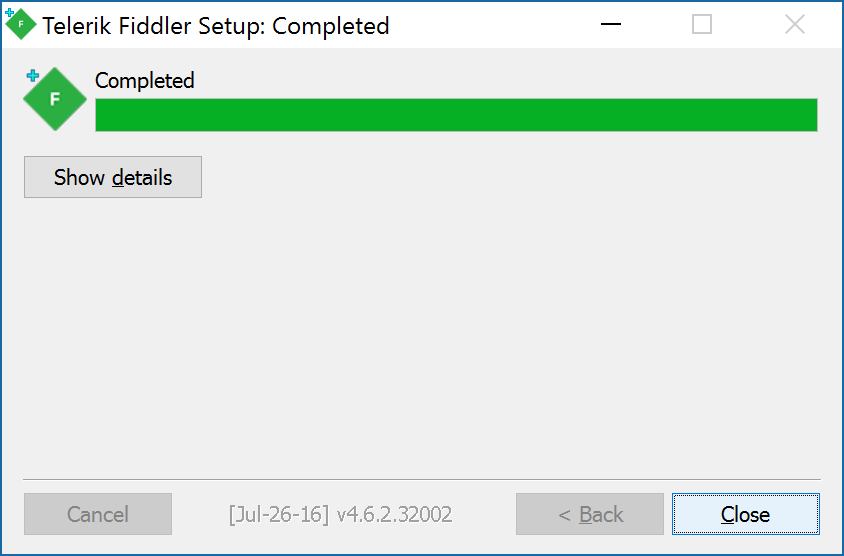
- Close the setup wizard
- Double click fiddlersetup.exe
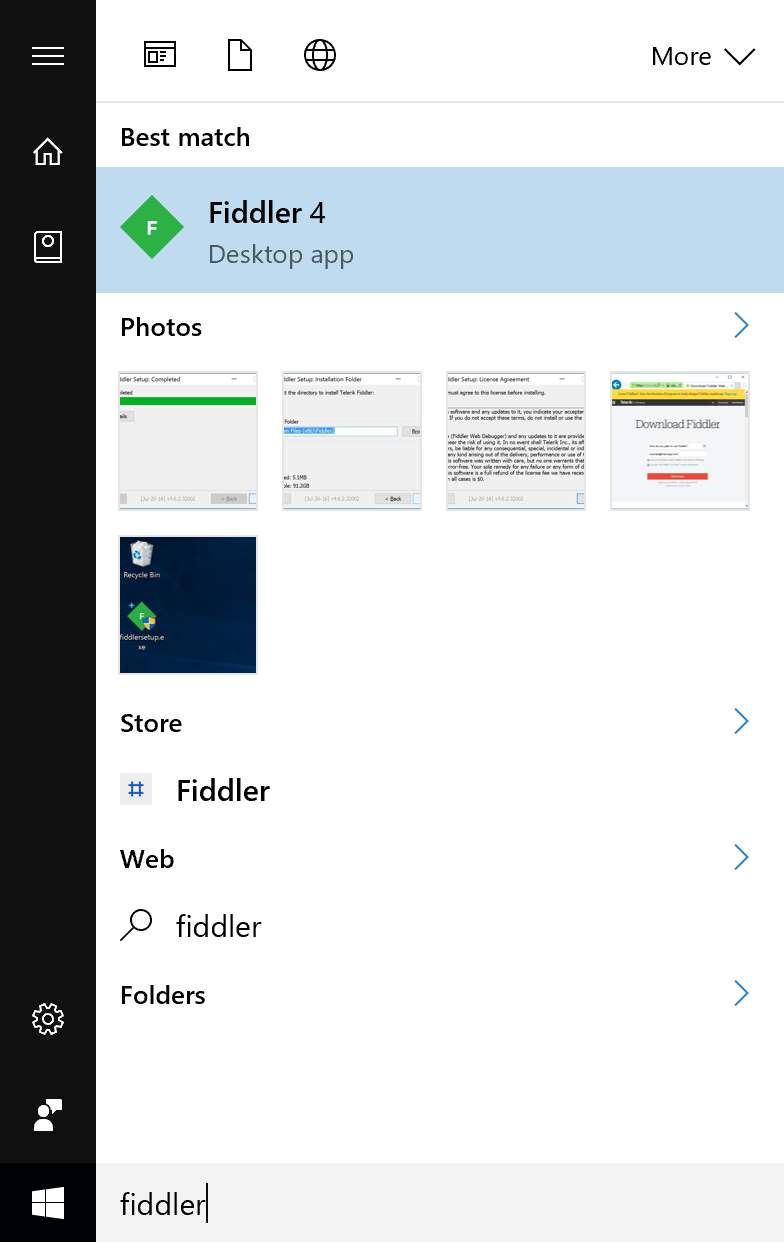
- Launch Fiddler
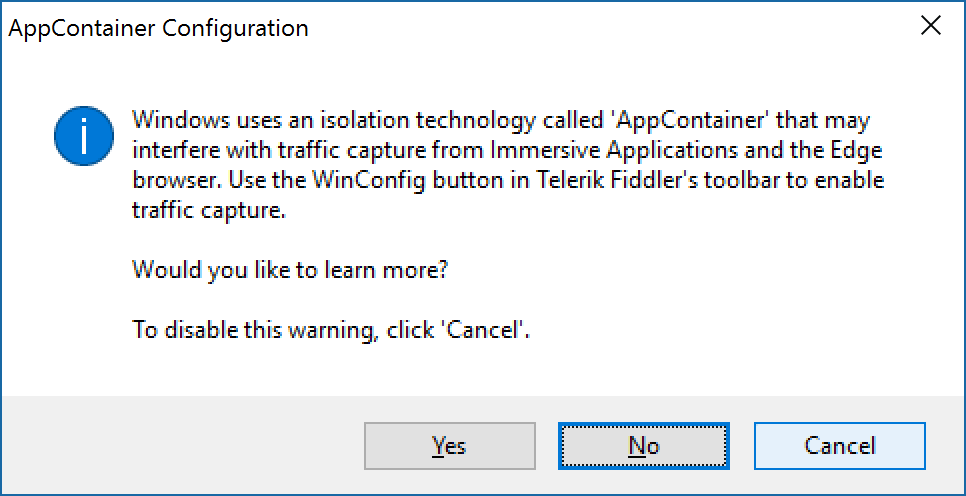
- Click Cancel if prompted about AppContainers
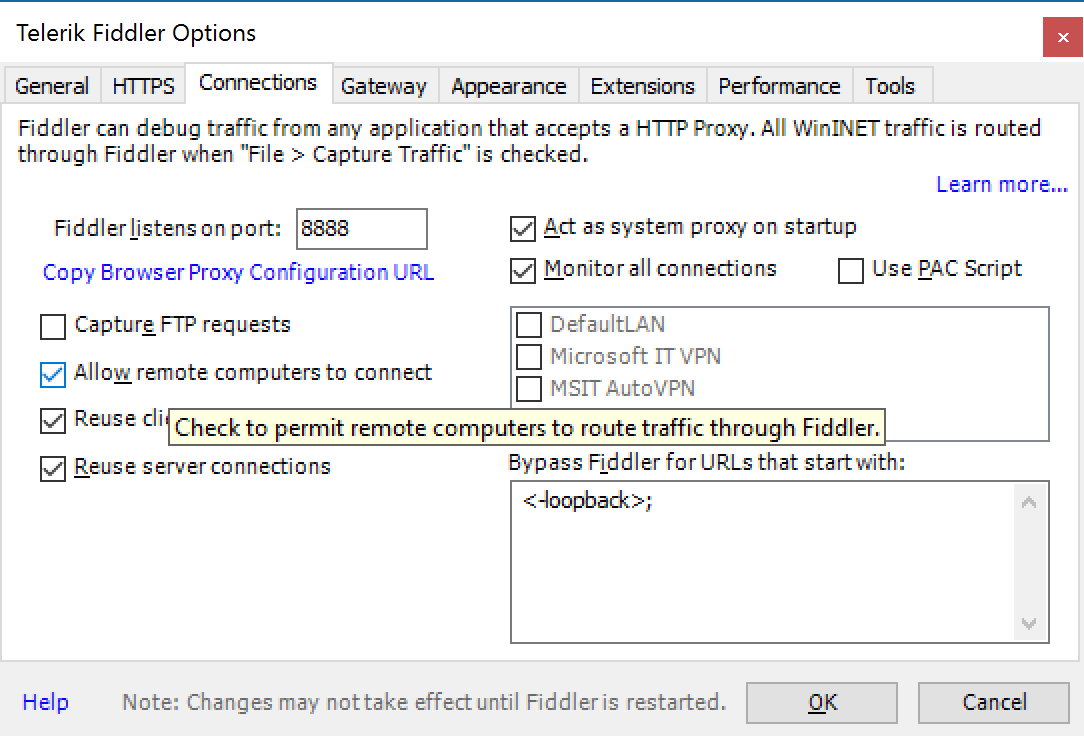
- With Fiddler open click on Tools -> Telerik Fiddler Options...

- Click on the Connections tab and check Allow remote computers to connect
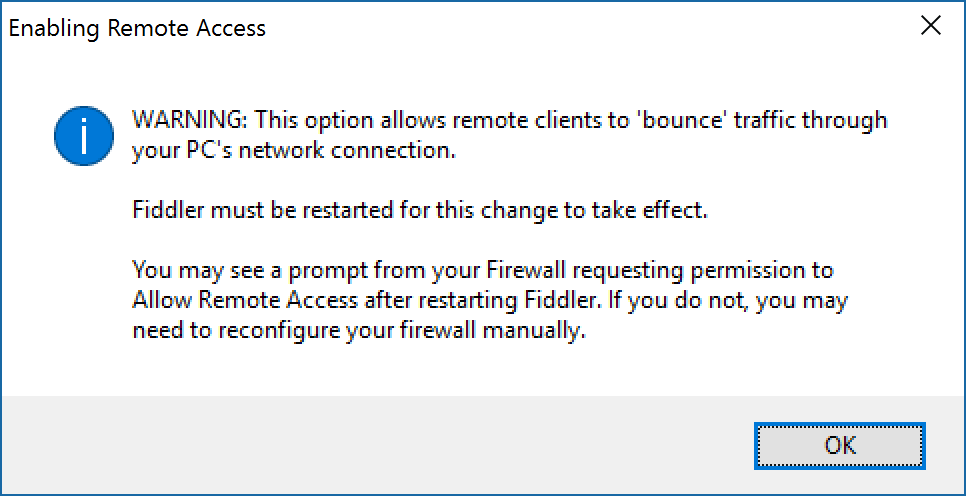
- You will receive a dialog box saying it will need to restart. Click OK and close out of Fiddler
- Once you relaunch Fiddler, click on the down arrow (if shown) and hover over the Online icon

At this point, Fiddler is configured properly, let's shift over to your mobile device. We'll shift gears to configuring the Android device to push traffic to Fiddler.
Configuring an Android device
(Android v6.0.1 at the time of writing)
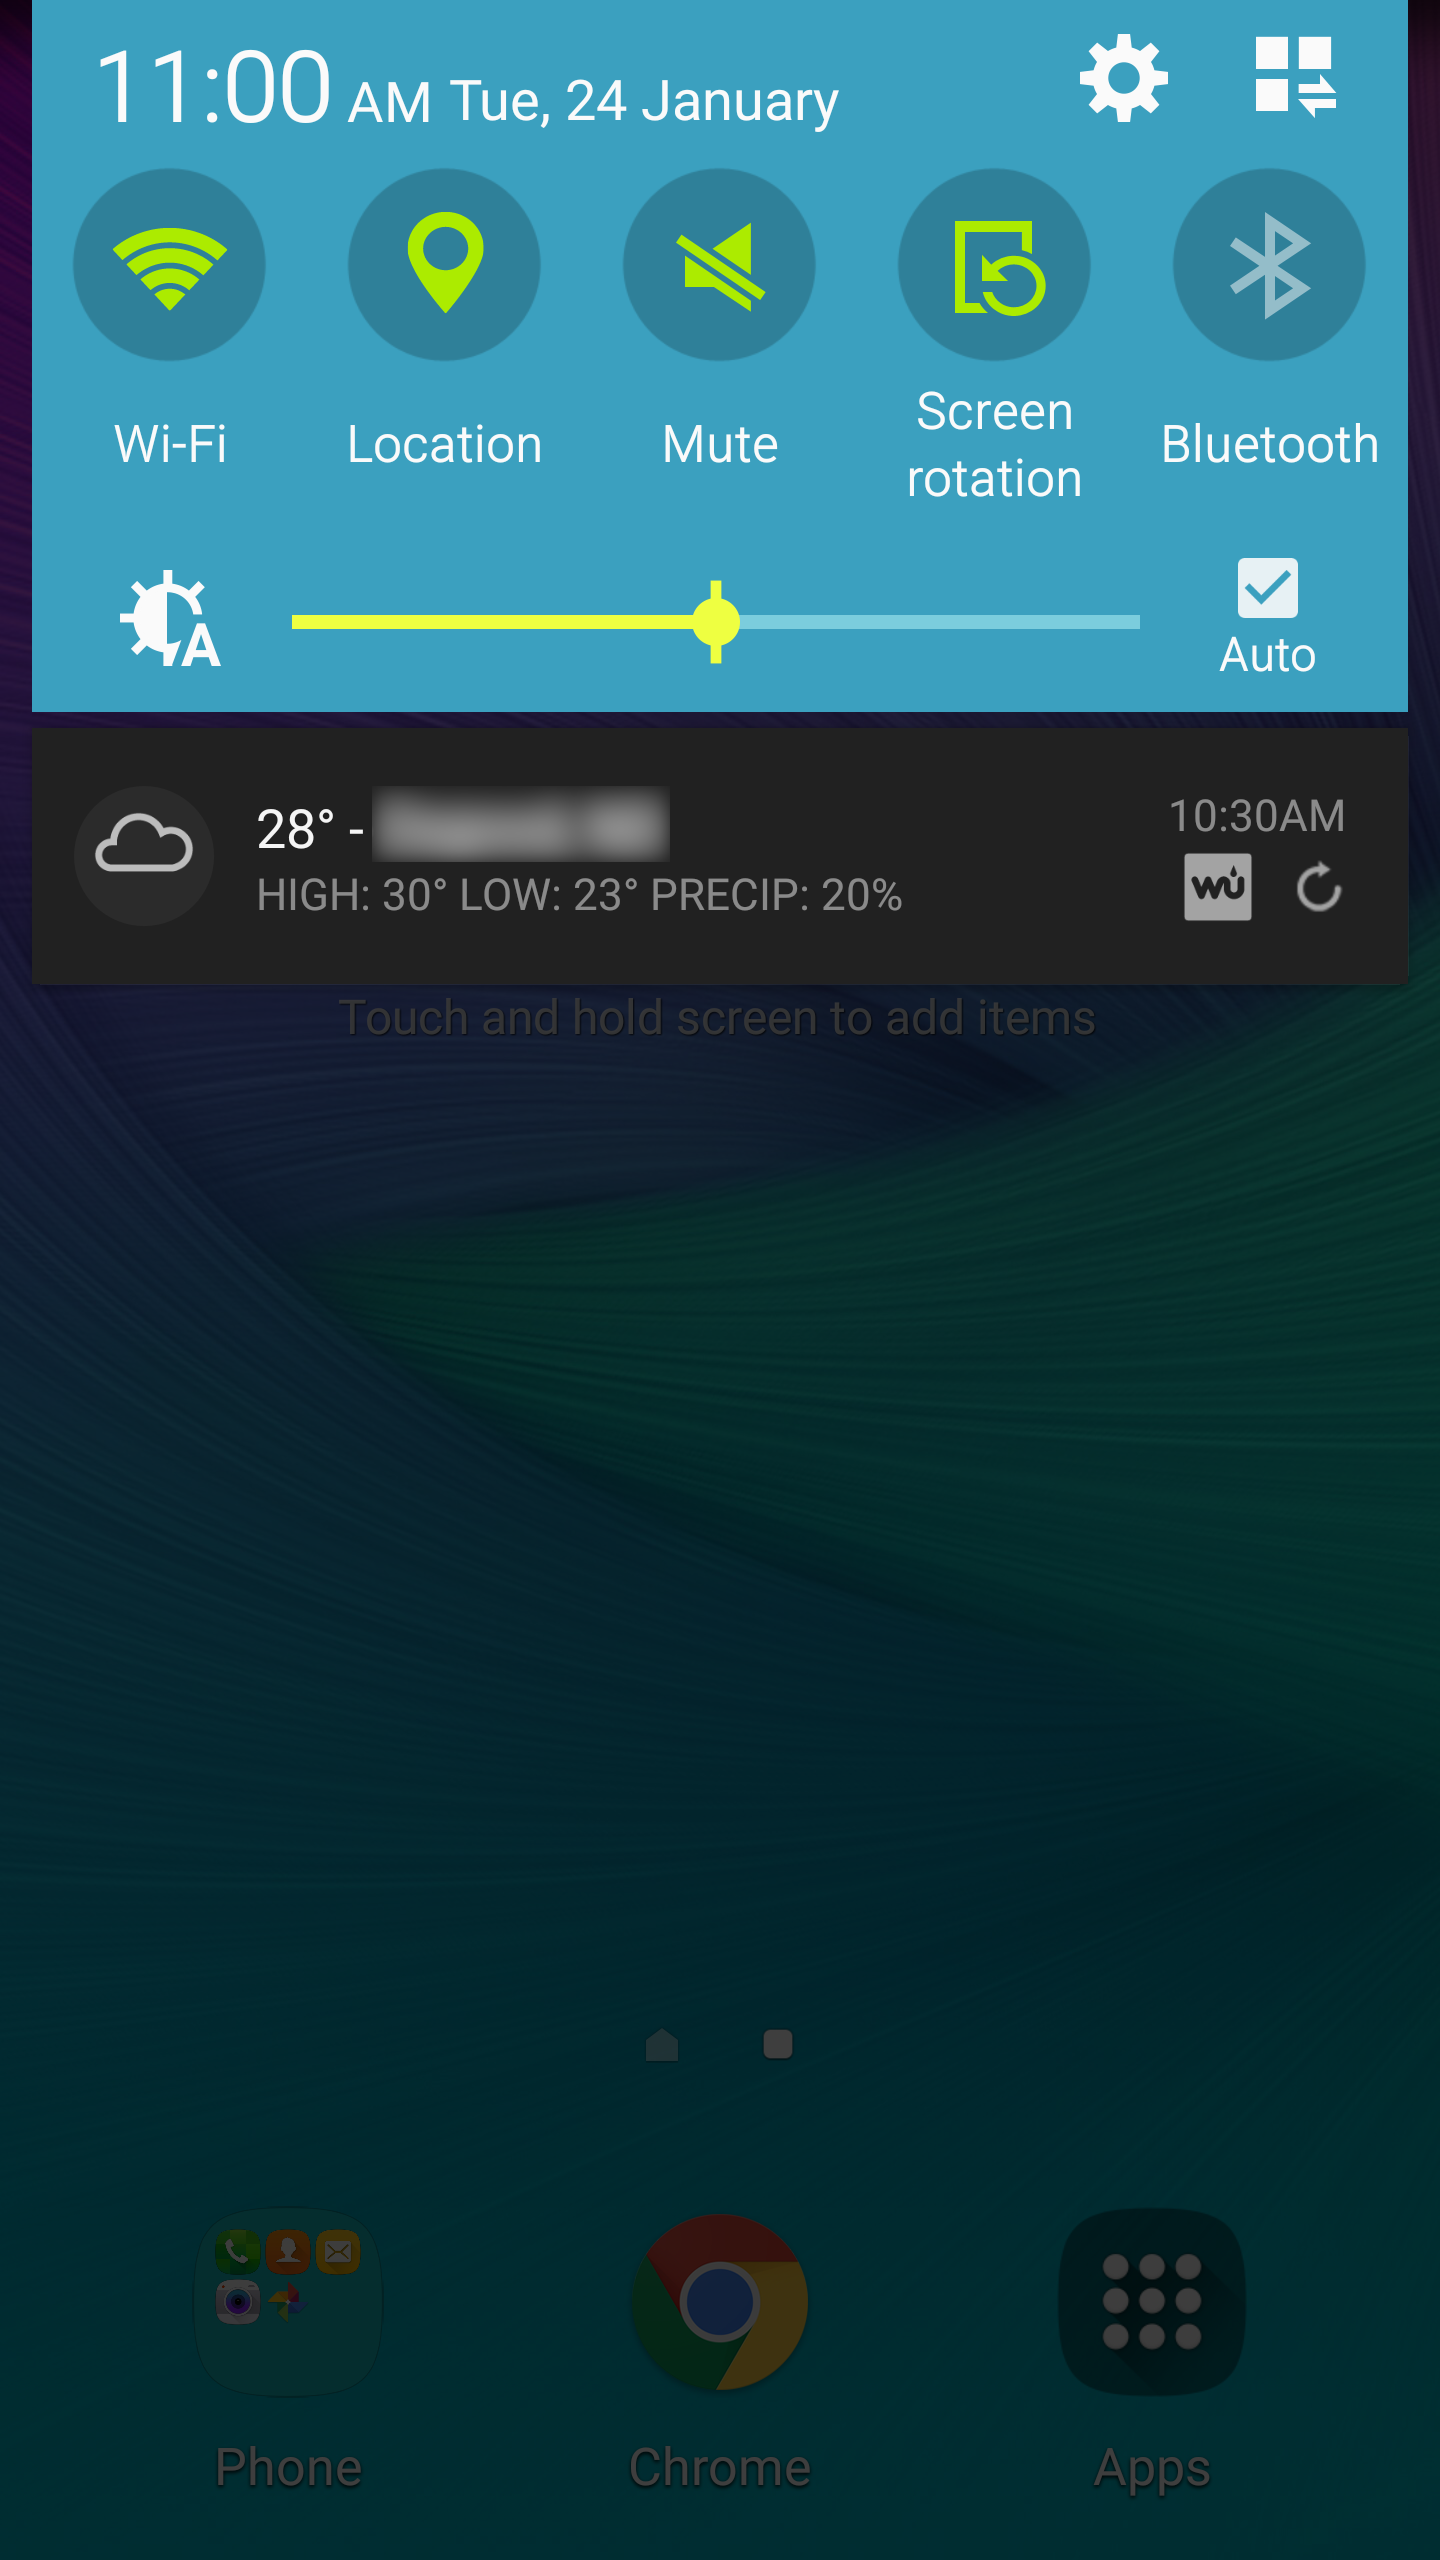
- Slide down the notifications drawer from the top of the screen and hit the Settings (gear) icon in the top right
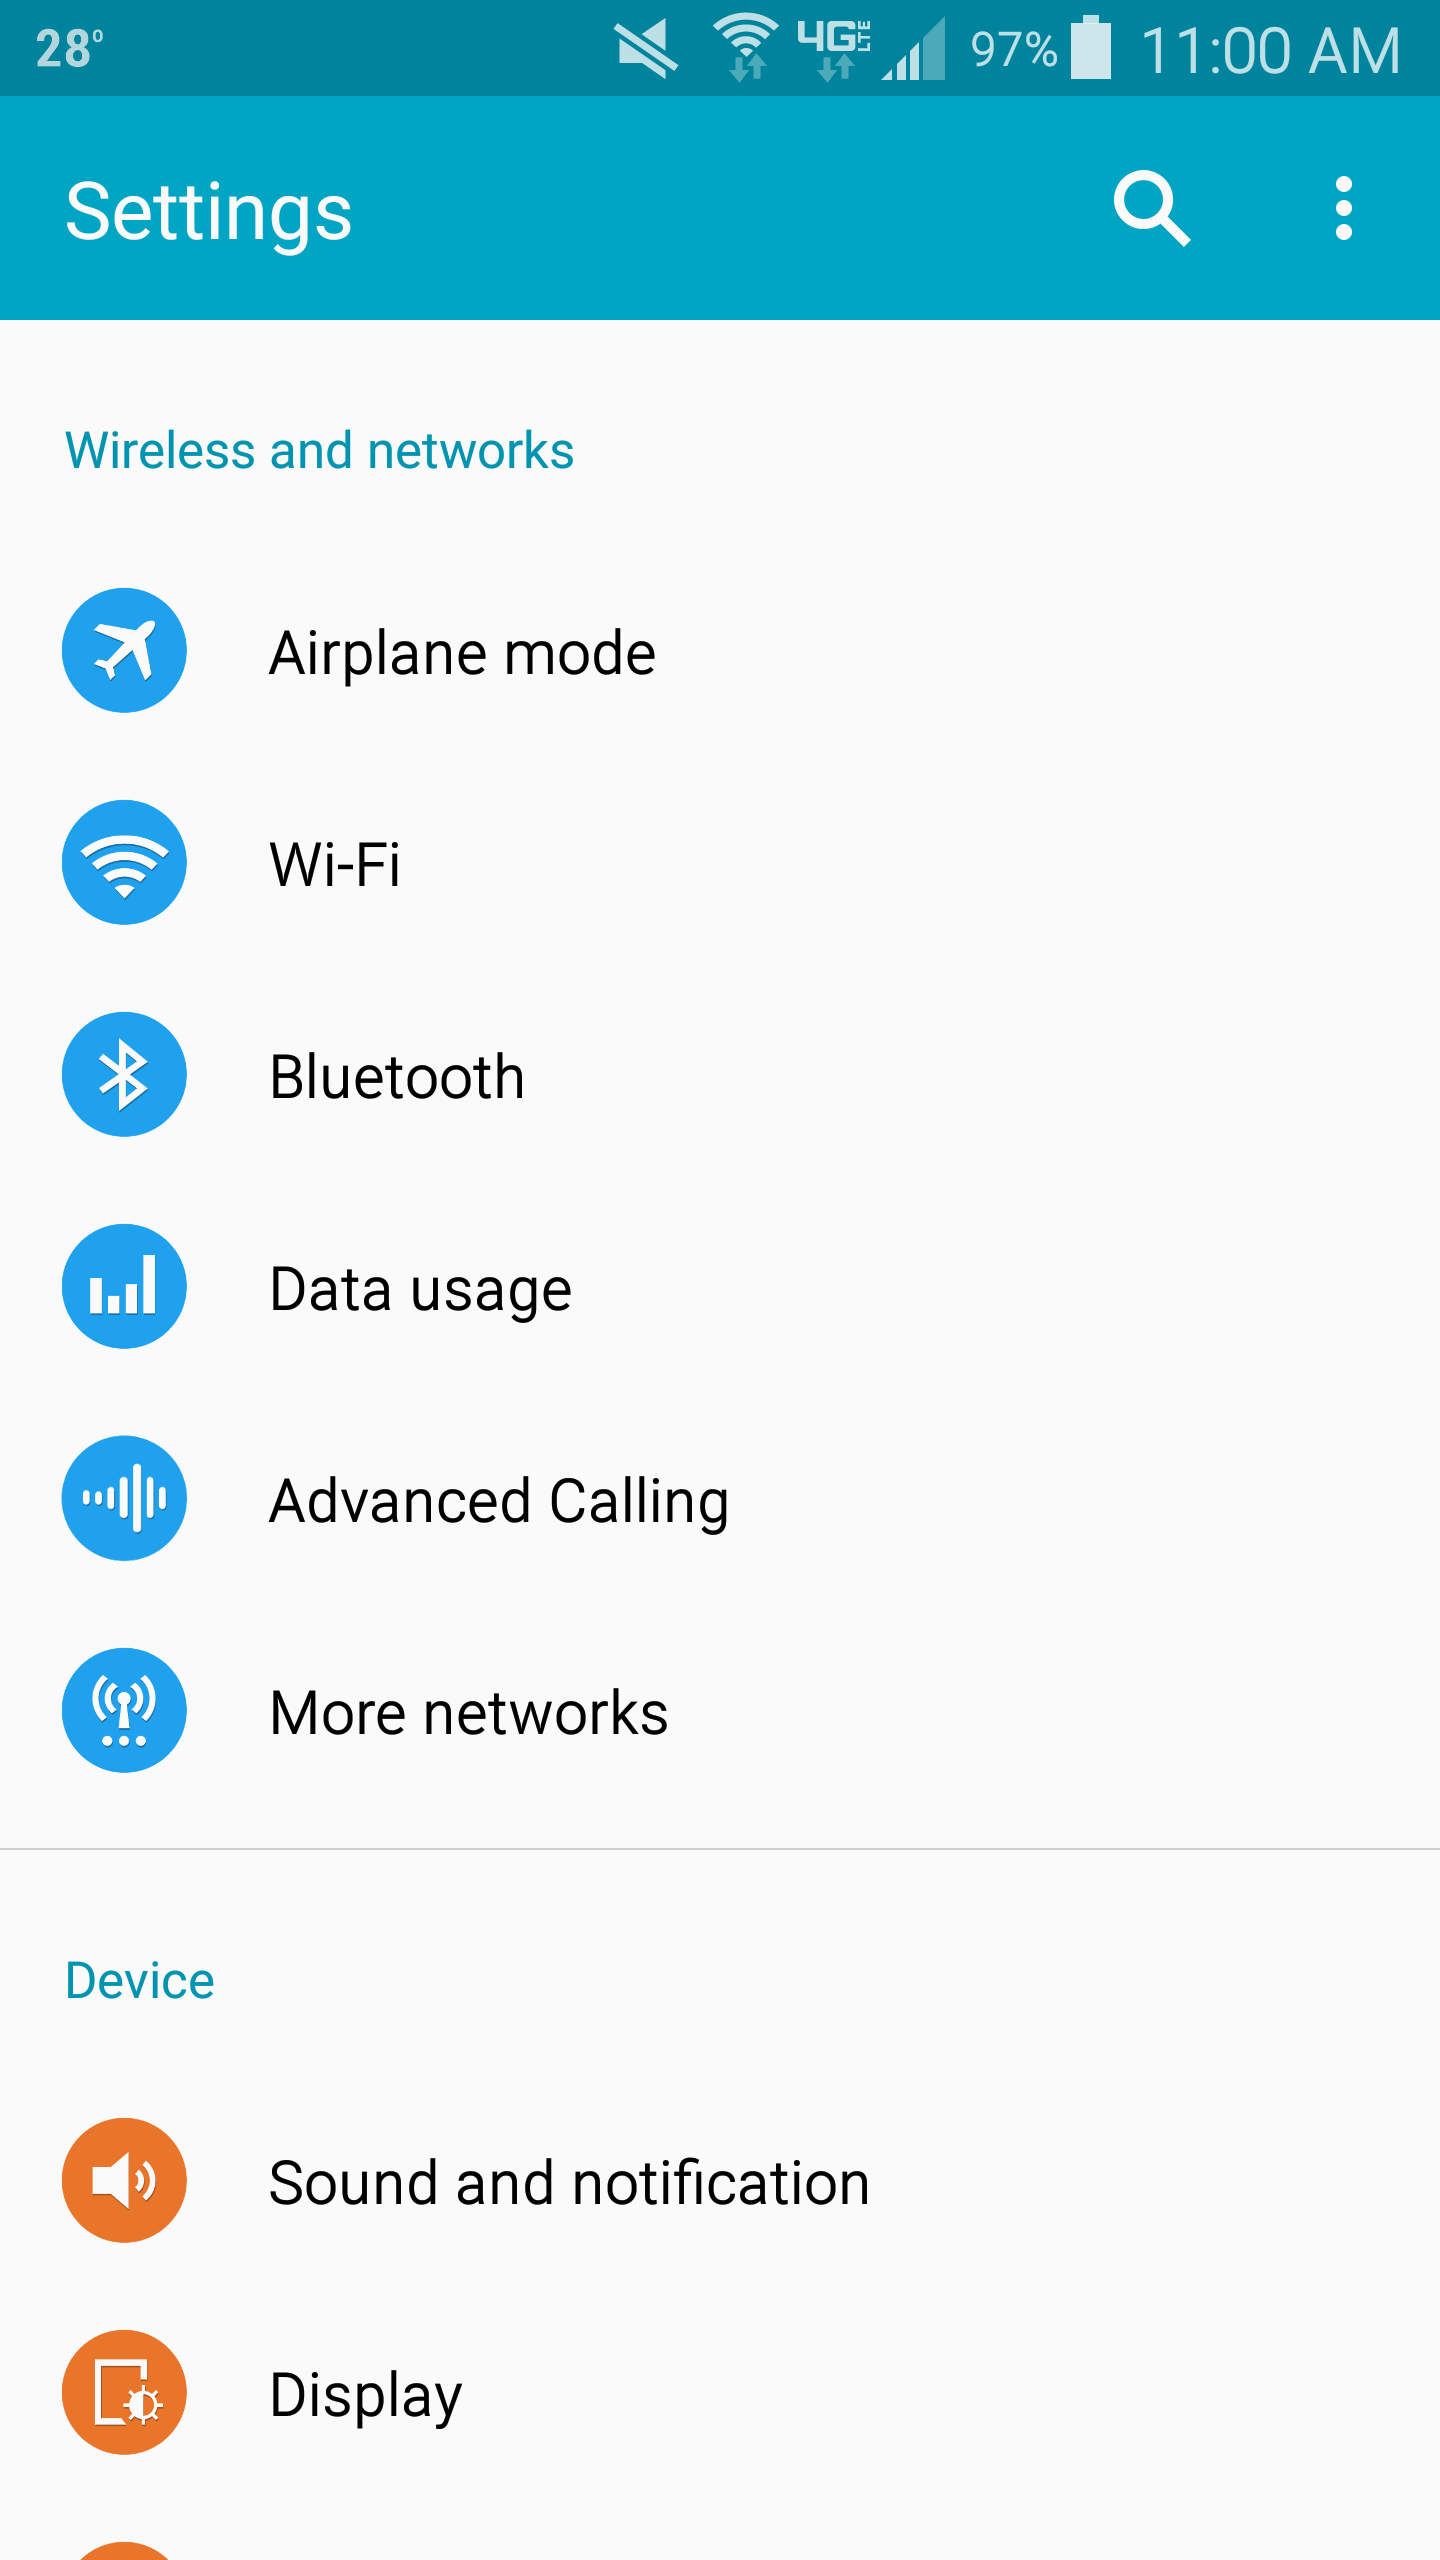
- Select Wi-Fi under the Wireless and networks section
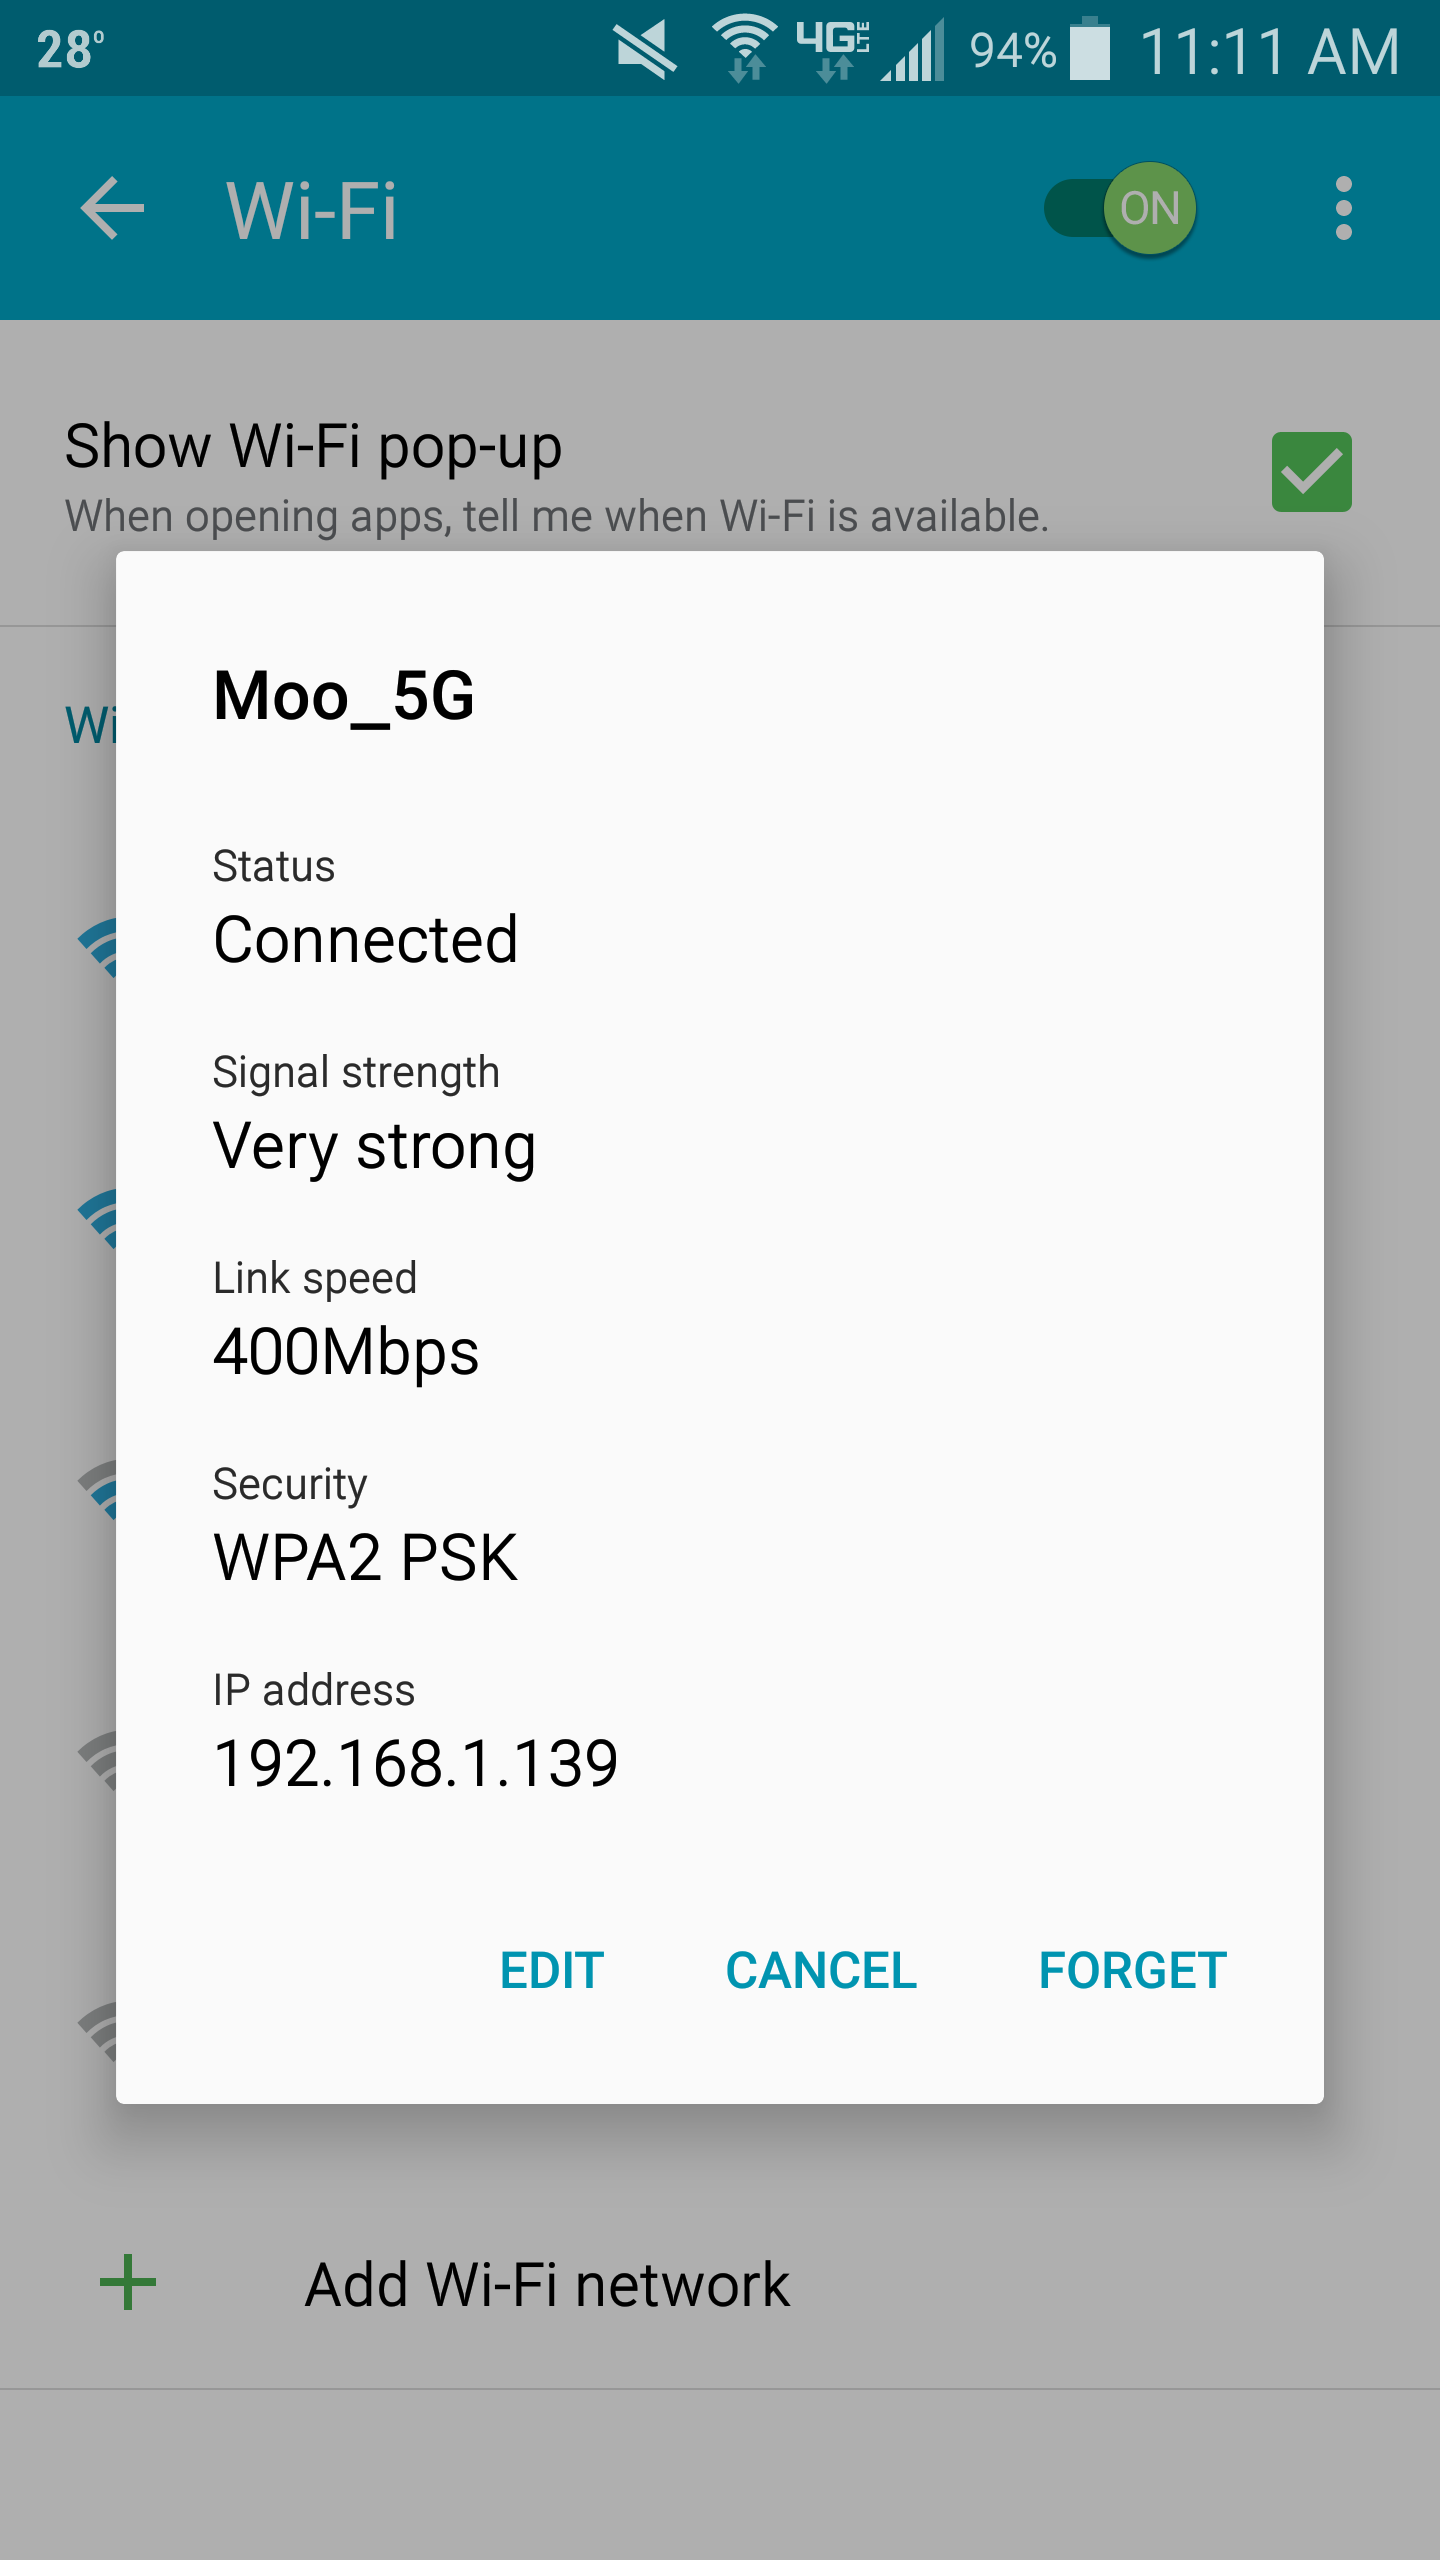
- Select the wireless network you are connected to and click Edit
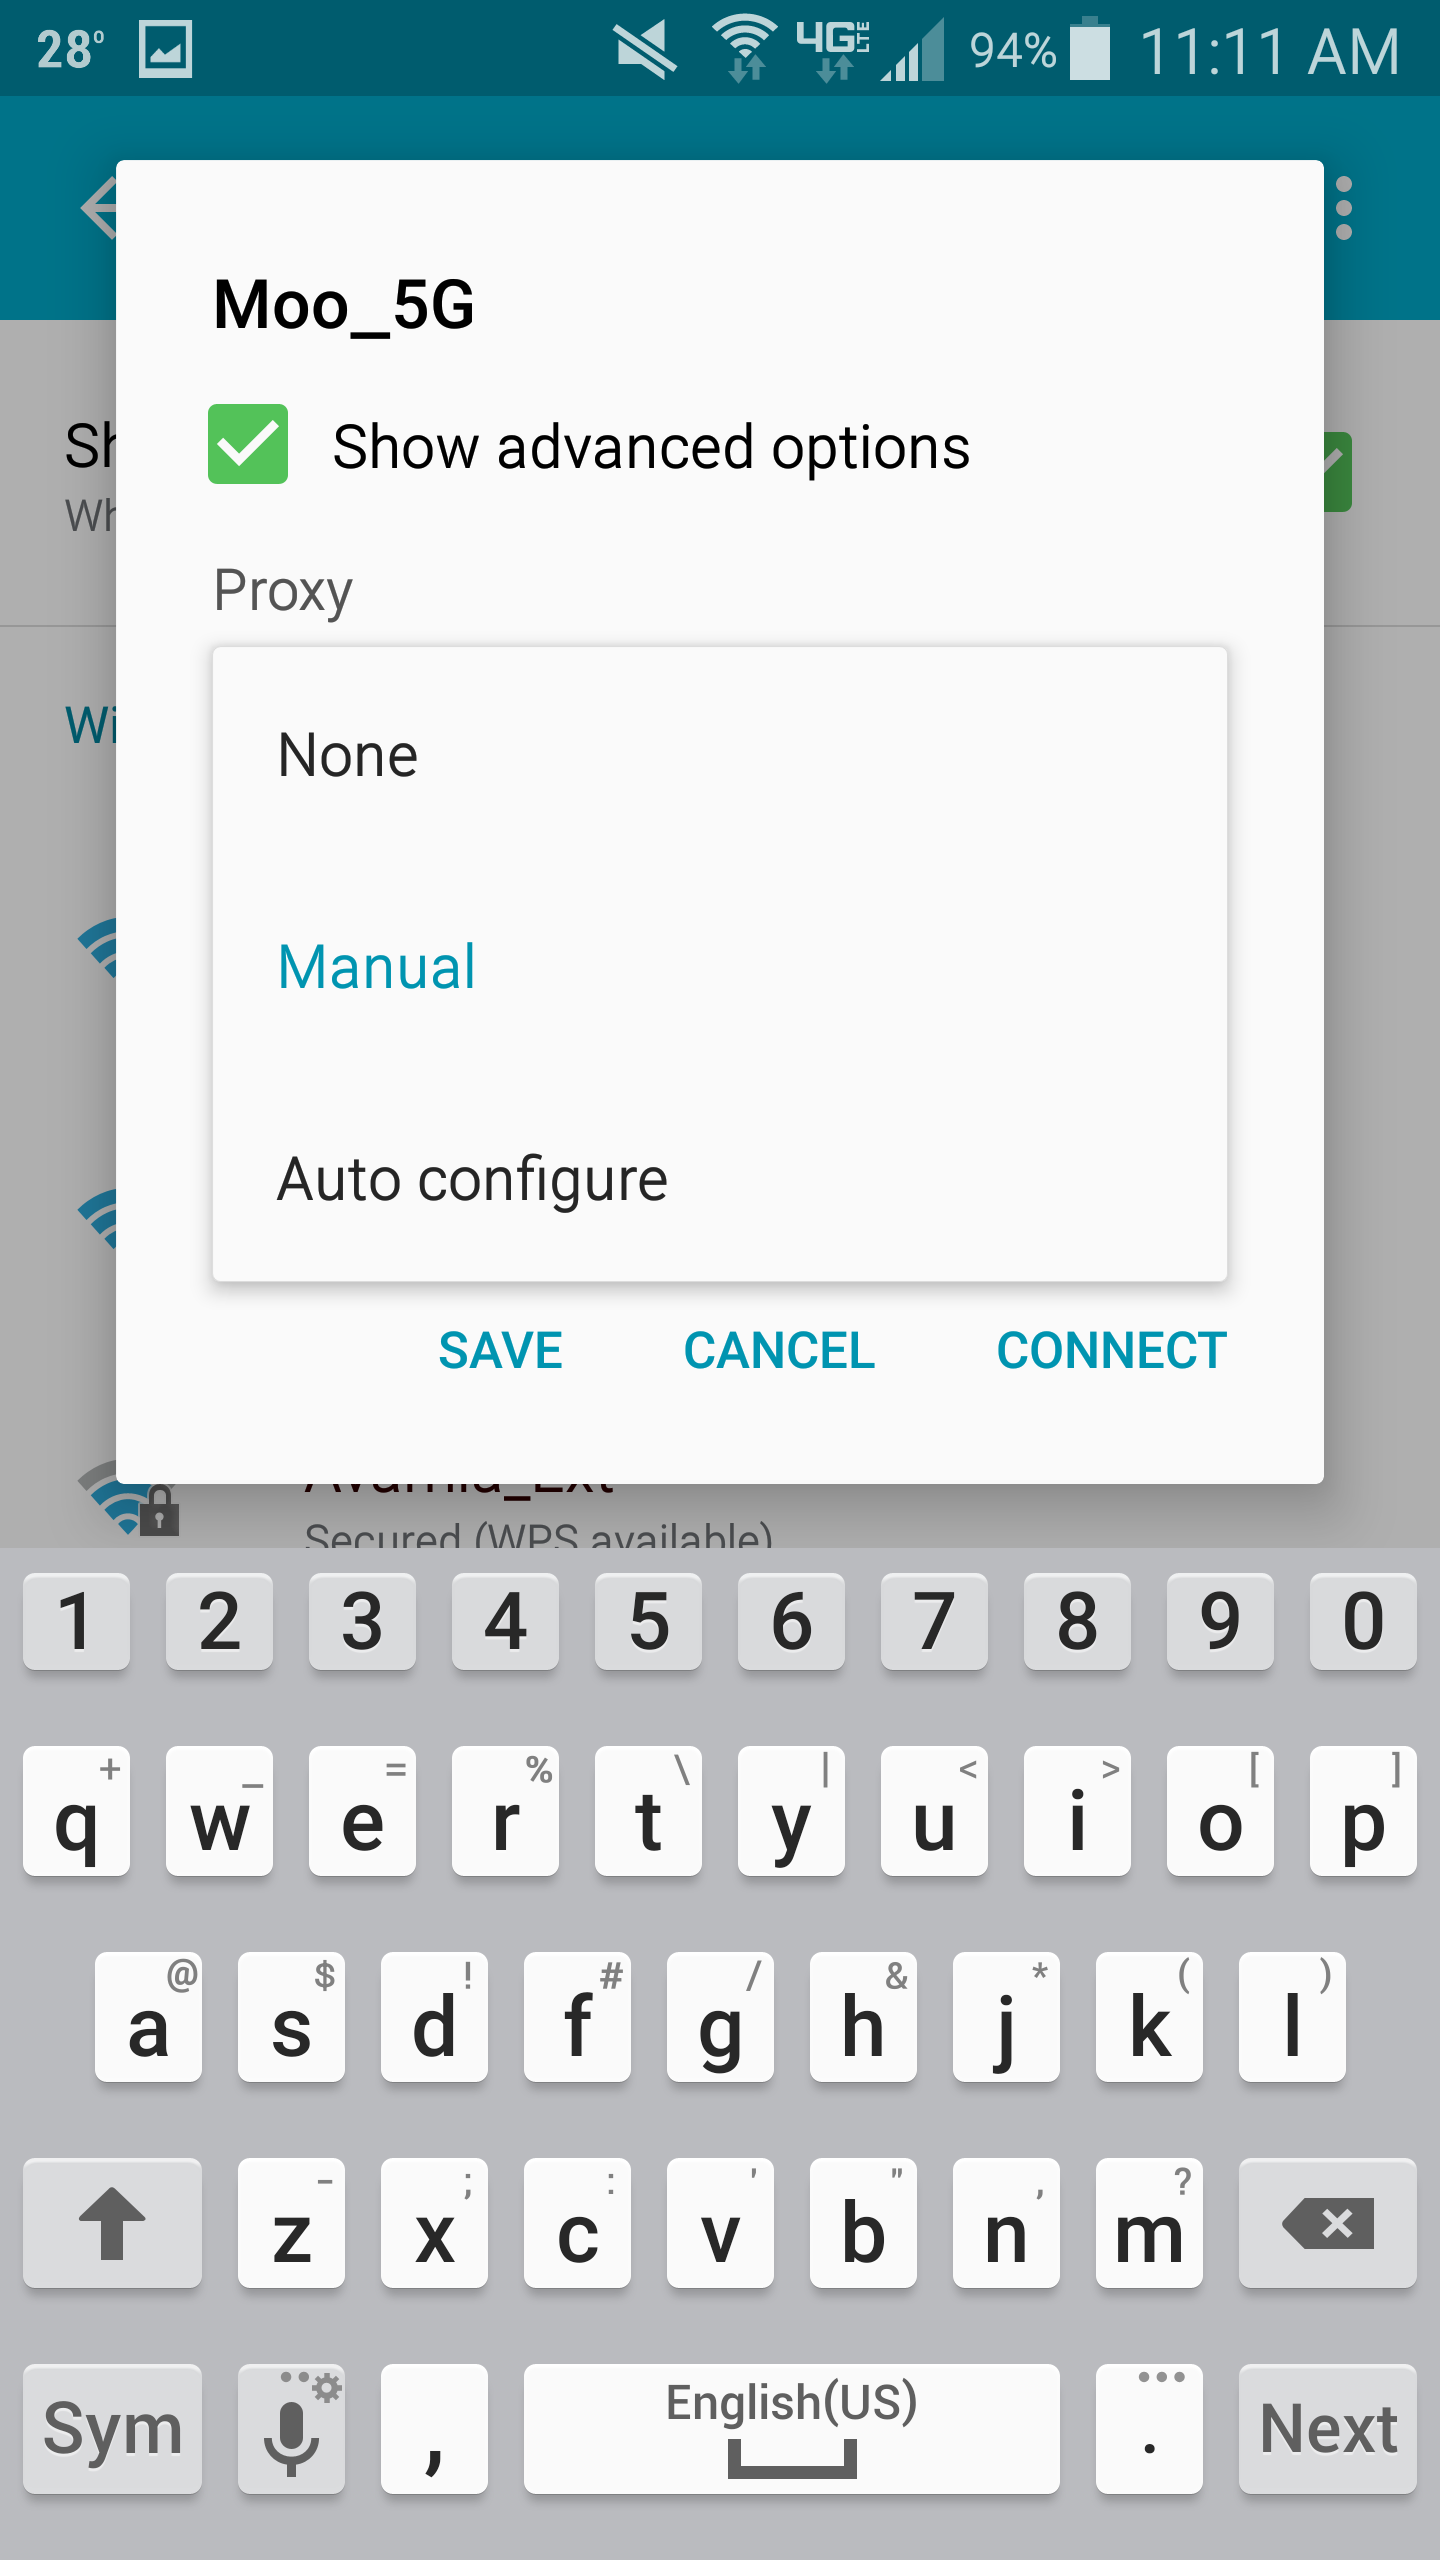
- Scroll down and check Show advanced options
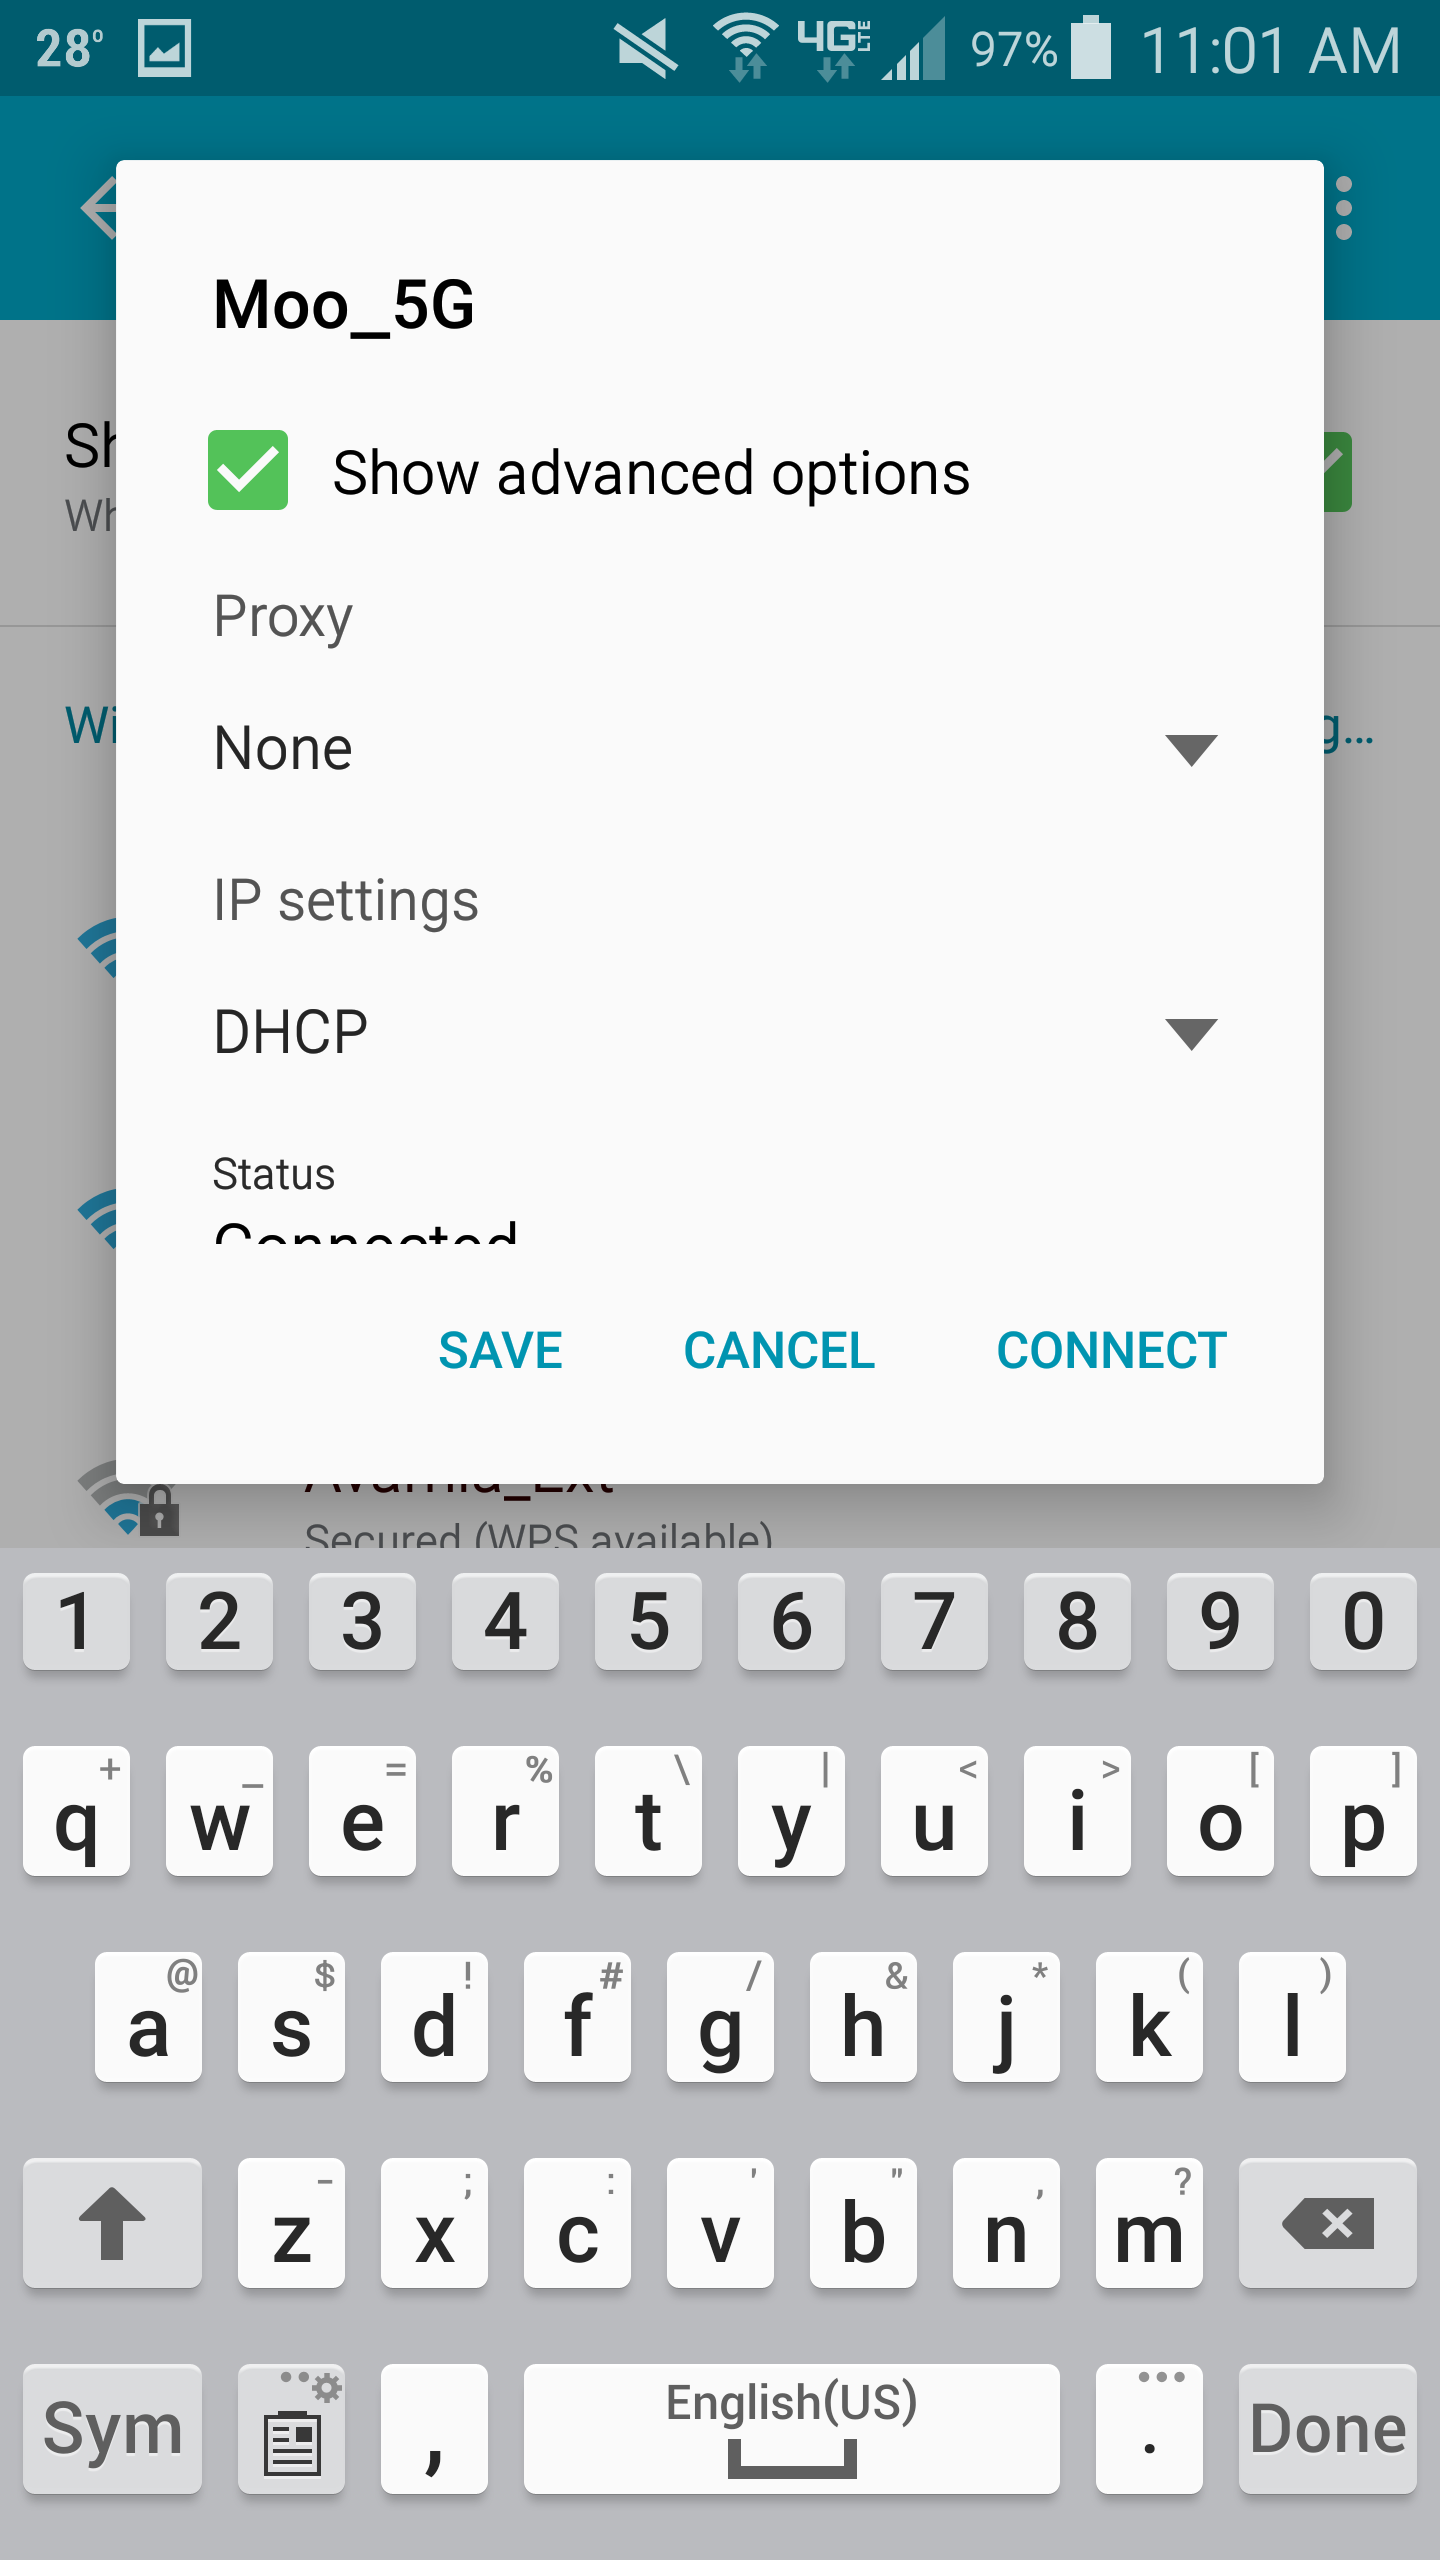
- Select the drop-down for Proxy and choose Manual
- Type in the IP address gathered from Fiddler for the Proxy host name and set the Proxy Port to 8888 and click Save
- Note: 8888 is the default port for Fiddler, the port can be found under Fiddler -> Telerik Fiddler Options -> Connections tab

- Note: 8888 is the default port for Fiddler, the port can be found under Fiddler -> Telerik Fiddler Options -> Connections tab
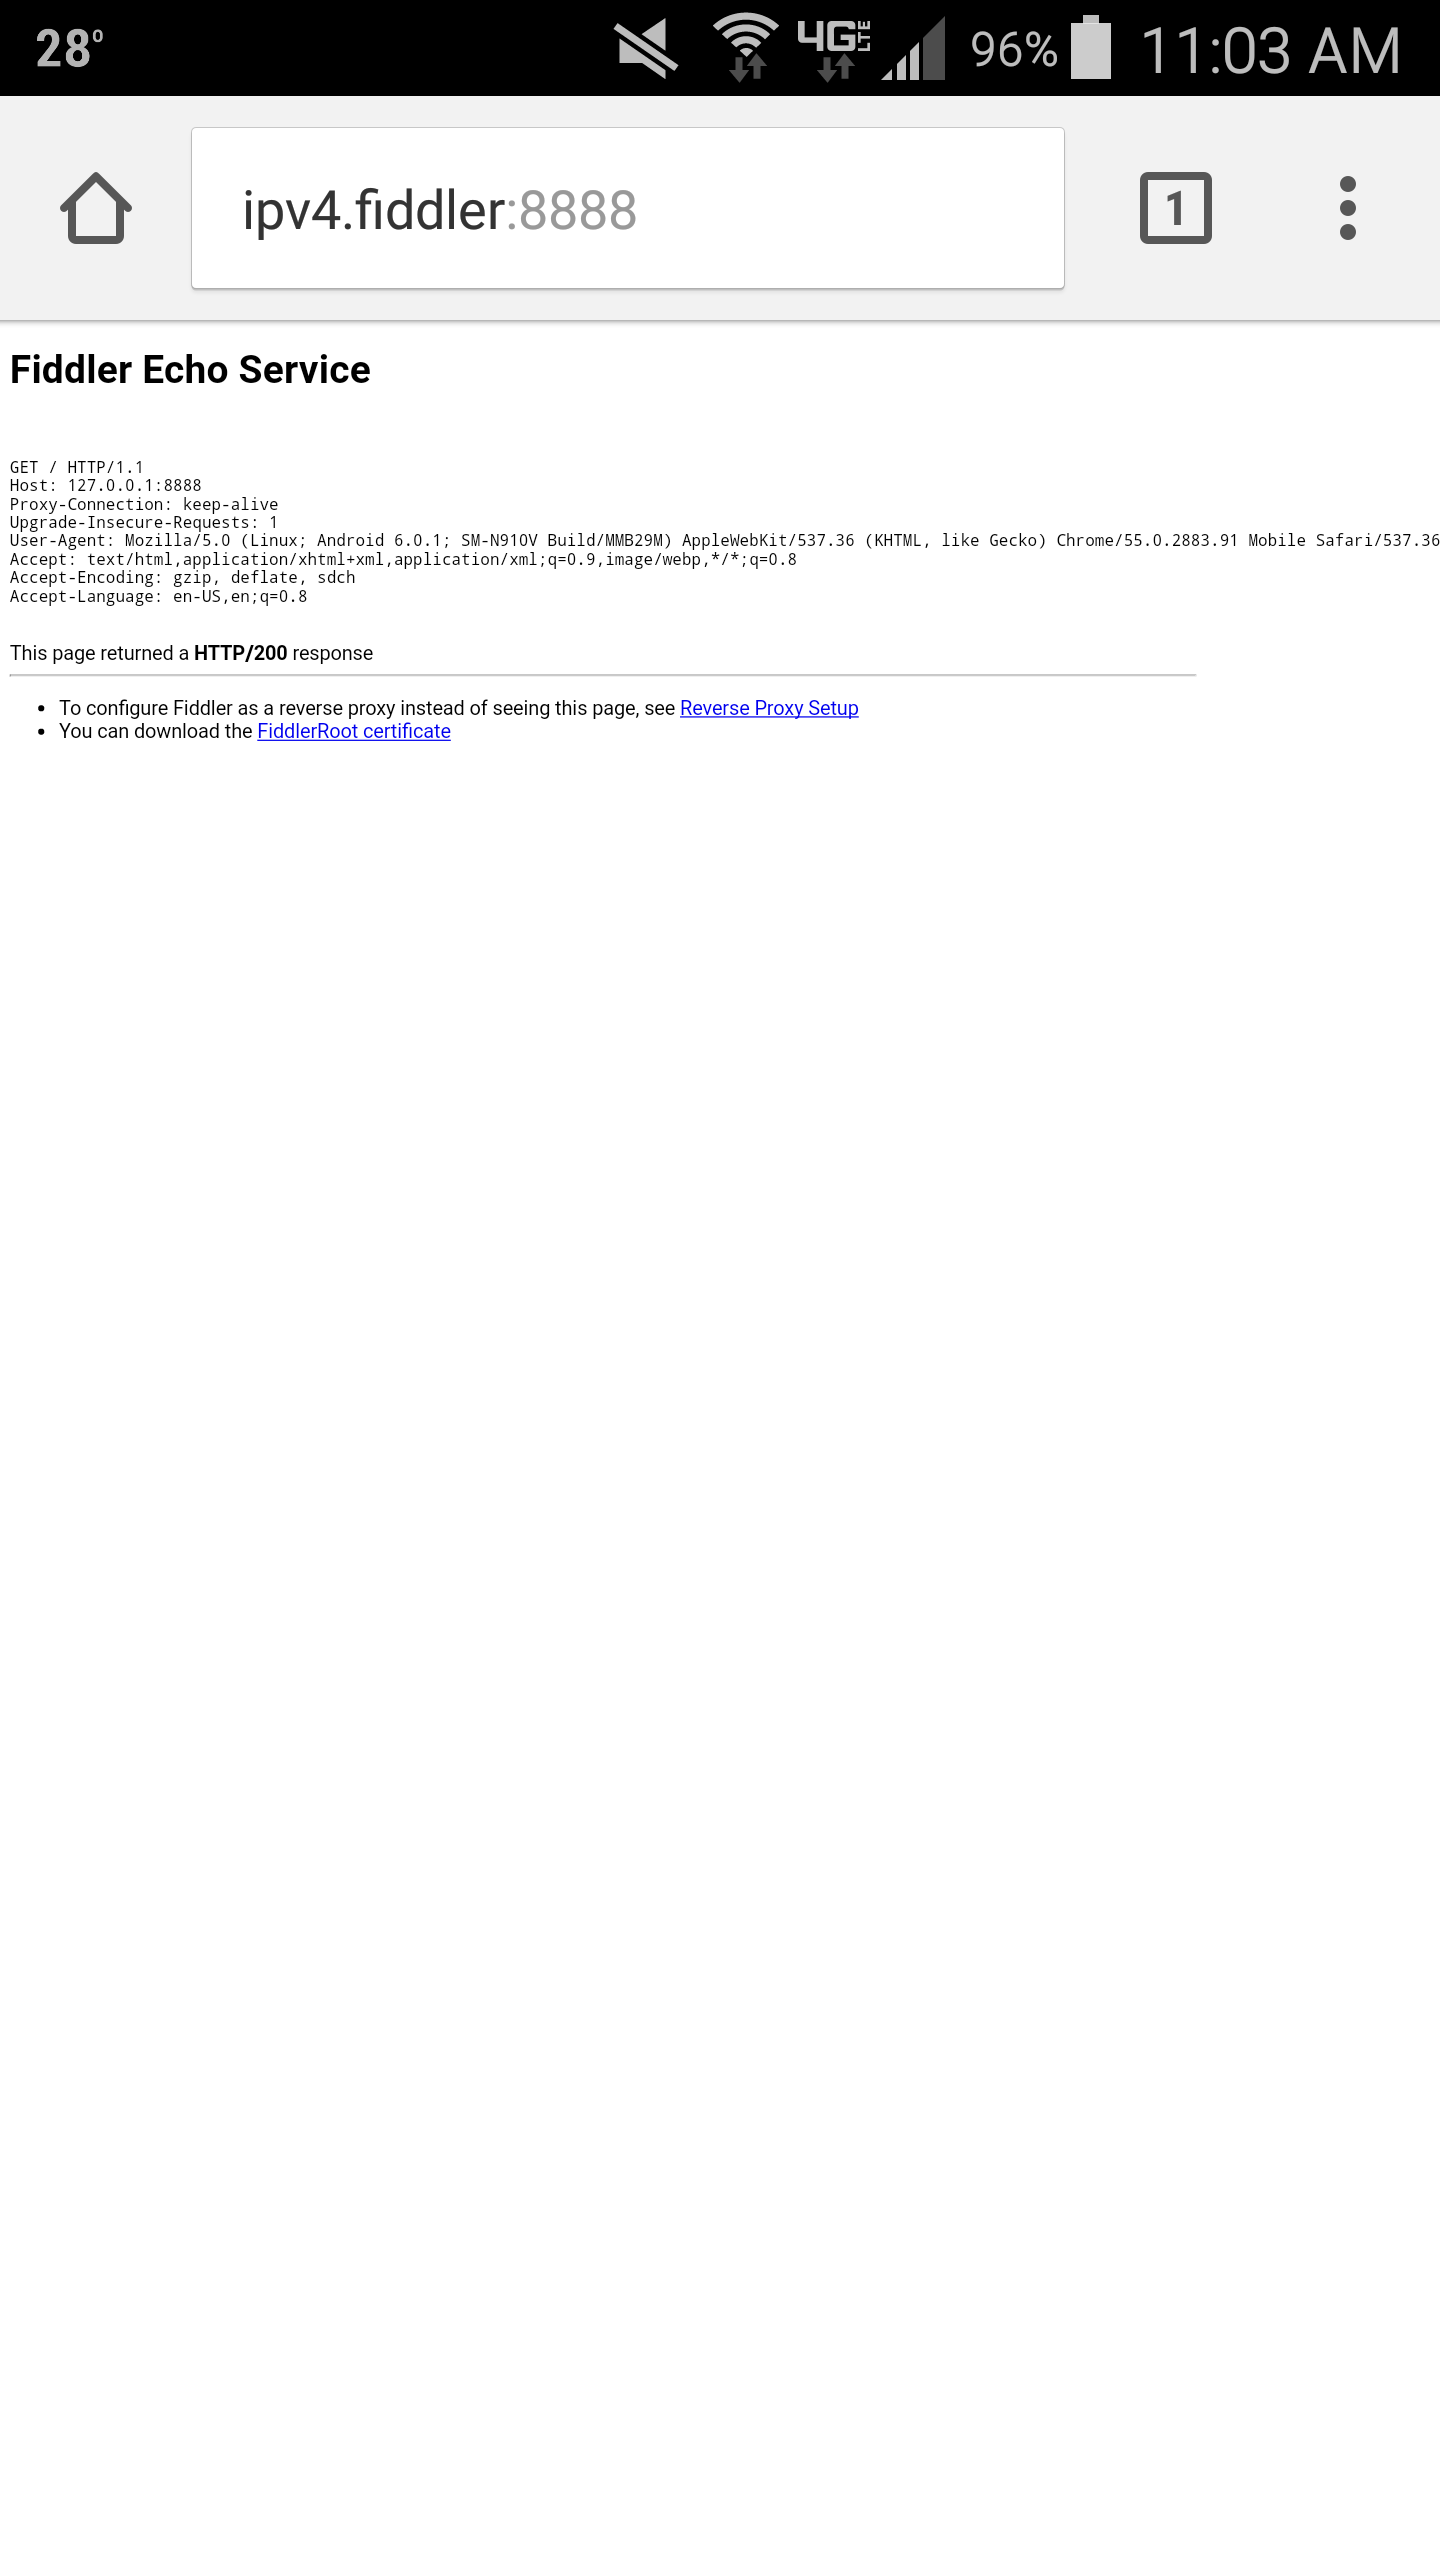
- Next, open up your web browser and navigate to http://ipv4.fiddler:8888
- Note: This is a small webpage served by the Fiddler application to validate the proxy settings are correct. Likewise, we will use this page in the next step for SSL decryption
- Note: This is a small webpage served by the Fiddler application to validate the proxy settings are correct. Likewise, we will use this page in the next step for SSL decryption
- On the Fiddler Echo Service page, click on the You can download the FiddlerRoot Certificate link
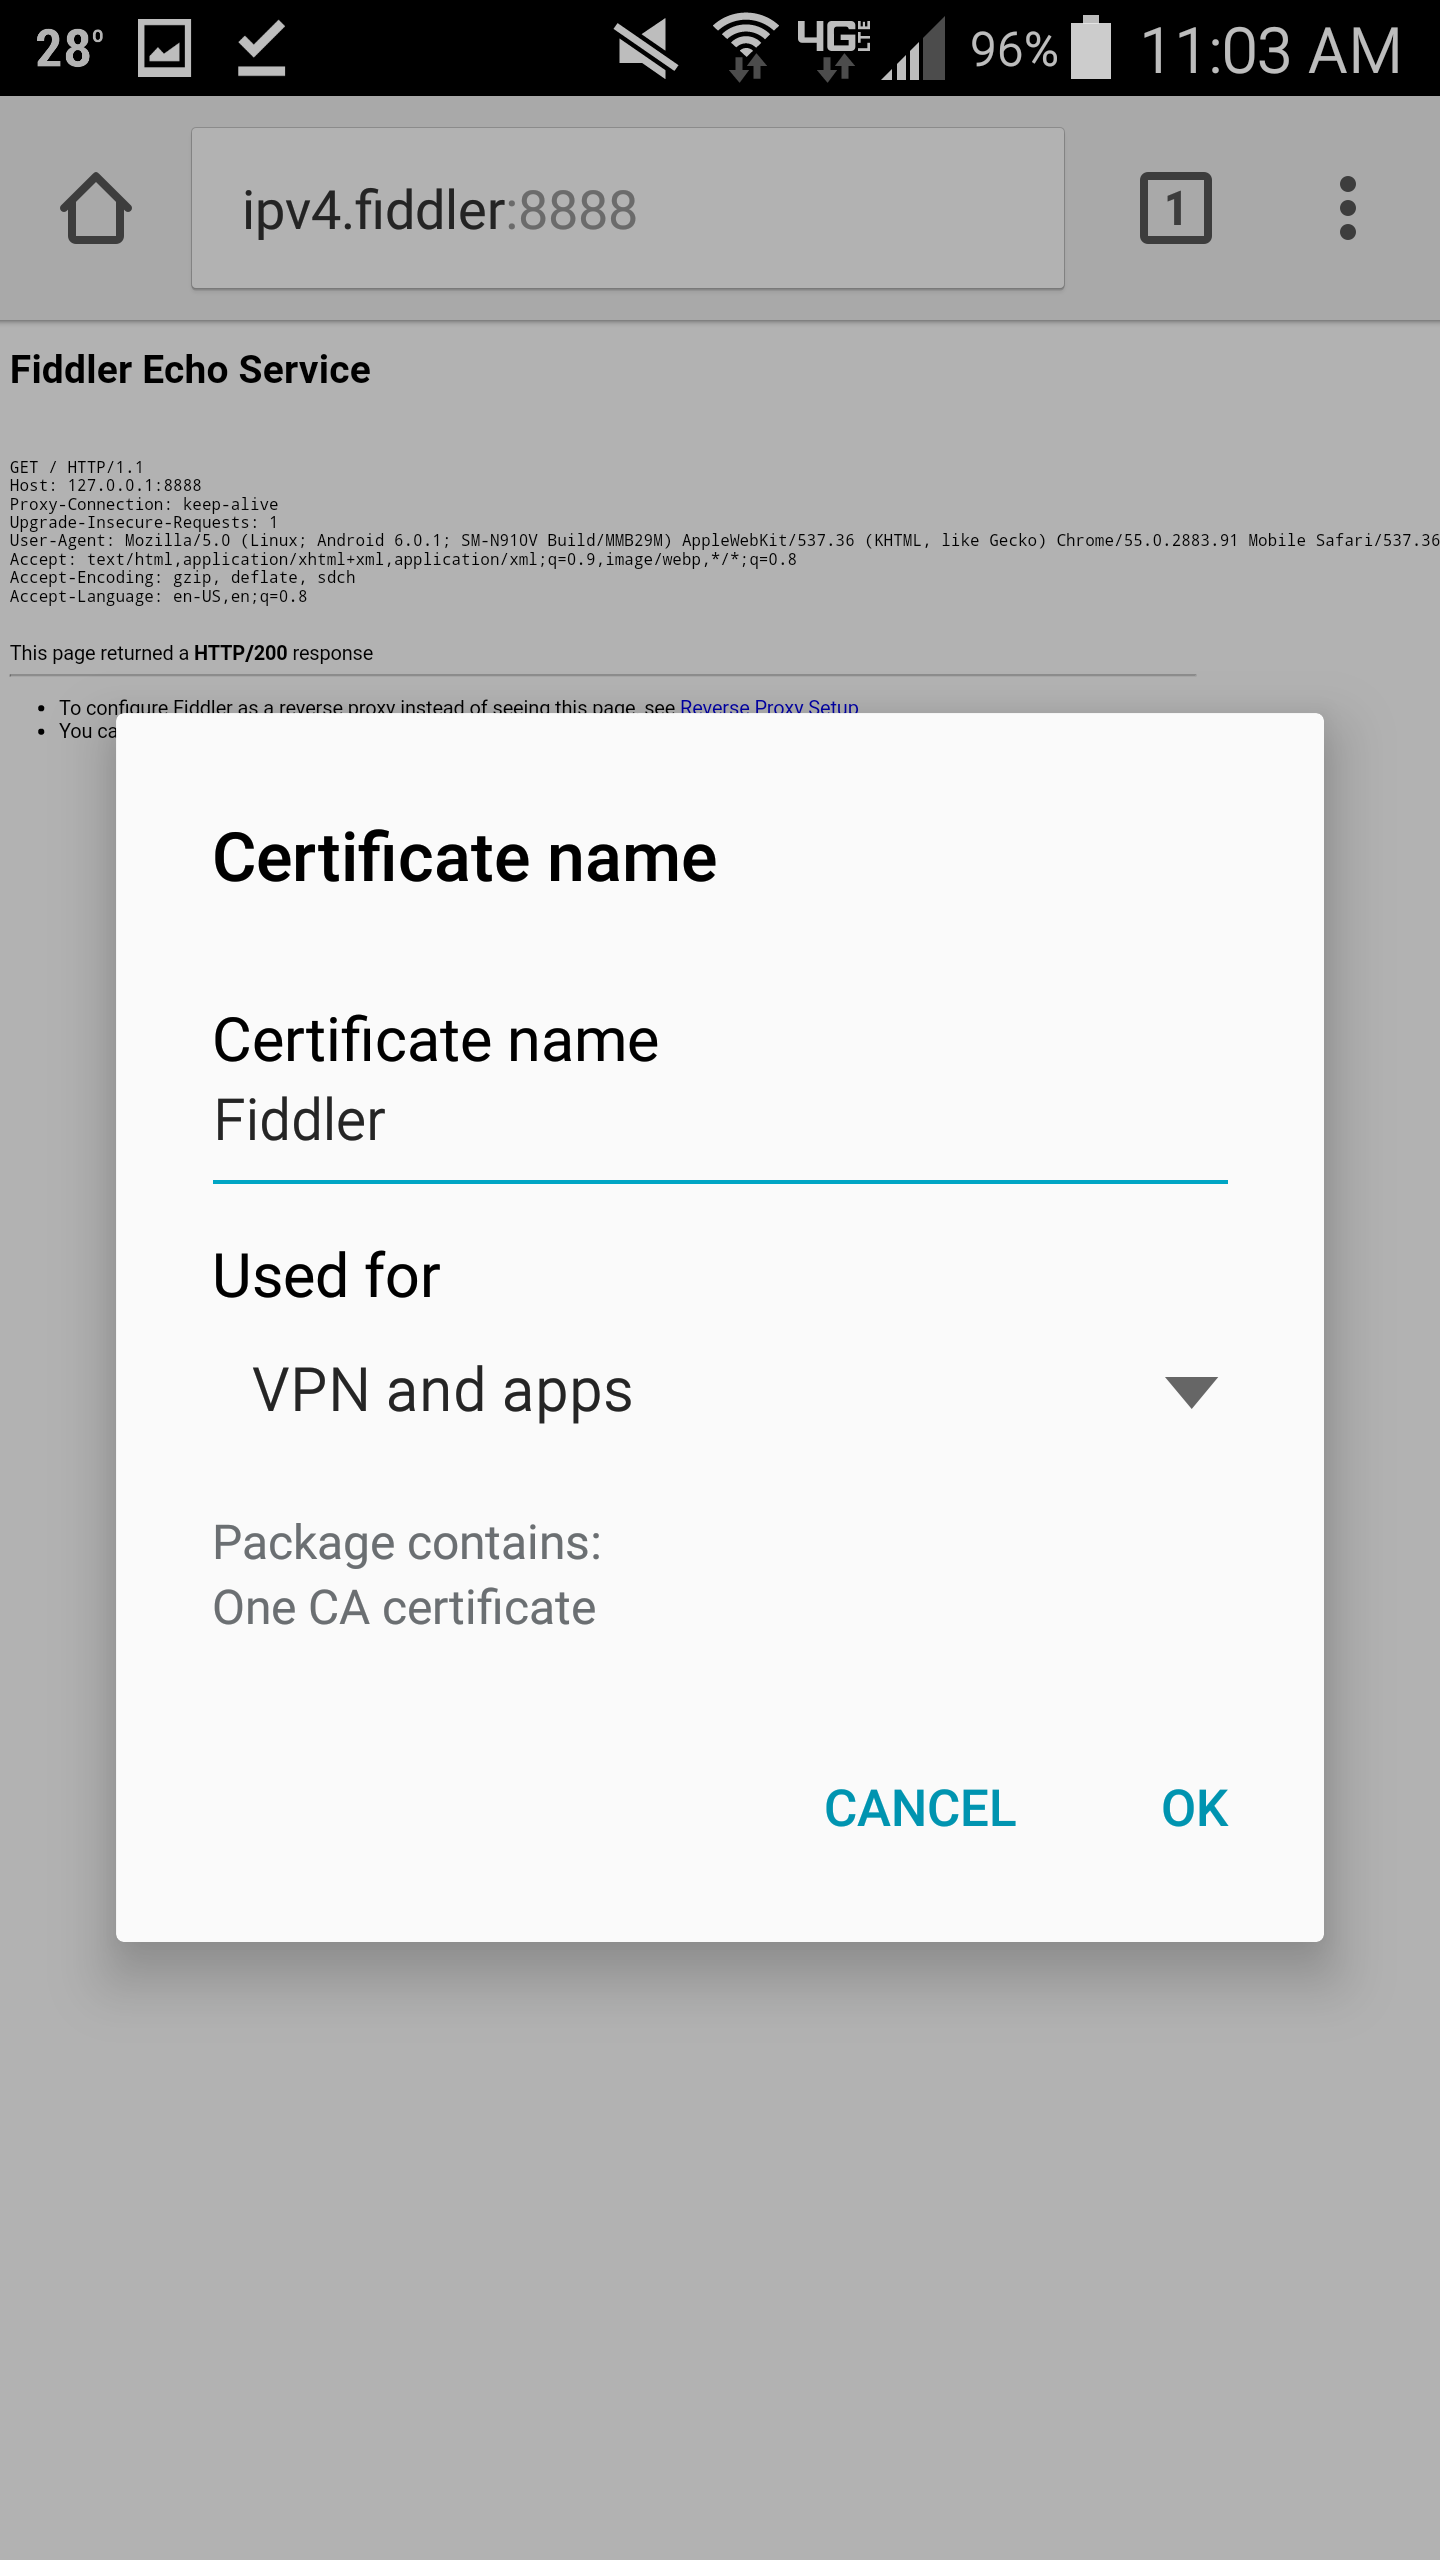
- Note: This download Fiddler's root certificate to allow us to intercept SSL traffic for debugging purposes
- Once the certificate has downloaded, type Fiddler as the Certificate name and click OK
- Optional step: Open up your web browser and navigate to a website using SSL (I did https://google.com)
- Note: Here you can validate that the SSL certificate used is Fiddler's root certificate. This is a good sign that we are intercepting the traffic

- Note: Here you can validate that the SSL certificate used is Fiddler's root certificate. This is a good sign that we are intercepting the traffic
Turn off Fiddler from intercepting SSL traffic
Remove the proxy settings
- Slide down the notifications drawer from the top of the screen and hit the Settings (gear) icon in the top right
- Select Wi-Fi under the Wireless and networks section
- Select the wireless network you are connected to and click Edit
- Scroll down and check Show advanced options (you should see your old proxy settings unlike my screenshot below)
- Select the drop-down for Proxy and choose None
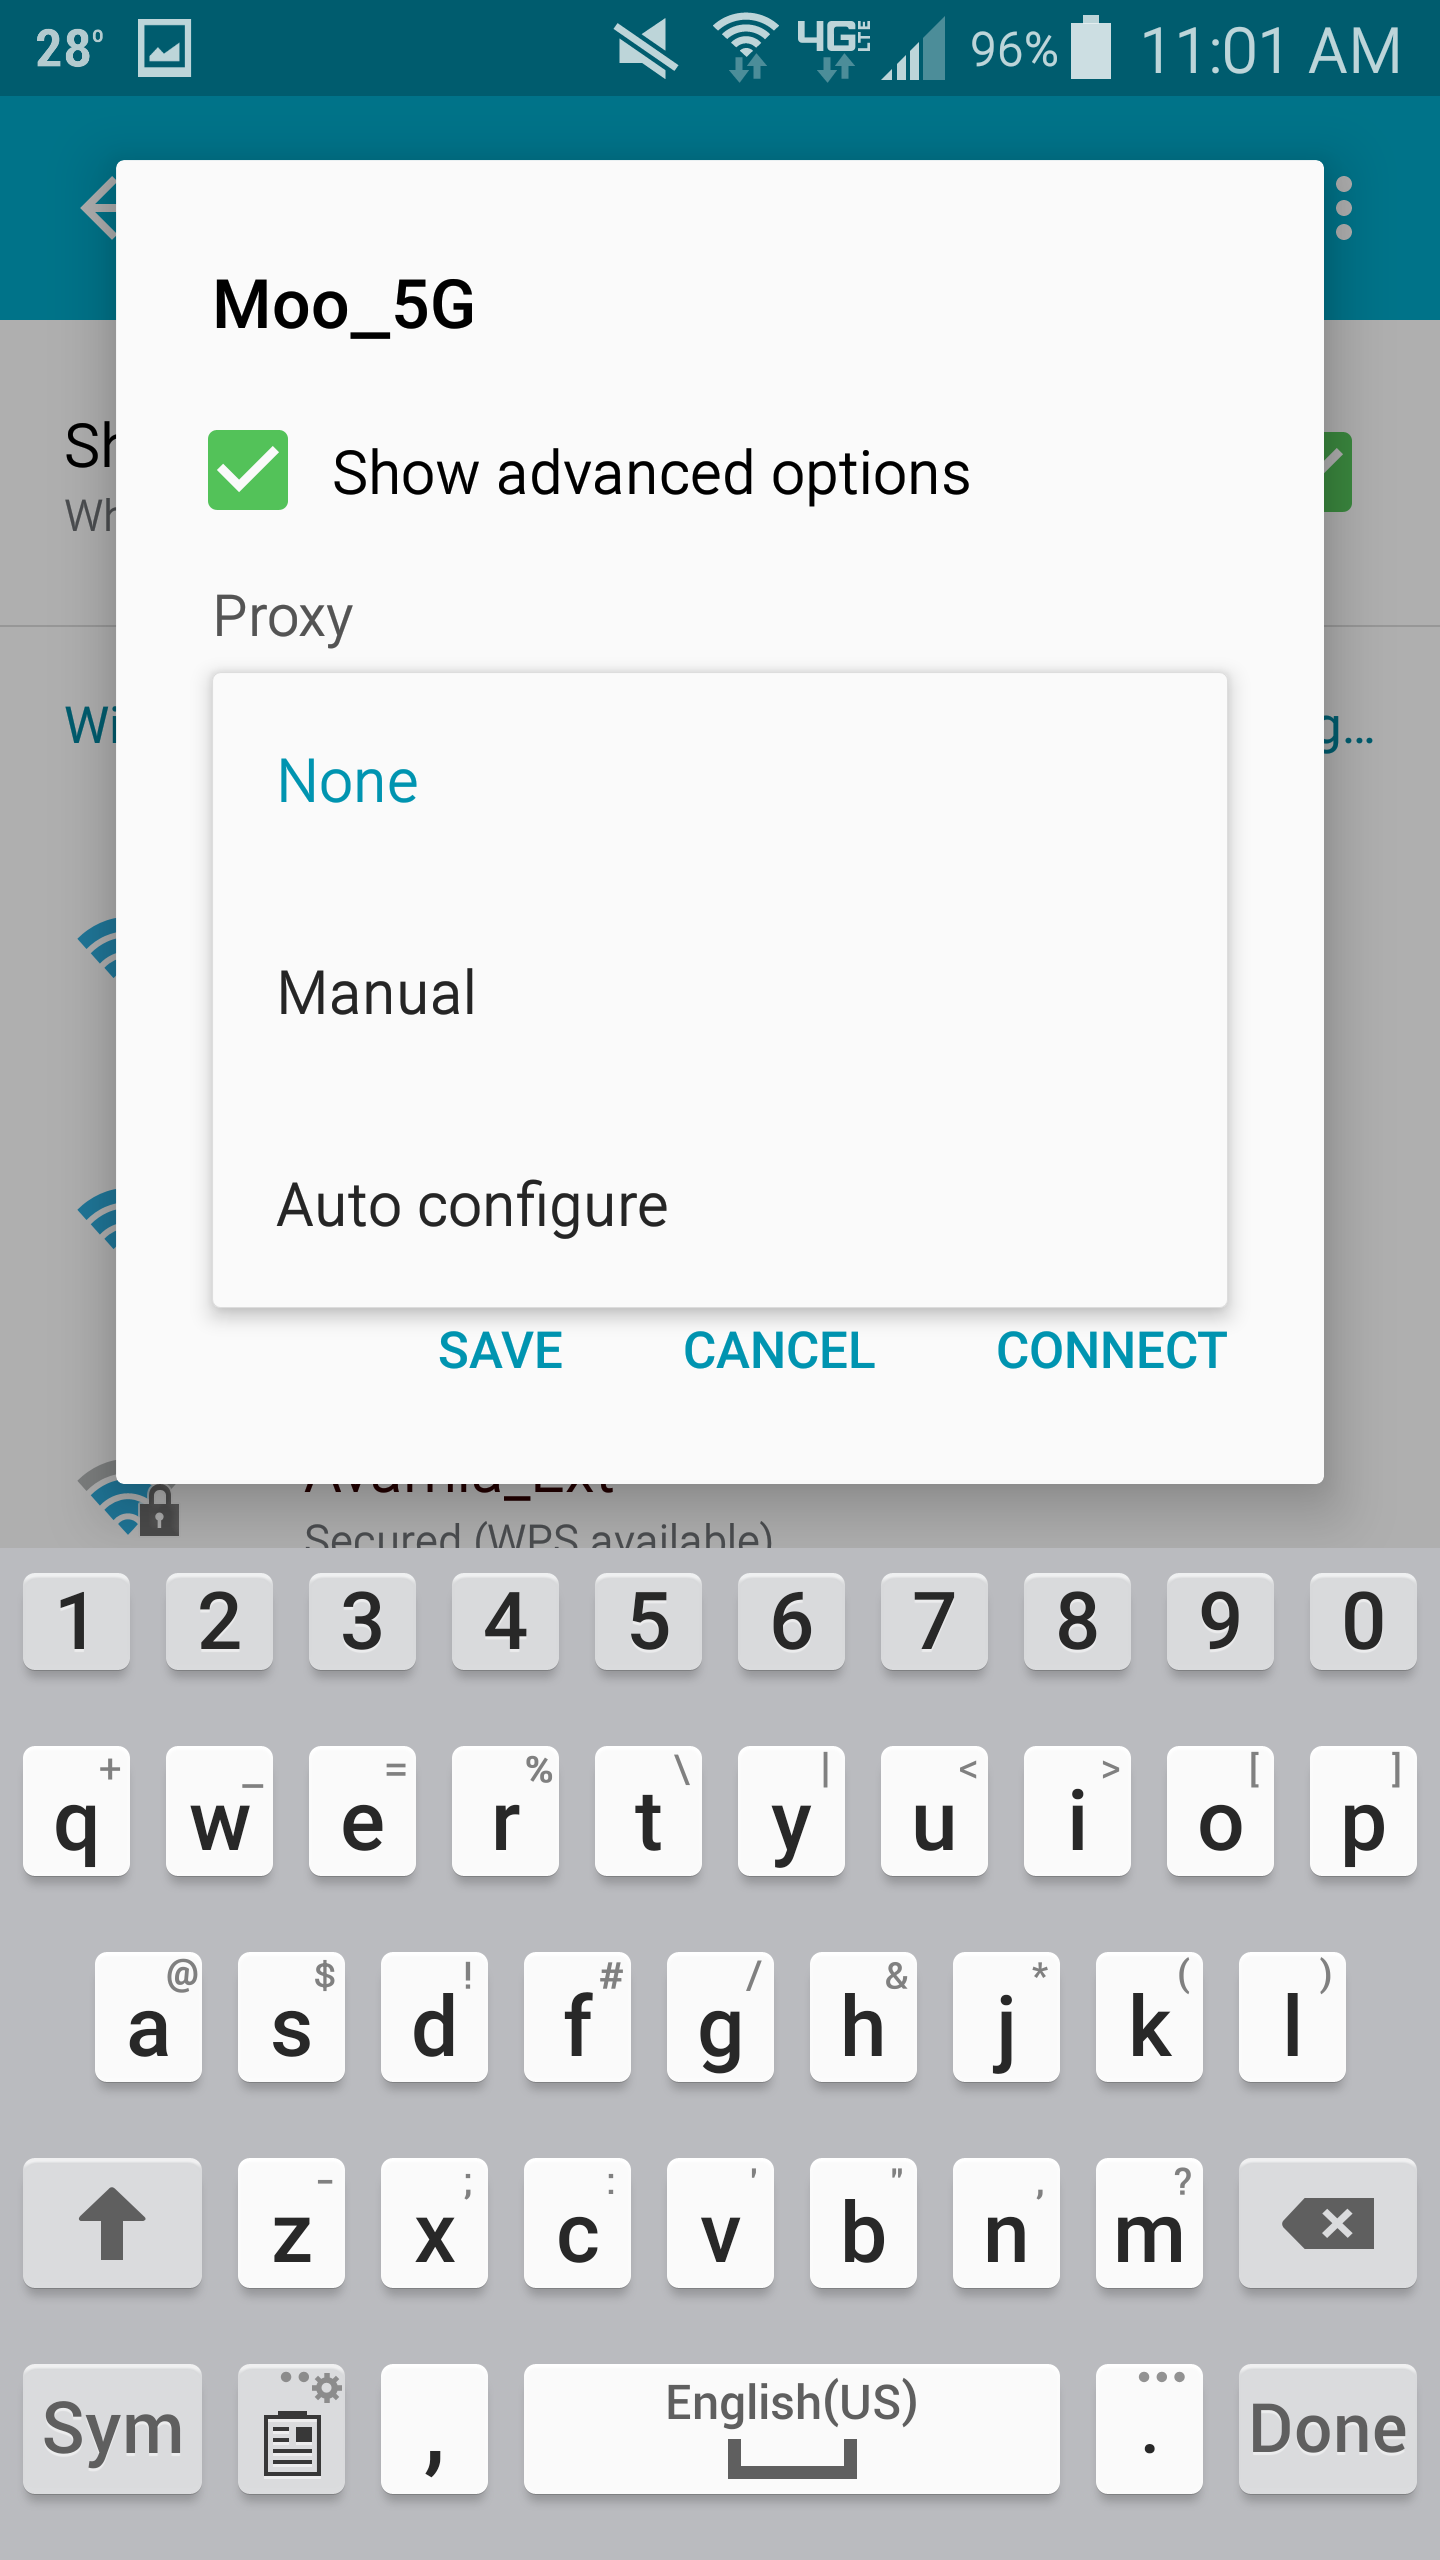
- Select Save

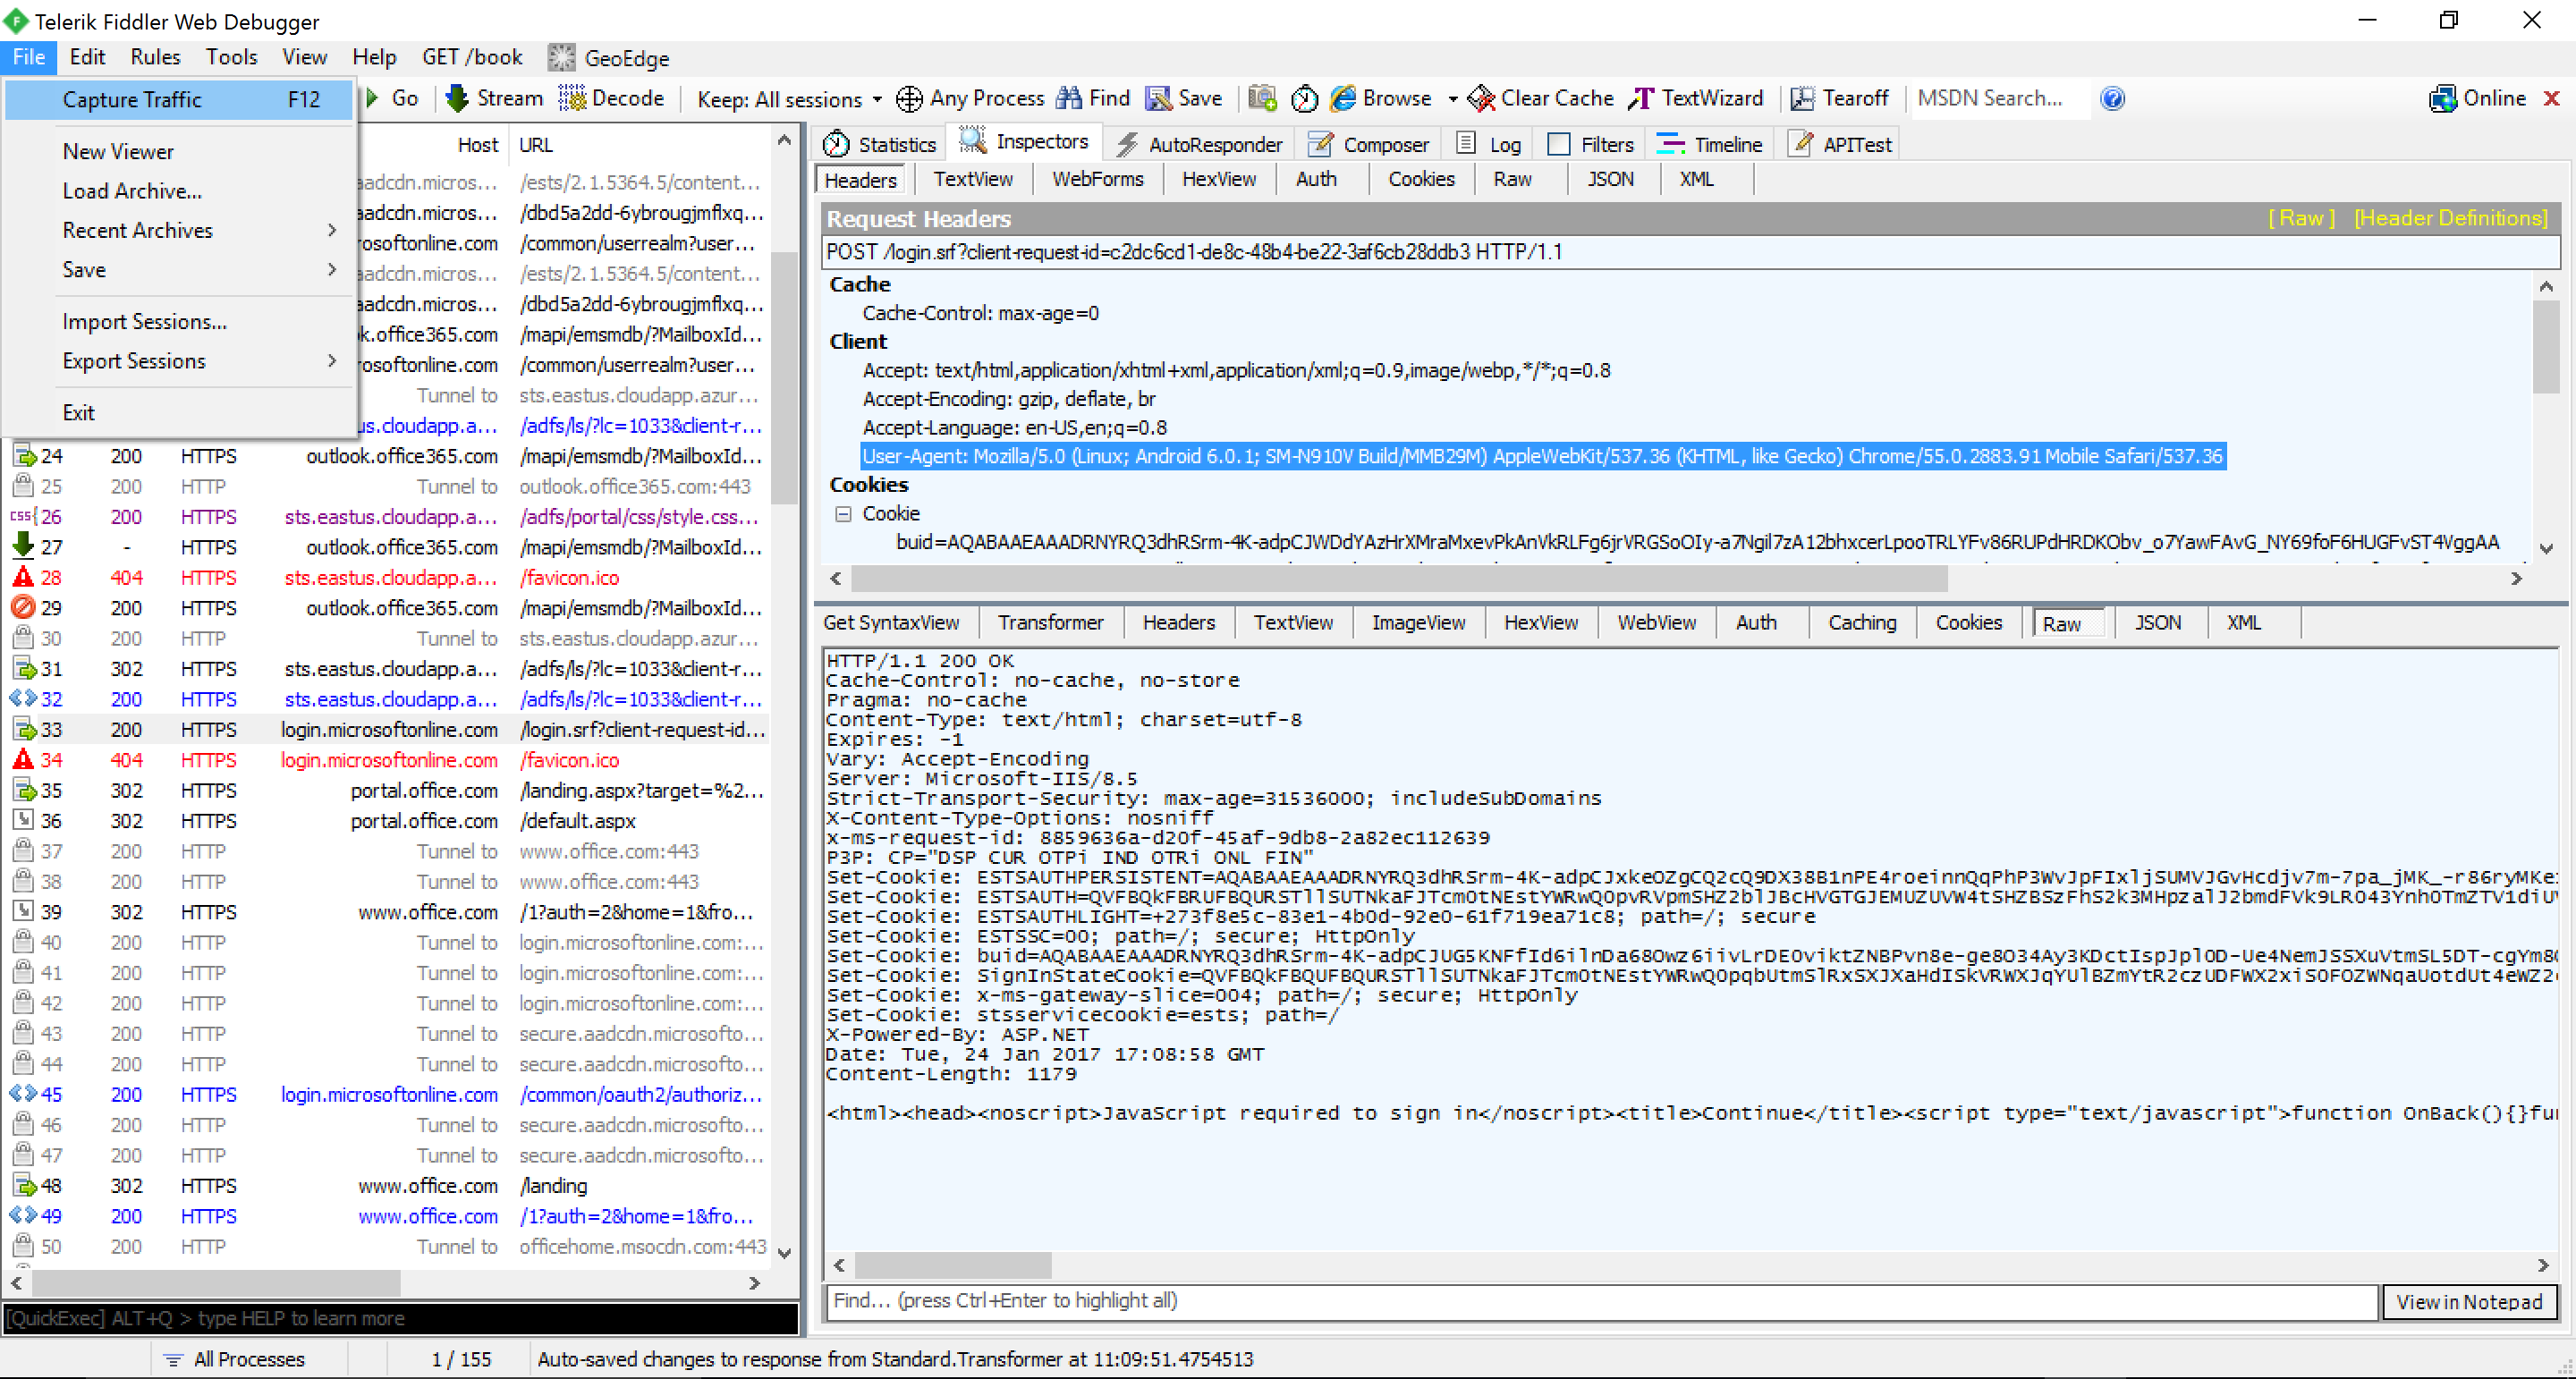
- At this point, you should be able to capture the traffic through the Fiddler application on your Windows machine; see the screenshot below showing traffic from the android device
- NOTE/TIP: If you turn off capturing, you will turn off capturing on Windows, but not for the mobile device. This can help cut down on the "noise" in getting your sample/debug logs.
- NOTE/TIP: If you turn off capturing, you will turn off capturing on Windows, but not for the mobile device. This can help cut down on the "noise" in getting your sample/debug logs.
Remove the Fiddler SSL certificate
- Slide down the notifications drawer from the top of the screen and hit the Settings (gear) icon in the top right
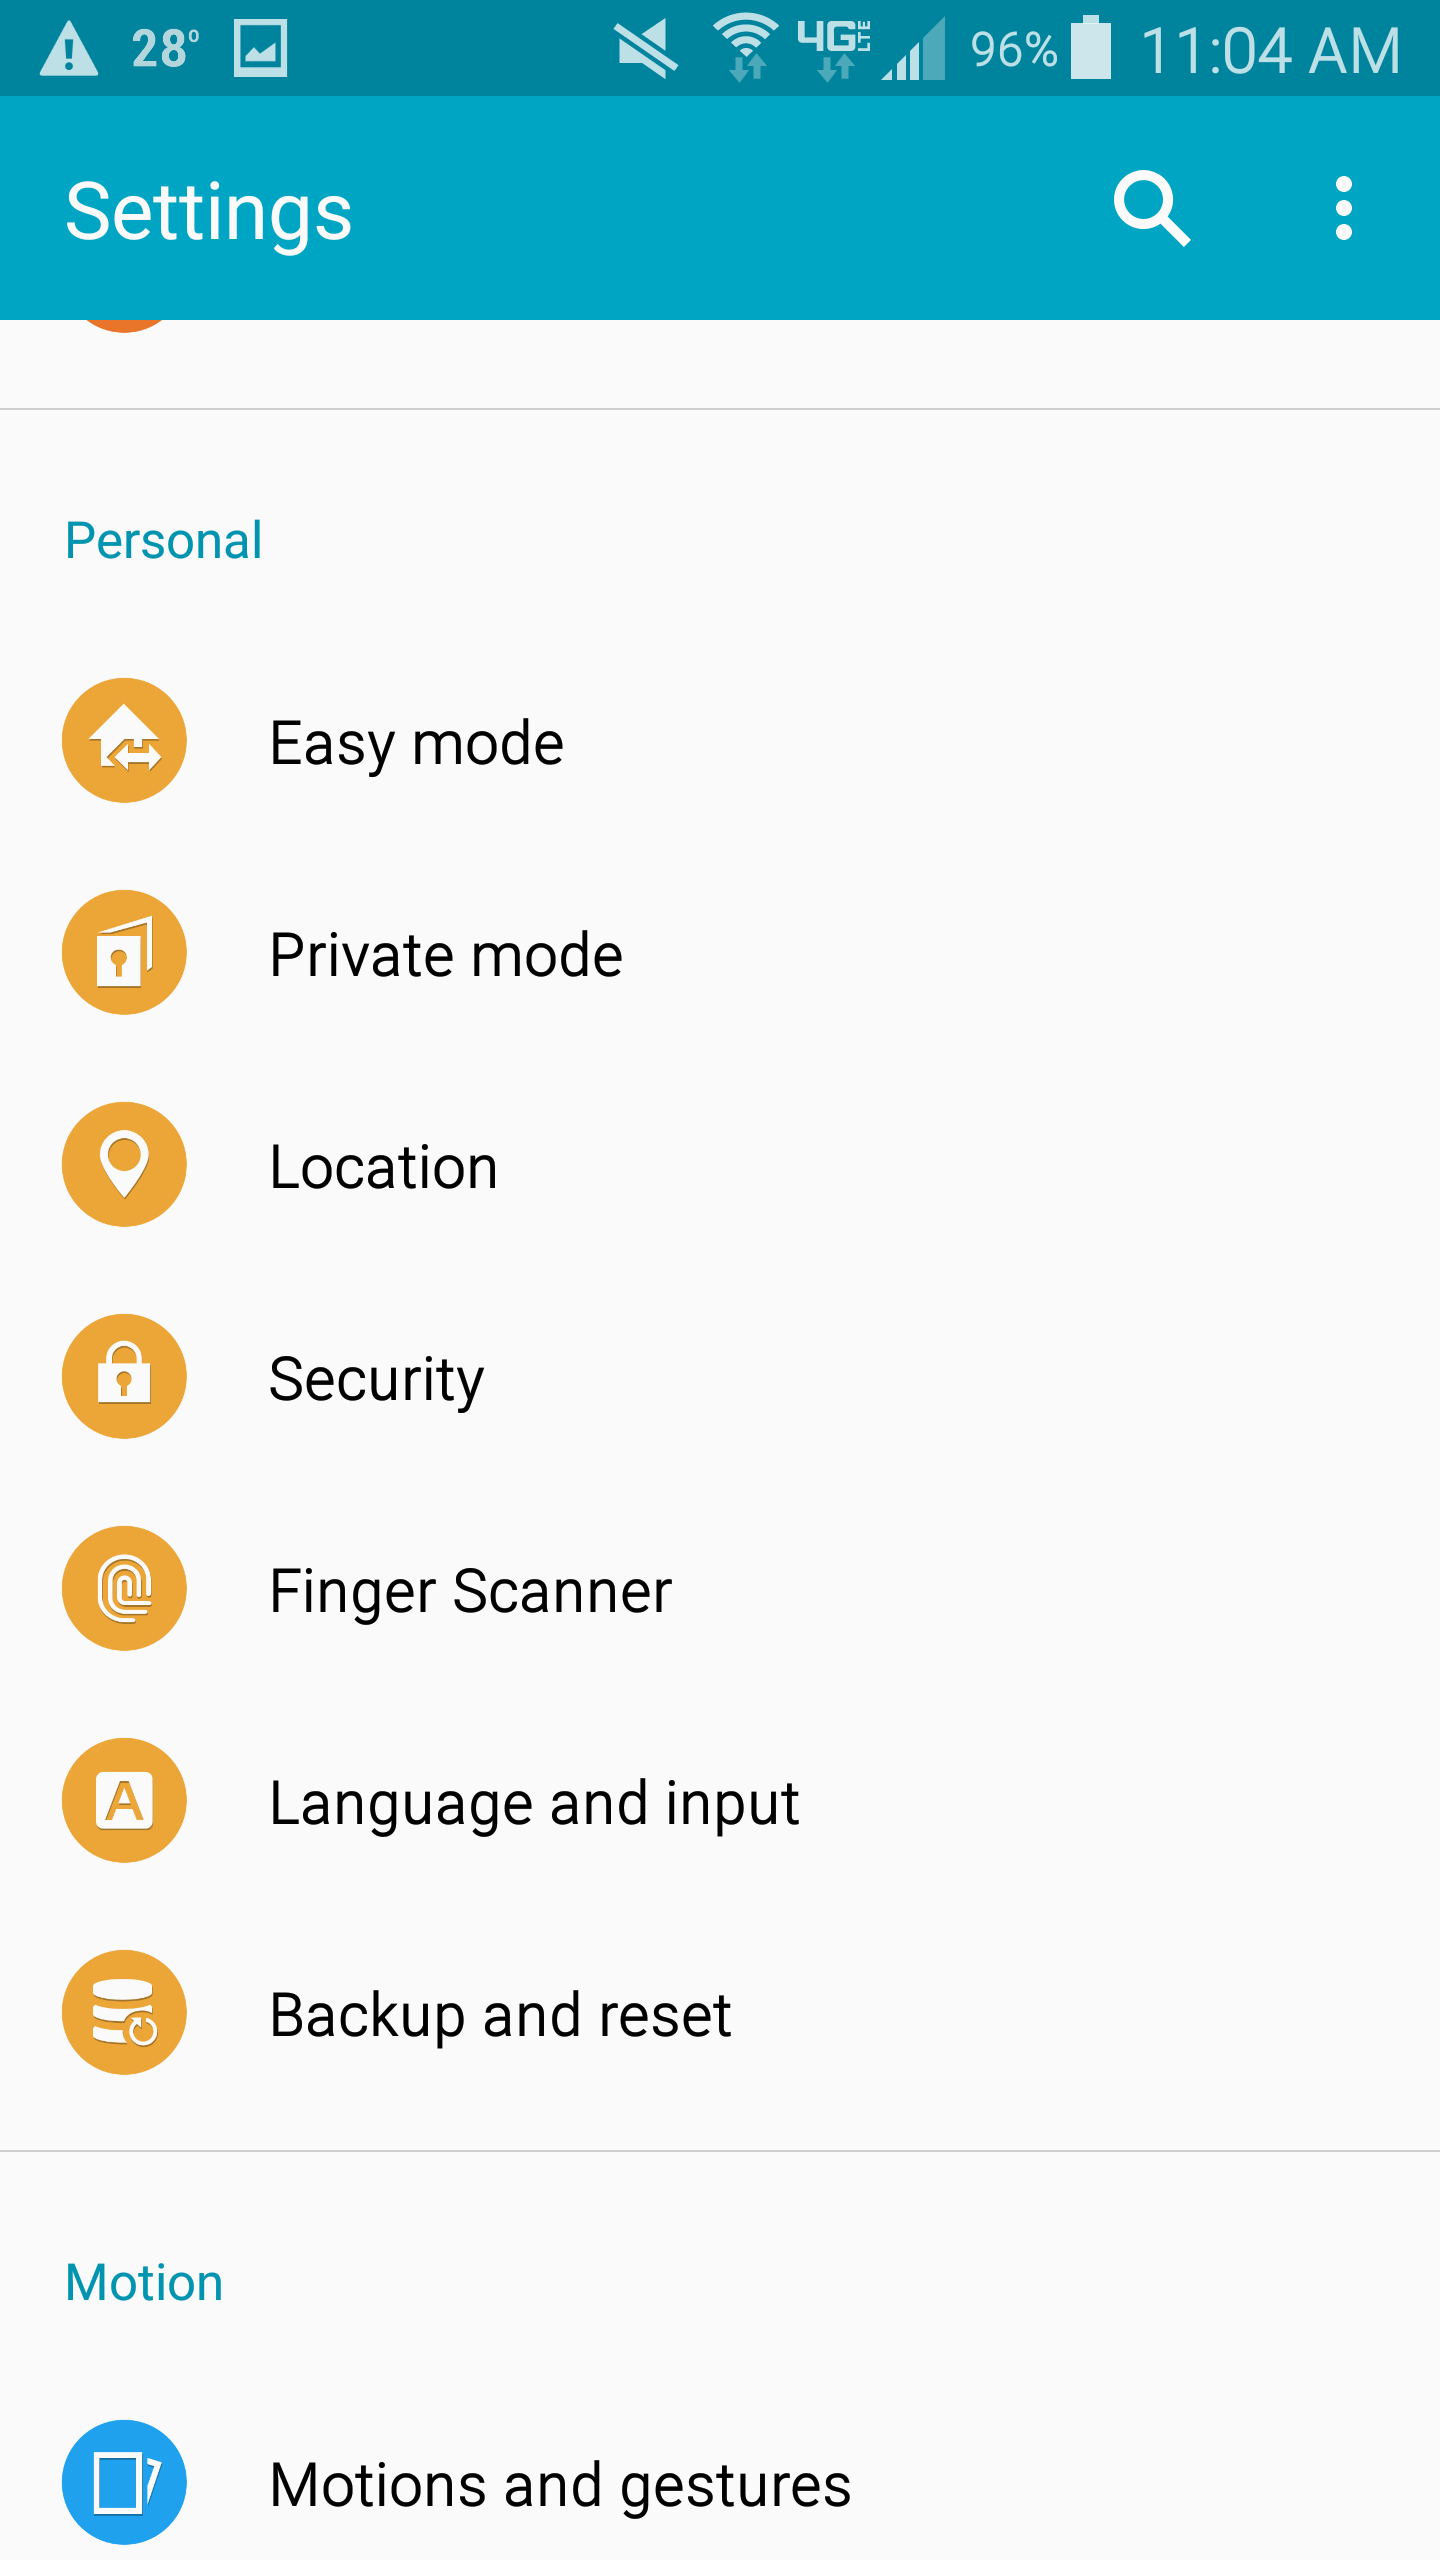
- Select Security
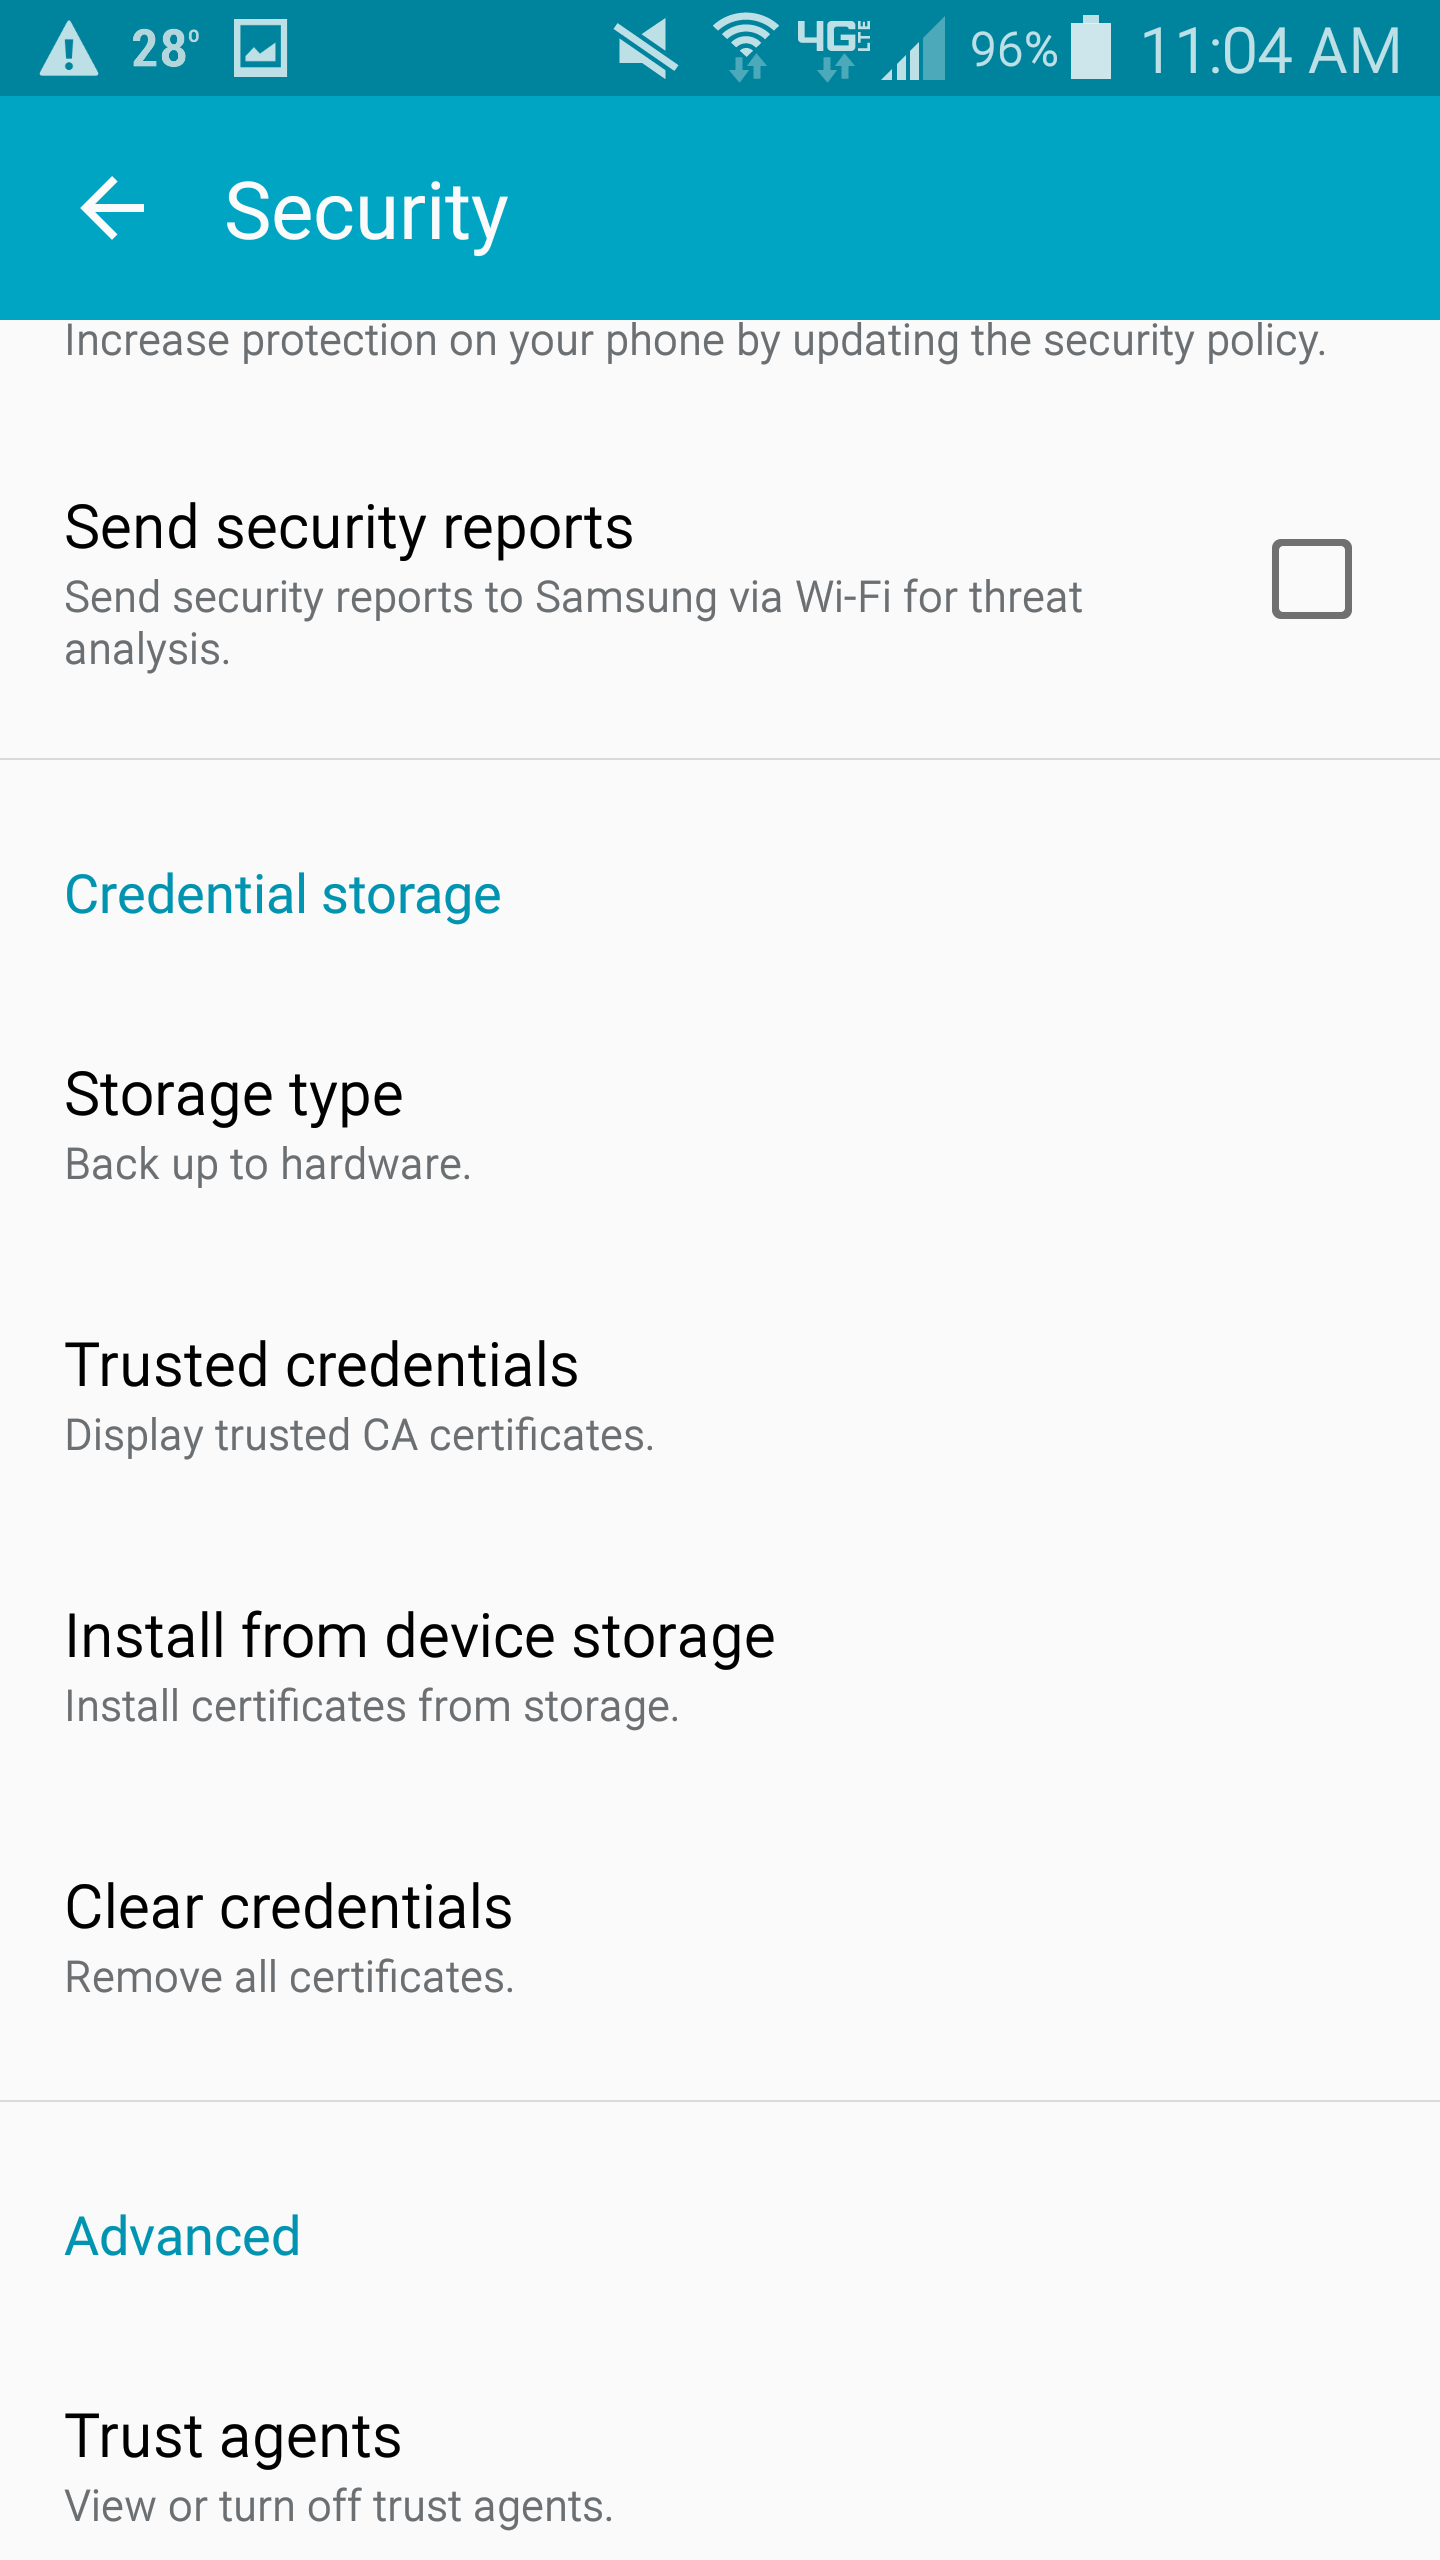
- Select Trusted credentials
- Select the User tab on the Trusted credentials window
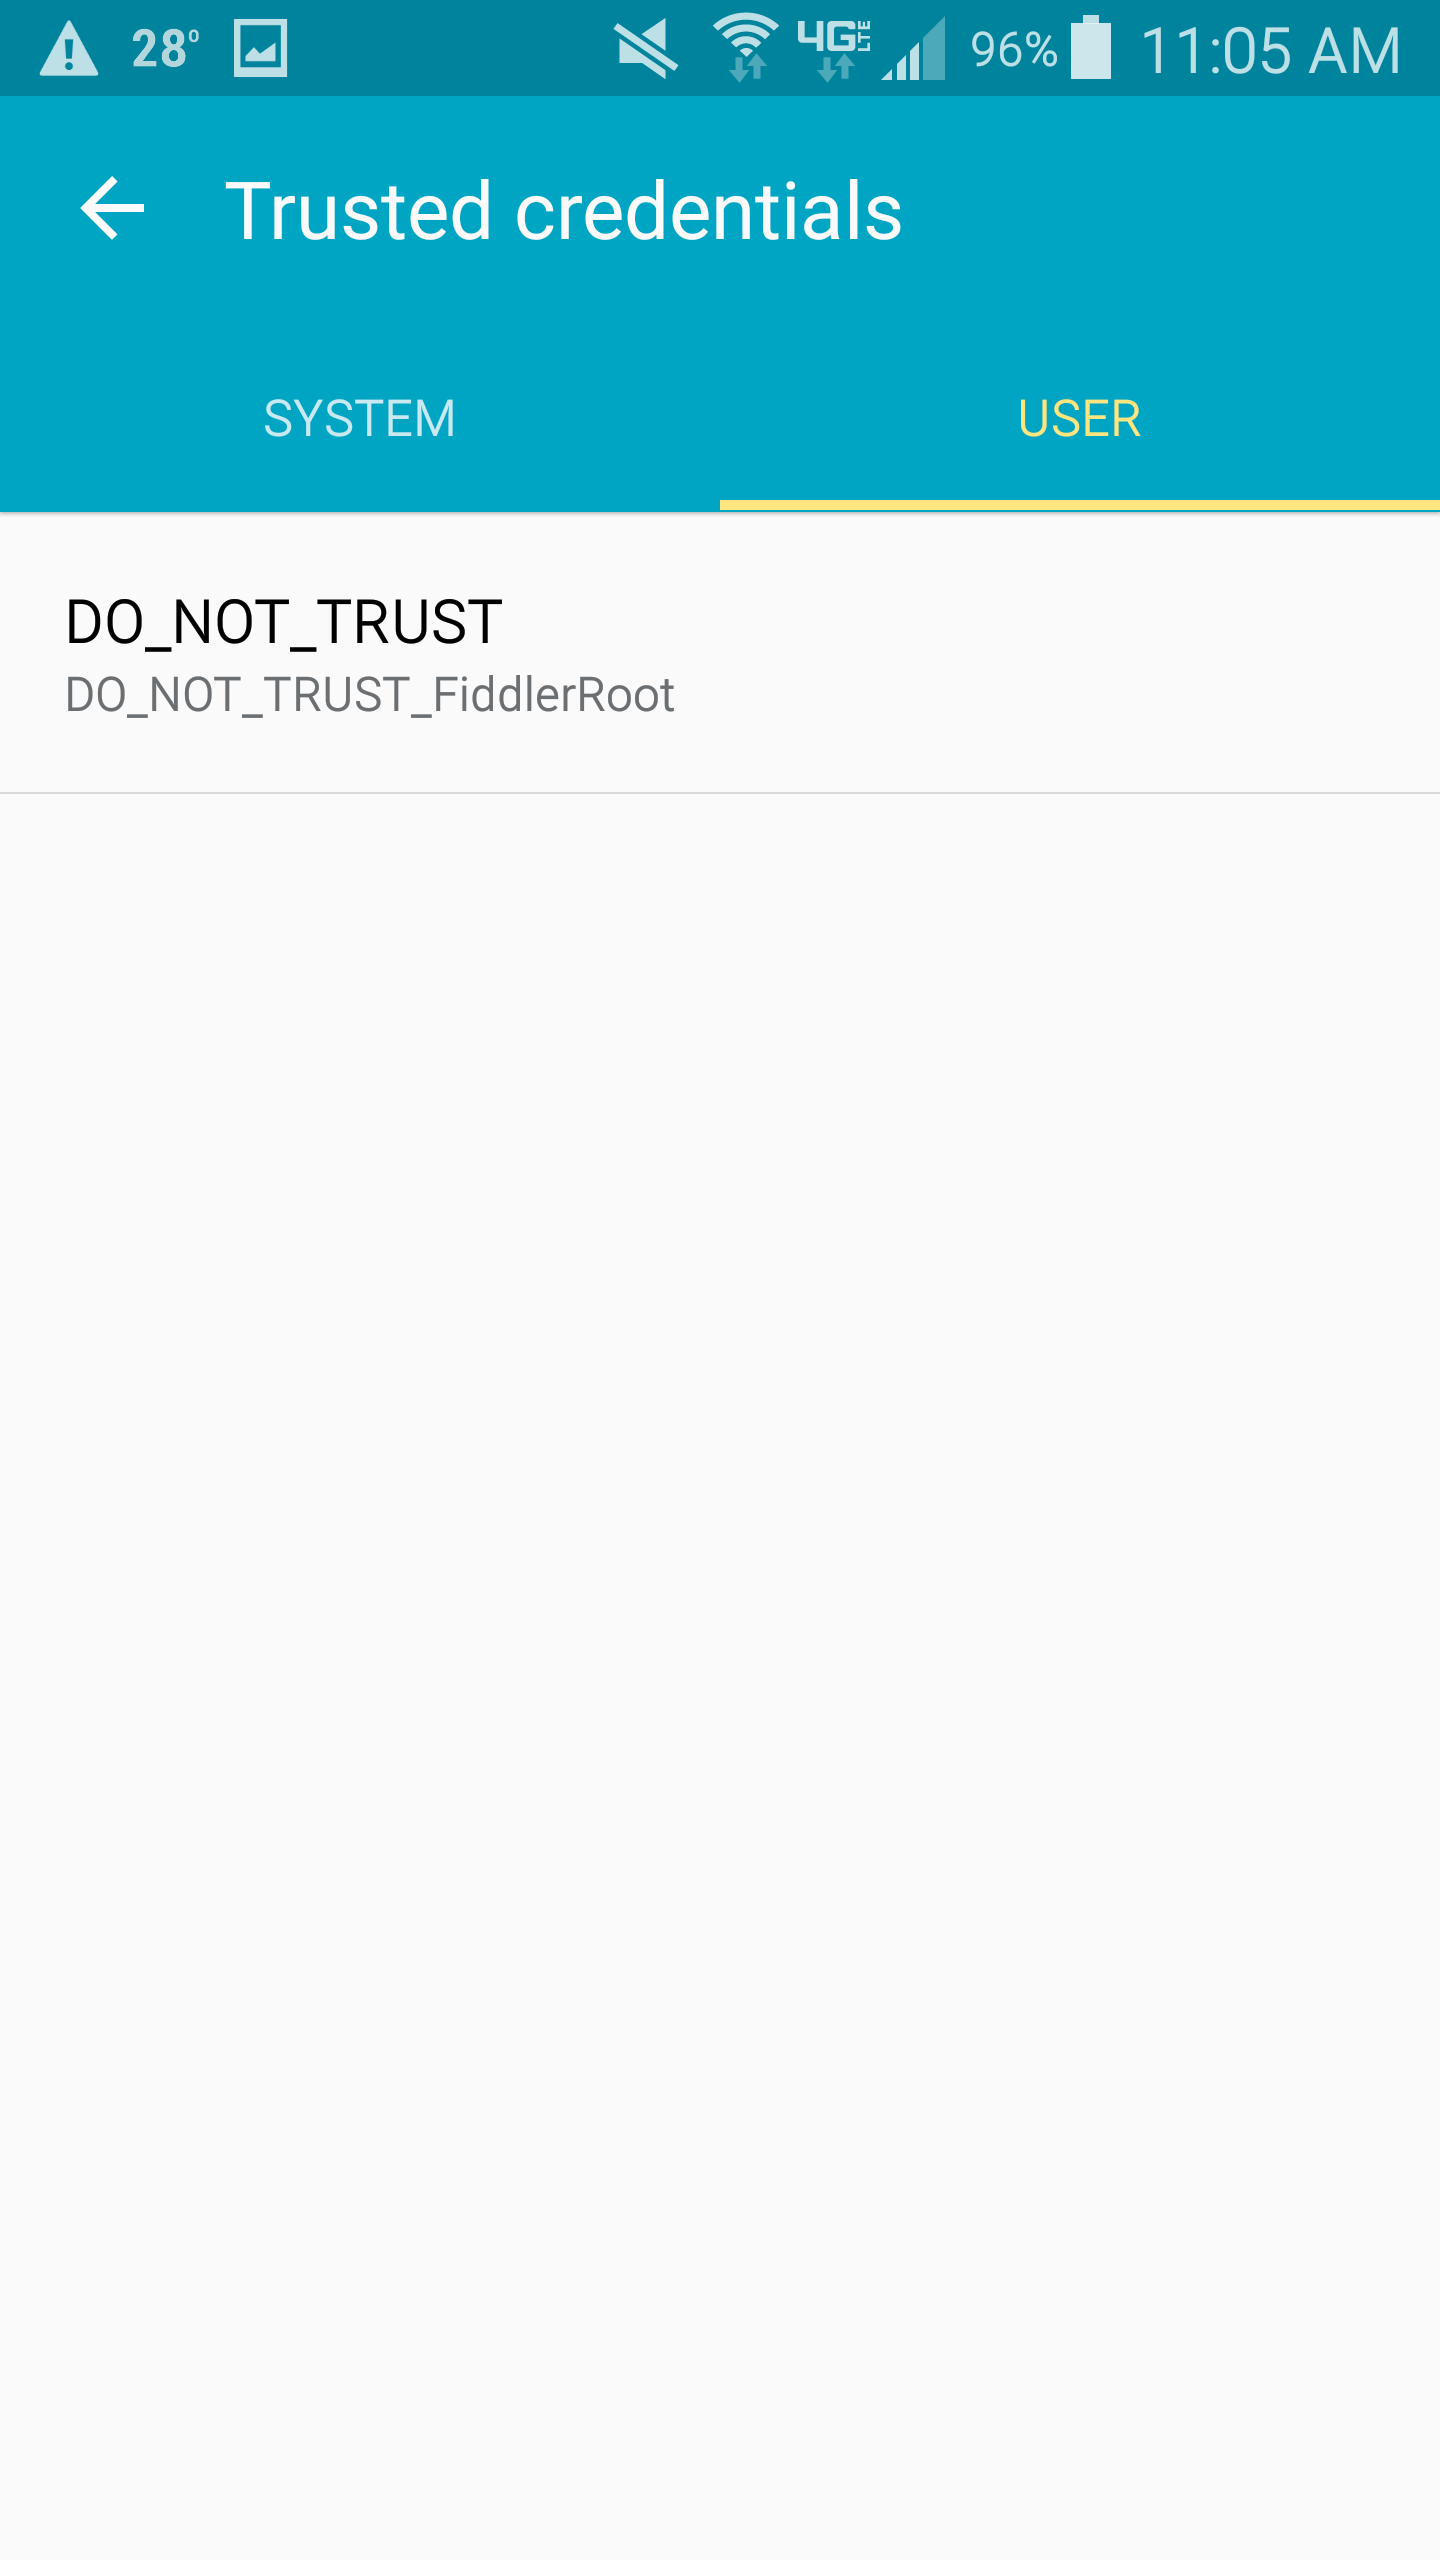
- Scroll down through the certificate information and towards the bottom you will see a Remove button; press the REMOVE button.
- Note: You have to scroll the text, there is no scrollbar until you start the scrolling gesture
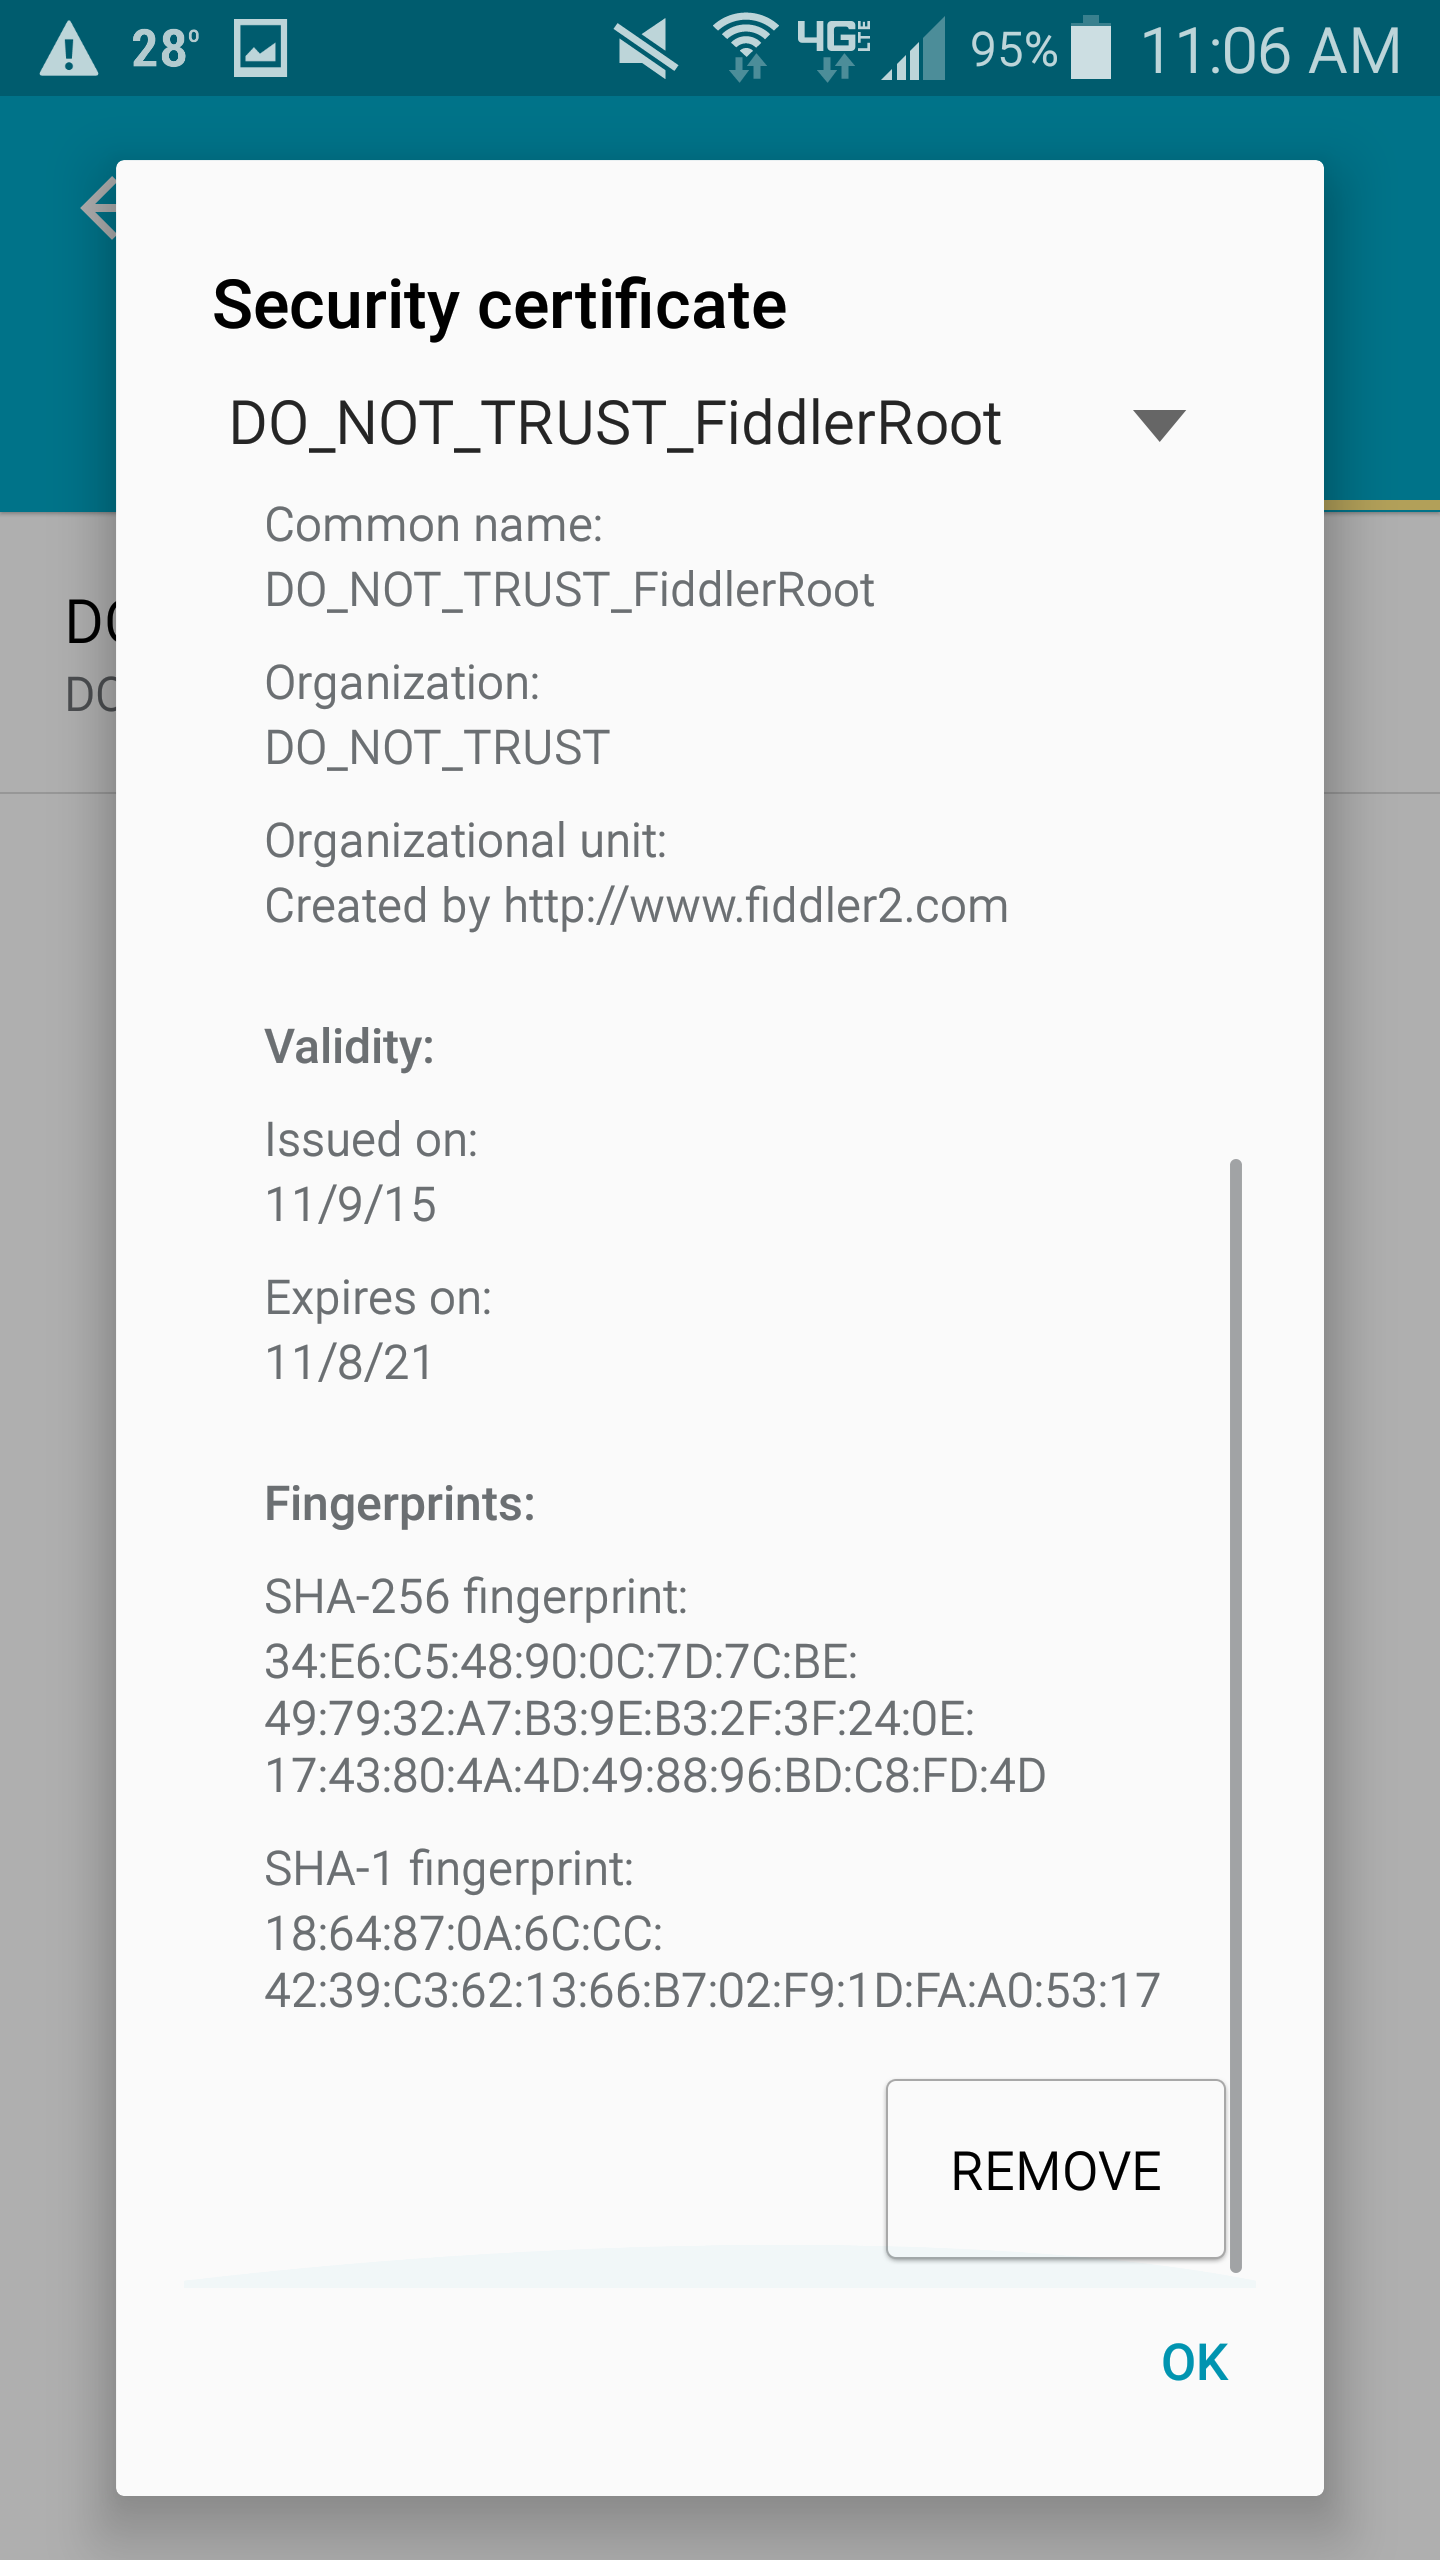
- Note: You have to scroll the text, there is no scrollbar until you start the scrolling gesture