Symptom: When trying to install the Microsoft Online Services Sign-In Assistant (Windows Azure Active Directory Module for Windows PowerShell) to manage Office 365 or Windows Azure, you receive the following error:
In order to install Windows Azure Active Directory Module for Windows PowerShell, you must have Microsoft Online Services Sign-In Assistant version 7.0 or greater installed on this computer.
Solution: Try installing the latest version of the Microsoft Online SErvices Sign-In Assistant.
If you still receive the error after installing the Sign-In Assistant, make sure you are using the latest installer for the Microsoft Online Services Module for Windows Powershell.
If you still receive the error after trying both installers, try installing the Beta version of the Windows Azure Active Directory Module for Windows PowerShell.
Synopsis: One of the biggest problems I have seen with Office 365 is ease in accessibility to all of the Office365 resources. As pointed out on many of the Microsoft forums, SharePoint, CRM, Skydrive, etc. do not automatically complete a single-sign on request when browsing the website.
Problem: When a user browses https://mydomain.sharepoint.com for example, the user is prompted to enter in their email address. What a user expects is that they should automatically be logged in and see sharepoint when navigating to https://mydomain.sharepoint.com Additionally, for whatever reason, users cannot remember the website address to https://mydomain.sharepoint.com Instead, they want to do something like http://sharepoint.mydomain.com
Solution: Create name branded "fancy URLs" that will complete an idp claim to give the user a true SSO experience.
http://owa.mydomain.com
http://sharepoint.mydomain.com
http://skydrive.mydomain.com
http://crm.mydomain.com
Solution:
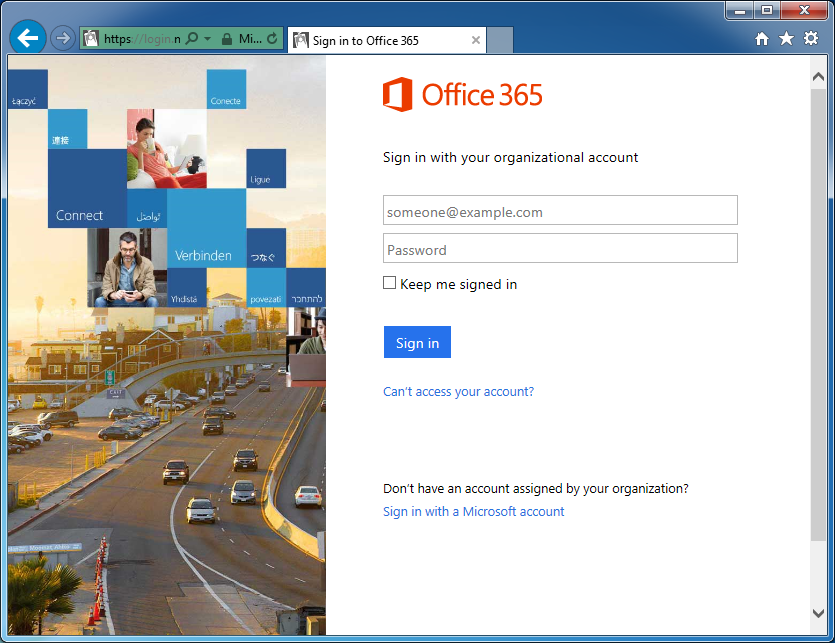
Open up Internet Explorer
Navigate to https://mydomain.sharepoint.com
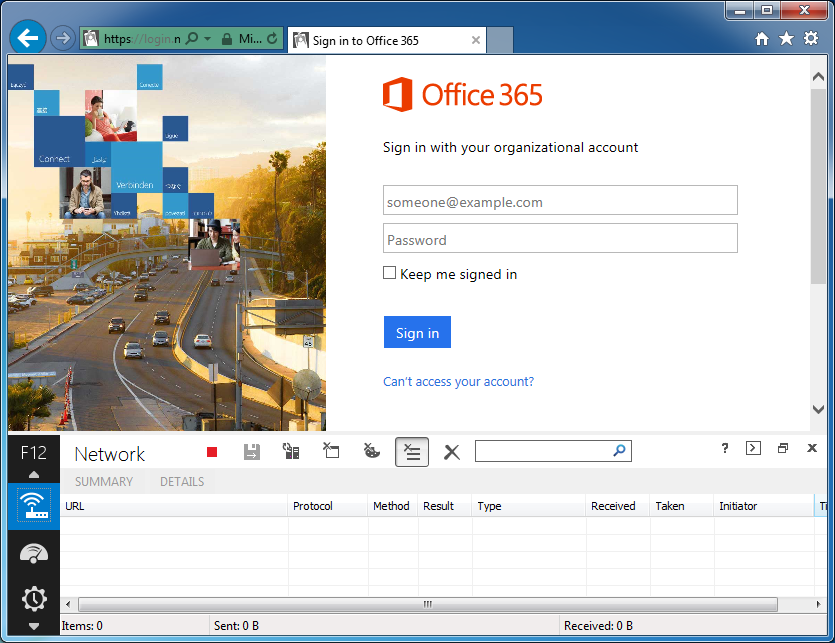
Press F12 to open up the developer tools console (I am running IE 11, the console looks way different than previous versions of IE)
Scroll down and select the icon that looks like a little WiFi antenna
Click the green play button
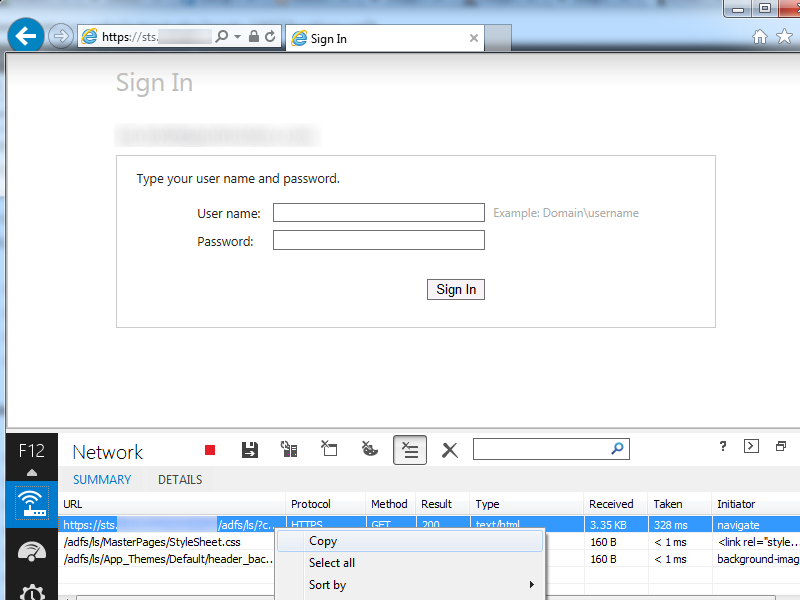
Type in your email address as you would to login to sharepoint ([email protected])
You should be redirected to your ADFS server and inside the network console, you should see a link like https://sts.mydomain.com/adfs/ls/?.................. Copy this link into notepad.
Remove the extra stuff from the debug console Before After
Remove everything from cbcxt=..... to wa=wsignin1.0
Remove the ct%3D1386214464%26 and bk%3D1386214464%26 parameters
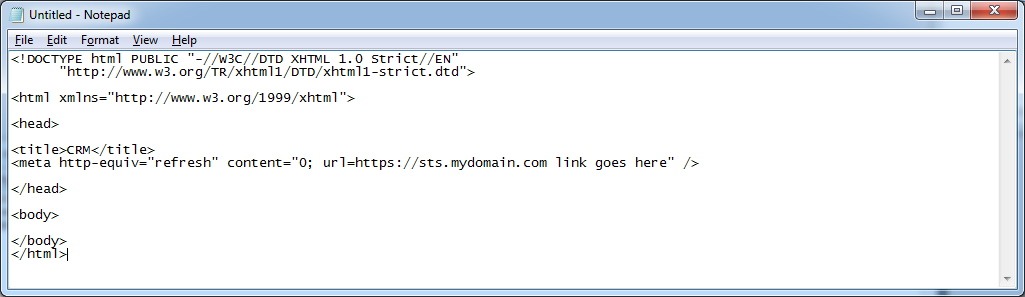
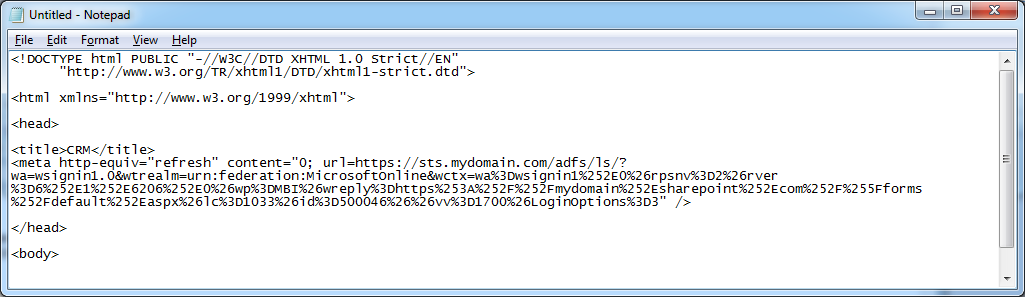
Next, open up another new notepad document named index.html and paste the following text into it
<!DOCTYPE html PUBLIC "-//W3C//DTD XHTML 1.0 Strict//EN"

"http://www.w3.org/TR/xhtml1/DTD/xhtml1-strict.dtd"><html xmlns="http://www.w3.org/1999/xhtml"><head>
<title>CRM</title>
<meta http-equiv="refresh" content="0; url=https://sts.mydomain.com link goes here" /></head>
<body>
</body>
</html>
Replace https://sts.mydomain.com link goes here with your new smart link and save the document.
Upload the index.html file to one of your your webservers
Create a new A record called sharepoint.mydomain.com pointing to your webserver
Now when a user browses http://sharepoint.mydomain.com, the user will automatically be redirected to your secure ADFS Proxy and authenticate automatically.
You will need to repeat the steps above for each of the Office 365 products your company uses. The federated addresses do change, so you will have to follow all of the steps over again for each Smart Link you wish to create.
If you are on the enterprise plans of Office 365 (E4 for example), your users may be eligible to use Microsoft's enterprise social network called Yammer. This article will cover a few questions I was curious about when rolling out Yammer as well as what to expect.
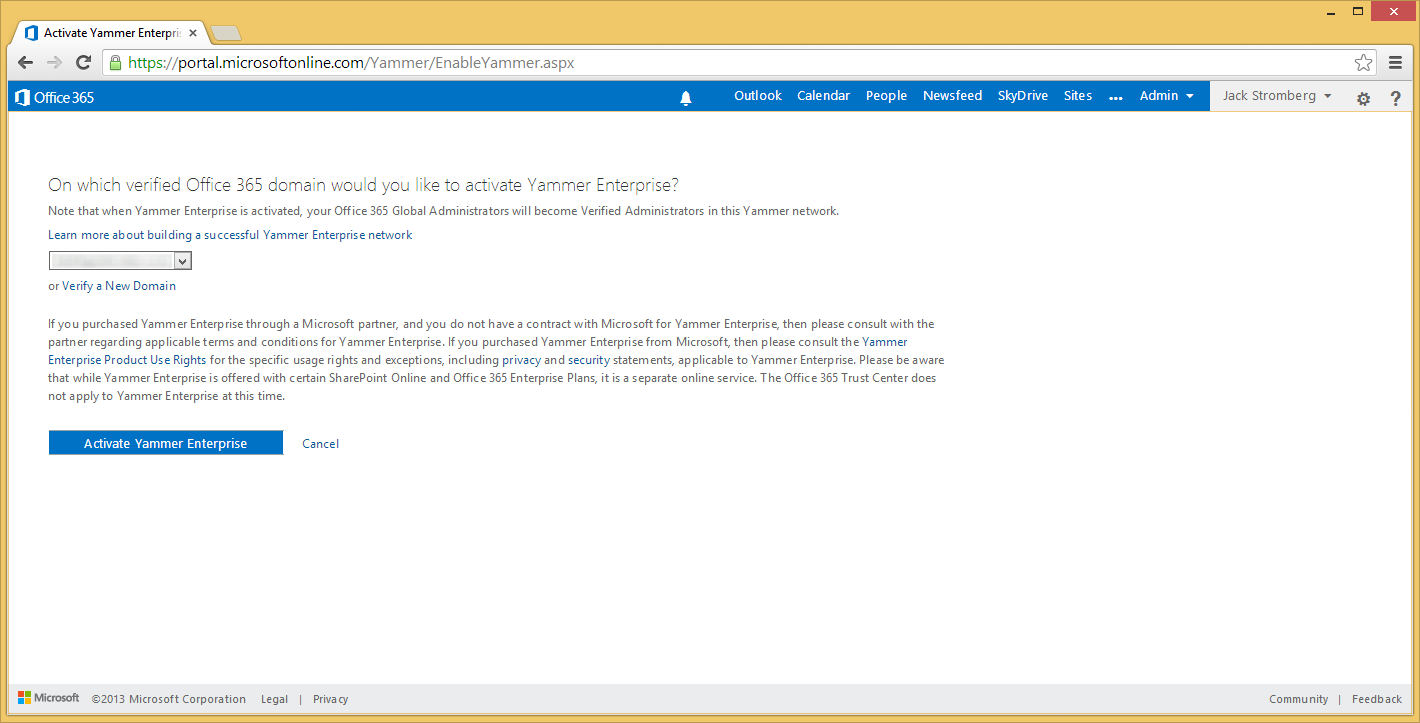
If you are eligible for the Yammer service, click on the Yes, activate Yammer Enterprise for my network
Click on the Activate Yammer Enterprise button
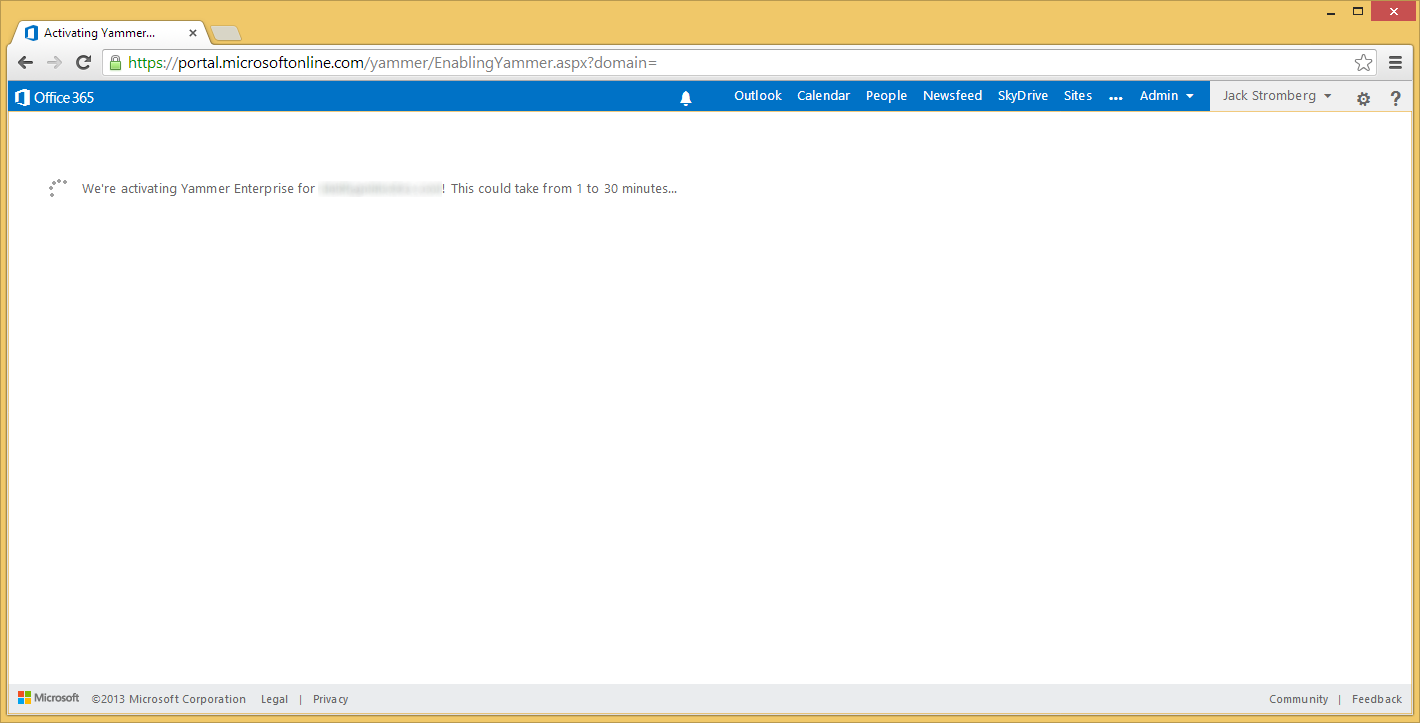
You will be redirected to a screen where you see a loading bar. Grab a can of pop/coffee/tea/water and come back.
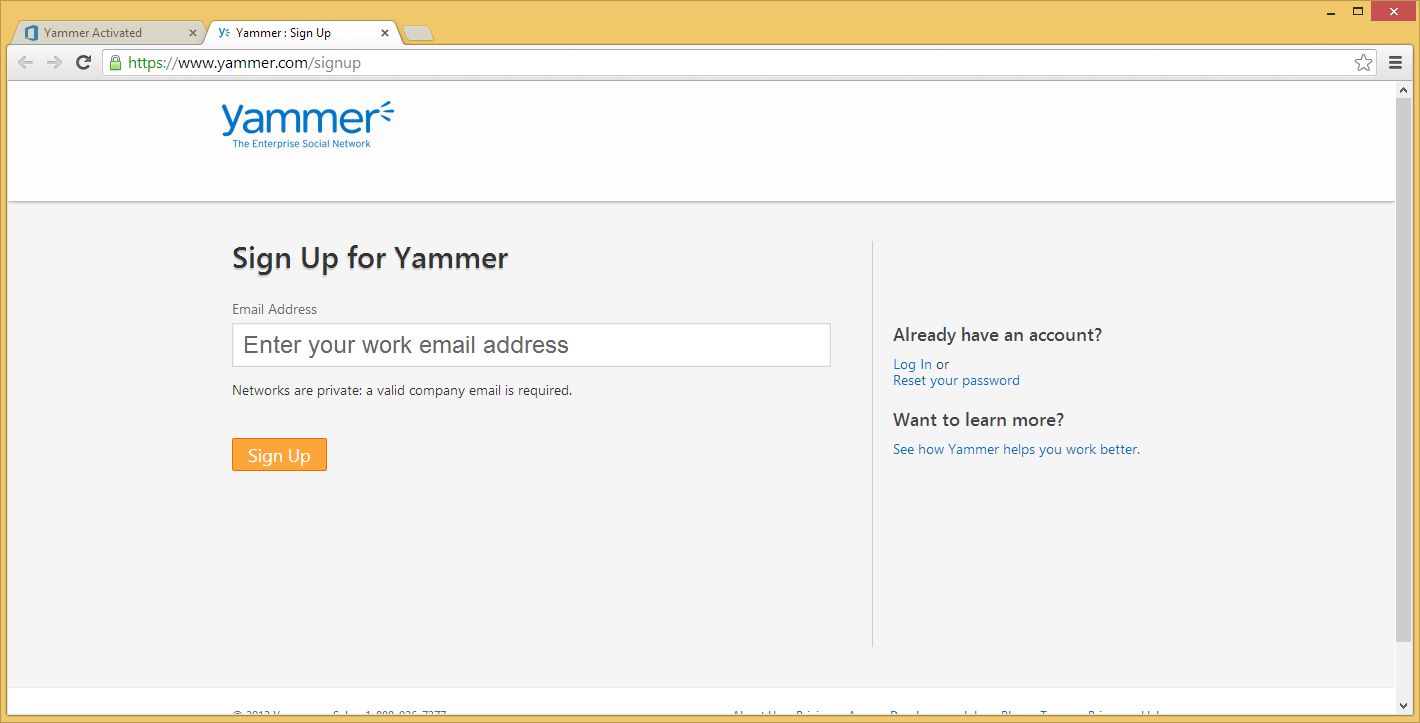
Click on the Create Yammer Account link once Yammer Enterprise has been provisioned.
Type in the same email address you use for your Office 365 Admin credentials
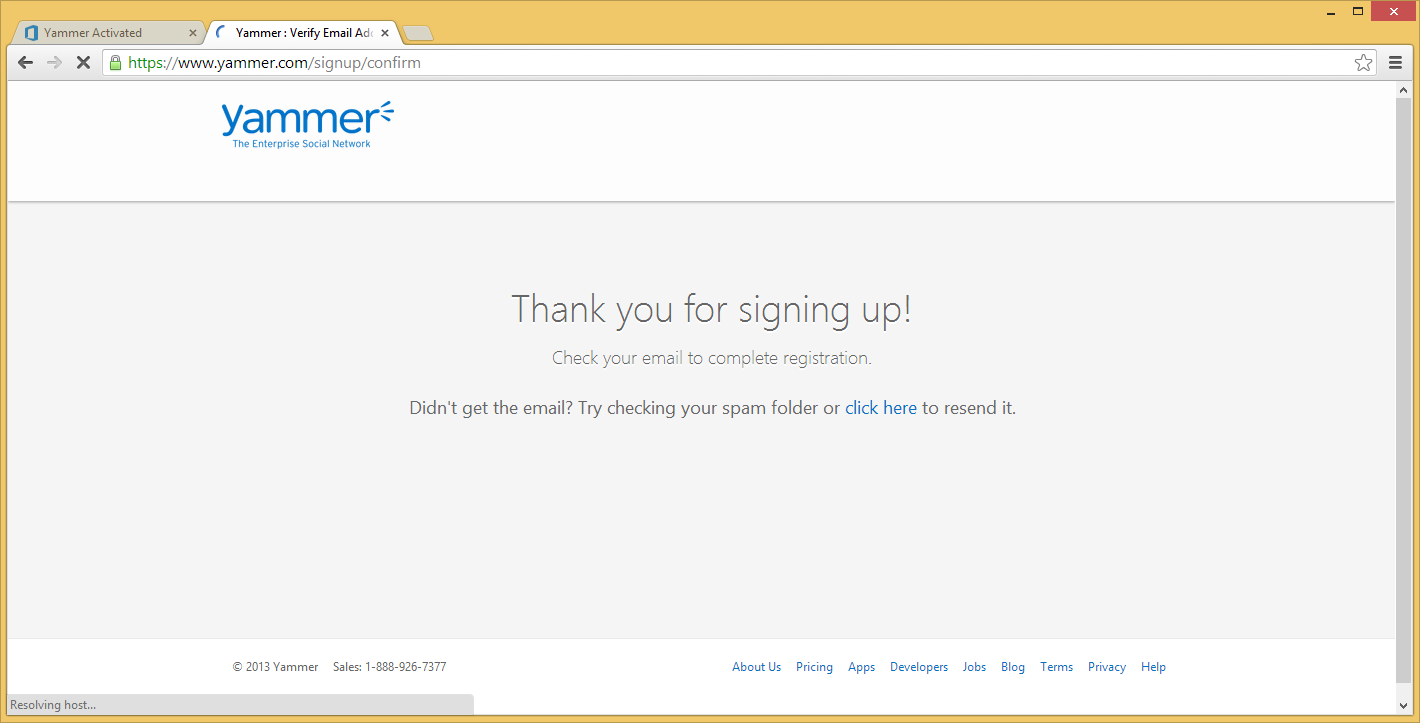
If successful, you should see the screen below:
Check your email and click on the Complete Signup button
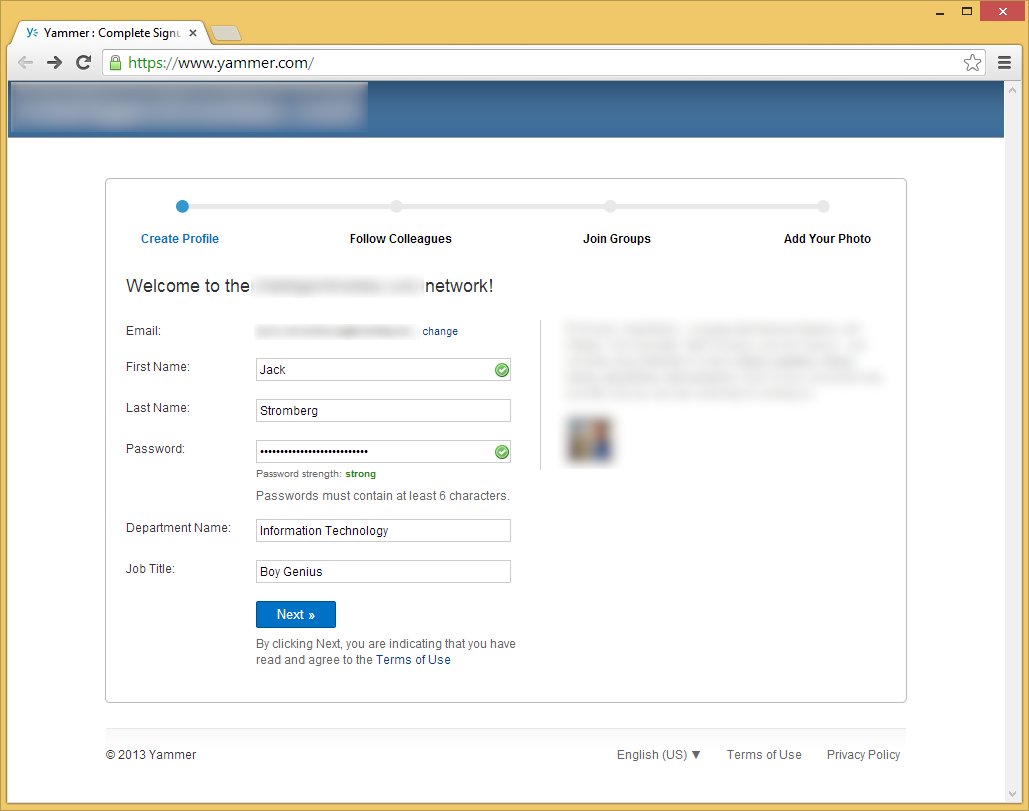
Type in your information and click the Next button
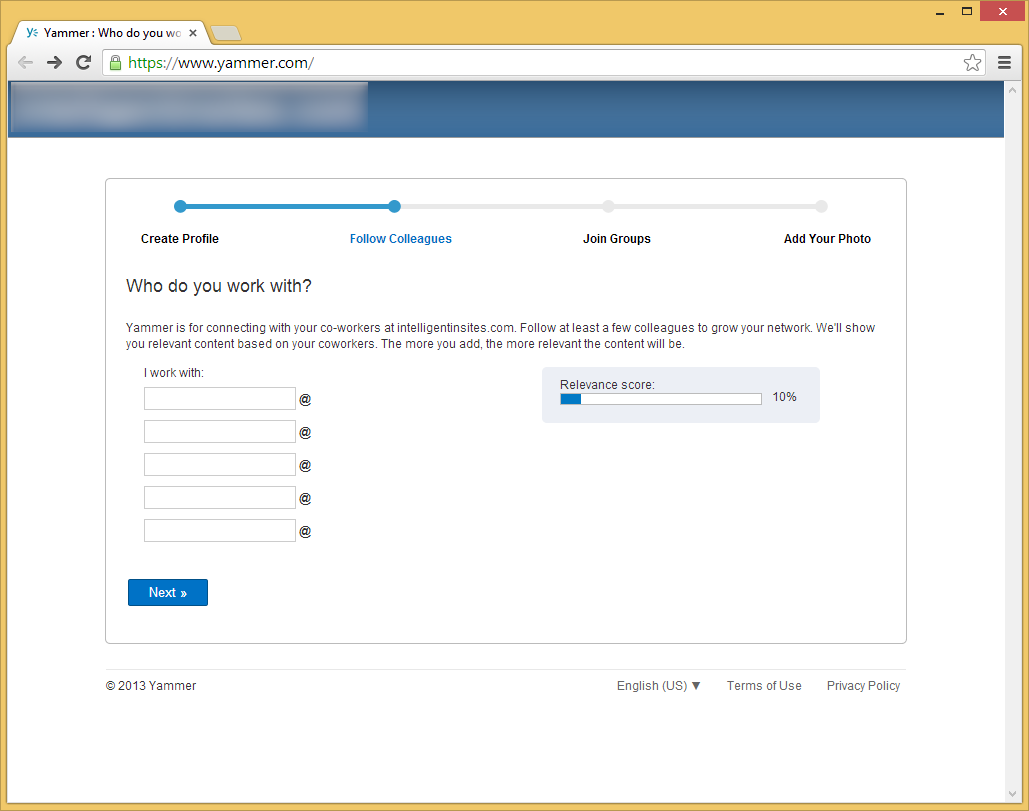
Click Next on the who do you work with page, or spam your colleagues to sign up as well.
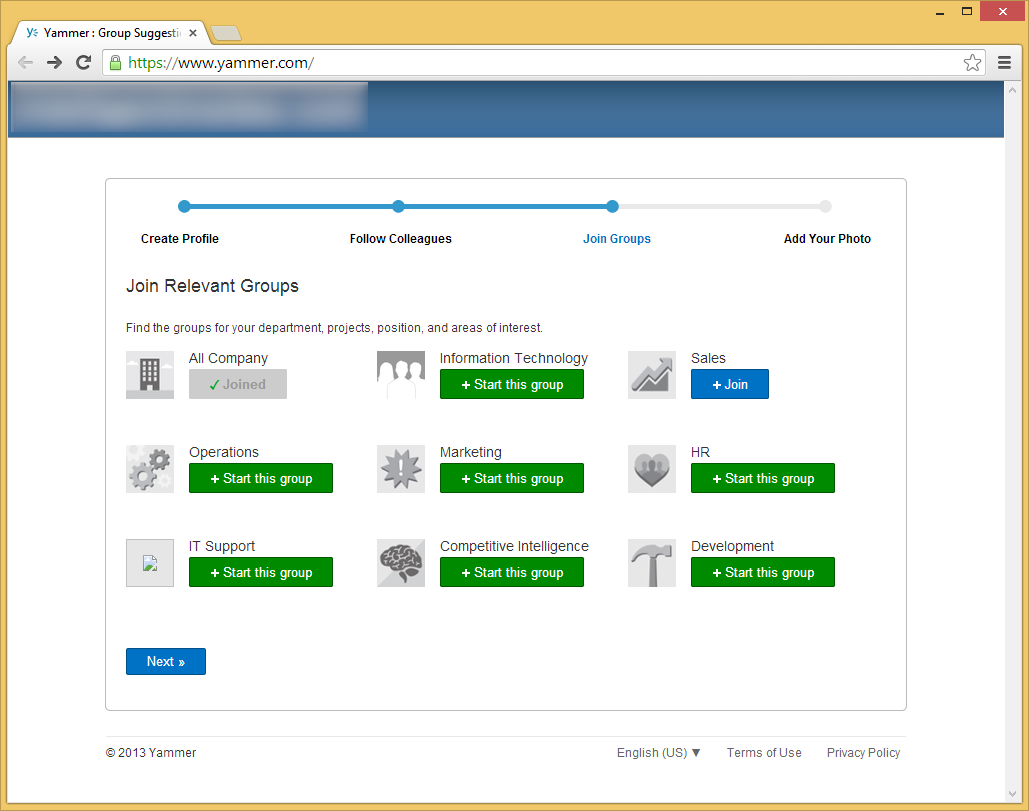
Join or create any groups you would like and then click Next
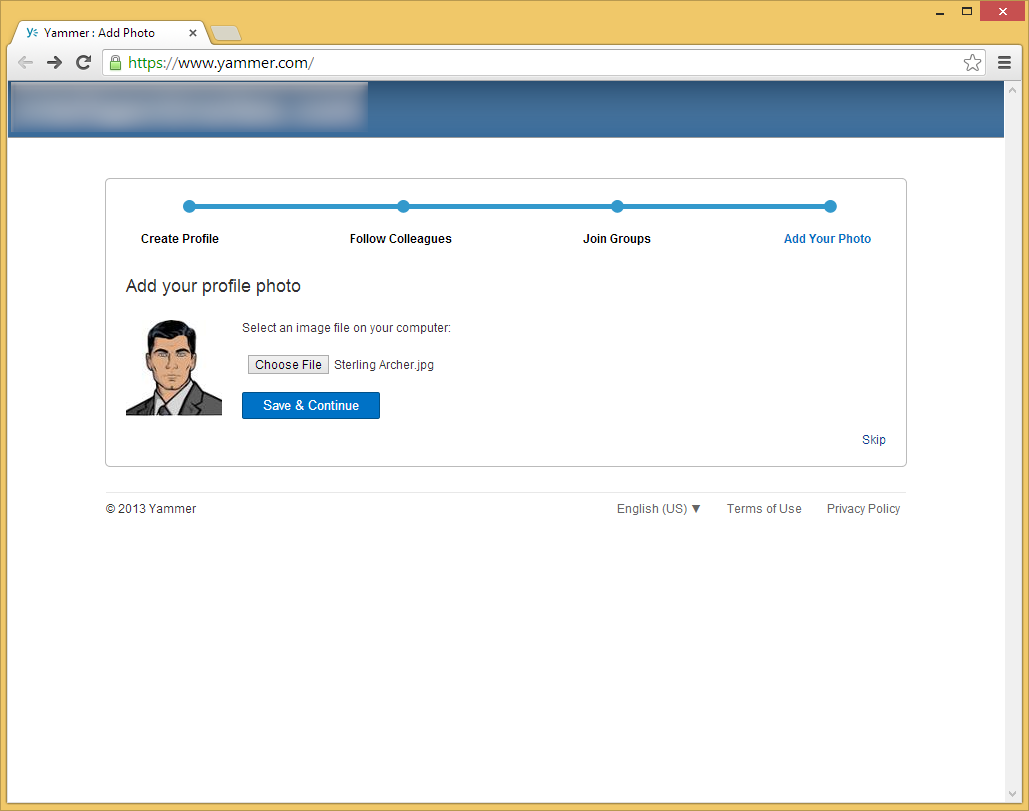
Optionally, add a profile picture and click Save & Continue
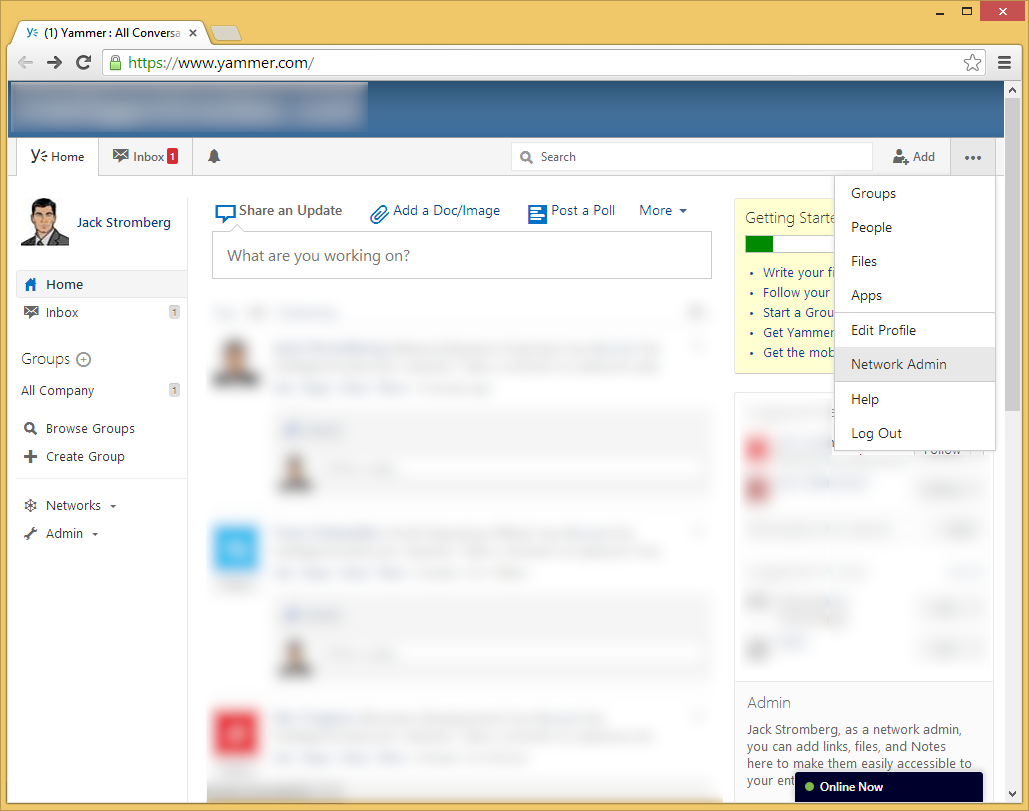
Click on the 3 dots in the top right corner and select Network Admin
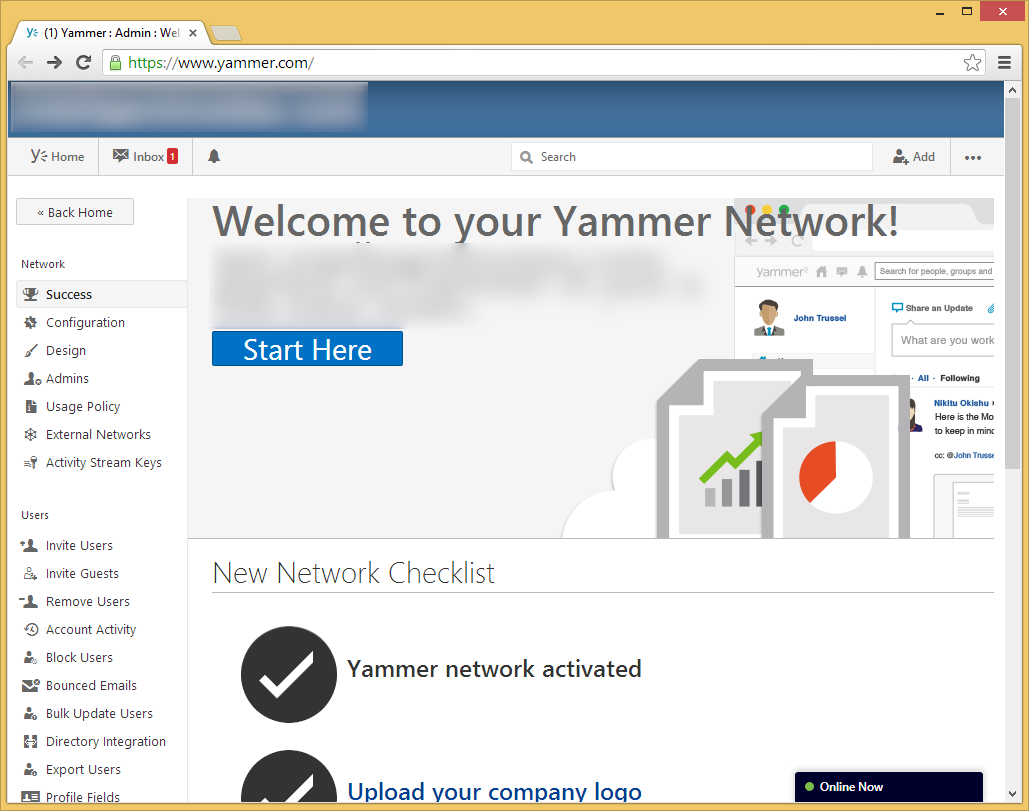
Welcome to your Yammer Enterprise Admin portal! Here you can manage all aspects of Yammer for your organization.
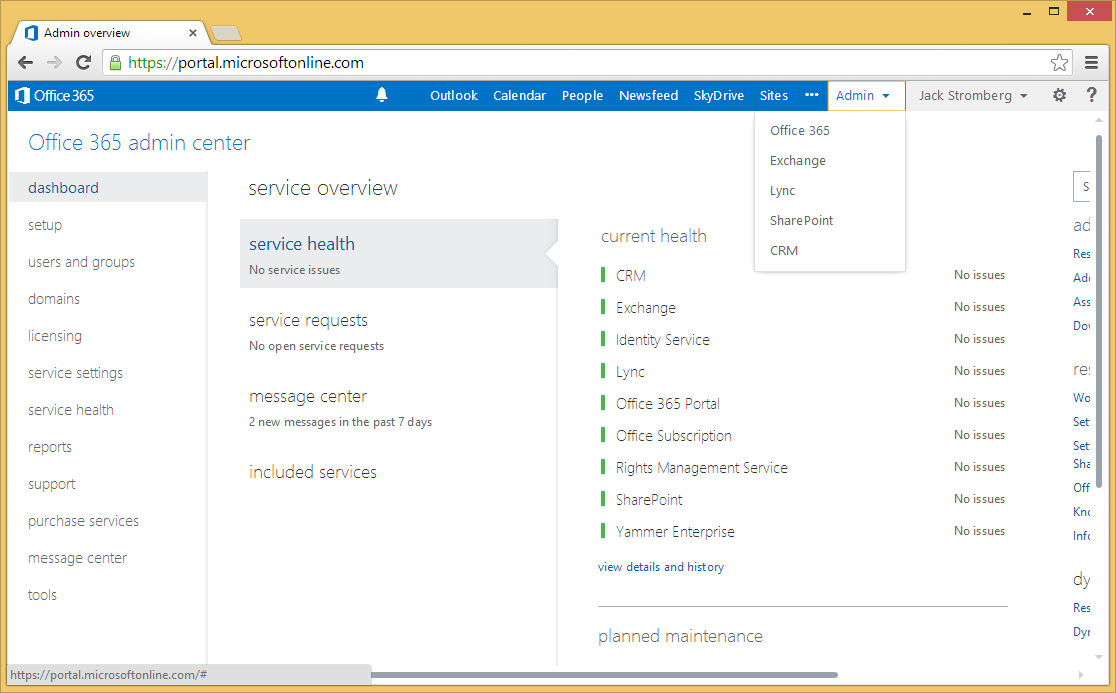
Lastly, if you go back to your Office 365 Admin portal, you should see a link that will redirect you to the Yammer.com website.
FAQ
Does Yammer support single-sign on or ADFS?
Currently, Yammer does not support this integration at this time.
Will Yammer find users previously signed up with email addresses from @mydomain.com?
Yes
Does Microsoft have plans on continuing to integrate Yammer and Office 365?
Yes, Microsoft has announced they would like deeper integration with Office 365, more specifically with functionality in SharePoint. Quarter 4 of this year (2013) was their deadline for the first integration, and we have seen they have started to deliver. However, there are no specific dates yet of when users will be 100% synchronized between the two systems.
When I activate Yammer on Office 365 for my organization will it email all of my users to create profiles?
No, they will have to manually join or you will have to manually send them invites to create a separate Yammer account.
Note: This guide is deprecated. AD RMS is now supersceeded by Azure Information Protection. If you have previously used this guide, review the following guide on Migrating from AD RMS to Azure Information Protection.
Those that have the following tiers of Office 365 are entitled to use Microsoft's AD Rights Management Service to help secure their documents:
SharePoint Online Enterprise (E1),
SharePoint Online Enterprise (E3 & E4),
SharePoint Online Midsized Business
Here is a list of compiled questions I wanted to know when trying AD RMS for Office 365.
What is AD Rights Management Services?
Active Directory Rights Management Services (AD RMS) is an information protection technology that works with AD RMS-enabled applications to help safeguard digital information from unauthorized use. Content owners can define who can open, modify, print, forward, or take other actions with the information. http://technet.microsoft.com/en-us/library/cc771234(v=ws.10).aspx
Are their any examples of using AD Rights Management Services?
Office 365 did a pretty good job covering the concept of using AD RMS as well as how to use AD RMS. You can find the full tutorial here, however their official YouTube video covering this has been embedded below:
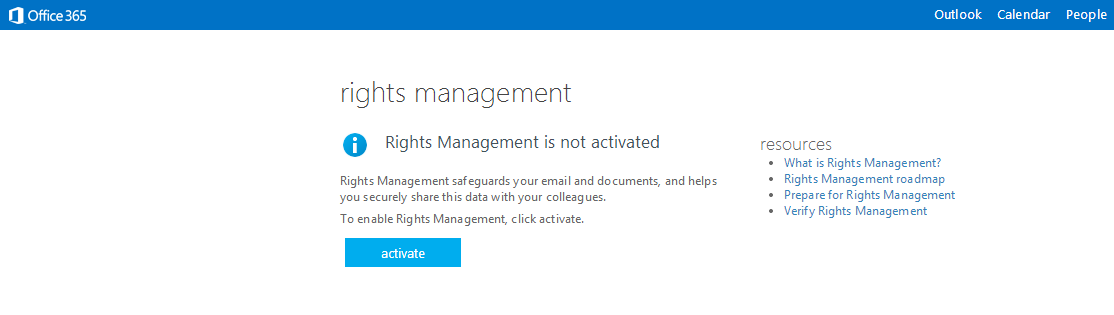
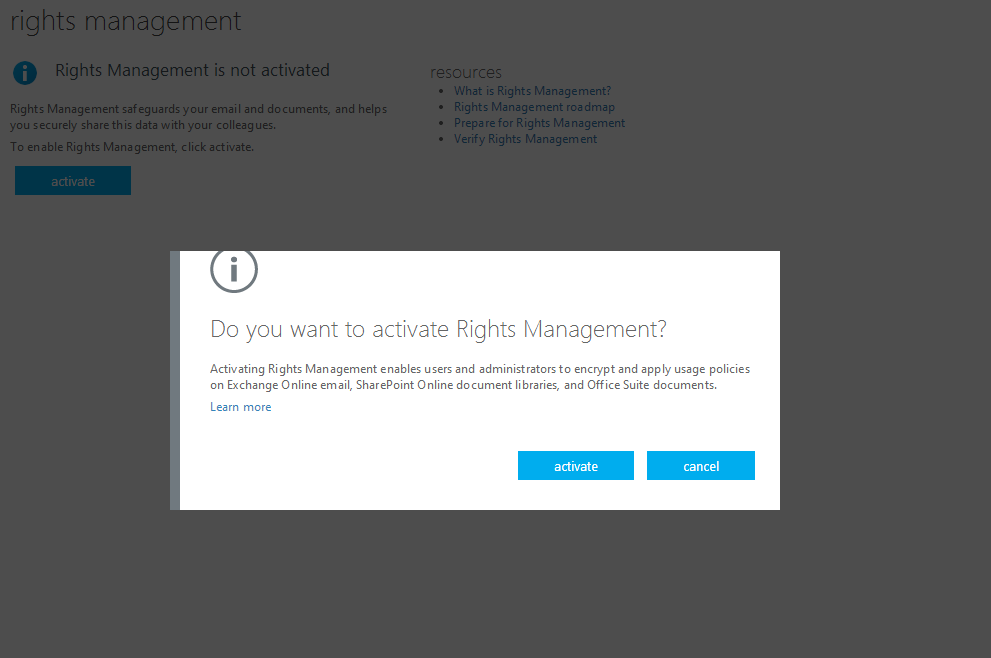
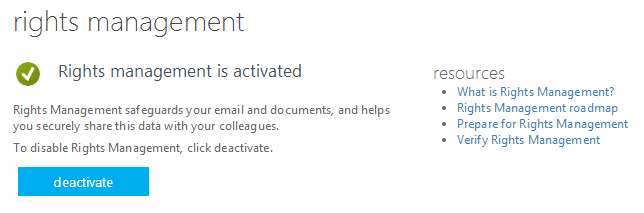
How do I deploy or enable AD Rights Management Services for Office 365?
By default, in a pure Office 365 environment, we can get 3 RMS Templates in Windows Azure Rights Management. If we have an on-premises server running Active Directory Rights Management Services (AD RMS), we can get more via import a trusted publishing domain (TPD). So, without on premise server, we just can get default 3 Templates.
I enabled AD RMS for Office 365, but I don't see any options in Office 2010. How do I get Office 2010 to use AD RMS?
Since you are more than likely on the E4 tier, I would highly recommend downloading Office 2013 from your Office 365 portal and installing that. Office 2013 from the Office 365 portal comes preconfigured to work more fluidly with AD RMS. However, if you need to use Office 2010, you can complete the following steps as documented on the following technet article: http://technet.microsoft.com/en-us/library/jj585031.aspx#sectionSection1
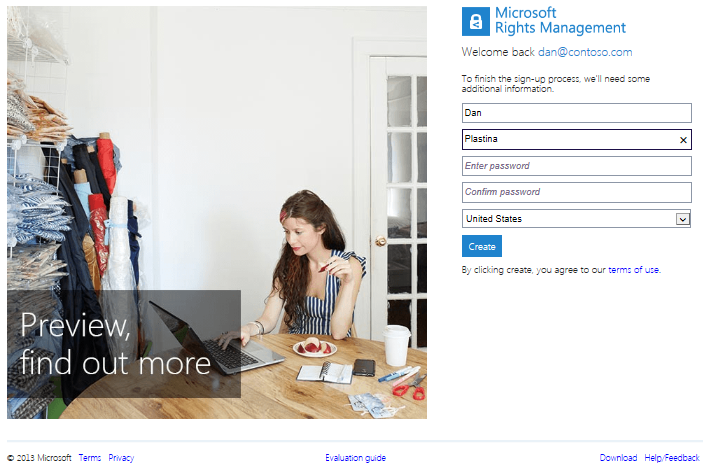
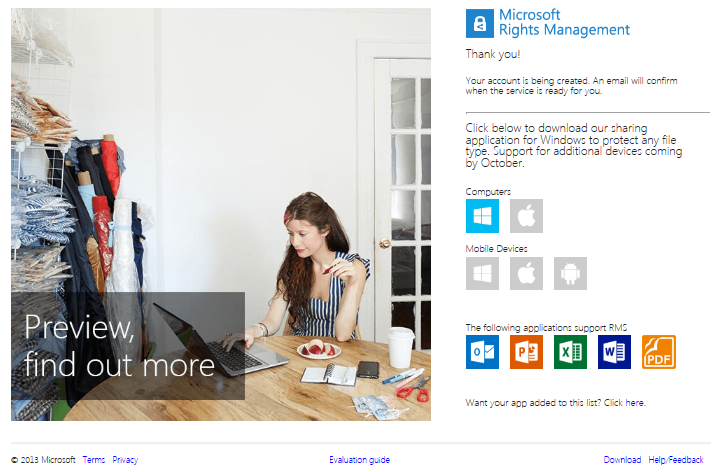
Can people outside my organization open protected documents with AD RMS (not apart of my domain)?
Short answer, Yes. Long answer, they are required to create a Microsoft account using their email address (Gmail, AOL, Yahoo, etc) to authenticate themselves. Below are some screenshots of the registration process; I have copied them from the following technet article for archival purposes: http://blogs.technet.com/b/rms/archive/2013/08/29/the-new-microsoft-rms-is-live-in-preview.aspx
How can an Office 365 customer purchase Microsoft Rights Management Services (RMS)?
Active Directory RMS is already included in the Office 365 Enterprise E3, and E4 plans and the Education A3 and A4 plans. RMS is also available as an add-on in the E1 and A2 plans. Consumption of rights-protected content is free. A license is required to protect content.
Today a coworker logged into one of our Office 365 Admin Portals and noticed that the Forefront Online Protection for Exchange (FOPE) link was removed to manage mail flow rules. After searching the entire admin panel, turns out Microsoft removed access to FOPE and has instead integrated a new "mail flow" area to manage the Exchange rules. While this is all good and fine, would have been nice to get an email saying the changes to the portal were going to be done.
Any who, here is where you can now begin to create/edit/delete your mailflow rules (note, all previous rules were automatically migrated from Forefront Online Protection for Exchange (FOPE) to what is now called Exchange Online Protection (EOP).
Login to Office 365 Admin Portal
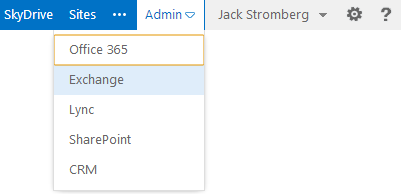
Click on Admin -> Exchange
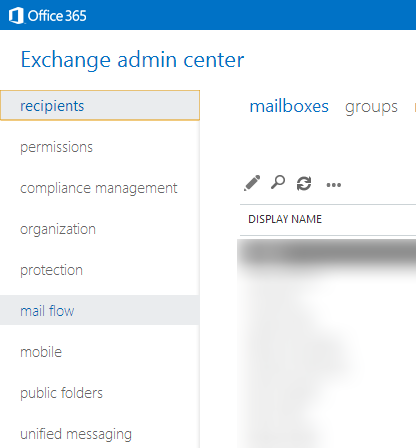
Select the mail flow link on the left
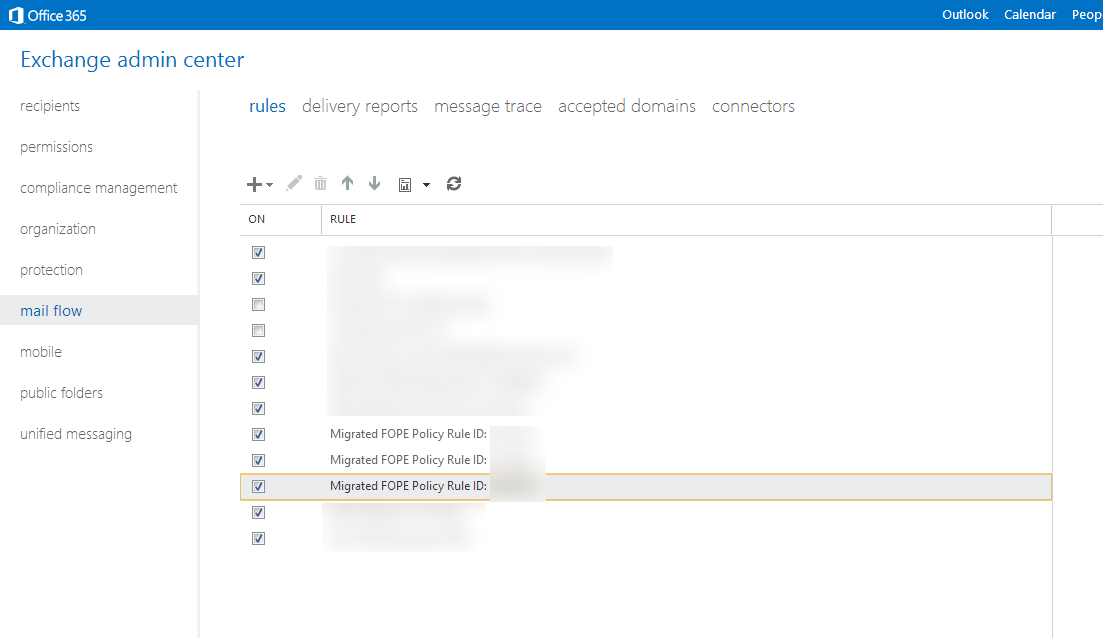
On the rules tab, you can now manage all of the mail rules as you would have done in FOPE.
In the picture below, you can see some of the rules that were automatically moved from FOPE over to Microsoft's new system (Migrated FOPE Policy Rule ID: xxxxxx).
Synopsis: Employee leaves on personal matters for a month and their department lead requests for mail to be forwarded to their manager. Typically, mail forwarding would be setup inside of the Exchange console, however, in this case, Exchange is managed by Office 365 (not a hybrid exchange deployment) and the users are being federated to Office 365 via ADFS. When trying to enable mail forwarding, as outlined in the this help document by the Office 365 team http://community.office365.com/en-us/wikis/exchange/how-to-forward-email-in-office-365.aspx, I would receive an error message.
Symptom: When enabling mail forwarding for the user inside of the Office 365 Exchange portal, I received the following error message:
The action 'Set-Mailbox', 'EmailAddresses', can't be performed on the object 'Firstname Lastname' because the object is being synchronized from your on-premises organization. This action should be performed on the object in your on-premises organization.
Solution:
Personally, I think this is a bug in Office 365, but they say it is because we are on premise (if all of exchange is managed by them, how can they not enable mail forwarding?). Any who, the work around is to manage the user's mailbox and set forwarding up as if they would. See the steps below to achieve the same result:
Login to your Office 365 admin portal.
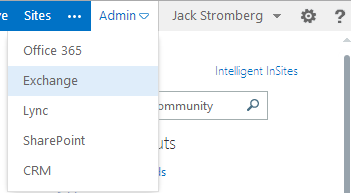
Click on the Admin dropdown and select Exchange
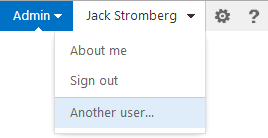
Once in the Exchange portal, click on your username and select Another user...
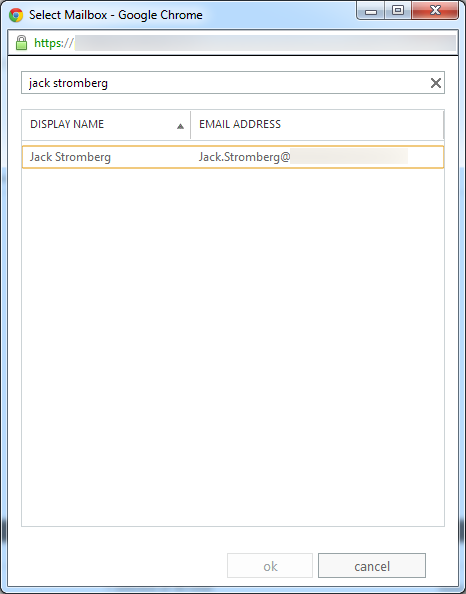
Type in the mailbox you want to edit and click ok
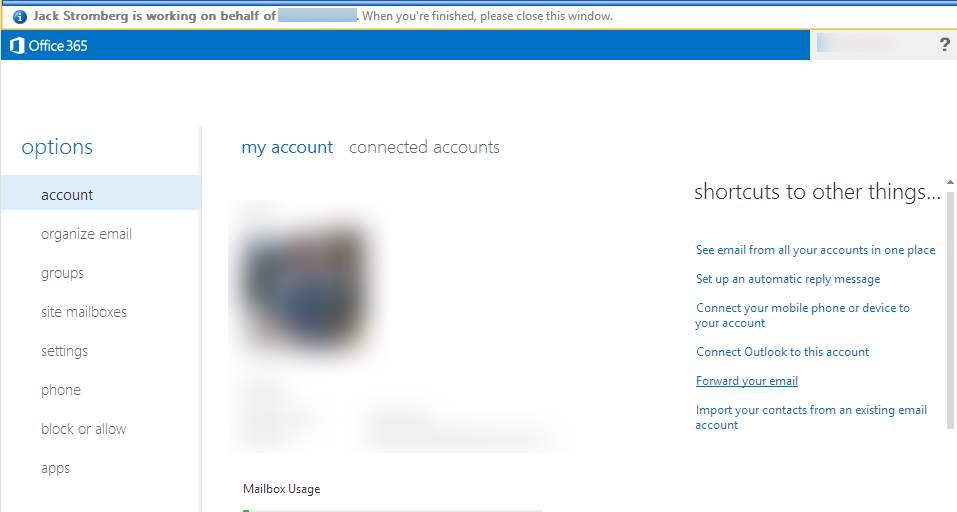
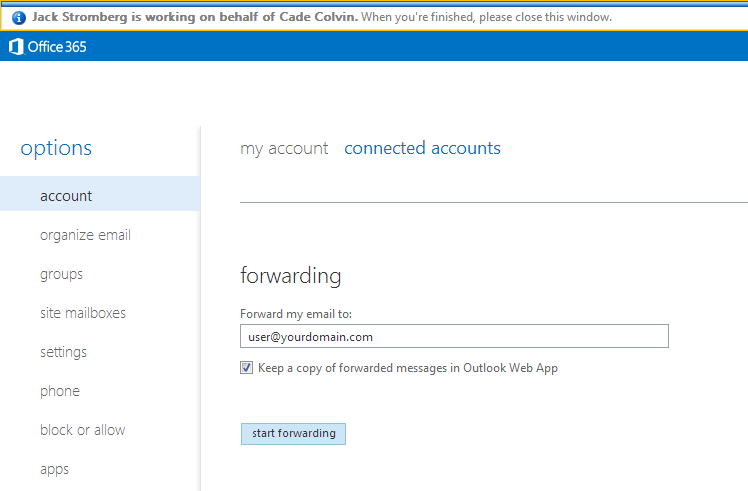
On the "Managing on behalf of" screen, select Forward your email
Scroll down to forwarding and type in the email address of the user you want all emails to go to and click start forwarding. You can optionally select if you want to leave a copy for the user's mailbox or have them silently forwarded.
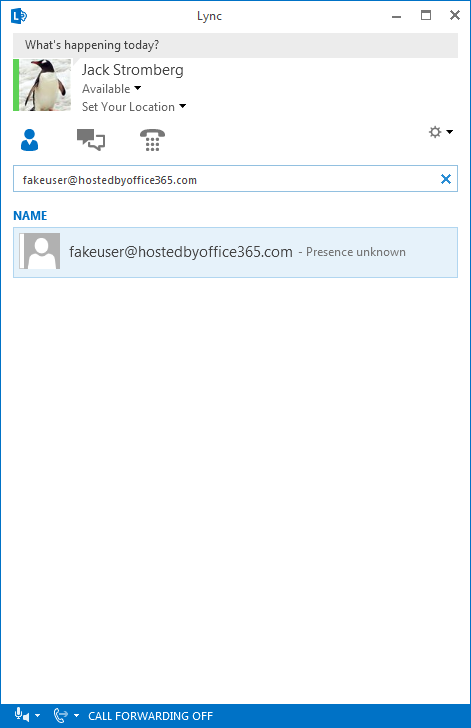
When communicating to hosted companies in Office 365 from an On-Premise Lync environment, I had begun seeing the following symptoms:
Presence defaulted to Unknown for federated contacts:
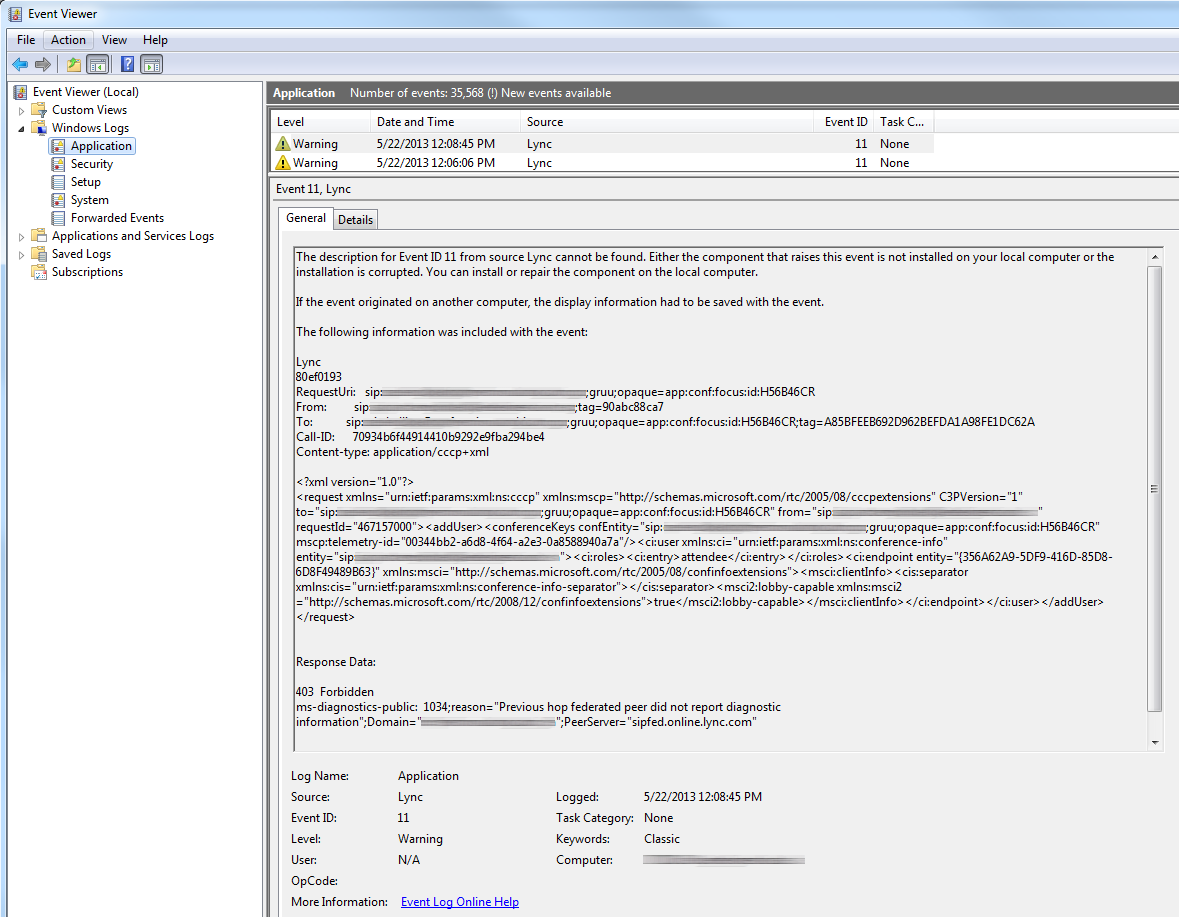
When joining someone's meeting or sending them an IM, I would see the following: "When contacting your support team, reference error ID 403 (source ID 239)."
Inside of event viewer, I saw: 403 Forbidden ms-diagnostics-public: 1034;reason="Previous hop federated peer did not report diagnostic information";Domain="othercompanydomainon.com";PeerServer="sipfed.online.lync.com"
Solution:
Interestingly enough, even though you have an On-Premise Lync environment, it appears that Office 365 will tie back to your account for some settings. In my case, I had not enabled federation to other PIC providers on Office 365.
To resolve the issue, please follow the steps below:
Login to the Office 365 Admin Portal
Click on Manage Lync
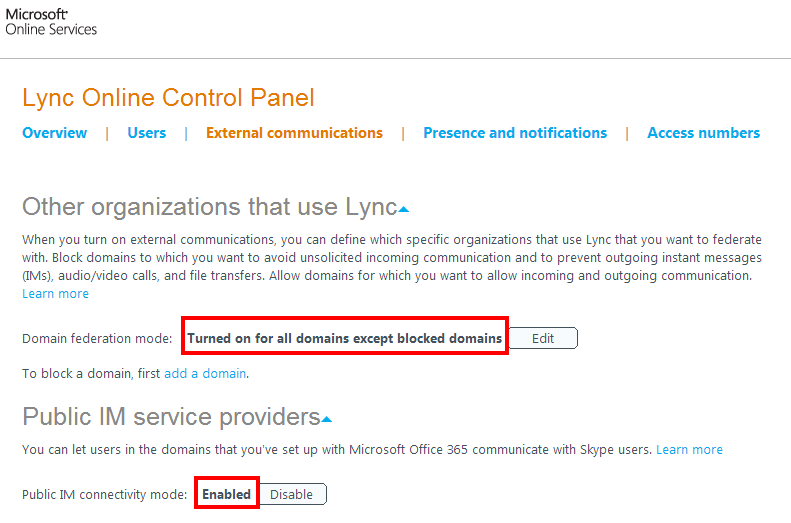
Click on the External communications tab and ensure the following settings:
Domain federation mode: Turned on for all domains except blocked domains (you can switch to the other mode, just keep in mind you will have to whitelist every domain you are enabling communication with)
Public IM connectivity mode: Enabled
Next, head over to the Lync Online Control Panel for your on-premise Lync deployment.
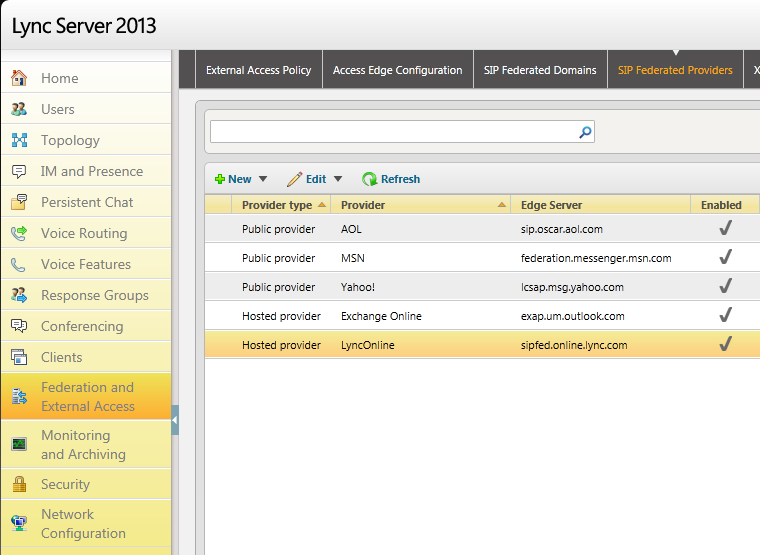
Select the Federation nand External Access tab and then select SIP Federated Providers
Ensure you have created a rule for the provider LyncOnline that is federated to sipfed.online.lync.com
To create the provider via the Lync Server 2013 Control Panel
Select New... and then click Hosted Provider
Enable communications with this provider: Checked
Provider Name: LyncOnline
Access Edge Service (FQDN): sipfed.online.lync.com
Click Commit
To create the provider via PowerShell, execute the following command:
Wait a few minutes for the changes to take effect, exit out of your Lync client on your workstation, reopen and you should now be able to communicate to your federated partner.
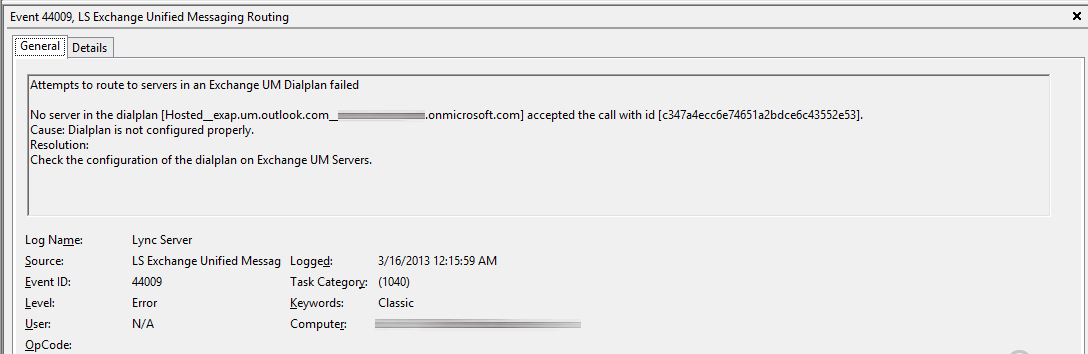
Symptom: When trying to check your voicemail from Lync, you notice that you call gets dropped/disconnected. Inside of the front end server, you notice the following error log:
Attempts to route to servers in an Exchange UM Dialplan failed
No server in the dialplan [Hosted__exap.um.outlook.com__mydomain.onmicrosoft.com] accepted the call with id [c347a4ecc6e74651a2bdce6c43552e53].
Cause: Dialplan is not configured properly.
Resolution:
Check the configuration of the dialplan on Exchange UM Servers.
Solution: Unfortunately, this seems to be caused by a couple of different things, so I would give all of the following below a shot.
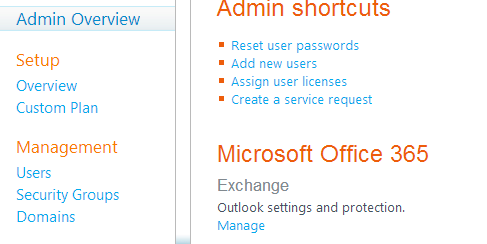
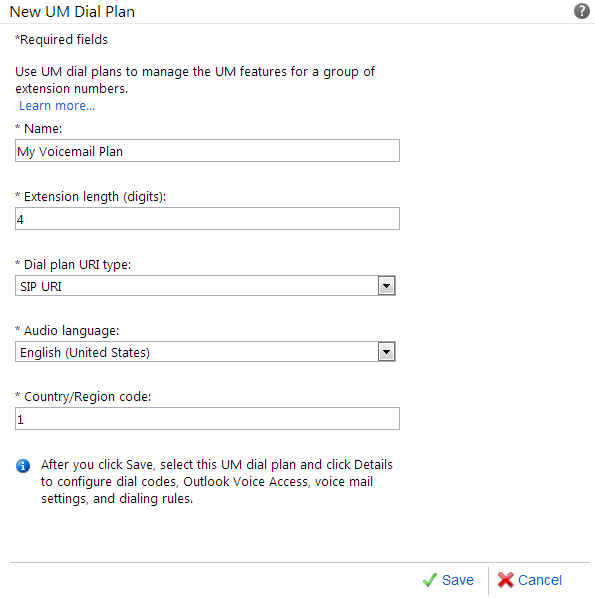
First, make sure you have created a Unified Messaging plan in your Office 365 Exchange Control Panel:
Click the Manage link next to Exchange on the dashboard
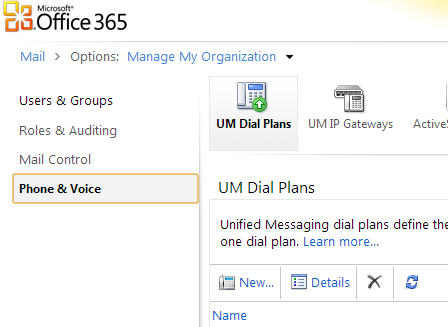
Click the Phone & Voice tab
Ensure you have a UM Dial Plan with the number you used in the New-CsExUmContact powershell command you ran earlier. Your settings might differ on the screenshot below, but just make sure you have SIP URI selected.
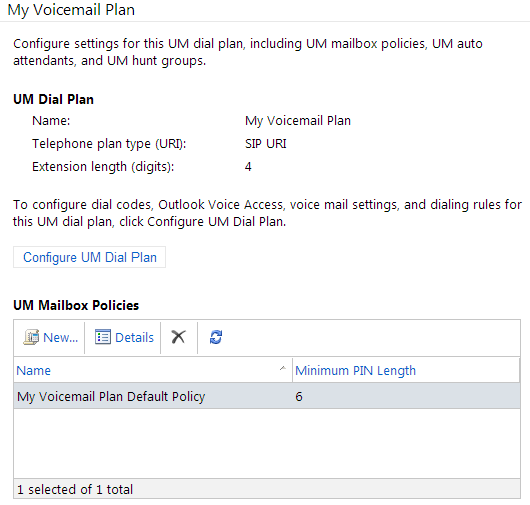
Select your policy from the UM Dial Plans list and click the Configure UM Dial Plan button as shown below:
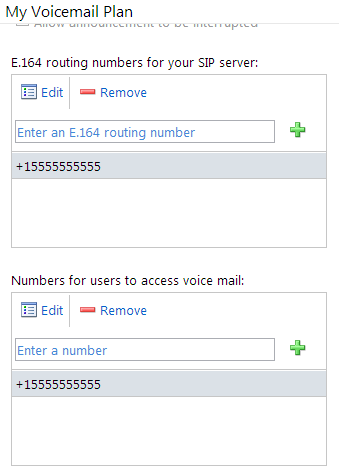
Make sure you configure the number you want your users to dial to access their voicemail in the E.164 routing numbers for your SIP server and Numbers for users to access voice mail boxes.
If your running Lync 2010/2013 at the same time, check out this option in topology builder to make sure you have enabled federation:
Open up the Lync Server Topology Builder
Download the latest topology
Right click on the first site (the node under Lync Server) and then click Edit Properties...
Scroll down to Site federation route assignment and make sure Apply federation route assignments to all sites is checked.
Make sure Enable sip federation is checked as well and then click OK
Click on Action->Topology->Publish...
If the above doesn't work, try running the following powershell commands on your front-end server.
Modify the global hostedvoicemailpolicy (make sure to use your onmicrosoft domain name, not your FQDN you would use normally):
Create Lync contact for Hosted UM (make sure to set the number as the same one in the Office 365 Unified Messaging area. The last value below can be changed to put the UM contact that will be generated in AD, in any OU of your choosing; I just picked the default users one for simplicity.
Associate your newly created Lync contact with your Hosted Voicemail Policy:
Grant-CsHostedVoicemailPolicy -identity "sip:[email protected]" -policyname global
Lastly, if things still aren't working, make sure you have enabled federation with Office 365's exchange server for Unified Messaging by executing the following command:
If you receive the error when configuring the Microsoft Directory Synchronization Tool to communicate with Office 365:
"Access to the registry key 'HKEY_LOCAL_MACHINE\Software\Microsoft\MSOLCoExistence' is denied"
Make you you right click and run the tool as an administrator 🙂
Microsoft Online Service Directory Synchronization Configuration Wizard in the Configuration step. The error
Normally, user accounts that are deleted within Office 365 sit in "The recycle bin" where they can be recovered if needed. You can't, however, delete users from that gray area within the web GUI. If you wanted to, say, delete and remove the license from a user and create a non-licensed shared mailbox, you're boned without emptying it from the recycle bin first.
Before you start,you'll need Microsoft Online Services Module for Powershell
If you're removing an account in order to recreate it, you'll have to wait 5-10 minutes before O365 will allow you to recreate over the deleted account.
If you don't have a problem nuking them all, you can empty all via piping the get to the remove
#Haven't tested this one; have a nagging you may need to fill an array and foreach through all the elements actually.