Here is a tutorial on deploying VMware vCloud Networking and Security 5.5 (formerlly called vShield). Unlike other VMware products, this product must be installed as an appliance. VMware provides you an OVA file that contains the entire virtual appliance, so minimal configuration is needed. Here is a good overview of the product and how it works: http://vmwarelearning.com/vcloud_net_sec/
Before beginning, here are the following hardware prerequisites. These prerequisites can be found from the official VMware deployment guide: http://www.vmware.com/pdf/vshield_51_quickstart.pdf
- Memory
- vShield Manager: 8GB allocated, 3GB reserved
- vShield App: 1GB allocated, 1 GB reserved
- vShield Edge compact: 256 MB, large: 1 GB, x-large: 8 GB
- vShield Data Security: 512 MB
- Disk Space
- vShield Manager: 60 GB
- vShield App: 5 GB per vShield App per ESX host
- vShield Edge compact and large: 320 MB, lx-Large: 4.4 GB (with 4 GB swap file)
- vShield Data Security: 6GB per ESX host
- vCPU
- vShield Manager: 2
- vShield App: 2
- vShield Edge compact: 1, large and x-Large: 2
- vShield Data Security: 1
Installing VMware vCloud Networking and Security 5.5 Appliance
- Download the VMware vCloud Networking and Security 5.5 OVA file from myvmware.com
- Login to vCenter
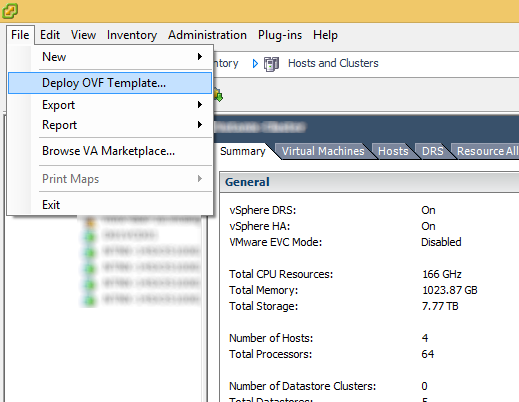
- Select File->Deploy OVF Template...
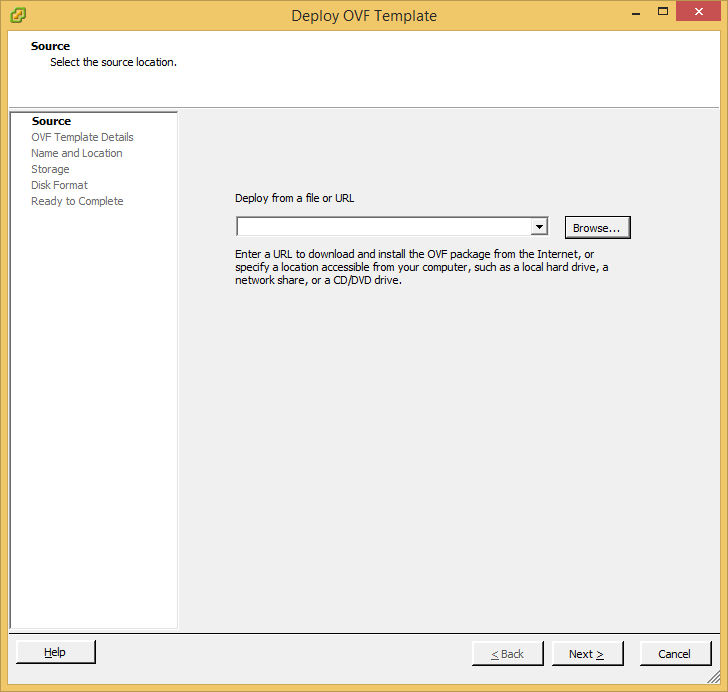
- Click Browse...
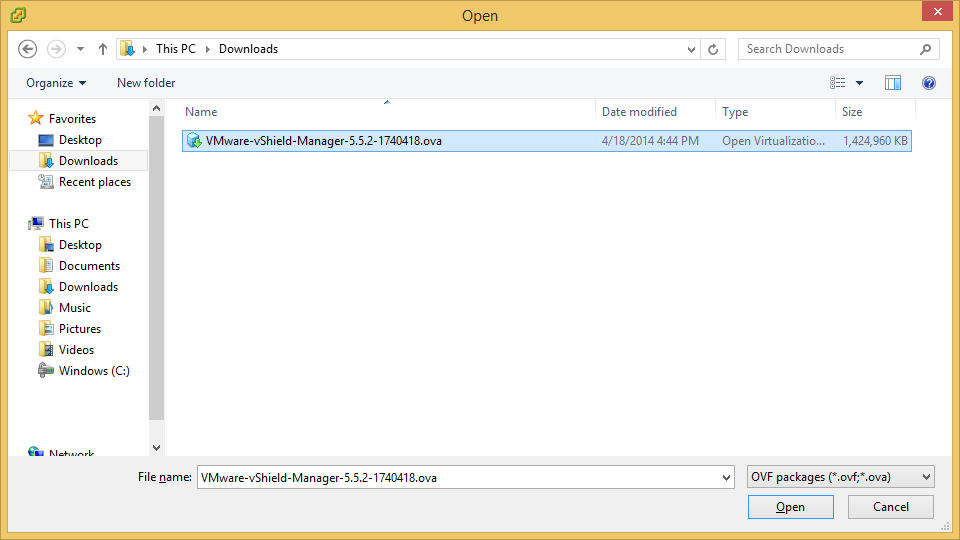
- Select the VMware-vShield-Manager-5.5.x-xxxxxxx.ova file you downloaded and click OK
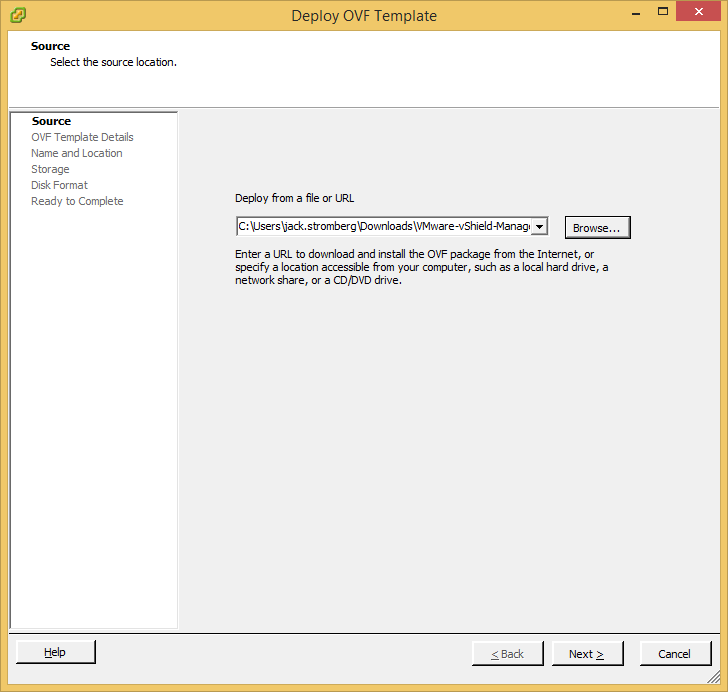
- Select Next >
- Select Next >

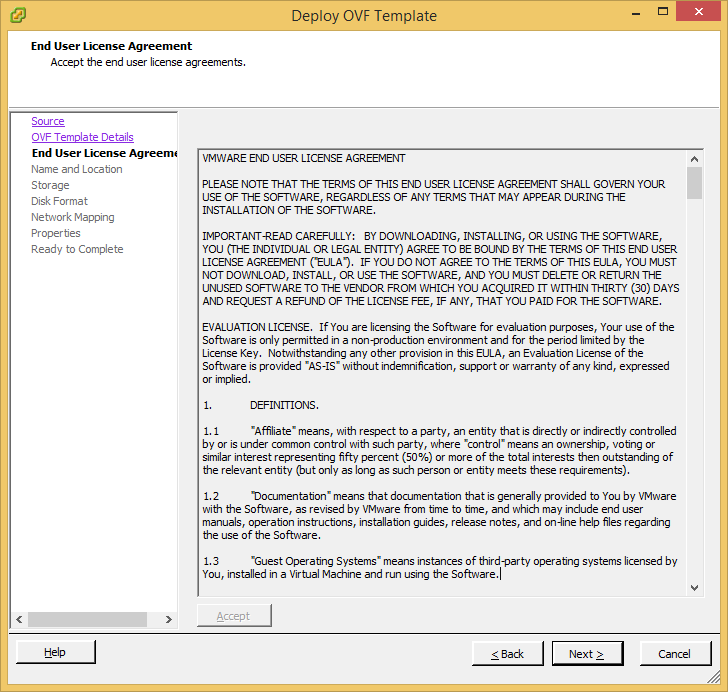
- Select Accept and then click Next >
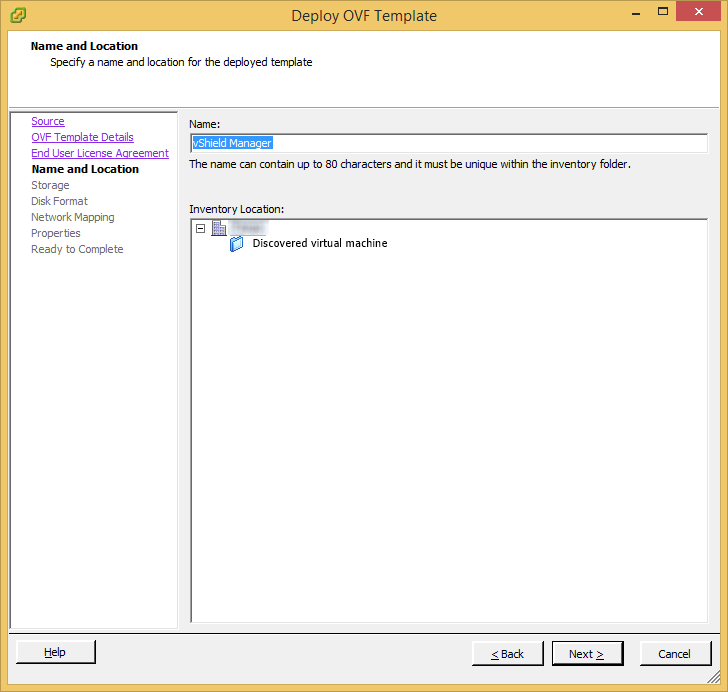
- Enter a name for the VM and click Next >
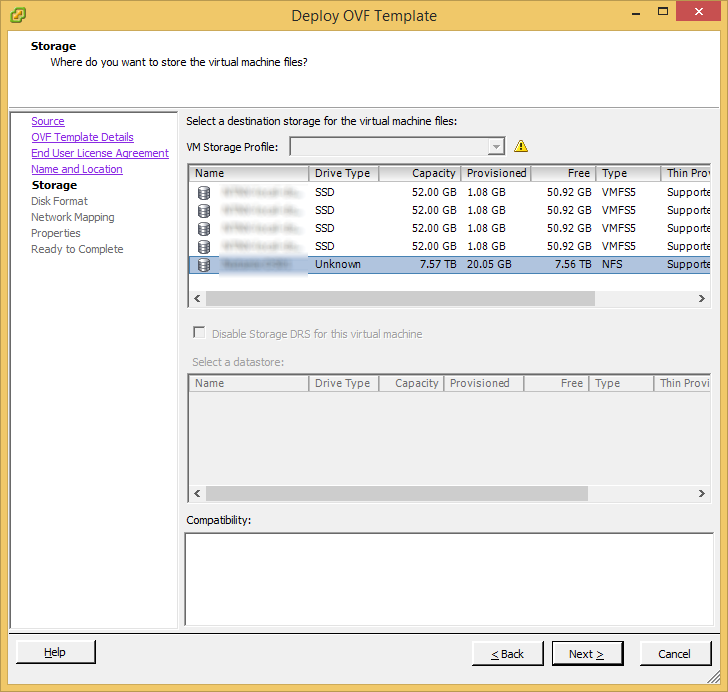
- Select a datastore to place the VM on storage and click Next >
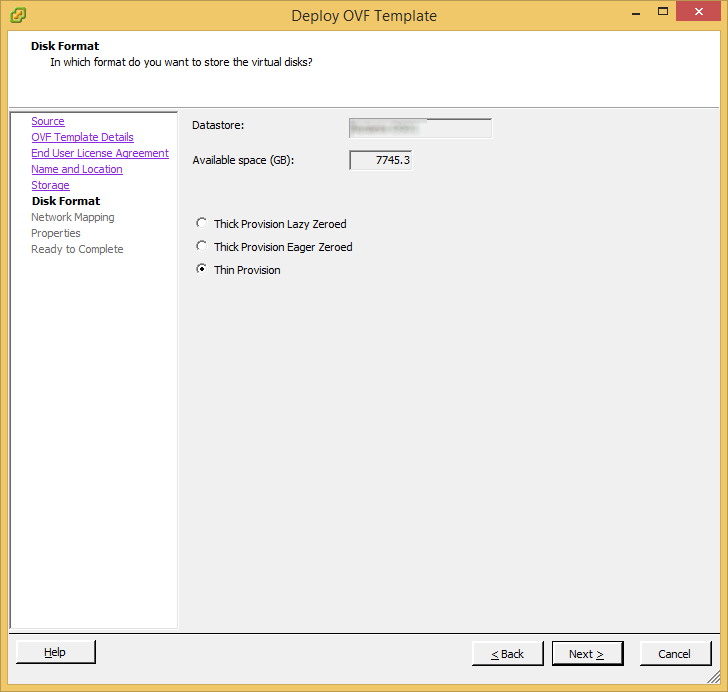
- Select how you want to provision the VM and click Next >
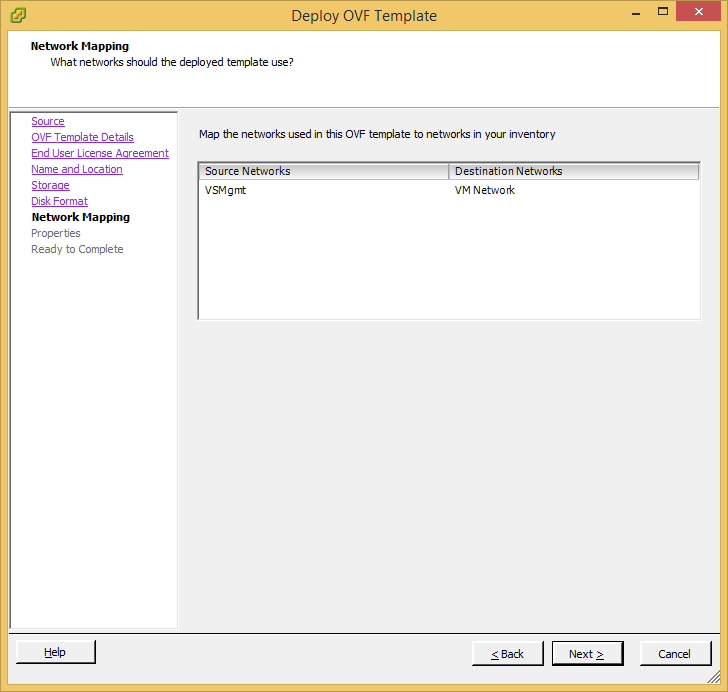
- Select the destination network and click Next >
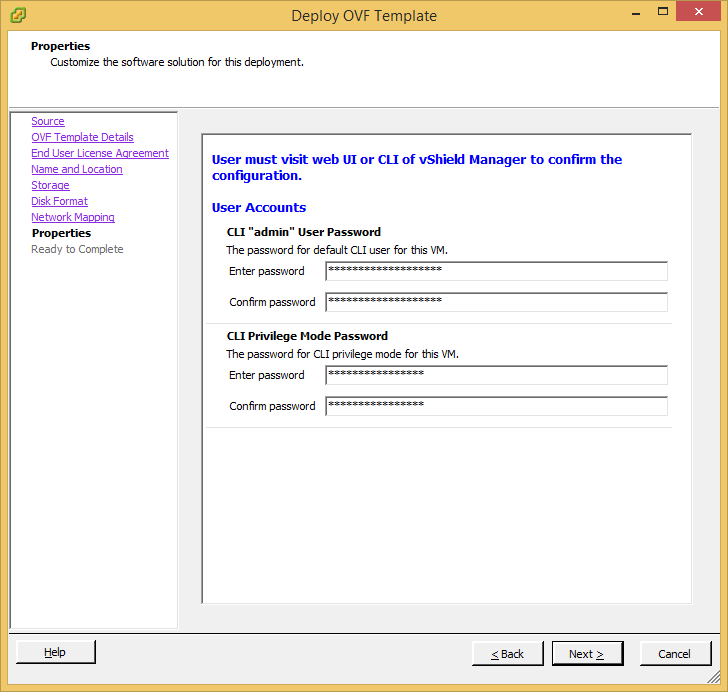
- Enter in a password for the default admin user and for privileged CLI access and click Next >
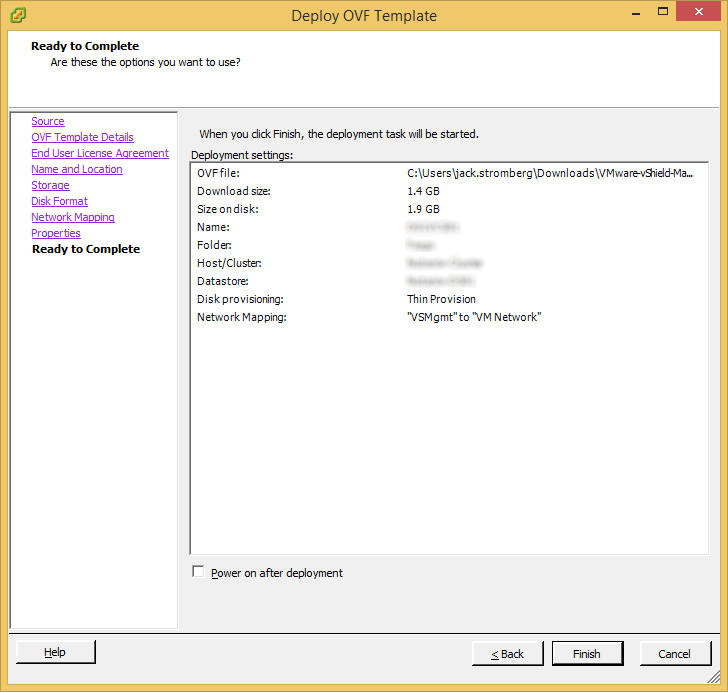
- Click Finish
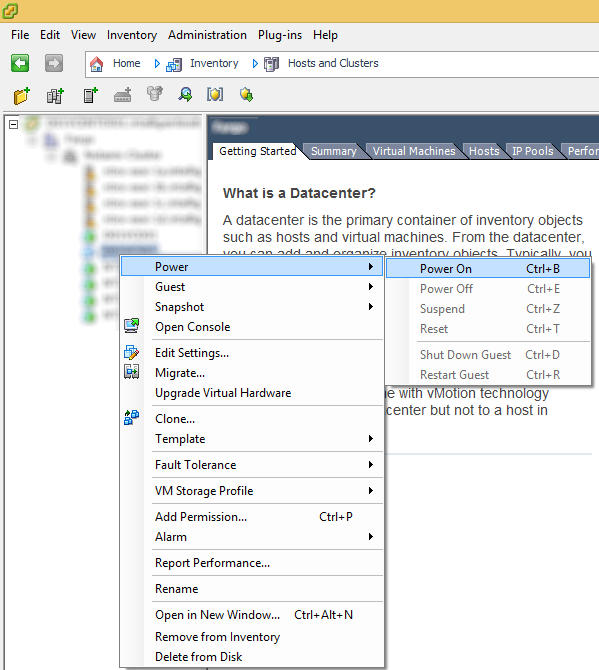
- Power on the VM
- Open up a console the VM
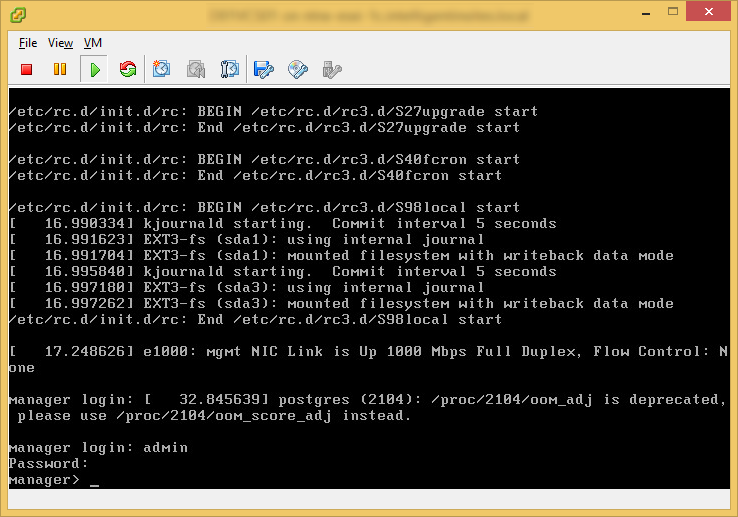
- Login to the VM using the username admin and the "user password" you specified in step 13.
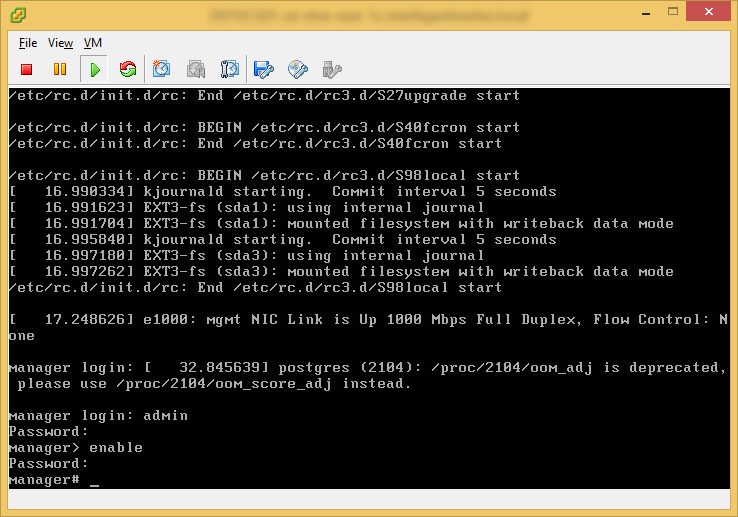
- Type enable and hit enter (use the "privileged user password" you specified in step 13).
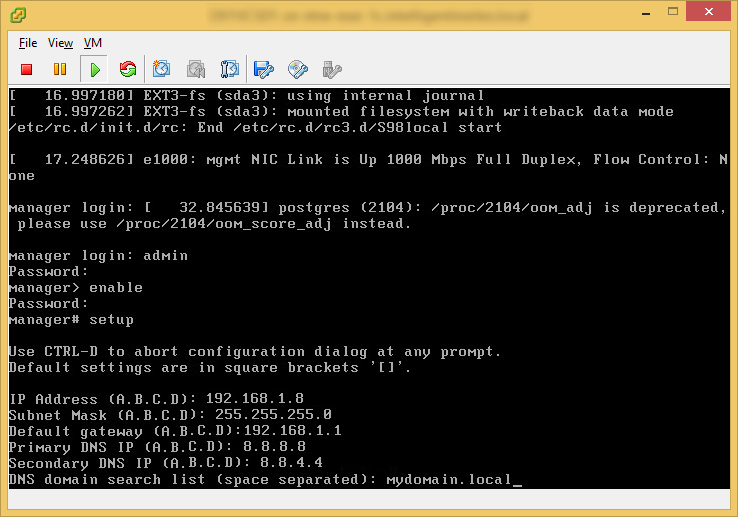
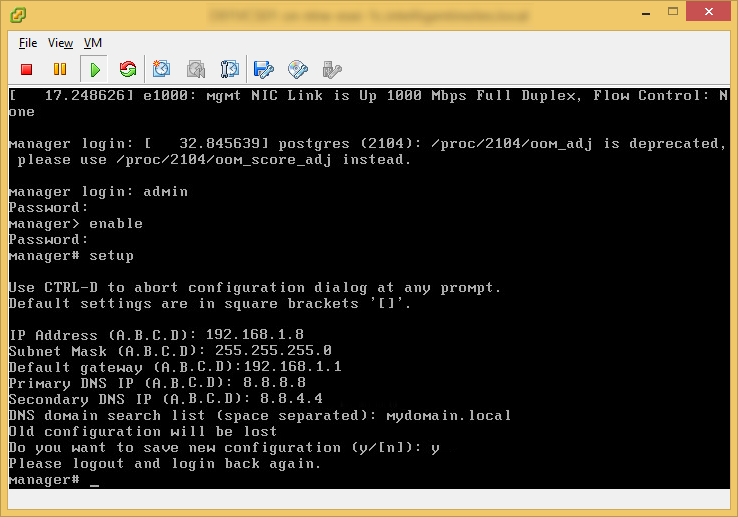
- Type setup and hit enter to launch the network configuration wizard
Enter in the static IP Address you wish to assign to the appliance and hit enter
Enter in the Subnet Mask for your network and hit enter
Enter in the Default gateway for your network and hit enter
Enter in your Primary DNS server's IP address and hit enter
Enter in your Secondary DNS server's IP addres and hit enter
Enter in your domain search list (DNS Suffix if you host your own internal DNS) and hit enter
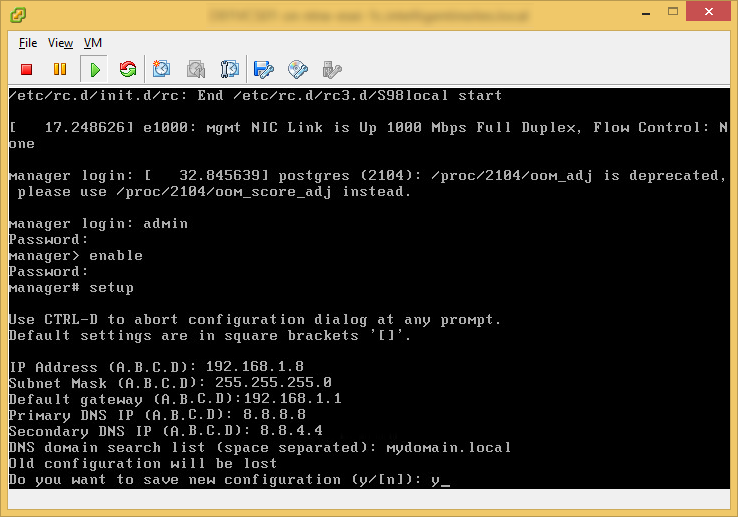
- Type y to confirm your changes and hit enter
- Press control+alt+insert to send the control+alt+delete command to the VM to restart the guest.
Note: Logging out like the wizard tells you didn't work for me. Had to do the reboot.
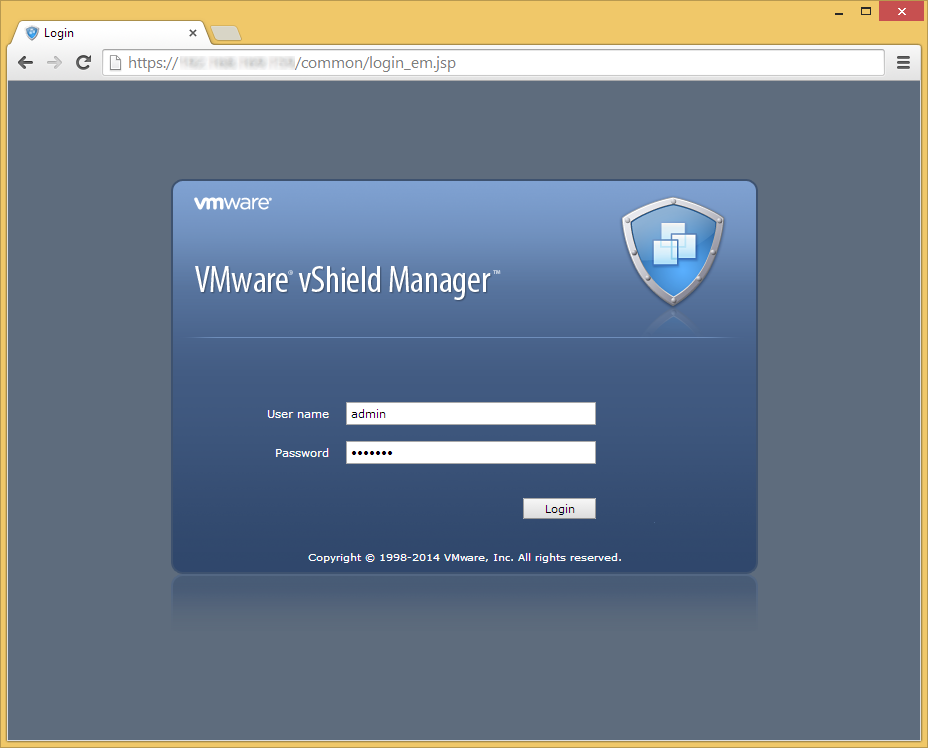
- Open up your webbrowser and head over to the static IP address you gave your appliance
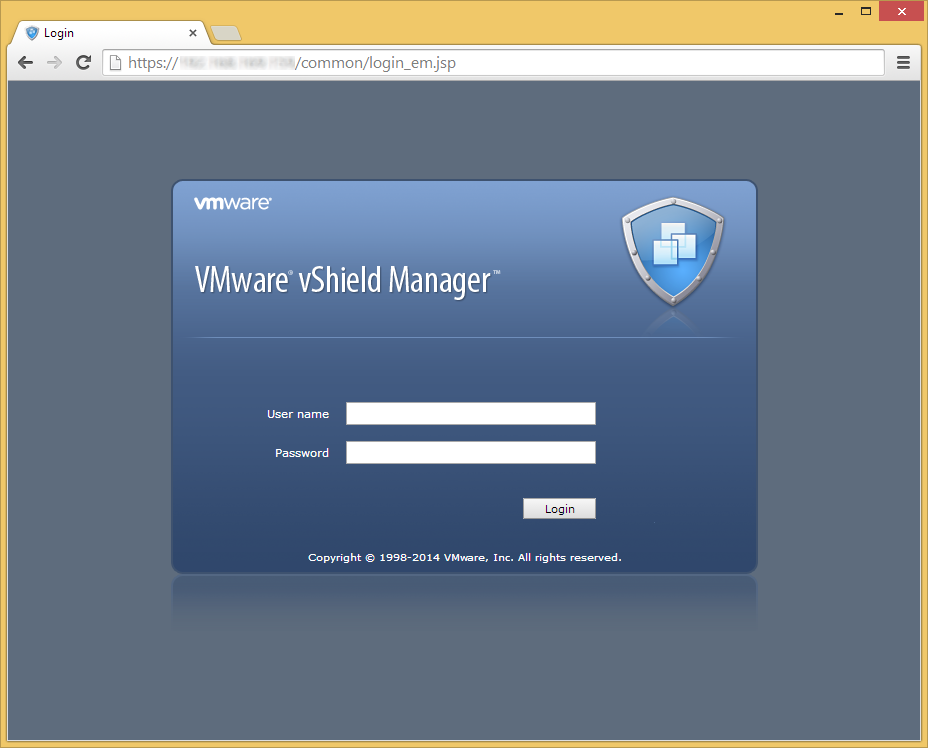
- Enter in the username admin and the password default to login
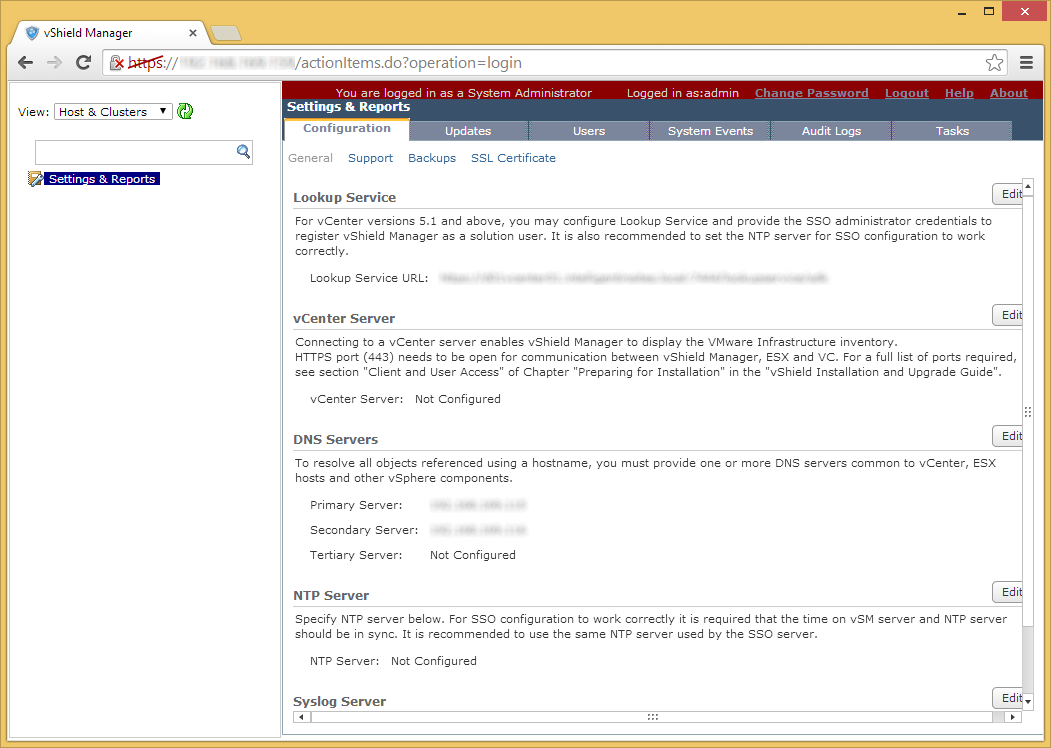
Configuring VMware vCloud Networking and Security 5.5 for vCenter
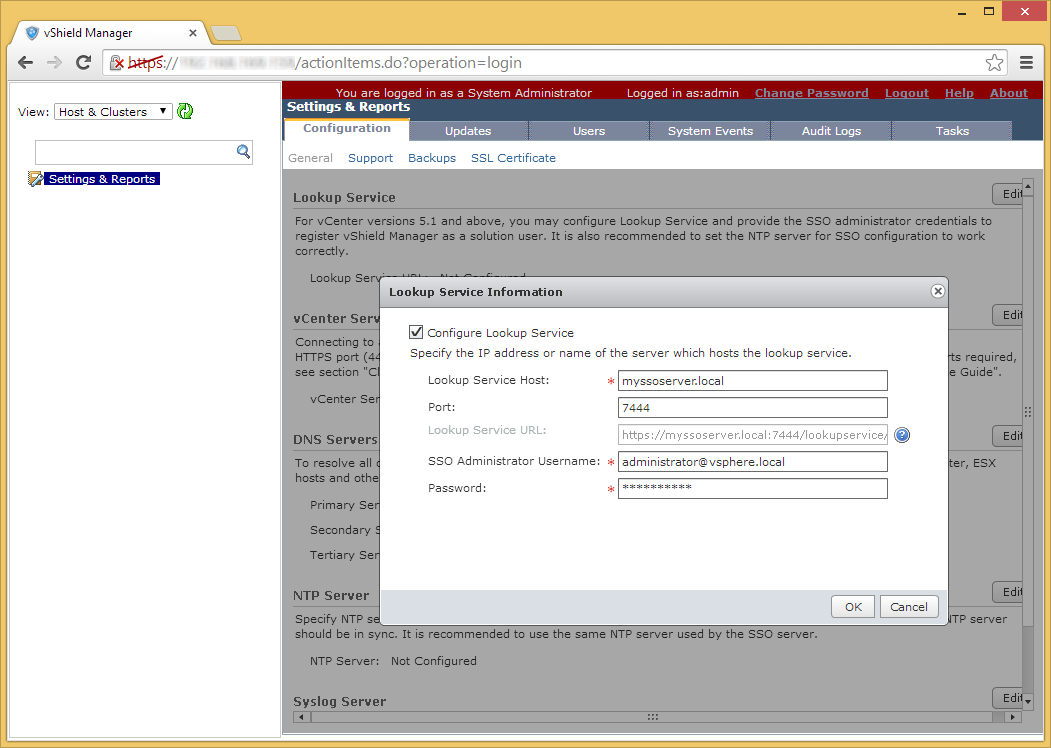
- Click on the Edit button next to Lookup Service
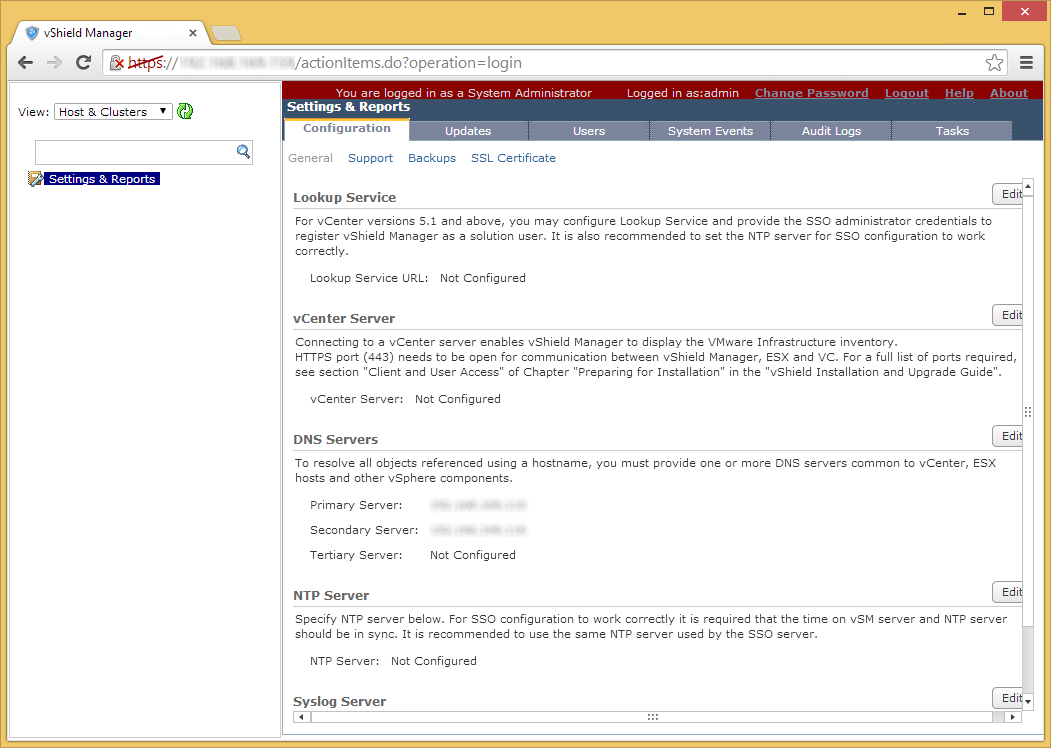
- Check Configure Lookup Service and enter in the information to your vCenter's Lookup Service instance:
Lookup Service Host
Lookup Service Port
SSO Administrator Username (should be admin@System-Domain or [email protected] if you used the default installation options)
SSO Administrator Password.
Click OK once configured.
- Click Yes to trust the server's SSL certificate

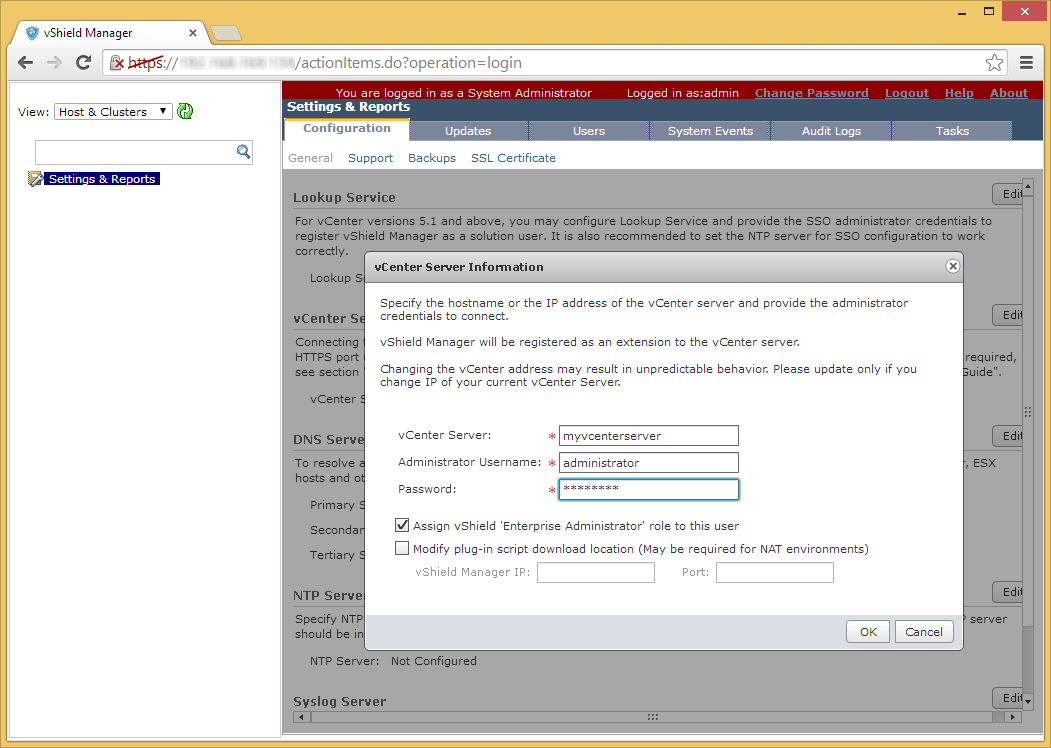
- Click Edit next to vCenter Server
- Enter in your vCenter info and click OK
vCenter Server
Administrator Username
Administrator Password
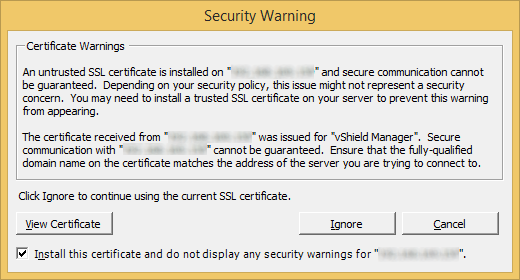
- Select Yes to trust the vCenter SSL certificate

- Check Install this certificate and do not display any security warnings and then click the Ignore button when prompted
- Click the Edit button next to NTP Server
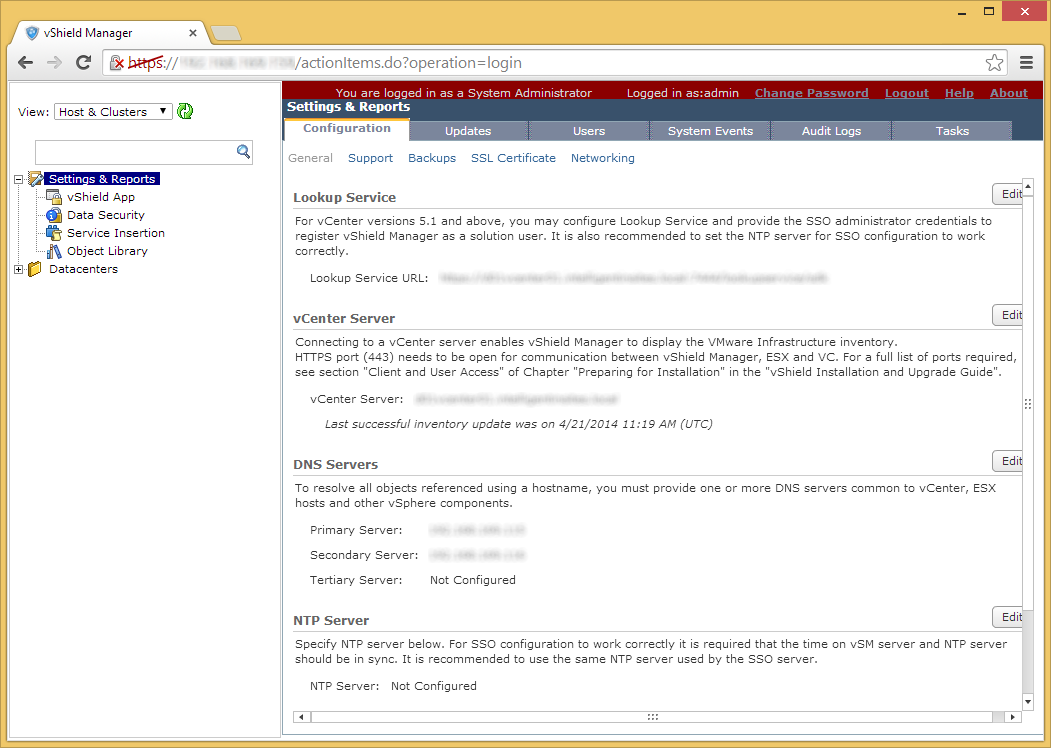
- Specify the IP address of the NTP server you wish to sync to and click OK

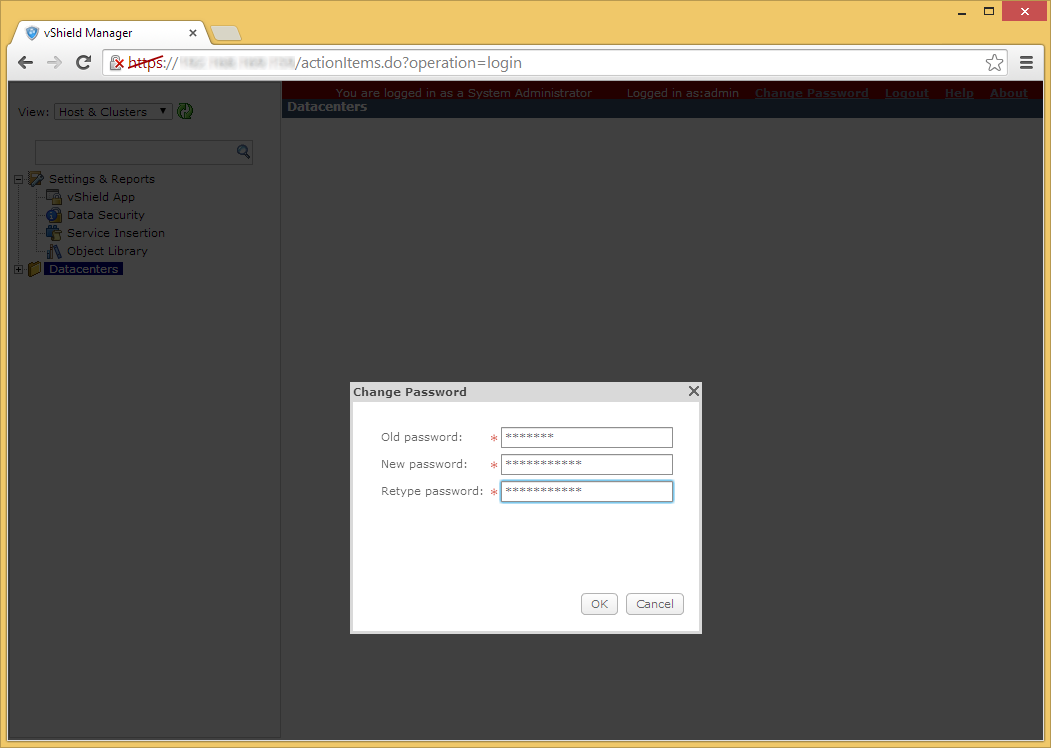
- Click the Change Password link at the top to change the default admin password. Click OK when you are done.
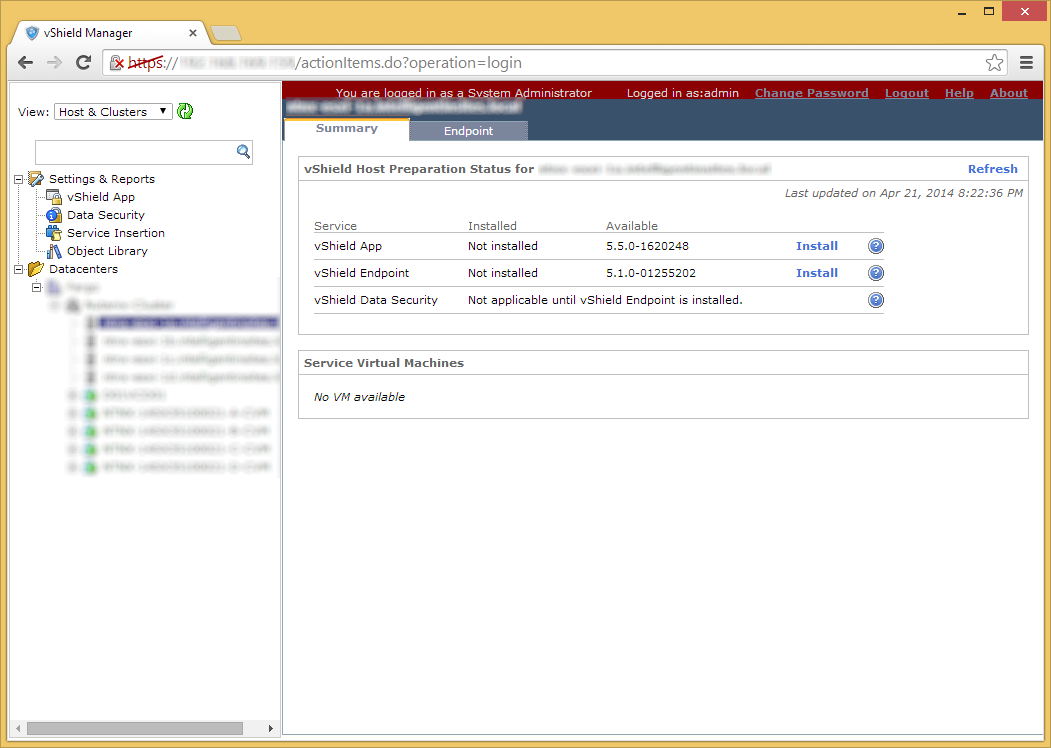
At this point, you can begin to install the vShield App, vShield Endpoint, and vShield Data Security services by selecting one of your hosts and clicking the Install links. However, configuration of these options is outside the scope of this tutorial.
Note: One thing that I did notice that is different from vShield 5.1 is that once vShield Manager 5.5 is synchronized with vCenter, the management plugin will automatically be registered to vCenter and you can access vShield Manager from the vSphere Client.
Pingback: [Tutorial] Deploying VMware vCloud Director 5.5 | Jack Stromberg
The default admin (manager) password for first time login is 'default'. Not the password you specify during install.